Elderberry bombs are a delicious and nutritious recipe that can be easily made at home. In just a few simple steps, you can create these tasty treats packed with the immune-boosting benefits of elderberries.
With its deep purple color and sweet-tart flavor, elderberries are a rich source of antioxidants and vitamins that support overall wellness. This recipe combines the goodness of elderberries with the natural sweetness of honey and the refreshing zing of lemon juice.
Perfect for boosting your immune system and satisfying your cravings, Elderberry bombs are a delightful way to enjoy the health benefits of this incredible superfruit. So, let’s dive into the recipe and learn how to make these fantastic elderberry bombs.
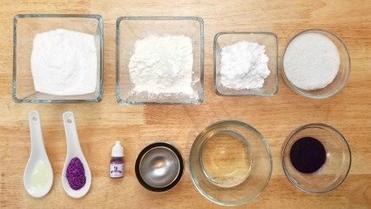
Table of Contents
ToggleIngredients
Elderberry bombs are a delicious and nutritious treat that can be made at home with just a few simple ingredients. Let’s take a look at the key components that make up these tasty elderberry bombs.
Fresh Elderberries
Elderberries are the star ingredient of this recipe. They are rich in antioxidants and are known for their immune-boosting properties. Using fresh elderberries ensures that the elderberry bombs are packed with all the natural goodness that elderberries have to offer.
Honey
Honey adds natural sweetness to the elderberry bombs and also provides its own set of health benefits. It’s a great alternative to refined sugar and complements the tartness of the elderberries perfectly.
Lemon Juice
Lemon juice not only brings a refreshing citrus flavor to the elderberry bombs but also adds a dose of vitamin C. This zesty ingredient helps to balance the flavors and enhances the overall taste of the elderberry bombs.
Gelatin
Gelatin is used to bind the ingredients together and give the elderberry bombs their signature gummy texture. It is essential for achieving the perfect consistency and ensuring that the elderberry bombs hold their shape.
Preparation
Before diving into making these delicious elderberry bombs, it’s important to have the necessary ingredients and equipment on hand. Preparation is the key to success, so let’s get started!
Step 1: Making Elderberry Syrup
The first step in creating these elderberry bombs is to make your own elderberry syrup. Elderberry syrup is packed with antioxidants and vitamins, making it a perfect addition to these immune-boosting treats.
- Gather the following ingredients:
- 1 cup fresh or frozen elderberries
- 1 cup water
- 1 cup honey or maple syrup
- 1 cinnamon stick
- 1 teaspoon ginger powder
- In a saucepan, combine the elderberries, water, cinnamon stick, and ginger powder. Bring the mixture to a boil and then reduce the heat to simmer for about 30-40 minutes.
- Once the mixture has simmered, remove it from the heat and let it cool slightly. Using a strainer or cheesecloth, strain the liquid into a bowl to remove any solids.
- Add the honey or maple syrup to the strained liquid and mix well. Your elderberry syrup is now ready to use!
Step 2: Mixing Ingredients
Now that you have your homemade elderberry syrup, it’s time to mix it with the remaining ingredients to create the filling for your elderberry bombs.
- Gather the following ingredients:
- 1 cup almond flour
- 1/2 cup coconut flour
- 1/4 cup raw honey
- 1/4 cup melted coconut oil
- 1 teaspoon vanilla extract
- In a large mixing bowl, combine the almond flour, coconut flour, honey, melted coconut oil, and vanilla extract. Mix until well combined and a dough-like consistency is formed.
Step 3: Pouring Into Molds
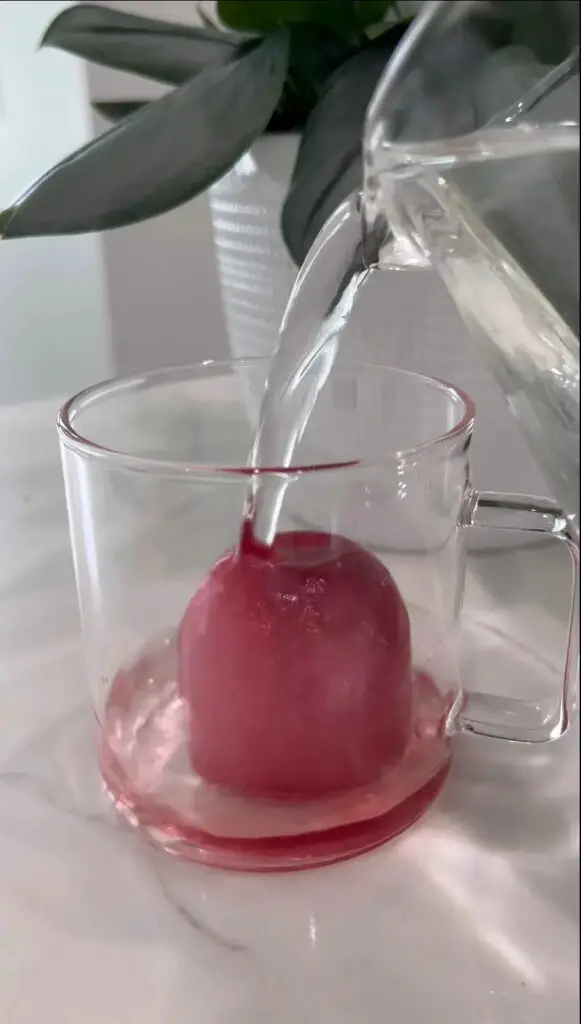
With the mixture ready, it’s time to shape them into bombs! For this, you will need a silicone mold with small cavities to create individual elderberry bombs.
- Fill each cavity of the silicone mold halfway with the elderberry mixture.
- If desired, you can add an extra dose of health benefits by placing a small piece of fresh elderberry or a sprinkle of dried elderberry in the center of each mold before topping it with more of the elderberry mixture.
- Continue filling each cavity with the remaining elderberry mixture, making sure to leave a small space at the top for the elderberry bombs to expand.
- Chill the molds in the refrigerator for at least two hours or until the elderberry bombs are firm and set.
There you have it! Following these simple steps will lead you to a batch of tasty elderberry bombs that are not only delicious but also packed with immune-boosting properties. Enjoy these delightful treats as a healthy snack or whenever you need an extra boost of antioxidants.
Setting And Serving
Once you’ve prepared your delicious elderberry bombs, it’s time to think about the setting and presentation. Taking these factors into consideration can elevate your culinary experience and impress your guests. In this section, we’ll discuss the importance of refrigeration, as well as how to present your elderberry bombs in an attractive and appetizing manner.
Refrigeration
Proper refrigeration is key to preserving the freshness and taste of your elderberry bombs. After preparing the recipe, allow the bombs to cool to room temperature. Then, carefully transfer them to an airtight container and place them in the refrigerator. This will help maintain their texture and prevent spoilage.
Presentation
When it comes to serving elderberry bombs, presentation is everything. With a little extra effort, you can make them look as good as they taste. Here are a few tips to help you present your elderberry bombs in a visually appealing way:
- Choose a serving platter or tray that complements the colors of the elderberry bombs. A neutral or contrasting backdrop can make the vibrant purple color of the bombs really pop.
- Consider adding some garnishes to enhance the visual appeal. Fresh mint leaves or a sprinkle of powdered sugar can add a touch of elegance.
- Arrange the elderberry bombs in an organized and aesthetically pleasing pattern. This could be a grid formation, a circular design, or any other arrangement that you find visually appealing.
- For an added wow factor, you can drizzle a homemade elderberry sauce or a contrasting sauce over the bombs. This will not only enhance the flavor but also create a striking visual effect.
By paying attention to these details, you’ll entice your guests with a visually stunning presentation that will make your elderberry bombs even more irresistible. Remember, we eat with our eyes first!
Benefits And Variations
Discover the versatile benefits of the Elderberry Bombs recipe with various tasty variations. Boost your immune system with these nutritious and delicious treats. Customize the recipe to suit your preferences and enjoy a flavorful way to stay healthy and energized.
The elderberry bombs recipe not only delights the palate but also offers an array of health benefits and delectable flavor variations. Let’s explore these aspects in more detail.
Health Benefits
Elderberries are packed with antioxidants that help strengthen the immune system, making them a valuable addition to any diet. The high vitamin C content in elderberries aids in combating illnesses and reducing inflammation. Additionally, these tiny fruits contain properties that may assist in lowering cholesterol levels and supporting heart health.
Flavor Variations
When preparing elderberry bombs, you can experiment with various flavor combinations to suit your taste preferences. Consider incorporating citrusy notes by adding orange or lemon zest to the recipe. For a touch of warmth, infuse the elderberry filling with a hint of cinnamon or nutmeg. Alternatively, for a refreshing twist, blend in some fresh mint leaves. In summary, the elderberry bombs recipe not only tantalizes the taste buds but also offers an array of health benefits and endless possibilities for flavor variations. Whether you’re seeking a boost to your well-being or simply craving a burst of flavor, this versatile recipe has you covered.
Frequently Asked Questions For (Elderberry Bombs Recipe)
How Long To Cook Elderberries To Remove Toxins?
Cook elderberries for at least 15 minutes to remove toxins. Heating destroys harmful components, making them safe for consumption.
Why Do You Have To Boil Elderberries?
Boiling elderberries eliminates toxins and makes them safe to consume. This process also enhances the flavor and extraction of beneficial compounds.
Is Homemade Elderberry Safe?
Yes, homemade elderberry is generally safe to consume, but it’s important to use caution. Consult a healthcare professional, as elderberry can interact with certain medications. Also, ensure proper preparation, as consuming raw or unripe elderberries can be toxic.
How Does Elderberry Keep You From Getting Sick?
Elderberry helps prevent sickness by boosting your immune system with its rich antioxidants and vitamins.
Conclusion
Incorporate the elderberry bombs into your daily routine to boost your immune system. These delicious and nutritious treats are simple to make and offer a range of health benefits. Whether you enjoy them as a snack or as a topping for yogurt or oatmeal, elderberry bombs are a convenient way to support your overall well-being.
Start making them today and experience the goodness of elderberries.

