

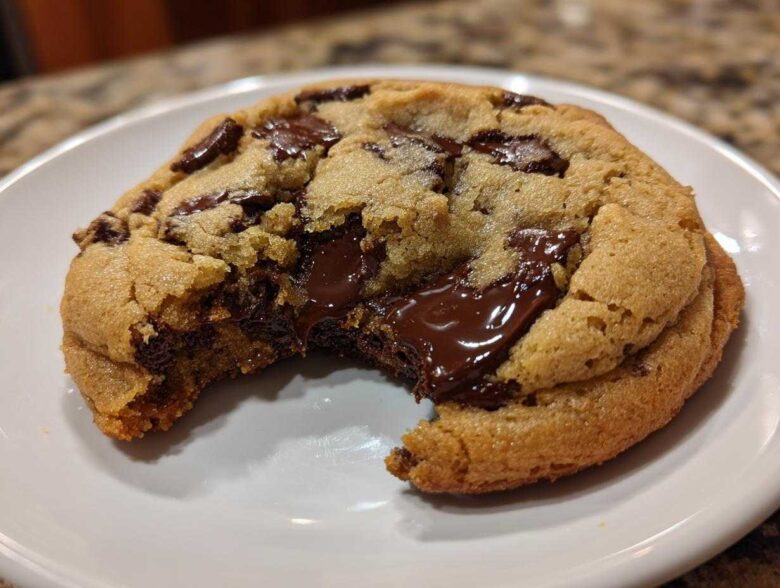
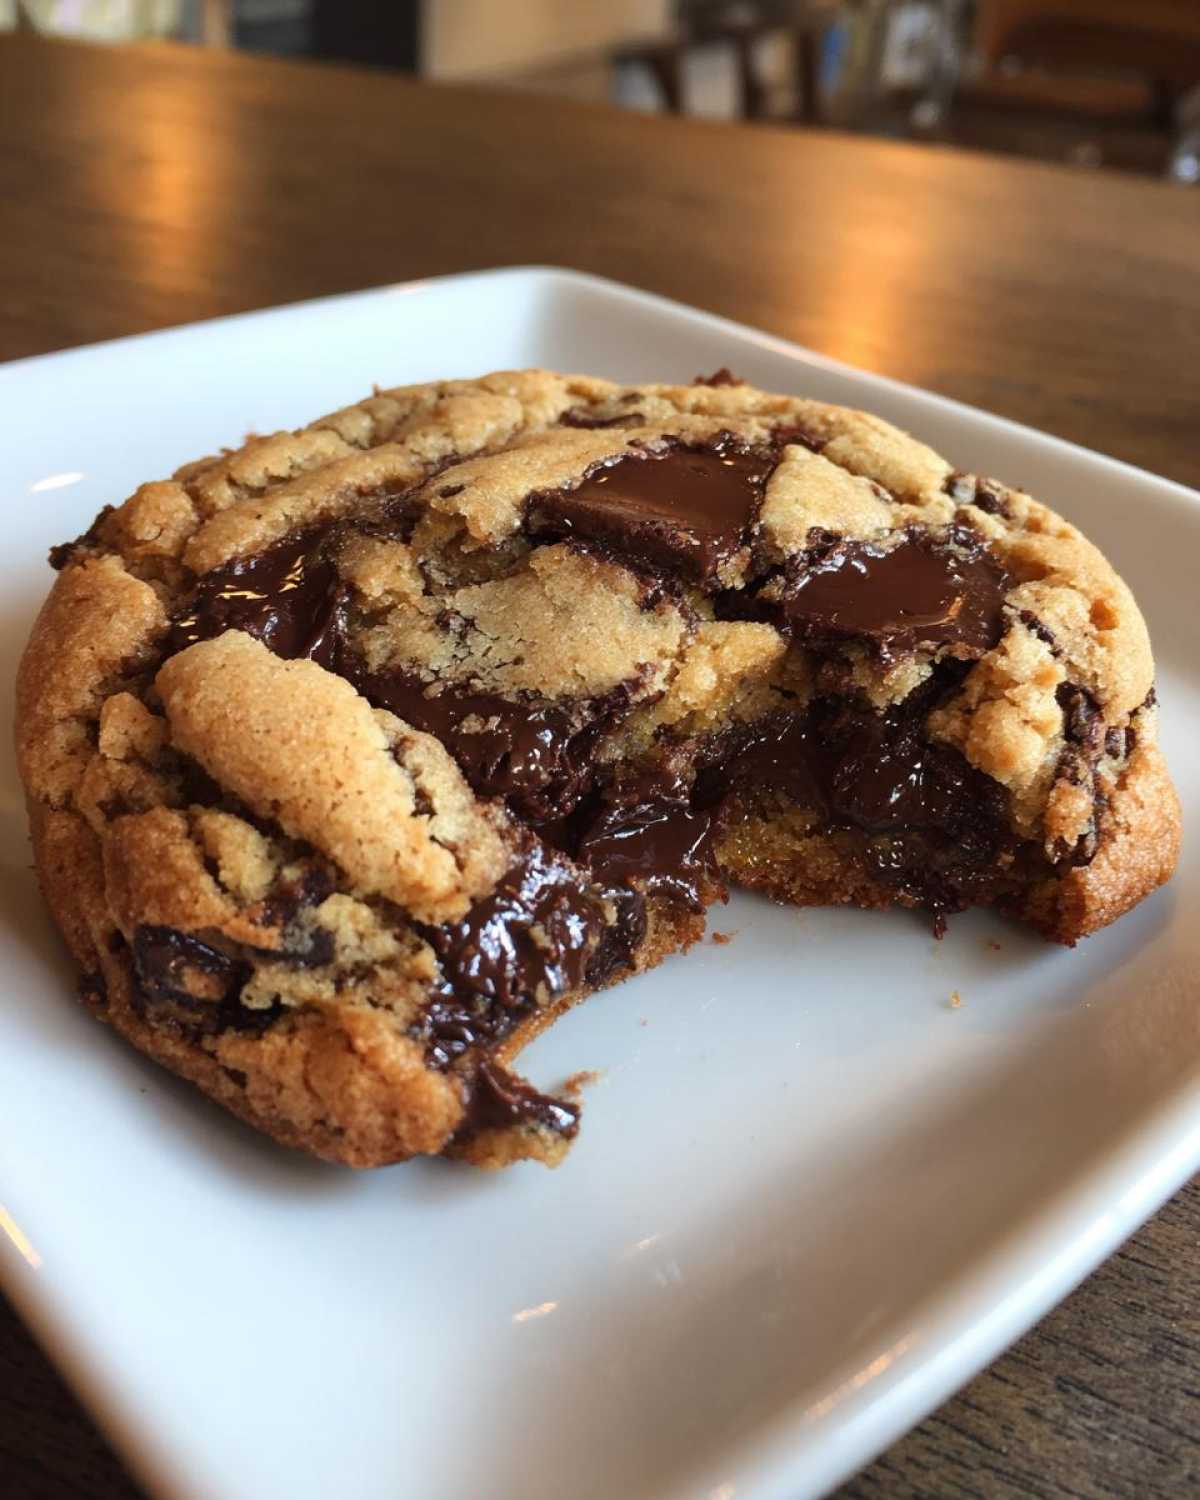
Is there anything more comforting, more universally loved, than a warm, perfect cookie? We spent what felt like forever trying to recreate those giant, thick, soft baked cookies you see in famous bakeries—you know the ones, with the crispy edges and that almost underbaked, gooey center? Well, friends, after countless batches (and maybe a few flour explosions in our kitchen!), Hannah and I finally nailed it for you. This isn’t just another recipe; this is the one that balances rich flavor with incredible texture to give you the ultimate soft and chewy chocolate chip cookie experience. We tested every variable, from ingredient temperature to how long we let the butter simmer, so you don’t have to. Promise us you’ll try this one!
Why This is Your New Favorite chocolate chip Cookie Recipe
I know, I know, everyone claims they have the “best” cookie recipe, but this one truly is different. We developed this as a totally foolproof cookie recipe because it delivers exactly what we craved every time. Forget flat, crispy disasters! Here’s why you’ll want to make this batch after batch:
- Perfectly balanced Crispy Edge Soft Center Cookies.
- Rich, complex flavor from just one simple technique.
- They are thick, chewy, and taste instantly premium.
The Secret to Soft Baked chocolate chip Cookies
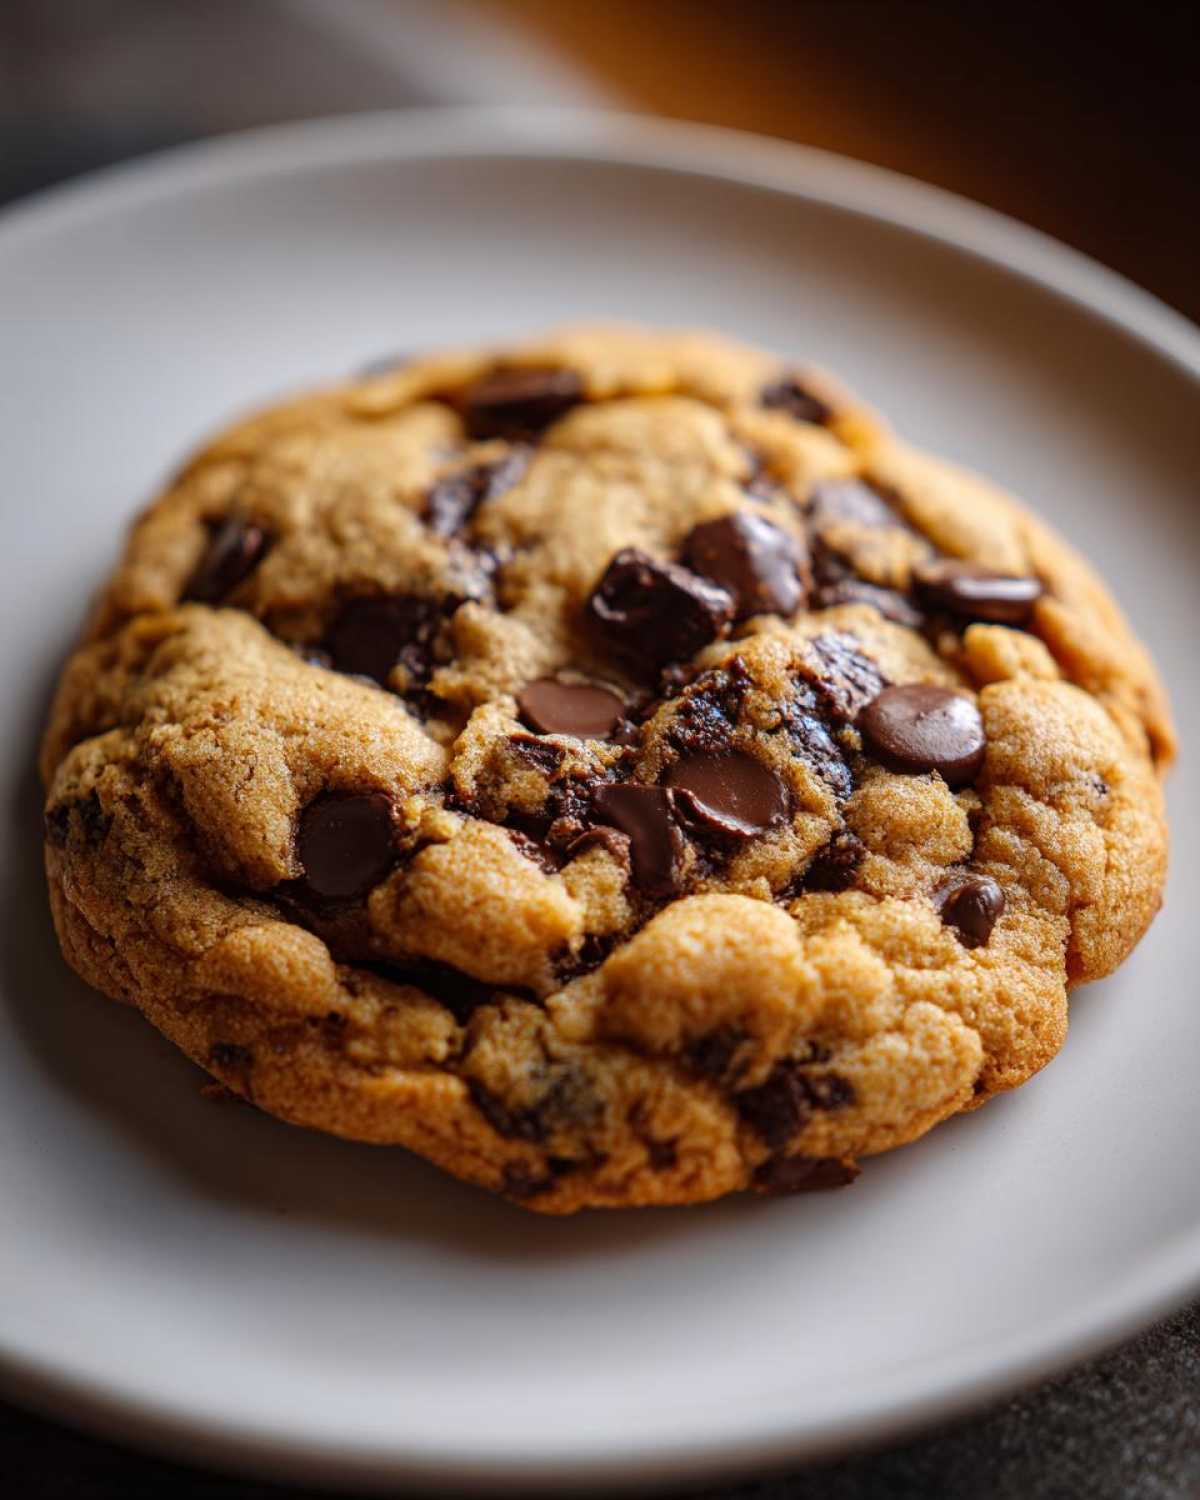
The main flavor powerhouse here is using browned butter. When Elias first suggested simmering the butter until it turned brown, I thought he was going to ruin our batter! But trust me, that nutty undertone adds a depth of flavor that makes these cookies taste like they came straight from that famous, high-end bakery display case. It’s a total game-changer for any soft baked chocolate chip cookie.
Gathering Ingredients for the Best chocolate chip Cookies
When you’re starting a recipe aiming for the absolute Best Chocolate Chip Cookies, you have to respect the ingredients. Elias is always telling me that the difference between good and unforgettable often comes down to the temperature of your eggs—room temperature eggs emulsify so much better into the sugars and fat, which you absolutely need for structure! We made sure everything in this list is essential for that perfect texture we talked about.
Ingredient Clarity and Preparation Notes
Here are the players for this team. Don’t skimp on the quality here; it truly makes a difference in the final chocolate chip flavor:
- 1 cup (2 sticks) unsalted butter, browned and cooled slightly (we’ve got a section coming up on this magic!)
- 1 cup packed light brown sugar
- 3/4 cup granulated sugar
- 2 large eggs, room temperature
- 1 tablespoon vanilla extract
- 2 1/4 cups all-purpose flour
- 1 teaspoon baking soda
- 1/2 teaspoon salt
- 1 1/2 cups semi-sweet chocolate chips (we use a mix of chips and chunks for texture variation!)
- Flaked sea salt, for topping (optional, but highly encouraged!)
Mastering the Browned Butter for Ultimate chocolate chip Flavor
Okay, this next part is why people pay way too much money at those fancy bakeries! Browning the butter isn’t hard, but you have to respect it. Elias spends ages perfecting this step because it completely transforms the flavor profile of our chocolate chip cookies. You start by melting your butter in a pale saucepan over medium heat. At first, it’ll foam up like crazy—that’s normal, don’t panic!
Keep whisking gently until the foam calms down. Then, you watch for the magic: tiny brown specks start appearing at the bottom of the pan, and the whole kitchen starts smelling nutty and deep. That’s the moisture boiling off and the milk solids caramelizing! This is also where you need to pay attention because it goes from perfect to burnt in about three seconds flat. Immediately pour that gorgeous liquid into a heatproof bowl to stop the cooking process. It needs to cool slightly before we mix it with the sugars, but wow, the flavor payoff is just unreal. You can learn a bit more about using browned butter in our brown butter blondies, too!
Step-by-Step Instructions for Gooey chocolate chip Cookies
Now for the fun part! We’re going to take all that amazing browned butter and turn it into the best chocolate chip dough you’ve ever seen. The key here is patience during the mixing phase to ensure we get those perfect, thick, Chewy Chocolate Chip Cookies. Remember what Elias always says: too much mixing equals tough cookies, and we absolutely do not want that! This method, which we detail in the cookies that always win bake sales section, is how we guarantee success.
First thing’s first: turn that oven up to 375\u00b0F (190\u00b0C). Get your baking sheets ready and line them with parchment paper. This stops sticking better than anything, making cleanup a breeze.
Mixing Wet and Dry Components for chocolate chip Dough
You’ve already whisked your brown sugar and the cooled browned butter until it looks pale—that’s great! Now, beat in those room-temperature eggs one at a time, mixing well after each one goes in, followed by that splash of vanilla. In a separate bowl, whisk your flour, baking soda, and salt together. When you combine them, add the dry mix to the wet mix slowly, mixing only on low speed until you see *just* combined. I mean it—when the flour streaks start disappearing, stop! Then, gently fold in those beautiful chocolate chips with a spatula. That’s how we keep the air we just beat in.
Baking and Finishing Your chocolate chip Masterpiece
Time to scoop! We use about 3 tablespoons of dough per cookie, making sure to place them at least 2 inches apart because these babies spread a little bit while baking. If you have the patience, chilling the dough for just 30 minutes makes them even thicker! Bake them for about 10 to 12 minutes. You’re looking for edges that are golden brown, but trust me, the middle should look slightly soft and underdone when you pull them out. Immediately sprinkle the tops with a tiny pinch of flaked sea salt if you’re using it. Let them sit right there on the hot pan for 5 minutes to finish setting before carefully moving them to a rack. They are totally worth the wait!
chocolate chip Cookie Secrets for Bakery Style Cookies
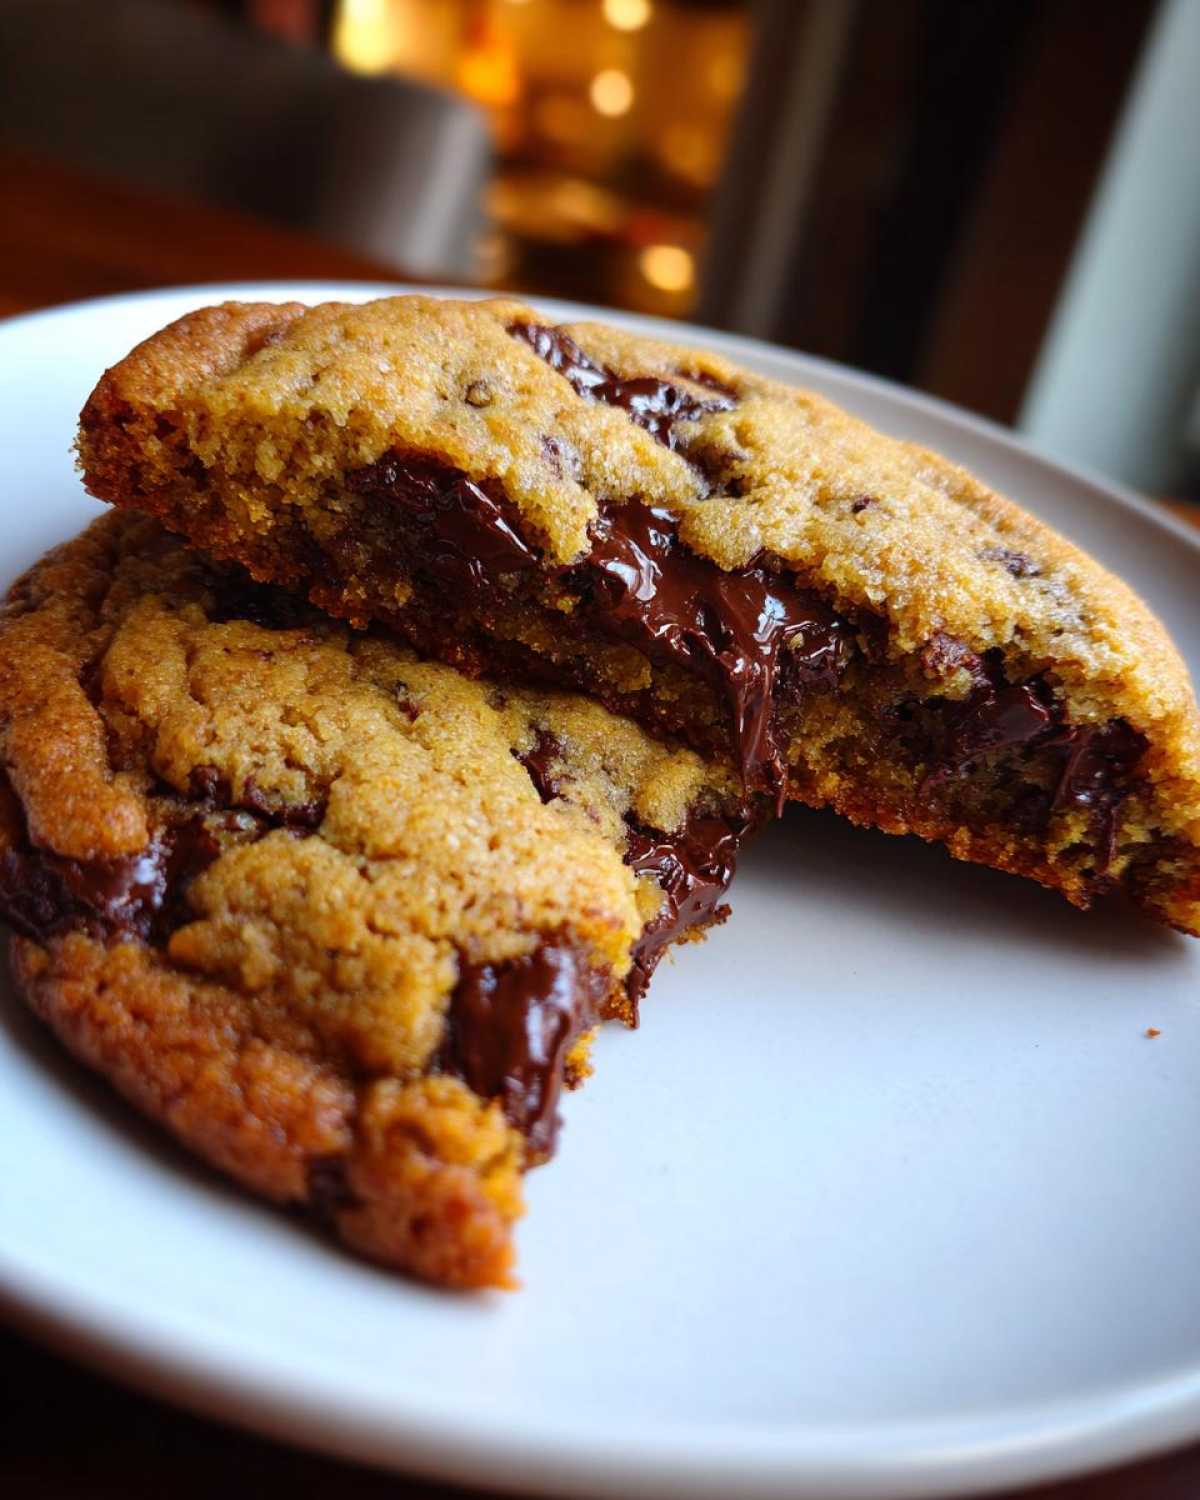
Okay, this is where we move from a good cookie to something truly spectacular—the stuff that makes people ask, “Wait, where did you buy these?” Achieving those amazing Bakery Style Cookies really boils down to two things we learned through trial and error. First, that browning the butter is crucial for flavor, but the second trick is all about temperature and time.
If you want that incredible chewy texture and that dense interior, you *have* to chill the dough. I know it’s torture when you want a cookie right now, but chilling the dough for at least 24 hours (up to 72 if you can manage it!) lets those flavors deepen unbelievably. It thickens the dough so the cookies don’t spread thin, giving you that beautiful height. Also, remember our baking cue: pull them when they still look a little too gooey in the center. They keep cooking on the hot pan, which sets that perfect, slightly gooey chocolate chip center that everyone fights over!
Equipment Needed for Perfect chocolate chip Baking
You don’t need a ton of fancy gear to get these cookies looking like they came out of a professional shop, but having the right tools on hand makes the process so much smoother. Honestly, the stand mixer is a lifesaver for creaming the butter and sugars properly, but if you don’t have one, a sturdy hand mixer or even a strong arm and a good wooden spoon will do the trick—just follow our creaming advice closely!
Here is the short list of things you’ll want pulled out before you start melting that butter. Think of this as setting up your perfect baking station:
- A saucepan for browning the butter (one with a light bottom helps you see the color change better!).
- A heatproof bowl to pour that browned butter into so it can cool down quickly without continuing to cook.
- Stand Mixer or Hand Mixer (or strong arms!)
- Measuring cups and spoons (accuracy matters here, especially with flour!).
- Two large mixing bowls for dry and wet ingredients.
- Parchment Paper! Seriously, don’t skip this. It ensures a clean release and the perfect bottom texture.
- A cookie scoop (a 3-tablespoon size is perfect for getting those thick, bakery-style results).
- A wire cooling rack.
Having these ready means you can move quickly through the steps once the butter is browned, which is key to keeping that beautiful, nutty flavor locked in.
Storage and Reheating chocolate chip Cookie Leftovers
If you actually manage to have any chocolate chip cookies left over—which is a miracle in our house—you’ll want to store them correctly to keep that soft, gooey center. Keep them in an airtight container. Seriously, make sure the seal is good! If they sit out on a plate for too long, they start drying out on the edges really fast.
If they’ve gotten a little firmer the next day, don’t toss them! Here’s my little trick: toss one (or two, let’s be honest) onto a microwave-safe plate and zap it for about 8 to 10 seconds. It brings back that melty, just-out-of-the-oven texture instantly. Just promise me you’ll eat it right away after that!
Frequently Asked Questions About Our chocolate chip Recipe
We’ve answered a few things that pop up all the time when we share this recipe with friends. Mostly, people want to know how to keep them soft or if they absolutely *have* to brown the butter! If you have another question after reading through, please head over to our contact page and send us a note—we love hearing from you!
Can I substitute the browned butter in this chocolate chip recipe?
Oh, I get why people ask this! Browning butter is one extra step, and sometimes you just need cookies *right now*. You absolutely can substitute it with 1 cup of regular, softened (not melted!) unsalted butter. However, I have to level with you: you are trading one of the best things about this recipe. The browned butter adds that deep, complex, toffee-like flavor that makes these cookies taste gourmet. If you use softened butter, you’ll still get wonderful Soft Baked chocolate chip Cookies, but they won’t have that signature nutty undertone.
How do I make these the ultimate Chewy Chocolate Chip Cookies?
If chewiness is your absolute main goal—and I totally get it, who doesn’t love that pull?—the secret isn’t really in the mixing process (we cover that above!); the real magic happens in waiting. For the absolute *ultimate* texture and the deepest flavor infusion, you need to chill the dough. We mentioned 30 minutes earlier is helpful, but for true, restaurant-quality chewy centers, try to chill the dough balls for at least 24 hours, and ideally up to 72 hours. It allows the flour to hydrate fully and concentrates the sugars. Trust me, that patience pays off big time in the final Chewy Chocolate Chip Cookies!
Find Your Next Flavor Vista
Hannah and I genuinely hope this batch of chocolate chip cookies makes your day a little bit sweeter! We poured all our kitchen love into making these perfect for you. If you give them a try, please leave a rating or drop a comment below to let us know how they turned out! We’d love to see your results over on our main blog page too!
PrintThe Ultimate Soft and Chewy Chocolate Chip Cookies
Follow this easy, foolproof recipe to make bakery-style chocolate chip cookies with soft, gooey centers and perfectly crisp edges. These are the best homemade cookies you will ever bake.
- Prep Time: 20 min
- Cook Time: 12 min
- Total Time: 32 min
- Yield: 18 large cookies
- Category: Dessert
- Method: Baking
- Cuisine: American
- Diet: Vegetarian
Ingredients
- 1 cup (2 sticks) unsalted butter, browned and cooled slightly
- 1 cup packed light brown sugar
- 3/4 cup granulated sugar
- 2 large eggs, room temperature
- 1 tablespoon vanilla extract
- 2 1/4 cups all-purpose flour
- 1 teaspoon baking soda
- 1/2 teaspoon salt
- 1 1/2 cups semi-sweet chocolate chips (or a mix of chips and chunks)
- Flaked sea salt, for topping (optional)
Instructions
- Brown the butter: Melt the butter in a saucepan over medium heat. Continue cooking, stirring often, until the butter foams, then brown bits form at the bottom and it smells nutty. Immediately pour into a heatproof bowl to cool for about 15 minutes.
- Preheat your oven to 375°F (190°C). Line baking sheets with parchment paper.
- In a large bowl, whisk together the cooled browned butter, brown sugar, and granulated sugar until smooth.
- Beat in the eggs one at a time, mixing well after each addition. Stir in the vanilla extract.
- In a separate medium bowl, whisk together the flour, baking soda, and salt.
- Gradually add the dry ingredients to the wet ingredients, mixing on low speed until just combined. Do not overmix.
- Fold in the chocolate chips using a spatula.
- Scoop dough into balls (about 3 tablespoons each) and place them 2 inches apart on the prepared baking sheets. For thicker cookies, chill the dough for at least 30 minutes before baking.
- Bake for 10 to 12 minutes, or until the edges are golden brown but the centers still look slightly underdone.
- Remove from the oven. Immediately sprinkle the tops with flaked sea salt, if using. Let the cookies cool on the baking sheet for 5 minutes before transferring them to a wire rack to cool completely.
Notes
- Browning the butter adds a deep, nutty flavor that makes these cookies taste like they came from a famous bakery.
- For the chewiest results, chill the dough for 24 to 72 hours before baking. This deepens the flavor.
- If you prefer a softer cookie, slightly underbake them; they will set up as they cool.
Nutrition
- Serving Size: 1 cookie
- Calories: 250
- Sugar: 20g
- Sodium: 150mg
- Fat: 14g
- Saturated Fat: 8g
- Unsaturated Fat: 6g
- Trans Fat: 0g
- Carbohydrates: 30g
- Fiber: 1g
- Protein: 3g
- Cholesterol: 45mg