

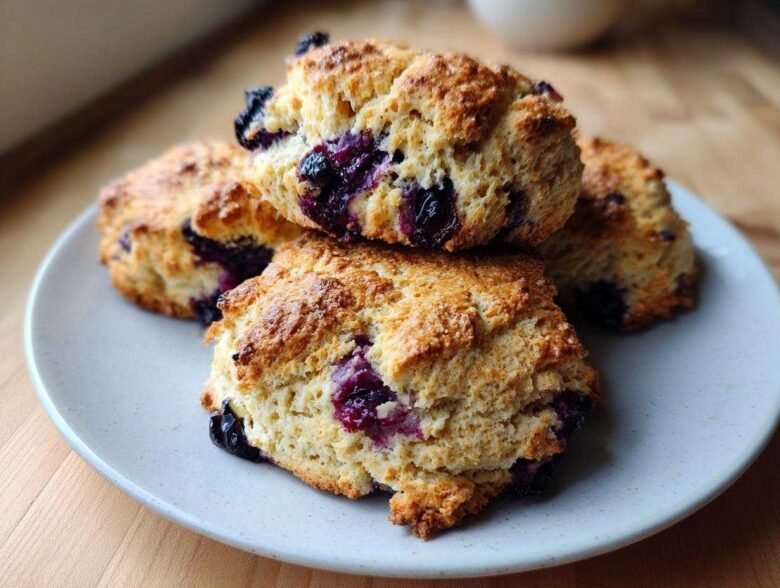
Oh, my goodness, let’s talk about breakfast pastries that actually feel special! I used to dread making scones because, let’s be honest, most recipes yield something dry—like biting into a slightly sweet brick. Totally disappointing, right? I wasted so much butter trying to fix dense, sad scones until I cracked the code.
This recipe for Blueberry Scones is a total game-changer. I’m telling you, these are the most tender, flaky scones you will ever make in your own kitchen. We are talking that perfect bakery-style crumb you usually only find in fancy cafes, but achievable even if you’re just starting out. If you want that light, buttery texture that just melts, stick with me—we aren’t messing around!
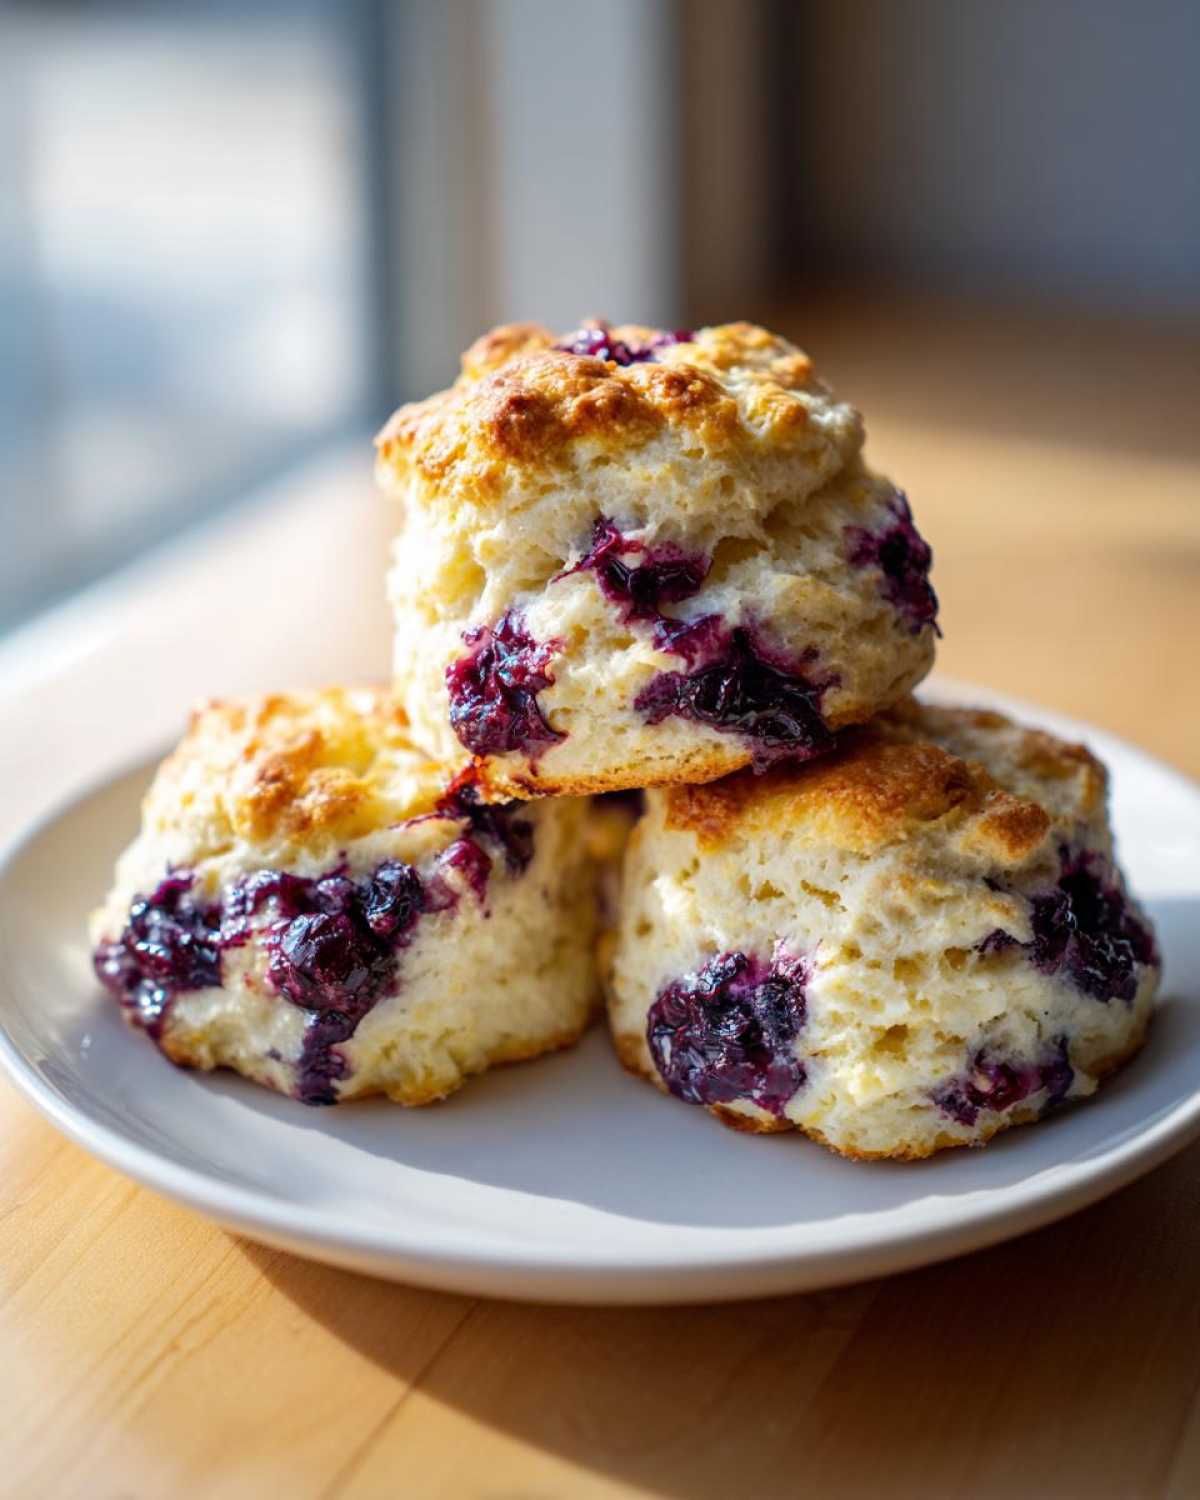
Why This is the Best Blueberry Scone Recipe (Fluffy Homemade Scones Recipe)
Honestly, I wouldn’t share this online if it wasn’t the absolute truth. This is my go-to, guaranteed success for whenever I need a stunning breakfast or afternoon treat. Forget those hard, chalky versions you’ve had before. This method ensures flakiness every single time.
- It’s easy! Seriously, if you can cut butter into flour, you can handle this recipe.
- Unbeatable texture: These are the flakiest, most tender blueberry scones you’ll ever bake.
- The berries stay put! We use a little trick to stop them from sinking to the bottom.
- If you’re looking for the Best blueberry scone recipe out there, this is it. You get genuinely Fluffy homemade scones recipe vibes right out of your home oven.
Ingredients for Tender Blueberry Scones from Scratch
Listen, the secret to those dreamy, flaky layers starts right here at the ingredient list. You must remember one thing above all else: COLD! Everything that touches the dry mix needs to be straight from the fridge or freezer. I mean it! Even five extra minutes sitting on the counter can ruin the structure we are working so hard to build for these tender blueberry scones from scratch.
Here’s what you need for a perfect batch of eight scones:
- 2 cups all-purpose flour – the trusty base!
- 1/4 cup granulated sugar plus 1 extra tablespoon just for sprinkling on top later.
- 1 tablespoon baking powder – that’s what gives us that heavenly lift.
- 1/2 teaspoon salt to balance the sweetness.
- 6 tablespoons cold unsalted butter, cut into small cubes – make sure those cubes are small!
- 1 cup fresh or frozen blueberries – we’ve got a trick for keeping them perfect later!
- 1 large egg, whisked up.
- 1/2 cup heavy cream – keep this seriously chilled!
- 1 teaspoon vanilla extract for a warm background note.
Mastering the Technique: How to Make Classic Blueberry Scones
Okay, this is where the magic happens, but also where most people get nervous. Don’t be! The key to getting those amazing layers isn’t brute force; it’s speed and temperature control. We are using baking techniques that basically guarantee you get that stunning, flaky texture that’s the hallmark of amazing baking techniques for scones. Follow these phases closely, and you won’t go wrong.
Preparing Dry Ingredients and Cutting in Butter for Blueberry Scones
First up, get your oven screaming hot—we need 400°F blasting away! Then, grab your large bowl and whisk together the flour, sugar, baking powder, and salt. Now for the butter. You need those cold cubes in there. Use a pastry blender if you have one, or just use your fingertips—work fast! You want that mixture to look like coarse crumbs, with some bigger, pea-sized chunks of butter still visible. Those chunks are what melt in the oven and create the steam pockets for flakiness. If your hands are warm, run them under cold water first!
Mixing Wet Ingredients and Combining for Perfect Blueberry Scones
While you’re working the butter, quickly whisk your egg, heavy cream, and vanilla in a separate little bowl. Once that’s done, gently toss your blueberries—whether fresh or frozen—with just one tablespoon of your flour mix. This coating is essential, trust me; it stops them from sinking to the bottom of your pan! Now, pour all the wet stuff into the dry mix. Use a fork to stir until it *just* comes together. I mean it: stop mixing when you still see dry streaks! A slight shaggy mess is exactly what we want for tender scone recipe tips and tricks.
Shaping, Cutting, and Topping Your Blueberry Scones
Turn that shaggy dough out onto a lightly floured surface. Pat it gently—no excessive kneading allowed, please! You’re aiming for a nice, even circle or rectangle, about 3/4 of an inch thick. Then, cut it into 8 neat wedges, like cutting a pizza. Now, place them on your paper-lined sheet. Brush the tops with a tiny bit more cream and sprinkle that reserved tablespoon of sugar right over them. That sprinkle is what gives your finished Blueberry Scones that irresistible, slightly crunchy bakery finish!
Baking Times and Temperatures for Golden Blueberry Scones
Now that we’ve treated the dough right, we need the heat treatment to be spot on. Remember I told you to preheat the oven earlier? Don’t check it now—make sure it’s hit a steady 400 degrees Fahrenheit (or 200 Celsius if you use Celsius measurements). A nice, hot oven helps the outside structure set quickly, trapping all that creamy interior. I actually kept my oven thermometer on the counter nearby because checking the heat is key to getting that great rise. You see, getting those baking details right is just as important as mixing well—it’s why I always check out other reliable recipes, like the tips on easy weeknight bolognese sauce recipe, just to remind myself about precise temperatures!
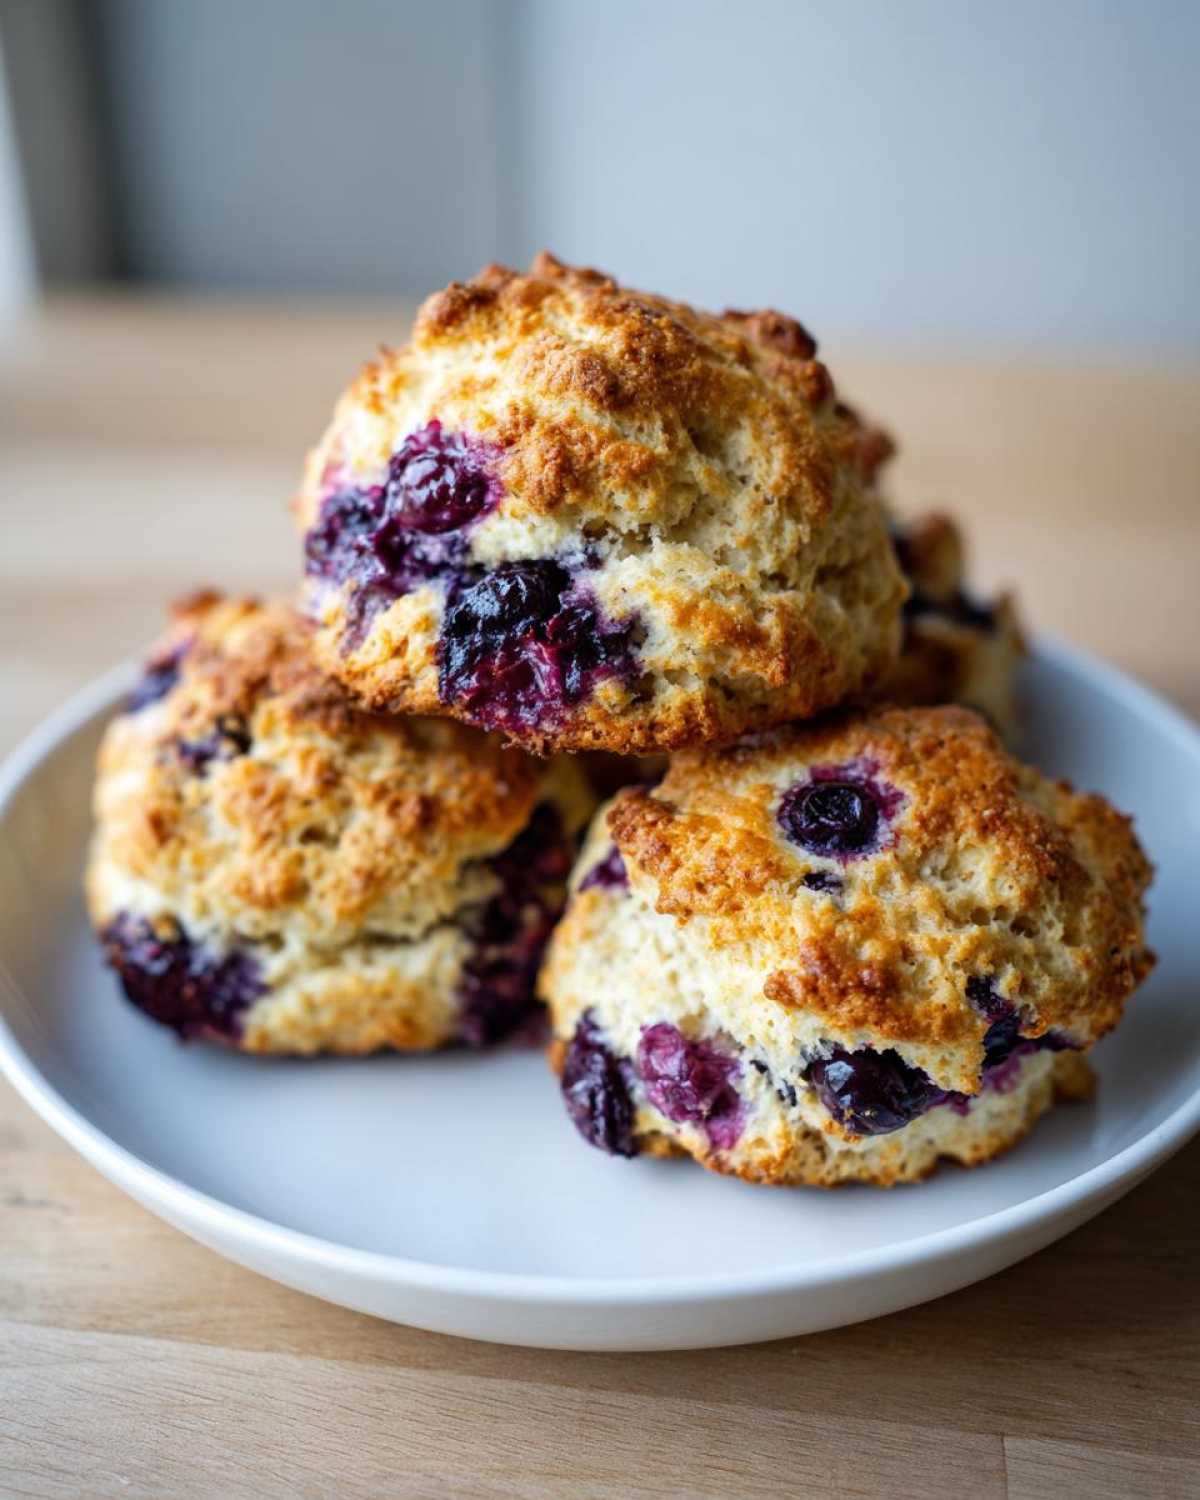
Place those beauties on the parchment-lined sheet and put them straight in. They usually bake for about 15 to 18 minutes. You’ll know they are ready when the tops are beautifully golden brown—not pale, but richly colored. Give a quick toothpick test right in the center of one; it should come out clean or with just a few moist crumbs attached. You’re aiming for perfection here, not dried-out biscuit land! If they look done but feel heavy, give them two more minutes. Don’t move them until they’ve had a few minutes on the tray.
Scone Recipe Tips and Tricks for Bakery Style Scones
I’ve learned these lessons the hard way through trial and error, so please learn from my mistakes! Achieving that Perfect bakery style scones look requires paying attention to a few critical failure points. My biggest early mistake? Letting my butter soften while I prepped the bowl. Trust me, you want that butter almost frozen! If your scones are turning out dense instead of flaky, it almost always comes down to warm ingredients or overmixing the dough.
To make sure you nail these Scone recipe tips and tricks, keep these points tucked in your mind:
- Density Problem: If your scones are too hard or dense, you mixed them too much! Stop stirring the moment the flour disappears. A shaggy, barely-together dough bakes up soft, not tough.
- Berry Bleeding: We coated the blueberries in flour, which is step one. If you are still seeing that ugly purple color everywhere, it means you squeezed or mashed the berries while mixing them in. Be *gentle*!
- Dryness Disaster: This points directly back to the coldness rule. If the butter melts before it hits the oven, you get a cookie texture, not a scone. Keep that cream and butter icy cold right up until they enter the dry mix.
Follow these pointers, and you’ll avoid all the common pitfalls for truly stellar results.
Blueberry Scones Variations and Scone Glaze Ideas
Once you master the classic, tender biscuit base, you just have to start playing around! I love getting creative with these, though honestly, they are perfect with just that sprinkle of sugar on top. Since the recipe notes mention lemon zest, you absolutely should try that next time—it brightens up the sweetness of the berries beautifully. Just toss a teaspoon of fresh zest right in with your dry ingredients!
Another fun variation is using raspberries instead of blueberries if you have some on hand. I’ve even tried crushing a little dried rosemary into the sugar crust for a savory twist, which pairs shockingly well with sweet tea. But if you want that true cafe look, you need a drizzle!
Simple Lemon Glaze Ideas for Blueberry Scones
To make the easiest, prettiest glaze, you only need two things! In a small bowl, mix about a cup of powdered sugar with just enough fresh lemon juice—start with a tablespoon—until you get a lovely drizzle consistency. You want it thick enough to cling to the scone but thin enough to drip invitingly down the sides. If it gets too thin, add a bit more sugar. Dribble this right over the scones once they are completely cool. Paired with the recipe you can find here for vanilla buttercream frosting, you’ve got a full weekend pastry menu planned!
Storage and Reheating Instructions for Blueberry Scones
Since we worked so hard to get that perfect, tender texture in these tender blueberry scones from scratch, we need to store them correctly so they don’t dry out overnight. If you happen to have any leftovers—which is rare in my house!—the best way to keep them fresh is to store them in an airtight container at room temperature. They’ll stay wonderfully soft like this for about two days. Don’t refrigerate them! Seriously, the fridge turns scones hard faster than anything else.
If you are finding they are sitting around for three or four days, you can freeze them! Wrap individual scones tightly in plastic wrap, and then pop them into a freezer-safe bag. They freeze beautifully for up to a month. When you want one, just pull it out and let it thaw on the counter for about an hour.
Now, for reheating—this brings them right back to that just-out-of-the-oven experience. If they are room temperature, just pop them in a toaster oven or a regular oven at about 300 degrees Fahrenheit for about five minutes. This warms the butter inside just enough to make them taste fresh and flaky again. If they were frozen, they might need closer to ten minutes. Resist the urge to zap them in the microwave, though! Microwaves are the enemy of the flaky scone because they steam the outside, making them tough instantly.
Frequently Asked Questions About Blueberry Scones
I know that when you’re ready to bake, you just want answers right now! I’ve tried every variation under the sun with this recipe, so let’s clear up any last-minute concerns you might have about making the *Best blueberry scone recipe* a guaranteed success. Finding quick answers, like details on substitutions, means you can get these easy breakfast pastry recipes into the oven faster!
Can I use frozen blueberries in this Blueberry Scones recipe?
Yes, absolutely! You totally can, and sometimes I even prefer them because they are so perfectly chilled. The most important thing is *not* to thaw them first. Use them straight from the freezer. We toss them with a little bit of flour before adding them to the dough. That light dusty coating is key; it keeps the berries from getting mushy and stops their color from bleeding all over your beautiful pale dough.
What if I don’t have buttermilk for my scones?
Oh, that’s a common kitchen emergency! Don’t run to the store! We are using heavy cream here, so we don’t strictly *need* buttermilk, which makes this recipe great for avoiding specialty dairy runs. But if you wanted to substitute the heavy cream with regular milk, you would definitely want the tang of buttermilk. If you’re stuck and wondering about Blueberry scones without buttermilk being an issue, here’s the fix: take regular milk, add one tablespoon of white vinegar or lemon juice to it, stir it once, and let it sit for five minutes. It sours up right then and there, and you can use that as your substitute for the cream!
Why do my scones taste a bit dense instead of tender?
Nine times out of ten, density is caused by one of two things. First, you overmixed the batter—stop stirring as soon as the flour disappears! Second, your butter wasn’t cold enough. If the butter melts before it hits the oven heat, you lose the steam pockets needed for that light, flaky lift. Keep everything chilled up until the absolute last second!
Estimated Nutritional Data for Blueberry Scones
Okay, now this part is tricky when you’re talking about homemade treats like these beautiful tender blueberry scones from scratch. Since I don’t always measure my butter down to the microgram, and I know you might swap out the sugar for honey or use slightly different sized eggs, the numbers can wiggle around quite a bit.
I always like to be upfront about this: please consider any nutritional data you see online—including anything I might try to calculate—as a very general estimate only. What definitely matters is that you used high-quality butter and fresh ingredients! For the most accurate information, you’d need to input the exact brands and weights you use into a reliable nutrition calculator. For now, just know that these are rich, buttery, and worth every single bite, as noted clearly on my disclaimer page. Enjoy the joy of baking, not just the math!
PrintClassic Tender Blueberry Scones

Follow these steps to make tender, flaky blueberry scones with a light crumb. This recipe includes tips for preventing sinking berries and achieving a bakery-style texture.
- Prep Time: 15 min
- Cook Time: 18 min
- Total Time: 33 min
- Yield: 8 servings
- Category: Breakfast
- Method: Baking
- Cuisine: American
- Diet: Vegetarian
Ingredients
- 2 cups all-purpose flour
- 1/4 cup granulated sugar plus 1 tablespoon for sprinkling
- 1 tablespoon baking powder
- 1/2 teaspoon salt
- 6 tablespoons cold unsalted butter, cut into small cubes
- 1 cup fresh or frozen blueberries
- 1 large egg
- 1/2 cup heavy cream
- 1 teaspoon vanilla extract
Instructions
- Preheat your oven to 400 degrees Fahrenheit (200 degrees Celsius). Line a baking sheet with parchment paper.
- In a large bowl, whisk together the flour, 1/4 cup sugar, baking powder, and salt.
- Cut in the cold butter using a pastry blender or your fingertips until the mixture resembles coarse crumbs with some pea-sized pieces of butter remaining.
- If using frozen blueberries, do not thaw them. Gently toss the blueberries with 1 tablespoon of the flour mixture to coat them; this helps prevent sinking. Add the coated blueberries to the flour mixture and toss lightly to distribute.
- In a separate small bowl, whisk together the egg, heavy cream, and vanilla extract.
- Pour the wet ingredients into the dry ingredients. Use a fork to mix until just combined. Do not overmix; the dough will look shaggy.
- Turn the dough out onto a lightly floured surface. Gently pat the dough into a 3/4-inch thick circle or rectangle.
- Cut the dough into 8 wedges or use a round cutter. Place the scones on the prepared baking sheet, leaving about 1 inch between them.
- Brush the tops lightly with a little extra heavy cream or milk, then sprinkle evenly with the remaining 1 tablespoon of sugar.
- Bake for 15 to 18 minutes, or until the tops are golden brown and a toothpick inserted into the center comes out clean.
- Transfer the scones to a wire rack to cool slightly before serving.
Notes
- For the best texture, keep all ingredients, especially the butter and cream, very cold.
- If you want a lemon flavor, add 1 teaspoon of lemon zest to the dry ingredients and use a lemon glaze instead of plain sugar topping.
- To prevent color bleeding from the blueberries, avoid crushing them when mixing them into the dough.
Nutrition
- Serving Size: 1 scone
- Calories: 310
- Sugar: 10
- Sodium: 250
- Fat: 17
- Saturated Fat: 10
- Unsaturated Fat: 7
- Trans Fat: 0
- Carbohydrates: 34
- Fiber: 1
- Protein: 5
- Cholesterol: 65