

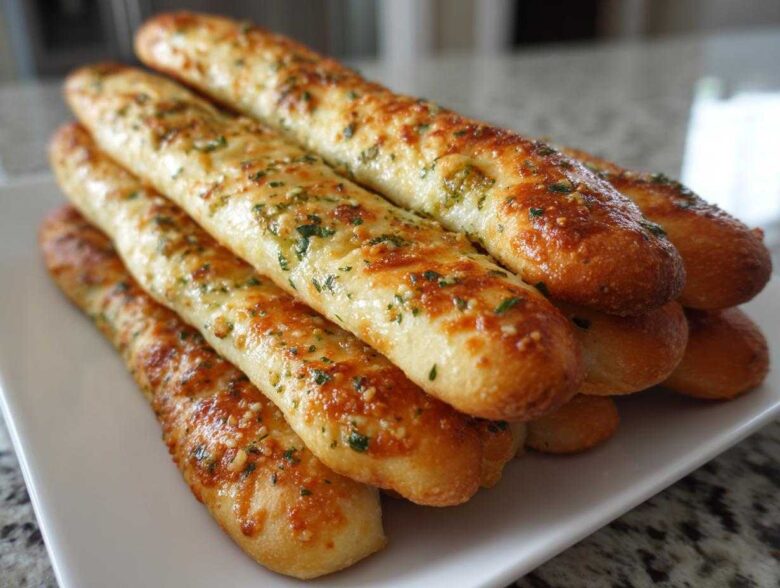
Oh, I know that craving. You’re eating dinner, maybe you’ve got a big pot of pasta simmering, and suddenly all you can think about is those warm, unbelievably soft, buttery breadsticks dipped in marinara. Elias and I fought over restaurant versions for years, trying to figure out how they get that perfect, slightly chewy texture without being tough. Well, stop dreaming! Today, I’m sharing our absolute favorite, ultimate recipe for the best homemade breadsticks you will ever make. Trust me, these Olive Garden Breadsticks Copycat favorites are shockingly easy. Making bakery-soft breadsticks at home is such a joy; it fills the whole house with the best garlic aroma! I often think about how we built our little Flavor Vista on simple meals just like this one.
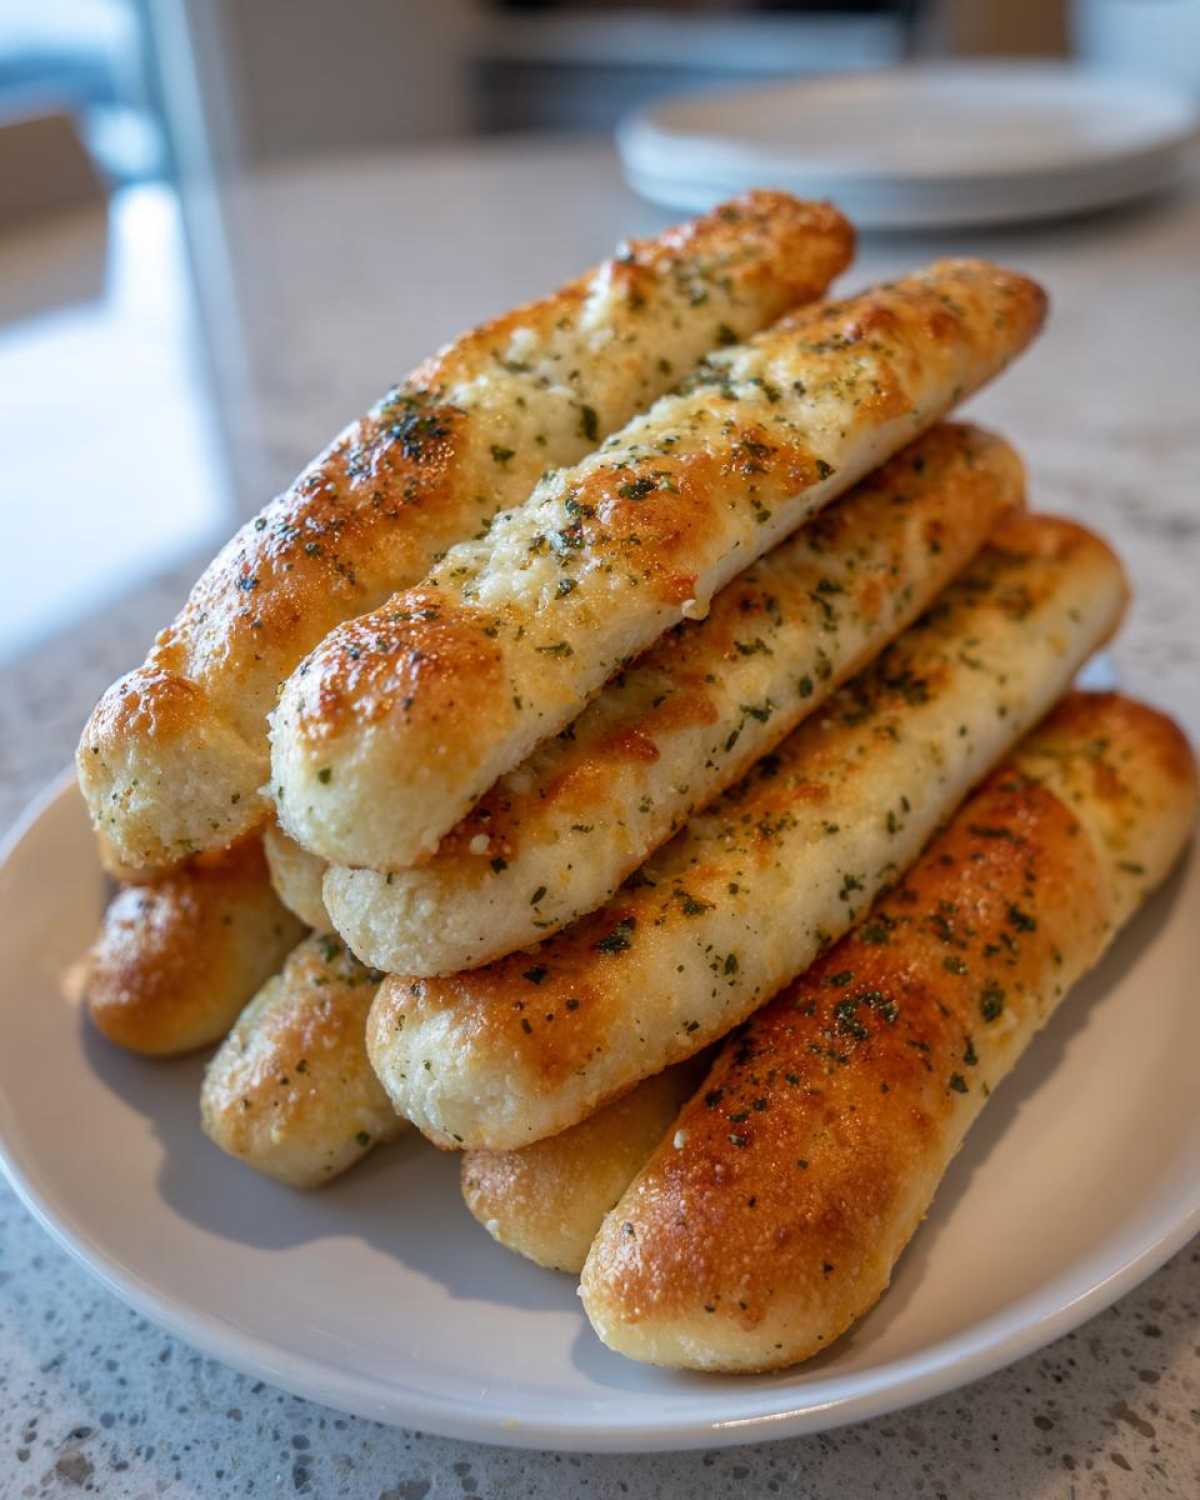
Why You Will Love These Soft & Chewy Breadsticks
We cracked the code on achieving that famous restaurant texture right here in our own kitchen. You’re going to obsess over how simple these are to pull off:
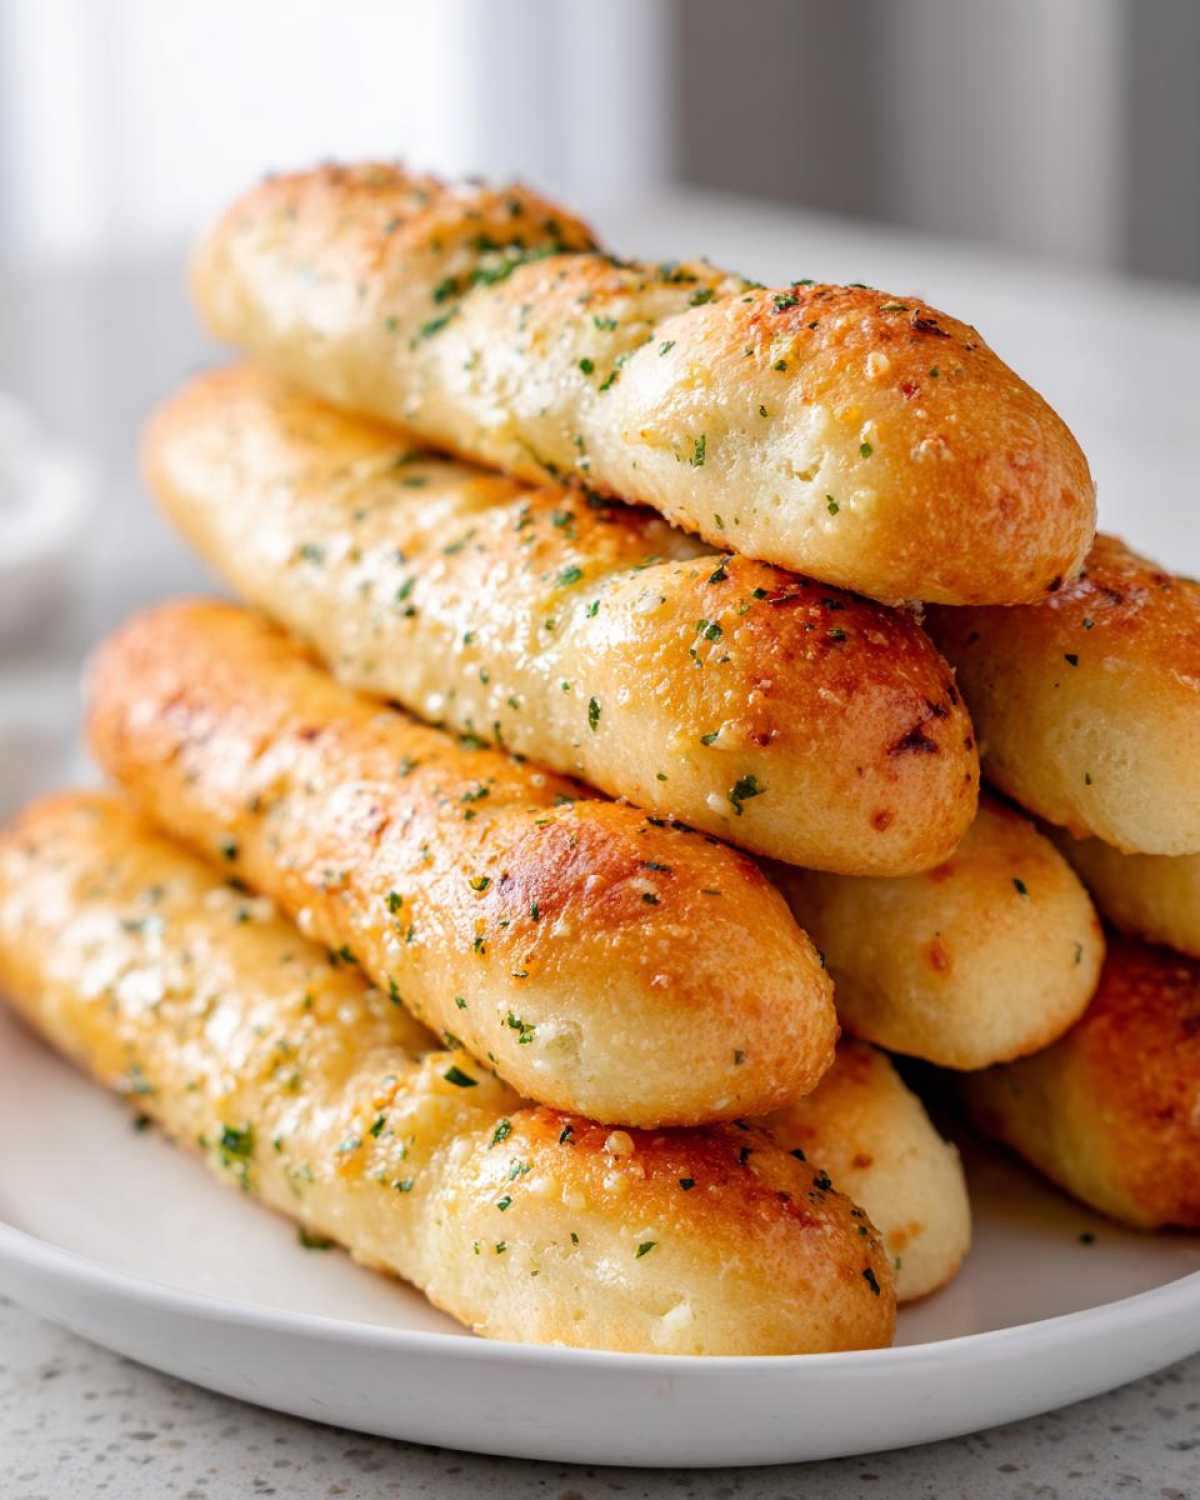
- They are incredibly soft breadsticks—light, fluffy on the inside, and never dry.
- The garlic butter topping is pure magic; it delivers that savory punch of garlic and Parmesan you crave.
- This is truly an Easy Breadsticks recipe. If you can make a simple yeast dough, you can master these!
- The slightly chewy breadsticks texture guarantees they hold up perfectly for dipping.
The Ultimate Ingredients for Perfect Breadsticks
When you’re chasing that perfect restaurant-style taste, you absolutely have to nail the ingredients. Don’t even *think* about using lukewarm water or dried-out spices here—it makes all the difference! I lay everything out on the counter beforehand so I can see exactly what we’re working with. The dough needs fat and moisture, and the topping needs that sharp, savory punch. We separate the butter for the dough from the butter we use for brushing later; that second application is key to that wonderful, buttery finish.
For the Homemade Dough Recipe
We start by waking up the yeast properly. This is crucial for getting those light, airy pockets later on. Make sure your water hits that sweet spot between too cold and too hot—about 110°F is perfect for activating the yeast. If it’s too hot, you kill it, and then we just have sad, flat dough. Oops!
- 1 1/2 cups warm water (about 110°F)
- 2 1/4 teaspoons active dry yeast
- 2 tablespoons granulated sugar
- 4 cups all-purpose flour, plus more for dusting
- 1 teaspoon salt
- 1/4 cup unsalted butter, melted (for dough)
For the Garlic Parmesan Breadsticks Topping
This is where we transform simple dough into something legendary! You must use fresh garlic here; none of that jarred stuff if you can help it. That fresh garlic, combined with good Parmesan, is what makes these taste like the best homemade breadsticks on the block. The flavor complexity is unbeatable.
- 1/2 cup unsalted butter, melted (for topping)
- 4 cloves garlic, minced
- 1 teaspoon dried Italian seasoning
- 1/2 teaspoon salt (for topping)
- 1/4 cup grated Parmesan cheese
How to Make Olive Garden Breadsticks Copycat: Step-by-Step Instructions
It’s time to put the ingredients to work! Don’t be intimidated by the dough—we’re walking through every step to make sure your breadsticks come out perfectly soft and chewy every single time. We want that classic restaurant texture, and we get it by respecting the yeast and the rise time. Follow these steps carefully, and you’ll have a basket of warm treats ready before you know it. If you want to see how we handle slow-cooked meals, check out Elias’s easy crockpot steak bites recipe, but for now, let’s focus on carbs!
Activating Yeast and Mixing the Breadsticks Dough
First up, we give the yeast its wake-up call! Combine the warm water, sugar, and active dry yeast right in a big bowl. We let this sit for about ten minutes. You’re looking for true foam—a nice, bubbly cap on top. If it gets foamy, your yeast is happy and ready to work its magic! Then, we just mix in the melted butter, flour, and salt until it looks rough, which we usually call a ‘shaggy dough.’ Don’t overmix it yet!
Kneading and Allowing the Homemade Breadsticks Dough to Rise
Now, turn that shaggy mess out onto a floured surface. This is where Elias usually takes over; he has the steadiest hands for kneading! You need to work the dough for about five to seven minutes until it feels amazingly smooth and springs back when you poke it—that means it’s elastic. Pop it into an oiled bowl, cover it tight, and find it a wonderfully warm spot. If our kitchen is chilly, I just turn the oven light on (but don’t turn the oven on!) and put the bowl inside. Let it double—it usually takes 60 to 90 minutes for that first big rise.
Shaping and Baking Your Soft Breadsticks
Once doubled, give the dough a gentle punch—all that trapped air needs to escape! Divide it in half, and roll each piece out into a thin rectangle, maybe a half-inch thick is good. Cut those strips about an inch wide. I like to let the strips rest on the baking sheet for about 15 minutes while the oven gets to 400°F (200°C). That little rest helps them puff up beautifully when they hit the heat. Bake them for about 10 to 14 minutes until they hit that perfect pale golden color. You can check out more tips on achieving real restaurant style breadsticks over here!
Applying the Garlic Parmesan Breadsticks Coating
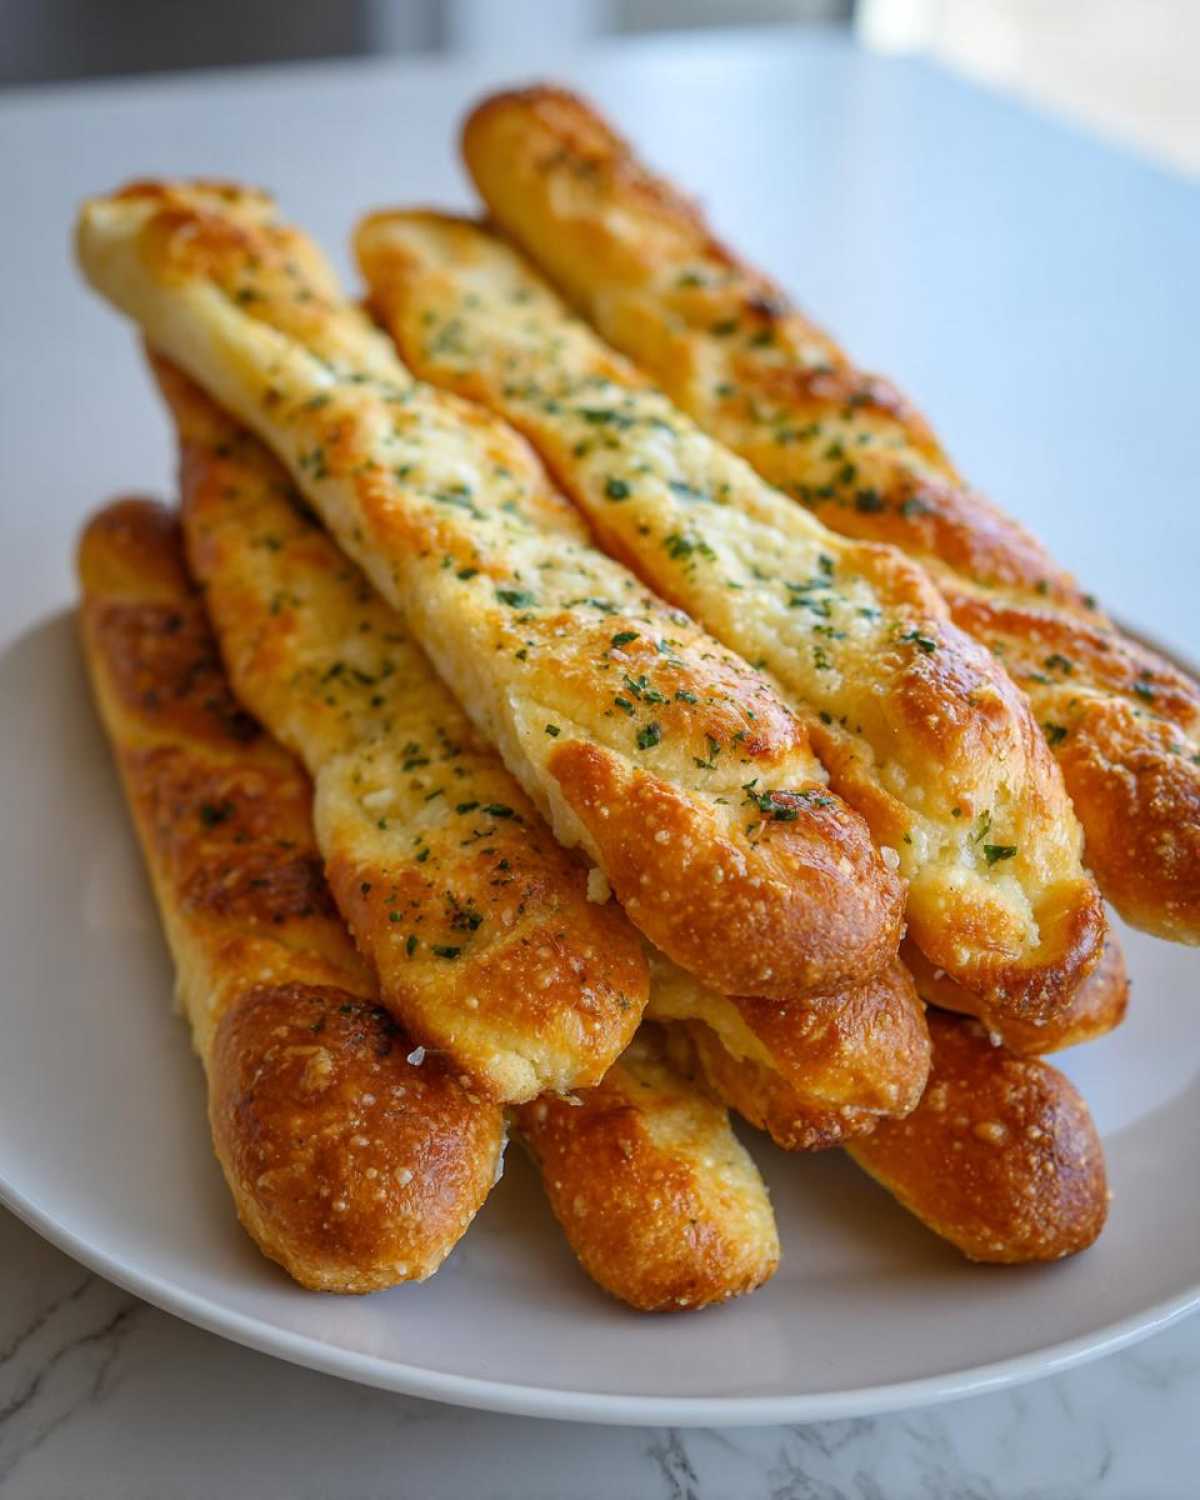
This step is non-negotiable! The second those hot breadsticks hit the cooling rack, they have to be drowned in the garlic butter mixture. Seriously, work fast. Melt that second batch of butter, whisk in your minced garlic, seasoning, and salt. Brushing it on immediately traps the steam inside the dough, which is the secret to keeping them so soft for hours afterward. Finish with a generous shower of grated Parmesan, and they’re done! Toss them quickly to coat everything evenly, and get them to the table!
Tips for Achieving Restaurant Style Breadsticks Texture
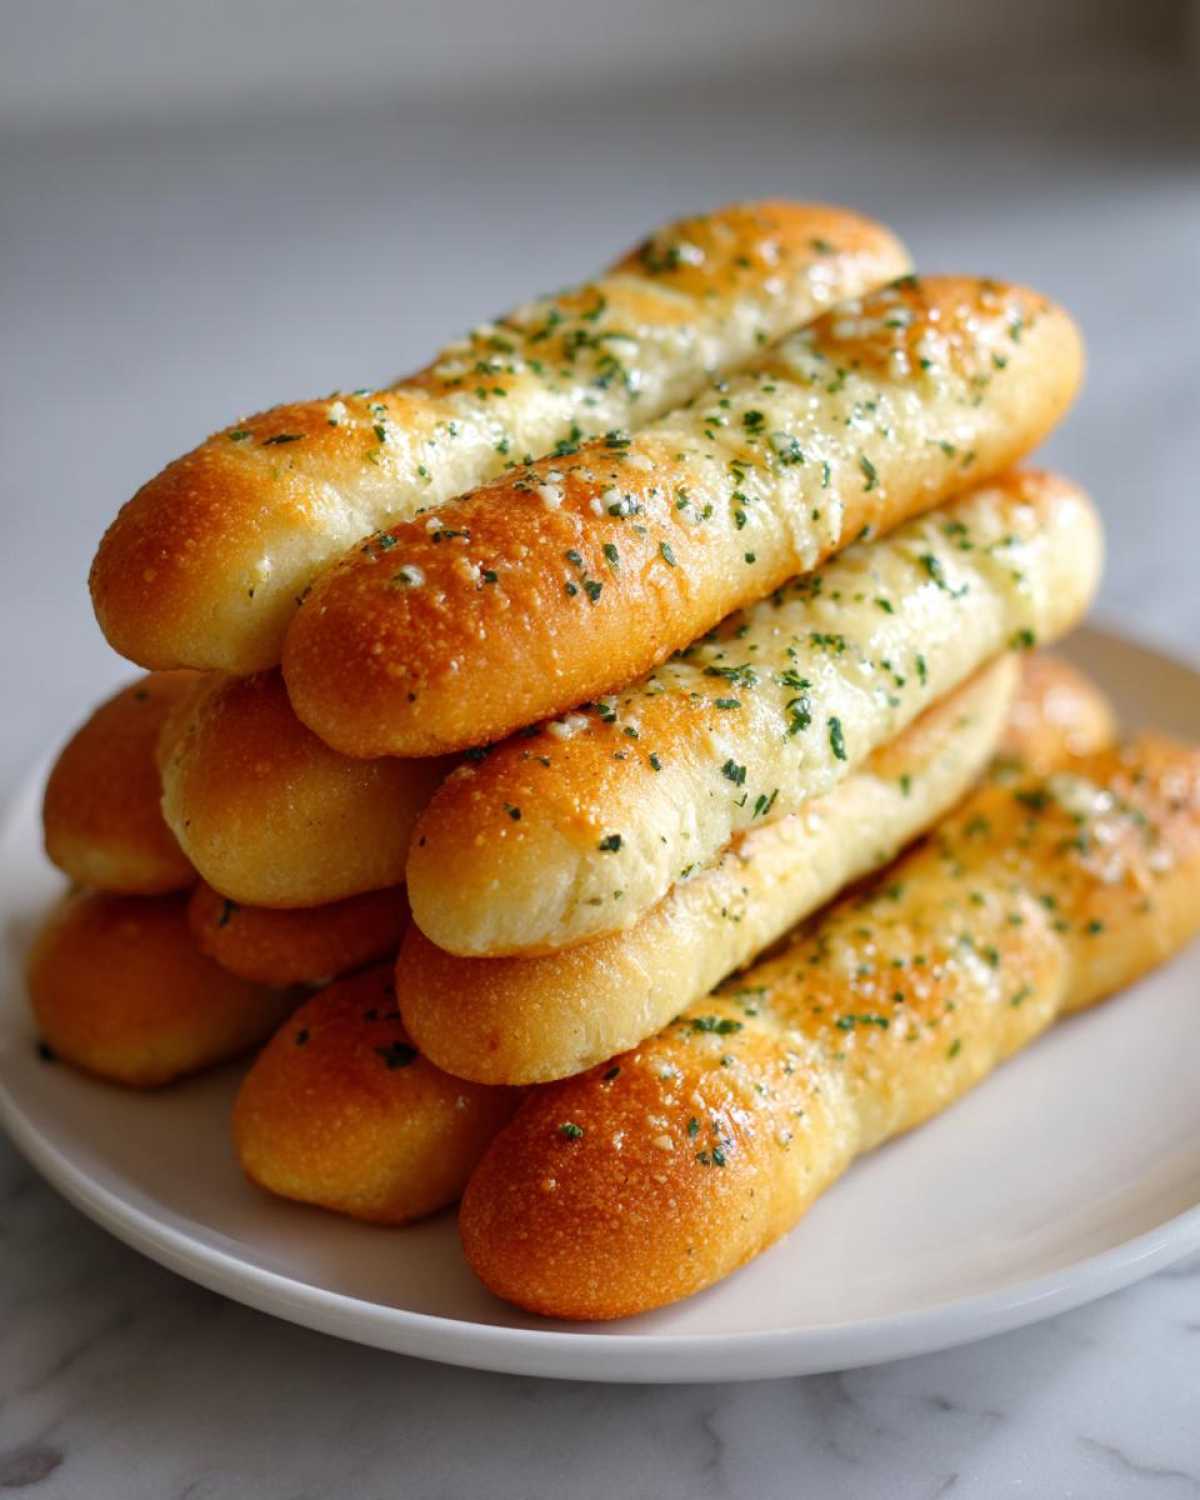
Listen, we’ve all pulled a bad batch out of the oven—maybe they looked great but turned out dry, or perhaps they were dense little bricks instead of the fluffy cushions we wanted. The difference between a good dinner side dish bread and a *great* one is all about execution, not magic ingredients. If your dough seems too stiff when you mix it up, don’t panic! That’s a sign you might need a tablespoon more water. Remember, we are going for soft and chewy breadsticks, so a slightly tacky dough that you need to work with on the counter is much better than one that’s stiff right out of the bowl.
Another massive texture hack? Don’t over-bake them! I know we want them golden brown, but these cook fast in a hot oven. Pull them the second they start turning light brown on the edges. The steam trapped inside, locked in by that glorious garlic butter bath we pour over them immediately, will finish cooking the interior perfectly. Remember that if you’re looking for other incredible baked goods, my recipe for moist coffee cake also relies heavily on not over-baking the center. For more insight on getting that perfect chewiness, check out the tips over at Kristine’s Kitchen, too!
Variations: Making Cheesy Breadsticks or Mozzarella Breadsticks
Okay, I know the standard garlic butter is amazing, but sometimes, you absolutely need that gooey, pull-apart factor that only cheese can bring! If you are craving cheesy breadsticks, don’t worry, this recipe adapts perfectly. Forget waiting for a separate recipe; we can add cheese right here! We are aiming for that gooey center without burning the topping, so timing is everything.
If you want to make classic mozzarella breadsticks, pull those babies out of the oven when they are just about done—maybe around the 10-minute mark. Sprinkle your shredded mozzarella heavily across the tops, pop them back in for about three more minutes until it’s melted and bubbly, then take them out and IMMEDIATELY brush them with the garlic butter and Parmesan. This way, the cheese melts beautifully without scorching under the broiler!
For a slightly different flavor profile that leans more toward traditional Italian breadsticks, try adding a teaspoon of dried basil and oregano directly into the flour mixture before you add the wet ingredients. It gives the dough itself a lovely herby flavor, no matter what topping you choose for your amazing breadsticks. If you love dips, check out my recipe for easy nacho cheese—it’s way better than store-bought for dipping these!
If you want more inspiration for cheesy variations, I saw some incredible ideas over at Amber’s Bridal for making those classic restaurant-style cheesy treats!
Storage and Make Ahead Breadsticks Instructions
We all know these disappear fast, but just in case, we need a plan for leftovers! To keep your breadsticks soft, store them in an airtight container at room temperature for up to three days. Don’t refrigerate them unless you absolutely have to, because that just makes them stiff and sad. Reheating them quickly in the oven or an air fryer for just a few minutes brings back the softness.
Now, for my favorite hack: making the dough ahead! Elias is the pro at this. You can mix the dough, let it rise once, punch it down, and then stick it in a lightly oiled bowl covered tightly in the fridge for up to three days. This slow, cold fermentation actually develops way more flavor. Just remember to pull your make ahead breadsticks dough out about an hour before you plan to cut and bake them so it warms up properly!
Frequently Asked Questions About Homemade Breadsticks Recipe
Yep, I figured you’d have some questions! You know how it is when you have a favorite recipe—you always want to tweak it or figure out how to save time. We’ve tested all these ways ourselves, so I’m happy to share what works best for getting those truly amazing, soft results.
Can I skip the first rise to make these breadsticks faster?
You *could* skip it if you are in a huge rush, but I honestly hate to recommend it. That first rise is what develops all the flavor and gives you those gorgeous, soft breadsticks later on. If you skip it, they become much denser—more like a slightly chewy roll than a light breadstick. If you need speed, just stick to the 15-minute rest before baking; that helps some, but don’t skip the initial bubble time entirely if you can help it!
What if I don’t have active dry yeast? Can I use instant yeast for these breadsticks?
Oh, absolutely! That’s one of the great things about using the homemade dough recipe. If you’re using instant yeast, you don’t need to wait for it to foam up in the water first. Just mix the instant yeast right in with your flour, salt, and sugar, and then add your wet ingredients. It saves about 10 minutes of waiting, which is great when you’re whipping up a quick bread recipe!
What is the best way to reheat leftover breadsticks?
The microwave is officially banned in our house for reheating bread products, unless you like rubbery dough! For the best results, pop your extra breadsticks onto a baking sheet. Heat them in a 350°F oven for just 4 to 6 minutes. If you have an air fryer, even better—5 minutes at 325°F gives them a little crispness on the outside while keeping them soft inside.
If you’ve been exploring our Flavor Vista blog, you know we love sharing real kitchen experiments. Let us know if these tips help you nail the texture!
Nutritional Estimates for These Garlic Breadsticks Recipe
Since these are loaded with buttery goodness and cheese, we certainly aren’t pretending they are salad, right? I always like to give a rough idea of what you’re getting into when you devour a couple of these amazing sticks! Please remember that these numbers are just estimates based on the ingredients listed in the recipe above. They don’t account for things like how much butter you decide to brush on versus Elias, or if you decide to drown them in extra dipping sauce! You can find our full disclaimer over on our disclaimer page, but here’s the breakdown per two breadsticks:
- Calories: 180
- Fat: 8g
- Carbohydrates: 24g
- Protein: 4g
- Sugar: 2g
Share Your Homemade Breadsticks Success
If you’ve made it this far, you are officially ready to bake the best breadsticks of your life! Seriously, once you nail this homemade dough recipe, you’ll never look back. I would love to hear what you thought—did you go classic garlic Parmesan, or did you try a fun variation?
Please leave a rating and a comment below so I know how your version turned out! And if you pop them on social media, tag us! I can’t wait to see everyone serving these up as the perfect appetizer bread sticks at their next gathering. If you need to reach out with a question, you can always drop us a line on our contact page!
PrintThe Ultimate Soft & Chewy Olive Garden Copycat Breadsticks with Garlic Parmesan Butter
Recreate the famous soft, chewy breadsticks you love from your favorite Italian restaurant right in your own kitchen. This easy recipe delivers restaurant-style breadsticks coated in a rich garlic parmesan butter topping.
- Prep Time: 20 min
- Cook Time: 15 min
- Total Time: 95 min
- Yield: 20-24 breadsticks
- Category: Appetizer
- Method: Baking
- Cuisine: Italian-American
- Diet: Vegetarian
Ingredients
- 1 1/2 cups warm water (about 110°F)
- 2 1/4 teaspoons active dry yeast
- 2 tablespoons granulated sugar
- 4 cups all-purpose flour, plus more for dusting
- 1 teaspoon salt
- 1/4 cup unsalted butter, melted (for dough)
- 1/2 cup unsalted butter, melted (for topping)
- 4 cloves garlic, minced
- 1 teaspoon dried Italian seasoning
- 1/2 teaspoon salt (for topping)
- 1/4 cup grated Parmesan cheese
Instructions
- Activate the yeast: In a large bowl, combine the warm water, yeast, and sugar. Let this mixture sit for 5 to 10 minutes until it becomes foamy. This shows the yeast is active.
- Mix the dough: Add the flour, 1 teaspoon of salt, and 1/4 cup of melted butter to the yeast mixture. Mix until a shaggy dough forms.
- Knead the dough: Turn the dough out onto a lightly floured surface. Knead for 5 to 7 minutes until the dough is smooth and elastic.
- First rise: Place the dough in a lightly oiled bowl, turning it once to coat. Cover the bowl with plastic wrap or a clean kitchen towel. Let the dough rise in a warm place for 60 to 90 minutes, or until it has doubled in size.
- Shape the breadsticks: Gently punch down the risen dough. Divide it into two equal pieces. Roll each piece into a rectangle about 1/2 inch thick. Cut each rectangle into 10 to 12 strips, about 1 inch wide.
- Second rise (optional but recommended): Place the cut strips on baking sheets lined with parchment paper. Cover loosely and let them rest for 15 minutes while you preheat your oven to 400°F (200°C).
- Bake: Bake the breadsticks for 10 to 14 minutes, or until they are lightly golden brown.
- Prepare the topping: While the breadsticks bake, combine the 1/2 cup melted butter, minced garlic, Italian seasoning, and 1/2 teaspoon salt in a small bowl.
- Coat the breadsticks: As soon as the breadsticks come out of the oven, brush them generously with the garlic butter mixture.
- Finish: Immediately sprinkle the tops evenly with the grated Parmesan cheese. Serve warm.
Notes
- For extra soft dinner rolls texture, brush the tops with milk before baking.
- If you want cheesy breadsticks, sprinkle mozzarella cheese over the tops during the last 3 minutes of baking, then add the garlic butter after they come out.
- You can make the dough ahead of time and refrigerate it for up to 3 days; allow it to come to room temperature before shaping.
Nutrition
- Serving Size: 2 breadsticks
- Calories: 180
- Sugar: 2
- Sodium: 350
- Fat: 8
- Saturated Fat: 4
- Unsaturated Fat: 4
- Trans Fat: 0
- Carbohydrates: 24
- Fiber: 1
- Protein: 4
- Cholesterol: 15