

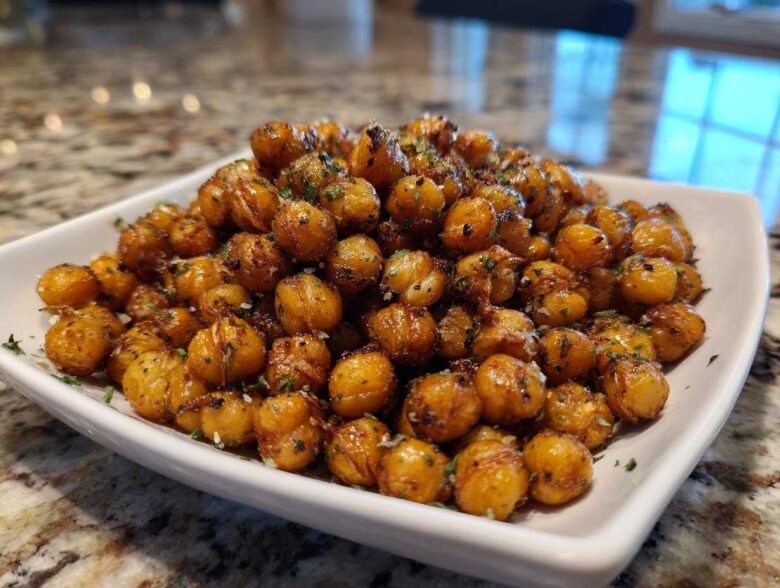
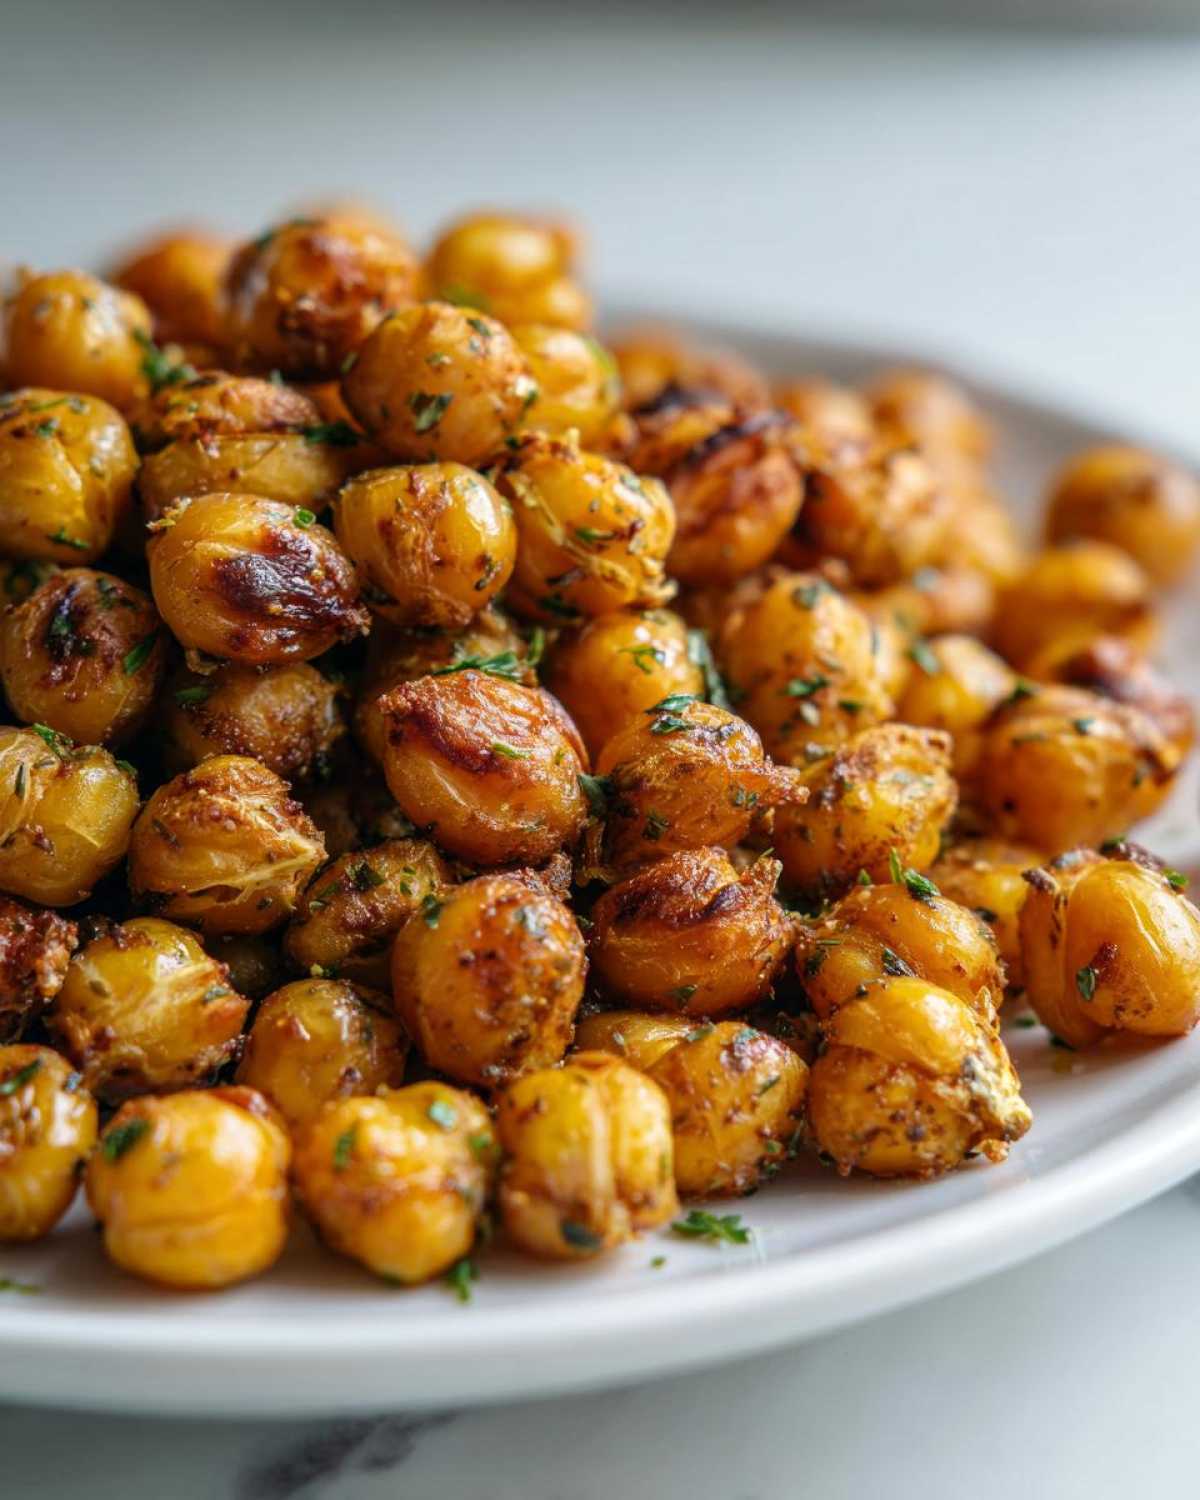
Look, I get it. You want that incredible, satisfying crunch from roasted chickpeas, but you don’t want to wait around for the oven to heat up—or worse, end up with scorched edges and mushy middles. That’s why I honed this technique until it was absolutely perfect. We are making the ultimate Air Fryer Crispy Garlic Herb Chickpeas, and trust me, you’re going to be obsessed!
I’ve gone through heaps of batches perfecting the ratio of oil to seasoning and figuring out the absolute non-negotiable step for air frying legumes. If there is one thing I’ve learned spending countless hours with my trusty air fryer basket, it’s this: if you don’t dry those cans of chickpeas properly, you’re just steaming them. Forget that! When you follow my method, you get that gorgeous, brittle crunch every single time, seasoned beautifully with rosemary and thyme. It’s all about precision before the heat even starts!
You can check out my general air frying philosophy over on the main blog index if you want more tips, but for now, let’s get into this snack!
Why You Need This Air Fryer Crispy Garlic Herb Chickpeas Recipe
Why fight with your oven when you can whip up these crunchy gems in under 20 minutes? Seriously, these are the answer to your snack prayers. Here’s why this specific recipe is going straight into your regular rotation:
- Instant Crisp Factor: We guarantee that satisfying crunch in about 15 minutes. Forget the hours required for oven roasting; this is your new go-to for air fryer healthy snacks!
- Flavor Bomb: That fragrant blend of garlic and earthy herbs (rosemary and thyme!) coats every single bean. They’re intensely flavorful without any fuss.
- Perfectly Healthy & Vegan: These are naturally gluten-free and totally vegan, making them a fantastic source of plant-based protein that satisfies those crunchy cravings.
- Versatility Master: These work as standalone crunchy air fryer appetizers, or you can use them piled high on everything. They are amazing easy air fryer legume recipes toppings.
Essential Ingredients for Perfect Air Fryer Crispy Garlic Herb Chickpeas
Precision here is everything, especially when we’re aiming for that airy crunch! Getting the quantities right in this dry-cooking method stops the spices from burning before the outside achieves its shell. Don’t deviate too much on the chickpea amount, or you’ll have to adjust your cook time!
Here is what you’ll need when you pull that can out of the pantry:
- One 15-ounce can of chickpeas (Remember: rinsed and completely drained!)
- 1 teaspoon of good olive oil (just enough to make the spices stick)
- 1/2 teaspoon garlic powder
- 1/2 teaspoon dried rosemary (this one is strong, so measure carefully!)
- 1/4 teaspoon dried thyme
- 1/4 teaspoon salt
- 1/8 teaspoon black pepper
- 1 teaspoon dried parsley (Reserved for tossing on right at the very end)
The Secret to Crunchy Air Fryer Crispy Garlic Herb Chickpeas: Preparation
Listen up, because I’m about to share the one thing grandmas and beginner cooks always miss. If you want them truly crunchy air fryer appetizers, you MUST dry your chickpeas until they feel like suede. Seriously, grab a clean kitchen towel the second you rinse and drain them. Spread them out and pat, pat, pat until you feel like you’ve removed every speck of moisture. If you skip this, you’re just making warm, slightly seasoned beans, not crunchy snacks!
When they are perfectly dry, they get this light, fuzzy texture. That’s the surface we need to grip the oil and seasonings. That’s the secret to becoming amazing air fryer savory snack ideas! After drying, toss them lightly in just a single teaspoon of olive oil—that’s all they need to carry the flavor.
Creating the Garlic Herb Seasoning Blend
Once oiled, grab a little bowl for your dry ingredients. We’re mixing up a vibrant little **garlic herb seasoning blend** here. Combine the garlic powder, rosemary, thyme, salt, and pepper. Mix that up really well with a tiny whisk or even just a fork. You want the rosemary and thyme to be evenly dispersed so you don’t get one bite that’s just straight rosemary!
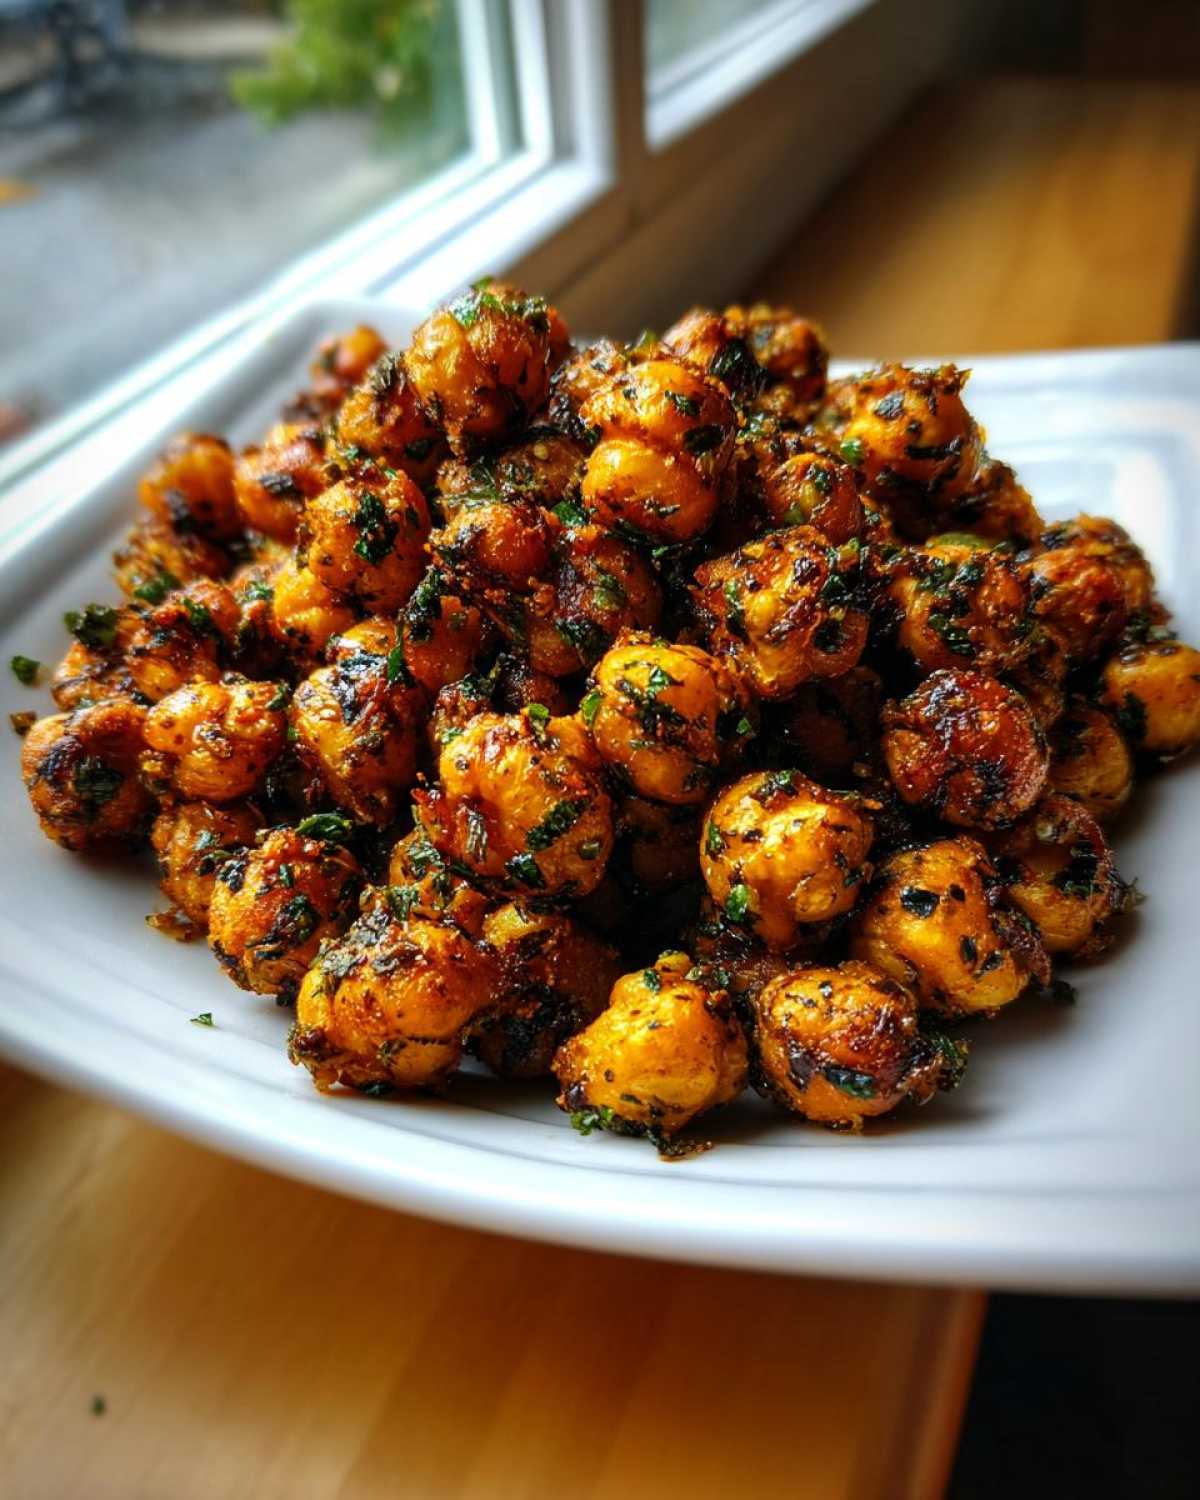
Now, here’s where my expertise comes in: do NOT add the dried parsley yet! Parsley burns super easily in the high heat of the air fryer, and we want it to look bright green and fresh when we serve these healthy gluten free crunch snacks. We save that little teaspoon of parsley to toss on right after they come out of the basket for color and a fresher herbaceous note.
Step-by-Step Instructions for Air Fryer Crispy Garlic Herb Chickpeas
Okay, the prep work is done! Your chickpeas are dry, they’re glistening with oil, and they’re coated in that wonderful, savory spice mix. Now we move to the actual cooking, which happens lightning fast compared to the oven. This is where the magic of low-effort air fryer dried chickpea tutorial really shines through.
First things first: preheat that air fryer! Seriously, don’t skip it. Set it to 380°F (195°C) and let it run for about 3 minutes. Getting it truly hot before the food goes in is crucial for that initial crisping action.
- Once preheated, gently place your seasoned chickpeas right into the basket. This is important: they must be in a single layer. If you pile them high, they steam! If you have a small basket, you might need to do this in two turns. Seriously, overcrowd the basket at your own risk of getting sad, floppy results.
- Pop the basket in, set the timer for 12 minutes, and get ready to shake!
Air Frying Technique for Optimal Air Fryer Crispy Garlic Herb Chickpeas
The key to ultra-crispy results without burning half the exterior is consistent agitation. You need to shake that basket vigorously every 5 minutes. This tumbles the chickpeas around so that the heat hits all sides evenly. You’ll shake at the 5-minute mark, the 10-minute mark, and maybe even again around 13 minutes, depending on your machine.
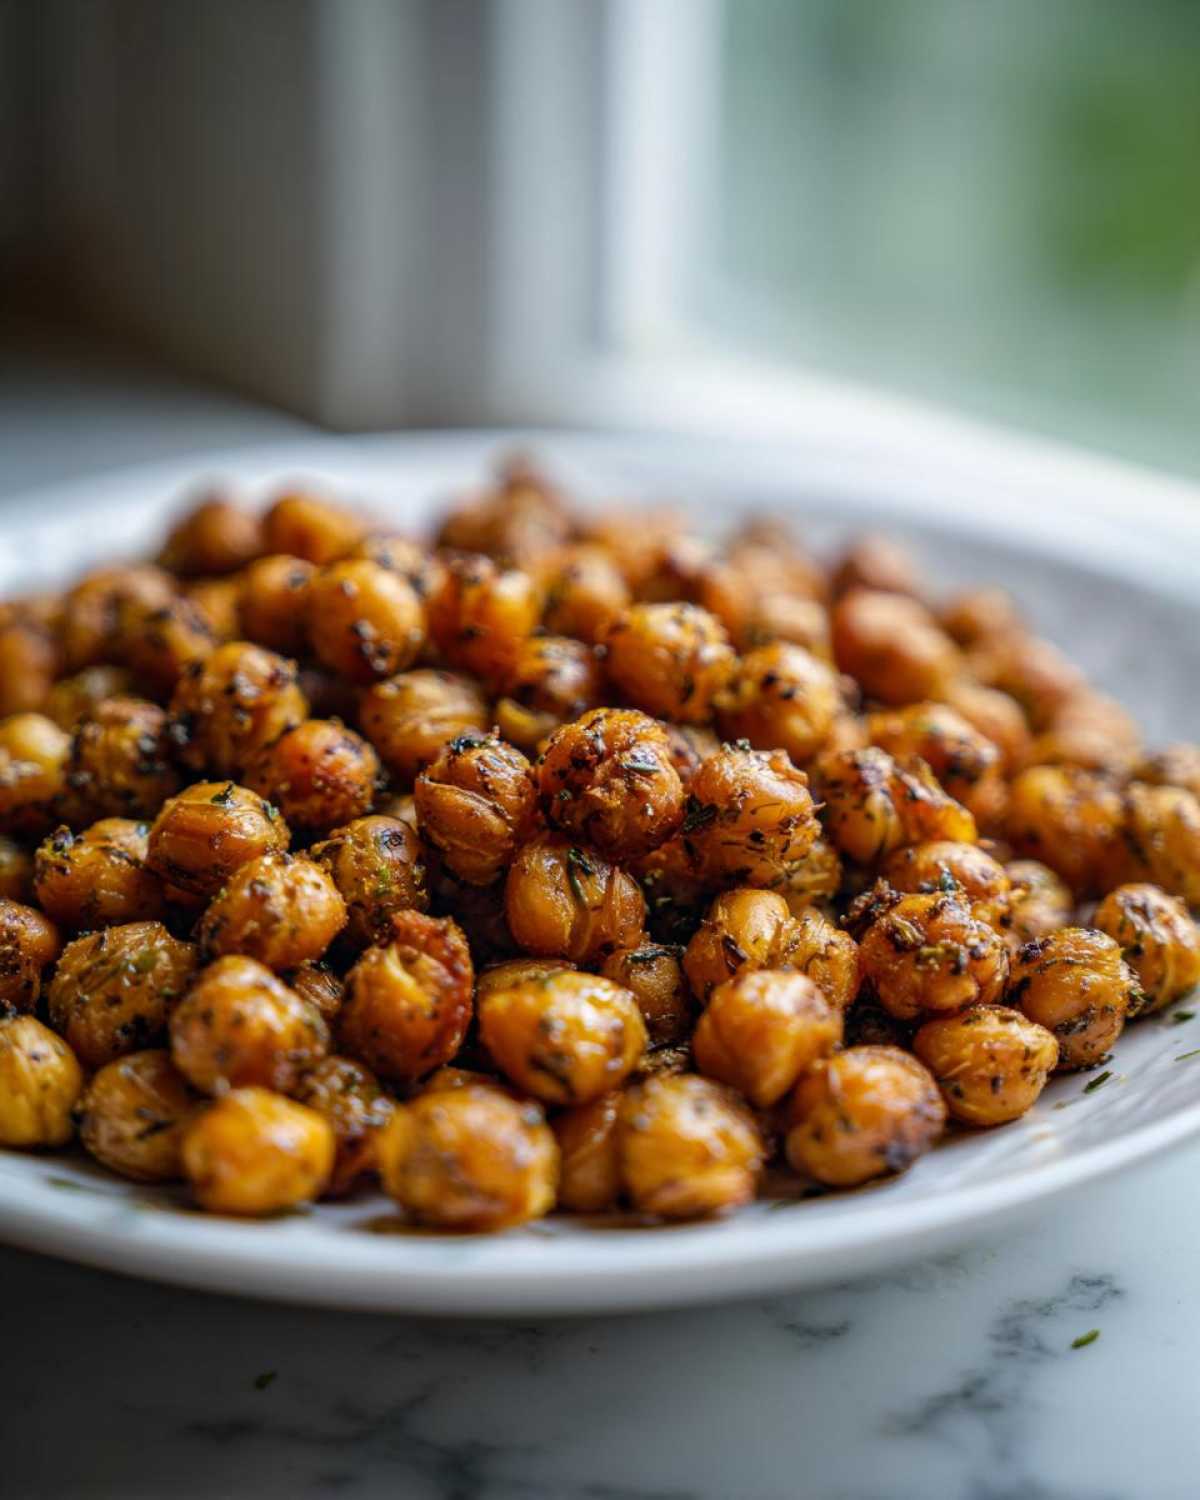
When that 12-minute mark hits, pull them out and give them a good test. They should be golden brown and sound genuinely hard when you shake the basket—that’s your cue! If they still feel a little soft, pop them back in for 2 more minutes. You’re looking for that hard, crunchy ‘snap’ when you bite one, not a soft give. Once done, pull them out immediately and toss them with that last teaspoon of dried parsley for a beautiful finish.
Ingredient Notes and Substitution Ideas for Air Fryer Crispy Garlic Herb Chickpeas
Even though this recipe is pretty streamlined, people always have questions about swapping things out, especially when they run out of one specific herb midway through making a batch of these amazing Mediterranean air fryer recipes. Remember, the oil and the drying technique are your friends here, not the spices!
If you are out of olive oil, don’t panic. A teaspoon of avocado oil works just as well because it has a high smoke point, which is important when you’re blasting things at 380°F. You could even try a very light spray of avocado oil, but I still prefer tossing them gently in liquid oil for better coverage.
Speaking of herbs, rosemary and thyme are classic, but you can totally customize this blend. If you want a brighter, lighter flavor profile, drop the rosemary and add in half a teaspoon of dried oregano and maybe a pinch of dried dill. That gives you a completely different vibe, turning it instantly into a zesty snack!
Now, let’s talk about canned versus dried chickpeas because this is crucial for our crispiness goals! This recipe is specifically designed for canned chickpeas that you’ve rinsed and dried. Why? Because canned beans already have moisture baked in that needs to be blasted out in the air fryer. If you are using dried chickpeas that you soaked and cooked yourself, you actually need to skip the drying towel step, and instead, roast them in the air fryer *without* any oil or seasoning for about 10 minutes first! This mimics the drying process of the canned ones before you add the oil mixture. It’s more work, but totally worth it if you want that beautiful crunch!
Serving Suggestions for Your Crunchy Air Fryer Appetizers
Once you pull these crispy garlic herb gems out of the air fryer, you’ll realize they are way too good to just eat standing over the counter, even though I totally do that sometimes! They are incredibly versatile, which is why they make such a fantastic staple in the house. Think of them as your go-to snack base.
They are absolutely perfect as a satisfying, healthy crunch all on their own. If you’re looking for **quick air fryer toppings** for an afternoon slump, just grab a handful. But they truly shine when you pair them with other things. I love keeping a batch ready just to throw on top of salads!
I recently made a huge batch to top my favorite cabbage slaw—the one with the tangy vinaigrette recipe here—and the texture contrast was just divine. They add that necessary hearty chew that croutons just can’t compete with.
Here are my top three ways to use these crunchy little guys:
- Soup Garnish: Forget crackers! Sprinkle a spoonful over your creamy tomato soup or a hearty lentil stew. They soak up a tiny bit of broth but hold their crunch long enough to give you that perfect textural surprise. They make one of the **best air fryer vegetable side dishes** when serving alongside a lighter meal.
- Salad Power-Up: Just like I mentioned, they are phenomenal on salads. Use them instead of nuts or fried onions. They instantly elevate any green salad into a meal that feels more substantial and satisfying.
- Dip Scoopers (The Crunchy Way): If you’ve got some hummus or a thick yogurt dip, these are sturdy little scoops! They hold up way better than chips or pita bread, plus you’re adding extra protein and flavor to your dip experience.
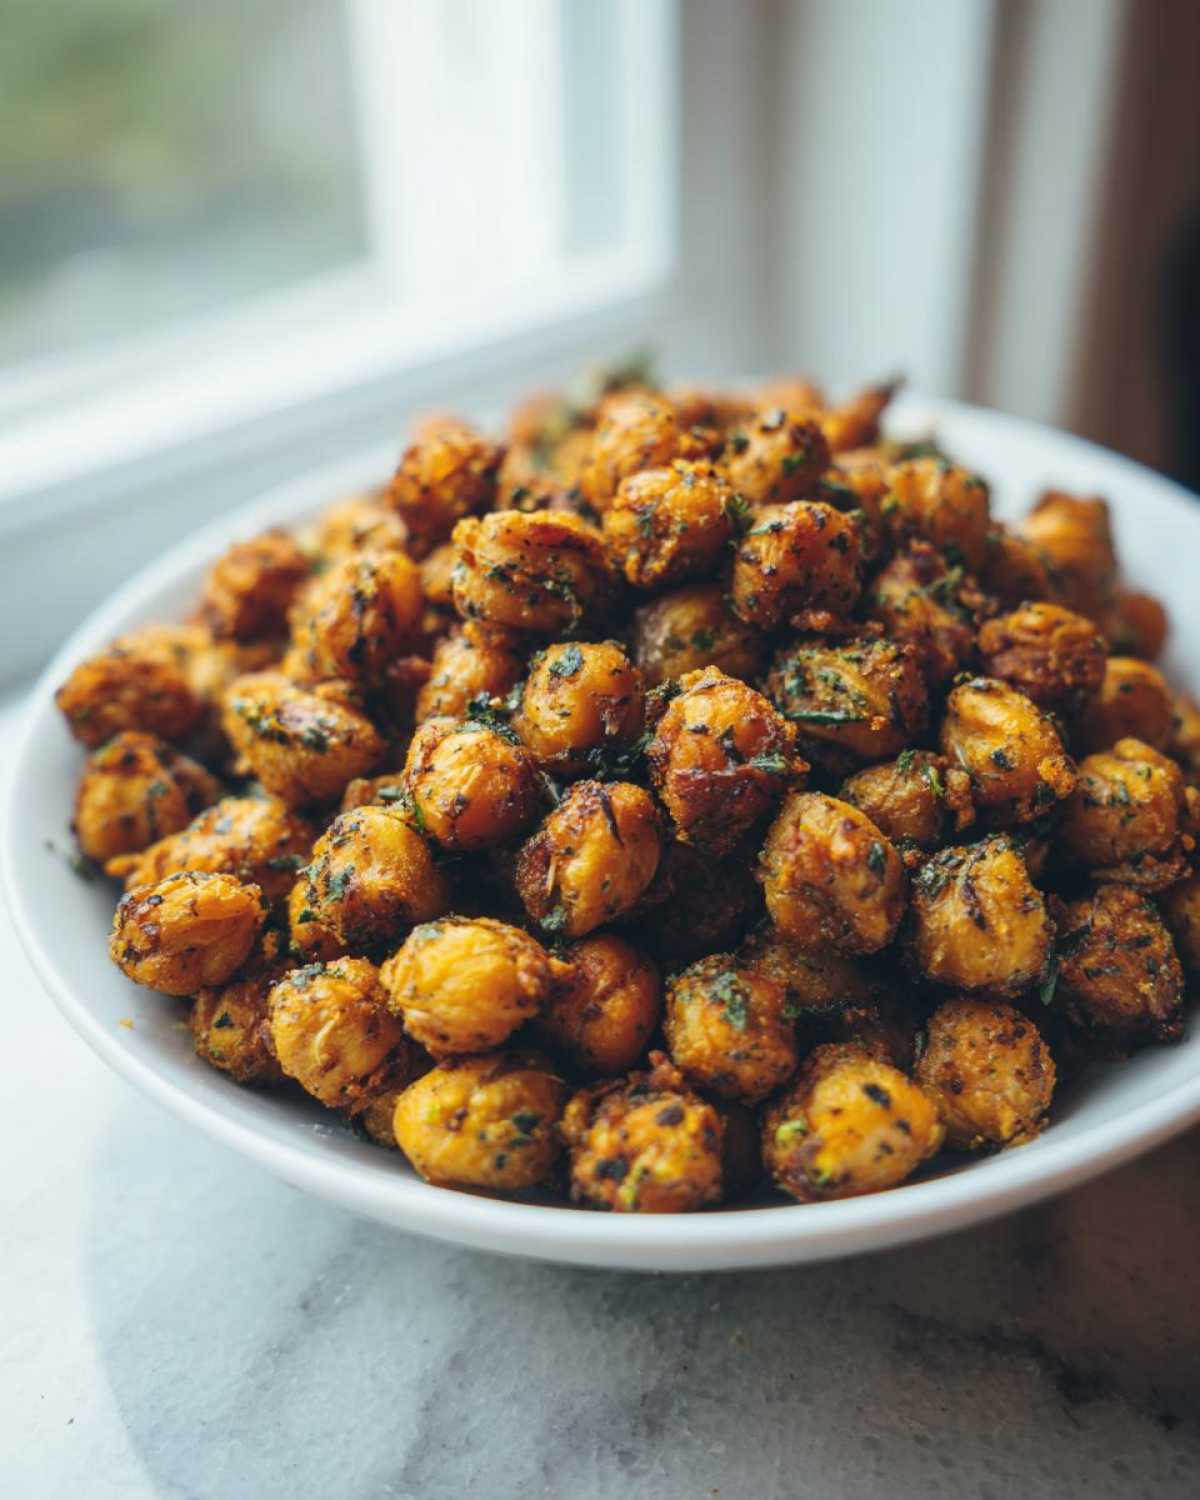
Seriously, once you start seeing how many ways you can integrate these into your meals, you’ll be making double batches every time. Check out my post on general quick air fryer toppings for even more inspiration!
Storage and Reheating Instructions for Air Fryer Crispy Garlic Herb Chickpeas
Oh, the eternal question for anything crispy: how do I keep the crunch? If you manage to have leftovers (which, honestly, is a struggle in my house!), storage is key. The biggest enemy of crispness is humidity, and the refrigerator is basically a humidity factory. So, my first piece of advice when saving these amazing air fryer savory snack ideas is simple: try not to refrigerate them if you can avoid it.
If you just let them cool completely on the counter and kept them sealed in an airtight container—like a glass jar with a tight lid—they should retain most of their crunch for the rest of the day, maybe even the next morning. The residual heat from the air fryer escapes, and they seal themselves up pretty nicely. I’ve kept them on the counter for up to 24 hours this way, and they were still wonderfully crisp.
Now, if they *did* end up lonely in the fridge, don’t just toss them! We can bring them back to life. That slightly softer texture they develop overnight means moisture has settled back in. You need to shock them back into crispness with short bursts of dry heat.
The solution is always the air fryer again—never the microwave, which is the enemy of crunch! Take your cooled chickpeas and spread a single layer back into the air fryer basket. You want a low, quick blast of heat. Set the temperature to about 350°F (175°C) and run them for just 3 to 4 minutes. Check them at the 3-minute mark, give the basket a quick shake, and taste one. They should snap right back to that perfect texture you loved when they first came out. It’s the best way to rescue any leftovers so you don’t waste these precious seasonings!
Frequently Asked Questions About Making Air Fryer Crispy Garlic Herb Chickpeas
I always get so many questions when people try this recipe for the first time because the results are just so different from the oven. It’s amazing how much of a difference the air fryer makes! Here are a few things folks ask me most often about getting that perfect, loud crunch.
What temperature yields the best crunch for these vegan air fryer recipes?
For the absolute best results when making these vegan air fryer recipes, you need to preheat to 380°F (195°C). That higher temperature is what really starts to dehydrate the outside surface quickly. If you try to cook them too low, say 350°F, they just sit there getting warm rather than truly crisping up. We want that immediate, high-heat blast!
Can I use canned chickpeas without rinsing and drying them thoroughly?
Oh gosh, please don’t try that! Remember what I shared earlier? That is the absolute key to successful how to get chickpeas crispy. Rinsing is step one, but the drying is non-negotiable. If you skip patting them completely dry, the moisture trapped inside turns into steam when it hits the hot air. That steam then prevents the outside from ever getting that lovely golden-brown, crunchy shell we’re looking for. You’ll end up with slightly warm, seasoned mush, and nobody wants that!
Are these garlic herb chickpeas good as a topping?
They are fantastic as a topping! Because they are so crunchy and intensely flavored, they stand up really well to moisture for a little while. They make incredible quick air fryer toppings for almost anything. Toss them on a big bowl of chili, sprinkle them over a creamy kale salad, or just dust them over hummus when company comes over. They add fantastic texture and that earthy, savory profile that works with so many different dishes.
What if I don’t have rosemary or thyme? Can I substitute the herbs?
Yes, you absolutely can! While the rosemary and thyme combo gives us that specific Mediterranean background flavor, you can certainly substitute. If you like something smoky, swap to smoked paprika and maybe some cumin for a different twist. If you want more of a savory, almost Italian vibe, ditch the thyme and use dried basil and a little extra oregano. The important thing is that whatever herbs you choose should be dried, as fresh herbs release water and will cause the chickpeas to steam instead of crisping up!
Estimated Nutritional Information for Air Fryer Crispy Garlic Herb Chickpeas
I always get curious about the macros when I make a big batch of these, especially since they are such a great way to sneak in some fiber and protein when you’re just looking for a crunchy snack. Since we are only using a tiny bit of olive oil and relying mostly on dry spices, the fat content stays relatively low compared to deep-fried snacks, and these are absolutely packed with fiber!
Keep in mind that these numbers are just estimates based on the ingredients listed in the recipe above (which yields about two servings). Your exact figures might shift slightly depending on the brand of canned chickpeas you use or exactly how much oil clings to them during the toss. But this gives you a really solid ballpark figure!
- Serving Size: 1/2 of the recipe
- Calories: 180
- Protein: 9g
- Fat: 5g
- Saturated Fat: 1g
- Carbohydrates: 28g
- Fiber: 7g
- Sugar: 3g
- Sodium: 250mg
- Cholesterol: 0mg
See? Almost 10 grams of protein in a small serving of a crunchy snack! That’s why I always say these **air fryer crispy garlic herb chickpeas** are superior to potato chips. They fill you up and give you actual nutritional benefits while still satisfying that absolute craving for something crunchy and savory!
PrintAir Fryer Crispy Garlic Herb Chickpeas

Make crunchy, flavorful chickpeas in your air fryer using a simple garlic and herb seasoning blend. This recipe focuses on achieving maximum crispiness.
- Prep Time: 5 min
- Cook Time: 15 min
- Total Time: 20 min
- Yield: 2 servings
- Category: Snack
- Method: Air Frying
- Cuisine: Mediterranean
- Diet: Vegan
Ingredients
- 1 (15-ounce) can chickpeas, rinsed and drained
- 1 teaspoon olive oil
- 1/2 teaspoon garlic powder
- 1/2 teaspoon dried rosemary
- 1/4 teaspoon dried thyme
- 1/4 teaspoon salt
- 1/8 teaspoon black pepper
- 1 teaspoon dried parsley (for finishing)
Instructions
- Dry the chickpeas thoroughly. After rinsing and draining, spread them on a clean kitchen towel or paper towels and pat them completely dry. This step is key for crispiness.
- In a medium bowl, toss the dried chickpeas with olive oil until lightly coated.
- In a small bowl, mix together the garlic powder, rosemary, thyme, salt, and black pepper to create the seasoning blend.
- Add the seasoning blend to the chickpeas and toss again until they are evenly coated.
- Preheat your air fryer to 380°F (195°C) for 3 minutes.
- Place the seasoned chickpeas in a single layer in the air fryer basket. Do not overcrowd the basket; cook in batches if necessary.
- Air fry for 12 to 15 minutes, shaking the basket vigorously every 5 minutes to promote even cooking.
- The chickpeas are done when they are golden brown and crunchy.
- Remove from the air fryer, immediately toss with the dried parsley, and serve warm or let cool for extra crunch.
Notes
- For the best results, ensure the chickpeas are completely dry before adding oil and seasoning.
- If you prefer a stronger garlic flavor, add 1/4 teaspoon of garlic salt instead of plain salt and garlic powder.
- These chickpeas are great as a salad topping, soup garnish, or a standalone snack.
Nutrition
- Serving Size: 1/2 of recipe
- Calories: 180
- Sugar: 3
- Sodium: 250
- Fat: 5
- Saturated Fat: 1
- Unsaturated Fat: 4
- Trans Fat: 0
- Carbohydrates: 28
- Fiber: 7
- Protein: 9
- Cholesterol: 0