

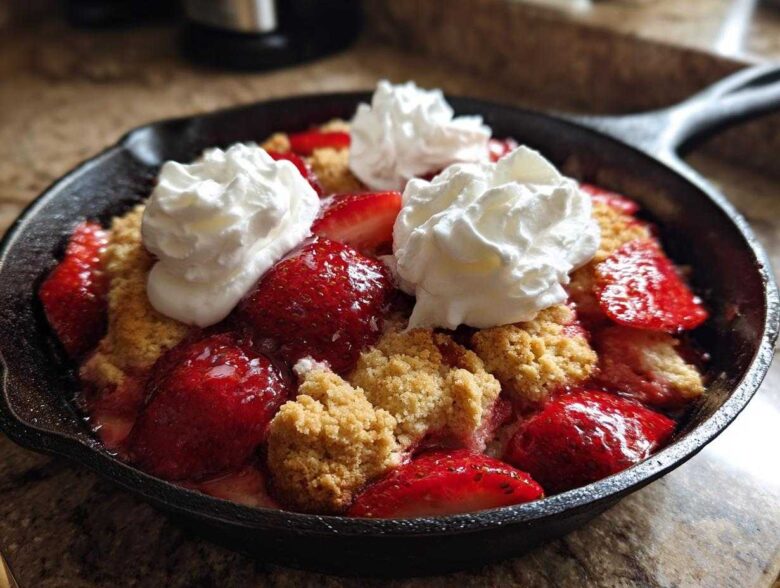
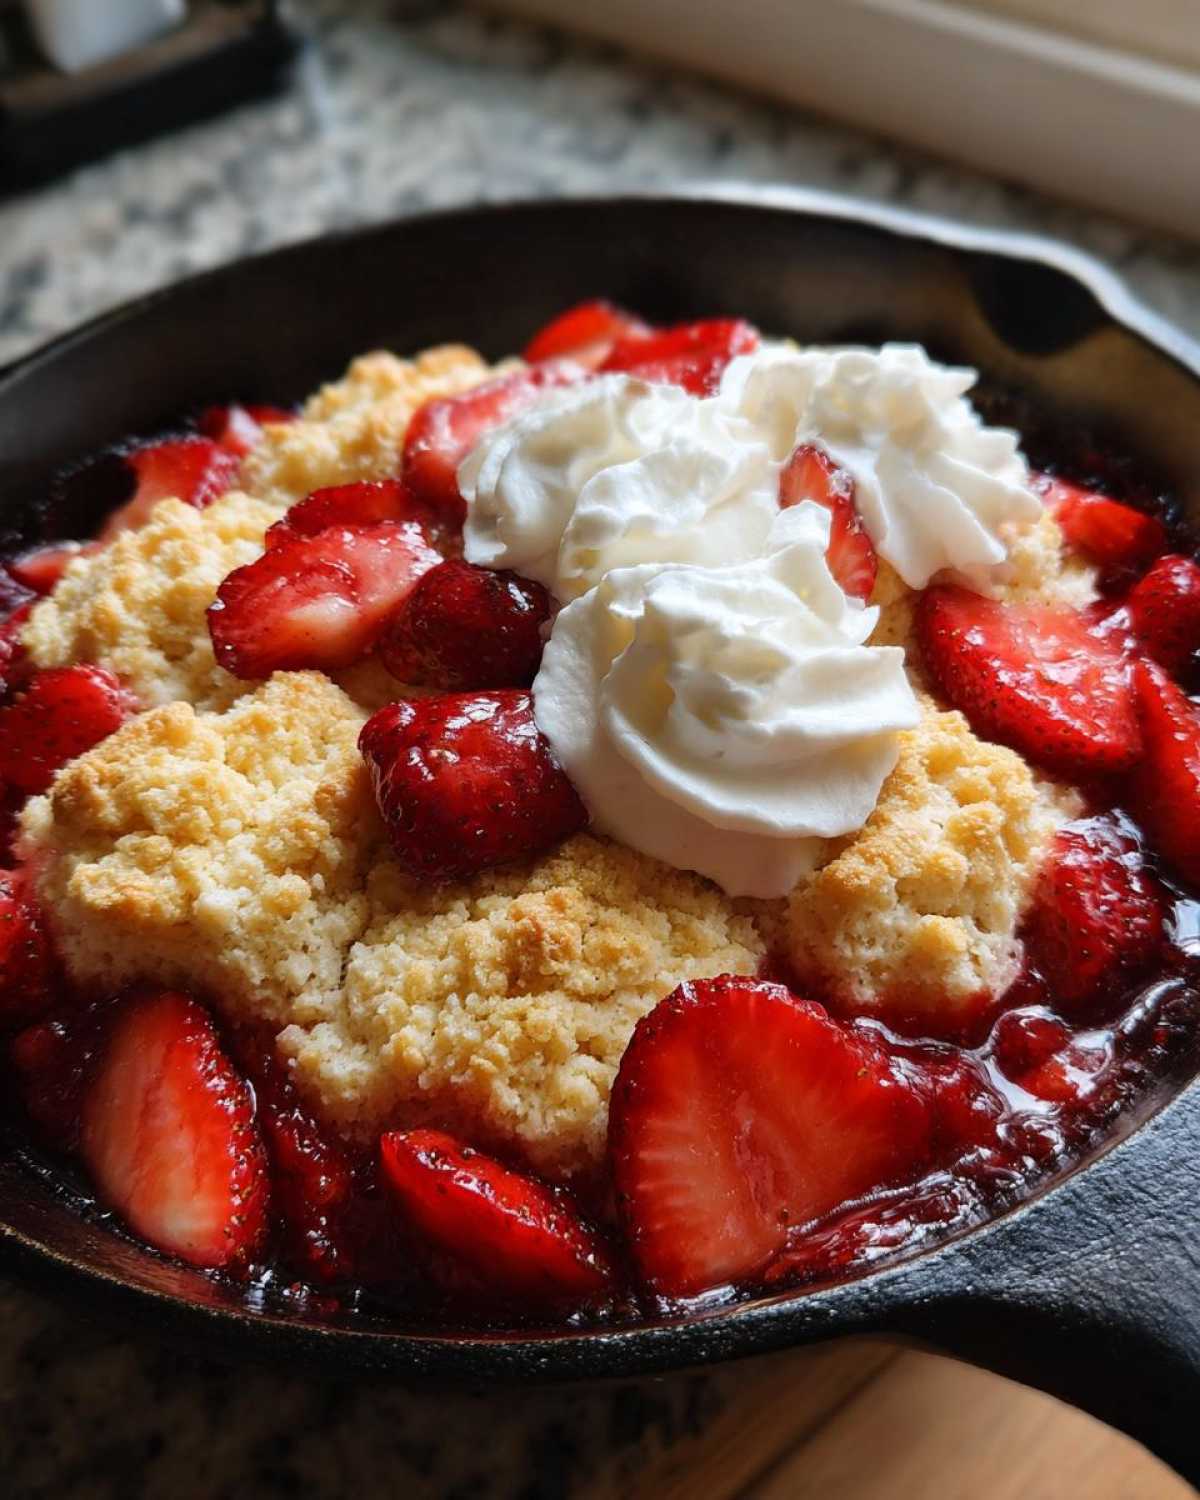
Oh my goodness, when the strawberries start singing on the vine, you know it’s time for dessert, but forget fiddling with layers and crumbs everywhere! I live in constant fear of cross-contamination, so making truly safe gluten-free treats is my specialty. It takes practice to get that perfect tender biscuit texture without wheat, believe me. That’s why I perfected this amazing, rustic, completely gluten-free shortcake baked entirely in one pan. Seriously, get ready for the best **Gluten-Free Strawberry Shortcake Skillet** you will ever make; the cleanup is almost as satisfying as the first warm bite!
Why You Will Love This Gluten-Free Strawberry Shortcake Skillet
I swear, this recipe is summer magic condensed into one cast-iron circle! We all want that incredible flavor of fresh berries and biscuits without spending an afternoon cleaning up five different bowls. This is where the beauty of the skillet comes in handy. If you’re navigating the gluten-free world like I am, you know finding something that genuinely tastes like the original can be tough. But trust me, this one delivers.
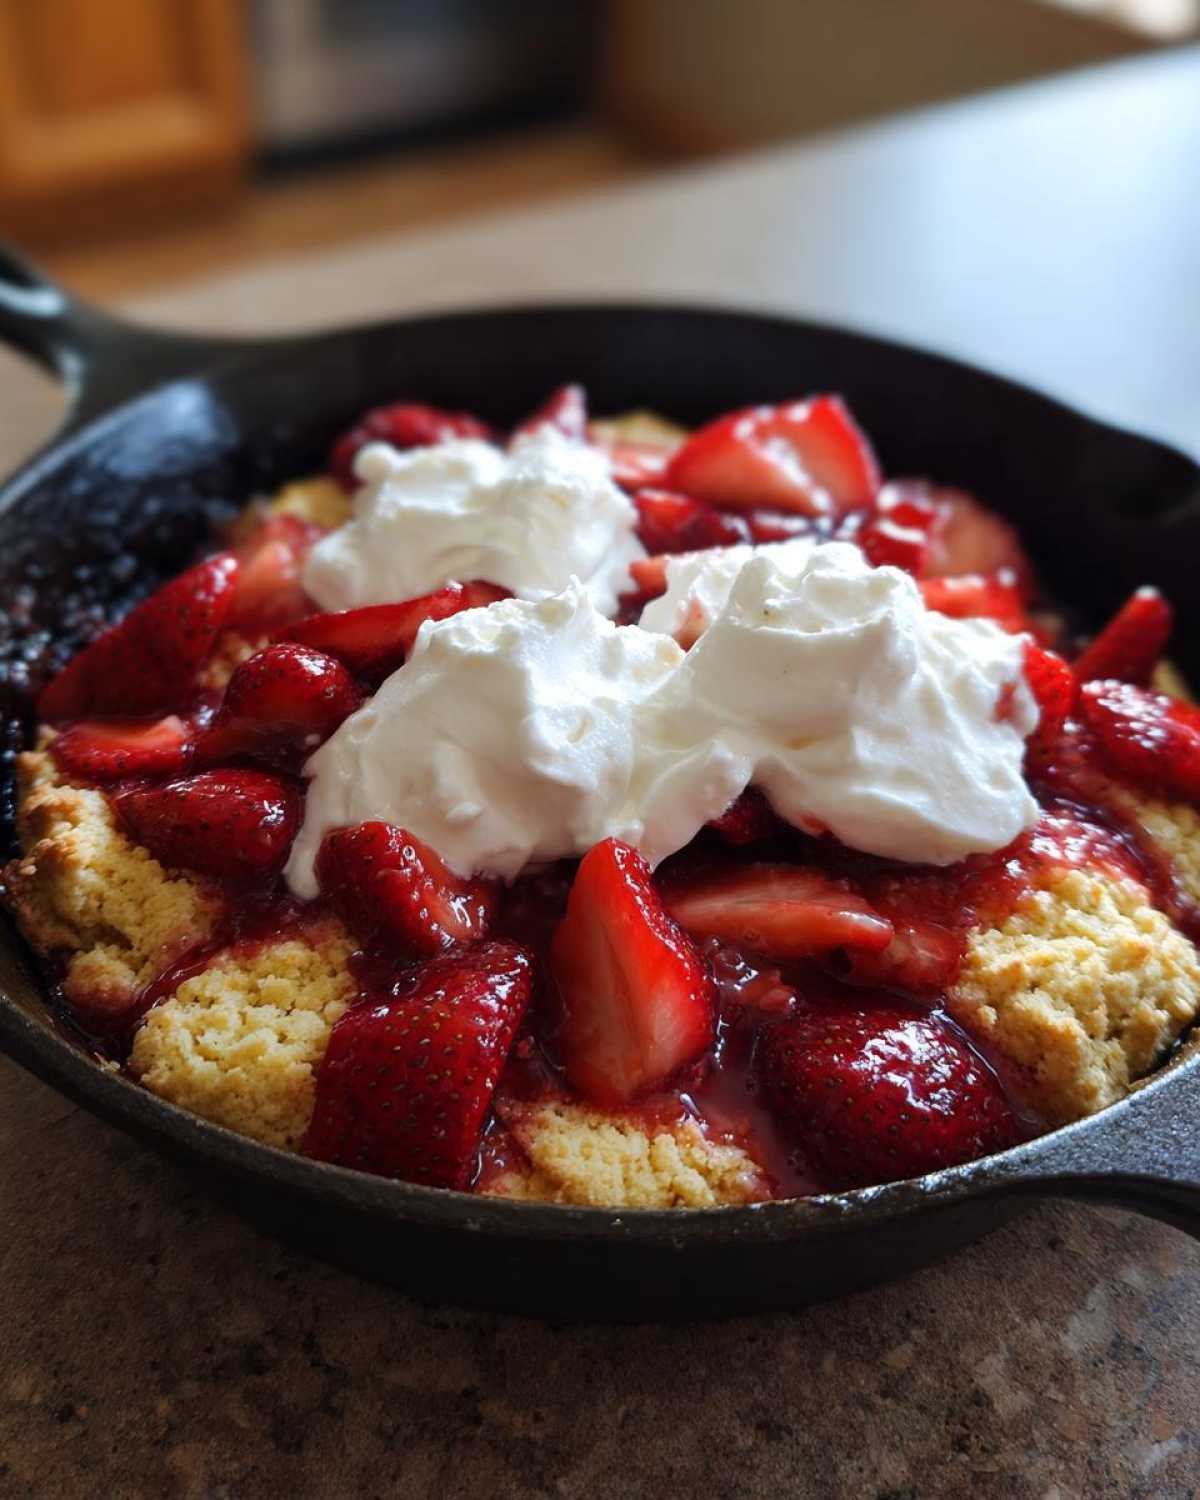
- It’s the ultimate One Pan Strawberry Shortcake experience—just wash the skillet when you’re done!
- It completely eliminates the headache of traditional layer assembly; you get beautiful, rustic mounds of cake topping.
- It’s quick! We’re talking warm, bubbly berries and tender shortcakes ready in under an hour total.
- Zero wheat, zero worry! I tested this version until I was positive it was safe and delicious for everyone.
- It’s the definition of a No Mess Strawberry Dessert—perfect for casual weeknight treats or summer parties.
The Essential Ingredients for Your Gluten-Free Strawberry Shortcake Skillet
When we talk about ingredients here, we aren’t messing around, especially since every speck of flour matters! For this masterpiece to come together perfectly in the oven, you need precision. We start with our stars: three full cups of gorgeous, fresh strawberries that need to be hulled and sliced—don’t skimp on them! They’ll mingle with a quarter cup of regular sugar and a tiny splash of lemon juice to get nice and syrupy while the oven heats up. That maceration step is key for deep berry flavor!
Now for the crucial part: the cake topping. You absolutely must use a quality **gluten-free all-purpose flour blend that already contains xanthan gum** for the best texture. If yours doesn’t have it, you’ll need to check out my notes on thickening agents, but otherwise, make sure you have your baking powder and salt ready.
The fat source is non-negotiable: use one-quarter cup of very cold unsalted butter, and I mean *small* pieces. Think pea-sized! Cold butter is what gives us those lovely, tender pockets in the shortcake. Add the remaining sugar, an egg, milk (dairy or non-dairy works fine!), and vanilla. That’s the lineup! Everything comes together in one go, which is pretty impressive for such a show-stopping Gluten Free Strawberry Dessert, right?
Mastering the Homemade Shortcake Topping for Your Skillet Baked Berries
Okay, let’s talk texture, because the shortcake atop our berries has to be fluffy and tender—it can’t turn into a dense hockey puck, especially when you’re using gluten-free blends! This biscuit batter transforms into the perfect **Homemade Shortcake Topping**. The secret, which I learned baking everything from cookies to biscuits, is keeping that butter ice cold. Just cut it into tiny pieces; you want to feel tiny little slivers of butter scattered throughout your dry mix.
When mixing the batter, you need a gentle hand. Because we aren’t using conventional wheat flour, overmixing can still cause issues, often resulting in a gummy texture when it chills in the oven. We are aiming for ‘just combined.’ That means mixing until you don’t see streaks of dry flour left, but stop right there! A slightly shaggy, rougher dough is actually what you want for this rustic approach. If you treat this batter gently, you’ll be rewarded with shortcakes that are light and perfect, sitting beautifully atop those warm, juicy berries.
Tips for Baking with Gluten Free Flour Blend
Dealing with gluten-free flour can sometimes feel like baking blind, but a few tricks make it feel totally intuitive. First, if you scoop your flour straight from the bag with your measuring cup, you’ll pack in way too much, making the topping dry. Always measure your GF blend using the spoon-and-level method. I explain how I do it in my chocolate chip cookie guide, but the principle is the same!
Second, you absolutely must pay attention to the binder. If your blend doesn’t have xanthan gum, you need to add it, or the structure will fall apart in the oven. It acts as the muscle that wheat usually gives the dough. Third, since GF flour soaks moisture up differently, don’t let the batter sit around for too long once it’s mixed. Get it straight onto those berries and into the oven so it bakes up properly!
Step-by-Step Instructions for the Gluten-Free Strawberry Shortcake Skillet
Ready to turn this amazing batter and fruit into the warm, stunning **Gluten-Free Strawberry Shortcake Skillet**? You’ll want to start by getting your oven nice and hot—375 degrees Fahrenheit is the sweet spot for baking these biscuits on top of the fruit. Make sure you use an oven-safe skillet, ideally a 10-inch cast iron one if you have it. Grease it up lightly first; we don’t want anything sticking to our beautiful pan!
Remember those beautiful, sweetened berries we set aside? They should be looking juicy now! Pour those macerated strawberries and all their sweet juices right into the bottom of your prepared skillet. Spread them out so they cover the bottom evenly. This layer is going to bubble up beautifully as it cooks below the topping.
Next comes the fun part: topping it off! Take all that glorious, gentle shortcake batter we mixed up and use a couple of spoons to drop spoonfuls—think rustic, irregular mounds—right over the top of the berries. They don’t need to touch! Leaving little gaps lets the heat circulate and makes sure every biscuit cooks up perfectly brown on its edges. Once all your batter mounds are sitting pretty, grab that extra two tablespoons of sugar and sprinkle it right over the top of the biscuit heaps. This is what gives us that lovely, slightly crisp crust!
Crucial Timing and Temperature for Perfect Skillet Baking
This is where we rely on baking science over guesswork! Pop that skillet right into your already heated 375°F oven. You are looking at about 25 to 30 minutes of baking time. Don’t wander too far, but since every oven is slightly different, you need to watch for visual cues. The shortcake topping should look deeply golden brown, almost toasted in places, and the berries underneath should be actively bubbling away. That bubbling is your big signal!
When you check for doneness, use the toothpick test right on the thickest part of one of those biscuit mounds. If it comes out clean, you are done! If you see wet batter, give it another five minutes and check again. Patience here means you avoid a gummy topping. Once it’s out, resist the urge to dig in immediately. Let that glorious Summer Skillet Baking creation cool for at least 10 minutes. It stiffens up just enough so that when you scoop it out, those warm berries and soft biscuits stay together!
Ingredient Notes and Substitutions for Your Rustic Gluten Free Dessert
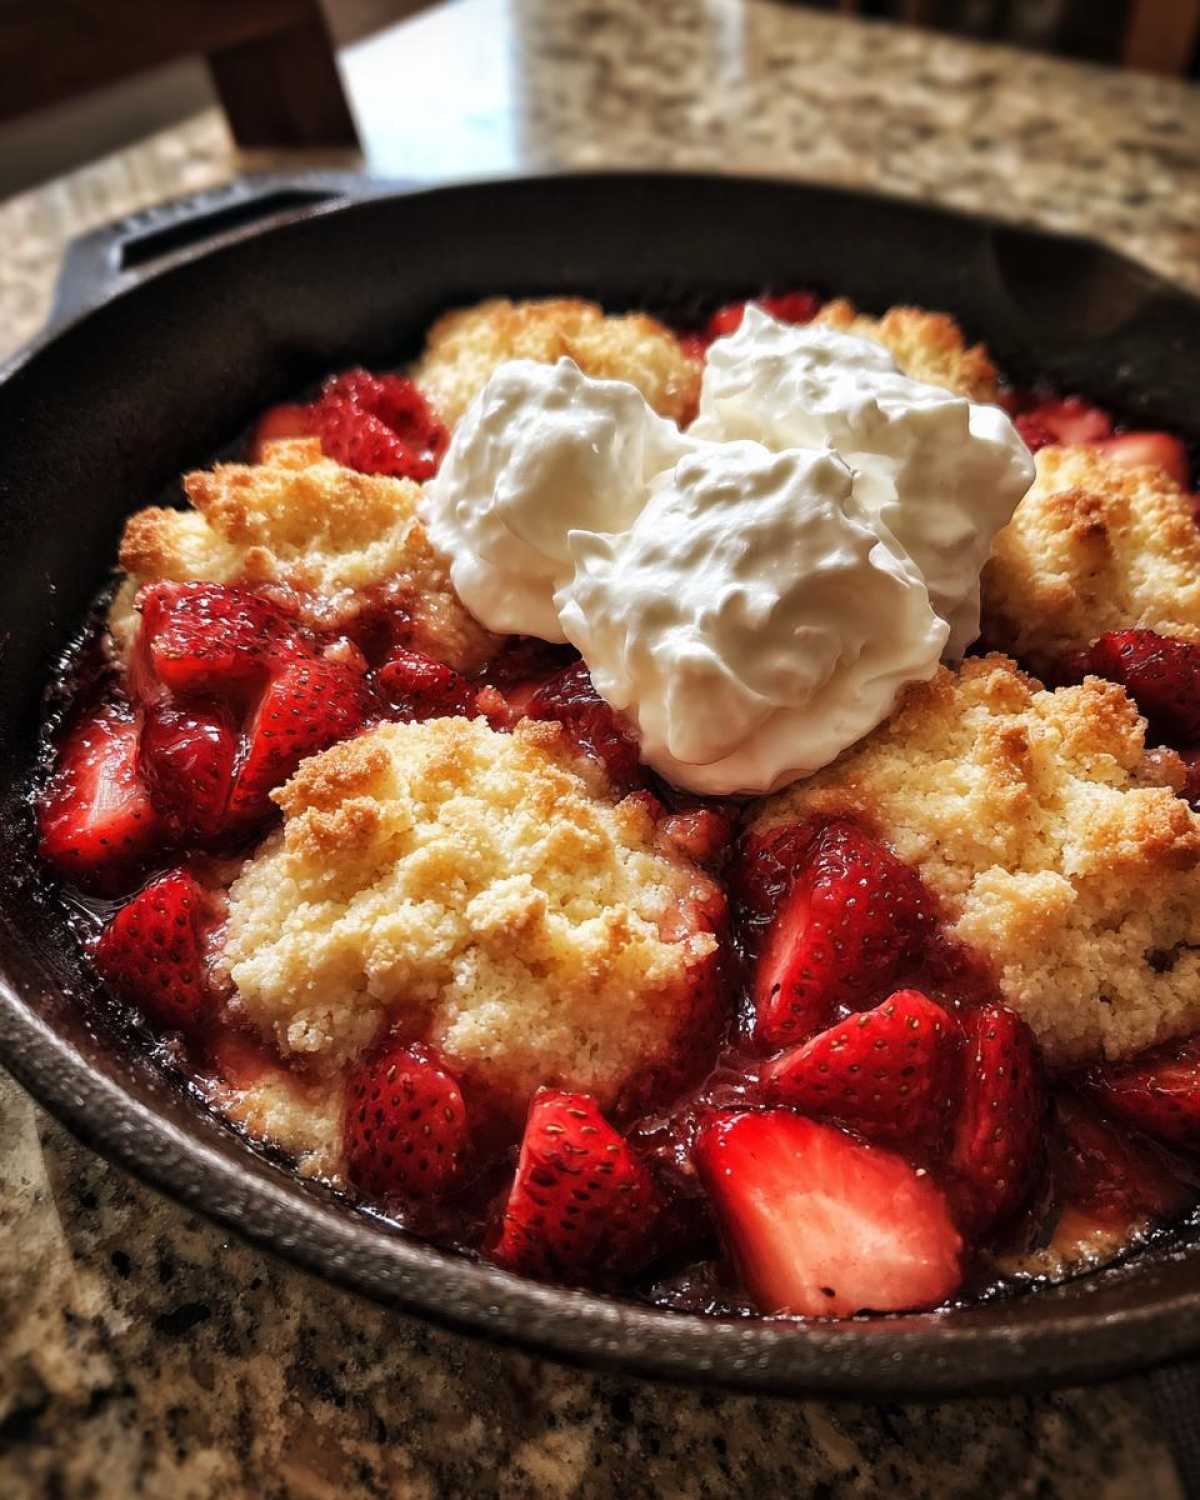
One of the best things about making a **Rustic Gluten Free Dessert** like this is how adaptable it can be, especially if you have allergies or pantry restrictions floating around the house. We talked about using a GF flour blend with xanthan gum, but what if you don’t do dairy? Don’t worry one bit! You can easily swap out the cold butter for solid coconut oil, just make sure it’s chilled so it cuts in properly, just like butter.
For the milk portion, any non-dairy option works perfectly fine in this biscuit topping—almond, oat, or soy are all great choices. This recipe is incredibly forgiving in that respect. If you needed more inspiration for creative baking substitutions, you should absolutely peek at my notes over on my blueberry scone post; the principles for substitution are the same there!
Serving Suggestions for This Easy Gluten Free Cobbler Alternative
Pulling this beautiful basket of warmth out of the oven is the victory, but serving it up right makes it a true celebration! Since this is an **Easy Gluten Free Cobbler** alternative, we want soft, cool contrast to that hot, bubbly fruit. My absolute number one suggestion is a huge dollop of cold, freshly whipped cream. The coolness melting into the warm berries? Perfection!
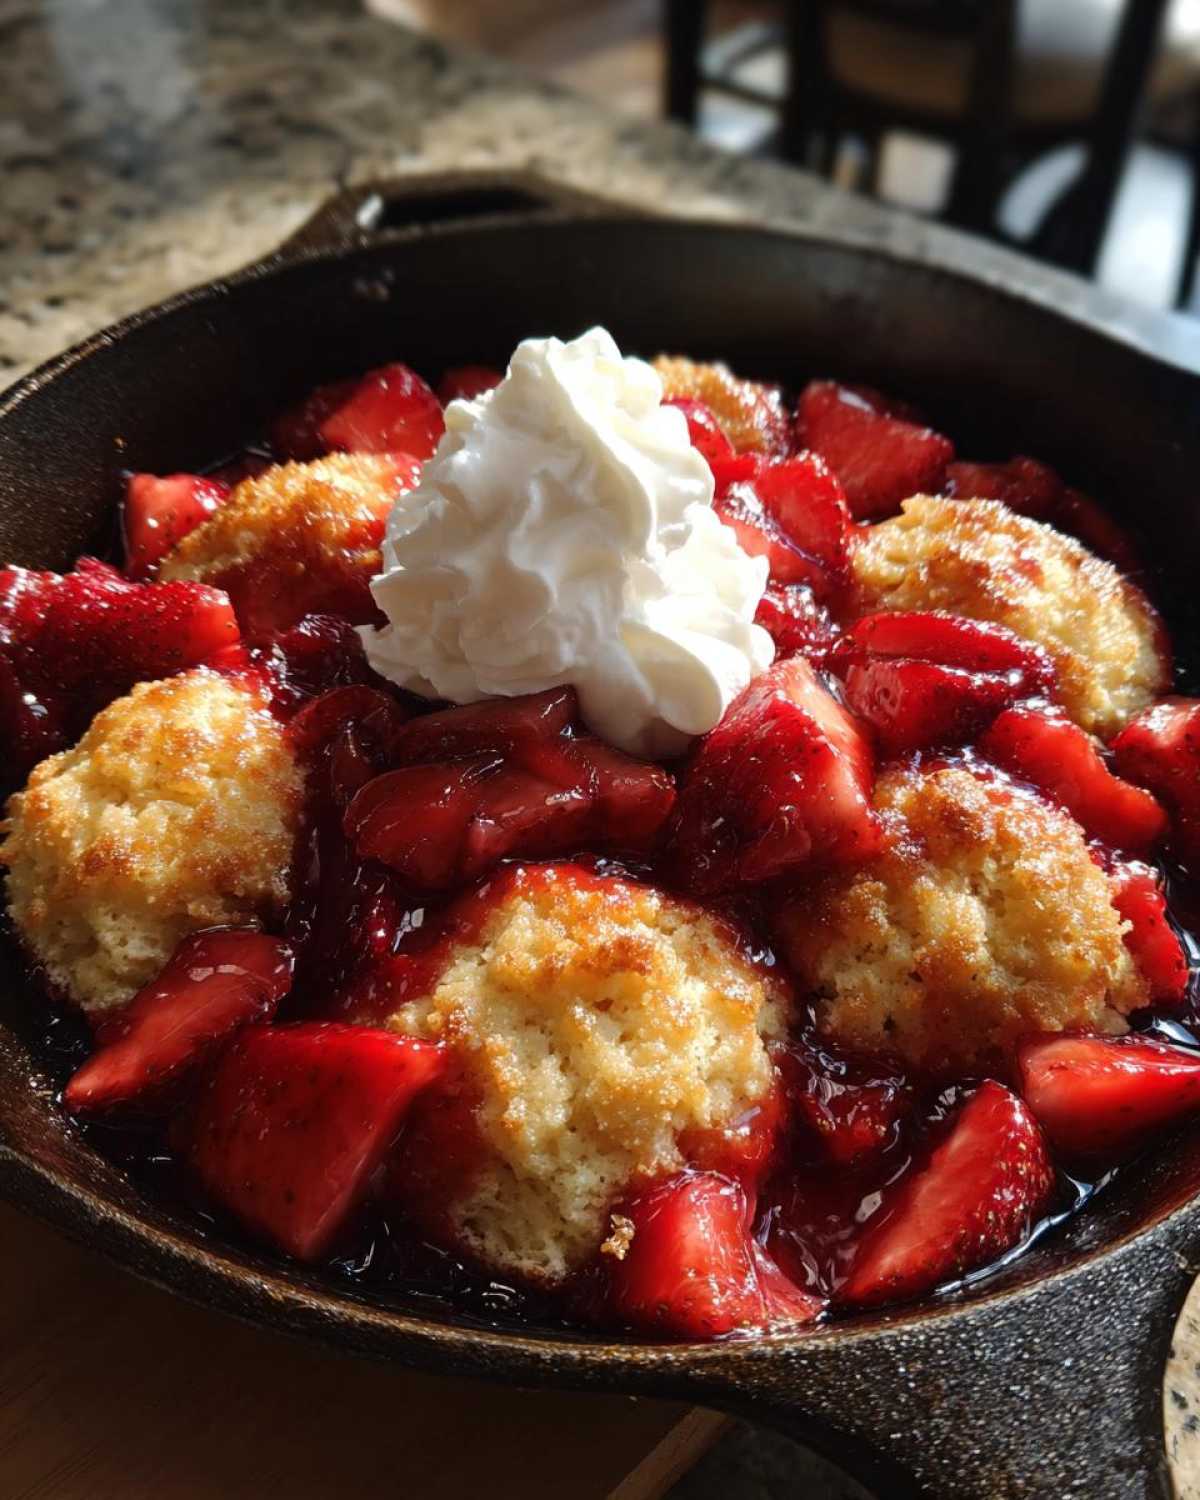
If you’re feeling fancy, skip the cream and grab a scoop of high-quality vanilla ice cream. That slow melt splashing down the sides of the biscuit topping is just divine. If you’re looking for something a little less sweet, a tiny drizzle of golden honey right over the top before you serve it enhances the fresh strawberry flavor perfectly. You’ll find my favorite recipe for stable frosting bases over here if you decide to make your own whipped topping—it’s linked under vanilla buttercream frosting!
Storage and Reheating Instructions for Leftover Gluten-Free Strawberry Shortcake Skillet
Now, honestly, there are usually zero leftovers because everyone dives in elbow-first, but if you manage to save any of this amazing **Gluten-Free Strawberry Shortcake Skillet**, you need to treat it right!
Once it’s completely cooled, you can cover the skillet tightly with foil or transfer the leftovers to an airtight container. If you plan on eating it within a day or two, room temperature is fine, especially if it’s not too humid out. If you need to keep it longer, pop it in the fridge.
When it’s time to enjoy the leftovers, ditch that microwave! The microwave makes the biscuit topping a little sad and chewy. Instead, reheat individual servings on a small baking sheet or in a toaster oven at about 325 degrees until the fruit is warm and bubbling again. This keeps that topping crispy and crumbly, the way shortcake should be!
Frequently Asked Questions About the One Pan Strawberry Shortcake
I know you might have a few lingering questions, especially when diving into a new gluten-free bake in a different piece of cookware! Here are the things folks ask me most often about making this One Pan Strawberry Shortcake work beautifully every time.
Can I use frozen strawberries instead of fresh?
You absolutely *can* use frozen strawberries if you’re craving this dessert out of season, but you have to adjust your approach slightly. Frozen berries hold a lot more water. I recommend tossing them with the sugar and lemon juice, but letting them sit for at least 30 minutes to thaw and drain off the excess liquid first. If you skip that, your base layer might turn into soup instead of a nice sauce!
What size skillet is best for this recipe?
I designed this recipe around a standard 10-inch cast iron skillet because cast iron holds heat so evenly, which is great for the **Quick Strawberry Biscuit Bake**. If you don’t have a 10-inch, you can use a 12-inch skillet, but the topping layer will be much thinner, almost like a cobbler topping. If you use a smaller, deeper oven-safe skillet, you might need to increase your baking time slightly, since the heat takes longer to penetrate the center!
Is this considered a Simple Skillet Fruit Crisp Alternative?
It’s definitely an alternative, yes! A crisp usually features a streusel or oat topping, whereas this recipe uses a tender, slightly sweet biscuit or shortcake dolloped on top. It gives you that lovely, soft cake texture that traditional shortcake lovers crave, but we’ve kept it all baked together for ease. It’s much softer than a typical crisp!
What happens if the topping browns too fast?
This can happen if your oven runs hot or if your skillet material heats up too quickly. If you notice the shortcake mounds are getting dark brown before the center is cooked through—usually around the 20-minute mark—just loosely tent a piece of aluminum foil over the top of the skillet. This shields the surface from direct heat while allowing the heat underneath to finish cooking the biscuits through. Easy fix!
Estimated Nutritional Data for Gluten-Free Strawberry Shortcake Skillet
Now, I have to give you a little heads-up before we jump into the numbers here. This is seriously important stuff for anyone trusting my recipes! The nutritional data I’m sharing below—for calories, fat, carbs, and all that—is based directly on the ingredients listed for our **Gluten-Free Strawberry Shortcake Skillet** using standard measurements. But listen, every brand of gluten-free flour blend is different, and how much sugar *actually* soaks into those berries can change things!
So, treat these figures as helpful guidelines, not gospel truth for tracking every single macro. If you are serious about tracking, you’ll want to check labels for your specific products. For full transparency and to read the fine print about how I arrive at these general estimates, check out my official disclaimer page here. We want you to enjoy this **Desserts without Wheat** treat confidently, knowing these numbers give you a good ballpark!
Here’s what the math worked out to for one generous serving (that’s roughly one biscuit mound plus berries):
- Calories: Approximately 310
- Total Fat: Around 12 grams
- Total Carbohydrates: About 47 grams
- Protein: Just over 5 grams
- Sugar Content: Roughly 22 grams (remember, this includes natural fruit sugar!)
It’s a perfectly reasonable amount for a delicious, satisfying **Gluten Free Summer Baking Ideas** dessert, especially when you consider it’s all made from scratch with whole ingredients. Enjoy it warm!
PrintGluten-Free Strawberry Shortcake Skillet
Make a rustic, warm strawberry shortcake dessert entirely in one oven-safe skillet using gluten-free ingredients for easy cleanup.
- Prep Time: 15 min
- Cook Time: 30 min
- Total Time: 45 min
- Yield: 6 servings
- Category: Dessert
- Method: Baking
- Cuisine: American
- Diet: Gluten Free
Ingredients
- 3 cups fresh strawberries, hulled and sliced
- 1/4 cup granulated sugar, plus 2 tablespoons for topping
- 1 teaspoon lemon juice
- 1 1/2 cups gluten-free all-purpose flour blend (with xanthan gum)
- 2 teaspoons baking powder
- 1/4 teaspoon salt
- 1/4 cup cold unsalted butter, cut into small pieces
- 1/4 cup granulated sugar
- 1 large egg
- 1/2 cup milk (dairy or non-dairy)
- 1 teaspoon vanilla extract
- Whipped cream, for serving
Instructions
- Preheat your oven to 375 degrees Fahrenheit. Lightly grease a 10-inch oven-safe skillet.
- In a medium bowl, combine the sliced strawberries, 1/4 cup sugar, and lemon juice. Set aside to macerate while you prepare the topping.
- In a separate bowl, whisk together the gluten-free flour blend, baking powder, and salt.
- Cut in the cold butter using a pastry blender or your fingers until the mixture resembles coarse crumbs.
- In a small bowl, whisk together the 1/4 cup sugar, egg, milk, and vanilla extract.
- Add the wet ingredients to the dry ingredients and mix gently until just combined. Do not overmix the batter.
- Pour the macerated strawberries and their juices into the bottom of the prepared skillet, spreading them evenly.
- Drop spoonfuls of the shortcake batter over the top of the strawberries, leaving small gaps between the mounds.
- Sprinkle the remaining 2 tablespoons of sugar over the biscuit topping.
- Bake for 25 to 30 minutes, or until the topping is golden brown and a toothpick inserted into the center of a biscuit comes out clean.
- Let the skillet cool for at least 10 minutes before serving warm with whipped cream.
Notes
- If your gluten-free flour blend does not contain xanthan gum, add 1/2 teaspoon to the dry ingredients.
- For a dairy-free version, substitute the butter with solid coconut oil and use your preferred non-dairy milk.
- If you do not have an oven-safe skillet, you can transfer the strawberry layer to a pie dish before topping with the batter.
Nutrition
- Serving Size: 1 serving (approx 1 biscuit and berries)
- Calories: 310
- Sugar: 22
- Sodium: 180
- Fat: 12
- Saturated Fat: 7
- Unsaturated Fat: 5
- Trans Fat: 0
- Carbohydrates: 47
- Fiber: 2
- Protein: 5
- Cholesterol: 55