

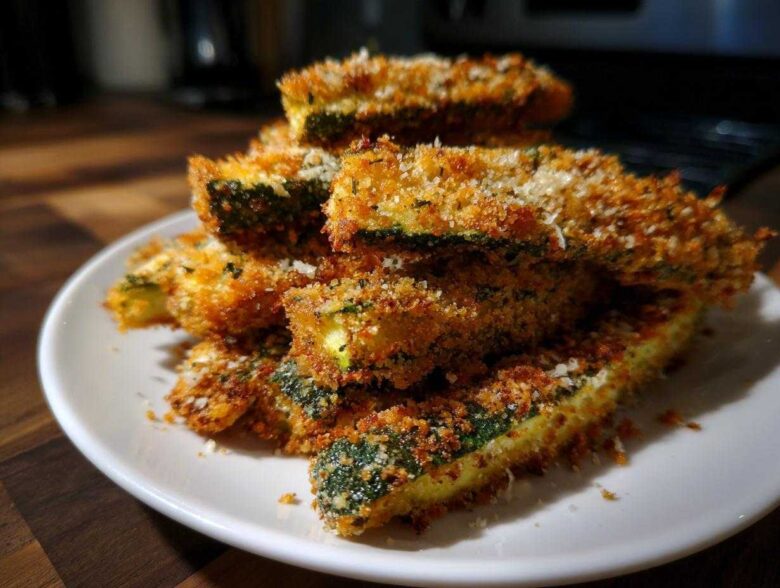
Oh my gosh, are you ever just hit with that sudden, undeniable craving for something crunchy, salty, and totally satisfying? I get it! Usually, that means diving straight for something deep-fried, but who wants all that oil and cleanup? That’s why I became obsessed with cracking the code on making truly crunchy snacks in the air fryer. My whole mission was getting that perfect, sharp garlic and fragrant dill flavor locked into a crust that snaps, not sogs.
Folks, I finally did it. These fried pickles, but done the better way, are what you need. This Air Fryer Crispy Garlic Dill Pickles recipe is amazing because it centers entirely on moisture removal and double-coating the panko. Trust me, after testing about sixteen different ways to bread these little beauties, I found the secret handshake that keeps the coating perfectly golden without steaming itself into oblivion. Get ready for your new favorite binge-snack!
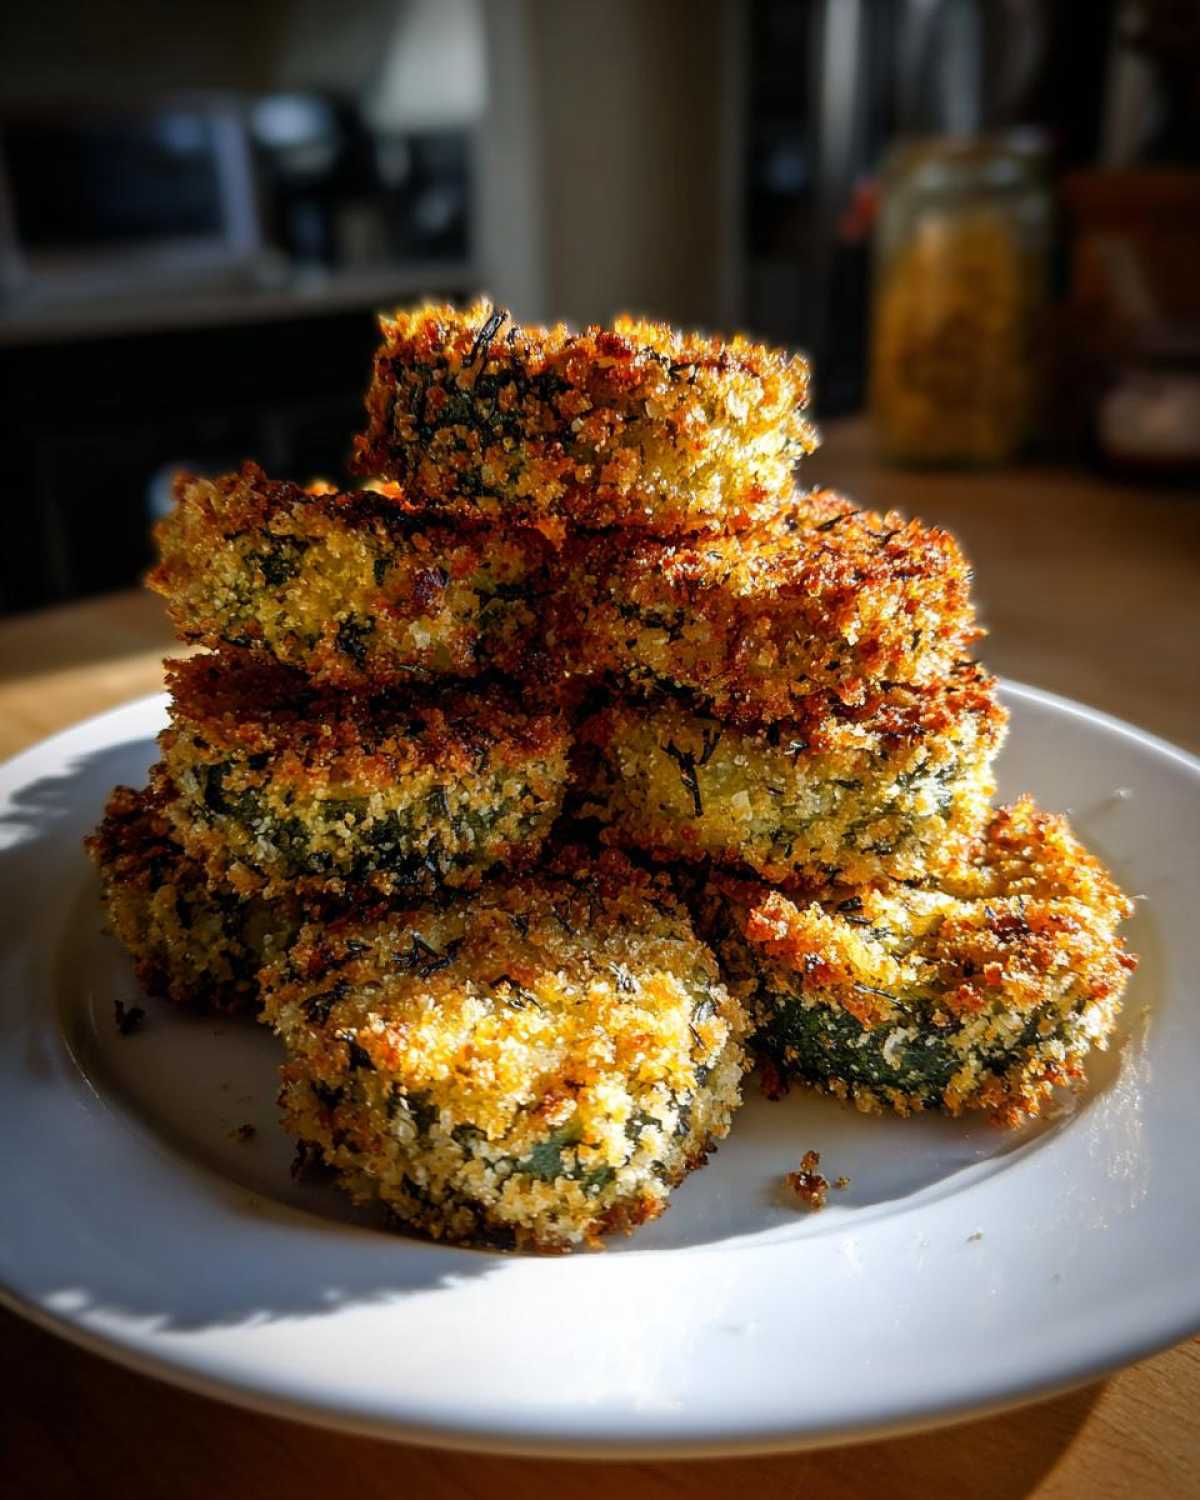
Why You Will Make This Air Fryer Crispy Garlic Dill Pickles Recipe Often
You’re going to love these because they hit every single requirement we have for a perfect snack:
- Seriously superior crispness—way better than anything I’ve gotten out of the oven!
- That iconic, bold garlic and dill punch shines through every bite.
- Prep is fast, and cleanup is minimal since we skip the deep fryer.
- It tastes incredibly indulgent but uses way less oil.
Essential Ingredients for Perfect Air Fryer Crispy Garlic Dill Pickles
Okay, listen up, because the ingredients list is short, but the details matter—especially with pickles! We start with one 16-ounce jar of dill pickles. Spears or chips work, but make sure you drain them completely! Seriously, get rid of every drop of that brine. The secret to crunch starts here before we even touch the breading.
For the coating, we need the standard trio: all-purpose flour, two large eggs beaten lightly, and then our star, Panko breadcrumbs. Don’t substitute Panko; it’s the only way to get those jagged edges that maximize crispness. For the deep flavor, we’re smuggling garlic powder and dried dill weed into both the flour *and* the panko. A little salt and pepper tie it all together. I also use an oil-based cooking spray so the outside browns perfectly. If you want to check out how I get my potato wedges golden, the spray technique is similar!
Equipment Needed for Your Air Fryer Crispy Garlic Dill Pickles
This recipe is wonderful because you don’t need some strange fancy gadgets, just the essentials! But to get those crunchy, evenly coated dill pickles, you absolutely need a solid setup.
First and foremost, you need your air fryer, obviously! Make sure it’s clean, and you have those non-stick liners handy if your model tends to grab onto breading. I always keep a roll of kitchen paper towels nearby—we need those for drying things out!
The real key to successful breading, especially when you’re flavoring the flour and the crumbs separately, is setting up a proper station. You will need three shallow dishes. I usually grab pie plates or even sturdy plastic storage lids if the plates are dirty! These hold your flour mixture, your egg wash, and your seasoned panko, so you can move methodically.
- Your Air Fryer
- Paper Towels (lots of ‘em!)
- Three Shallow Dishes for the Breading Station
- Cooking Spray (oil-based)
Step-by-Step Instructions for Air Fryer Crispy Garlic Dill Pickles
Alright, this is where the magic happens! Once you have your ingredients ready and your station set up, it’s just a quick assembly line. Remember, patience in assembly means crispiness later. We aren’t deep frying, but we are building coverage, so stay focused!
I’ve found that if you keep your flow going, you can knock out a batch in about ten minutes, just like when I make these air fryer chicken pieces. Just follow these three critical stages for the best crunchy results.
Preparing the Pickles: The Key to Air Fryer Crispy Garlic Dill Pickles
Step one is non-negotiable, seriously! You need to drain those pickles super well. Then, spread them out on a big pile of paper towels. Pat, pat, pat! You need to remove as much surface moisture as humanly possible. If the pickle is wet at all, the flour won’t stick properly, and you’ll end up with soggy patches instead of truly crunchy air fried pickles.
Building the Three-Step Breading Station
Now, set up your three dishes based on the ingredients list. Dish one gets the flour mixed with 1 tsp garlic powder and 1/2 tsp dill, salt, and pepper. Dish two is just your two beaten eggs. Dish three is where the Panko gets its flavor boost: 1 tsp garlic powder and 1/2 tsp dill mixed right into the breadcrumbs. Make sure everything is evenly distributed in its container!
Coating and Air Frying for Maximum Crunch
Start dredging! Take one pickle spear, coat it thoroughly in the flour mix (shake off the big excess), dip it completely in the egg, and then press it firmly into the seasoned Panko until there are no wet spots showing. Then, arrange these beauties in a single layer in your pre-sprayed air fryer basket. You absolutely cannot overcrowd them, or they steam! Give the tops a light mist of cooking spray, then air fry at 380°F (195°C) for only 8 to 10 minutes. Remember to flip them halfway through so they brown evenly!
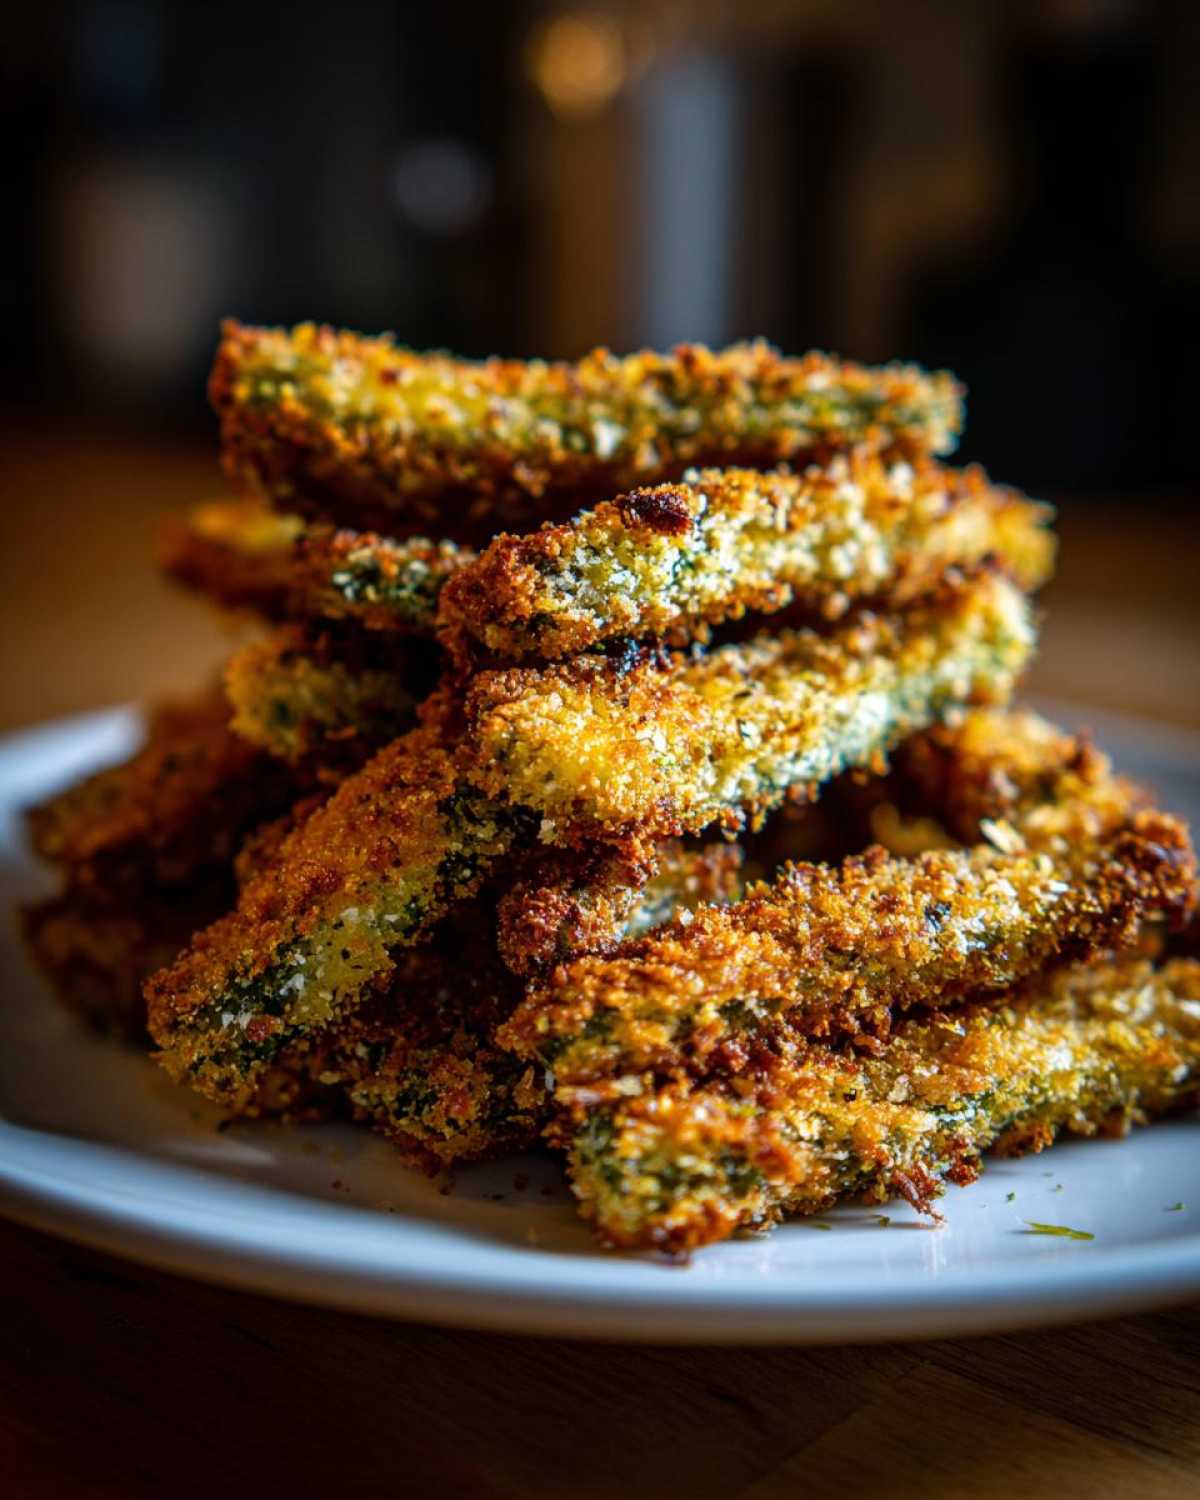
Expert Tips for Truly Crunchy Air Fried Pickles
I’ve learned a few tricks over the years of making these that take them from good to absolutely legendary. If you follow these pointers, you’ll seriously never go back to soggy snacks again. This is the good stuff that takes these Air Fryer Crispy Garlic Dill Pickles to the next level!
First up, the chilly secret! If you have five spare minutes, go ahead and pop those fully breaded pickles into the freezer right before they hit the basket. A quick 10-minute chill solidifies the coating. This gives the breading a head start against the heat, ensuring you get that incredible crunch as soon as the air fryer starts circulating.
Next, let’s talk about thickness. Whether you use spears or chips, keep them uniform! If some pieces are super thick and others are thin, the thin ones burn before the thick ones are cooked through. Aiming for roughly the same size means even cooking time, which is crucial for getting that perfect texture all around.
And seriously, go easy on the cooking spray! I know it feels like you should drown them, but you don’t need that much. If you spray too heavily, you’re basically re-introducing oil that steams the breading instead of crisping it. A light, airy mist is all you need to help those Panko crumbs turn golden brown. This light touch is what keeps them from becoming heavy.
Finally, a note on sticking: Air fryers battle sticking constantly, especially with breaded items like these. If you have any doubt, skip the hassle and use those perforated parchment liners designed for air fryers. They keep everything clean and guarantee zero sticking, so you can easily flip them or lift them out without tearing off half your beautiful garlic dill crust. If you want my absolute best advice on getting crispy coatings, check out my guide on fried pickles ultimate crispy recipe for more details!
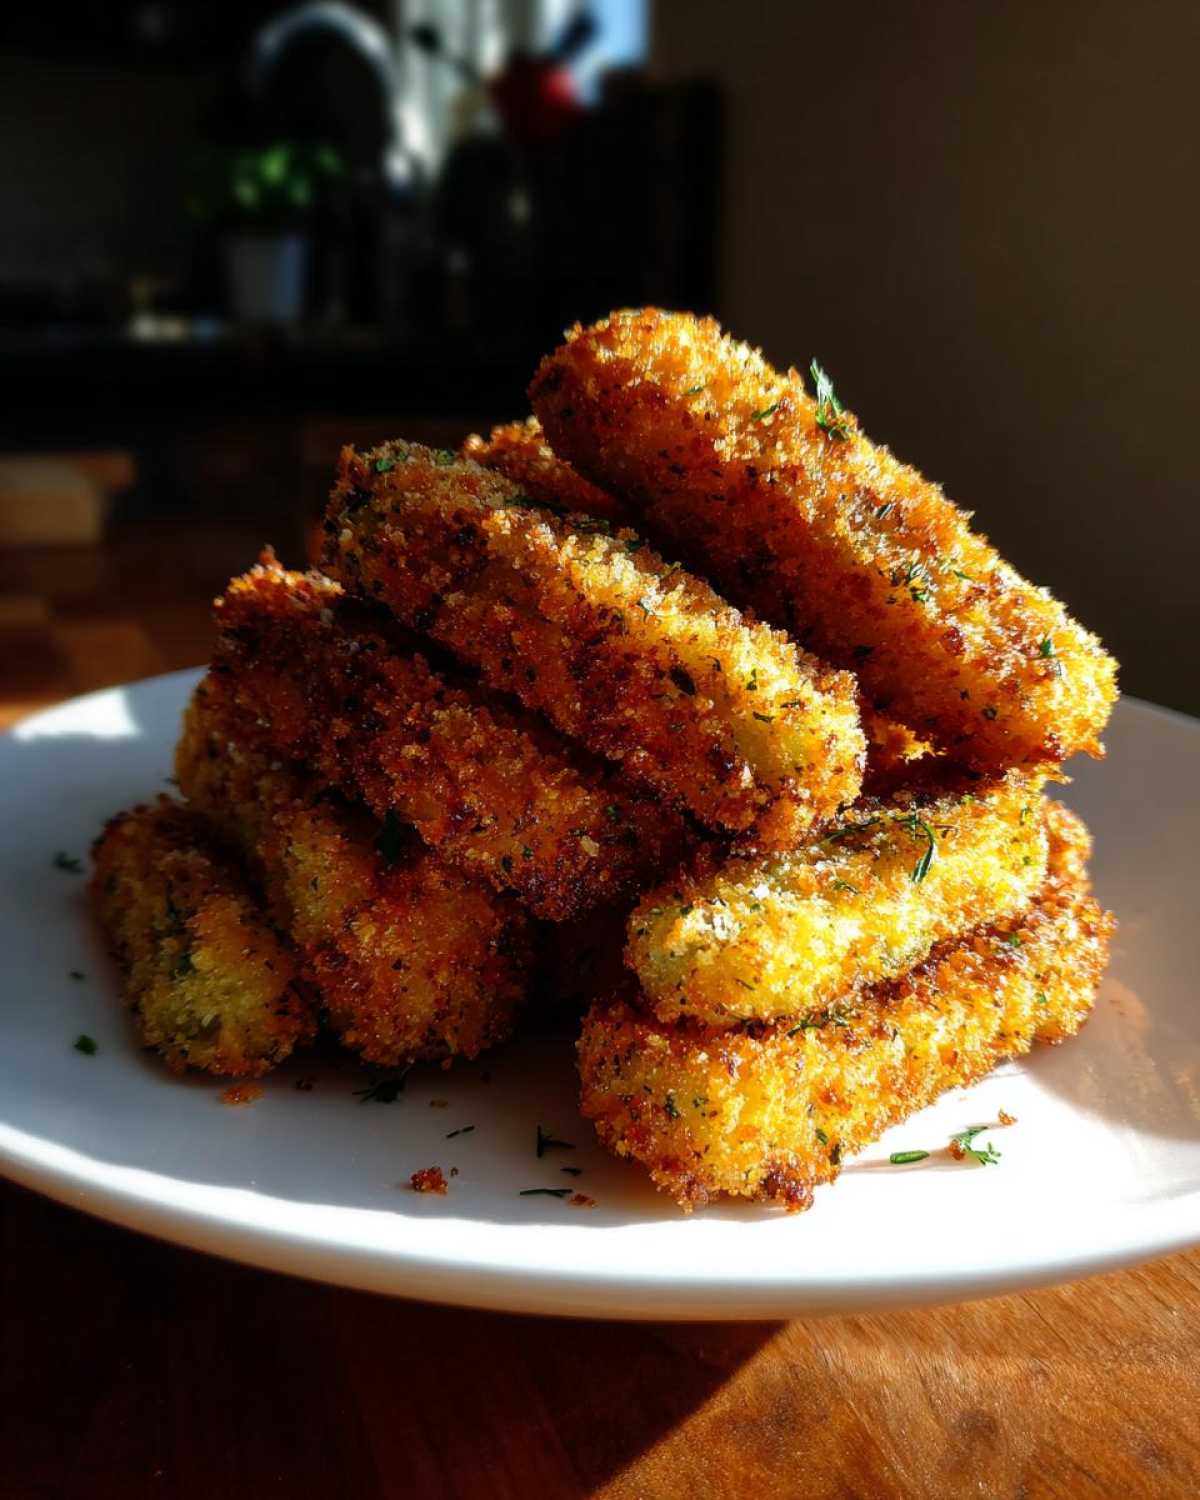
Serving Suggestions for Your Air Fryer Crispy Garlic Dill Pickles
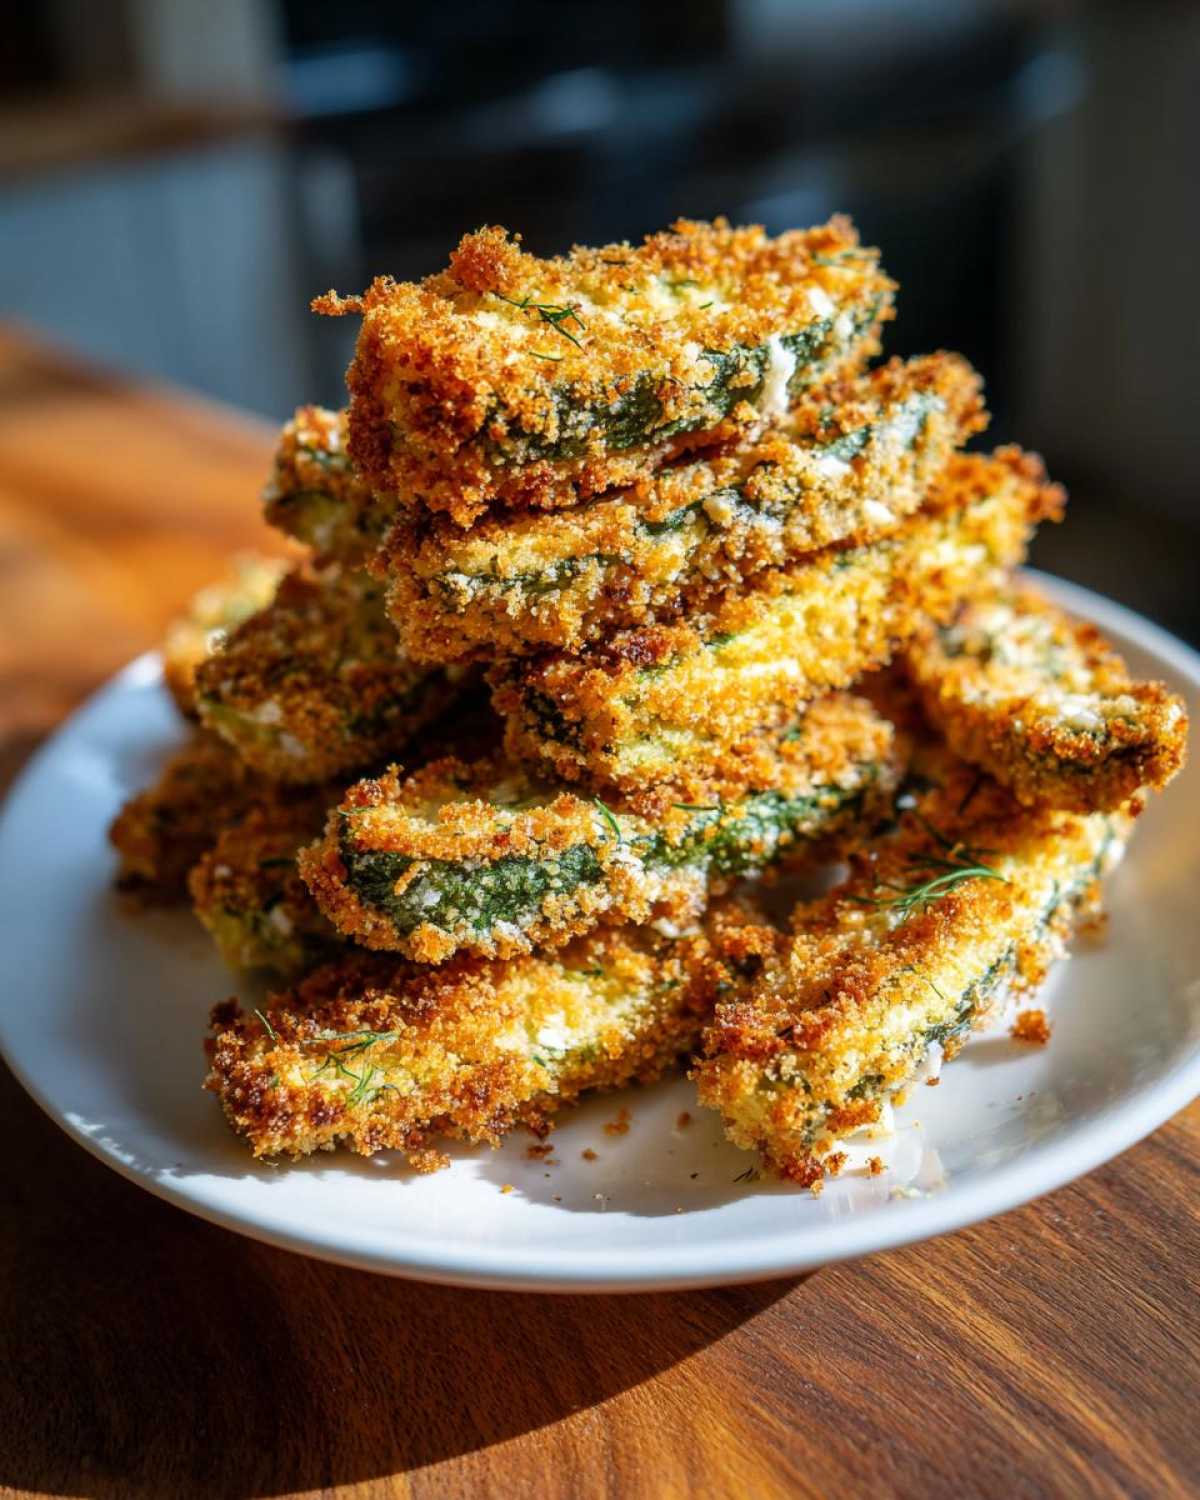
Honestly, these Air Fryer Crispy Garlic Dill Pickles are so flavorful on their own—that punch of garlic and dill means you barely need anything else! They pack so much flavor, you could just eat them straight out of the basket. But, if you’re serving them up for game day or as an appetizer spread, a little dip takes them over the top!
Since these pickles are already savory and tangy, you want a dip that’s cool, creamy, and maybe has a little kick to balance things out. Forget that weird bright yellow sauce—we’re keeping it classy here.
Here are my favorite dipping companions:
- Classic Ranch Dressing: You just can’t beat it. The cool buttermilk tang is the perfect counterpoint to the salty, crispy coating. If you make your own ranch, even better!
- Spicy Mayo or Sriracha Aioli: If you want a little heat, this is your move. Just mix good quality mayonnaise with a squirt of Sriracha or a dash of your favorite hot sauce and maybe a tiny squeeze of fresh lime juice. It’s decadent and addictive!
- Simple Dill Yogurt Dip: For something a little lighter, mix plain Greek yogurt with a tiny bit of lemon juice, a pinch of salt, and a little extra dried dill. It highlights the flavor profile of the pickle itself without overpowering it.
I briefly considered suggesting cheese dip, because cheese fixes everything—you can find my 10-minute recipe for nacho cheese sauce right here if you’re feeling truly wild—but honestly, ranch or spicy mayo lets the garlic dill shine brightest. Try dipping them while they’re steaming hot; that’s the best!
Storing and Reheating Your Air Fryer Crispy Garlic Dill Pickles
Here’s the hard truth about any fried or air-fried food: they are completely, 100% best eaten about 30 seconds after they come out of the air fryer basket. When they’re piping hot, that garlic dill crust is at its absolute peak crunch. I really wish I could tell you otherwise, but once they cool down, that beautiful texture starts to soften up quickly.
But don’t worry! If you happen to have leftovers—which, honestly, I rarely do—you absolutely should not resort to microwaving them. That’s a guaranteed way to steam the crust and turn your beautiful snack into sad, warm mush. You have to use the air fryer again to bring them back to life!
If you must store them, here is my advice:
- Let them cool to room temperature first. Don’t put hot food directly into a container in the fridge, or you trap condensation which equals sogginess.
- Store them in a shallow, airtight container. Try not to stack them too heavily if you can help it.
- Keep them in the fridge for no more than one day. They really don’t like staying in there longer than that.
When you are ready for a second round of these Crunchy Air Fried Pickles, you have to reheat them in the air fryer basket. Set your temperature pretty low—around 350°F (175°C) is perfect. You only need about 3 to 5 minutes. This low-and-slow reheating melts off any internal moisture that crept into the coating while they were chilling, allowing the Panko to crisp up again beautifully without burning the coating. Trust me on this; it’s the only way to revive them!
Frequently Asked Questions About Air Fryer Pickles Recipe
I know when you’re trying a new appliance recipe, questions pop up constantly, especially around texture! I’ve gathered the ones I hear most often when folks try out my Air Fryer Crispy Garlic Dill Pickles recipe. Getting these details right is what separates okay snacks from truly amazing ones.
Can I use fresh pickles instead of jarred for this Air Fryer Crispy Garlic Dill Pickles recipe?
Oh, I’m going to advise strongly against that, honey! Fresh cucumbers have way too much natural water content running around inside them. If you tried to bread a fresh cucumber, the water would just seep out during cooking, steam your beautiful Panko coating, and turn everything into sad, soggy mush. We need that concentrated, salty brine flavor and lower water level that comes from jarred dill pickles to make this work as a Quick Pickle Snack Air Fryer recipe. Stick to the drained jarred ones!
How can I make these Garlic Dill Pickle Spears Air Fryer even more garlicky?
That’s such a great question, because sometimes you just need *more*! If you want to really amp up the garlic factor—and you absolutely should if you love it—you have a couple of options beyond just adding more powder to the coating mixtures. On top of using the listed 1 teaspoon in the flour and the panko, try mixing about 1/4 teaspoon of garlic powder directly into your beaten eggs. If you’re feeling adventurous, you could even whisk in a tiny bit of garlic oil. Just be careful adding fresh minced garlic to the panko; sometimes that moisture makes the crumbs clump up instead of sticking nicely.
What temperature is best for making Crunchy Air Fried Pickles?
For the absolute golden combination of color and crunch, 380°F (195°C) is my sweet spot for these Crunchy Air Fried Pickles. Why that specific temperature? It’s hot enough that the exterior coating starts crisping up and drying out right away, which prevents steam buildup. However, it’s not so scorching hot (like 400°F) that the breading scorches before the pickle spear in the center is warm all the way through. It’s about balancing that quick, dry heat on the outside with just enough time to heat the inside properly. If you love cooking in the air fryer, you might want to check out my guide on getting crispy potato wedges—the temperature philosophy is very similar!
Serving Suggestions for Your Air Fryer Crispy Garlic Dill Pickles
Honestly, these Air Fryer Crispy Garlic Dill Pickles are so flavorful on their own—that punch of garlic and dill means you barely need anything else! They pack so much flavor, you could just eat them straight out of the basket. But, if you’re serving them up for game day or as an appetizer spread, a little dip takes them over the top!
Since these pickles are already savory and tangy, you want a dip that’s cool, creamy, and maybe has a little kick to balance things out. Forget that weird bright yellow sauce—we’re keeping it classy here.
Here are my favorite dipping companions:
- Classic Ranch Dressing: You just can’t beat it. The cool buttermilk tang is the perfect counterpoint to the salty, crispy coating. If you make your own ranch, even better!
- Spicy Mayo or Sriracha Aioli: If you want a little heat, this is your move. Just mix good quality mayonnaise with a squirt of Sriracha or a dash of your favorite hot sauce and maybe a tiny squeeze of fresh lime juice. It’s decadent and addictive!
- Simple Dill Yogurt Dip: For something a little lighter, mix plain Greek yogurt with a tiny bit of lemon juice, a pinch of salt, and a little extra dried dill. It highlights the flavor profile of the pickle itself without overpowering it.
I briefly considered suggesting cheese dip, because cheese fixes everything—you can find my 10-minute recipe for nacho cheese sauce right here if you’re feeling truly wild—but honestly, ranch or spicy mayo lets the garlic dill shine brightest. Try dipping them while they’re steaming hot; that’s the best!
Storing and Reheating Your Air Fryer Crispy Garlic Dill Pickles
Here’s the hard truth about any fried or air-fried food: they are completely, 100% best eaten about 30 seconds after they come out of the air fryer basket. When they’re piping hot, that garlic dill crust is at its absolute peak crunch. I really wish I could tell you otherwise, but once they cool down, that beautiful texture starts to soften up quickly.
But don’t worry! If you happen to have leftovers—which, honestly, I rarely do—you absolutely should not resort to microwaving them. That’s a guaranteed way to steam the crust and turn your beautiful snack into sad, warm mush. You have to use the air fryer again to bring them back to life!
If you must store them, here is my advice:
- Let them cool to room temperature first. Don’t put hot food directly into a container in the fridge, or you trap condensation which equals sogginess.
- Store them in a shallow, airtight container. Try not to stack them too heavily if you can help it.
- Keep them in the fridge for no more than one day. They really don’t like staying in there longer than that.
When you are ready for a second round of these Crunchy Air Fried Pickles, you have to reheat them in the air fryer basket. Set your temperature pretty low—around 350°F (175°C) is perfect. You only need about 3 to 5 minutes. This low-and-slow reheating melts off any internal moisture that crept into the coating while they were chilling, allowing the Panko to crisp up again beautifully without burning the coating. Trust me on this; it’s the only way to revive them!
Frequently Asked Questions About Air Fryer Pickles Recipe
Can I use fresh pickles instead of jarred for this Air Fryer Crispy Garlic Dill Pickles recipe?
Oh, I’m going to advise strongly against that, honey! Fresh cucumbers have way too much natural water content running around inside them. If you tried to bread a fresh cucumber, the water would just seep out during cooking, steam your beautiful Panko coating, and turn everything into sad, soggy mush. We need that concentrated, salty brine flavor and lower water level that comes from jarred dill pickles to make this work as a Quick Pickle Snack Air Fryer recipe. Stick to the drained jarred ones!
How can I make these Garlic Dill Pickle Spears Air Fryer even more garlicky?
That’s such a great question, because sometimes you just need *more*! If you want to really amp up the garlic factor—and you absolutely should if you love it—you have a couple of options beyond just adding more powder to the coating mixtures. On top of using the listed 1 teaspoon in the flour and the panko, try mixing about 1/4 teaspoon of garlic powder directly into your beaten eggs. If you’re feeling adventurous, you could even whisk in a tiny bit of garlic oil. Just be careful adding fresh minced garlic to the panko; sometimes that moisture makes the crumbs clump up instead of sticking nicely.
What temperature is best for making Crunchy Air Fried Pickles?
For the absolute golden combination of color and crunch, 380°F (195°C) is my sweet spot for these Crunchy Air Fried Pickles. Why that specific temperature? It’s hot enough that the exterior coating starts crisping up and drying out right away, which prevents steam buildup. However, it’s not so scorching hot (like 400°F) that the breading scorches before the pickle spear in the center is warm all the way through. It’s about balancing that quick, dry heat on the outside with just enough time to heat the inside properly. If you love cooking in the air fryer, you might want to check out my guide on getting crispy potato wedges—the temperature philosophy is very similar!
Nutritional Estimate for Air Fryer Crispy Garlic Dill Pickles
Now, I always want to be upfront about what goes into the food we make because we’re eating this! Since this recipe uses a coating and oil spray, it’s certainly not a ‘zero-calorie’ snack, but it’s vastly lighter than deep-fried versions. Remember that every brand of pickle jar is different, and how heavily you spray your oil influences these numbers.
This information is a general estimate based on using standard store-bought ingredients for about 4 servings. You should always run your exact ingredient brands through your favorite tracking app if you need precise dietary planning, but this gives you a great general idea of what you’re enjoying!
Here is the breakdown per serving (which is about 5 pickle spears):
- Calories: 180
- Fat: 7g
- Saturated Fat: 1g
- Carbohydrates: 25g
- Fiber: 1g
- Protein: 5g
- Sugar: 2g
- Sodium: 550mg (Yes, they are pickles, so keep an eye on this!)
Nutritional Estimate for Air Fryer Crispy Garlic Dill Pickles
Now, I always want to be upfront about what goes into the food we make because we’re eating this! Since this recipe uses a coating and oil spray, it’s certainly not a ‘zero-calorie’ snack, but it’s vastly lighter than deep-fried versions. Remember that every brand of pickle jar is different, and how heavily you spray your oil influences these numbers.
This information is a general estimate based on using standard store-bought ingredients for about 4 servings. You should always run your exact ingredient brands through your favorite tracking app if you need precise dietary planning, but this gives you a great general idea of what you’re enjoying!
Here is the breakdown per serving (which is about 5 pickle spears):
- Calories: 180
- Fat: 7g
- Saturated Fat: 1g
- Carbohydrates: 25g
- Fiber: 1g
- Protein: 5g
- Sugar: 2g
- Sodium: 550mg (Yes, they are pickles, so keep an eye on this!)
Serving Suggestions for Your Air Fryer Crispy Garlic Dill Pickles
Honestly, these Air Fryer Crispy Garlic Dill Pickles are so flavorful on their own—that punch of garlic and dill means you barely need anything else! They pack so much flavor, you could just eat them straight out of the basket. But, if you’re serving them up for game day or as an appetizer spread, a little dip takes them over the top!
Since these pickles are already savory and tangy, you want a dip that’s cool, creamy, and maybe has a little kick to balance things out. Forget that weird bright yellow sauce—we’re keeping it classy here.
Here are my favorite dipping companions:
- Classic Ranch Dressing: You just can’t beat it. The cool buttermilk tang is the perfect counterpoint to the salty, crispy coating. If you make your own ranch, even better!
- Spicy Mayo or Sriracha Aioli: If you want a little heat, this is your move. Just mix good quality mayonnaise with a squirt of Sriracha or a dash of your favorite hot sauce and maybe a tiny squeeze of fresh lime juice. It’s decadent and addictive!
- Simple Dill Yogurt Dip: For something a little lighter, mix plain Greek yogurt with a tiny bit of lemon juice, a pinch of salt, and a little extra dried dill. It highlights the flavor profile of the pickle itself without overpowering it.
I briefly considered suggesting cheese dip, because cheese fixes everything—you can find my 10-minute recipe for nacho cheese sauce right here if you’re feeling truly wild—but honestly, ranch or spicy mayo lets the garlic dill shine brightest. Try dipping them while they’re steaming hot; that’s the best!
Storing and Reheating Your Air Fryer Crispy Garlic Dill Pickles
Here’s the hard truth about any fried or air-fried food: they are completely, 100% best eaten about 30 seconds after they come out of the air fryer basket. When they’re piping hot, that garlic dill crust is at its absolute peak crunch. I really wish I could tell you otherwise, but once they cool down, that beautiful texture starts to soften up quickly.
But don’t worry! If you happen to have leftovers—which, honestly, I rarely do—you absolutely should not resort to microwaving them. That’s a guaranteed way to steam the crust and turn your beautiful snack into sad, warm mush. You have to use the air fryer again to bring them back to life!
If you must store them, here is my advice:
- Let them cool to room temperature first. Don’t put hot food directly into a container in the fridge, or you trap condensation which equals sogginess.
- Store them in a shallow, airtight container. Try not to stack them too heavily if you can help it.
- Keep them in the fridge for no more than one day. They really don’t like staying in there longer than that.
When you are ready for a second round of these Crunchy Air Fried Pickles, you have to reheat them in the air fryer basket. Set your temperature pretty low—around 350°F (175°C) is perfect. You only need about 3 to 5 minutes. This low-and-slow reheating melts off any internal moisture that crept into the coating while they were chilling, allowing the Panko to crisp up again beautifully without burning the coating. Trust me on this; it’s the only way to revive them!
Frequently Asked Questions About Air Fryer Pickles Recipe
Can I use fresh pickles instead of jarred for this Air Fryer Crispy Garlic Dill Pickles recipe?
Oh, I’m going to advise strongly against that, honey! Fresh cucumbers have way too much natural water content running around inside them. If you tried to bread a fresh cucumber, the water would just seep out during cooking, steam your beautiful Panko coating, and turn everything into sad, soggy mush. We need that concentrated, salty brine flavor and lower water level that comes from jarred dill pickles to make this work as a Quick Pickle Snack Air Fryer recipe. Stick to the drained jarred ones!
How can I make these Garlic Dill Pickle Spears Air Fryer even more garlicky?
That’s such a great question, because sometimes you just need *more*! If you want to really amp up the garlic factor—and you absolutely should if you love it—you have a couple of options beyond just adding more powder to the coating mixtures. On top of using the listed 1 teaspoon in the flour and the panko, try mixing about 1/4 teaspoon of garlic powder directly into your beaten eggs. If you’re feeling adventurous, you could even whisk in a tiny bit of garlic oil. Just be careful adding fresh minced garlic to the panko; sometimes that moisture makes the crumbs clump up instead of sticking nicely.
What temperature is best for making Crunchy Air Fried Pickles?
For the absolute golden combination of color and crunch, 380°F (195°C) is my sweet spot for these Crunchy Air Fried Pickles. Why that specific temperature? It’s hot enough that the exterior coating starts crisping up and drying out right away, which prevents steam buildup. However, it’s not so scorching hot (like 400°F) that the breading scorches before the pickle spear in the center is warm all the way through. It’s about balancing that quick, dry heat on the outside with just enough time to heat the inside properly. If you love cooking in the air fryer, you might want to check out my guide on getting crispy potato wedges—the temperature philosophy is very similar!
PrintAir Fryer Crispy Garlic Dill Pickles
Make genuinely crispy garlic dill pickles using your air fryer. This recipe provides a simple breading method for a crunchy, flavorful snack without deep frying.
- Prep Time: 15 min
- Cook Time: 10 min
- Total Time: 25 min
- Yield: 4 servings
- Category: Appetizer
- Method: Air Frying
- Cuisine: American
- Diet: Vegetarian
Ingredients
- 1 jar (16 ounces) dill pickle spears or chips, drained well
- 1/2 cup all-purpose flour
- 1 teaspoon garlic powder
- 1/2 teaspoon dried dill weed
- 1/4 teaspoon salt
- 1/4 teaspoon black pepper
- 2 large eggs, lightly beaten
- 1 cup panko breadcrumbs
- 1 teaspoon garlic powder (for breading)
- 1/2 teaspoon dried dill weed (for breading)
- Cooking spray (oil-based)
Instructions
- Drain the pickles completely and pat them very dry using paper towels. This step is key for crispness.
- Set up a standard breading station with three shallow dishes.
- In the first dish, combine the flour, 1 teaspoon garlic powder, 1/2 teaspoon dill weed, salt, and pepper. Mix well.
- Place the beaten eggs in the second dish.
- In the third dish, combine the panko breadcrumbs, 1 teaspoon garlic powder, and 1/2 teaspoon dill weed. Mix well.
- Dredge each pickle piece first in the flour mixture, shaking off excess.
- Dip the floured pickle into the egg, letting excess drip off.
- Coat thoroughly in the seasoned panko mixture, pressing gently so the crumbs adhere.
- Lightly spray the air fryer basket with cooking spray.
- Arrange the coated pickles in a single layer in the air fryer basket. Do not overcrowd; work in batches if necessary.
- Spray the tops of the breaded pickles lightly with cooking spray.
- Air fry at 380°F (195°C) for 8 to 10 minutes, flipping halfway through.
- Continue cooking until the coating is golden brown and crispy.
- Serve immediately.
Notes
- For extra crispness, chill the breaded pickles in the freezer for 10 minutes before air frying.
- Use pickle chips or spears; thickness affects cooking time; aim for uniform size.
- If your air fryer tends to stick, use parchment paper liners designed for air fryers.
Nutrition
- Serving Size: 5 spears
- Calories: 180
- Sugar: 2
- Sodium: 550
- Fat: 7
- Saturated Fat: 1
- Unsaturated Fat: 6
- Trans Fat: 0
- Carbohydrates: 25
- Fiber: 1
- Protein: 5
- Cholesterol: 65