

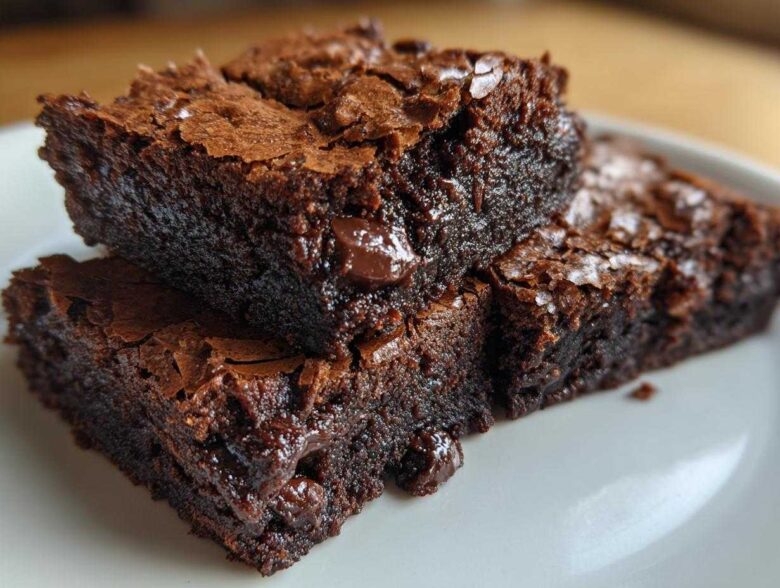
Forget everything you thought you knew about fussy baking; we are talking about the absolute dream chocolate square right here. I’ve spent way too many afternoons scraping rock-hard, cakey disappointments out of the pan, but I finally cracked the code! These right here are the best homemade brownies you’ll ever make. Seriously. They’re ridiculously easy—we’re talking 10 minutes prep time—and they deliver that perfect combination of a deep, dark chocolate flavor, an incredibly gooey center, and that gorgeous, shiny, crackly top that makes everyone think you bought them from a high-end bakery. These brownies are my tried-and-true go-to, born from years of tweaking.
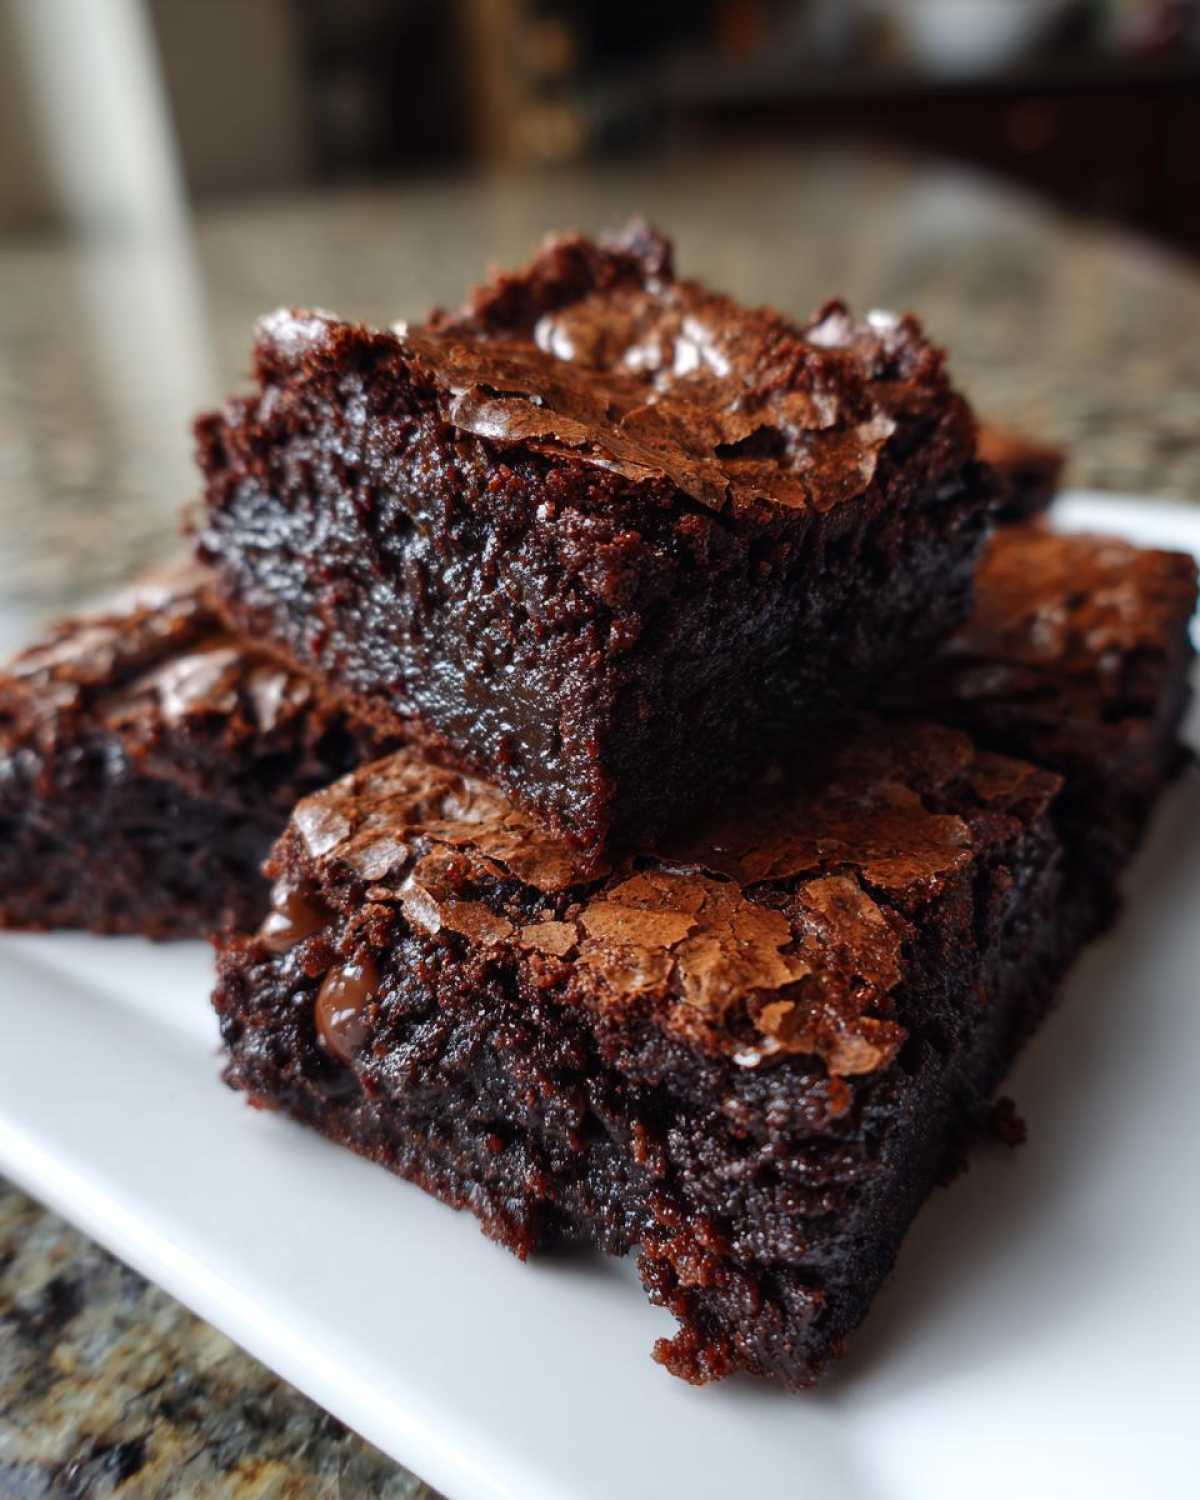
My secret sauce? It’s really about simplicity and using the right amount of sugar and fat before *anything* hits the flour. I used to think you needed a stand mixer for anything good, but for these, a simple whisk and a bowl are all you need. If you’re looking for a truly rich, decadent experience without the fuss, pull up your apron, because we’re making magic.
I even have a fantastic variation using black beans that sneaks in some extra goodness if you’re curious, though these purist chocolate ones are what I bake when I need cozy comfort, or you can check out the quick details on how to make fudgy ones in the microwave if you’re in a total pinch! It’s all about that texture, right?
Why You Need This Easy Fudgy Brownie Recipe
Honestly, why bother with complicated recipes when you can get bakery-level results in minutes? These specific brownies hit every marker perfectly. I promise you won’t regret making this batch!
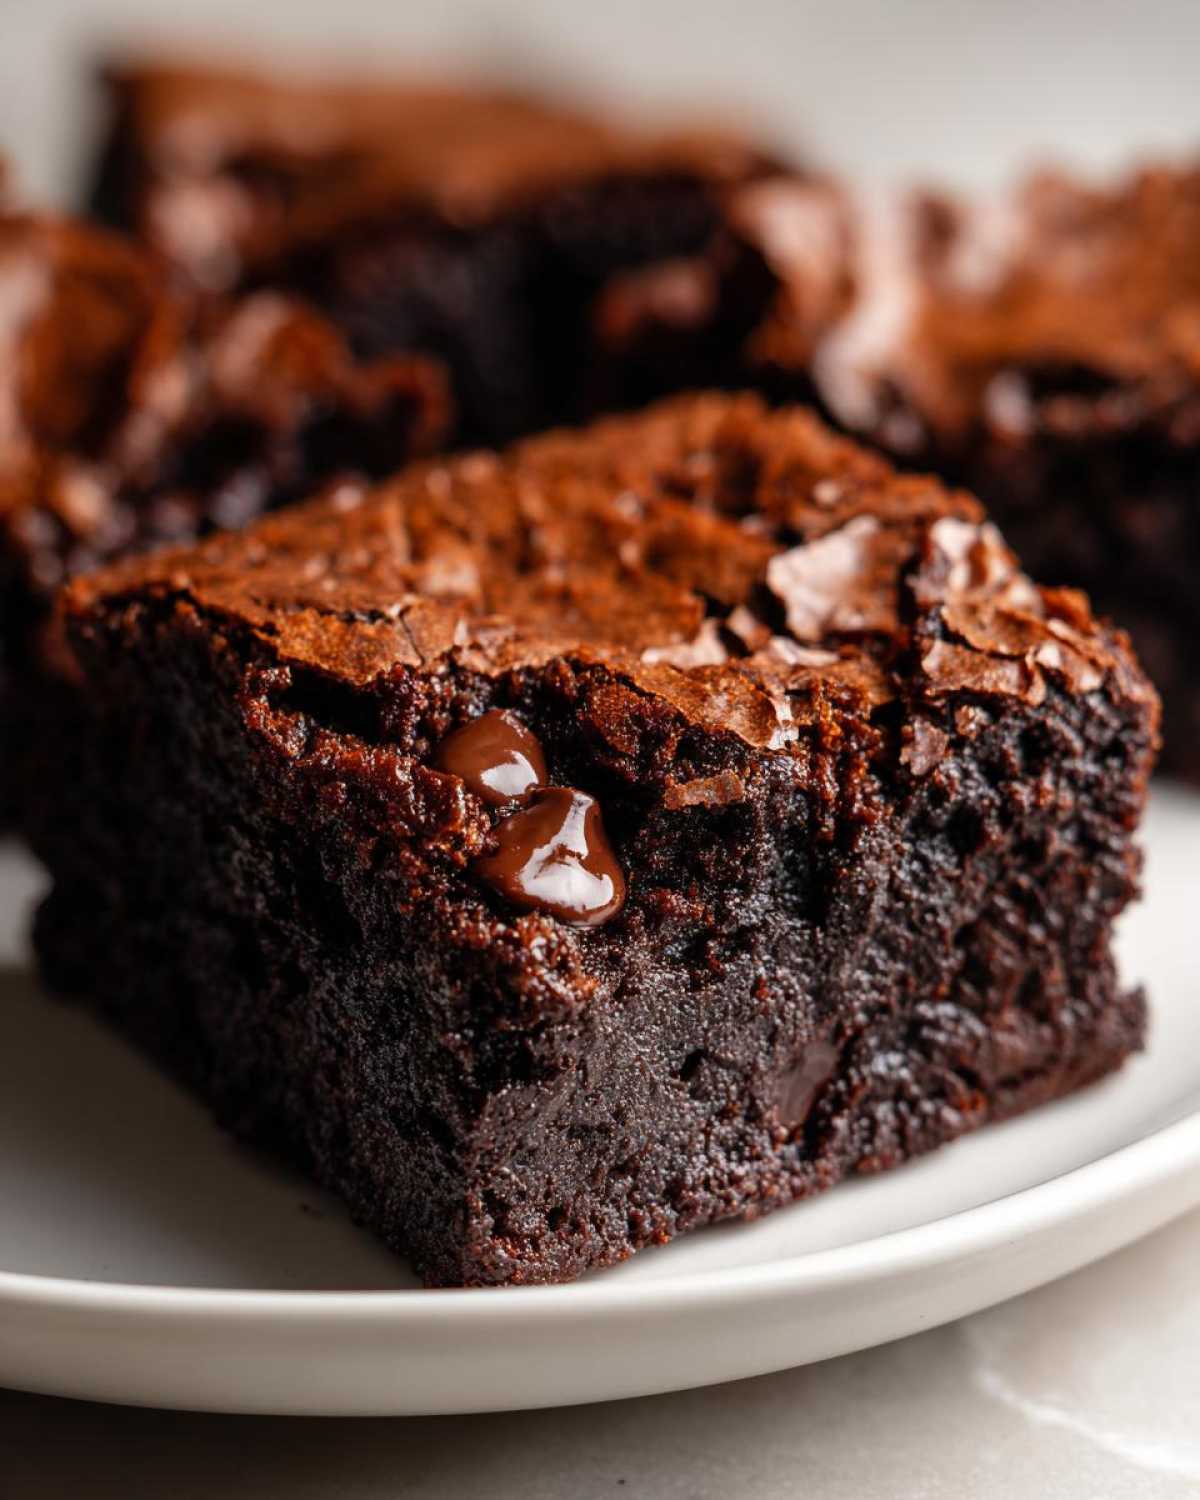
- They have that famous, irresistible crackly top that flakes slightly when you cut into it.
- The texture is purely fudgy and chewy—zero cakeiness allowed here!
- It’s a true one-bowl recipe that means cleanup is a breeze.
- It’s so fast! You can easily whip these up for a quick afternoon bake.
The Essential Ingredients for Perfect Brownies
When we talk about achieving that deep dark chocolate flavor and that famous texture in our brownies, it all comes down to the core four: fat, sugar, cocoa, and flour. Don’t even think about swapping out the butter for oil here—the butter is necessary for structure and flavor. Since this is an easy fudgy brownie recipe meant for maximum flavor with minimum effort, we don’t need a complicated ingredient list.
Here is precisely what you need sitting on your counter before you start:
- One cup (that’s two full sticks!) of unsalted butter, and yes, it has to be melted first.
- Two cups of granulated sugar—this is key for that crackly top, so don’t skimp!
- Four large eggs; they give instant richness.
- One teaspoon of pure vanilla extract, because flavor matters.
- Three-quarters of a cup of unsweetened cocoa powder. Buy the good stuff; it makes a huge difference in how rich these decadent brownies turn out.
- One cup of all-purpose flour—we only use a little bit, which is why these aren’t cakey!
- Half a teaspoon of salt to balance out all that chocolate goodness.
- Finally, one cup of semi-sweet or dark chocolate chips to fold in for extra gooey pockets.
Equipment Needed for These Simple One Bowl Brownies
Seriously, this is why I love this recipe so much. You don’t need any fancy gadgets for these brownies. If you can handle a spoon, you can make these! It keeps the cleanup down to almost nothing, making it a perfect quick afternoon bake.
Make sure you have these few things ready to go:
- You’ll need one large mixing bowl. That’s it for the main action!
- A sturdy whisk. This is more important than you think for beating sugar and eggs properly.
- A 9×13 inch baking pan. This size guarantees those thick bakery-style brownies we’re aiming for.
- Parchment paper is non-negotiable! You need that overhang to lift your finished squares out easily later. Trust me, prying stuck brownies out is not a fun Sunday activity.
Step-by-Step Instructions: Baking Your Best Homemade Brownies
Putting these amazing brownies together is truly faster than running to the store to buy a box mix. We’re keeping things super straightforward so you can stop reading and start mixing! Just stay patient during the cooling phase; that’s my second biggest secret after the initial whisking step.
Preparation and Mixing the Brownie Batter
First things first, get that oven heating up to 350°F (175°C). While it warms, line your 9×13 pan with parchment paper, making sure there’s a generous overhang on the sides—this is your handle later! Now, grab that large bowl. We need to whisk the melted butter and sugar together until they look totally combined. This is where the magic for the **crackly top brownies** starts, so whisk well!
Next up are the eggs, going in one at a time, whisking after each addition until the whole thing is smooth. Splash in your vanilla. In a separate, smaller bowl (yes, one extra small dish, sorry!), whisk your dry components: cocoa powder, flour, and salt. If you are using a darker, high-quality cocoa powder, it will really enhance that deep dark chocolate flavor we love so much.
Now for the most important rule for fudgy results: Gently add the dry mix to the wet. You need to mix only until you stop seeing streaks of flour. Stop mixing! If you overdo it, you develop the gluten, and BAM, you’ve got cake instead of gooey chocolate squares. Finally, fold in those chocolate chips gently with a spatula.
Baking and Cooling Your Rich Decadent Brownies
Pour that gorgeous, thick batter into your prepared pan and spread it out evenly; it’s going to look very thick, which is exactly what you want for those **thick bakery style brownies**. Pop it into the preheated oven for about 25 to 30 minutes. Don’t look away at minute 25, though! Test it correctly: Stick a toothpick right near the middle. If it comes out with moist, sticky crumbs attached—not wet goo—they are done. If it’s totally clean, they’re already overbaked, so pull them out anyway!
This is the hardest part, I know, but listen to me: You MUST let these cool completely in the pan on a wire rack. If you try to cut them warm, they will crumble into a chocolate mess because the structure hasn’t set yet. Once they are totally cool, use those parchment paper handles to lift the whole slab out, and then slice into your perfect squares. You can find some other excellent tips for brownie variations if you want to jazz up the next batch right here, but for this classic, cooling is everything!
Expert Tips for Achieving Perfect Brownie Texture
We’ve talked about the recipe, but texture is where the real drama happens when baking brownies. People constantly ask me how I get that specific, dense, fudgy result without ending up with something rubbery or, worse, dry. I spent *years* making dry, crumbly squares that tasted fine but felt like sad sponges. The turning point was realizing how much the sugar interacted with the eggs!
To get that coveted crackly top—the one that makes everyone go “Wow!”—you need to whisk the melted butter and sugar together until they’re nearly pale before adding the eggs. That initial beating incorporates air and dissolves enough sugar to form that signature shiny, delicate skin on top as it bakes. Don’t rush that step!
For the **chewy center brownies**, it all comes down to two things: minimal flour and minimal baking time. We use less flour than a standard cake recipe on purpose. Then, when you test for doneness, remember I said moist crumbs, not a clean toothpick? That small amount of residual, unset batter is what guarantees fudgy goodness when the brownies cool down. If you pull them out and they seem *slightly* too gooey, that’s perfect. They firm up beautifully while resting. If you need inspiration on getting soft cookies just right, you can check out my tips over here, but the principle of not overbaking applies perfectly here too!
Simple Brownie Variations and Flavor Add-Ins
Once you’ve mastered this base recipe for utterly decadent brownies, the kitchen is your playground! The beauty of these simple, one-bowl squares is that they are phenomenal as they are, but they also take mix-ins like a champ. We are talking about fantastic brownie variations that take them from basic to gourmet in seconds.
For crunch, toss in about a cup of chopped pecans or walnuts right at the very end with the chocolate chips. Peanut butter lovers, listen up: Swirl a big dollop of creamy peanut butter on top just before baking. Use a knife to gently marble it through the batter—don’t overdo it! If you want tang and color, check out my recipe for raspberry swirl brownies, though you can simply fold in a cup of dried cherries or cranberries for a less messy version right into this batter.
And if you need a little extra perfume, a tiny splash of almond extract mixed in with your vanilla changes the whole profile of these gooey chocolate squares. It’s amazing how small additions make a huge impact!
Storing and Reheating Your Gooey Chocolate Squares
So, you’ve survived the cooling torture, and now you have these perfect, rich, decadent brownies. The question is: how do we make sure they stay perfect for the next day? Thankfully, these brownies are extremely forgiving and actually taste even better the next day once they’ve fully set up.
For short-term storage—say, if you think you’ll eat them within three or four days—just keep them right in the baking pan, covered tightly with plastic wrap or foil. If they’re already cut, transfer the gooey chocolate squares to an airtight container. Keep them at cool room temperature. Try to avoid the fridge if you can; while it keeps them safe, the chill can make that fudgy center a little too firm.
If you need to keep them longer, freezing is the way to go. I always cut mine first, then stack them with wax paper in between layers inside a heavy-duty freezer bag. They hold up beautifully for about two months. When you’re ready for one, just pull one or two squares out!
Now, for reheating: please, please, do not microwave these for too long! That blast of heat is exactly what turns fudgy perfection into hard, dry chocolate bricks. If you need to warm one up for that fresh-out-of-the-oven feel, put it on a small oven-safe plate and warm it in a low oven—maybe 300°F—for just five minutes. That gentle warmth brings the fats back to life without destroying the texture we worked so hard to achieve.
Frequently Asked Questions About Making Brownies
Even with this easy recipe, sometimes questions pop up when you’re dealing with pure chocolate magic! These are the things I hear most often from folks trying to bake their first batch of truly delicious, fudgy brownies from scratch. Hopefully, this clears everything up so you can get to the eating part faster!
What causes dry brownies, and how do I stop it?
Oh gosh, dry brownies are the absolute worst; they are the opposite of the gooey chocolate squares we are aiming for! Usually, dryness comes from over-mixing the batter once the flour is added, which develops too much gluten, or from overbaking. My biggest tip is to trust that toothpick test—if it still looks a little wet in the center when you pull them out, they’re perfect. They will continue cooking on residual heat, which keeps that center wonderfully chewy. Don’t use this recipe if you want cakey brownies!
Can I use oil instead of butter in these brownies?
I strongly advise against it for this specific recipe. Butter is crucial here because it solidifies when cool, which helps give these best homemade brownies their dense, rich structure. Oil stays liquid, which means even when cooled, they won’t have that satisfying chewiness we want. Butter gives us the necessary structure for the crackly top, too! If you want to experiment with swaps later, you can check out my thoughts on those in my tahini swirl recipe here, but for this batch, stick to the butter!
How do I know when my fudgy brownies are done baking?
This is the eternal question! You are aiming for the line between done and ruinously overbaked. Forget setting a timer and walking away; you must check them. Remember what I said in the instructions: Stick a toothpick in the middle, and you want moist crumbs clinging to it. If the toothpick comes out completely clean, they are probably already slightly dry. If it comes out dripping wet batter, they need five more minutes. Moist crumbs are the sweet spot for easy fudgy brownie recipe perfection.
Nutritional Estimates for These Classic Chocolate Baked Goods
Now, look, I’m a cook, not a nutritionist, okay? I whip these up because they make everyone happy, not because they’re a health food! These little squares of joy are rich, decadent, and packed with chocolate goodness. So, when we talk about the nutritional information for these classic chocolate baked goods, remember this is just an honest, ballpark guess based on the ingredients list. Your actual numbers will change depending on the specific brand of cocoa powder or the type of chocolate chips you toss in.
We are basing these estimates on them being cut into 16 generous servings. If you cut them smaller, those numbers per square go right down, but who wants a small brownie?
Here are the approximate numbers for one serving of these rich decadent brownies:
- Serving Size: 1 square
- Calories: 250
- Sugar: 28g (Yes, it’s a treat!)
- Fat: 14g
- Protein: 3g
- Carbohydrates: 30g
As always, if you’re counting macros or dealing with allergies, double-check your specific product labels. But for the occasional slice of pure, fudgy heaven, I think we can all agree these brownies are worth every single calorie!
PrintEasy Fudgy Brownies with Crackly Tops
This recipe produces rich, deep dark chocolate brownies with a perfectly chewy center and a desirable crackly top. It requires minimal equipment.
- Prep Time: 10 min
- Cook Time: 30 min
- Total Time: 40 min
- Yield: 16 servings
- Category: Dessert
- Method: Baking
- Cuisine: American
- Diet: Vegetarian
Ingredients
- 1 cup (2 sticks) unsalted butter, melted
- 2 cups granulated sugar
- 4 large eggs
- 1 teaspoon vanilla extract
- 3/4 cup unsweetened cocoa powder
- 1 cup all-purpose flour
- 1/2 teaspoon salt
- 1 cup chocolate chips (semi-sweet or dark)
Instructions
- Preheat your oven to 350°F (175°C). Line a 9×13 inch baking pan with parchment paper, leaving an overhang on the sides for easy removal.
- In a large bowl, whisk the melted butter and sugar together until fully combined.
- Whisk in the eggs one at a time until the mixture is smooth. Stir in the vanilla extract.
- In a separate bowl, whisk together the cocoa powder, flour, and salt.
- Gradually add the dry ingredients to the wet ingredients, mixing only until just combined. Do not overmix.
- Fold in the chocolate chips.
- Spread the batter evenly into the prepared pan.
- Bake for 25 to 30 minutes. A toothpick inserted near the center should come out with moist crumbs attached, not wet batter.
- Let the brownies cool completely in the pan on a wire rack before lifting out and cutting into squares.
Notes
- For the best crackly top, ensure your sugar and melted butter are well combined before adding the eggs.
- Do not overbake; underbaking slightly results in a fudgier texture.
- Cooling completely before slicing prevents the squares from crumbling.
Nutrition
- Serving Size: 1 square
- Calories: 250
- Sugar: 28g
- Sodium: 100mg
- Fat: 14g
- Saturated Fat: 8g
- Unsaturated Fat: 6g
- Trans Fat: 0g
- Carbohydrates: 30g
- Fiber: 2g
- Protein: 3g
- Cholesterol: 50mg