

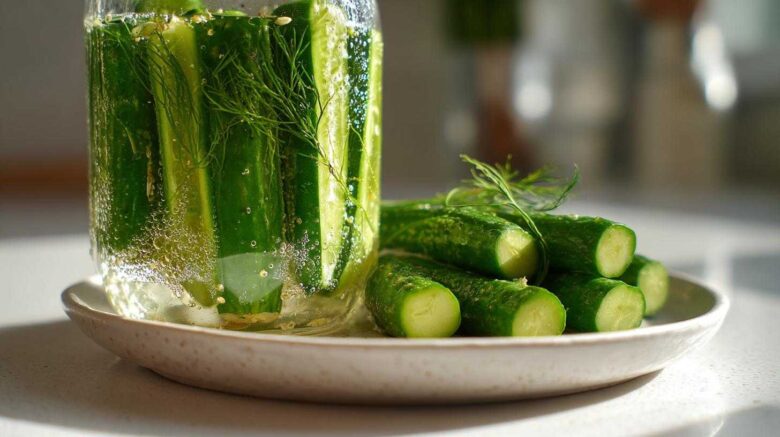
Oh, the joy of a garden overflowing with cucumbers! If you’re anything like me, you sometimes find yourself with a beautiful bounty. You then wonder how to use them all. That’s exactly how I first stumbled upon the magic of refrigerator dill pickles. Elias and I had more cucumbers than we knew what to do with one summer. We love fresh salads, but there’s only so much salad you can eat!
I remember looking at all those crisp, green beauties. I knew I couldn’t let them go to waste. Canning felt like too big a project at the time. Then, I heard about quick pickles. It was a game-changer! These pickles are so easy to make. There’s no fancy equipment needed. Just a few simple ingredients transform those cucumbers into tangy, crunchy delights. They are ready to enjoy in just a day or two. It truly felt like such a win. This method is perfect for preserving that garden freshness. Plus, they make the best snack or sandwich topper!
Why You’ll Love These Refrigerator Dill Pickles
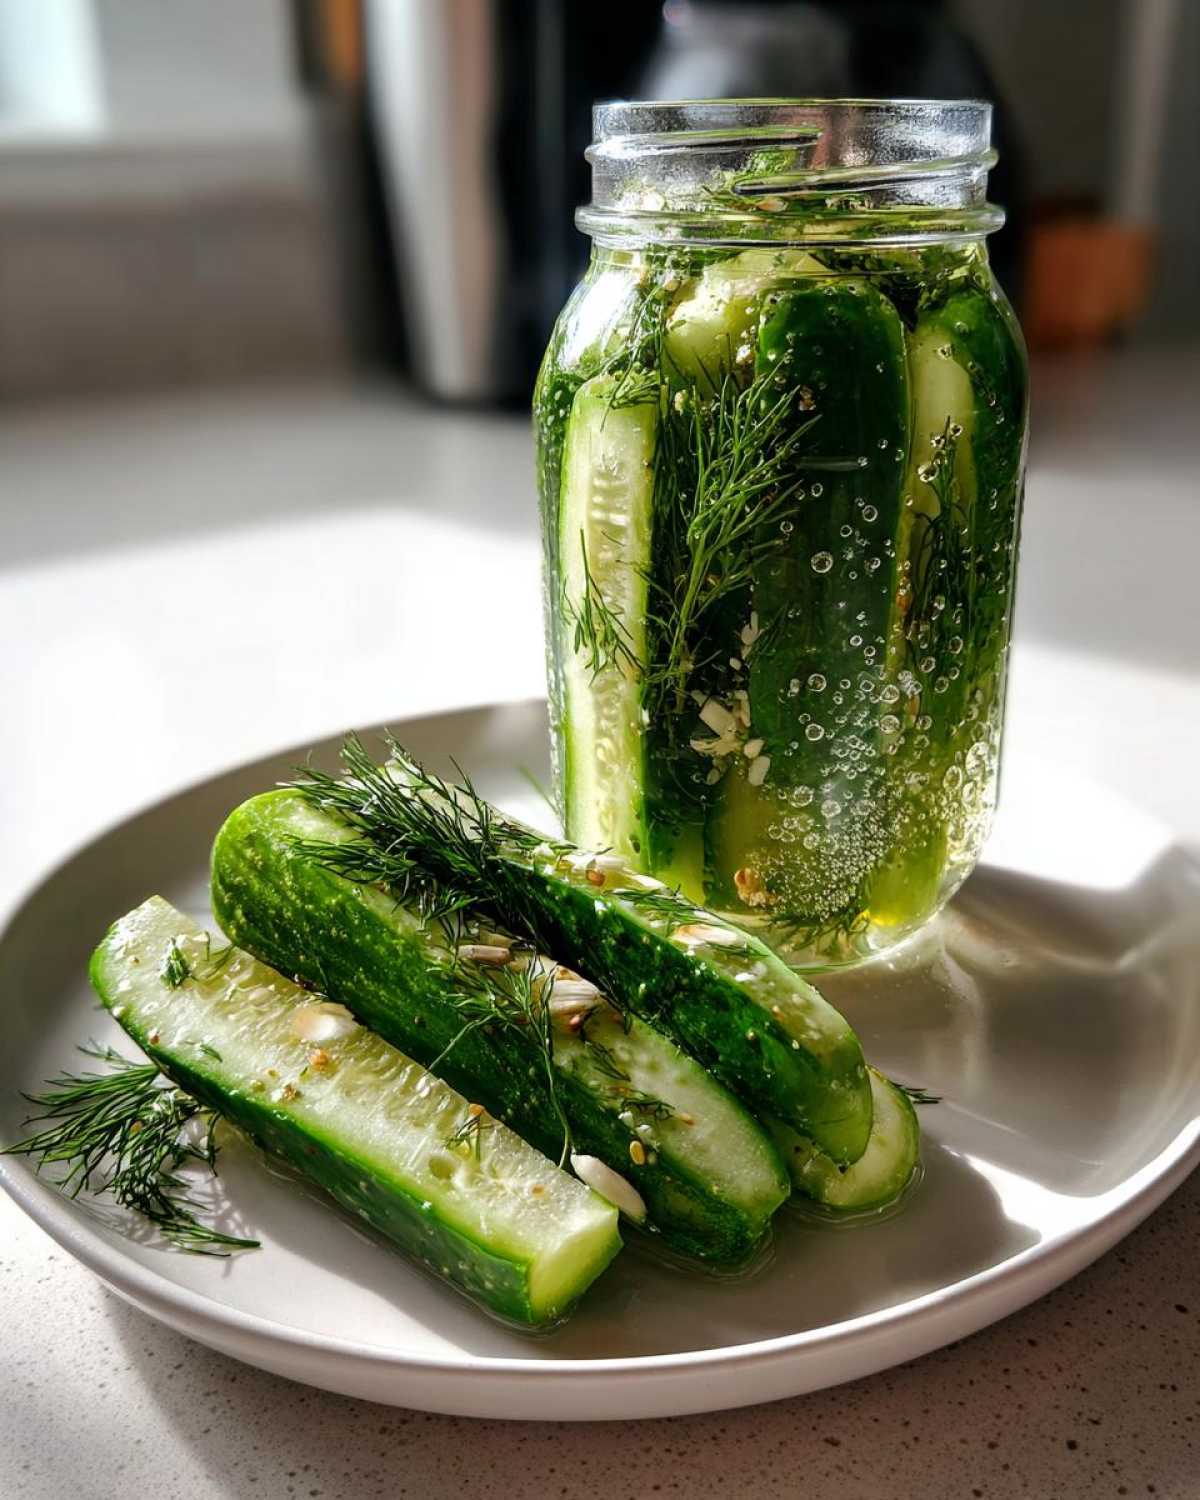
There are so many reasons to fall for these easy refrigerator dill pickles. They are a real kitchen hero, especially when you have a garden harvest. Here’s why I think you’ll love them:
- They are incredibly crisp and tangy.
- The flavor is bright and fresh.
- There’s no canning required, making them super simple.
- They are perfect for using up extra garden cucumbers.
- You can enjoy them in just a day or two!
They truly are a quick and delicious way to enjoy fresh produce.
The Joy of Homemade Refrigerator Dill Pickles
For me, making these pickles is pure joy. There’s something so satisfying about transforming fresh ingredients. You control everything that goes in. The taste is just so much better than store-bought. It’s a simple pleasure, fitting right into our Flavor Vista philosophy.
Essential Ingredients for Refrigerator Dill Pickles
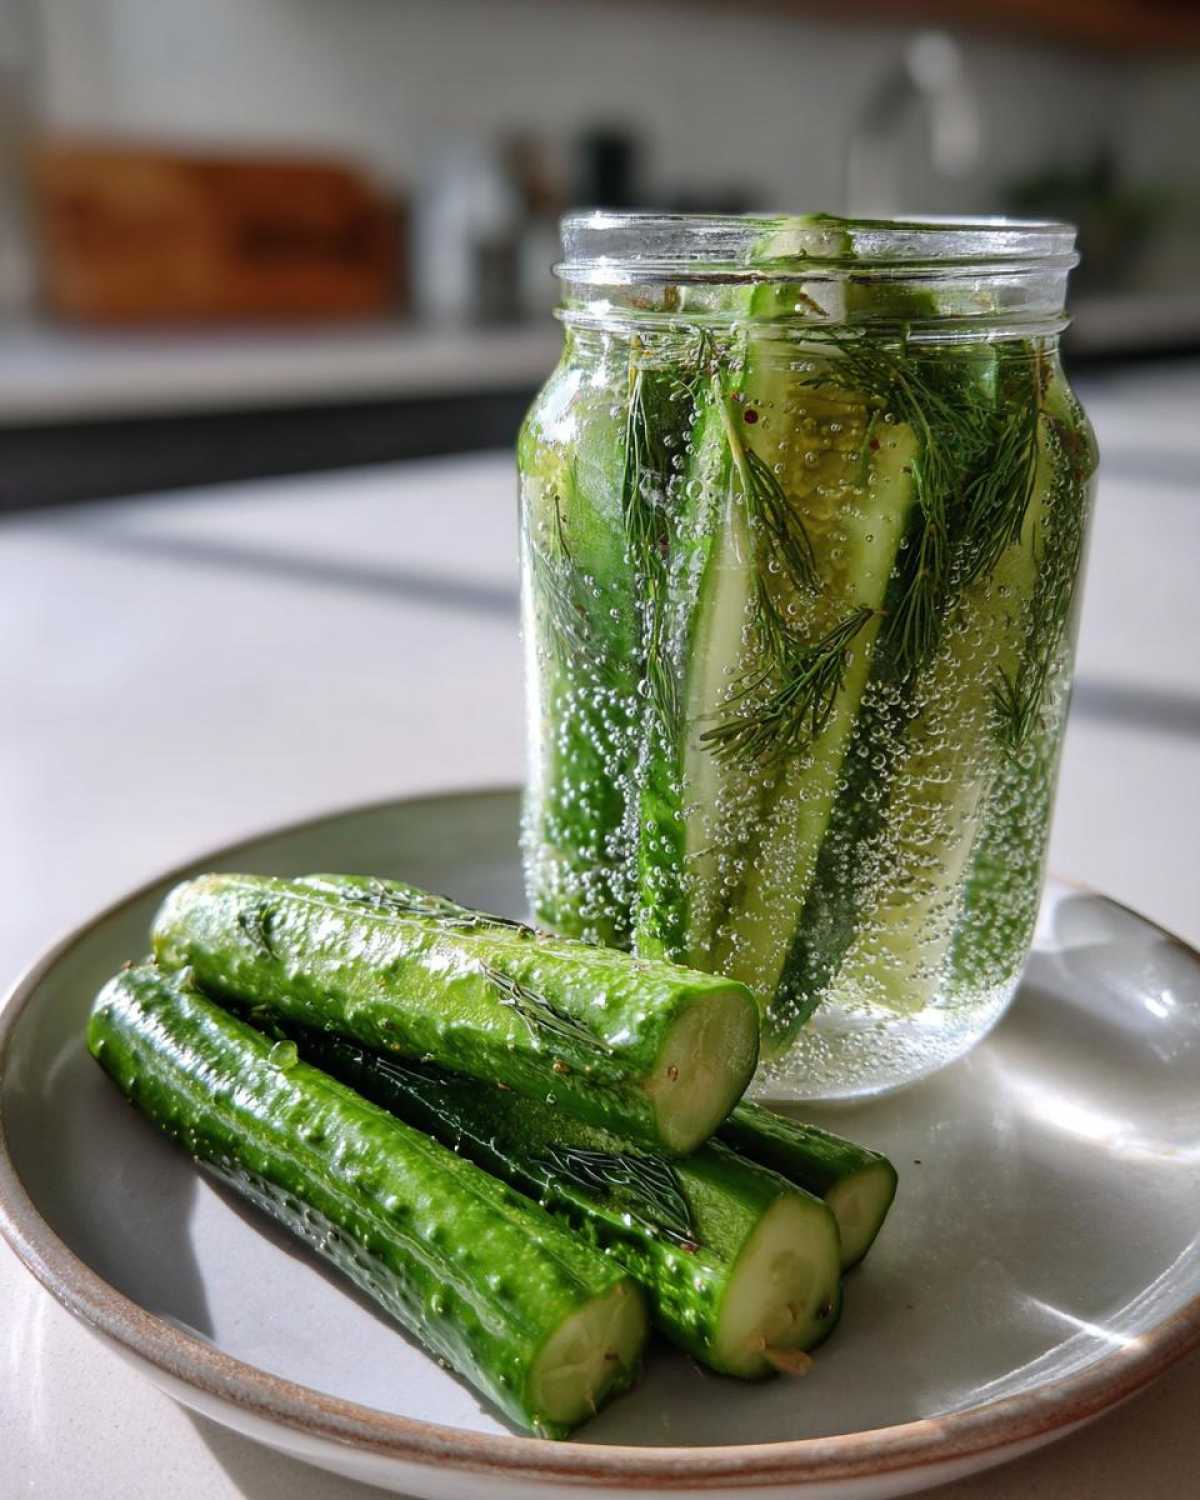
Making delicious refrigerator dill pickles starts with good ingredients. Here is what you will need:
- 4-5 medium pickling cucumbers: Make sure they are washed and trimmed.
- 2 cups white vinegar: This gives our pickles their tangy kick.
- 2 cups water: It balances the brine.
- 2 tablespoons pickling salt: Or you can use kosher salt.
- 1 tablespoon sugar: Just a touch to round out the flavors.
- 4-5 cloves garlic: Peeled and lightly smashed to release their goodness.
- 2-3 sprigs fresh dill per jar: Fresh dill is key for that classic flavor.
- 1 teaspoon mustard seeds per jar: They add a subtle spice.
- 1/2 teaspoon black peppercorns per jar: For a little bit of warmth.
- Pinch of red pepper flakes (optional, per jar): If you like a tiny bit of heat.
Gathering all these really sets you up for success.
Choosing the Best Cucumbers for Refrigerator Dill Pickles
The right cucumber makes all the difference for crisp refrigerator dill pickles. I always go for pickling cucumbers. They are naturally firmer. Look for fresh ones that feel firm, not soft. Avoid any with blemishes or large, noticeable seeds. Those tend to get mushy. The cucumber you pick really affects how crunchy your finished pickles will be. It’s a small detail, but it matters!
How to Make Refrigerator Dill Pickles
Making these refrigerator dill pickles is super straightforward. You’ll be amazed at how easy it is! First, wash and trim both ends of your cucumbers. Next, slice them into spears or rounds, whatever you like best. I usually do spears for snacking. Now, let’s get those jars ready!
Once your jars are packed, it’s time for the brine. This is where the magic happens! Pour the warm brine over the cucumbers. Make sure they are fully covered. Leave about half an inch of space from the top. Gently tap the jars to release any air bubbles. If needed, add more brine. Then, seal them tight with their lids. Let them cool down on the counter. After that, move them to the fridge. They need at least 24 to 48 hours to soak up all that flavor. The longer they sit, the better they get!
This no-canning method makes it so simple. You’ll have delicious, crisp pickles in no time. It’s a truly rewarding process.
Preparing Your Jars for Refrigerator Dill Pickles
Clean jars are a must for your refrigerator dill pickles. I always wash mine in hot, soapy water. Then, I rinse them really well. You don’t need to sterilize them like for canning. But, clean jars help keep your pickles safe. It also prevents any unwanted spoilage. This simple step is so important!
The Brine for Perfect Refrigerator Dill Pickles
The brine is the heart of your refrigerator dill pickles. In a pot, mix the vinegar, water, salt, and sugar. Bring this mixture to a boil. Stir it until the salt and sugar completely dissolve. This ensures a balanced flavor. Then, take it off the heat. Let it cool just a bit before you pour it. This warm, flavorful liquid is what transforms your cucumbers.
Tips for Success with Refrigerator Dill Pickles
I’ve learned a few tricks over the years for making the best refrigerator dill pickles. For extra crunch, you can add a grape leaf to each jar. It has tannins that help keep them crisp. Or, a tiny pinch of pickle crisp works wonders too. Don’t be afraid to play with the spices. If you love garlic, add more cloves! Prefer a little heat? Increase those red pepper flakes. These pickles are all about personal taste. Remember, they need to stay in the fridge. Proper cold storage keeps them fresh and tasty for weeks.
Ensuring Crisp Refrigerator Dill Pickles
For truly crisp refrigerator dill pickles, start with fresh, firm cucumbers. Always trim the blossom end; it has enzymes that can soften pickles. Adding a grape leaf to each jar helps a lot. A tiny bit of pickle crisp powder also does the trick. These small steps make a big difference. Crispness is key for great homemade pickles!
Common Questions About Refrigerator Dill Pickles
I get asked a lot of questions about making and keeping refrigerator dill pickles. Here are some common ones:
How long do refrigerator dill pickles last? Mine usually last several weeks. As long as they are kept in the fridge, they stay good. Just make sure they are always submerged in the brine.
Can I use regular cucumbers for refrigerator dill pickles? You can, but they might not be as crisp. Pickling cucumbers are best. Regular slicing cucumbers have more water. They can get a bit softer in the brine.
Why are my refrigerator dill pickles not crisp? This is a common issue! It often comes down to the cucumbers. Make sure they are super fresh. Also, trim the blossom end. That end has enzymes that can make pickles soft. Adding a grape leaf helps too.
Storing Your Refrigerator Dill Pickles
Once your refrigerator dill pickles are made, they need to go straight into the fridge. They are not shelf-stable. Keep them chilled at all times. They will stay fresh and delicious for several weeks. Just grab one whenever you need a tangy snack!
Estimated Nutritional Information
Please remember that the nutritional information provided is an estimate. It can vary quite a bit. Different brands of ingredients have different values. So, your homemade batch might be slightly different. This is just a general guide for your refrigerator dill pickles!
Share Your Refrigerator Dill Pickles Experience
I really hope you give these refrigerator dill pickles a try! There’s nothing quite like the taste of homemade. If you do, please come back and share your experience with us. Did you try a different spice? How did you enjoy your pickles? Elias and I absolutely love hearing from you all. Your stories and tips truly make our kitchen feel complete. So, leave a comment below!
PrintDangerously Delicious Refrigerator Dill Pickles: 2-Day Amazing Crunch
Make crisp, tangy dill pickles without canning. This recipe is perfect for using extra cucumbers and yields delicious pickle spears ready in a day or two.
- Prep Time: 20 minutes
- Cook Time: 10 minutes
- Total Time: 24 hours 30 minutes (includes chilling time)
- Yield: 2-3 pint jars
- Category: Condiment
- Method: No-Cook Pickling
- Cuisine: American
- Diet: Vegan
Ingredients
- 4-5 medium cucumbers (pickling cucumbers preferred)
- 2 cups white vinegar
- 2 cups water
- 2 tablespoons pickling salt (or kosher salt)
- 1 tablespoon sugar
- 4-5 cloves garlic, peeled and smashed
- 2-3 sprigs fresh dill per jar
- 1 teaspoon mustard seeds per jar
- 1/2 teaspoon black peppercorns per jar
- Pinch of red pepper flakes (optional, per jar)
Instructions
- Wash and trim the ends off your cucumbers. Cut them into spears or slices.
- Prepare your jars. Ensure they are clean and sterilized.
- In a medium saucepan, combine vinegar, water, pickling salt, and sugar. Bring to a boil, stirring until the salt and sugar dissolve. Remove from heat and let cool slightly.
- Into each clean jar, add 2-3 sprigs of fresh dill, 1-2 smashed garlic cloves, 1 teaspoon mustard seeds, 1/2 teaspoon black peppercorns, and a pinch of red pepper flakes (if using).
- Pack the cucumber spears tightly into the prepared jars.
- Pour the warm brine over the cucumbers, making sure they are fully submerged. Leave about 1/2 inch of headspace.
- Tap the jars gently to release any air bubbles. If needed, add more brine to ensure cucumbers are covered.
- Seal the jars with lids.
- Let the jars cool to room temperature, then transfer them to the refrigerator.
- Allow the pickles to chill and marinate for at least 24-48 hours before enjoying. The flavor will deepen over time.
Notes
- For extra crisp pickles, you can add a grape leaf or a pinch of pickle crisp to each jar.
- These refrigerator pickles will last for several weeks in the refrigerator.
- Adjust the amount of garlic, dill, and spices to your taste.
Nutrition
- Serving Size: 1 spear
- Calories: 5
- Sugar: 0.5g
- Sodium: 150mg
- Fat: 0g
- Saturated Fat: 0g
- Unsaturated Fat: 0g
- Trans Fat: 0g
- Carbohydrates: 1g
- Fiber: 0.5g
- Protein: 0g
- Cholesterol: 0mg