

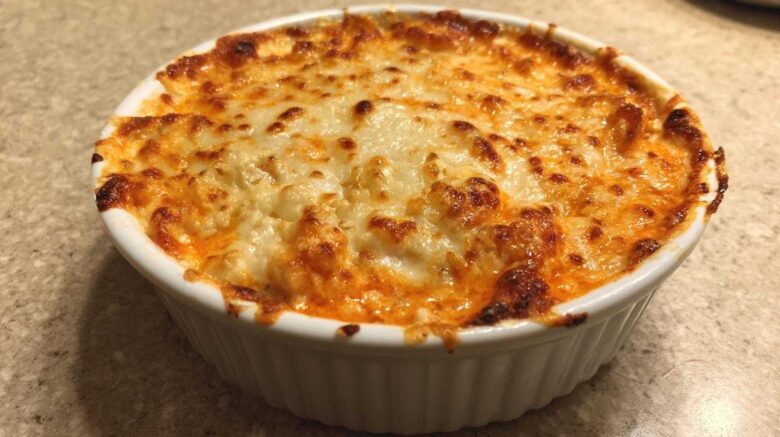
Your New Favorite Buffalo Cauliflower Dip Recipe
Are you ready for a game-changer appetizer?
I used to miss that spicy, creamy kick.
Chicken wings often meant too much guilt later.
Then, I perfected this Buffalo Cauliflower Dip recipe.
It delivers all the flavor, trust me on this one.
This version is lighter and totally vegetarian too.
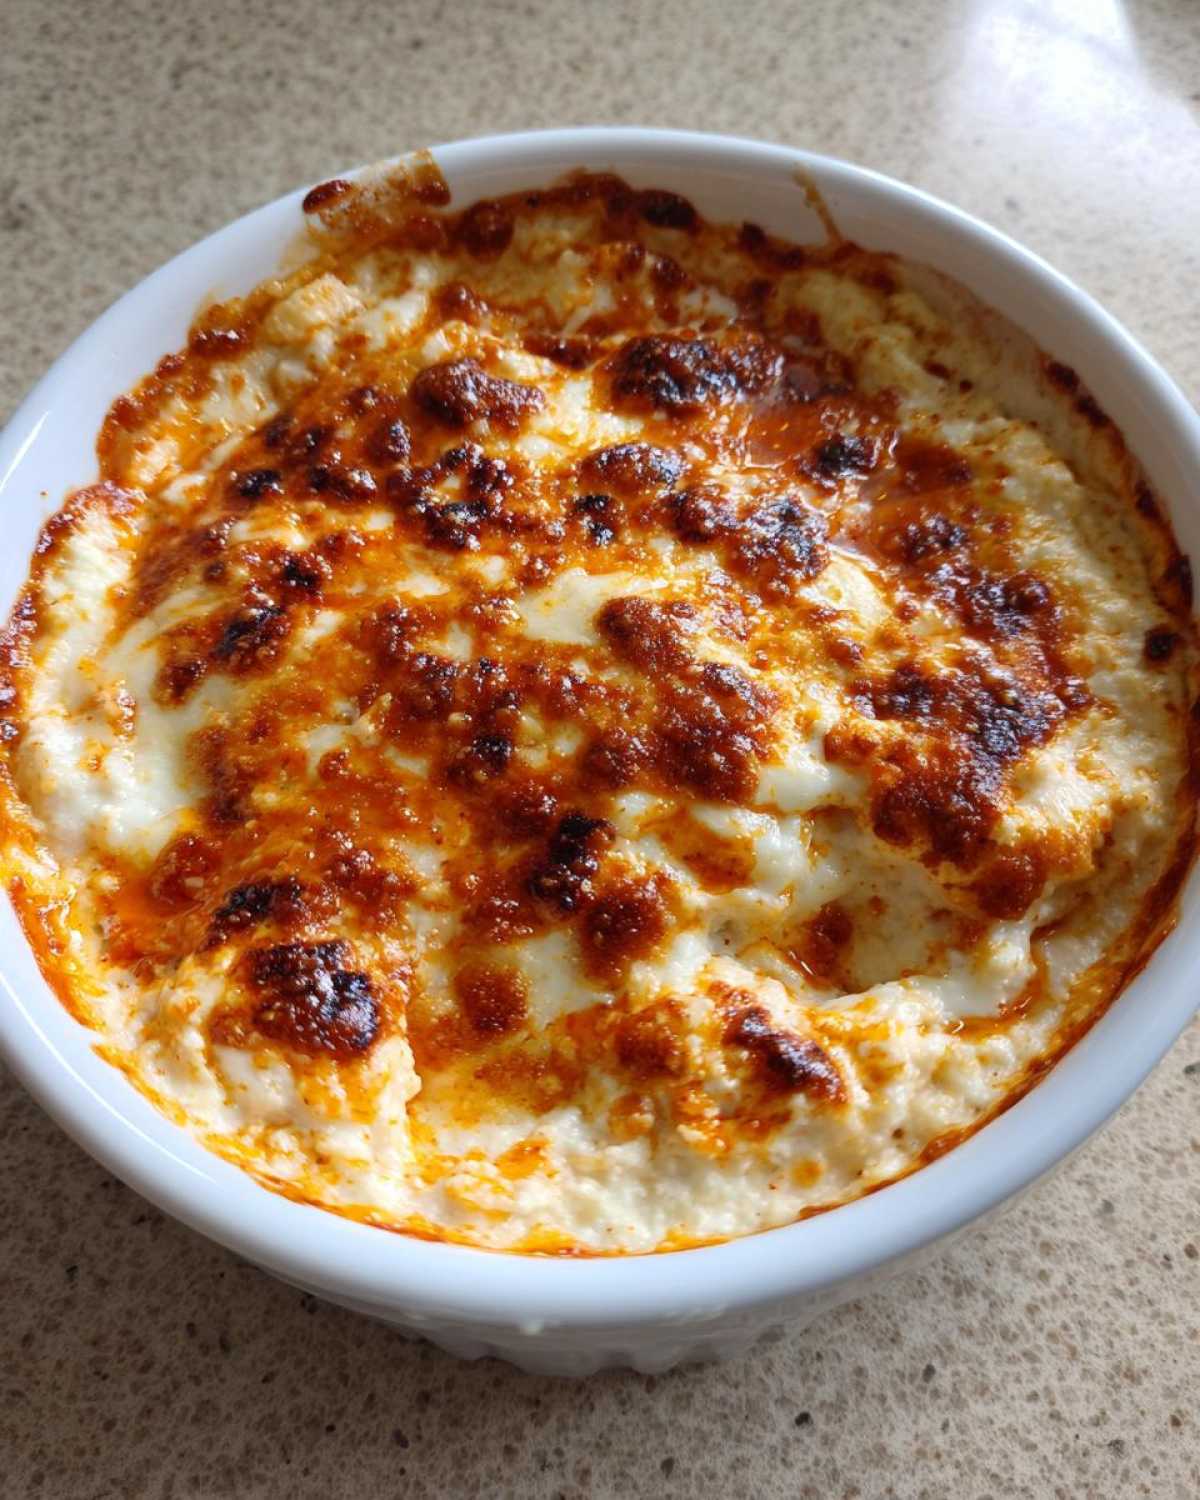
Gathering the Components for Buffalo Cauliflower Dip
Making this amazing Buffalo Cauliflower Dip starts right here.
Gathering everything first makes the process quick.
We need fresh cauliflower heads, not frozen ones.
Texture matters a great deal for the final product.
You want plain Greek yogurt for that tangy lift.
Having these items ready builds confidence, I find.
Precise Ingredient Measurements for Buffalo Cauliflower Dip
Accuracy helps create the best Buffalo Cauliflower Dip.
Start with one whole head of cauliflower.
Chop it into small, even florets for steaming.
Make sure your cream cheese is fully softened.
Melt the butter gently before adding it in.
Frank’s RedHot brings the classic, needed heat.
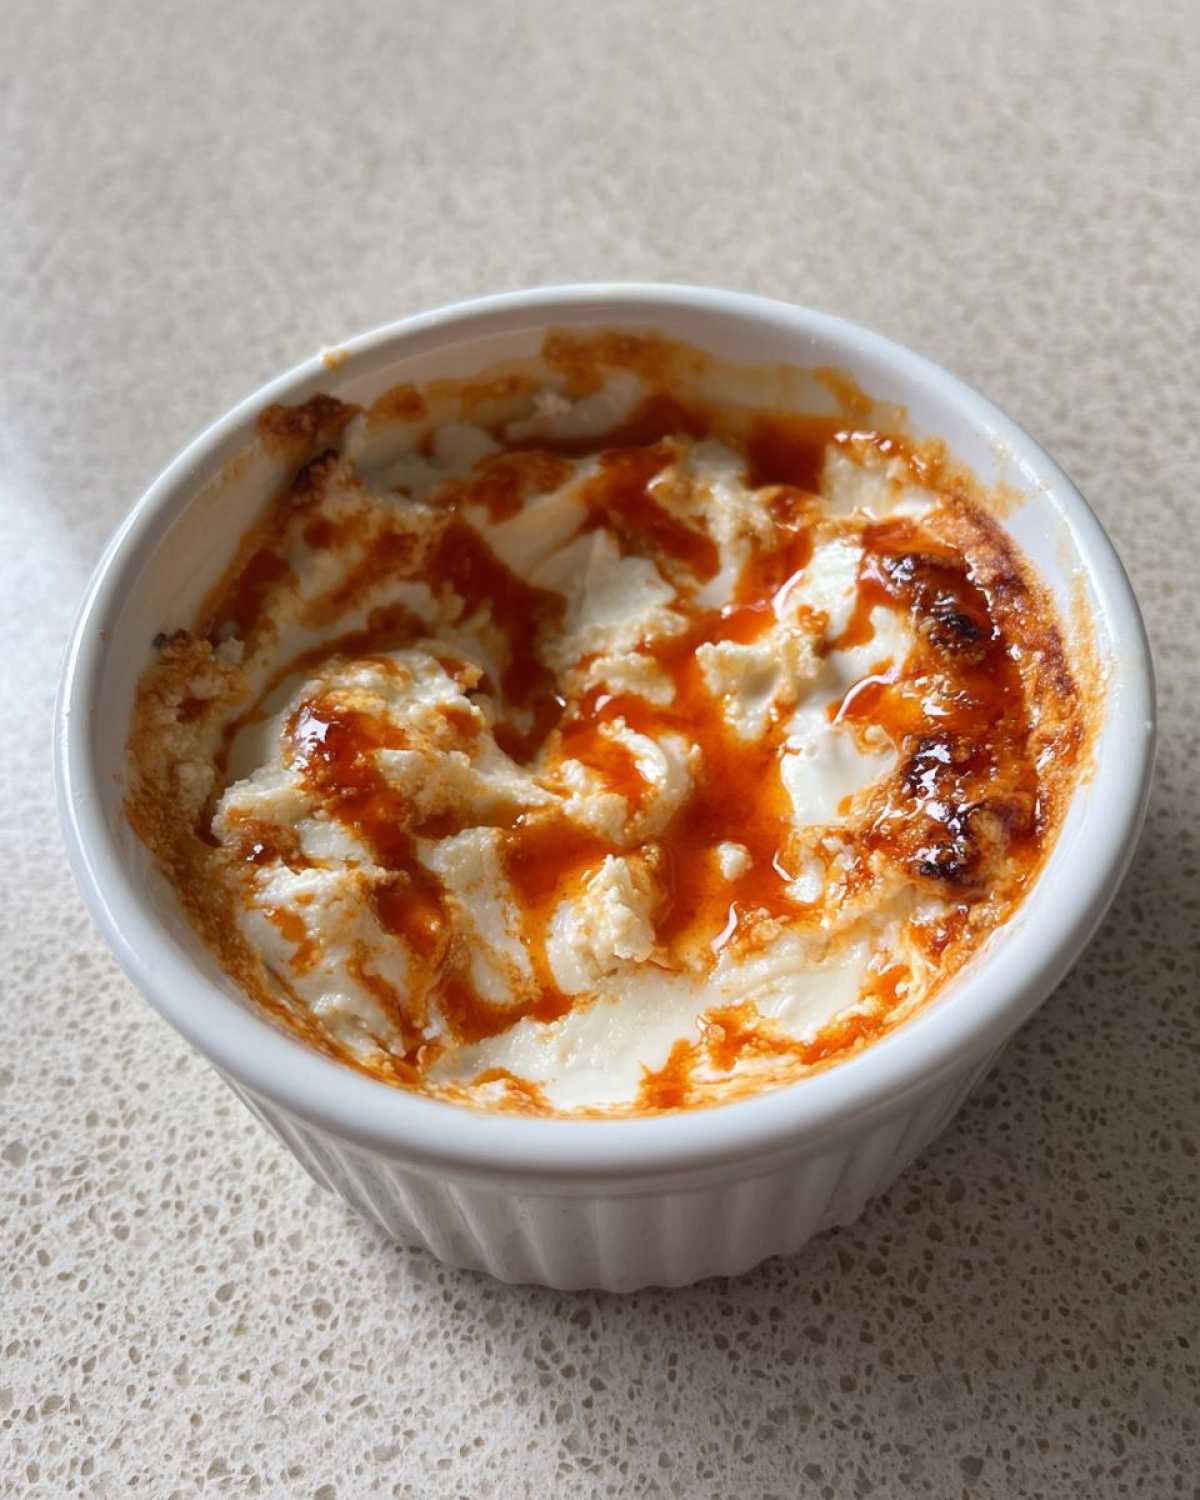
Equipment Needed for This Recipe
Don’t worry; you don’t need fancy gear.
A good food processor is your best friend here.
You need a pot for steaming the florets.
Grab a small baking dish for the final bake.
Measuring cups and spoons are also essential tools.
Step-by-Step Guide to Making Buffalo Cauliflower Dip
Follow these steps closely for success.
Making this Buffalo Cauliflower Dip is truly simple.
We transform humble cauliflower into something special.
Active cooking keeps things moving fast.
You’ll see the magic happen in just minutes.
Preparing the Cauliflower Base
First, crank your oven up to 400 degrees F.
We need that heat ready to go later on.
Next, steam or boil your cauliflower florets.
They must become very tender, about 15 minutes.
Drain them completely after they are soft enough.
Seriously, drain all that extra water away.
Creating the Creamy Buffalo Cauliflower Dip Mixture
Toss the cooked cauliflower into your processor now.
Pulse it until it looks like ground meat texture.
Don’t go straight for a smooth puree yet.
Now, add the yogurt, cream cheese, and hot sauce.
Toss in the powders and the melted butter too.
Process until it’s mostly smooth and quite creamy.
Remember to stop and scrape the sides down.
This scraping step guarantees a smooth result.

Baking and Finishing Your Buffalo Cauliflower Dip
Scoop your dip mixture into your baking dish.
Spread it out evenly across the bottom surface.
If you like cheese, sprinkle mozzarella on top.
Pop that dish into the preheated oven now.
Bake it for 10 to 15 minutes total time.
You’re looking for it to be heated all the way through.
The cheese should look melted and slightly golden brown.
Take it out carefully; it will be very hot.
Why You Will Enjoy This Healthier Buffalo Cauliflower Dip
This dip offers so much more than just flavor.
It’s a wonderful swap for traditional heavy appetizers.
I love serving this because everyone feels good eating it.
It fits so many different dietary needs easily.
Here are the reasons I keep coming back to it:
- It’s completely vegetarian, perfect for meatless days.
- The texture is surprisingly rich and very satisfying.
- It uses Greek yogurt for a lighter, tangy base.
- You get that classic spicy buffalo flavor profile.
- It feels much less heavy than chicken versions do.
Tips for Perfect Buffalo Cauliflower Dip Texture and Flavor
Getting the best Buffalo Cauliflower Dip takes a little finesse.
I learned a few tricks over many test batches.
First, make absolutely sure your cauliflower is soft.
If it’s even slightly firm, the dip gets grainy.
You want it mushy before you even process it.
Next, think about the heat level you prefer.
Frank’s is great, but don’t be afraid to change it.
Add a tiny splash of hot sauce at first.
Taste the mixture before you bake it, seriously!
You can always add more spice later on, never less.
Here is my big secret for that creamy texture.
I use plain Greek yogurt instead of sour cream.
It keeps the Buffalo Cauliflower Dip tangy and light.
The yogurt adds satisfying protein too, which is nice.
It thickens up beautifully when it bakes in the oven.
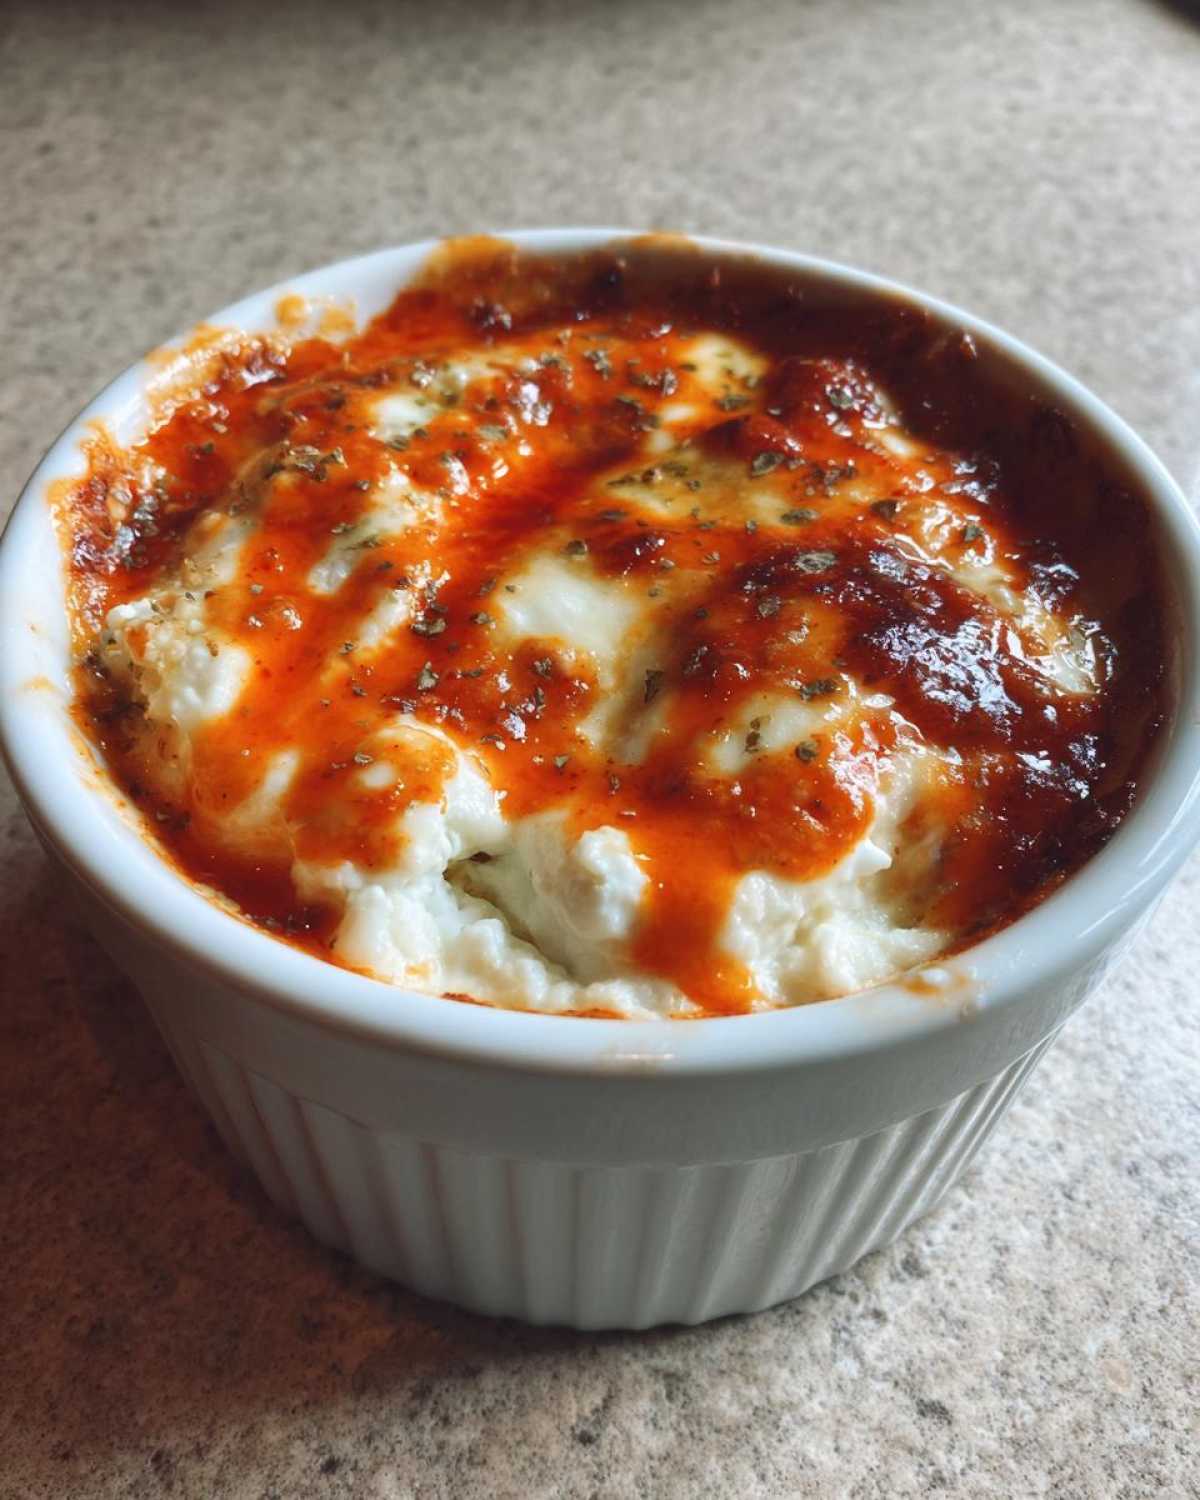
Common Questions About Buffalo Cauliflower Dip
People always ask me a few things about this recipe.
I’m happy to share the answers I’ve gathered.
These tips help keep your appetizer game strong.
Let’s look at some common concerns right now.
Can I Make This Buffalo Cauliflower Dip Ahead of Time?
Yes, you absolutely can prepare this dip early.
Mix everything but the optional mozzarella topping.
Store the mixture tightly in the fridge overnight.
When ready to serve, add the cheese and bake it.
It might need a few extra minutes in the oven.
What Are the Best Dippers for Buffalo Cauliflower Dip?
Choosing the right dipper is half the fun!
For crunch, use crisp celery and carrot sticks.
Tortilla chips work well for a classic feel.
If you want low carb options, try bell pepper strips.
Slices of cucumber are surprisingly refreshing here.
How Do I Adjust the Heat Level in This Buffalo Cauliflower Dip?
Controlling the spice makes this Buffalo Cauliflower Dip perfect.
For less heat, start with just two tablespoons of sauce.
You can always stir in more hot sauce later on.
To turn up the heat, add a dash of cayenne pepper.
A little goes a long way when you increase spice.
Storing and Reheating Your Leftover Buffalo Cauliflower Dip
Don’t worry if you have tasty leftovers.
Store the dip in an airtight container.
It keeps well in the fridge for three days.
Reheating in the oven is always best for texture.
Use 350 degrees F until it’s warm again.
Understanding the Nutrition in This Recipe
Let’s talk a little bit about the numbers.
This recipe offers a lighter way to enjoy spice.
It swaps out heavy chicken for vegetables.
The nutritional breakdown is quite appealing overall.
You get good protein from the Greek yogurt base.
Please remember these figures are just estimates.
They are based on the ingredients I list here.
Your brand choices really do change the final count.
For instance, full-fat cream cheese adds more fat.
Different hot sauces bring varying sodium levels.
For more information on general food nutrition guidelines, check out the Centers for Disease Control and Prevention (CDC) nutrition resources.
Always treat these values as a general guide.
Use this information to fit your personal goals.
I focus on how satisfying this vegetarian dip is.
Knowing the approximate calories helps me relax.
Enjoy your amazing Buffalo Chicken Dip!
Share Your Experience Making This Buffalo Cauliflower Dip
I really hope you loved making this dish.
Did this Buffalo Cauliflower Dip turn out great?
Let me know how it tasted for your group.
Please leave a star rating right down below.
Tell me about any fun variations you tried!
I read every single comment you post.
PrintAmazing 1 Ingredient Secret Buffalo Cauliflower Dip

Make this creamy, spicy Buffalo Cauliflower Dip for your next gathering. It is a satisfying, healthier alternative to the classic chicken version. You will love the flavor!
- Prep Time: 15 minutes
- Cook Time: 25 minutes
- Total Time: 40 minutes
- Yield: About 2 cups
- Category: Appetizer
- Method: Baking
- Cuisine: American
- Diet: Vegetarian
Ingredients
- 1 head cauliflower, chopped into florets
- 1/2 cup Greek yogurt (plain, non-fat)
- 1/4 cup cream cheese, softened
- 1/4 cup Frank’s RedHot sauce (or preferred hot sauce)
- 2 tablespoons unsalted butter, melted
- 1 teaspoon garlic powder
- 1/2 teaspoon onion powder
- 1/4 teaspoon salt
- 1/4 cup shredded mozzarella cheese (optional, for topping)
Instructions
- Preheat your oven to 400 degrees F (200 degrees C).
- Steam or boil the cauliflower florets until very tender, about 10-15 minutes. Drain thoroughly.
- Place the cooked cauliflower in a food processor. Pulse until it forms a coarse texture, resembling ground meat.
- Add the Greek yogurt, softened cream cheese, hot sauce, melted butter, garlic powder, onion powder, and salt to the food processor.
- Process until the mixture is mostly smooth and creamy. Stop and scrape down the sides as needed.
- Transfer the dip mixture to a small, oven-safe baking dish.
- If using, sprinkle the mozzarella cheese evenly over the top.
- Bake for 10-15 minutes, or until the dip is heated through and the cheese is melted and lightly golden.
- Serve warm with celery sticks, carrot sticks, or tortilla chips.
Notes
- Make sure the cauliflower is very soft before pureeing for the creamiest texture.
- Adjust the amount of hot sauce to control the spice level for your taste.
- For a richer flavor, you can substitute the Greek yogurt with sour cream.
Nutrition
- Serving Size: 1/4 cup
- Calories: Approx. 110
- Sugar: Approx. 2g
- Sodium: Approx. 350mg
- Fat: Approx. 7g
- Saturated Fat: Approx. 4g
- Unsaturated Fat: Approx. 3g
- Trans Fat: 0g
- Carbohydrates: Approx. 8g
- Fiber: Approx. 2g
- Protein: Approx. 5g
- Cholesterol: Approx. 15mg