

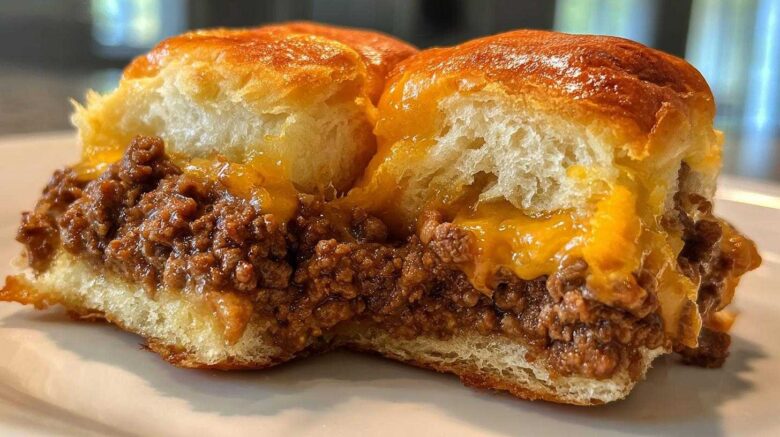
The Ultimate Guide to Juicy Beef and Cheddar Sliders
Planning a get-together soon? I know the feeling.
You want something easy. You need big flavor.
These little sandwiches hit every mark perfectly.
We’re Elias and Hannah from Flavor Vista. We share simple meals.
Today, we share our go-to recipe for incredible Beef and Cheddar Sliders.
These always disappear first at any gathering we host.
They are the ultimate craveable, party-friendly sandwich.
Get ready for juicy beef and melty cheese bliss.
Why You’ll Love These Beef and Cheddar Sliders
I get asked all the time about easy appetizers.
People want maximum payoff for minimum kitchen time.
These sliders are my answer every single time.
They bring that homemade taste without the fuss.
They are simply fantastic for busy home cooks like us.
Here is why these become your new favorite party food.
Quick Preparation Time
You saw the recipe details, right?
We are only talking 15 minutes of prep time.
That is barely enough time to set out the plates.
I can mix the beef while the oven preheats.
It’s fast, which means less stress for you.
More time for visiting with your guests!
Guaranteed Crowd-Pleaser Flavor Profile
This combination is pure comfort food magic.
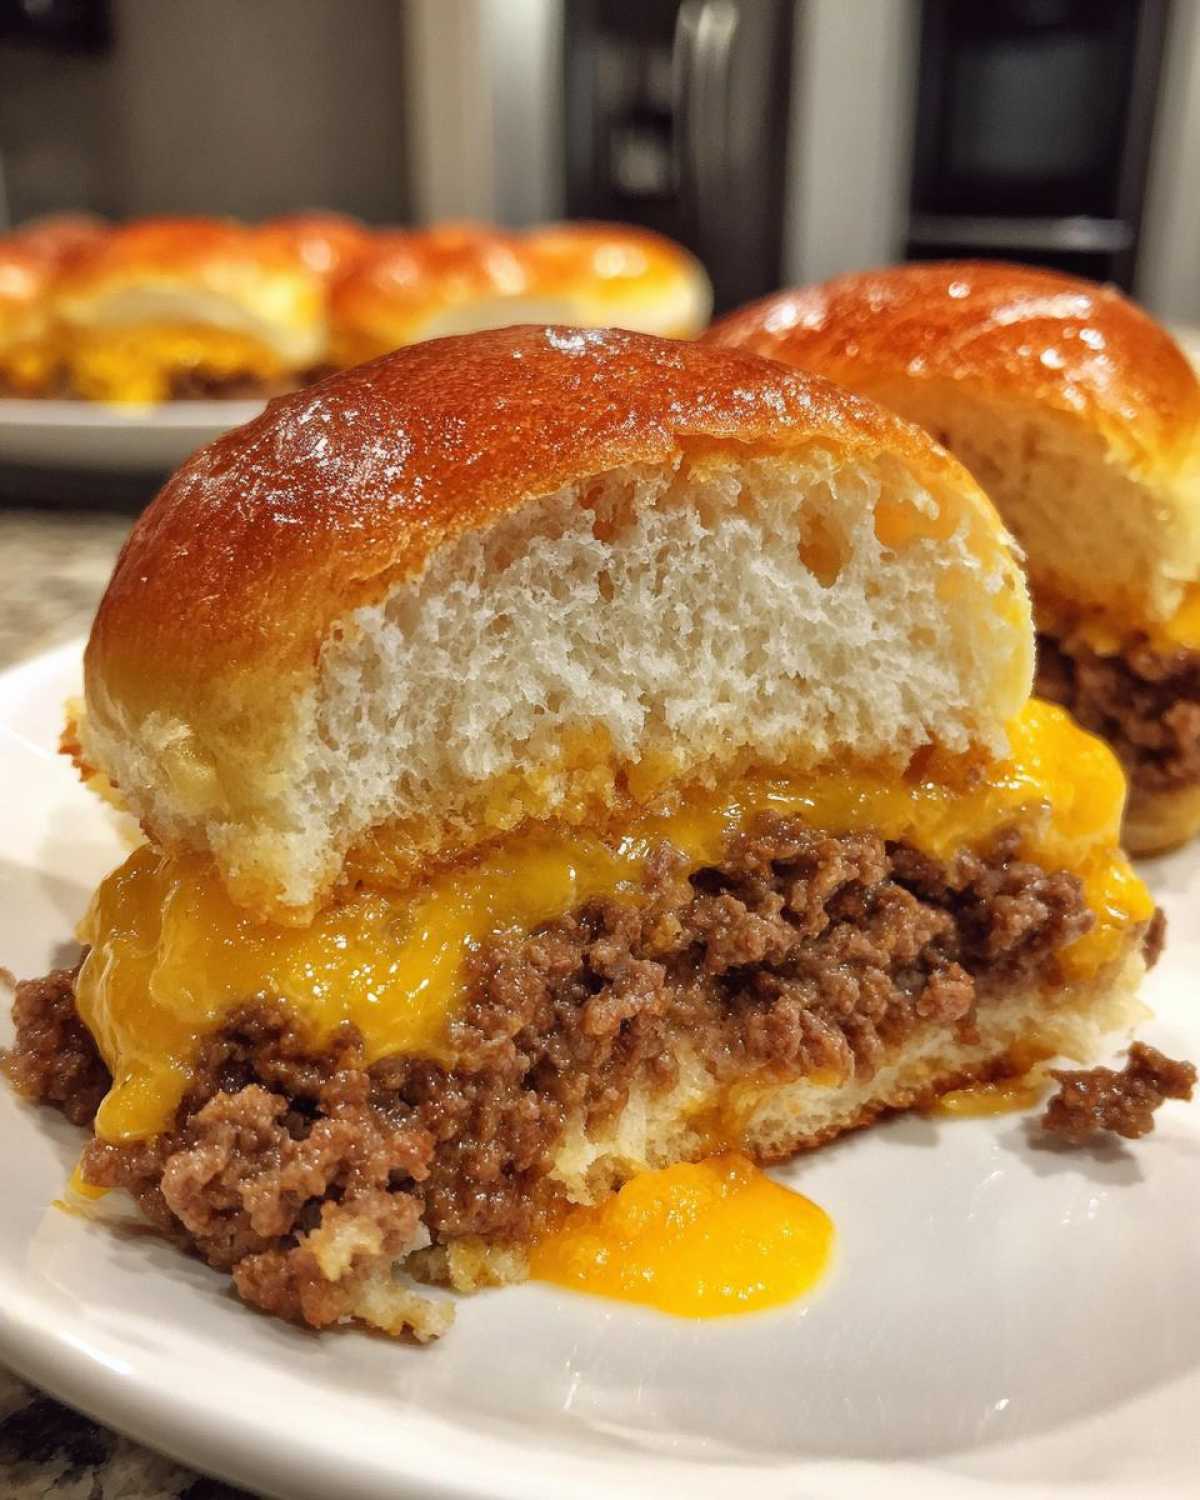
We layer tender ground beef right onto the soft buns.
Then comes the sharp cheddar cheese, melting beautifully.
That buttery parsley topping seals the deal for real.
It makes the tops golden and slightly crispy.
It’s a truly craveable bite every time you make these.
Essential Ingredients for Perfect Beef and Cheddar Sliders
Getting the right ingredients matters so much here.
It makes the difference between good and truly amazing melted cheese sandwiches.
Don’t worry; this list is short and simple.
You likely have most of this stuff already.
I always keep these pantry staples on hand.
Here’s exactly what you need for 12 perfect sliders.
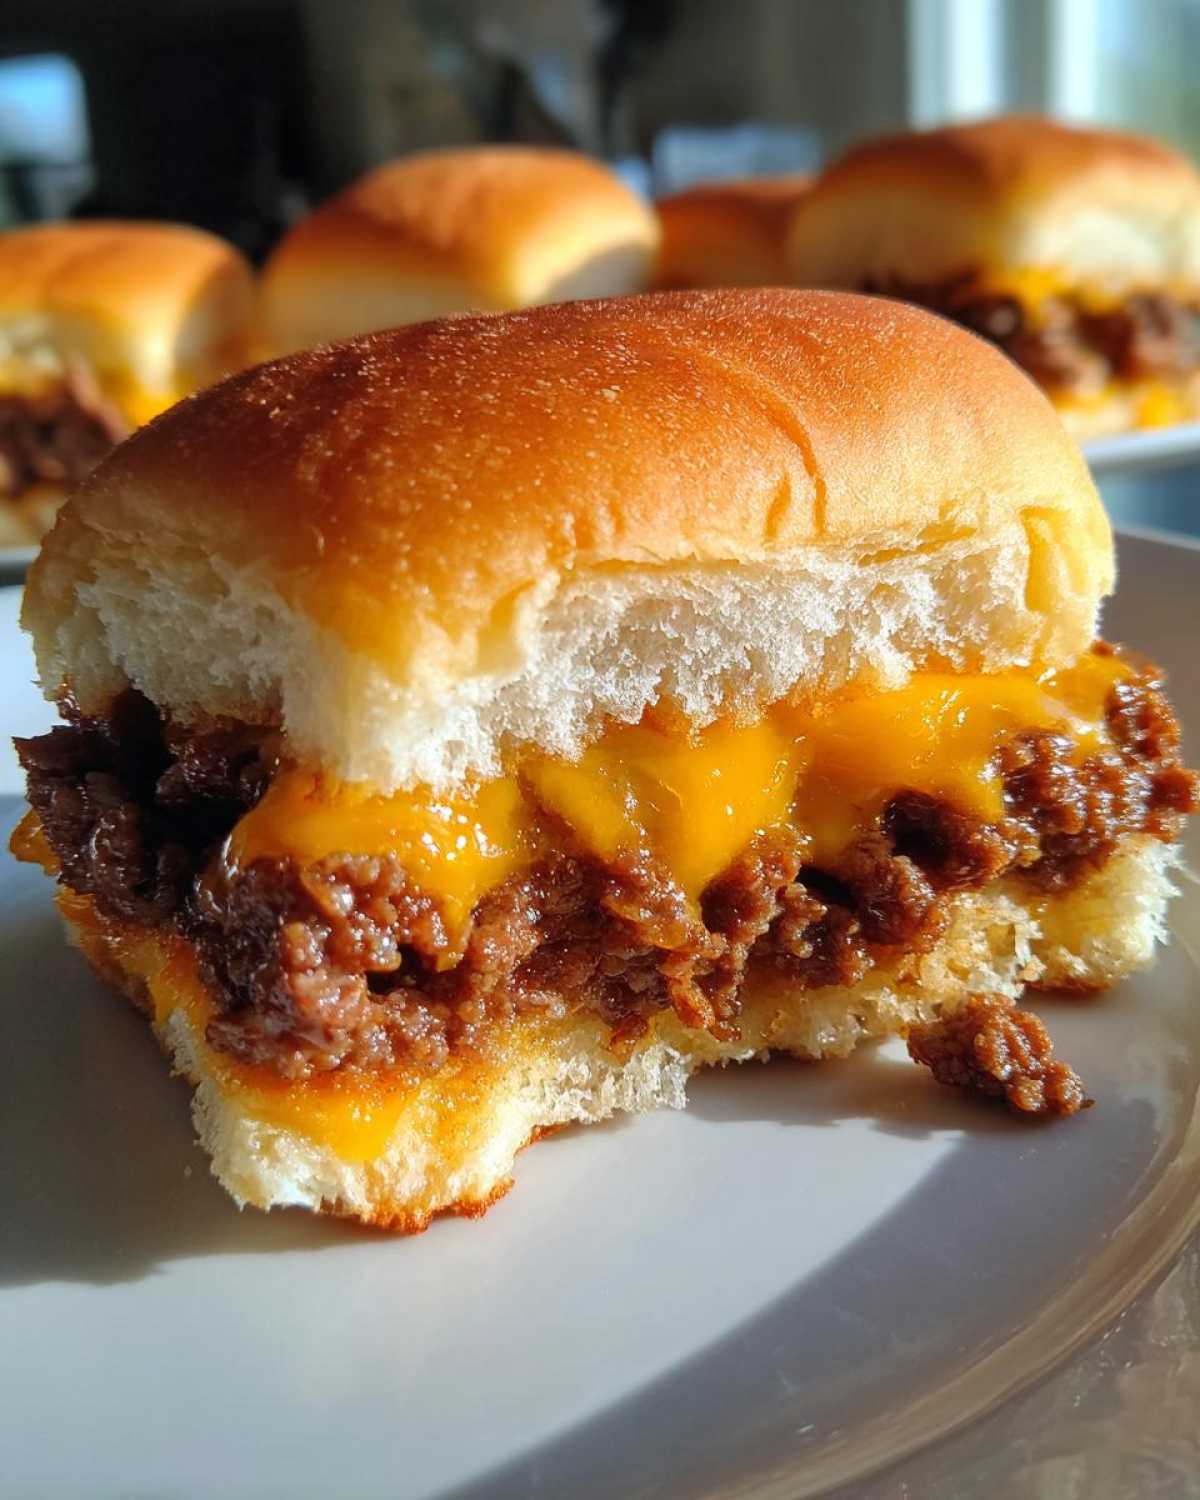
Ground Beef Mixture Components
We start with the savory heart of the dish.
- One pound of good ground beef goes in first.
- You need half a cup of finely chopped onion.
- A tablespoon of Worcestershire sauce adds depth.
- Garlic powder is one teaspoon for that warm flavor.
- Salt and pepper balance everything out nicely.
- Use half a teaspoon of salt, quarter teaspoon of pepper.
Slider Assembly Components
Now for the structure and the cheesy goodness.
This part makes them party food gold.
- Twelve slider buns are your foundation.
- Hawaiian rolls work wonderfully for sweetness.
- Eight slices of sharp cheddar cheese are key.
- Two tablespoons of butter must be melted down.
- One teaspoon of dried parsley finishes the top.
Step-by-Step Instructions for Beef and Cheddar Sliders
Follow these steps closely for success.
I promise this process is super straightforward.
We want juicy beef, not dry hockey pucks.
Pay attention to the mixing part, please!
These instructions will give you amazing results every time.
Let’s get cooking your Beef and Cheddar Sliders now.
Preparing the Beef Mixture and Initial Bake
First, get your oven warmed up to 350 degrees F.
Grease a baking dish that fits your buns snugly.
Mix the beef, onion, Worcestershire, and spices in a bowl.
Mix gently; do not mash the meat together too hard.
Form one large, thin patty matching your bun layout.
Bake this beef slab for 15 to 20 minutes, checking doneness.
Drain off any extra grease sitting in the pan.
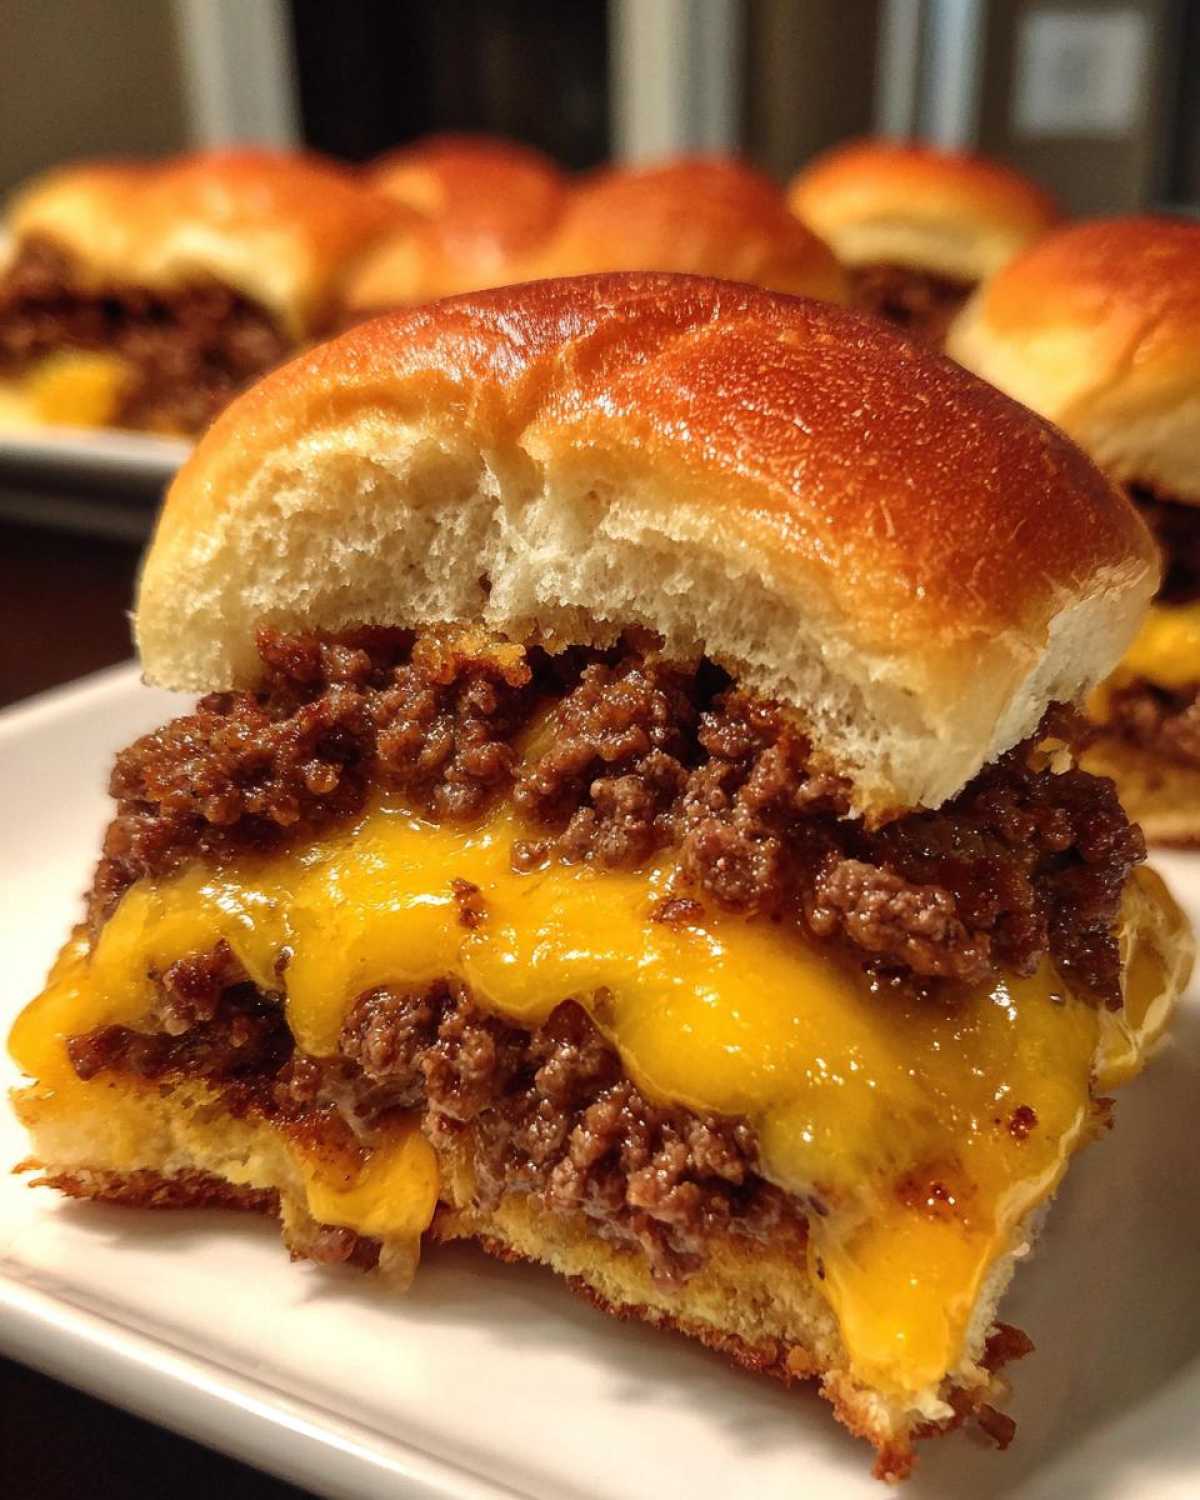
Assembling and Layering the Beef and Cheddar Sliders
While that beef cooks, slice all your slider buns open.
Keep the tops and bottoms connected in their rows.
Place the bottom buns right into the warm baking dish.
Lay the cooked beef evenly over those bottom halves.
Now, cover that beef completely with the cheddar slices.
Put the top halves back on the cheese layer securely.
The Finishing Touch Butter Brush and Final Melt
Melt your butter in a tiny dish right now.
Stir in that dried parsley until it is mixed well.
Brush this buttery mixture over all the top buns.
Return the baking dish to the oven for five more minutes.
Watch until that cheese is gooey and the tops look brown.
Take them out when they look perfect.
Slice between the individual sliders *after* you pull them out.
Serve these hot for the best experience possible.
Pro Tips for Perfect Beef and Cheddar Sliders
Even the best recipes can use a little home cook magic.
I’ve learned a few tricks over the years making these.
These little tips will keep your sliders juicy and flavorful.
They help build trust in your cooking abilities, too.
Here are my favorite ways to fine-tune this recipe.
You’ll be serving up amazing party food.
Flavor Boost Substitutions and Additions
Don’t be afraid to tweak the seasoning slightly.
For a little kick, try adding hot sauce to the beef.
A dash of your favorite brand works wonders there.
It adds a background warmth to the savory meat.
If cheddar isn’t your only love, try other cheeses.
Monterey Jack melts just as well as cheddar.
Swiss cheese offers a nuttier, different profile for your melted cheese sandwiches.
Handling the Beef Patty for Juiciness
Juiciness comes down to how you form that patty.
Make sure your raw beef mass matches the bun shape exactly.
This keeps the beef from shrinking too much while baking.
Shrinkage leaves dry space around the edges of the bun.
After the initial bake, drain the grease thoroughly.
Tilt the pan carefully to pour out the excess fat.
That step keeps your final sandwich from getting greasy.
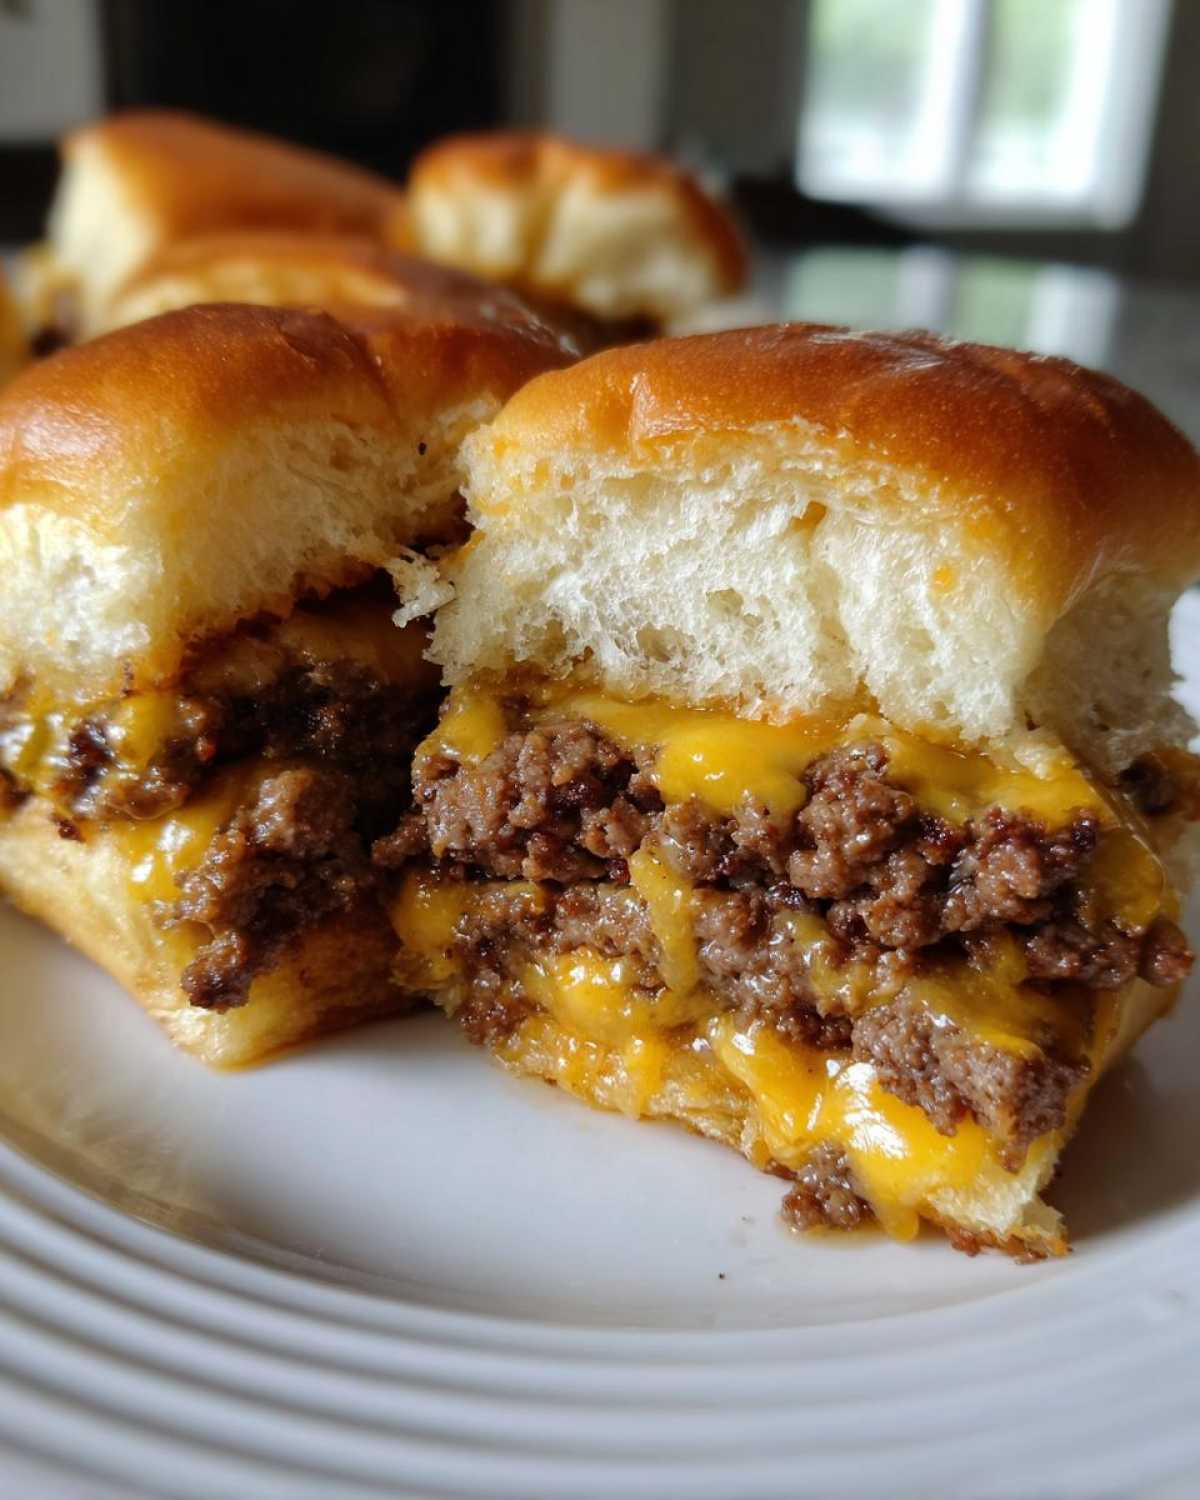
Frequently Asked Questions About Beef and Cheddar Sliders
You have questions, and I have answers from my kitchen.
These are common things people ask me often.
Let’s clear up any last bits of confusion.
We want your next batch of these to be stellar party food.
These simple melted cheese sandwiches are worth getting right.
Can I Make the Beef Mixture Ahead of Time?
Yes, you absolutely can make the raw beef mixture early.
Mix all the ingredients just like step two says.
Wrap the mixture tightly in plastic wrap right away.
Store it in your refrigerator for up to one full day.
When you are ready, form the patty and bake as directed.
It might need one extra minute of bake time, just watch it.
What Buns Work Best for These Sliders?
I stand by the Hawaiian sweet rolls for these sliders.
They are soft but hold up well to the juices.
Their slight sweetness plays so well with the sharp cheddar.
You want a bun that compresses nicely when you bite.
A sturdy, soft texture is what makes them great party food.
Storing and Reheating Your Leftover Beef and Cheddar Sliders
We rarely have leftovers, I’m not gonna lie.
But when we do, storing them right is important.
You want to save that cheesy goodness for later.
Keep them in an airtight container in the fridge.
They generally last well for about three days.
Don’t leave them sitting out at room temperature too long.
Reheating these takes a little care, though.
The microwave makes them instantly soggy, trust me.
I always reach for my oven or an air fryer instead.
Set your oven to 325 degrees Fahrenheit.
Wrap a few sliders loosely in foil first.
Heat them for about ten minutes until warmed through.
This keeps the bun from getting completely mushy.
The air fryer works fast, too, at 300 degrees.
Just a few minutes should bring back that warm melt.
Enjoy your second-day Beef and Cheddar Sliders!
Sharing Your Flavor Vista Creations
We truly love hearing from you all.
Cooking is better when it is shared, I believe that.
Hannah and I pour our hearts into these recipes.
We hope these Beef and Cheddar Sliders made your day.
Did you try the hot sauce addition we suggested?
Tell us how your sliders turned out in the comments below!
Did the cheese melt just right for your family?
We read every single comment you leave for us.
Your successes make our day here at Flavor Vista.
Show us your pictures if you post them online.
Happy cooking, friends. Come back soon for more! Check out more recipes.
PrintPerfect 12 Beef and Cheddar Sliders Bliss
Create craveable, juicy Beef and Cheddar Sliders perfect for any party. These easy sandwiches feature tender beef and melted cheese packed onto soft buns for a guaranteed crowd-pleaser.
- Prep Time: 15 minutes
- Cook Time: 25 minutes
- Total Time: 40 minutes
- Yield: 12 sliders
- Category: Sandwich
- Method: Bake
- Cuisine: American
- Diet: Low Fat
Ingredients
- 1 pound ground beef
- 1/2 cup finely chopped onion
- 1 tablespoon Worcestershire sauce
- 1 teaspoon garlic powder
- 1/2 teaspoon salt
- 1/4 teaspoon black pepper
- 12 slider buns (Hawaiian rolls work well)
- 8 slices sharp cheddar cheese
- 2 tablespoons butter, melted
- 1 teaspoon dried parsley
Instructions
- Preheat your oven to 350°F (175°C). Lightly grease a baking dish to fit your slider buns.
- In a bowl, mix the ground beef, chopped onion, Worcestershire sauce, garlic powder, salt, and pepper. Combine gently; do not overmix.
- Form the beef mixture into a single thin patty that matches the size of your 12 slider buns laid out side-by-side.
- Place the beef patty onto the prepared baking dish. Bake for 15-20 minutes, or until the beef reaches your desired doneness. Drain off any excess grease.
- While the beef cooks, slice the slider buns horizontally, keeping the tops and bottoms in their connected sets.
- Once the beef is cooked, place the bottom halves of the buns in the baking dish. Layer the cooked beef evenly over the bottoms.
- Top the beef with the cheddar cheese slices. Place the top halves of the buns back on.
- In a small bowl, mix the melted butter and dried parsley. Brush this mixture generously over the tops of the assembled sliders.
- Return the baking dish to the oven. Bake for an additional 5-7 minutes, or until the cheese is completely melted and the tops are golden brown.
- Remove from the oven. Carefully slice between the individual sliders before serving hot.
Notes
- For extra flavor, you can mix a dash of your favorite hot sauce into the ground beef mixture.
- If using thicker buns, you may need to slightly reduce the baking time for the beef.
- You can substitute the cheddar cheese with Monterey Jack or Swiss for a different melt.
Nutrition
- Serving Size: 1 slider
- Calories: Estimate 280
- Sugar: Estimate 4g
- Sodium: Estimate 450mg
- Fat: Estimate 16g
- Saturated Fat: Estimate 7g
- Unsaturated Fat: Estimate 9g
- Trans Fat: Estimate 0g
- Carbohydrates: Estimate 18g
- Fiber: Estimate 1g
- Protein: Estimate 16g
- Cholesterol: Estimate 55mg