

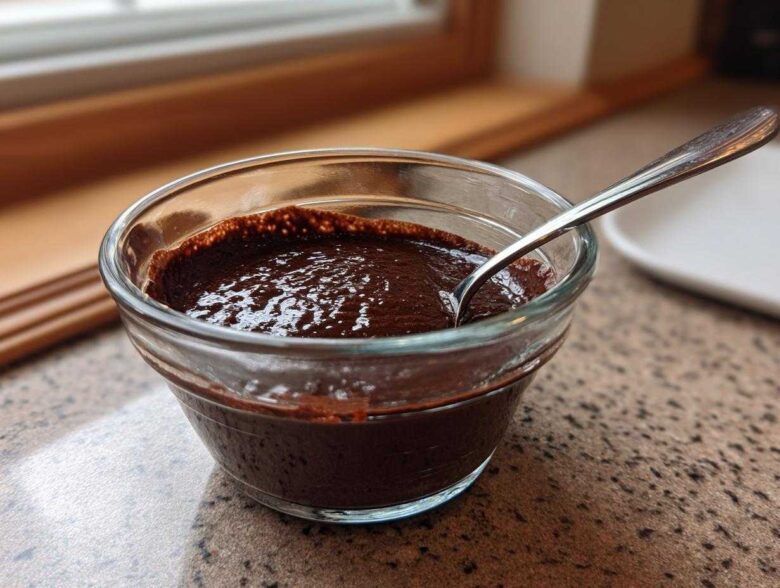
Oh, you know the drill. You get that craving, that non-negotiable need for something deeply, wonderfully chocolatey. You glance at the shelf where the little blue or red box sits, and immediately, you shake your head. Why settle for something that tastes vaguely of chemicals when you can whip up the absolute best **homemade chocolate pudding** in less time than it takes to clean up after those boxed disasters?
I promise you, this isn’t just another recipe. This is how you achieve that perfect, velvety dream texture—a silken, rich dessert that practically melts the second it hits your tongue. Seriously, I spent years tweaking this stovetop method, trying to get rid of any grainy texture or that dreaded skin that forms on top. We finally nailed it, and honestly, since figuring out the right balance of cocoa and starch, I haven’t looked back. Forget the box; this is the fast track to a truly decadent chocolate treat that tastes like pure comfort.
Why This Homemade Chocolate Pudding Recipe Beats the Box (The Creamy Chocolate Pudding Recipe Difference)
Look, boxed mixes are fine in a pinch, I guess, but they never give you that deep, almost dangerous chocolate flavor, right? That’s where using good old Dutch-processed cocoa powder makes all the difference in this **homemade chocolate pudding**. It gives the final product a darker color and a smoother, less acidic taste compared to standard cocoa. Trust me, it’s worth seeking out.
But the real reason you’ll never go back to the box is the texture. This recipe focuses entirely on creating a pudding that is genuinely silky smooth and so velvety, it feels luxurious. We achieve that perfect density using just the right amount of cornstarch and a couple of egg yolks. It’s the kind of classic chocolate pudding you remember from your childhood, only way richer. If you’re looking for a quick but seriously indulgent **creamy chocolate pudding recipe**, you’ve absolutely found it here. Don’t forget to check out my quick single-serving chocolate peanut butter mug cake if you need pudding vibes immediately!
Gathering Ingredients for Perfect Homemade Chocolate Pudding
Okay, gathering our supplies is the fun, simple part of making this **homemade chocolate pudding**. Since this is a quick stovetop pudding, you probably have most of this in your pantry already. But precision matters here, especially when we are trying to achieve that *decadent chocolate treat* status. Make sure you pull out what you need before you even turn on the stove. Having everything measured out—what I call mise en place—stops any panic when things start bubbling!
We keep things classic here: sugar, salt, vanilla, butter, milk, and the stars of the show, the cocoa powder and egg yolks. Remember, we are using whole milk for the best richness, so don’t substitute with skim if you can help it. This classic chocolate pudding relies on that fat content for its luxurious feel.
Ingredient Notes and Substitutions for Your Homemade Chocolate Pudding
Let’s talk quality because that’s what makes this a top-tier **chocolate pudding recipe from scratch**. I insist on using Dutch-processed cocoa powder; it dissolves so beautifully and makes the chocolate taste deeper, not sharp. If you only have natural cocoa, it will work, but the pudding won’t be quite as dark or smooth, so you might want to add just a tiny splash more vanilla to compensate.
Now, about that thickness! Cornstarch is non-negotiable here; it’s what gives us that perfect gel structure without being gloppy. It’s the secret weapon in this **easy chocolate pudding**. For an extra luxurious touch—and this is optional, you know I love to share my little experiments—swap out about half a cup of the whole milk for heavy cream. It makes this a truly rich chocolate dessert, almost like a pot de crème! For more recipes featuring pantry staples, check out my chocolate chip zucchini bread.
Step-by-Step Instructions for Easy Stovetop Homemade Chocolate Pudding
Alright, let’s get down to business. This is where we turn simple pantry staples into that deeply satisfying **homemade chocolate pudding**. The beauty of stovetop pudding is how fast it comes together—we’re talking maybe 10 minutes of active cooking time! But you have to pay attention; this isn’t the kind of thing you start and then wander off to scroll on your phone.
First things first: whisk those dry ingredients—the sugar, cocoa, cornstarch, and salt—together in your saucepan. This is crucial! If you dump the milk in before breaking up the cornstarch clumps, you will end up with chocolate pebbles in your dessert, and nobody wants that. Whisk them dry until dust seems to fly everywhere, then *slowly* pour in the milk, whisking constantly until it looks like smooth, thin chocolate paint. No lumps allowed!
Put that pan over medium heat. Now for the waiting game, but keep that whisk moving! You need to stir consistently, scraping the bottom and sides, for about five to eight minutes. You’ll suddenly notice it clinging to the whisk and starting to bubble sluggishly. That’s your cue to move quickly to the next, most important part. If you want to see how I handle liquid mixtures when needing fast results, check out my easy honey sriracha meatballs recipe for comparison on stirring technique!
The Tempering Technique: Key to Silky Smooth Pudding
This is the secret to a **velvety chocolate pudding** and not chunky scrambled egg soup! We have hot liquid and cold eggs, and mixing them too fast is a disaster. In a separate little bowl, take your two lightly whisked egg yolks. Now, very slowly—drip by agonizing drip at first—whisk about half a cup of the hot milk mixture *into* those yolks. This is tempering: you are gently raising the temperature of the yolks so they don’t cook immediately when they hit the main pot.
Once those yolks look warm and happy, slowly pour the tempered yolk mixture back into the saucepan with the rest of the pudding base. Turn the heat back up just a tiny bit and keep stirring constantly for another minute or two. You’ll see it thicken up substantially and beautifully. It will coat the back of a spoon nicely. Don’t let it boil hard, or you risk breaking the texture we just fought so hard to achieve.
Chilling Your Rich Chocolate Dessert for Perfect Set
Once it’s nice and thick, immediately yank the saucepan off the heat. Toss in those two tablespoons of butter and that splash of vanilla extract. Stir until everything disappears and you have a gorgeously glossy coating. This is what makes it such a **rich chocolate dessert**.
Pour your **homemade chocolate pudding** into whatever bowls you plan to serve it in. This next bit is my biggest tip for perfection: take a piece of plastic wrap and press it *directly* onto the surface of the pudding in every single bowl. I mean smoosh it right down there until it touches the liquid. This stops the air from hitting the top and forming that awful skin. Then, into the fridge they go for at least two hours, but honestly, four hours is better for that ultimate cold, set texture.
Tips for Achieving Velvety Homemade Chocolate Pudding Every Time
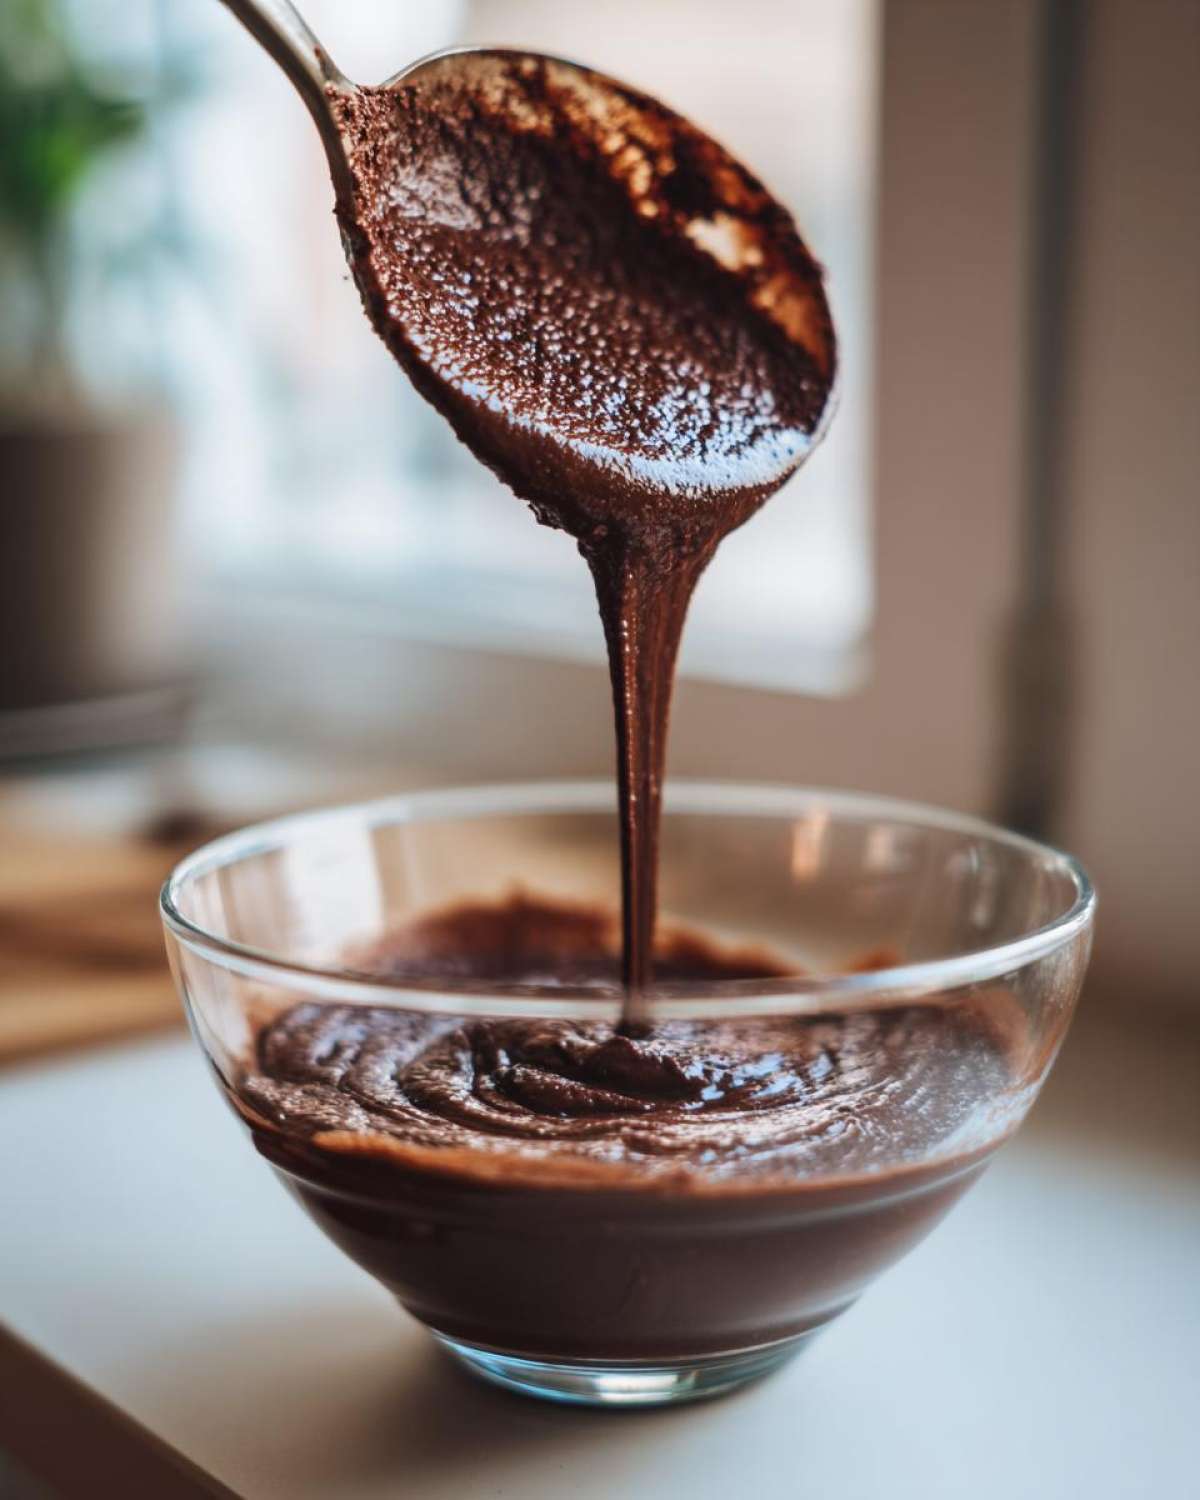
So you’ve made the pudding, but how do you ensure yours looks like the photo and not, well, lumpy sadness? It comes down to a couple of little things I learned over years of frantic stovetop whisking. First, when you are whisking those dry ingredients together—sugar, cocoa, cornstarch—really take your time. Don’t rush it! If you manage to get those ingredients perfectly dispersed before adding any milk, you’ve won half the battle against lumps right there.
For maximum richness, remember that high-fat diary is your friend here! Don’t substitute the whole milk unless you absolutely have to; that fat carries the chocolate flavor so much better. If you want that pudding to taste even more indulgent, throw in a tiny splash of espresso powder when you mix in the dry stuff. It won’t make it taste like coffee, I swear, but it deepens the cocoa flavor exponentially. That’s my little trick for the best **homemade chocolate pudding** experience.
And speaking of richness, I always try to use room temperature eggs when I temper them. It just makes their job easier when meeting the hot milk, resulting in an even smoother incorporation. If you want to peek at some other techniques I’ve gathered from my family’s kitchen files—especially around tricky baking chemistry—you should look up my grandma’s secret cookie recipe. It shows how focusing on ingredient interaction makes a huge, delicious difference in any dessert!
Serving Suggestions for Your Classic Chocolate Pudding
Now that you have successfully created your **homemade chocolate pudding**, the hard part is over, but the fun part is just beginning! We don’t just eat this velvety delight straight out of the bowl, although I absolutely approve if you do. For a truly classic presentation, you need creamy toppings.
My go-to suggestion is freshly whipped cream—none of that aerosol stuff, please! A quick dollop of cream sprinkled with some shaved dark chocolate makes it look gorgeous. If you want a little tartness to cut through that richness, fresh raspberries or sliced strawberries are fantastic additions. It makes this simple dessert feel like something you’d get at a fancy bistro. If you are feeling ambitious, you can try mixing a little raspberry swirl into the pudding before chilling, much like I do in my raspberry swirl brownies!
Storage and Make-Ahead Options for Homemade Chocolate Pudding
This is one of the best things about making your own **homemade chocolate pudding**: it gets even better the next day! Seriously, don’t feel like you have to serve it right away. It needs time for those rich chocolate flavors to deepen and for the pudding to fully set into that firm, jiggly texture we love.
I usually make a big batch right after dinner and get it portioned out. Remember that crucial step where we pressed the plastic wrap directly onto the surface? Keep that wrap touching the pudding! That is your absolute best defense against that rubbery skin forming. If you follow that rule, this **creamy chocolate pudding recipe** stays unbelievably silky smooth in the fridge for a solid three to four days. It’s the perfect pantry staple dessert for an easy grab-and-go snack throughout the week.
You can definitely make this entirely the day before your gathering, too. Just cover it tightly and keep it chilled. When you’re ready to serve, pull off that plastic wrap, maybe add a fresh dollop of whipped cream, and boom! Instant, decadent dessert ready to go. It’s great for planning ahead, just like I do when prepping my Thanksgiving stuffing muffins!
Frequently Asked Questions About Making Chocolate Pudding From Scratch
I gathered up some of the questions I get asked most often about perfecting this **chocolate pudding recipe from scratch**. It’s usually stuff revolving around texture or if you can tweak the ingredients. Let’s clear those up so your next batch of **creamy chocolate pudding recipe** turns out flawlessly!
Can I skip the egg yolks in this homemade chocolate pudding?
Oh, please don’t! That would be sacrificing the soul of this recipe. Skipping the egg yolks means you lose so much richness; they are what give the pudding that luxurious mouthfeel and incredible depth. Plus, they help thicken the pudding slightly when we temper them carefully. If you skip them, you’ll need to add more cornstarch, and honestly, the texture will just feel flatter and less decadent. Stick with the yolks for the best version of this **homemade chocolate pudding**!
How do I make this an easy chocolate pudding without cornstarch?
That is a tricky one because the cornstarch is truly our primary thickening agent for this quick stovetop method. It stabilizes everything so beautifully. If you absolutely cannot use cornstarch for some reason, you could try swapping it out one-for-one with tapioca starch, but be warned, the texture might be a little gummier rather than perfectly velvety. It won’t be quite the same **easy chocolate pudding** we are aiming for, but it will thicken! For this specific recipe, I highly recommend just stocking up on cornstarch; it’s a true pantry staple dessert must-have.
If you’re interested in the general science behind which ingredients create the best dessert structure, check out my About Us page—we dive deep into kitchen chemistry there!
Nutritional Estimates for This Decadent Chocolate Treat
Okay, so we aren’t making this **homemade chocolate pudding** because it’s health food, let’s be real! It’s a **rich chocolate dessert**, and it tastes like one. But because I always get asked about what goes into this **classic chocolate pudding**, I ran the numbers on the specific recipe above. It’s important to remember that these are just estimates based on the standard ingredients listed using whole milk and standard sugar.
If you start swapping in heavy cream for milk or using sugar substitutes, these numbers will definitely change. But for our standard recipe, here is the breakdown per serving (this recipe yields four generous servings):
- Serving Size: 1 serving
- Calories: 285
- Sugar: 32g
- Sodium: 150mg
- Fat: 13g
- Saturated Fat: 7g
- Carbohydrates: 38g
- Protein: 7g
See? Totally worth the sugar for that ultimate comfort food dessert experience! For the most accurate information regarding things like ingredients sourcing and general disclaimers about recipes on the site, you can always check out my site disclaimer. Enjoy this **easy stovetop pudding** guilt-free!
Share Your Experience Making This Creamy Homemade Chocolate Pudding
Now that you’ve successfully created a batch of the **creamy homemade chocolate pudding** that tastes infinitely better than anything you can buy, I really, really want to hear about it! Did you top it with toasted pecans? Did you manage to wait the full four hours before diving in? Tell me everything!
Please take a moment to leave a quick rating for this recipe right below—a simple five-star rating really helps other folks realize this is the **best chocolate dessert ever**!
And if you tweaked something—maybe you added a pinch of espresso powder like I mentioned, or you snuck in a bit of bourbon while tempering the yolks (shh, my secret works too!)—drop the successful variation in the comments section. I love seeing how you all adapt these classic recipes for your own kitchens. It keeps the tradition alive!
If your **silky smooth pudding** turned out perfectly, snap a picture! Seriously, I would love to see your results. Tag me on social media if you post your **decadent chocolate treat**. If you have any questions at all about technique, or if you want to share general kitchen stories, hit my contact page. Happy, happy pudding making!
PrintThe Ultimate Creamy Homemade Chocolate Pudding from Scratch: Rich, Quick, and Better Than Boxed
Make rich, velvety chocolate pudding from scratch on the stovetop. This easy recipe yields a silky smooth, decadent dessert that surpasses any boxed mix.
- Prep Time: 10 min
- Cook Time: 10 min
- Total Time: 20 min
- Yield: 4 servings
- Category: Dessert
- Method: Stovetop
- Cuisine: American
- Diet: Vegetarian
Ingredients
- 1/2 cup granulated sugar
- 1/4 cup unsweetened cocoa powder (preferably Dutch-processed)
- 2 tablespoons cornstarch
- 1/4 teaspoon salt
- 2 cups whole milk
- 2 large egg yolks
- 2 tablespoons unsalted butter
- 1 teaspoon vanilla extract
Instructions
- In a medium saucepan, whisk together the sugar, cocoa powder, cornstarch, and salt until combined.
- Gradually whisk in the milk until the mixture is smooth and there are no lumps.
- Place the saucepan over medium heat. Cook, stirring constantly with a whisk, until the mixture thickens significantly and just begins to bubble. This takes about 5 to 8 minutes.
- In a small bowl, whisk the egg yolks lightly. Temper the yolks by slowly whisking about 1/2 cup of the hot milk mixture into the yolks.
- Pour the tempered yolk mixture back into the saucepan with the remaining milk mixture. Continue to cook over medium heat, stirring constantly, for 1 to 2 minutes until the pudding is very thick. Do not let it boil rapidly.
- Remove the saucepan from the heat. Stir in the butter and vanilla extract until the butter is fully melted and incorporated.
- Pour the pudding into individual serving bowls or a single large bowl. Press plastic wrap directly onto the surface of the pudding to prevent a skin from forming.
- Chill in the refrigerator for at least 2 hours, or until completely cold and set.
Notes
- For an extra rich flavor, substitute 1/2 cup of the milk with heavy cream.
- If you prefer a less intense chocolate flavor, use natural cocoa powder instead of Dutch-processed.
- This pudding sets best when chilled for 4 hours or overnight.
Nutrition
- Serving Size: 1 serving
- Calories: 285
- Sugar: 32
- Sodium: 150
- Fat: 13
- Saturated Fat: 7
- Unsaturated Fat: 6
- Trans Fat: 0
- Carbohydrates: 38
- Fiber: 2
- Protein: 7
- Cholesterol: 85