

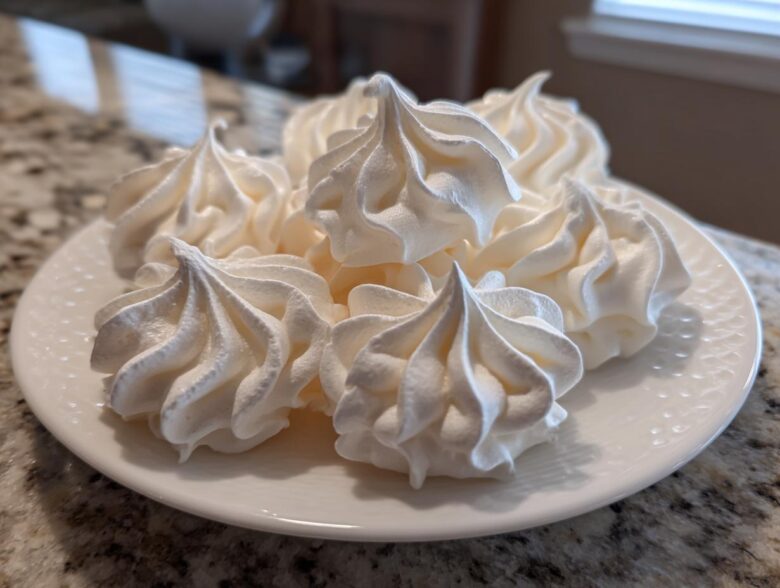
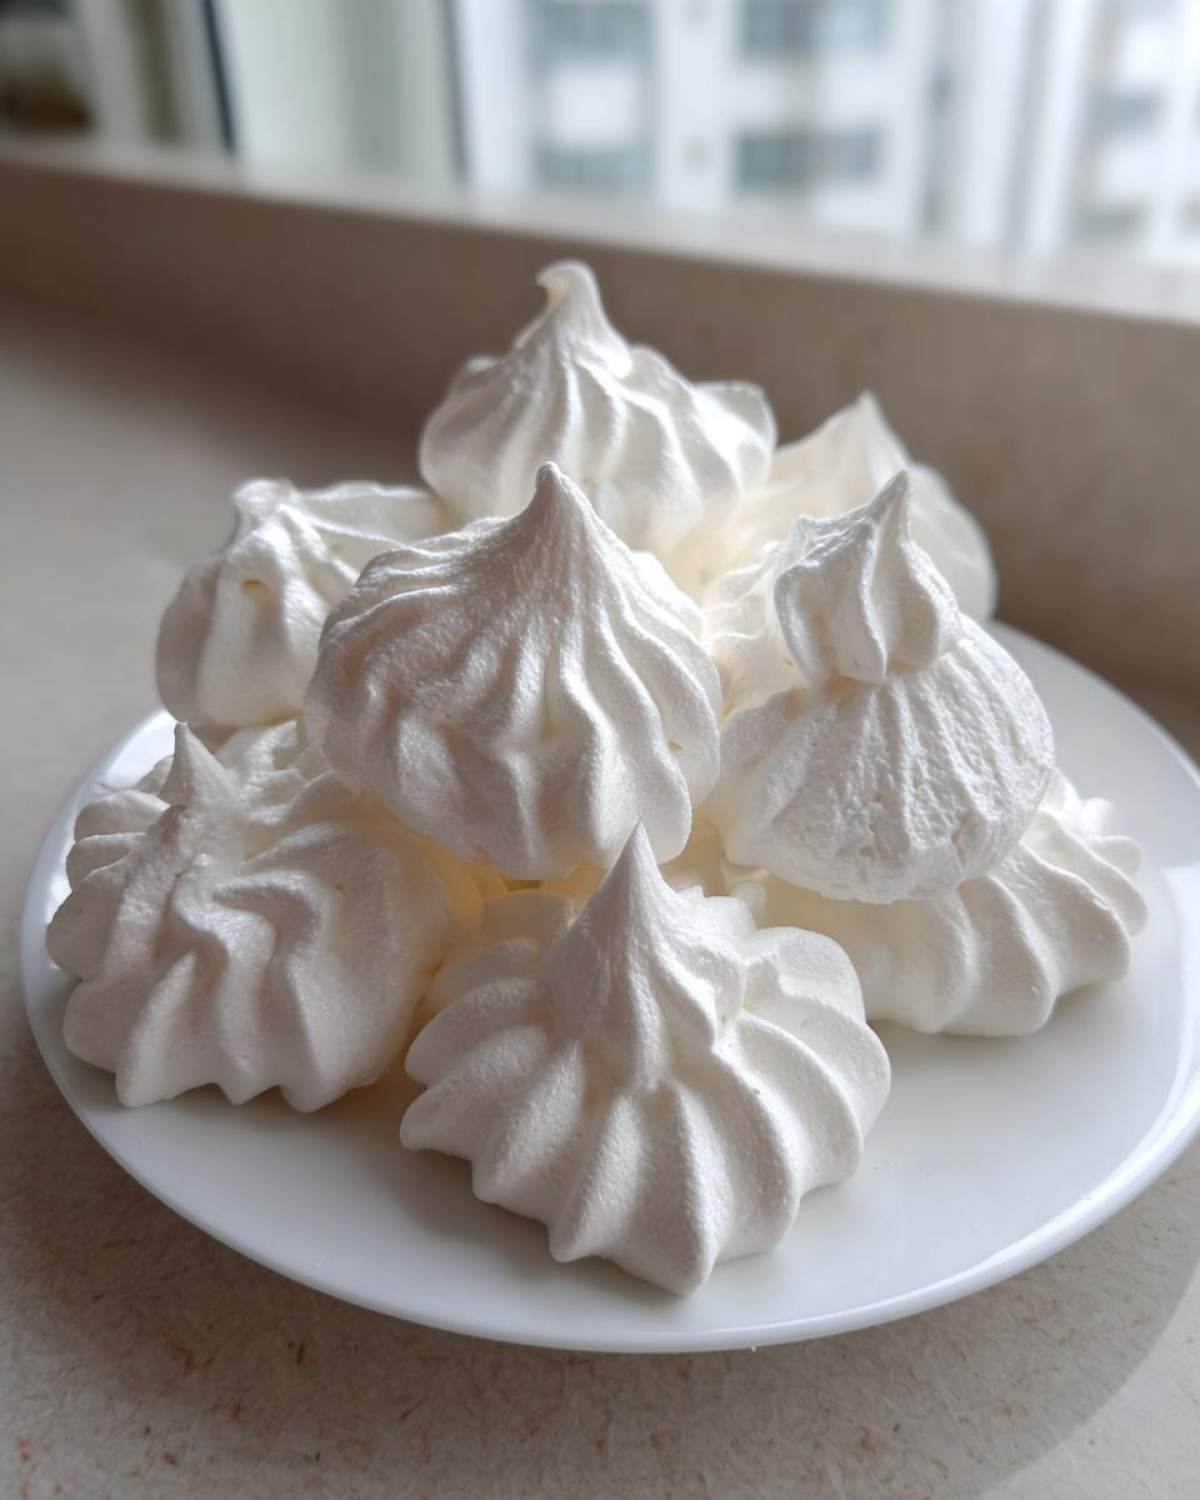
There’s just something magical about desserts that feel weightless, crisp, and completely ethereal, right? That’s exactly what you get with these incredible meringue cookies. I’m Hannah, and Elias and I are so excited to finally share what has become our go-to recipe for these delicate treats. Forget everything you heard about meringue being fussy; this is The Ultimate Easy Meringue Cookies Recipe. We focus on technique here, which turns simple egg whites and sugar into a dessert that shatters crisply on the outside while still being that beautiful, melt-in-your-mouth soft pillow on the inside. It’s pure chemistry. Elias and I truly found our rhythm early on in the kitchen, which you can read more about on our About Us page. Watching those whites transform is still one of my favorite parts of baking!
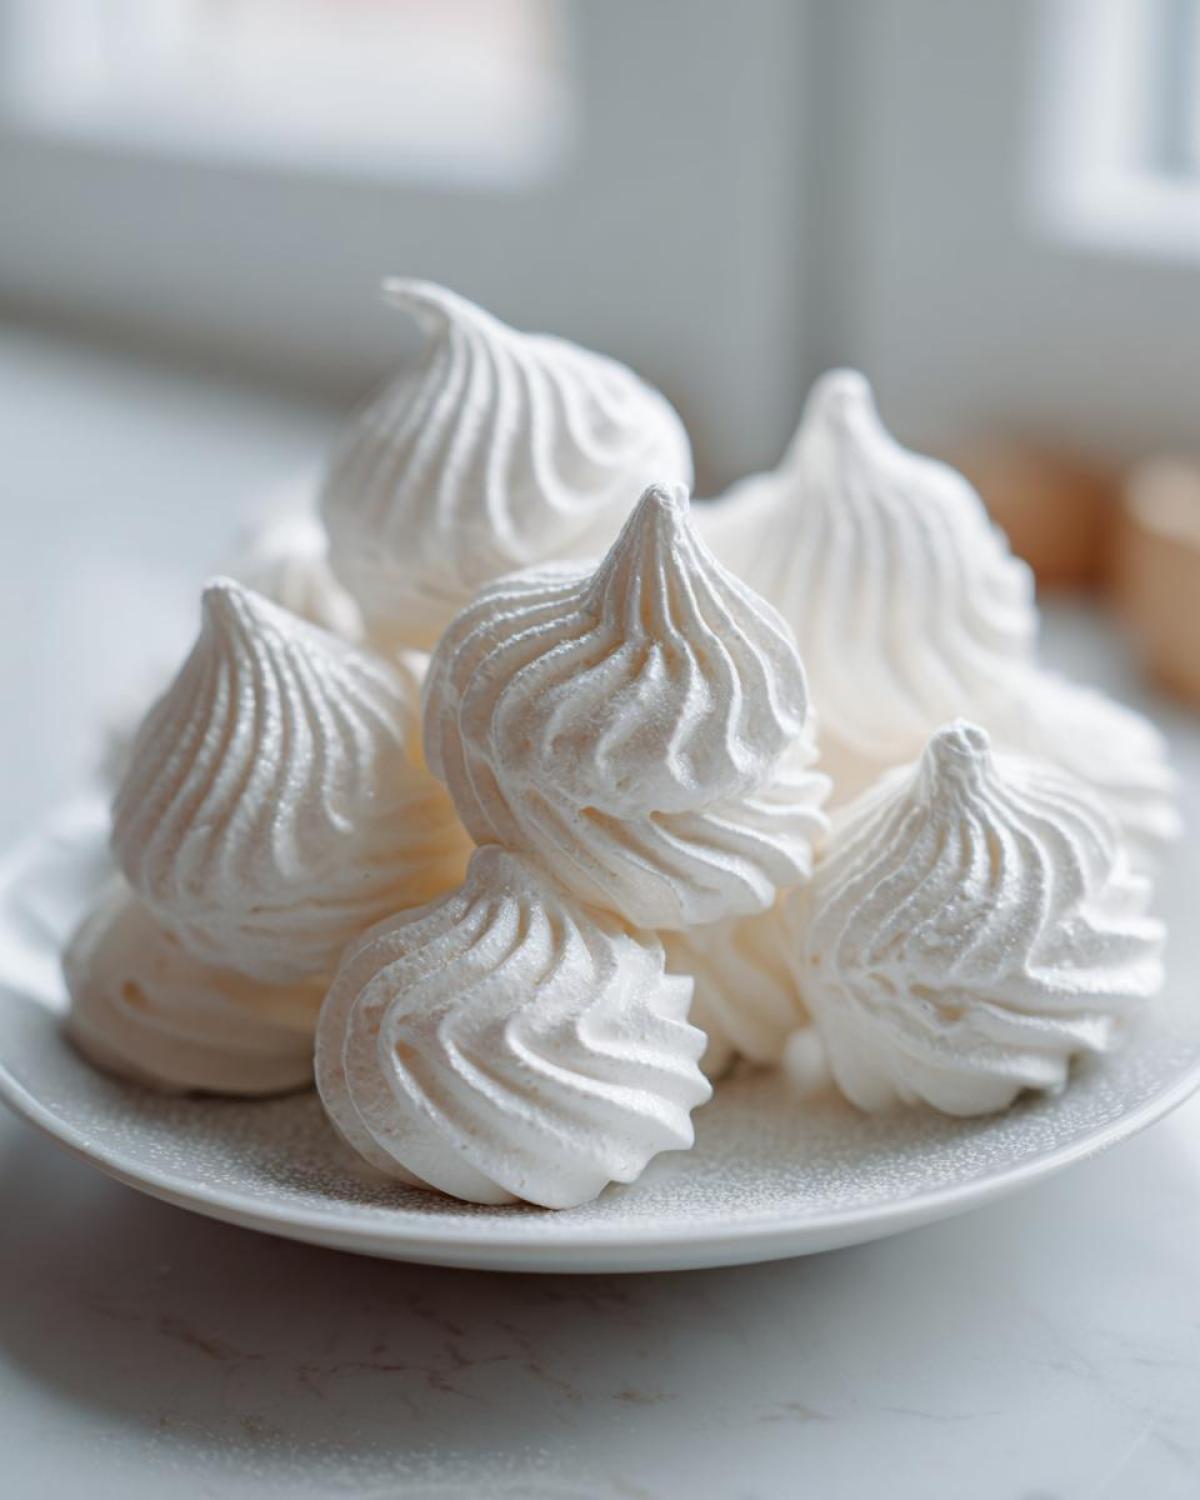
Why This Easy Meringue Cookies Recipe Works for Beginners
Lots of people are scared to try French meringue, but I promise you, this method is your ticket in! We designed this recipe to be incredibly straightforward, making it perfect for *Baking Meringue for Beginners*. When you use room-temperature egg whites and that little bit of cream of tartar, you stabilize everything beautifully. Suddenly, those *Simple Egg White Desserts* don’t seem so intimidating anymore.
We aren’t aiming for chewy here; we want those super *Light and Airy Cookies* that dry out perfectly in the oven. The goal is to create *Crispy Meringue Treats* that don’t deflate or weep the second they cool down. Trust me, once you master this basic technique, you’ll be whipping these up all the time.
Achieving That Perfect Meringue Texture
The payoff for paying attention during the whipping phase is that absolutely ideal *Perfect Meringue Texture*. I’m talking about meringue that is rock-solid crisp on the outside, but when you bite into it, it just dissolves right on your tongue. It’s the best!
Since we aren’t using any flour or flour substitutes, these delightful little clouds are naturally *Gluten Free Meringues*. This is such a win when you’re putting together dessert platters for friends with different dietary needs. They always disappear first!
Ingredients for Your Perfect Meringue Cookies
One of the best things about these airy delights is how few ingredients you actually need. See? I told you this was easy! You don’t need strange powders or complicated coloring agents just to get beautiful *meringue cookies*. We are sticking to the basics, which lets the pure sweetness shine through. I always make sure my eggs are sitting on the counter because room temperature egg whites whip up so much faster and reach that gorgeous, glossy volume we need.
- 4 large egg whites, room temperature
- 1 cup granulated sugar
- 1 teaspoon pure vanilla extract
- 1/4 teaspoon cream of tartar
- Pinch of salt
Ingredient Notes and Substitutions for Meringue Cookies
If you happen to be out of cream of tartar—that little helper that keeps our whites stable—don’t panic! You can absolutely substitute it with 1/2 teaspoon of white vinegar or even fresh lemon juice. It does the exact same job of stabilizing those foam structures. Also, this is key: Humidity is the natural enemy of meringue. Honestly, if it’s pouring rain outside, maybe save this recipe for a drier day. Storing your finished *meringue cookies* in a truly airtight container is non-negotiable if you want them to stay crisp!
How to Make Meringue Cookies: Step-by-Step Instructions
Okay, this is where we put in a little bit of the heavy lifting, but I promise it pays off tenfold! Before you even think about turning on that mixer, you absolutely must ensure your bowl is perfectly pristine. Any trace of grease or yolk will stop your egg whites from whipping up properly. I mean religiously clean! Preheat your oven way low—like, as low as it goes, usually between 170F and 200F. We aren’t really baking these; we are drying them out. Line those baking sheets with parchment paper because trust me, you don’t want to deal with sticking.
If you want to dive deep into the theory behind the best results, I have a great visual guide on the science of making meringue, and you can also check out this detailed article on French Meringue technique if you’re feeling extra studious!
Whipping Egg Whites for Fluffy Meringue Cookies
First up, dump those room-temperature egg whites and a tiny pinch of salt into that squeaky-clean bowl. Start whipping slowly until they look foamy, then toss in the cream of tartar and crank the speed up. You are looking for soft peaks first—that’s when the peak flops over nicely when you lift the whisk. Now, here is the make-or-break moment for stable *French Meringue Cookies*: add the sugar so slowly. One tablespoon at a time, waiting thirty seconds in between each addition. Don’t rush this or you destabilize the foam! Keep beating until the peaks are stiff, glossy, and stand straight up when you pull the whisk out. Give it the finger test—if it feels gritty, keep beating until that sugar is totally dissolved.
Piping and Drying Your Meringue Kisses Recipe
Once you’ve mixed in the vanilla, get that beautiful meringue into a piping bag. Using a star tip is my favorite because it gives you those classic, beautiful ridges for your *Meringue Kisses Recipe*. Pipe them onto your parchment paper boards, leaving a little space between each one to breathe.
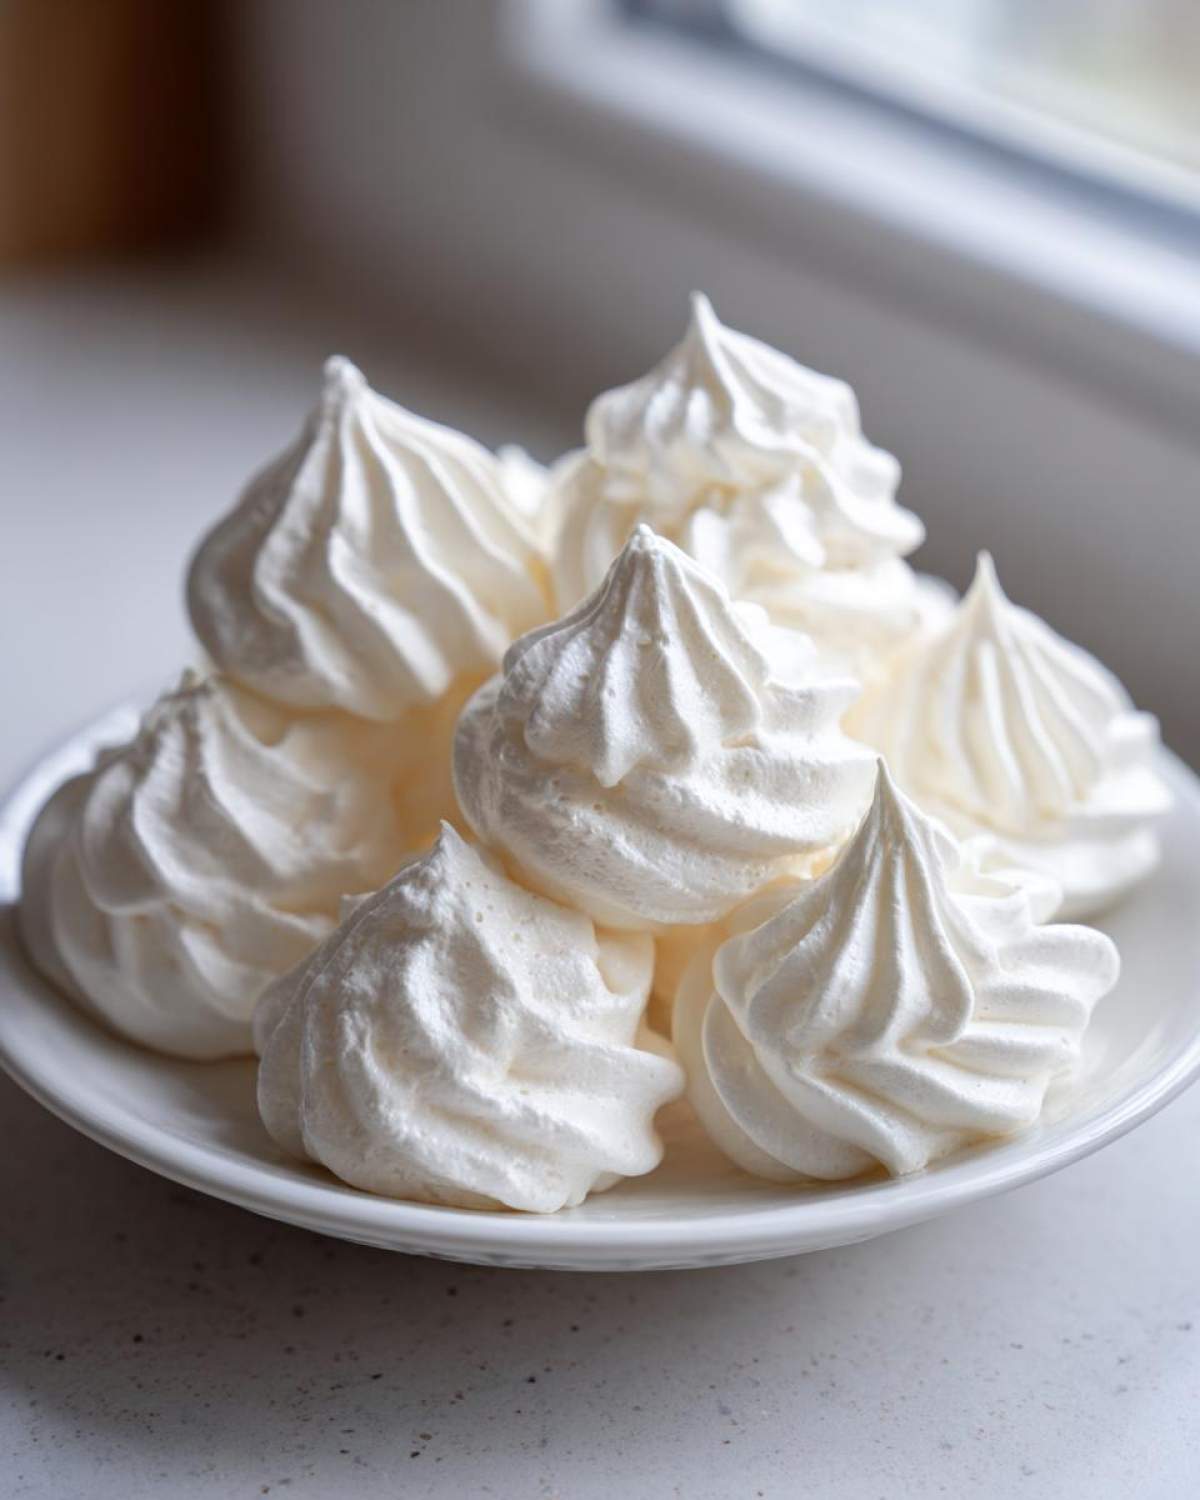
Now they head into that low oven for an hour to an hour and a half, depending on how big you piped your *meringue cookies*. You’ll know they are ready when they lift easily off the paper. The final, critical trick to avoid cracking is to turn the oven off completely, prop the door open just a crack with a wooden spoon, and leave the meringues inside to cool down slowly for at least an hour, or even overnight. Patience saves your pretty little cookies!
Flavor Variations for Your Meringue Cookies
The base vanilla *meringue cookies* recipe is amazing on its own, but who doesn’t love a little customization? That’s where the fun really starts! You can easily jazz these up depending on what flavor profile you’re craving that day. If you check the notes section below the instructions, I’ve put down exactly how I handle extracts or powders. For example, switching out the vanilla for peppermint extract right at the end gives you a wonderful seasonal twist—they’re so delicate!
If you really want that color and an extra little flavor pop without adding any liquid (which we *never* want to do!), you can mix in a tablespoon of dry Jello powder when you add the sugar. You can even find a great little guide for Jello meringue cookie recipes online if you want to see some vibrant results!
Festive Meringue Kisses Recipe Ideas
These little bites are the perfect candidate for your *Holiday Meringue Cookie Ideas*. Pink or red coloring alongside peppermint extract is a guaranteed hit for Christmas or Valentine’s Day. Or, you can pipe them and then dust the tops with edible glitter before they go into the oven for a magical sparkle! They make excellent edible gifts because they travel so well.
Storage and Keeping Meringue Cookies Crisp
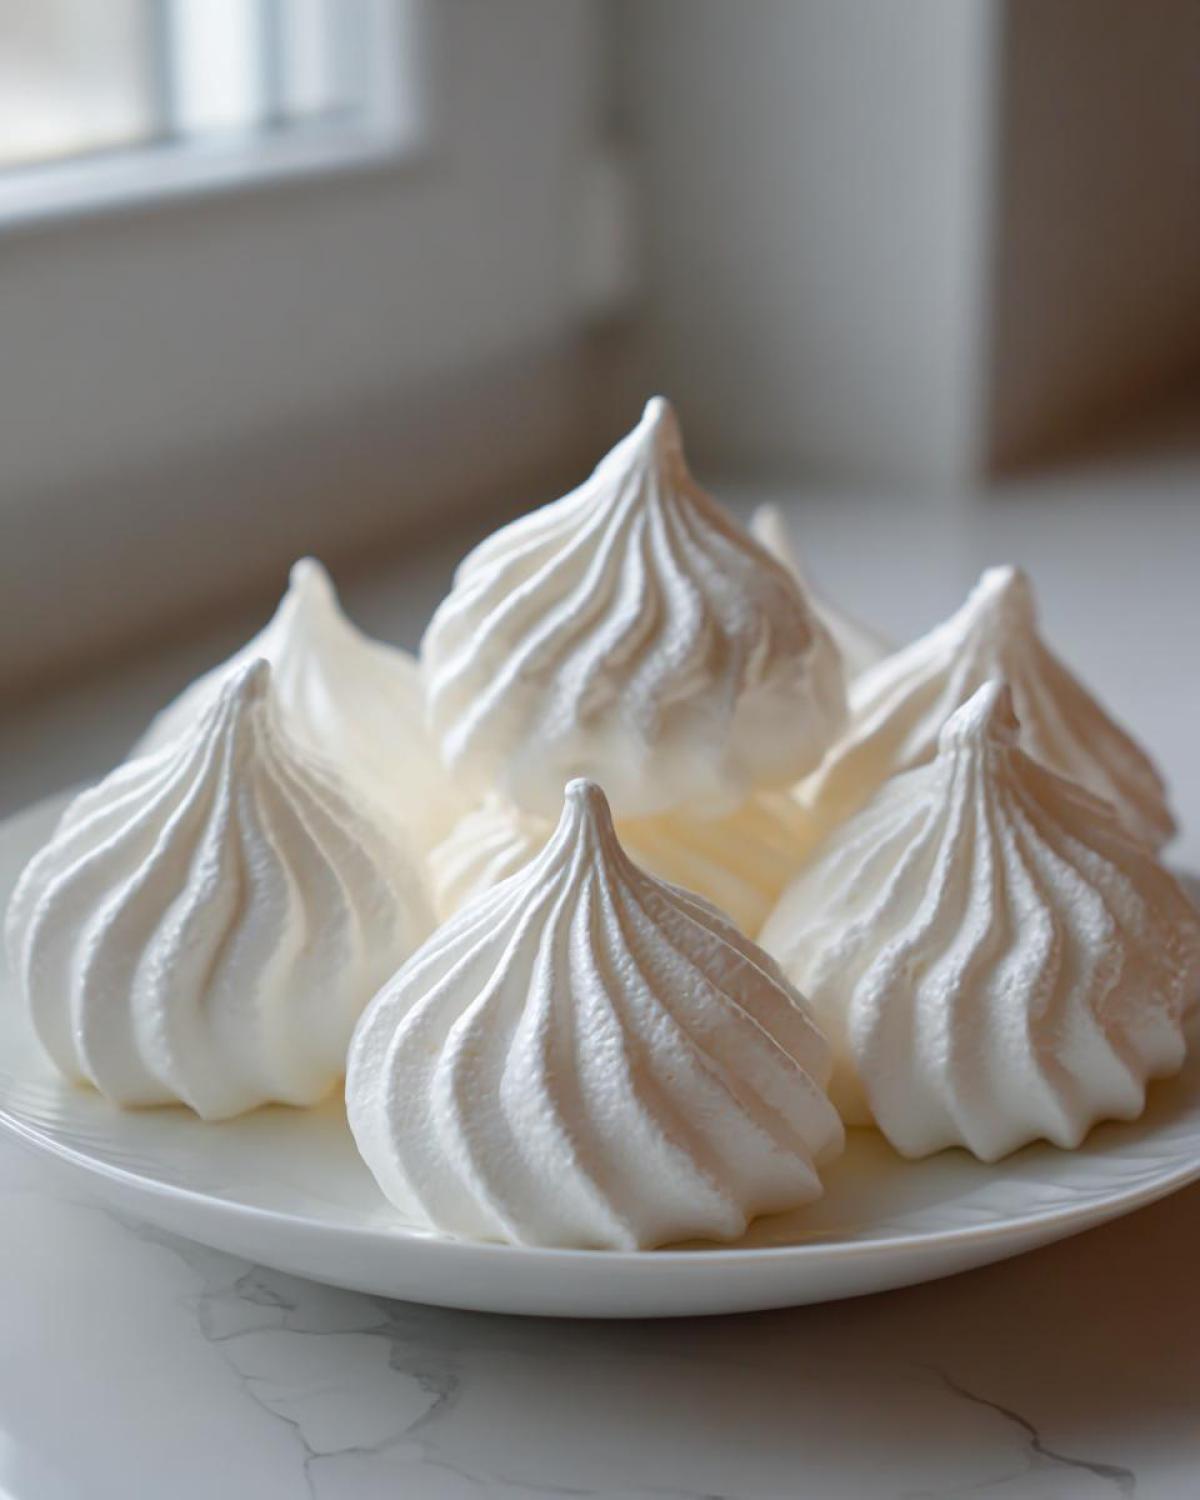
Now that you’ve put in all that hard work making them perfectly dry and light, we need to protect our *Crispy Meringue Treats*! Once they are completely cooled—and I mean totally cool, out of the oven for hours—you need to move them into an airtight container right away. Think of humidity as the enemy number one for meringue dust!
The air around us is full of moisture, and those little sugar clouds will start absorbing it instantly, which is why they go from crisp to sticky so fast. I try not to store them for more than one week, although usually, they don’t last that long around here! Keep them at room temperature, away from any steamy kitchen areas, and they should stay perfectly crisp.
Troubleshooting Common Meringue Cookies Issues
Even with the best recipe, sometimes things don’t go exactly as planned when working with egg whites. Don’t let that discourage you! Remember, we are dealing with chemistry, and sometimes the variables—like weather or a smudge of grease—can throw things off. If your beautiful *meringue cookies* develop tiny beads of sugar syrup on top after baking, that’s called weeping, and it always means the sugar wasn’t fully dissolved before it went into the oven. Slow sugar addition is the fix for that next time!
If your mixture just won’t turn into stiff peaks, make sure your bowl was immaculately clean and your whites were truly room temperature. Also, if the peaks are floppy, you might need more time—just keep whipping! Finally, if they crack badly when cooling, they cooled down too fast. Remember that crucial step where we turn the oven off and leave them inside? That slow temperature decline is what keeps your *meringue cookies* structurally sound and looking gorgeous.
Frequently Asked Questions About Meringue Cookies
I know when I first started trying to make these beautiful little *meringue cookies*, I had a million questions bouncing around my head. It’s easy to get nervous about egg whites, but honestly, once you get these answers down, you’ll feel like a pro! Elias and I put together the ones we hear the most often when friends are trying this recipe for the first time. If you still have questions, you should definitely check out our general recipe disclaimer page for more context on our ingredient safety!
Can I use brown sugar instead of white sugar in meringue cookies?
Oh, I wish you could! If you try to swap granulated sugar for brown sugar, you’re going to run into trouble right away. Brown sugar, even the light kind, has molasses in it, which means it has liquid. That liquid interferes with the structure of the egg whites, and they absolutely refuse to whip up into stiff peaks. You’ll end up with weeping on top where puddles of sugar syrup form. For these *Simple Egg White Desserts*, you really need that pure, dry white granulated sugar to get that perfect crispness we are aiming for.
What is the best temperature to bake meringue cookies?
This is critical, so listen up! We aren’t actually baking these like a regular cookie; we are *drying* them out slowly. You want the lowest temperature your oven will reliably hold, which is usually somewhere between 170F and 200F (75C to 95C). The whole process should take between an hour and an hour and a half, depending on how big your kisses are. Anything hotter than that, and your beautiful white cookies will start to brown or even crack before they are fully set inside.
Are these meringue cookies safe for someone avoiding gluten?
Yes, absolutely! This is such a wonderful bonus about a recipe based only on eggs and sugar. Since we are skipping flour entirely, these *Melt in Your Mouth Cookies* are naturally free from wheat. That makes them a fantastic, safe choice for anyone you know who needs *Gluten Free Meringues*. They look elegant, but they are so simple at their core!
Estimated Nutritional Data for Meringue Cookies
Okay, since these delicate treats are mostly just sugar and egg whites, they are definitely on the lighter side of the dessert spectrum! Elias always gets excited about these because they feel indulgent but don’t weigh you down much at all. Remember, these numbers are what we calculated based on our recipe yield of about 3 dozen cookies, so they are a really good general guide, but they are still just an estimate.
You can see that they are naturally very low in fat, which is great, but just keep in mind that sugar content is the main component here because of the nature of meringue. It’s all about balance, right?
- Serving Size: 1 cookie
- Calories: 45
- Sugar: 11g
- Fat: 0g
- Protein: 0g
- Carbohydrates: 11g
- Sodium: 2mg
Share Your Light and Airy Cookies Creations
I truly hope this recipe inspires you to grab your mixer and try making these *meringue cookies* today! There’s nothing Elias and I love more than hearing from you when you’ve had success in your own kitchen. Did you go with the classic vanilla, or did you try adding some fun color with the Jello powder variation? I’d be so impressed!
Please take a moment to leave a star rating for the recipe right below this, and let us know in the comments what your favorite part was—was it how *light and airy* they turned out, or how effortlessly they melted away? If you have any tips you discovered while making them, please share! We always love learning new tricks from our community. You can also always reach out directly through our contact page if you ever need a little extra help!
PrintThe Ultimate Easy Meringue Cookies Recipe: Light, Crisp, and Perfect Every Time

Learn how to make light, airy meringue cookies that are crisp on the outside and melt in your mouth soft on the inside. This simple French meringue recipe is foolproof for beginners and perfect for holiday baking or gifts.
- Prep Time: 20 min
- Cook Time: 90 min
- Total Time: 110 min
- Yield: About 3 dozen
- Category: Dessert
- Method: Baking
- Cuisine: American
- Diet: Gluten Free
Ingredients
- 4 large egg whites, room temperature
- 1 cup granulated sugar
- 1 teaspoon pure vanilla extract
- 1/4 teaspoon cream of tartar
- Pinch of salt
Instructions
- Preheat your oven to the lowest setting, typically between 170F and 200F (75C to 95C). Line two large baking sheets with parchment paper.
- Ensure your mixing bowl and whisk attachment are completely clean and dry. Add the room temperature egg whites and the pinch of salt to the bowl.
- Begin whipping the egg whites on medium-low speed until they become foamy. Add the cream of tartar and increase the speed to medium-high.
- Once soft peaks form (the peaks curl over when the whisk is lifted), slowly begin adding the granulated sugar, one tablespoon at a time, waiting about 30 seconds between additions. This slow addition is key to stable meringue.
- Continue beating on high speed until stiff, glossy peaks form. When you lift the whisk, the peak should stand straight up without drooping. Rub a small amount between your fingers; it should feel smooth, not gritty.
- Beat in the vanilla extract quickly, mixing just until combined.
- Transfer the meringue to a piping bag fitted with your desired tip (a star tip creates classic meringue kisses).
- Pipe small mounds or kisses onto the prepared baking sheets, leaving about an inch between each one.
- Bake (dry) in the low-temperature oven for 1 to 1.5 hours, depending on the size of your cookies and your oven’s accuracy. They should feel dry and lift easily from the parchment paper when done.
- Turn off the oven, prop the door open slightly with a wooden spoon, and allow the meringue cookies to cool completely inside the oven for at least 1 hour, or even overnight. This slow cooling prevents cracking.
- Store the finished, crisp meringue treats in an airtight container at room temperature.
Notes
- For flavored meringue cookies, you can substitute 1 teaspoon of vanilla with 1/2 teaspoon of peppermint extract or add 1 tablespoon of dry Jello powder along with the sugar for colorful Jello meringue cookie variations.
- If you do not have cream of tartar, use 1/2 teaspoon of white vinegar or lemon juice to stabilize the egg whites.
- Humidity affects meringue. Bake on a dry day if possible for the best crisp texture.
- These are naturally gluten free meringues, making them a safe option for many guests.
Nutrition
- Serving Size: 1 cookie
- Calories: 45
- Sugar: 11
- Sodium: 2
- Fat: 0
- Saturated Fat: 0
- Unsaturated Fat: 0
- Trans Fat: 0
- Carbohydrates: 11
- Fiber: 0
- Protein: 0
- Cholesterol: 0