

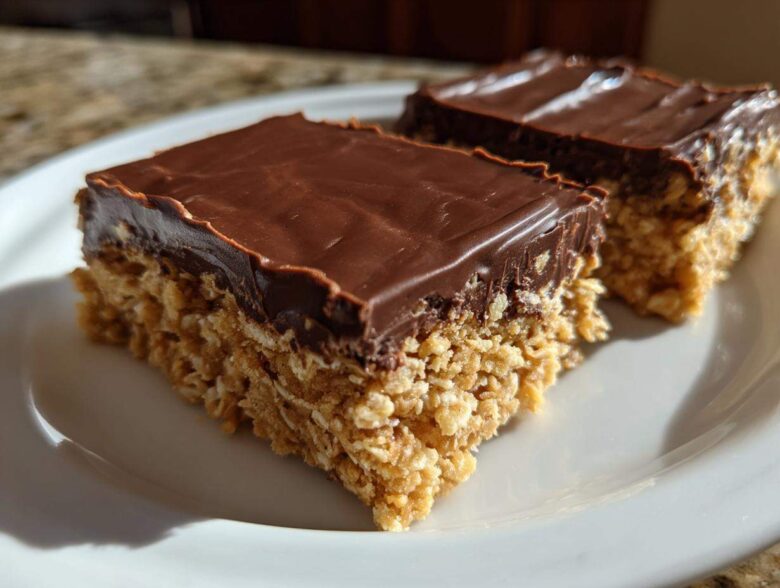
Oh, you know those days, right? When a major sweet craving hits you like a freight train, but you are absolutely NOT turning on the oven? Seriously, that heat wave? No thanks! That’s why I’ve perfected what I genuinely call the ultimate No-Bake Chocolate Peanut Butter Oat Bars. These things solve every kind of dessert emergency, I swear. They come together faster than you can decide what to binge-watch next, and the best part is they only use five main ingredients. I first threw this together late one night when I needed a truly quick homemade candy bar fix, and now it’s my go-to recipe for school lunches and impromptu weekend treats. If you love those incredible no-bake energy bites but want a sturdy, sliceable square, you have found your match. Trust me, ditch the baking sheet for these!
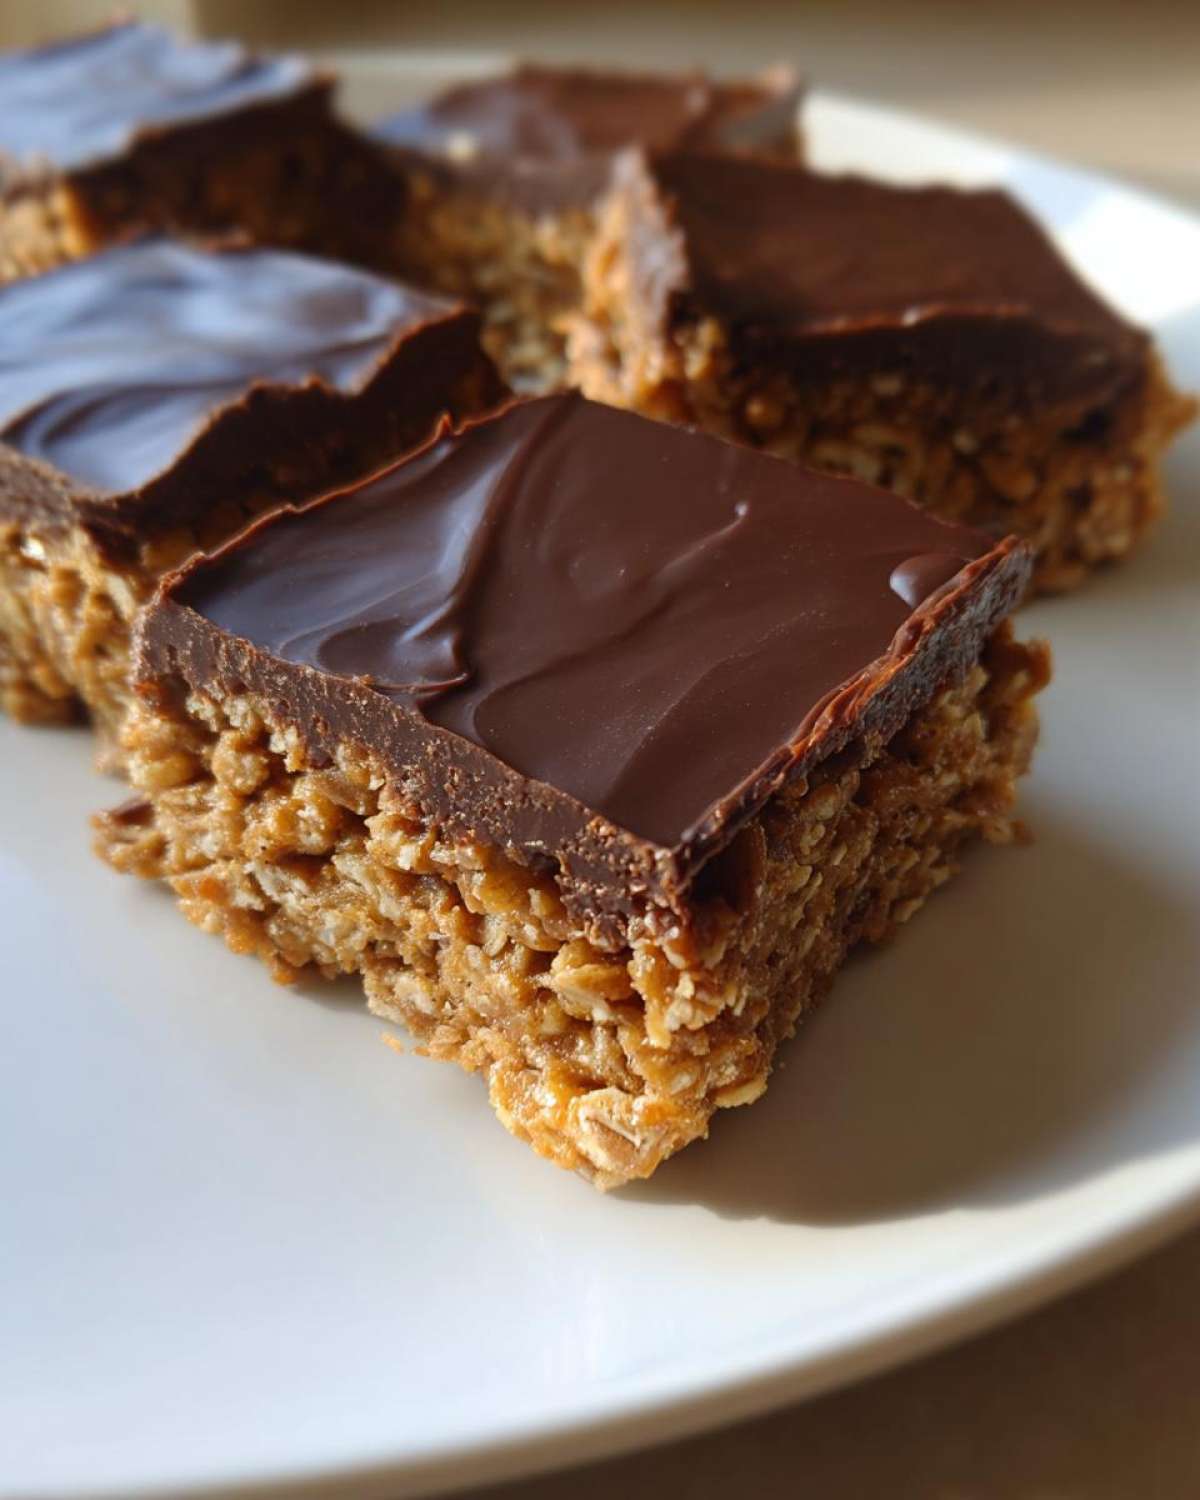
Why You Will Love These No-Bake Chocolate Peanut Butter Oat Bars
Honestly, what’s not to love about a treat that respects your time? These bars are ridiculously satisfying for so little effort. Forget complicated steps; this is genuinely one of the easiest things you’ll ever make!
- Zero oven time required—perfect for summer!
- They set up beautifully firm, so they’re not messy.
- That classic, unbeatable chocolate and peanut butter combo.
- It’s practically a Five Ingredient Dessert, keeping your pantry needs super simple.
- They are so quick; you can mix everything in under fifteen minutes flat.
Gathering Ingredients for the Best No-Bake Chocolate Peanut Butter Oat Bars
Getting ready to make these is so easy because we’re only dealing with five main players here! You’re going to want to gather: one full cup of those good old rolled oats, one cup of creamy peanut butter—the smooth stuff is key here—half a cup of powdered sugar for subtle sweetness, a quarter cup of butter that you melt down first, and finally, one cup of semi-sweet chocolate chips for that glorious top layer.
I always like to have my ingredients laid out before I start mixing, especially since there is no oven time to slow me down later. If you’ve ever made easy peanut butter cookies, you know the base texture needs to be just right!
Ingredient Notes and Substitutions for No-Bake Oat Bars
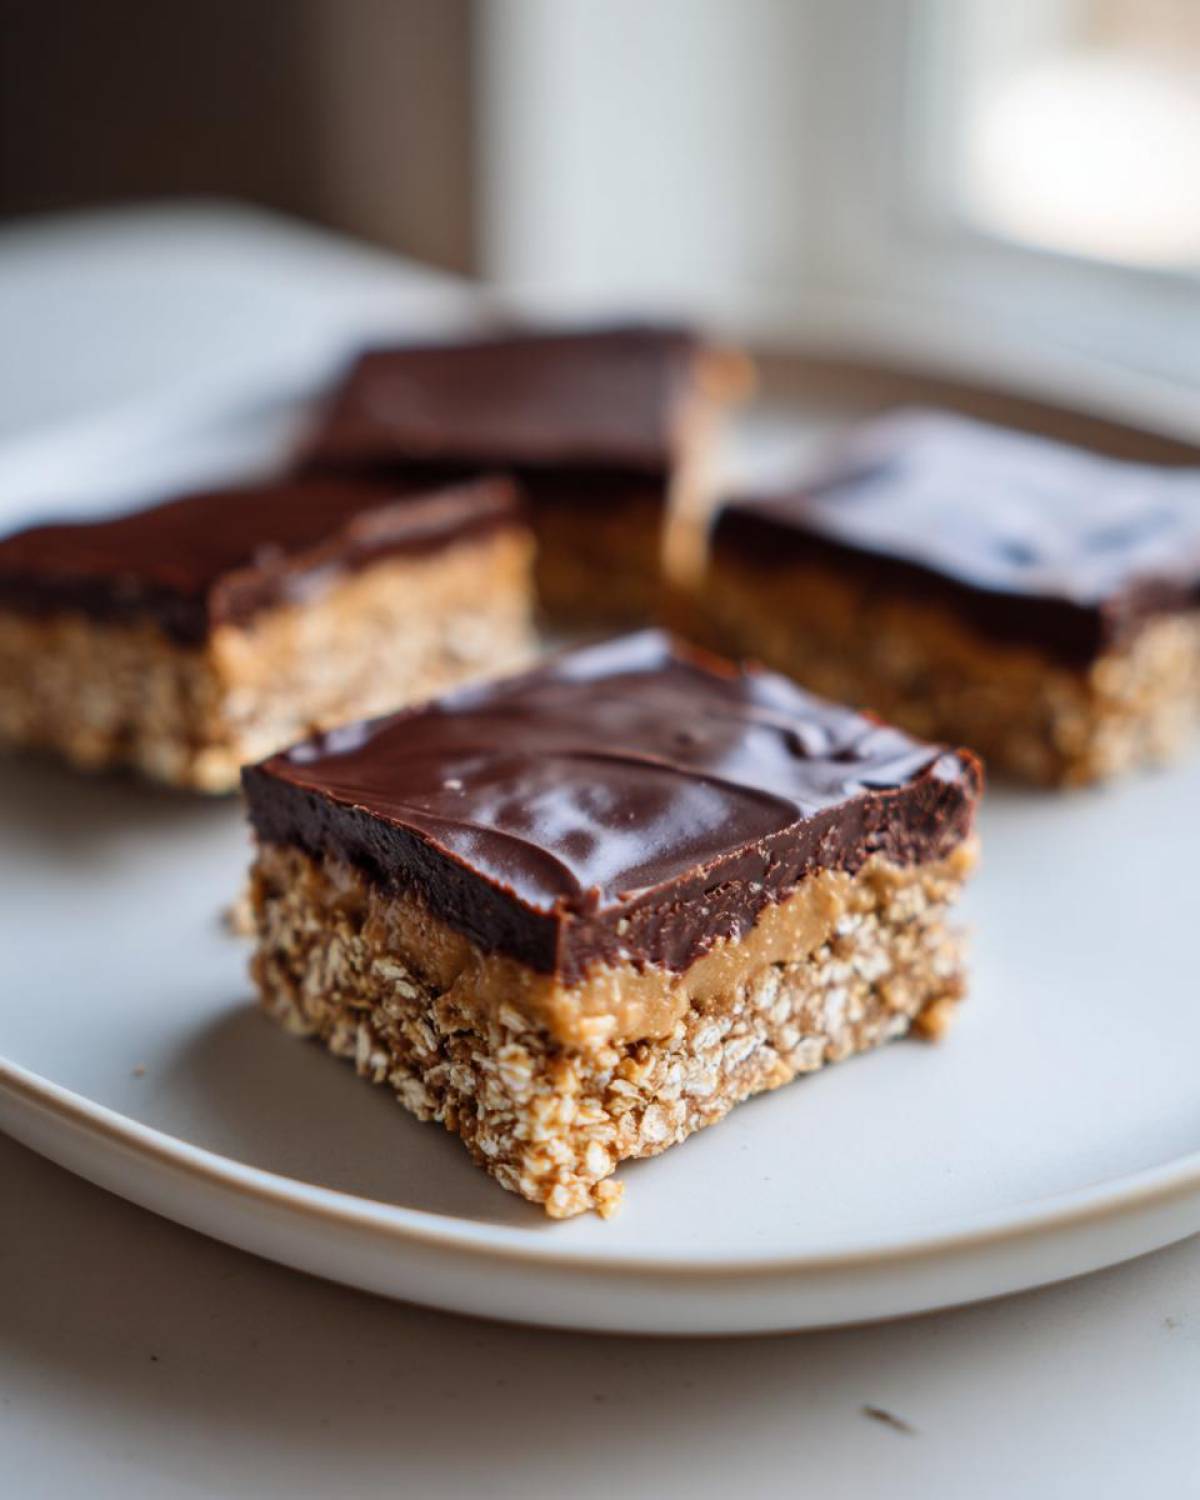
Let’s talk oats for a second. The recipe calls for rolled oats, and I really suggest sticking with those because they give the base a nice chew! If you use quick oats instead, your No Bake Oat Bars will be much softer, which might not be what you want for a square that needs to hold its shape.
Also, if you’re reaching for that natural, oily peanut butter, watch out! Since it doesn’t have the stabilizers, you might need to add just a touch more powdered sugar to help everything bind up perfectly when you mix it all together. You want that mixture to feel thick!
Step-by-Step Instructions for Perfect No-Bake Chocolate Peanut Butter Oat Bars
Okay, let’s get these put together! This is where the magic happens, and honestly, it’s so fast. First thing, take an 8×8 pan and line it with parchment paper. Make sure you leave an overhang on two sides—trust me, this overhang is your best friend when you need to lift these beautiful squares out later. Don’t skip that step!
Next up is the base mixture. Grab a good, sturdy bowl. You’re tossing in your oats, your creamy peanut butter, the powdered sugar, and the melted butter. Now, here’s my personal tip: make sure that butter is melted smoothly, but please, don’t let it be scorching hot when you add it! Mix everything together really well until every single oat looks coated. It’s going to look a little crumbly at first, but just keep mixing. Then, transfer that whole mess into your prepared pan and press it down firm. I mean *firm*! Use the bottom of a glass or measuring cup to really compact that layer; this is what keeps the base from breaking apart later. This step is vital for sturdy No-Bake Chocolate Peanut Butter Oat Bars.
After you’ve packed that base down like you mean it, you’ll move on to the topping. You can find the full details on how to make these make ahead snack recipes work for busy nights right here, but for right now, focus on that chocolate!
Tips for Achieving the Perfect Chocolate Topping on Your No Bake Oat Bars
Melting the chocolate is delicate work, even when microwaving! You can’t just blast those chips on high for two minutes or they will seize up and turn into sad, grainy lumps. Put your semi-sweet chips in a microwave-safe bowl. Microwave them in short bursts—30 seconds at a time—and stir well between each one. This gentle heating keeps it velvety smooth.
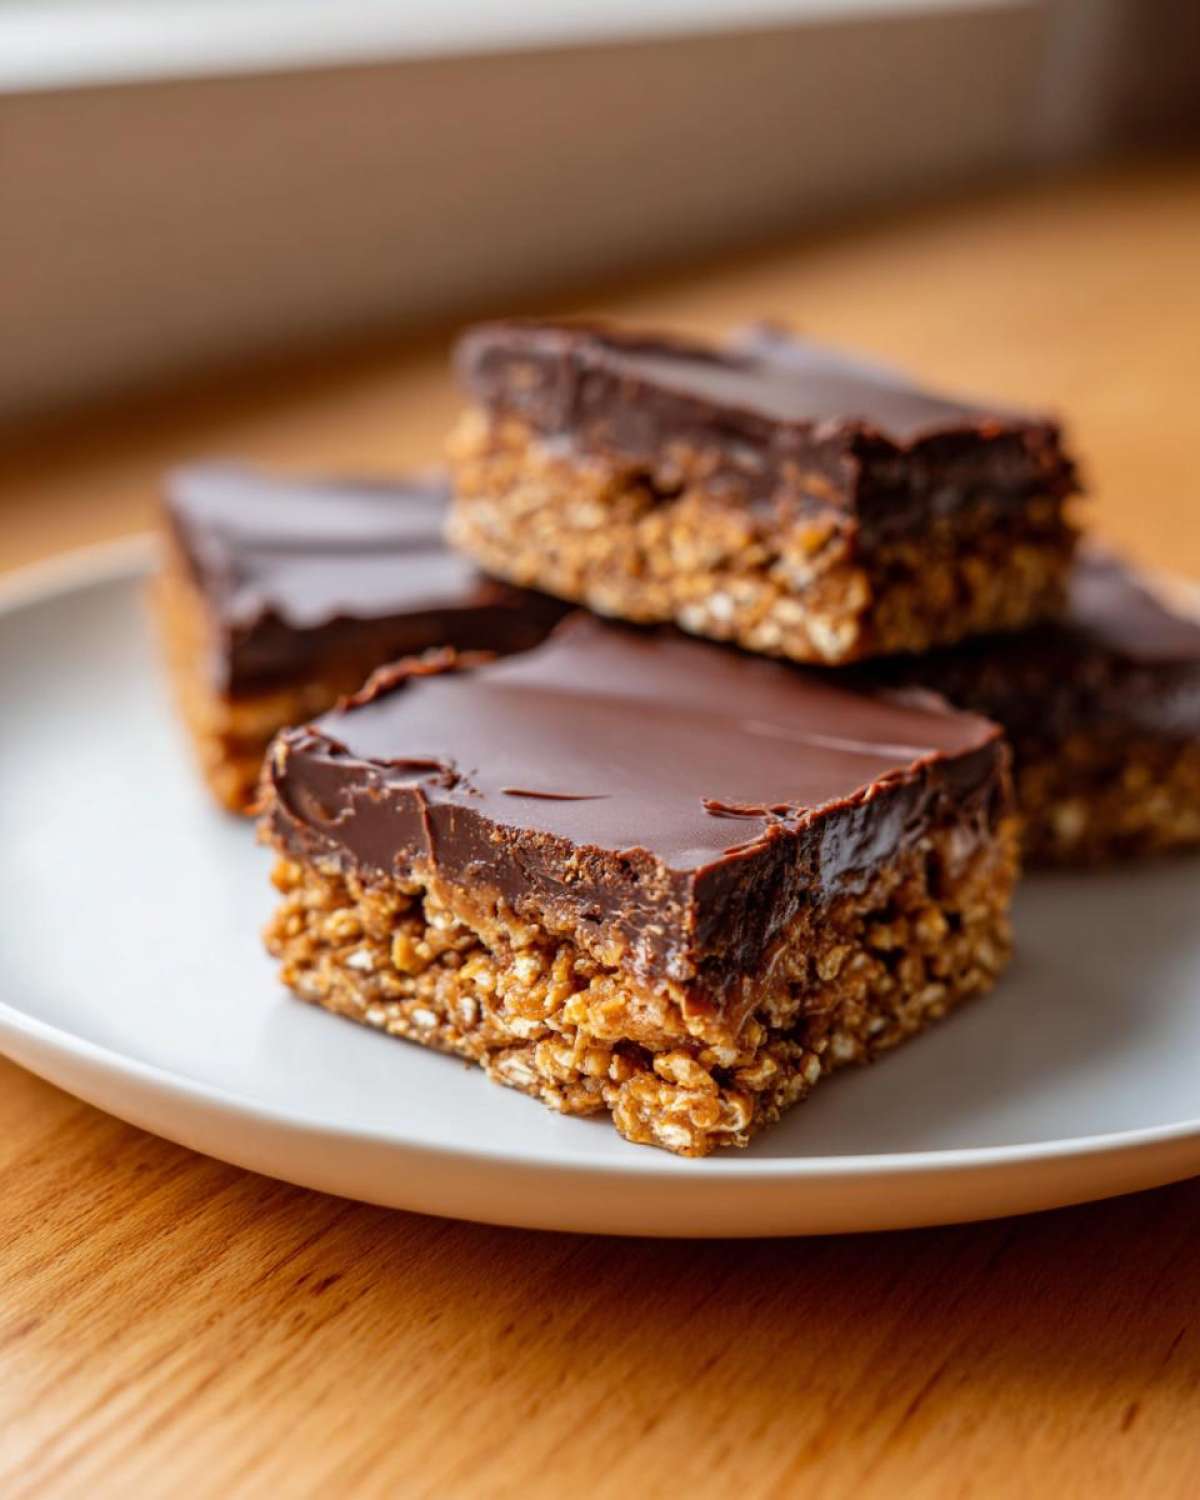
Once it’s liquid luxury, pour that melted chocolate right over your packed oat base. Tilt the pan gently to get it to spread evenly across the surface. This uniform layer is what gives you that gorgeous, snappy finish on your Chocolate Peanut Butter Treats. Now, all that’s left is patience: these need to chill for at least two hours until that chocolate is totally firm!
Equipment Needed for Making No-Bake Chocolate Peanut Butter Oat Bars
Since we’re skipping the oven, you might think you need even less gear, but you still need the right set of tools to get those gorgeous, clean squares!
Don’t worry, this isn’t a complicated list at all. You probably own everything already. Here’s what I always pull out when I’m making these speedy No-Bake Chocolate Peanut Butter Oat Bars:
- An 8×8 inch baking pan. This gives us the perfect thickness for a substantial bar.
- Parchment paper! I cannot stress how important this is for easy cleanup and lifting the bars out cleanly.
- A medium mixing bowl for combining the base ingredients.
- A separate, small, microwave-safe bowl specifically for melting those chocolate chips.
- A sturdy spatula or wooden spoon for mixing everything until it’s perfectly incorporated.
- Something flat to press down the base layer—I usually grab the flat bottom of a dry measuring cup or even a small glass.
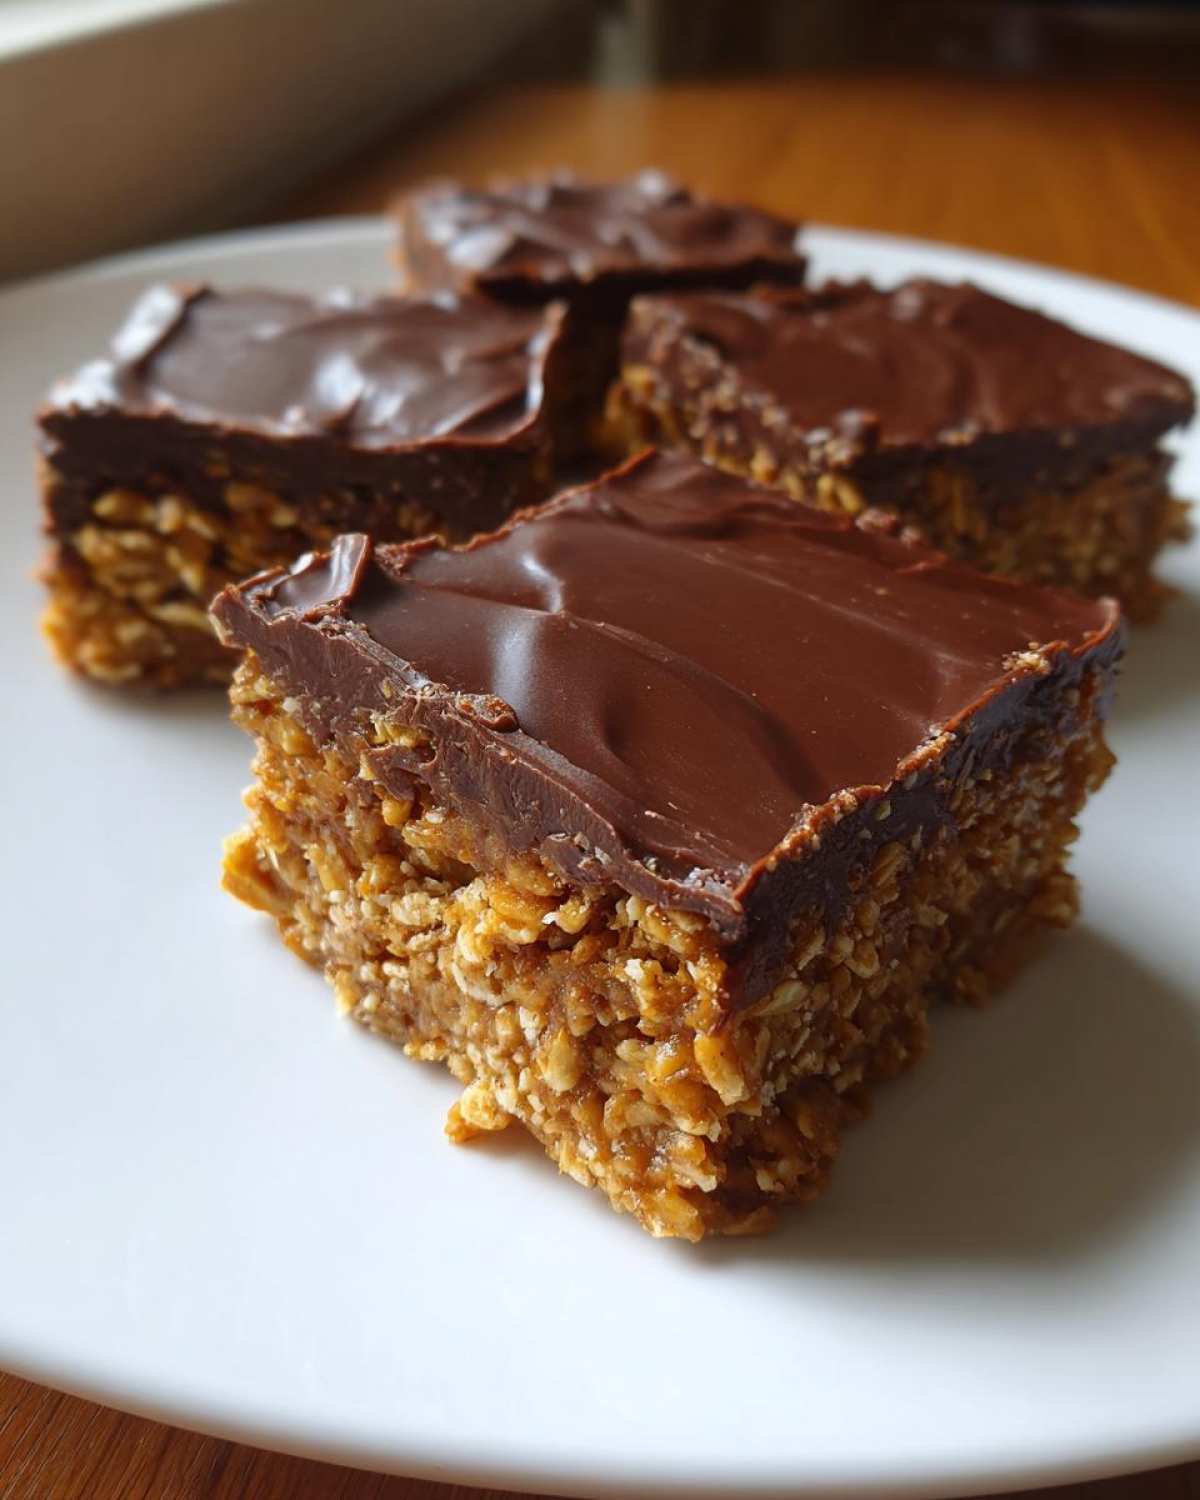
That’s truly it! No stand mixers necessary, no fancy attachments. Just simple tools for a simple, fantastic snack.
Storage and Make-Ahead Tips for Your No-Bake Chocolate Peanut Butter Oat Bars
These bars are truly a gift to anyone who meal preps or hates dishes! Since they have no eggs or flour that needs baking, they are fantastic make-ahead wonders. Seriously, these are the definition of great make ahead snack recipes because they taste better the next day anyway!
Once your chocolate topping is rock-solid after that two-hour chill, you need to cut them. Now, here’s a little trick I learned the hard way: don’t try to slice them straight out of the fridge! The knife just crumbles the chocolate topping. Instead, let the whole pan sit on the counter for about five or ten minutes. That totally firm chocolate softens *just* enough to let you get a perfectly clean cut. Slice them into 16 squares.
Pop the cut bars into an airtight container. They need to stay in the refrigerator, where they will stay fresh for up to a whole week. If you need them to last even longer, you can absolutely freeze them! They keep beautifully as a No Bake Freezer Treat.
Variations for Your Favorite Chocolate Peanut Butter Treats
Even though I absolutely adore these bars exactly as written—remember, five ingredients, pure bliss—sometimes you just need to jazz things up a little bit, right? The beauty of a no-bake bar like this is that the base is sturdy enough to handle a few extras! As long as you remember that the base needs to stay dense, you can throw in all sorts of fun things.
My absolute favorite thing to do is sprinkle flaky sea salt right over the top of that warm, melted chocolate layer before it sets. Just a tiny pinch across the entire surface, and WOW. It elevates these simple Chocolate Peanut Butter Treats into something that tastes ridiculously gourmet. It cuts right through the sweetness!
If you’re adding things *to* the base mix—like sprinkles or mini M&Ms? Go for it! But remember, you’re adding volume, so maybe just pour the base layer in a slightly smaller pan, like a 7×7, just to make sure it stays thick enough. Another big win is swapping out your peanut butter. If you use almond butter or sunflower seed butter, you’ll get a totally different flavor profile, but you have to be careful.
If you use natural nut butter, you’ll definitely need to bump up that powdered sugar a little bit, like an extra tablespoon or two, just to get that nice, stiff texture we talked about. You can even try stirring some protein powder into the base if you want something more like an energy bar, but start small so it doesn’t dry everything out!
Serving Suggestions for These Dessert Bars Without Oven
These Dessert Bars Without Oven are rich, folks. I mean, they are deeply satisfying, thick, and full of peanut butter goodness. Because of that richness, they pair up with the simplest things and suddenly feel like a full-blown, grown-up dessert. You don’t need fancy sauces or anything!
My absolute favorite way to serve them is nice and cold, straight from the fridge. It makes that chocolate top layer snap when you bite into it! They are fantastic alongside a giant mug of black coffee in the afternoon—the bitterness balances the sugar so perfectly. If you’re making these for the kids, a cold glass of milk turns these into the ultimate Quick Peanut Butter Snack substitute.
And here’s a little secret: If you have any leftover bars and you’re having a super hot day, try popping them in the freezer for 30 minutes before slicing or eating. They firm right up and turn into this amazing, barely-frozen treat—almost like a homemade candy bar ice cream sandwich! They basically transition into an Easy Frozen Dessert option with zero extra work on your part.
Frequently Asked Questions About No-Bake Chocolate Peanut Butter Oat Bars
I know sometimes when you’re whipping up something fast like these, you run into a tiny snag. Don’t worry, I’ve answered the most common things people ask when they are making my absolute favorite Quick Peanut Butter Snacks!
Can I make these No Bake Oat Bars vegan?
Oh, absolutely! These bars are so forgiving, which is what I love about them for anyone looking for an easy switch. For the butter, just swap it out for a good quality vegan butter stick—the kind that comes wrapped like regular butter works best since it holds its shape when melted. And double-check your chocolate chips; many brands are naturally dairy-free, but you’ll want to verify that on the bag. As long as you keep the proportions right, your No Bake Oat Bars will bind up just as perfectly!
How long do No-Bake Chocolate Peanut Butter Oat Bars take to set?
The bare minimum chilling time is two hours in the refrigerator. That’s how long it takes for the chocolate topping to go from melty puddle to firm snap. However, if you can wait longer—say, four hours or even overnight—you win! The longer they chill, the firmer that base gets, and the cleaner your squares will be when you cut them. Cutting them straight out of the fridge is a guaranteed mess, so give them the patience they deserve!
I put together a whole list of fun ideas for the little ones in my kid friendly no bake recipes roundup, and these bars always make the cut because they are so reliable!
My base seems too crumbly! What did I do wrong?
If your base mixture looks dry or too crumbly when you are pressing it into the pan, don’t panic! This usually happens for one of two reasons. Either your peanut butter wasn’t perfectly creamy—sometimes the really natural, separated ones don’t have enough binder when you first stir them in—or your butter cooled down too fast and firmed up before you mixed everything. The fix is easy! Just warm up the mixture again very gently (a few seconds in the microwave will do) and add maybe an extra teaspoon of peanut butter or a tiny drizzle of melted butter until it just holds together when you squeeze a little bit in your hand. Then press it down firmly!
Estimated Nutritional Snapshot for No-Bake Chocolate Peanut Butter Oat Bars
Now, I know my readers aren’t here for a nutrition textbook, but since these have oats and peanut butter, occasionally people ask what’s in a single serving. It’s good to know what you’re digging into, right? I always look at these as a substantial treat or a great energy boost when I’m running out the door!
Remember, these numbers are just my best guesstimate based on the ingredients I use—like standard creamy peanut butter and average semi-sweet chips. If you swap out for low-fat PB or use sugar substitutes, your totals will definitely change! You can see all my tips for keeping these on the lighter side over in my guide to healthy no-bake bars.
Here is the breakdown for one single, glorious bar, yielding 16 servings from the batch:
- Serving Size: 1 bar
- Calories: Around 220
- Total Fat: 14g (with about 5g of that being saturated fat)
- Carbohydrates: 21g
- Sugar: 15g (Yep, that’s the chocolate and powdered sugar working hard!)
- Protein: 6g
- Cholesterol: About 10mg
- Fiber: 2g
It’s a solid little square packed with what you need for a quick snack! If you’re packing these for a hike or a road trip, that 6g of protein is really handy!
PrintUltimate No-Bake Chocolate Peanut Butter Oat Bars
Make these simple, rich no-bake bars using only five main ingredients. They combine creamy peanut butter, oats, and a chocolate topping for a quick snack or dessert.
- Prep Time: 15 min
- Cook Time: 0 min
- Total Time: 2 hr 15 min
- Yield: 16 bars
- Category: Dessert
- Method: No Bake
- Cuisine: American
- Diet: Vegetarian
Ingredients
- 1 cup rolled oats
- 1 cup creamy peanut butter
- 1/2 cup powdered sugar
- 1/4 cup butter, melted
- 1 cup semi-sweet chocolate chips
Instructions
- Line an 8×8 inch pan with parchment paper, leaving an overhang on two sides for easy removal.
- In a medium bowl, combine the rolled oats, peanut butter, powdered sugar, and melted butter. Mix well until everything is evenly coated.
- Press the mixture firmly and evenly into the bottom of the prepared pan.
- Place the chocolate chips in a microwave-safe bowl. Microwave in 30-second intervals, stirring between each, until smooth and fully melted.
- Pour the melted chocolate over the oat base and spread it into an even layer.
- Refrigerate the bars for at least 2 hours, or until the chocolate topping is firm.
- Use the parchment paper overhang to lift the bars from the pan. Cut into 16 squares before serving.
Notes
- For easier cutting, let the bars sit at room temperature for 5 minutes before slicing.
- Store leftovers in an airtight container in the refrigerator for up to one week.
- You can substitute quick oats for rolled oats, but the texture will be softer.
Nutrition
- Serving Size: 1 bar
- Calories: 220
- Sugar: 15
- Sodium: 110
- Fat: 14
- Saturated Fat: 5
- Unsaturated Fat: 9
- Trans Fat: 0
- Carbohydrates: 21
- Fiber: 2
- Protein: 6
- Cholesterol: 10