

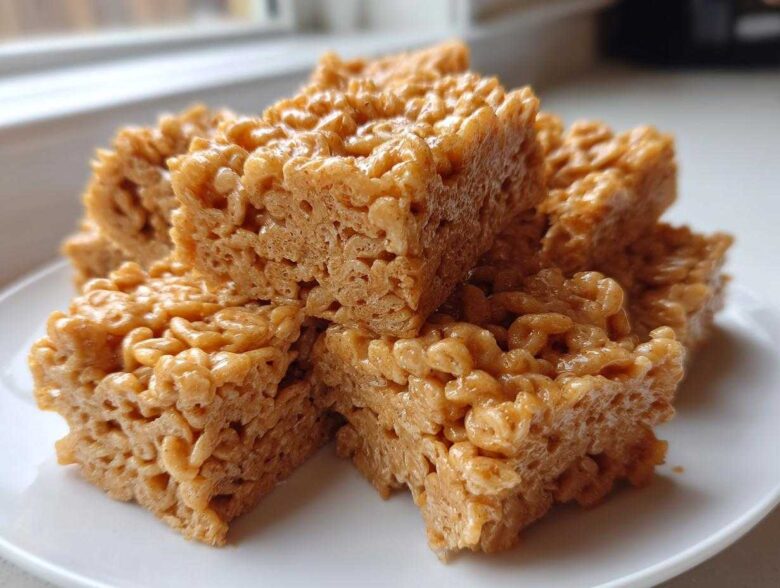
Oh, you know those days, right? The ones where you need a sweet fix staring you down, but the thought of turning on the oven feels like climbing a mountain? I live for those moments because that’s when my favorite, easiest recipe comes out to save the day! Forget the fuss of baking; we’re talking about the absolute best No-Bake Peanut Butter Rice Cereal Bars you will ever make. It’s all stovetop action, a quick stir, and then you let the magic happen on the counter. So many times I’ve been desperate for an easy peanut butter cookie alternative, and these bars deliver! If you need something fast, packed with peanut butter goodness, and requiring zero talent, stick with me. These treats are my go-to, and trust me, they never last long in our house!
Why You Will Love These No-Bake Peanut Butter Rice Cereal Bars
Seriously, these bars hit different when you need something fast. They are my absolute secret weapon for after-school snacks or when unexpected guests drop by. You only need what’s likely already in your cupboard, which I adore!
- They come together in under 20 minutes of active time. Zero oven preheating!
- The depth of flavor from using both kinds of sugar is incredible—it’s richer than the standard marshmallow recipe.
- Perfect for little helpers; these are some of the safest simple sweet snacks to make with kids because there’s no dangerous oven involved.
- They travel well, making them fantastic for potlucks or packed lunches.
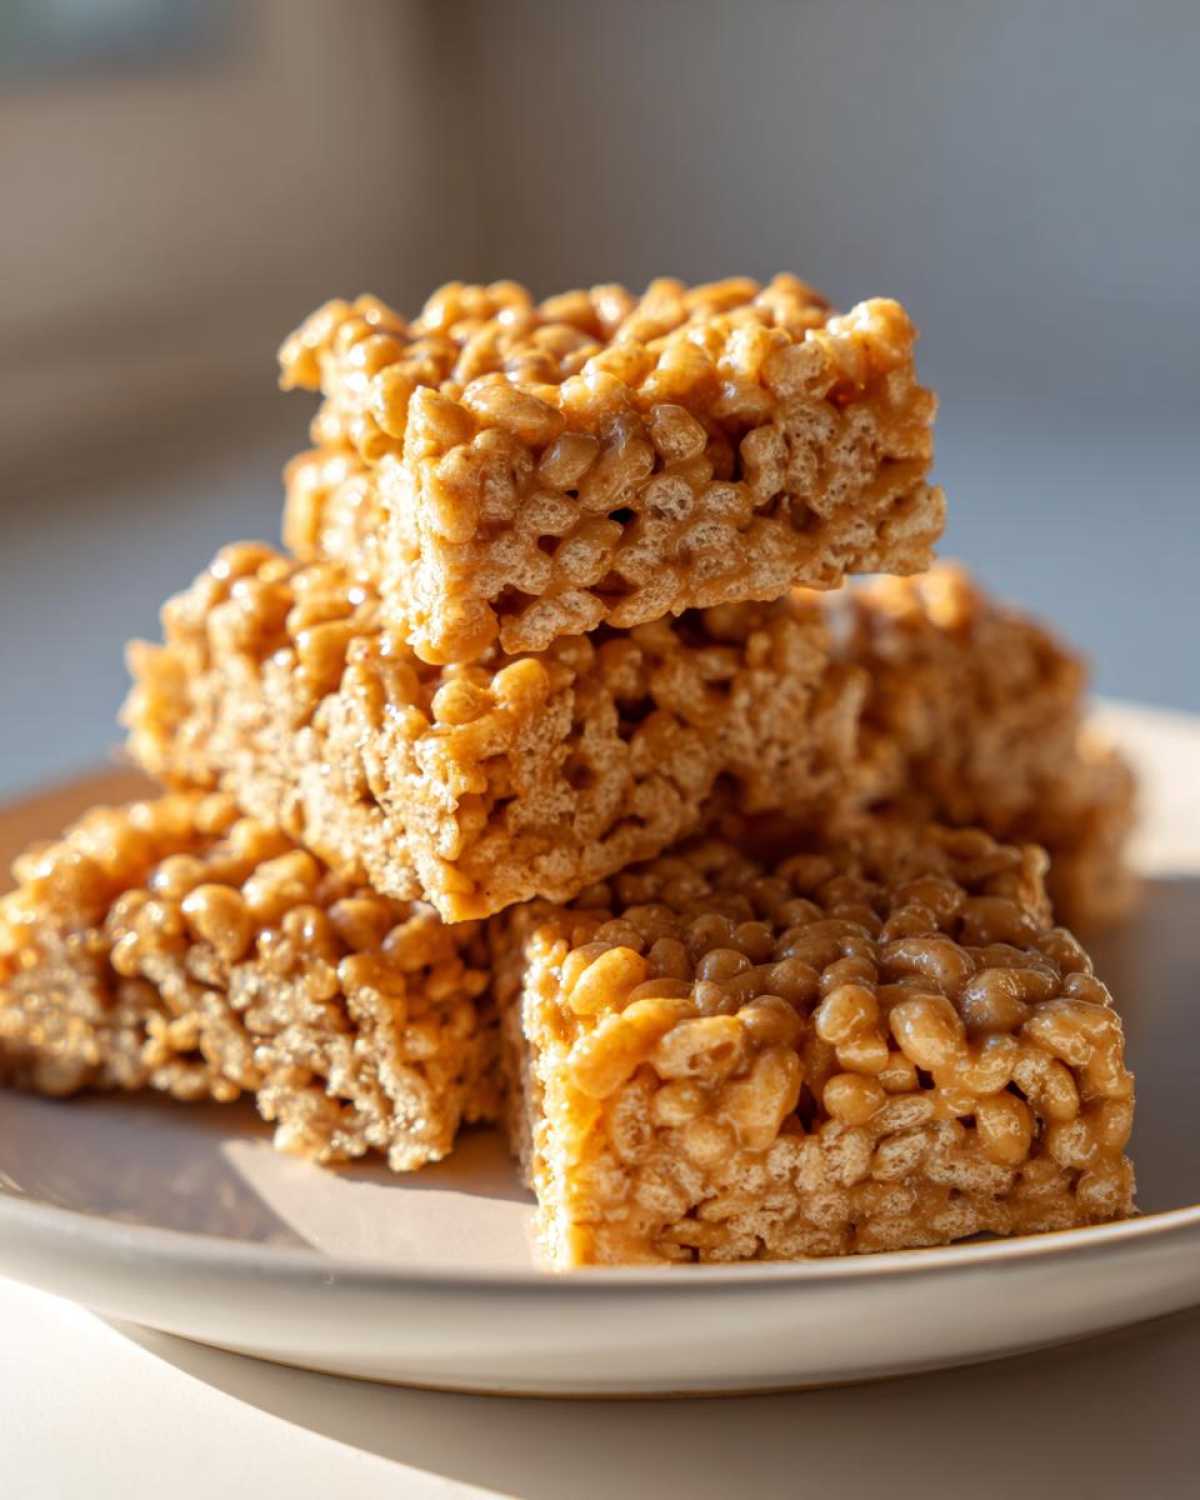
Essential Ingredients for Perfect No-Bake Peanut Butter Rice Cereal Bars
This recipe is brilliant because you don’t need weird things like marshmallows or corn syrup! We’re keeping it classic and rich, focusing on pantry staples that make these No-Bake Peanut Butter Rice Cereal Bars truly satisfying. Make sure you have everything measured out before you start melting things on the stove—speed is key once you get going.
Here is what you need to gather for a 9×13 inch pan full of goodness:
- 1/2 cup butter: Real butter, please! It adds the best flavor base.
- 1 cup creamy peanut butter: I specified creamy because crunchy can change the texture too much for this stovetop method.
- 1 cup granulated sugar AND 1 cup packed light brown sugar: This two-sugar combo is my secret for that perfect salty-sweet depth. It beats using just one sugar!
- 1/2 cup milk: Any type works here, but whole milk gives you a richer result.
- 1 teaspoon vanilla extract: Don’t skip this; it brightens everything up.
- 6 cups crisp rice cereal: Measure this loosely into your mixing bowl before you even touch the saucepan.
If you’re looking for something similar but maybe don’t have brown sugar, check out my recipe for 5 Ingredient Peanut Butter Bars, but honestly, stick to this list for the best texture!
Step-by-Step Guide to Making No-Bake Peanut Butter Rice Cereal Bars
This is where the magic happens, and honestly, it feels more like cooking a quick fudge than baking! Since this is a stovetop cereal treats situation, you need to be ready to move quickly once things start melting. Don’t panic about the boiling time, though; I’ve found that measurement makes all the difference between a chewy bar and one that crumbles.
Preparation and Melting the Base for No-Bake Peanut Butter Rice Cereal Bars
First things first: get your pan ready! Line that 9×13 inch pan with parchment paper, making sure you leave big overhangs on the sides. This is key for lifting them out later—you want clean removal, not a wrestling match with the pan!
Next, grab your biggest saucepan. Melt the butter over medium heat. Once it’s all liquid, toss in both the granulated and brown sugars along with the milk. Stir this mixture constantly until it reaches a full, rolling boil. And here’s the crucial part I learned the hard way: boil it for *exactly* one minute. No more, no less! That one minute cooks out some moisture which guarantees a sturdy, chewy bar.
Combining Wet Ingredients and Coating the Cereal for Your No-Bake Peanut Butter Rice Cereal Bars
Pull that hot sugar mixture right off the heat immediately. Quickly whisk in your peanut butter and vanilla until it’s silky smooth. You want zero lumps staring back at you. That thick, warm sauce needs to go straight onto the 6 cups of rice cereal waiting patiently in your large bowl.
Mix it gently—seriously, gently! You aren’t beating egg whites here. You just want every single piece of cereal to get coated. Once it’s combined, transfer the whole sticky mess into your prepared pan. Now for my top tip: use a piece of wax paper or a lightly oiled spatula to press it down. If you press too hard, they come out like bricks! A gentle, even press is all you need for that perfect crumbly-yet-chewy texture.
Setting and Cutting the Final No-Bake Peanut Butter Rice Cereal Bars
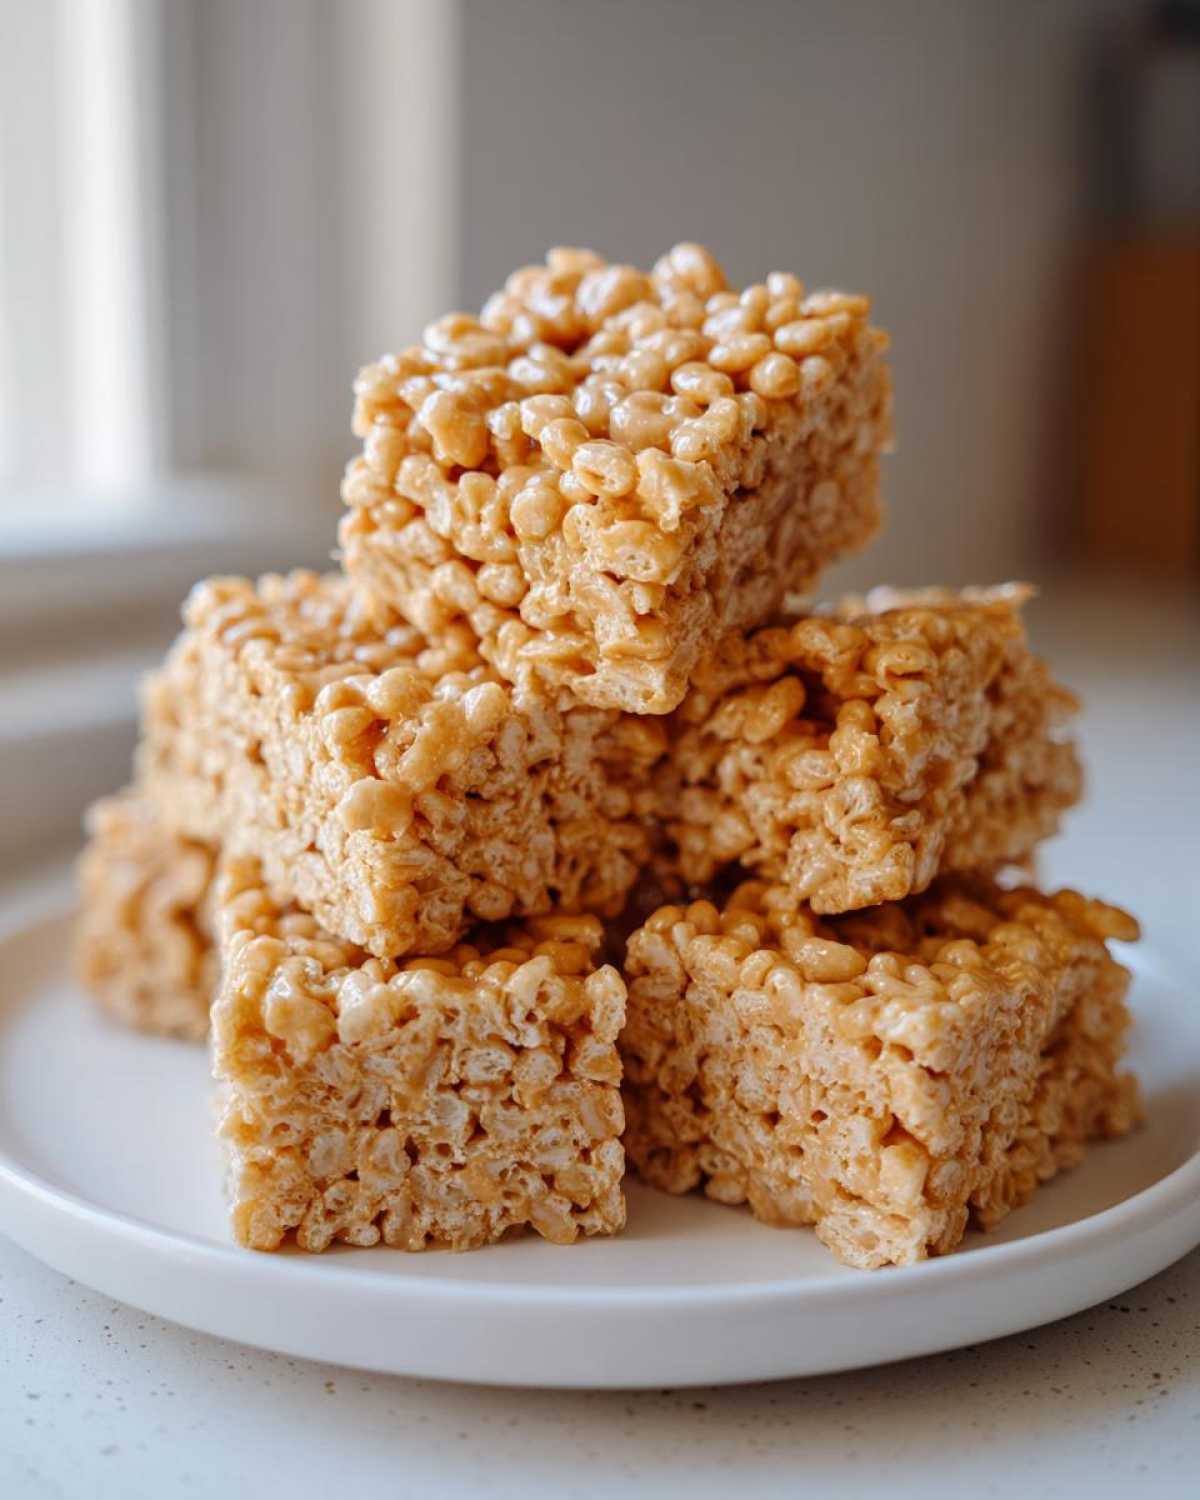
We are almost done! The hardest part is step seven: waiting. You can let them set up completely on the counter for about two hours, or if you’re like me when that craving hits hard, pop them in the fridge for 30 minutes. They set much faster chilled.
Once they are firm, use those parchment paper handles to lift the whole slab out onto a cutting board. To get those beautiful, neat squares that look professional, make sure you lightly spray your sharp knife with cooking spray before you start slicing. Trust me, no one likes peanut butter sticking to the bread knife!
Tips for Success with Homemade Cereal Bars Recipe
Even though these are No-Bake Peanut Butter Rice Cereal Bars, technique still counts! If you want that perfect chewy quality that doesn’t crumble apart—or get too hard—you have to pay attention to a few things on the stovetop. First, make sure your peanut butter isn’t ice cold right out of the fridge. If it’s too hard, it won’t incorporate smoothly into that hot sugar mixture, and you’ll end up with pockets of unmixed PB.
The most important expert tip I can give you, which I learned from testing batches for my homemade cereal bars recipe, is about the boil. Stirring constantly as the sugar dissolves prevents scorching on the bottom, but never stop stirring when it hits that boil for the full 60 seconds. That controlled cooking time is what makes these bars set exactly right. If you undercook it, they’ll just slump into a sticky mess, and if you overcook it, well, they’ll be too hard to chew!
Finally, when you mix the cereal, use a rubber spatula and fold everything together like you’re being gentle with a baby bird. You are coating the cereal, not crushing it. Overmixing guarantees dense, heavy bars instead of that light, airy structure we want in a great rice cereal treat.
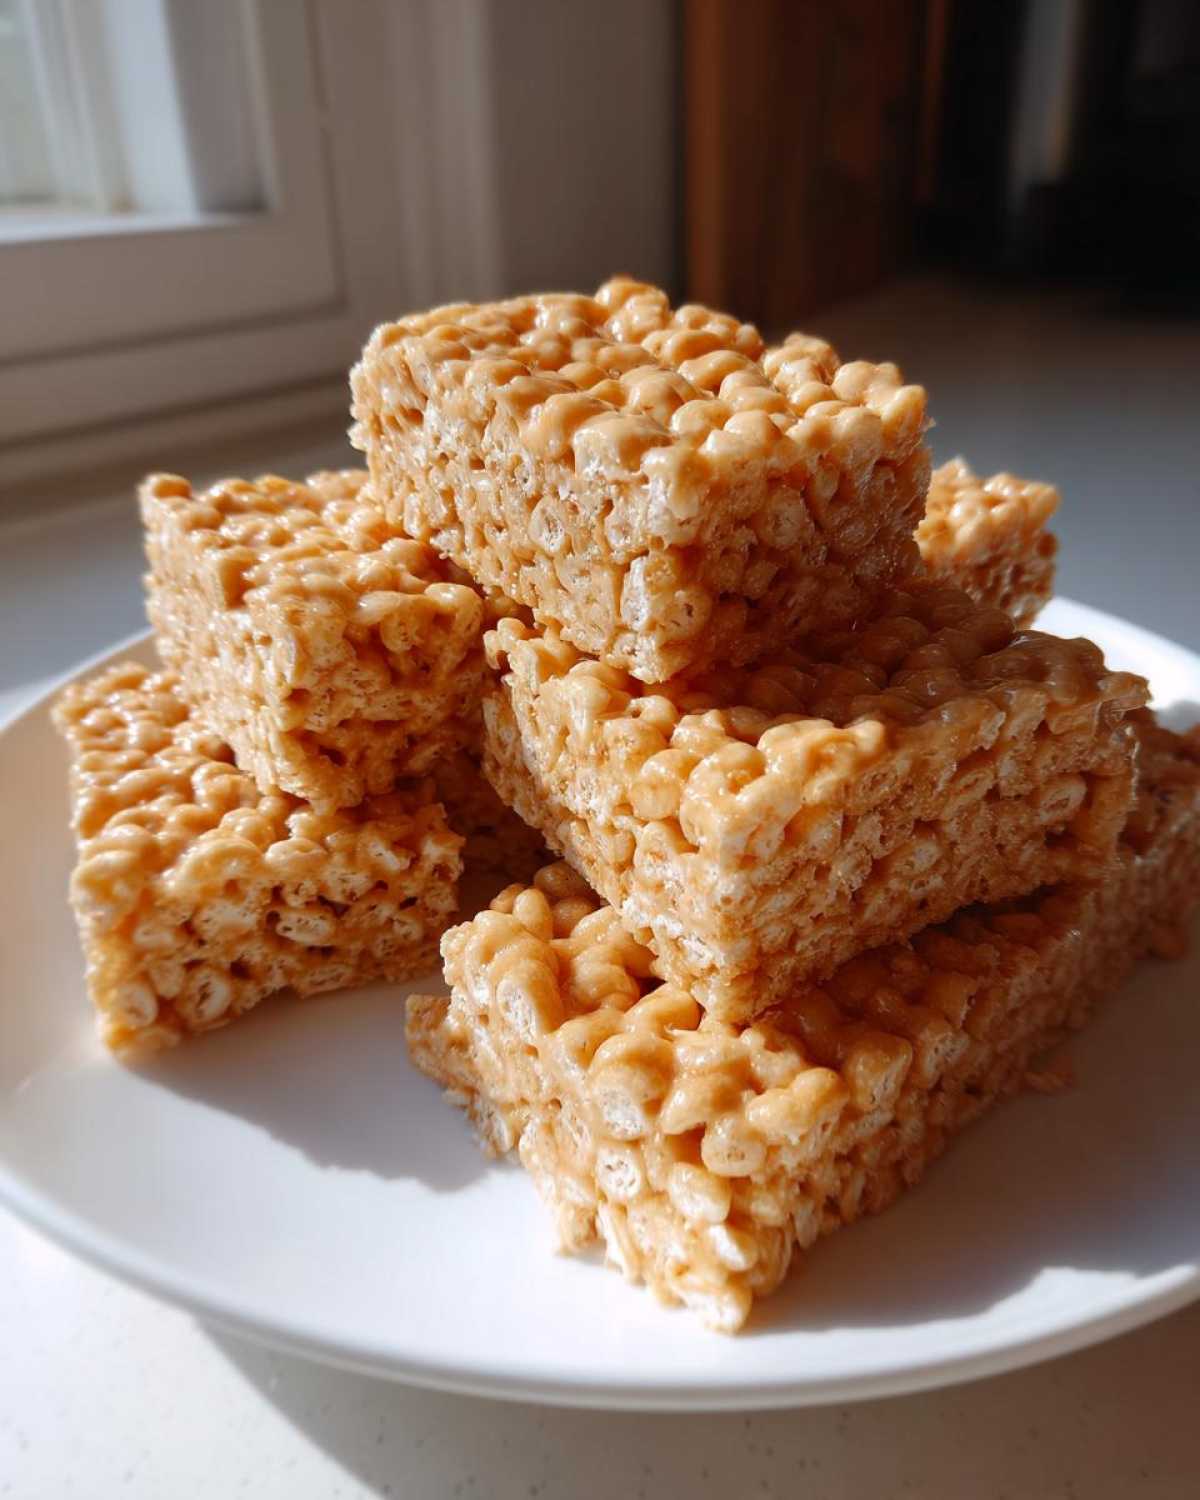
Ingredient Notes and Substitutions for No-Bake Peanut Butter Rice Cereal Bars
I get asked all the time about swapping ingredients in these No-Bake Peanut Butter Rice Cereal Bars. Honestly, for the texture to set up perfectly, you can’t mess with the core binding agents. If you only have crunchy peanut butter on hand, go ahead and use it! It’ll just give you a fun, nutty surprise in every bite, though it might make the surface a little bumpier. Just be sure to stir really well when you add it so it melts into that hot sugar base.
What about the sugars? If you’re out of brown sugar, you *could* technically use all granulated, but I warn you, the flavor will be much flatter—it misses that molasses richness! If you absolutely have to adjust milk, remember what the end goal is. If you want them super firm, take out just one tablespoon of milk. Less liquid means a tighter set. If you’re after that soft, almost gooey texture, maybe add one splash more milk, but be careful not to go overboard, or they won’t set up right for cutting!
This recipe is really perfected with the exact combination we used, but feel free to look at my easy peanut butter cookies post if you want to experiment with different types of fats!
Storage and Make Ahead Sweet Snacks Instructions
One of the best perks of these No-Bake Peanut Butter Rice Cereal Bars is how easy they are for planning ahead! Since they don’t have any crazy fresh ingredients, they last really well on the counter. Just make sure to slide them into a completely airtight container once they are fully cooled.
I usually let mine sit out for about two hours (or 30 minutes if I used the fridge) before sealing them up. They are fantastic at room temperature for almost a week! Because they are one of my favorite make ahead sweet snacks, I often bake a batch on Sunday and they are still perfect for grab-and-go snacks all the way through Friday. No refrigeration needed unless your kitchen is absolutely sweltering hot!
Variations on No-Bake Peanut Butter Rice Cereal Bars
Once you master the basic template for these No-Bake Peanut Butter Rice Cereal Bars, you absolutely have to start experimenting! The base is just so stable and delicious, it begs for extra fun mix-ins. My favorite trick when I have people over is to add a cup of semi-sweet chocolate chips right after I mix in the peanut butter. The heat from the sugar mixture melts them just slightly, giving you those beautiful ribbons of chocolate through the peanut butter swirl.
You can also switch up the cereal! While crisp rice cereal is the classic choice, I’ve had massive success substituting half of it with cornflakes for an extra crunch. If you love extra sweetness, toss in a handful of mini M&Ms right before pressing the mix into the pan. It makes them look so festive!
For a richer texture that mimics a true candy bar, try adding toasted shredded coconut. Just remember, any additions should be folded in gently at the very end along with the cereal. You can see lots of fun ideas over on my post about Best Rice Krispie Square Variations, but these peanut butter versions are truly special.
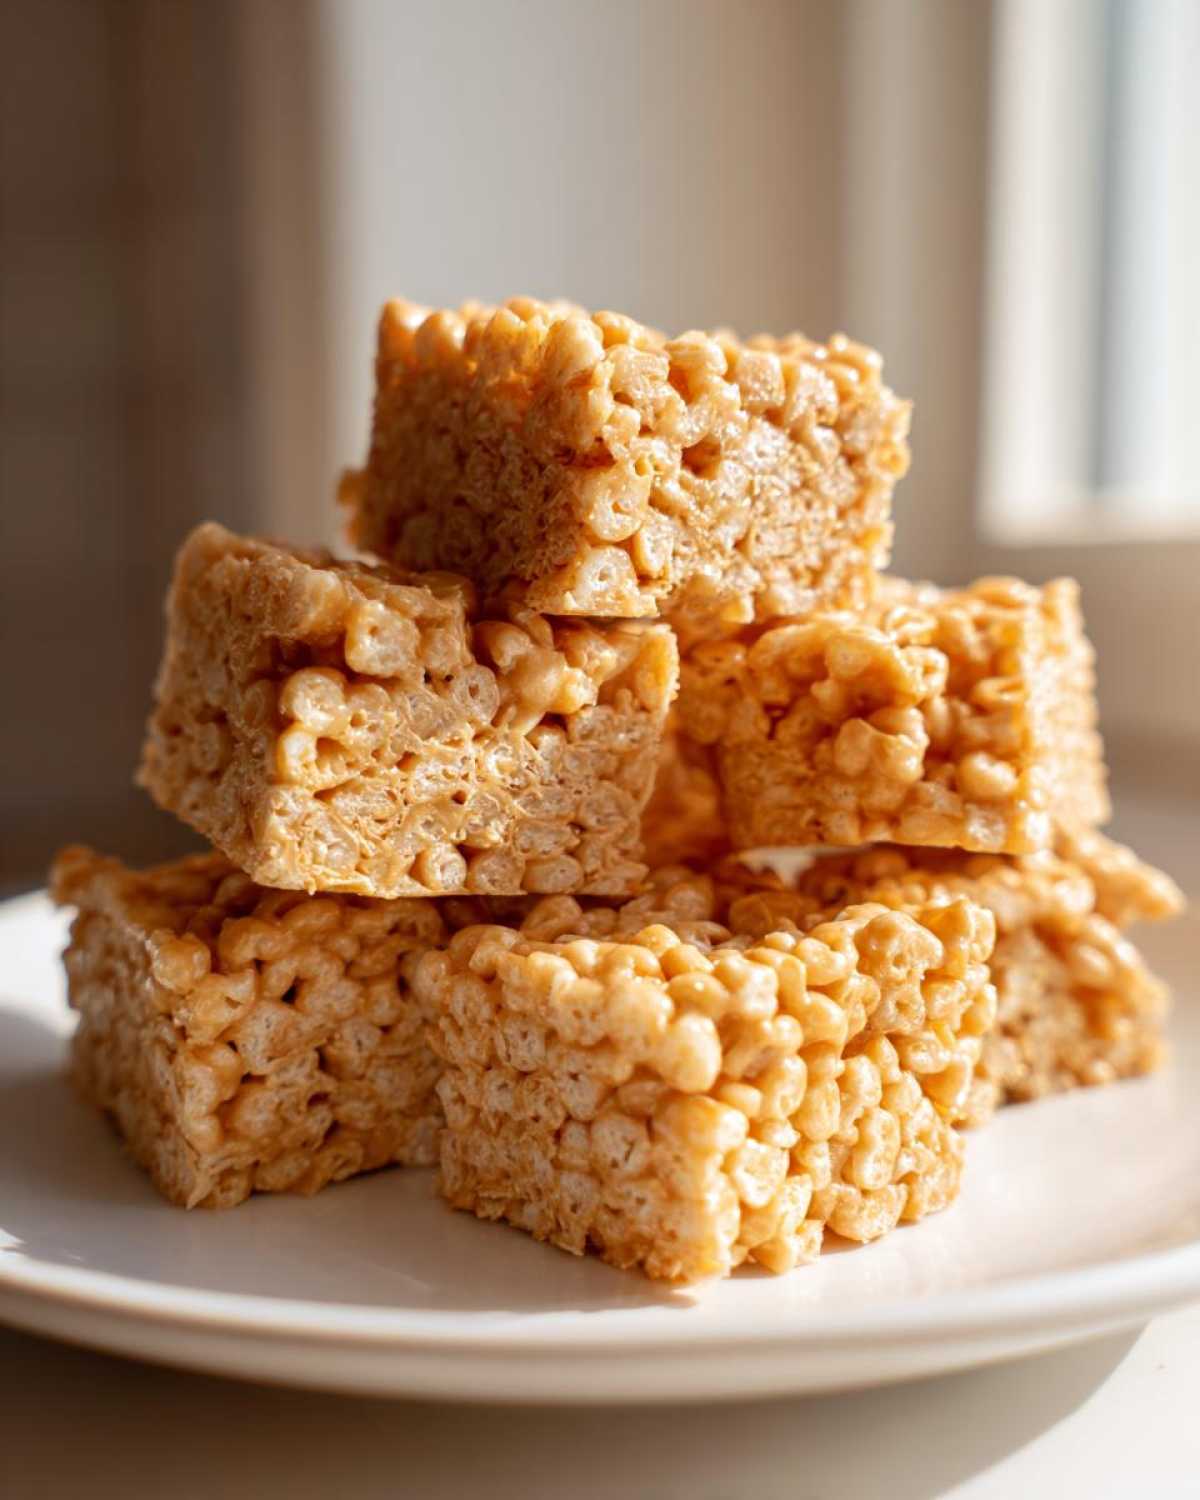
Frequently Asked Questions About No-Bake Peanut Butter Rice Cereal Bars
I know you might still have a few questions rattling around, especially if this is your first time making a stovetop cereal treat that skips the marshmallows! These **No-Bake Peanut Butter Rice Cereal Bars** are super forgiving, but a little knowledge goes a long way to making them perfect every time. People always ask me about managing the texture, which is really the biggest hurdle for any great **quick no bake dessert**. If you’re relying on these for quick, easy snacks, you need them to set right!
Can I use natural peanut butter in these No-Bake Peanut Butter Rice Cereal Bars?
That’s a common question for any **peanut butter snack recipes**! I generally advise against it here. Natural peanut butter has that annoying oil that separates easily when it gets hot. If you use it, you have to stir it *forever* when you add it to the hot sugar mixture to get it fully incorporated. If oil separates, your bars might look greasy or just not set up as firmly. If it’s all you have, try to stir the oil back in really aggressively before you even start cooking!
How do I make these bars softer or crunchier?
This comes down to two things in this recipe: that one-minute boil time and the milk quantity. If you want them softer—almost fudgy, really—you can shorten that boil time to just 45 seconds, or slightly increase the milk by just a teaspoon. If you want them super crunchy and firm, make sure you let that sugar mixture boil for the full 60 seconds, and then follow the note in the recipe: reduce the milk by one tablespoon. That little bit of extra cooking time truly guarantees a fantastic batch of these quick no bake desserts!
Estimated Nutritional Information for Serving Size
Okay, I’m going to be totally honest here: nutrition labels aren’t exactly my specialty when I’m cooking up a batch of pure joy! These No-Bake Peanut Butter Rice Cereal Bars are definitely a treat, not health food, but sometimes you just need that sweet, satisfying hit. Per square, here’s what my rough estimates look like based on the ingredients we used. Please remember these are just ballpark figures, especially if you use a different brand of peanut butter or adjust the sugar!
- Serving Size: 1 square
- Calories: 210
- Sugar: 20g (Yep, worth every bite!)
- Fat: 11g
- Protein: 5g
When you’re making these decadent peanut butter snack recipes, just consider them a wonderful indulgence. They are best enjoyed fresh, perhaps with a cold glass of milk!
PrintNo-Bake Peanut Butter Rice Cereal Bars
Make simple, quick peanut butter bars using rice cereal that require no oven time.
- Prep Time: 15 min
- Cook Time: 5 min
- Total Time: 2 hours 20 min
- Yield: 24 squares
- Category: Dessert
- Method: Stovetop
- Cuisine: American
- Diet: Vegetarian
Ingredients
- 1/2 cup butter
- 1 cup creamy peanut butter
- 1 cup granulated sugar
- 1 cup packed light brown sugar
- 1/2 cup milk
- 1 teaspoon vanilla extract
- 6 cups crisp rice cereal
Instructions
- Line a 9×13 inch baking pan with parchment paper, leaving an overhang on the sides for easy removal.
- In a large saucepan, melt the butter over medium heat.
- Stir in the granulated sugar, brown sugar, and milk. Bring the mixture to a boil, stirring constantly. Boil for exactly one minute.
- Remove the saucepan from the heat. Stir in the peanut butter and vanilla extract until completely smooth.
- Pour the hot peanut butter mixture over the crisp rice cereal in a large bowl. Mix gently until the cereal is evenly coated.
- Press the mixture evenly into the prepared baking pan using a spatula or wax paper. Do not pack too tightly.
- Allow the bars to cool and set completely at room temperature for at least 2 hours, or chill in the refrigerator for 30 minutes for faster setting.
- Use the parchment paper overhang to lift the bars from the pan. Cut into squares.
Notes
- For easy cutting, lightly spray your knife with cooking spray before slicing the cooled bars.
- Store the bars in an airtight container at room temperature for up to one week.
- If you prefer a firmer bar, reduce the milk by 1 tablespoon.
Nutrition
- Serving Size: 1 square
- Calories: 210
- Sugar: 20g
- Sodium: 150mg
- Fat: 11g
- Saturated Fat: 4g
- Unsaturated Fat: 7g
- Trans Fat: 0g
- Carbohydrates: 27g
- Fiber: 1g
- Protein: 5g
- Cholesterol: 15mg