

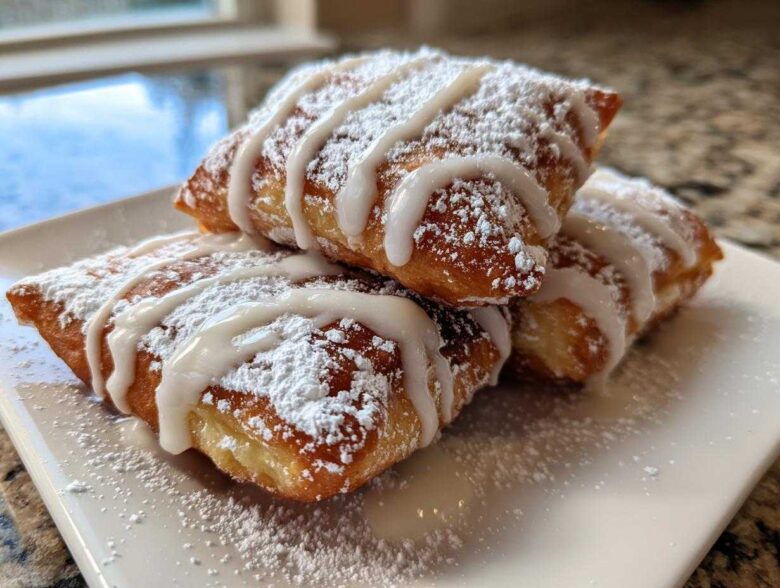
Look, I know what you’re thinking: fried dough is tricky. It always ends up heavy, or worse, it soaks up oil like a sponge! But let me tell you, mastering the yeast dough for authentic **Vanilla French Beignets** is absolutely achievable right in your own kitchen. Forget those dense, disappointing attempts. This recipe focuses on delivering those pillowy soft, square pillows of joy, just like the ones piled high in New Orleans cafés, but with a big, wonderful boost of vanilla in every bite.
I spent years messing up the proofing and frying temperatures—trust me, I’ve made flat ones, greasy ones, and ones that tasted like sadness. But after a lot of practice, I figured out the exact rhythm the dough needs. We’re talking about a recipe where the dough is light enough to float, and the vanilla flavor really sings, both in the pastry itself and in the optional glaze. If you follow my steps for temperature control and handling that delicate yeast, you’re going to see those squares puff up beautifully. It takes patience, but the payoff is incredible! You can check out how I apply similar dough science to my homemade French bread, but for these, we’re going sweeter!
Why You Will Make These Vanilla French Beignets From Scratch
I’m just going to lay it out for you. Once you taste these, you won’t go back to anything else. We nail the texture and pack in the flavor!
- The signature pillowy, cloud-like interior that makes you feel like you’re eating air.
- The rich, warm punch of real vanilla flavor built right into the dough.
- These **Beignets from Scratch** require simple techniques that you’ll master quickly.
- Perfectly square shapes that puff up dramatically when they hit the oil!
Essential Ingredients for Perfect Vanilla French Beignets
Okay, this is where we build trust! Getting the right starting materials is non-negotiable if we want those airy results. Seriously, don’t try to substitute the temperature requirements here; the yeast is sensitive! I’ve broken down what you need for the dough and the glaze, but the star, of course, is the vanilla.
When it comes to vanilla, use the best you can afford. If you use top-shelf paste, the seeds fleck the finished beignet beautifully, which is just gorgeous! If you use my linked recipe for vanilla buttercream frosting, you know I don’t skimp on the good stuff, and these deserve the same treatment.
Here’s the list of everything we need to gather:
For the Yeasted Dough:
This needs to be room temperature so it mixes properly with the yeast.
- Active dry yeast: You need 2 teaspoons.
- Warm water: Get this between 105°F and 115°F. Use a thermometer, please!
- Sugar: Just 1/4 cup of granulated sugar to feed that yeast.
- Egg: One large one, and make sure it’s at room temperature.
- Milk: 1/4 cup of whole milk, also brought up to room temp.
- Vanilla Extract: 1 teaspoon goes right into the wet mix.
- Flour: 3 cups of all-purpose flour, plus extra for dusting later.
- Salt: Just 1 teaspoon for balance.
- Frying Oil: Plenty of vegetable oil for deep frying.
- Final Dusting: 2 cups of powdered sugar—don’t be shy here!
For the Vanilla Bean Glaze (Optional but Recommended!):
If you want true vanilla impact, the glaze is where you double down.
- Powdered Sugar: Just 1 cup to start.
- Melted Butter: 1 tablespoon adds a lovely richness.
- Vanilla Power: 1 full teaspoon of vanilla bean paste or high-quality extract.
- Thinning Agent: Maybe 1 to 2 tablespoons of milk or water, added slowly until it drizzles just right.
See? Simple, quality ingredients. The magic happens when we treat them right!
The Authentic Technique for Light and Fluffy Beignets
The secret to those airy, **Light and Fluffy Beignets** everyone raves about isn’t just in the ingredients; it’s all in the handling. After we mix that shaggy dough, you have to knead it for a good seven minutes until it feels smooth and elastic. This develops the gluten structure that traps all the lovely yeast gas we produce. Remember to lightly oil the bowl before the first rise. This is the foundation of the **Authentic Beignet Technique**!
Once it doubles, **listen to me on this:** punch it down GENTLY! After the initial rise, that dough is full of air, and you want to keep as much of that in there as possible. Rolling it out is fine, but don’t press down hard. We’re setting up for the second rest, which is crucial for those big square puffs when they hit the hot oil. I still sometimes mess up the initial mix by overworking the dough, but once I switch to being gentle after the first proof, the results are just night and day. You can see how dough texture matters tremendously when I talk about making my easy French toast, too!
Mastering the Proofing Guide for Vanilla French Beignets
Proofing is non-negotiable for airy fried dough. The first rise needs about 1 to 1.5 hours in a warm spot until it’s fully doubled. This is where the yeast really gets going. Then, after you cut your squares, they need a short vacation—the second proof. This second rest only takes about 30 minutes, but it allows the cut edges to relax and fill with a bit more air before frying.
If your environment is too cold, your dough won’t puff, and you’ll end up with heavy pockets. This is why following a strict **Beignet Proofing Guide** is so important. That second rest isn’t just for show; it ensures the pastry puffs UP when it meets the heat, instead of just spreading out.
Step-by-Step Instructions for Frying Your Vanilla French Beignets
This is the moment of truth! Frying yeast dough is where everything comes together, and it totally demonstrates true cooking **Expertise**. If you skip the prep work, the payoff vanishes. First, pour in about two inches of vegetable oil into your pot. You need a heavy-bottomed pot or a dedicated fryer, and you absolutely MUST use a thermometer. We are aiming for a steady 360°F (182°C). This temperature is the magic zone for successful **Yeast Dough Frying**.
When you add the squares—and this is key—do not overcrowd the oil! Seriously, drop in only three or four squares at a time. If you drop too many in, the oil temperature drops instantly, and you’ll end up with heavy, greasy beignets instead of the light, puffy ones we want. Fry them for just a minute or two on each side until they puff up dramatically and turn that gorgeous golden brown. You want maximum puff, not deep mahogany color!
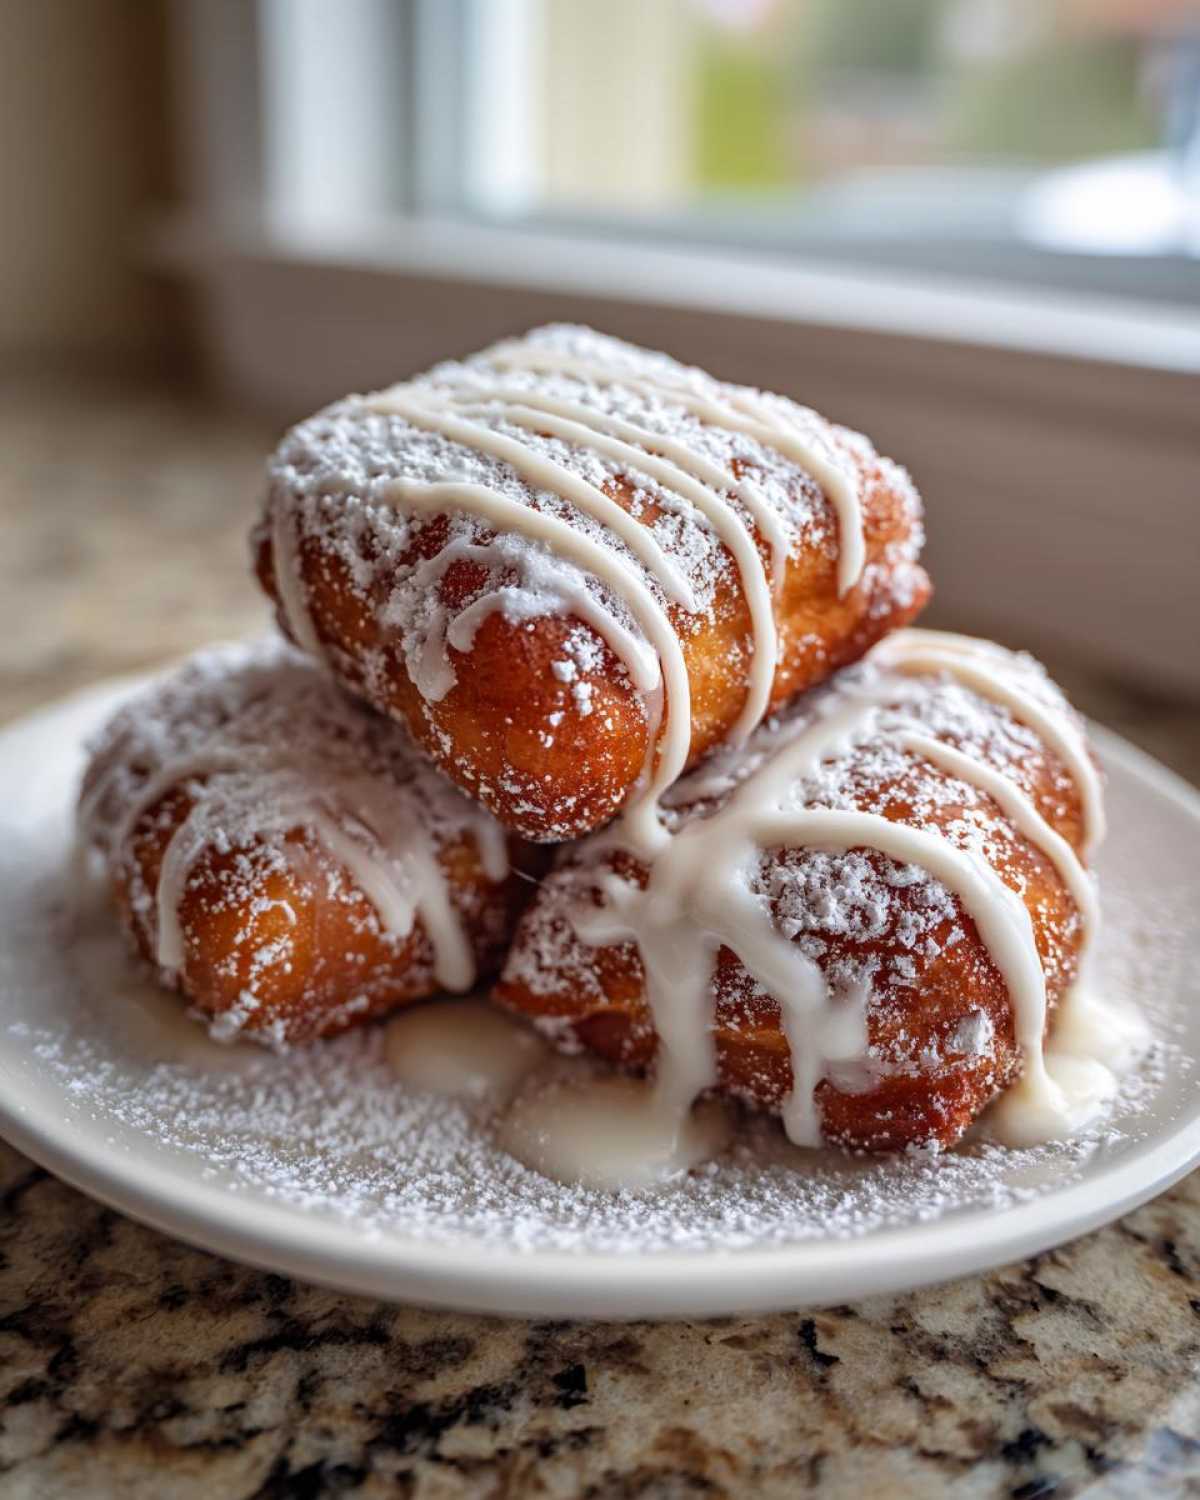
Once they are puffed and perfectly colored, pull them out immediately with a slotted spoon. Don’t let them sit in the oil for even an extra second. Slap them onto a wire rack lined with paper towels to let that excess oil drip away. Those clean, oil-drained surfaces are perfect for soaking up sugar coverage. You can review my process for sauces; it teaches that slow simmering pays off, and slow, steady frying does the same thing for texture!
Achieving Perfect Oil Temperature for Deep Fried Vanilla Treats
I cannot stress this enough: temperature control is everything! If your oil is below 350°F, the dough just sits there soaking up goo, resulting in dense **Deep Fried Vanilla Treats**. If it’s creeping toward 385°F, the outside will burn to a crisp before the airy inside even has a chance to expand. You need that constant 360°F.
Keep your thermometer visible while you work, and listen to the sizzle. A good, steady sizzle means you’re on track. If you see the oil temperature plummet when you drop the dough in, give it a minute or two to recover before adding the next batch. Maintaining that heat ensures we get that characteristic hollow puff, which is the absolute hallmark of an amazing beignet!
Vanilla Glaze and Finishing Touches for Your Vanilla French Beignets
Alright, our beautiful, puffy squares are out of the oil and draining—now we customize! For these **Homemade Beignets with Vanilla**, you have two amazing paths to follow, and honestly, you can do both if you’re feeling extra decadent, like I often do.
First, the traditional must-do: powdered sugar. Don’t just sprinkle it; *bury* them! Get a sifter and dust them heavily while they are still warm. The sugar melts just slightly into the surface, creating that iconic, slightly sticky coating. If you’re looking for another great vanilla recipe that involves piping that sugary goodness, check out my guide for making amazing vanilla buttercream frosting.
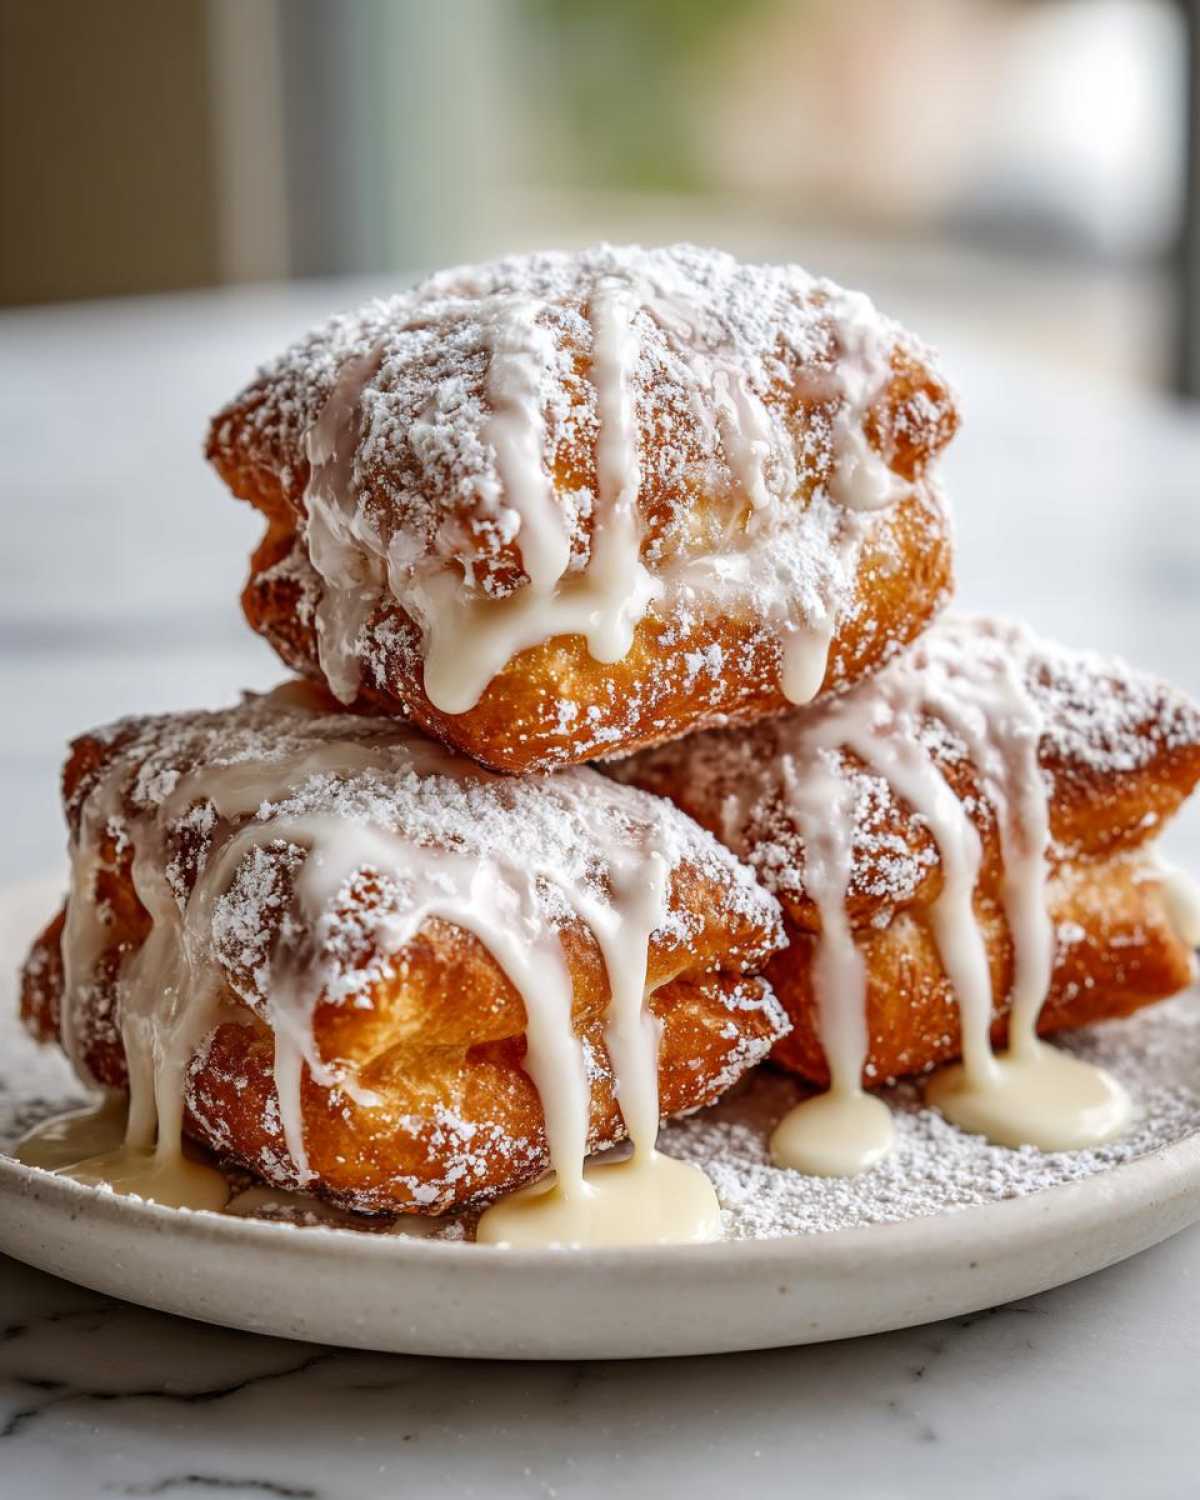
Second, we make that quick vanilla bean glaze. This is where we amplify that vanilla flavor we worked so hard to get into the dough. It’s so simple, you’ll think you’re cheating!
Just grab your cup of powdered sugar, your tablespoon of melted butter, and that fantastic vanilla bean paste or extract. Whisk it all together. The secret is adding your milk or water one teaspoon at a time. I promise, it goes from dry dust to soup faster than you can say ‘Café Du Monde,’ so be gentle!
You want it just thin enough that it drizzles beautifully off your whisk or spoon when you lift it up, but thick enough that it doesn’t immediately vanish into the beignet’s surface. Drizzle this decadent glaze right over the top of the plain powdered sugar for a truly show-stopping finish. Serve these immediately—they are happiest warm!
Tips for Cafe Style Beignets at Home Success
So, you’ve made them, and maybe they aren’t perfectly puffy yet. Don’t toss the batch! Achieving true **Cafe Style Beignets at Home** takes practice, especially when managing yeast and hot oil. I’ve gathered the biggest takeaways from my own kitchen mishaps so you don’t have to suffer through a batch of heavy doughnuts.
My number one piece of advice, based on what Grandma taught me making pastry decades ago, is to treat that dough like it’s made of spun sugar after the first proof. If you handle it aggressively when rolling and cutting, you knock the air out—and *poof*, there goes your lightness! Always handle it gently.
Here are the absolute must-dos to ensure your next batch flies high:
- Temperature is King: If your beignets come out heavy or oily, resist the urge to blame the flour. Check your oil first! It must be spot-on 360°F. If your oil temperature dips too low while frying, the dough just saturates instead of cooking rapidly.
- Don’t Skip the Rest: That final 30-minute short proofing period before frying is essential. It lets the cut edges relax and prepare for their final dramatic puff in the oil. If you skip it, they tend to cook unevenly.
- Use Room Temp Liquids: When blooming the yeast, cold milk or a cold egg will shock the yeast, slowing down the crucial rise time. Always warm your milk and let your egg sit out for 30 minutes first.
If you nail the oil temperature and handle the dough with a light touch, you’ll feel like a genuine pastry chef! If you love these super soft textures, you might also want to check out my tips for making the best soft and chewy chocolate chip cookies; they require similar attention to mix-ins!
Serving Suggestions for Traditional French Fritters
If you’ve managed to wrestle your **Vanilla French Beignets** out of the fryer and get them dusted with sugar without eating half of them right there, congratulations! Now, you serve them traditionally. These delightful **Traditional French Fritters** absolutely have to be eaten right away. I mean it! They are at their peak texture—light, steaming hot, and meltingly soft—in that five-minute window right after they come out of the fryer.
The classic pairing, of course, is coffee. But if you want the authentic New Orleans vibe, you pair them with strong, dark chicory coffee. The bitterness of the coffee cuts through the sweetness of the powdered sugar coating perfectly. It’s a match made in heaven!
Honestly, I’m always tempted to try them later, but reheating fried dough is a disaster. They just never get that perfect puff back. So, make a small batch, gather the family, and eat them hot off the rack. It’s also why I sometimes suggest making a smaller, quicker batch, similar to how I use my quick recipe for easy French toast when I don’t want to deal with yeast.
My biggest serving tip? Just put the plate right in the middle of the table and don’t let anyone stand between you and the nearest beignet!
Storage and Reheating Instructions for Leftover Vanilla French Beignets
This is the tough part, isn’t it? I hate to break it to you, but the amazing, airy texture we worked so hard to achieve in these **Vanilla French Beignets** starts to fade the moment they cool down. They really, truly are best served piping hot, right out of the fryer and blanketed in sugar.
But, if you manage to have any survivors—maybe for a sneaky breakfast the next day—you need to treat them gently. Don’t store them in the fridge! Cold just ruins fried dough. Keep them in an airtight container at room temperature. I find they are okay for about 24 hours this way, but you’ll notice they soften significantly; that crispy exterior we built just turns a bit chewy overnight.
Now, about reheating? You can try! But please manage your expectations; they will never be exactly the same. Resist the urge to microwave them; that just steams the remaining moisture and makes them rubbery. If you must reheat, use a quick blast in a 350°F oven or, even better, an air fryer for maybe three to four minutes. The goal isn’t to make them hot again, but to try and evaporate some moisture and bring back a little bit of that crunch.
My advice? If you know you’ll have leftovers, don’t glaze them! The sugar coating gets sticky and gross when stored. Just keep the plain beignets stored, and the next morning, if you dust them with fresh powdered sugar before popping them in the air fryer for a minute, they become surprisingly decent short-order treats!
Frequently Asked Questions About New Orleans Style Doughnuts
I get tons of messages asking for clarifications, which is great! It means you’re serious about making these **New Orleans Style Doughnuts** perfectly. Yeast dough can be intimidating, so let’s tackle some of the most common worries I hear from people trying to achieve these perfectly airy treats.
Have a question that isn’t listed here? Just drop it in the comments below! I try to answer every single baking mystery I can. If you’re looking for more of my kitchen wisdom, head over to my main blog page for all my latest experiments!
Can I make the dough for these Vanilla French Beignets ahead of time?
Oh, you absolutely can! If you want to streamline your Saturday morning, you can do a slow, cold fermentation. Once your dough finishes the first rise (the 1 to 1.5 hour warm proof), gently punch it down, coat it lightly in oil, and tuck it into the fridge immediately. It can rest in the cold for up to 24 hours.
When you pull it out the next day, let it sit on the counter, covered, for about an hour to warm up slightly before shaping and doing that crucial 30-minute second proof. Cold fermentation actually develops deeper flavor in the dough, which is a lovely bonus, though it won’t puff quite as dramatically as dough proofed entirely at room temperature.
What is the best oil substitute for frying these New Orleans Style Doughnuts?
I always recommend vegetable oil or, even better, peanut oil because they handle high heat like champions without smoking or breaking down. When you’re frying—especially with a delicate dough like this—you need a high smoke point, remember?
If you absolutely must substitute, canola oil works just fine as it has a relatively neutral flavor and good heat stability. Do **not** use olive oil or butter for deep frying these; the flavor will be overwhelming, and they will start smoking way too soon, leading to heavy, unrisen **Vanilla French Beignets**. We need clean, high heat delivery for that beautiful puff!
Why are my beignets flat instead of puffy pillows?
This is usually a temperature problem, my friend. Flat beignets mean one of two things happened: either your oil was too cool (below 340°F), so the dough soaked up oil before it could puff, OR you skipped or rushed that second 30-minute proofing time. That second sit is what gives the yeast a final little burst of energy right before they fry. If you punch the dough down too hard after the first rise, that’s another common culprit. Handle that dough like it owes you money—gently!
PrintVanilla French Beignets with Vanilla Bean Glaze

Make light, airy, square-shaped French Beignets from scratch, featuring a rich vanilla flavor in both the dough and a simple glaze.
- Prep Time: 30 min
- Cook Time: 20 min
- Total Time: 2 hours 20 min
- Yield: About 18 beignets
- Category: Dessert
- Method: Deep Frying
- Cuisine: French/Creole
- Diet: Vegetarian
Ingredients
- 2 teaspoons active dry yeast
- 1/2 cup warm water (105-115°F)
- 1/4 cup granulated sugar
- 1 large egg, room temperature
- 1/4 cup whole milk, room temperature
- 1 teaspoon vanilla extract
- 3 cups all-purpose flour, plus more for dusting
- 1 teaspoon salt
- Vegetable oil, for frying
- 2 cups powdered sugar, for dusting
- For the Glaze: 1 cup powdered sugar
- 1 tablespoon melted butter
- 1 teaspoon vanilla bean paste or extract
- 1-2 tablespoons milk or water
Instructions
- Activate the yeast: In a small bowl, dissolve the yeast and 1 teaspoon of the sugar in the warm water. Let stand for 5-10 minutes until foamy.
- Mix wet ingredients: In a large bowl, whisk together the remaining sugar, egg, milk, and vanilla extract. Add the yeast mixture and stir to combine.
- Make the dough: Gradually add the flour and salt to the wet ingredients. Mix until a shaggy dough forms. Turn the dough out onto a lightly floured surface and knead for 5-7 minutes until smooth and elastic.
- First proof: Place the dough in a lightly oiled bowl, turning to coat. Cover the bowl with plastic wrap and let it rise in a warm place for 1 to 1.5 hours, or until doubled in size.
- Shape the beignets: Gently punch down the dough. On a lightly floured surface, roll the dough out to about 1/4-inch thickness. Cut the dough into 3-inch squares.
- Second proof: Place the squares on parchment-lined baking sheets, leaving space between them. Cover loosely and let them rest for 30 minutes.
- Heat the oil: Pour vegetable oil into a deep, heavy-bottomed pot or deep fryer to a depth of about 2 inches. Heat the oil to 360°F (182°C). Use a thermometer to maintain this temperature.
- Fry the beignets: Carefully drop 3-4 squares into the hot oil, being careful not to overcrowd the pot. Fry for 1-2 minutes per side, until puffed and golden brown. They should puff up significantly.
- Drain: Remove the beignets with a slotted spoon and place them on a wire rack lined with paper towels to drain excess oil.
- Make the glaze: While the beignets are cooling slightly, whisk together the glaze ingredients (powdered sugar, melted butter, vanilla paste, and milk/water) until smooth. Add milk/water slowly to reach a thin, drizzly consistency.
- Serve: Dust the warm beignets heavily with plain powdered sugar, or drizzle with the vanilla bean glaze, or both. Serve immediately.
Notes
- Maintain the oil temperature strictly at 360°F; if the oil is too cool, the beignets will absorb too much oil and become heavy. If the oil is too hot, they will brown too quickly before puffing fully.
- For the lightest texture, handle the dough as little as possible after the first rise.
- If you do not have vanilla bean paste, use 1 teaspoon of high-quality vanilla extract in the glaze.
Nutrition
- Serving Size: 1 beignet
- Calories: 220
- Sugar: 18g
- Sodium: 150mg
- Fat: 10g
- Saturated Fat: 3g
- Unsaturated Fat: 7g
- Trans Fat: 0g
- Carbohydrates: 30g
- Fiber: 1g
- Protein: 4g
- Cholesterol: 30mg