

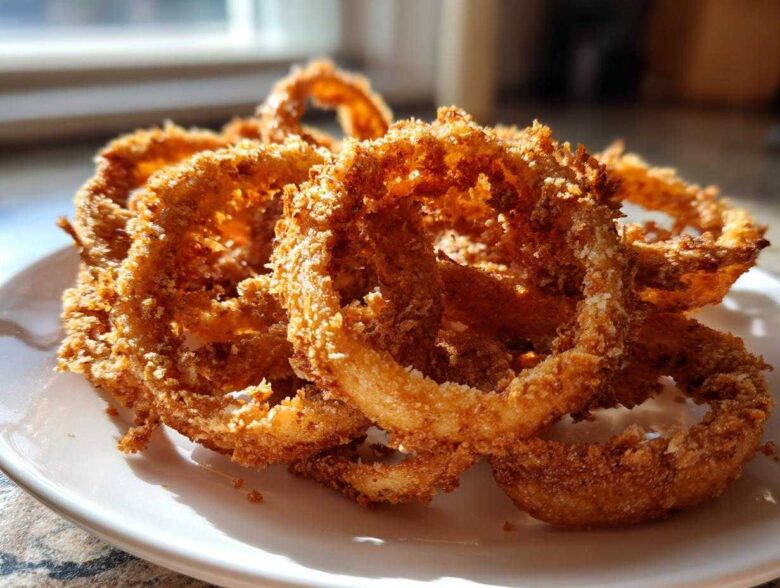
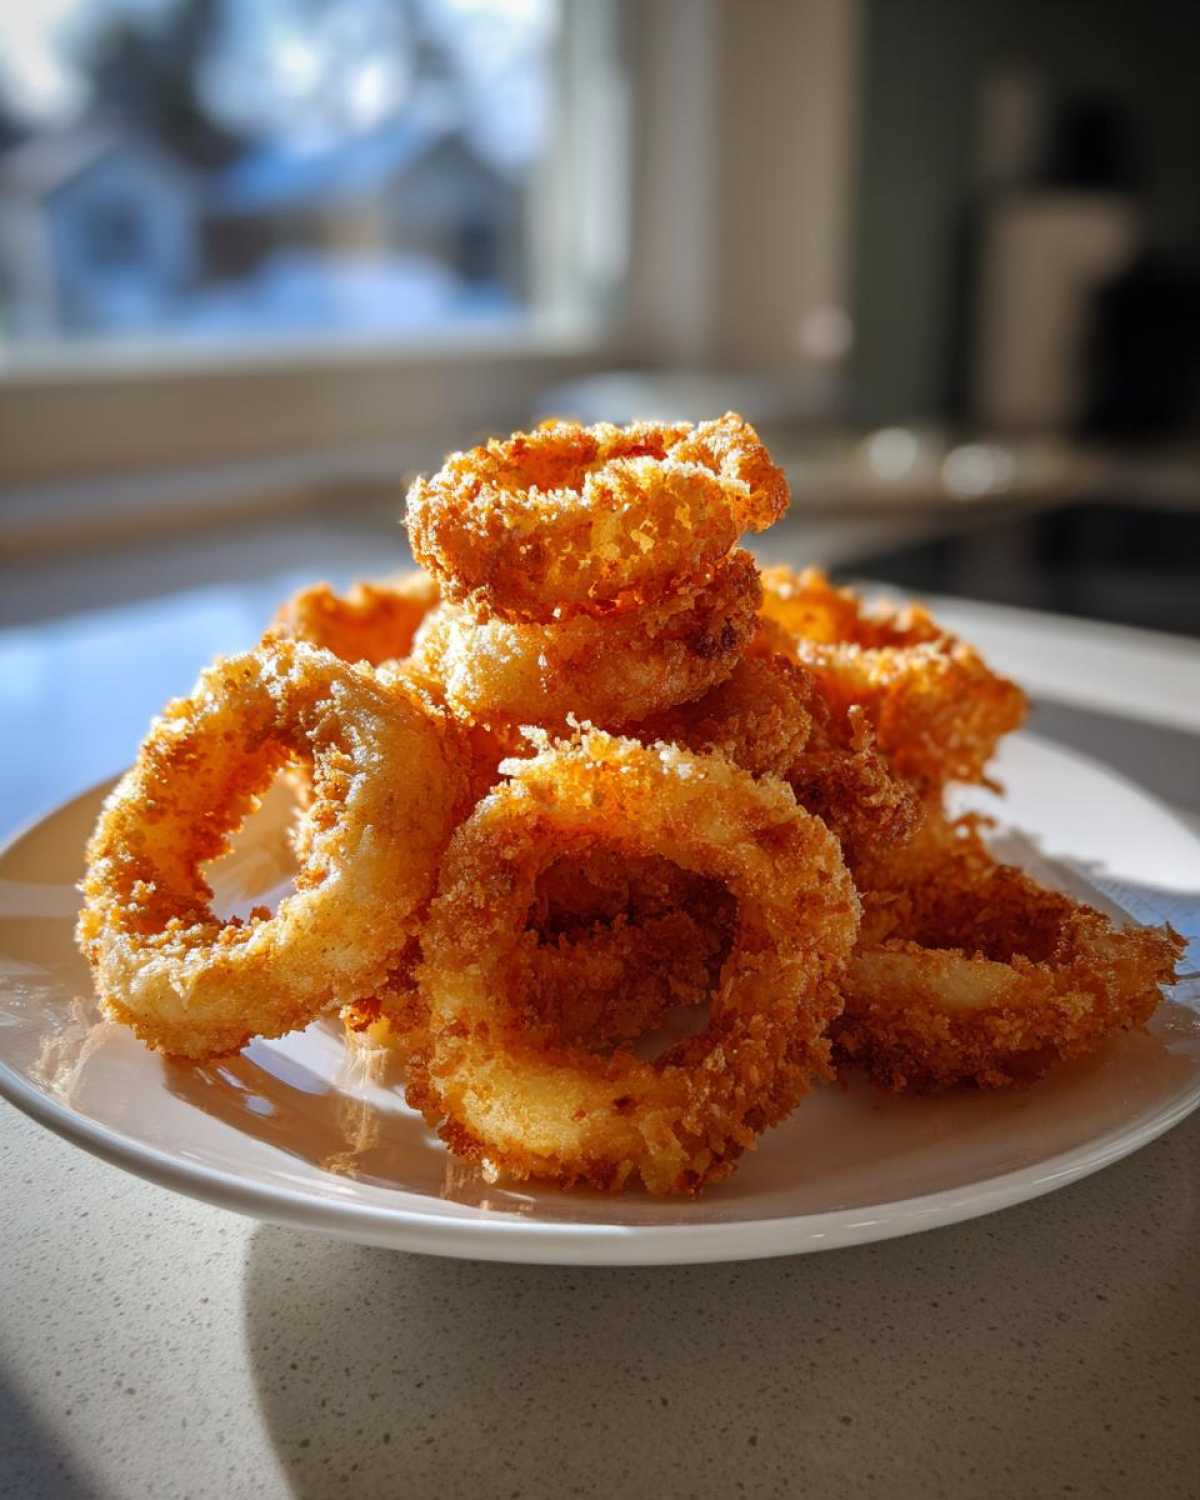
Are you right there with me, staring at the air fryer basket wondering if it can REALLY handle the crunch factor? I used to think achieving that golden, shatteringly crisp exterior on homemade onion rings meant committing a gallon of oil to the deep fryer. Nope! Not anymore. This recipe is my absolute go-to because it delivers the crunchiest Air Fryer Onion Rings you’ll ever taste, armed with just a mister of cooking spray. Seriously, mastering this simple breading technique changed how I look at appetizers. Get ready, because we are proving once and for all that crispy doesn’t have to mean heavy. If you want more amazing kitchen adventures, check out my full recipe blog here: my latest posts!
Why You Will Love These Crispy Air Fryer Onion Rings
I’m telling you, once you nail this, you’ll never go back to the greasy stuff! These Crispy Air Fryer Onion Rings are my favorite because they’re just the best of all worlds.
- Outrageously crispy texture without all the oil.
- Super fast prep—ready in about 30 minutes!
- Perfectly cooked centers every single time.
- A genuinely healthy way to enjoy a classic side.
They’re truly the best!
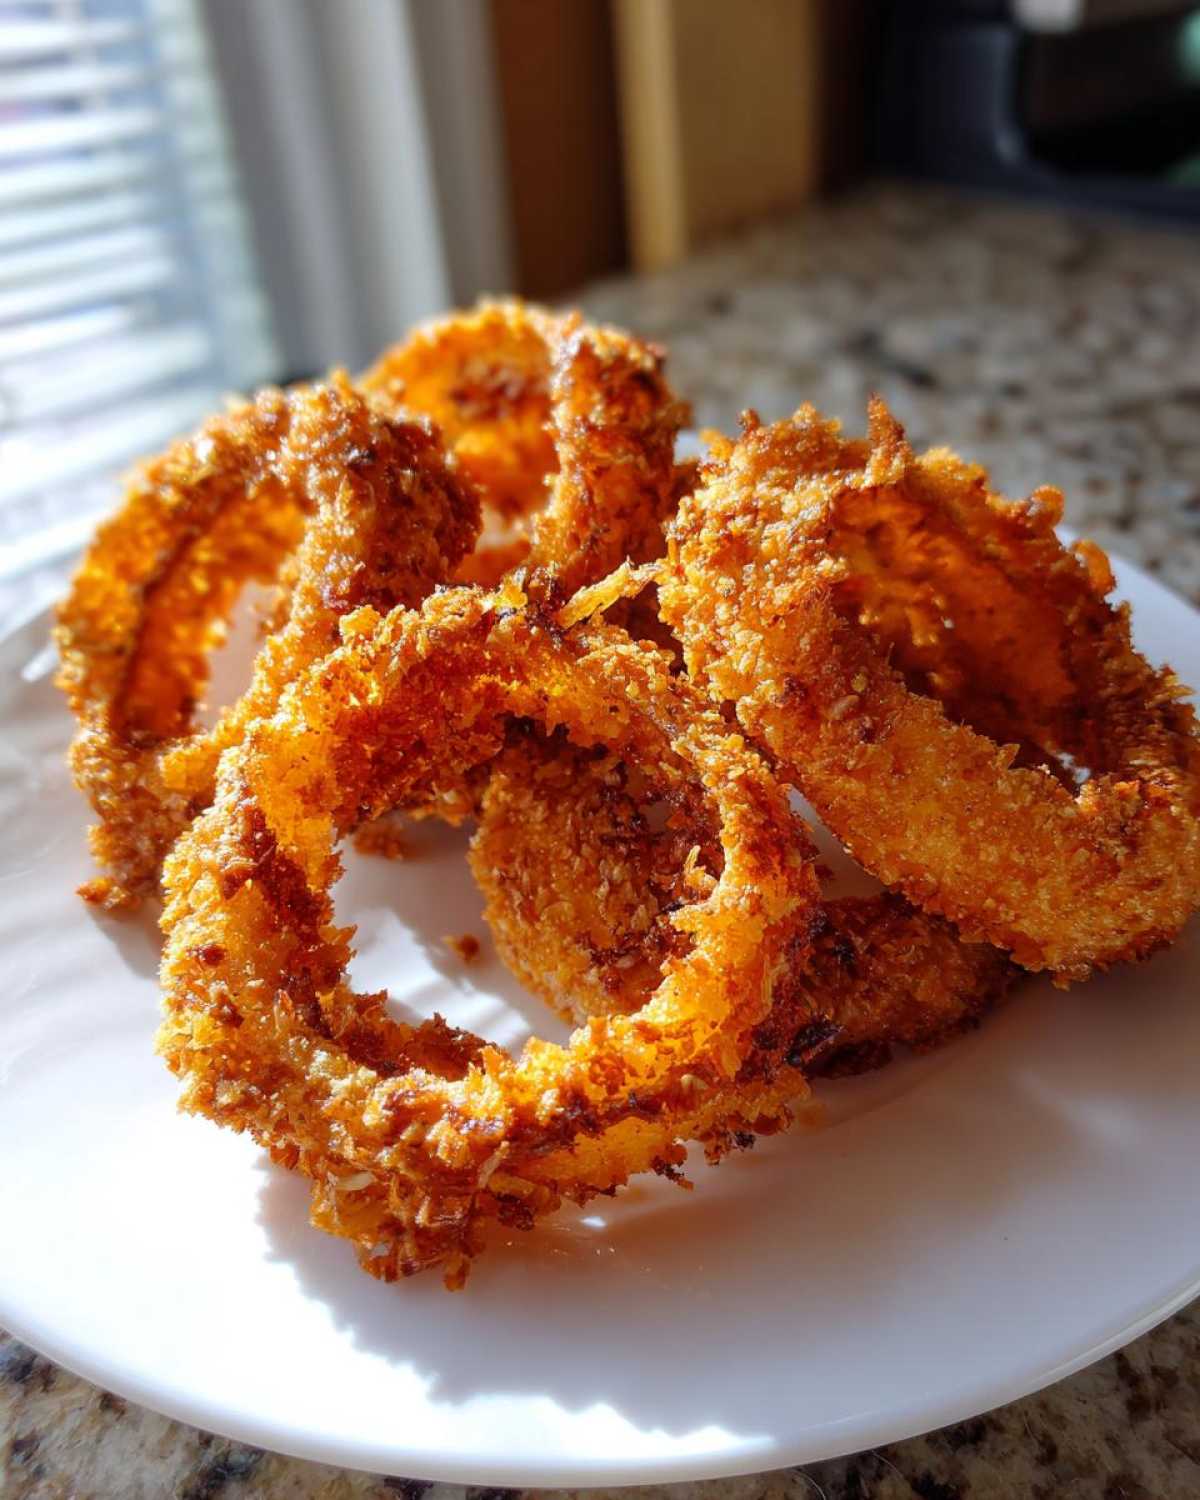
Essential Ingredients for Perfect Air Fryer Onion Rings
Getting the right stuff in your bowl is half the battle, trust me. You can’t just throw anything in there when you’re aiming for that perfect crunch! For this batch, you need two big, beautiful yellow onions, sliced exactly to one-quarter of an inch thick. We’re going to need flour, salt, pepper, paprika for that gorgeous color, two eggs, a splash of milk, and the star of the show: Panko breadcrumbs.
Oh, and don’t forget your oil-based cooking spray! We need that moisture for browning.
Ingredient Notes and Substitution Tips
Listen, those Panko breadcrumbs are non-negotiable if you want truly Crispy Air Fryer Onion Rings. They’re flakier than regular crumbs, which means more surface area to crisp up and less sogginess clinging to your onion. That’s the secret sauce right there!
Also, when you spray them, make sure it’s a cooking spray that contains oil, not just oil mister. The oil component helps them brown beautifully at those lower air fryer temperatures. And one last thing—if you have time, put those breaded rings in the fridge for fifteen minutes before they hit the basket. It’s a small step, but it’s critical for locking that coat in place! That’s a key element for great Air Fryer Breading Techniques.
Step-by-Step Instructions for Homemade Onion Rings Air Fryer Success
Okay, this is where the magic happens! It might look like a lot of dishes, but trust me, breading is worth the clean-up effort. Once you get into the rhythm, it flies by. You can look at my awesome potato wedge recipe for more air fryer inspo if you like: Air Fryer Potato Wedges.
Preparing the Onions and Breading Stations
First, get those onions sliced thin—about 1/4-inch is perfect—and gently separate them into individual rings. They’re going to be our vehicles for crunch! Now, set up your three stations. Station one gets the flour, salt, pepper, and paprika combo. Station two is your wet bath: the eggs and milk whisked together. Station three is just those beautiful Panko breadcrumbs waiting for action.
Grab a ring, dip it firmly in the flour first, and give it a good shake—we want just a nice dusting! Next, the egg wash lets the crumbs stick. Then, press it into the Panko, making sure it’s totally covered, and set it on a wire rack. Shake off any major excess crumbs before they go into the basket!
Air Fryer Onion Ring Cooking Time Temperature
You absolutely must preheat that air fryer to 380°F (195°C) for five minutes; cold air is the enemy of crispiness! Once preheated, lightly mist the basket. You need a single layer—I cannot stress this enough—or you will steam them instead of frying them! Work in batches!
Place your rings in the basket and give the tops a light mist of cooking spray. Pop them in to cook for 10 to 12 minutes total. About halfway through, pull that basket out, carefully flip the rings, give the other side a quick spray, and slide it back in. Watching for that golden brown color using the right Air Fryer Onion Ring Cooking Time Temperature is key to getting those Perfect Air Fryer Rings!
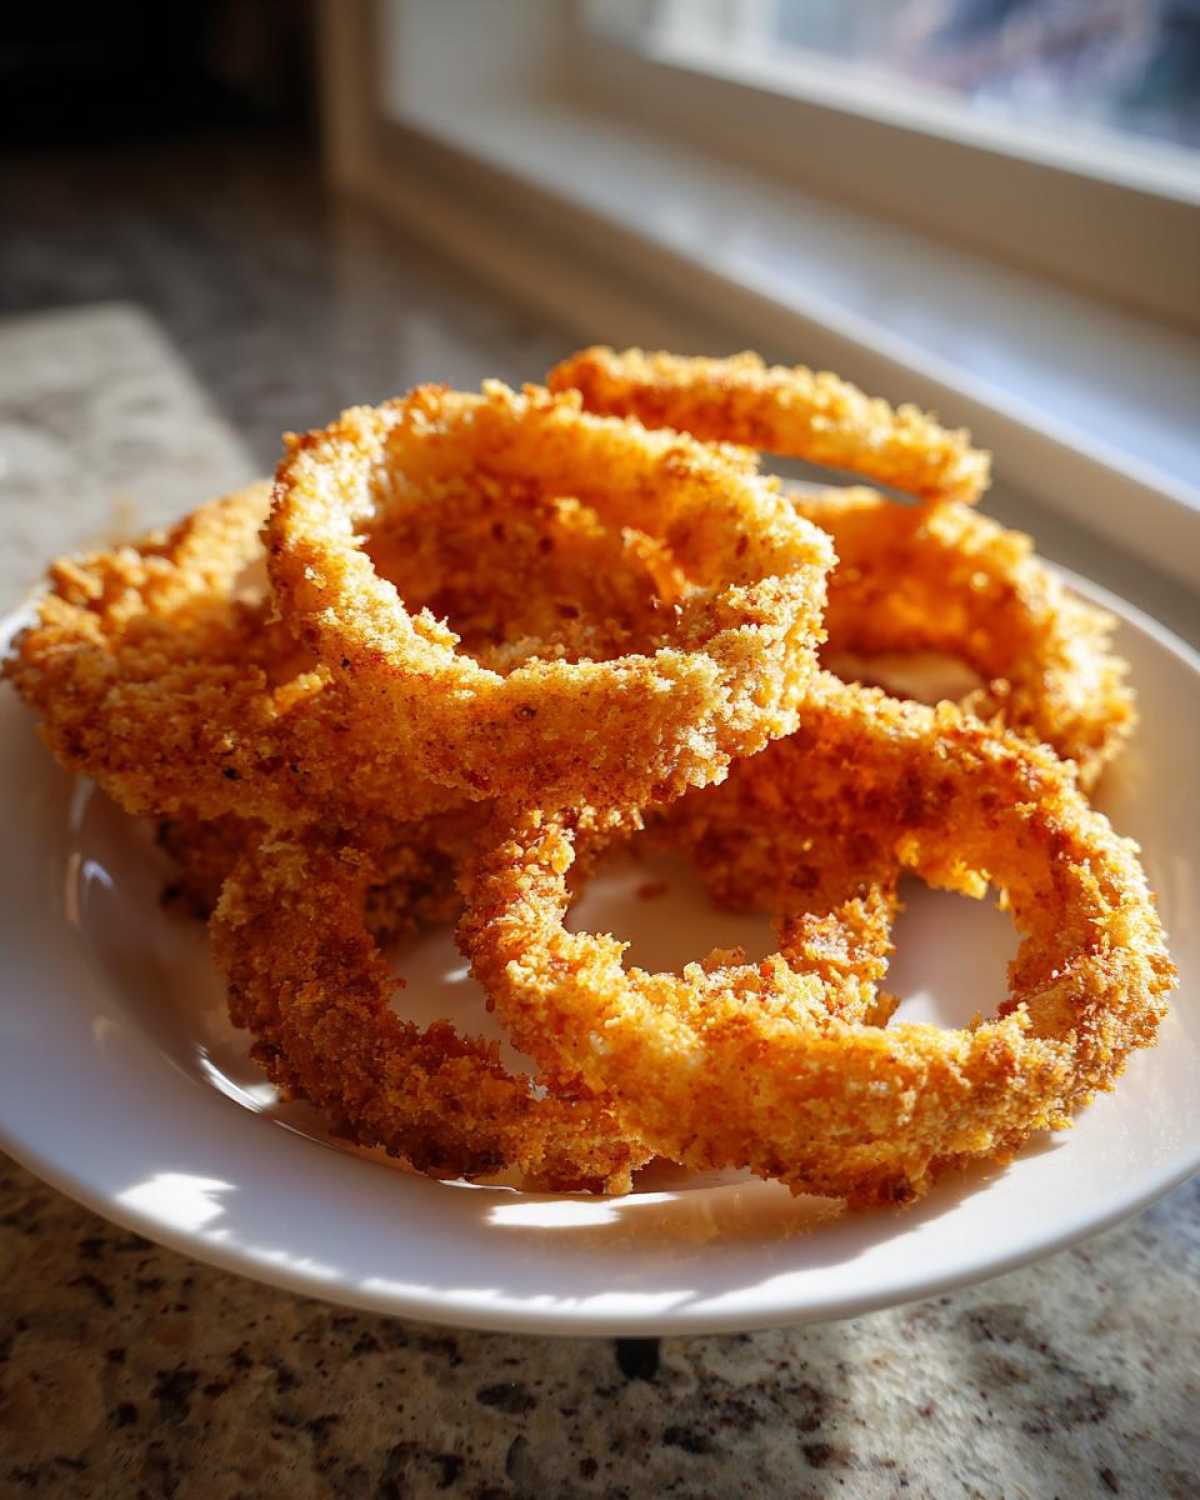
Tips for How to Make Crispy Onions in Air Fryer
If you want to master How to Make Crispy Onions in Air Fryer without having half your breading stuck to the basket floor, I’ve got the crucial trick for you. My first few attempts were tragic! I’d pull out the basket, and half the Panko coating would just look sad and abandoned on the perforated tray. It was so frustrating!
The game-changer, seriously, was the chilling tip I mentioned earlier. Once those rings are fully dredged and coated, put them on a rack and stick them in the fridge for about 15 minutes. It’s like setting the glue! That cool, dry environment helps the egg wash solidify just enough so the Panko actually bonds to the onion when it hits the hot air. Don’t skip it!
Also, remember the spraying technique. You have to spray the raw side *before* you flip them halfway through cooking. It ensures the top layer gets that beautiful, crunchy texture instead of looking pale and dry. For more amazing crispy appliance cooking, check out my guide on making crispy chicken: Crispy Juicy Air Fryer Chicken.
Variations for Your Air Fryer Breading Techniques
While I swear by the Panko in the main recipe for ultimate crunch, sometimes you just need to spice things up, right? It’s so fun to customize your coating! Think of the three-step dredging process as less of a rulebook and more of a foundation for creativity. Don’t be afraid to experiment next time!
My absolute favorite simple twist for these Air Fryer Onion Rings is adding savory bits right into that final Panko station. For example, mix in about half a cup of finely grated Parmesan cheese with your breadcrumbs. The cheese crisps up beautifully and gets a little nutty in the air fryer—it’s fantastic. I usually bring these parmesan rings out when the adults are over!
If you are looking for something a little different texture-wise, try crushing up dried cornflakes really coarsely. It gives a slightly sweeter, more craggy crunch than Panko, which is really interesting with the sweet onion. You just swap those cornflakes in for the Panko in station three. You might need to press a little harder to get them to stick.
Now, if you want to get *really* adventurous, you could try adjusting the wet station for a quick beer batter variation. Instead of just milk and egg, replace the milk with a light, cold lager. Make sure your Panko is still the finishing step, though, because dipping fully battered rings in the air fryer doesn’t work well; they need that dry coating to crisp properly. This keeps things interesting and really shows off how versatile your Air Fryer Breading Techniques can be!
Serving Suggestions for Your Easy Air Fryer Appetizer
Honestly, what’s a perfect plate of Air Fryer Onion Rings without the perfect puddle of sauce next to it? We’ve done all the hard work getting them golden and crispy, so don’t let the dipping situation be an afterthought! Since these are such a straightforward Easy Air Fryer Appetizer, they really shine when paired with something creamy or zesty.
My absolute favorite, no-brainer dip is a quick homemade ranch. You just mix sour cream, a little mayo, some buttermilk to thin it out—maybe two tablespoons?—and then dump in a packet of dry ranch seasoning mix. Shake it up and done! It’s so much better than the bottled stuff, and it takes way less time than you think.
If you want to kick up the heat, try making a spicy mayo. It’s just mayonnaise mixed with Sriracha or maybe some chipotle powder for a smokier flavor. You can even add a small squeeze of fresh lime juice to brighten it up. It pairs perfectly when you want that little bit of fire with your sweet onion.
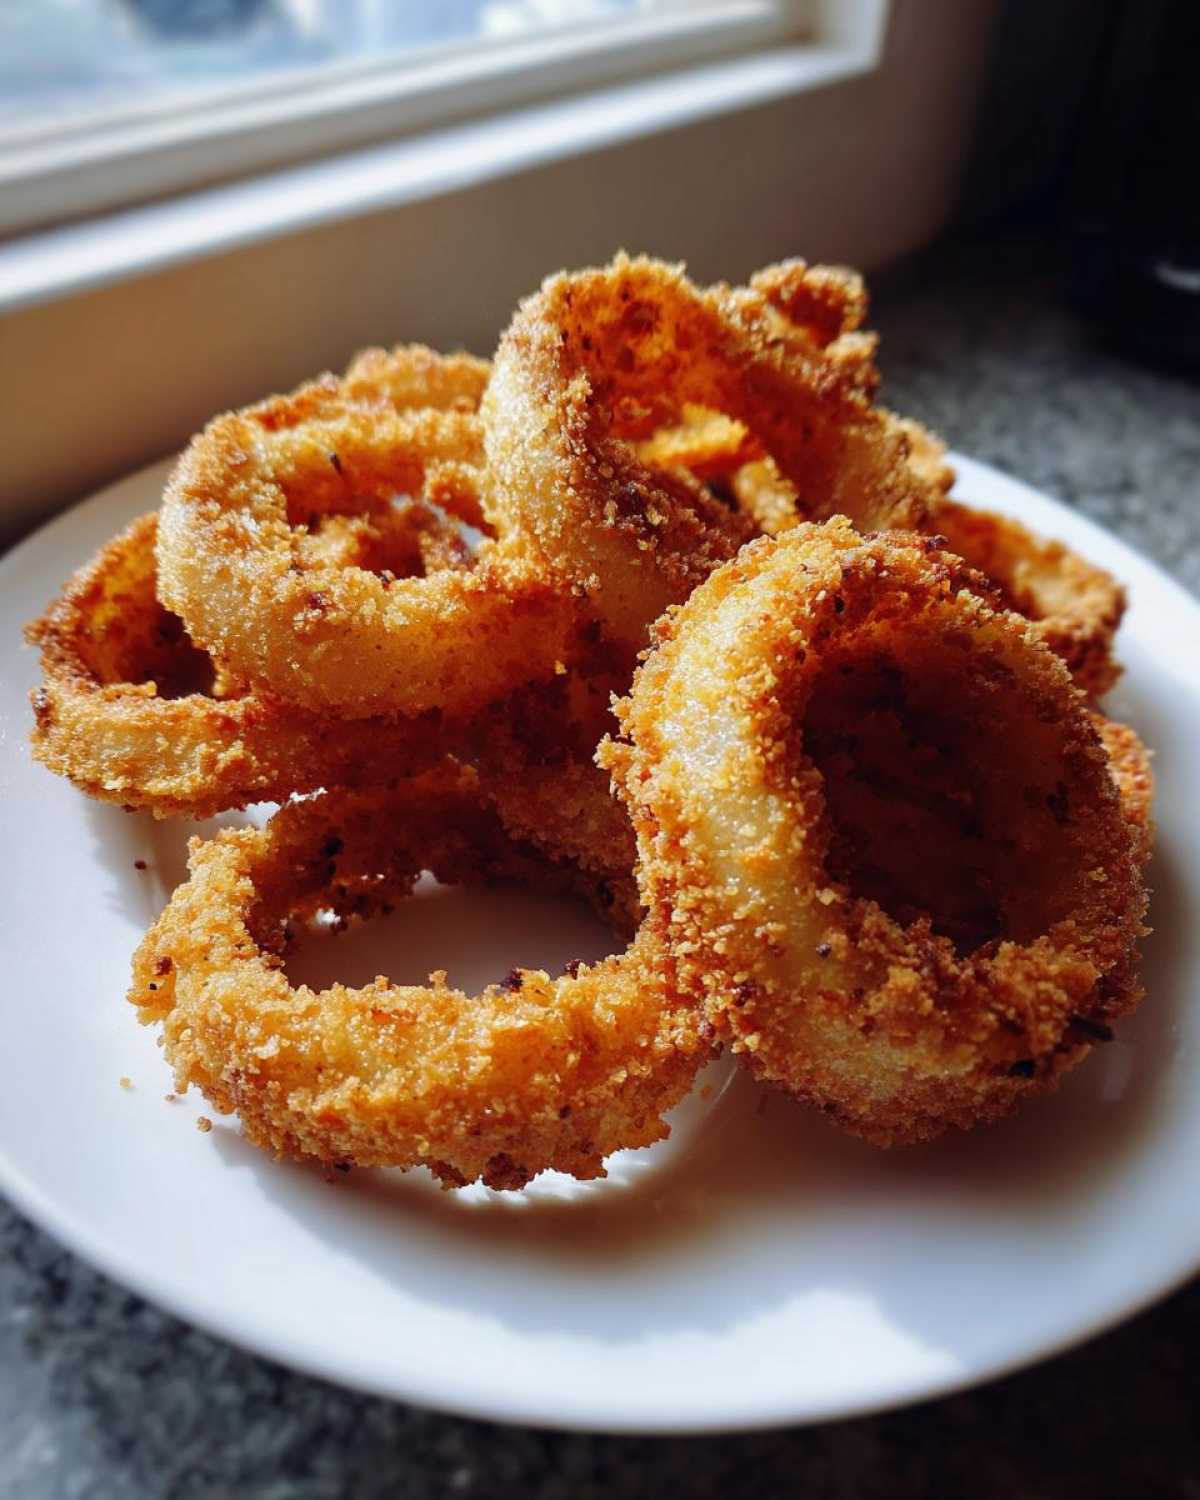
And hey, if you’re in an absolute hurry, a mix of ketchup, a dash of Worcestershire sauce, and a tiny pinch of garlic powder makes a surprisingly decent knock-off fry sauce. If you’re feeling extra decadent and want something richer than ranch, you should check out my super easy recipe for 10-minute nacho cheese sauce—it’s incredible poured right over the top of a big pile of these rings!
Troubleshooting Common Air Fryer Onion Rings Issues
Even when you follow a great recipe like this one, sometimes things go a little sideways in the kitchen. That’s okay! Air fryers are temperamental beasts sometimes, and onions are weirdly shaped, so it happens to everyone. Don’t toss that basket in frustration; let’s talk about how to rescue your batch and build that reputation for being a kitchen master!
The most common heartbreak, which I already hit on, is the breading abandoning ship. If you pull yours out and see your nice crust sitting on the bottom of the basket, you definitely skipped the chilling step! That thin layer of egg wash needed time to tighten up before it met the hot air. Next time, really press that Panko on firm, and then give them that mandatory 15-minute chill time. That’s how you get those gorgeous, intact Air Fryer Onion Rings.
Now, about sogginess—if your rings look pale or feel damp, it’s almost always overcrowding. The air needs to move completely around every ring to crisp it up. If they are touching, they steam, and steam makes things sad and soggy. If you worked in batches, I’m proud of you! If you tried to squeeze one more in there, well, we all have those moments. Remember: absolutely stick to a single layer in the basket!
Finally, uneven cooking is usually just a sign that we got distracted halfway through. You really have to flip them! Since the heat source in most baskets comes from the top, the tops get way crispier first. Flipping them—plus giving that second side a fresh, light spray of oil—ensures that beautiful, uniform golden color we are aiming for. Don’t just rely on the timer; use your eyes and give them a little flip!
Storage and Reheating Instructions for Perfect Air Fryer Rings
If you manage to have any leftovers—which I truly applaud because these things disappear fast, ha!—storage matters a lot for maintaining that crunch. Put any remaining Air Fryer Onion Rings into a totally airtight container. Don’t let them sit out too long, though! They hate humidity.
To bring back that crispy magic, definitely use the air fryer again! You don’t need to thaw them. Just pop them back into the 380°F basket for about 4 or 5 minutes. They reheat fast and get almost as perfect as fresh. This is the secret to enjoying Perfect Air Fryer Rings the next day!
Frequently Asked Questions About Making Air Fryer Onion Rings
I gathered up some of the things people ask me most often when they try this recipe for the first time. Don’t worry if you’re new to this appliance thing; we’ve all been there staring blankly at the controls! If you have more questions, feel free to reach out using my contact page here: Let’s chat!
Can I skip the flour step entirely for these Air Fryer Onion Rings?
Oh, I wouldn’t recommend that, friend! That initial dust of flour is super important for two reasons. First, it dries the surface of the onion just a tiny bit, and second, it gives the egg wash something to grab onto. If you skip the flour and go straight from the onion to the egg, that coating is much more likely to slide right off when it hits the heat. Keep that flour step in there if you want the best coating!
What is the ideal Air Fryer Onion Ring Cooking Time Temperature?
For most standard baskets, we are sticking to 380°F (195°C) for about 10 to 12 minutes total. But you know what they say about appliances—they’re all a little bit different! If yours runs hotter, you might hit perfection closer to 10 minutes. If it runs cooler, you might need 13 or 14. Keep an eye on them after the 10-minute mark and flip them when they look nicely colored. That reliable Air Fryer Onion Ring Cooking Time Temperature gets you the best start for Crispy Air Fryer Onion Rings.
Do these count as Homemade Onion Rings Air Fryer No Oil?
This is a great question, and it touches on something important for good texture! While we are skipping the deep-fryer level of oil, you really do need that quick spritz of oil-based cooking spray to get those deep golden brown colors and that satisfying crunch. If you try to do it completely dry, they tend to look pale and might feel dry rather than truly crisp. A light spray is enough to make them taste indulgent while keeping them healthier than their deep-fried cousins!
PrintAir Fryer Onion Rings
Make crispy homemade onion rings using your air fryer with this simple breading and cooking method.
- Prep Time: 20 min
- Cook Time: 12 min
- Total Time: 32 min
- Yield: 4 servings
- Category: Appetizer
- Method: Air Frying
- Cuisine: American
- Diet: Vegetarian
Ingredients
- 2 large yellow onions
- 1 cup all-purpose flour
- 1 teaspoon salt
- 1/2 teaspoon black pepper
- 1/2 teaspoon paprika
- 2 large eggs, lightly beaten
- 1/4 cup milk
- 1 1/2 cups Panko breadcrumbs
- Cooking spray (oil-based)
Instructions
- Slice the onions into 1/4-inch thick rings. Separate the rings and set aside.
- Prepare the dredging stations. In the first shallow dish, mix the flour, salt, pepper, and paprika.
- In the second shallow dish, whisk together the eggs and milk.
- In the third shallow dish, place the Panko breadcrumbs.
- Dredge each onion ring first in the flour mixture, shaking off excess.
- Dip the floured ring into the egg mixture, letting excess drip off.
- Coat the ring thoroughly in the Panko breadcrumbs, pressing lightly to adhere. Place coated rings on a wire rack.
- Preheat your air fryer to 380°F (195°C) for 5 minutes.
- Lightly spray the air fryer basket with cooking spray. Arrange the onion rings in a single layer; do not overcrowd the basket. Work in batches if necessary.
- Spray the tops of the onion rings lightly with cooking spray.
- Air fry for 10 to 12 minutes, flipping the rings halfway through the cooking time. Spray the second side lightly with cooking spray before flipping.
- Continue cooking until the rings are golden brown and crisp.
- Remove from the air fryer and serve immediately.
Notes
- For best results, chill the breaded onion rings for 15 minutes before air frying to help the coating stick.
- If you prefer a thinner coating, use regular breadcrumbs instead of Panko.
- Serve with your favorite dipping sauce, such as ketchup or ranch dressing.
Nutrition
- Serving Size: 5 rings
- Calories: 250
- Sugar: 5
- Sodium: 350
- Fat: 6
- Saturated Fat: 1
- Unsaturated Fat: 5
- Trans Fat: 0
- Carbohydrates: 42
- Fiber: 3
- Protein: 8
- Cholesterol: 65