

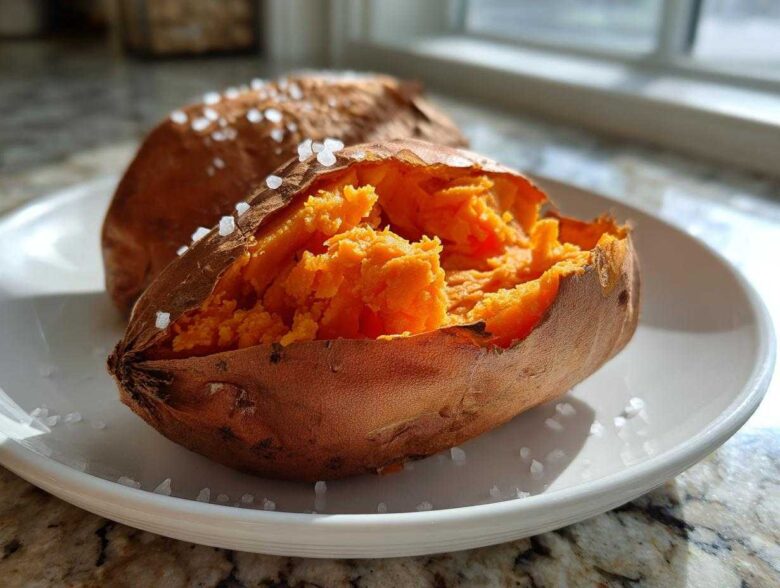
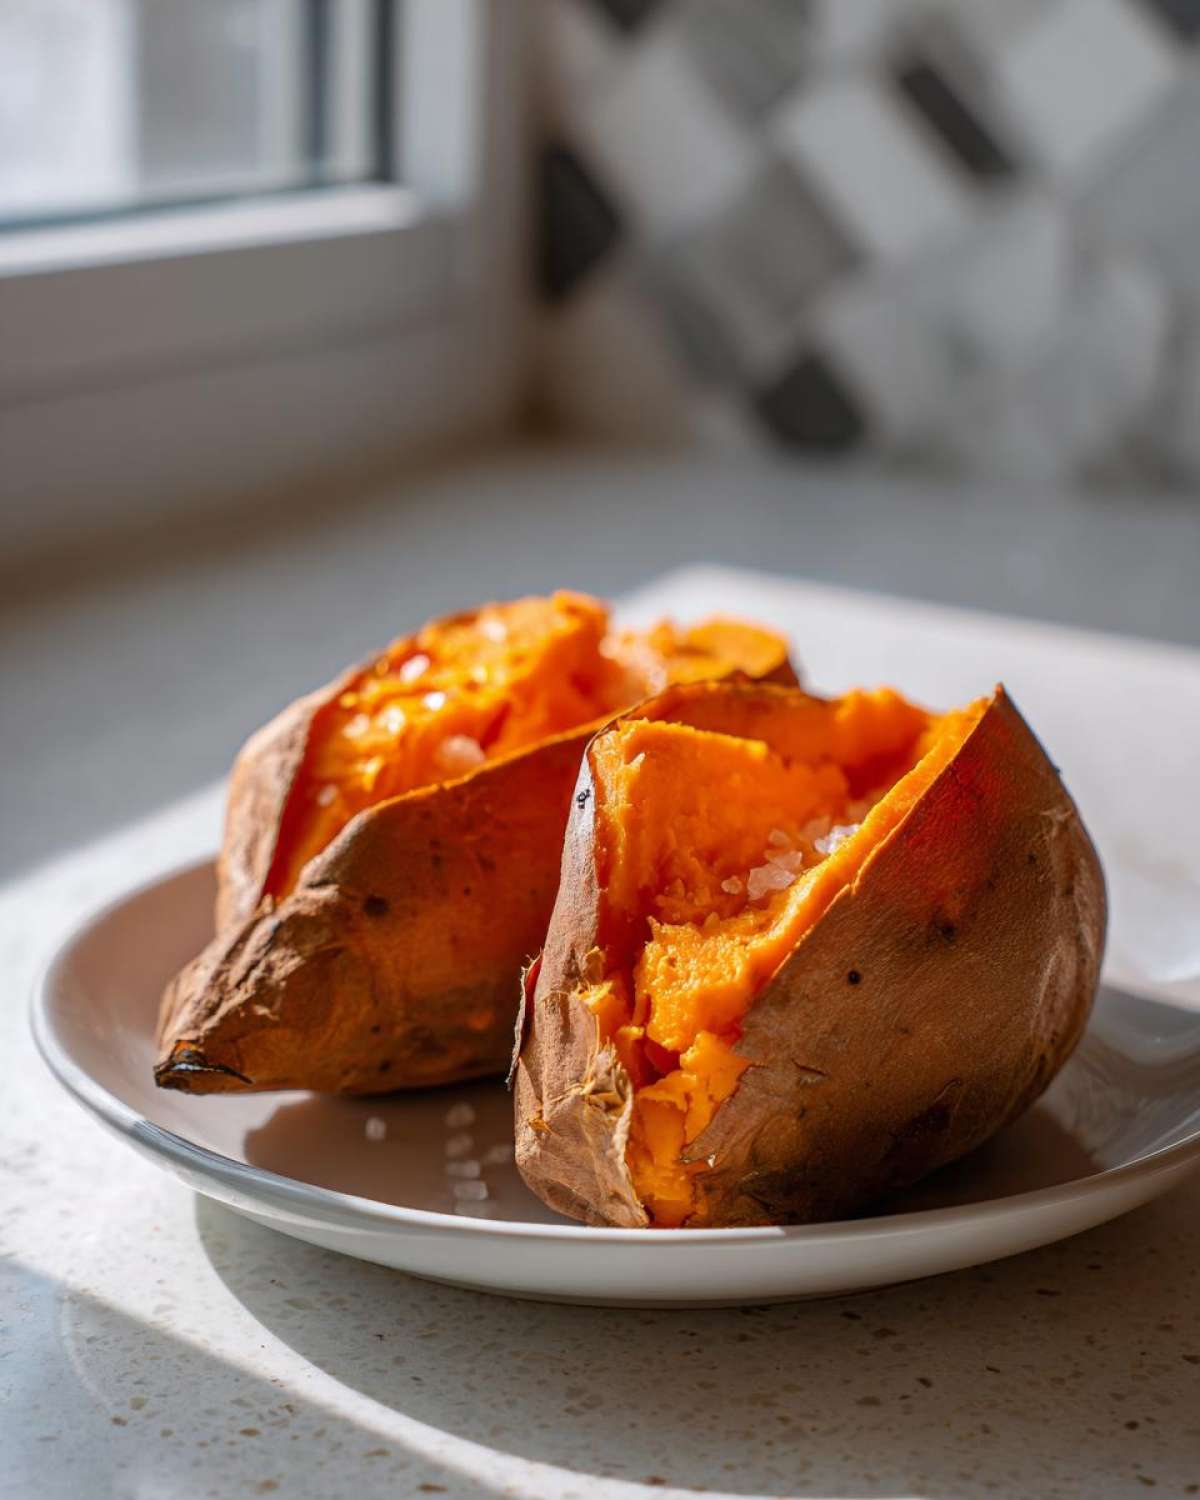
There is just something so incredibly satisfying about a perfectly cooked sweet potato, isn’t there? That skin gets just a little bit wrinkled and deeply colored, promising the creamy, unbelievably fluffy interior waiting inside. Elias and I talk a lot about how the best recipes are often the simplest ones, and this baked sweet potato method is proof positive that you don’t need fancy gadgets to achieve true perfection.
Forget dry, dense results! This no-fuss technique guarantees you’ll get that ideal pillow-soft texture every single time you make a baked sweet potato. It’s the healthy side dish that truly shines—so simple, yet it elevates any meal we put on the table. We often use leftovers as a base for our breakfast bowls, too. It’s just that good!
If you’ve been struggling with pale skins or crumbly insides, hang tight. We learned the nuances through trial and (a few slightly disappointing) error. You can check out a little more about how we approach simple cooking over on our About Us page, but for now, let’s unlock the secret to this glorious root vegetable!
Why This Method Creates the Best Baked Sweet Potato
We’ve tested about every method out there, and this one—where we ditch the foil—is the absolute winner for getting that signature fluffy texture. When you wrap a sweet potato up tight, you’re essentially forcing it to steam in its own juices. That makes the skin soft and a little gloppy, which is fine for mashing, but not if you want that perfect caramelization.
By letting the heat circulate and relying on carefully applied oil, we draw out moisture differently. This ensures that every single baked sweet potato we make has that highly desirable crisp, slightly salty skin contrasting beautifully with the sweet, tender inside. It’s all about technique over complexity here!
The Secret to a Fluffy Sweet Potato Interior
The first crucial step for that light, fluffy sweet potato interior is letting the steam escape. You absolutely must pierce your potatoes deeply, at least five or six times, all over!
If you skip piercing, the internal pressure builds up, and honestly, you risk a small explosion in your oven—which is *not* the kind of excitement we aim for in the kitchen! Baking directly on the oven rack, like we discuss in the instructions, allows the heat to hit the skin evenly. This combination of piercing and direct heat is what turns a standard baked potato into a truly fluffy experience.
Ingredients Needed for Perfect Baked Sweet Potato
Honestly, this is where the simplicity really shines. You barely need anything more than the potatoes themselves! But having the right additions makes all the difference between a bland tuber and the best baked sweet potato you’ve ever had. Make sure you have these essentials ready before you even think about turning on the oven.
- 4 medium sweet potatoes, scrubbed very clean—seriously, scrub them like you mean it!
- 1 tablespoon olive oil—we use standard olive oil here, nothing fancy required.
- 1 teaspoon coarse salt—this helps draw moisture out of the skin slightly for crisping.
- 1/2 teaspoon black pepper—freshly cracked is always best for flavor, if you have it!
That’s it! I know some recipes call for wrapping them in foil, but we skip that entirely for the best result. Trust me on the oil and salt combo; it gets that skin tasting amazing while the inside stays soft. Elias always says if you start with good quality potatoes, you’re already winning.
Step-by-Step Instructions to Bake the Baked Sweet Potato
Okay, now that we have our beautiful ingredients laid out, let’s get these sweet potatoes into the oven! The process is super straightforward, but the few small touches we add before baking are what make the difference between an okay potato and truly exceptional results. If you’re looking for the full rundown, you can always jump over to our dedicated ultimate fluffy recipe post, but here are the core steps right here.
First things first: turn your oven up to 400 degrees Fahrenheit (that’s about 200 Celsius). We need it nice and hot to get that skin crisping right away.
Prepping and Seasoning Your Sweet Potatoes
You can’t rush the prep here! Take your sweet potatoes and wash them really well under running water. I use a vegetable brush just to make sure every speck of dirt is gone from their skin. After washing, this is crucial: pat them completely dry with a paper towel. Elias swears by this—if the skin is wet, it steams, and we want crispness!
Next, grab a sharp knife or a sturdy dinner fork and pierce each potato several times, pushing all the way through to the center if you can. Remember what we said about steam needing to escape? This is how it happens! Once they’re pierced, rub them down with the olive oil until they shine. Finish by sprinkling them evenly with coarse salt and that ground pepper. Make sure the seasoning sticks all over!
Baking Time and Doneness Check for Your Baked Sweet Potato
Now for the easy part! Place those beautifully seasoned sweet potatoes directly onto the oven rack. Please, please, *please* skip the foil here! Foil traps the moisture we are trying to let escape. They’ll need anywhere from 45 to 60 minutes in that 400°F heat, depending on how big they are. Smaller ones might be done closer to 45 minutes.
How do you know your baked sweet potato is ready? You look for the visual cues: the skin will look a bit wrinkled and slightly darkened. Then, take a fork and jab the thickest part. If the fork glides in without any resistance, you’re golden! They should be ready to squeeze gently; if they yield easily, pull them out, let them cool just for a minute or two so you don’t burn your fingers, and slice right into that fluffy center!
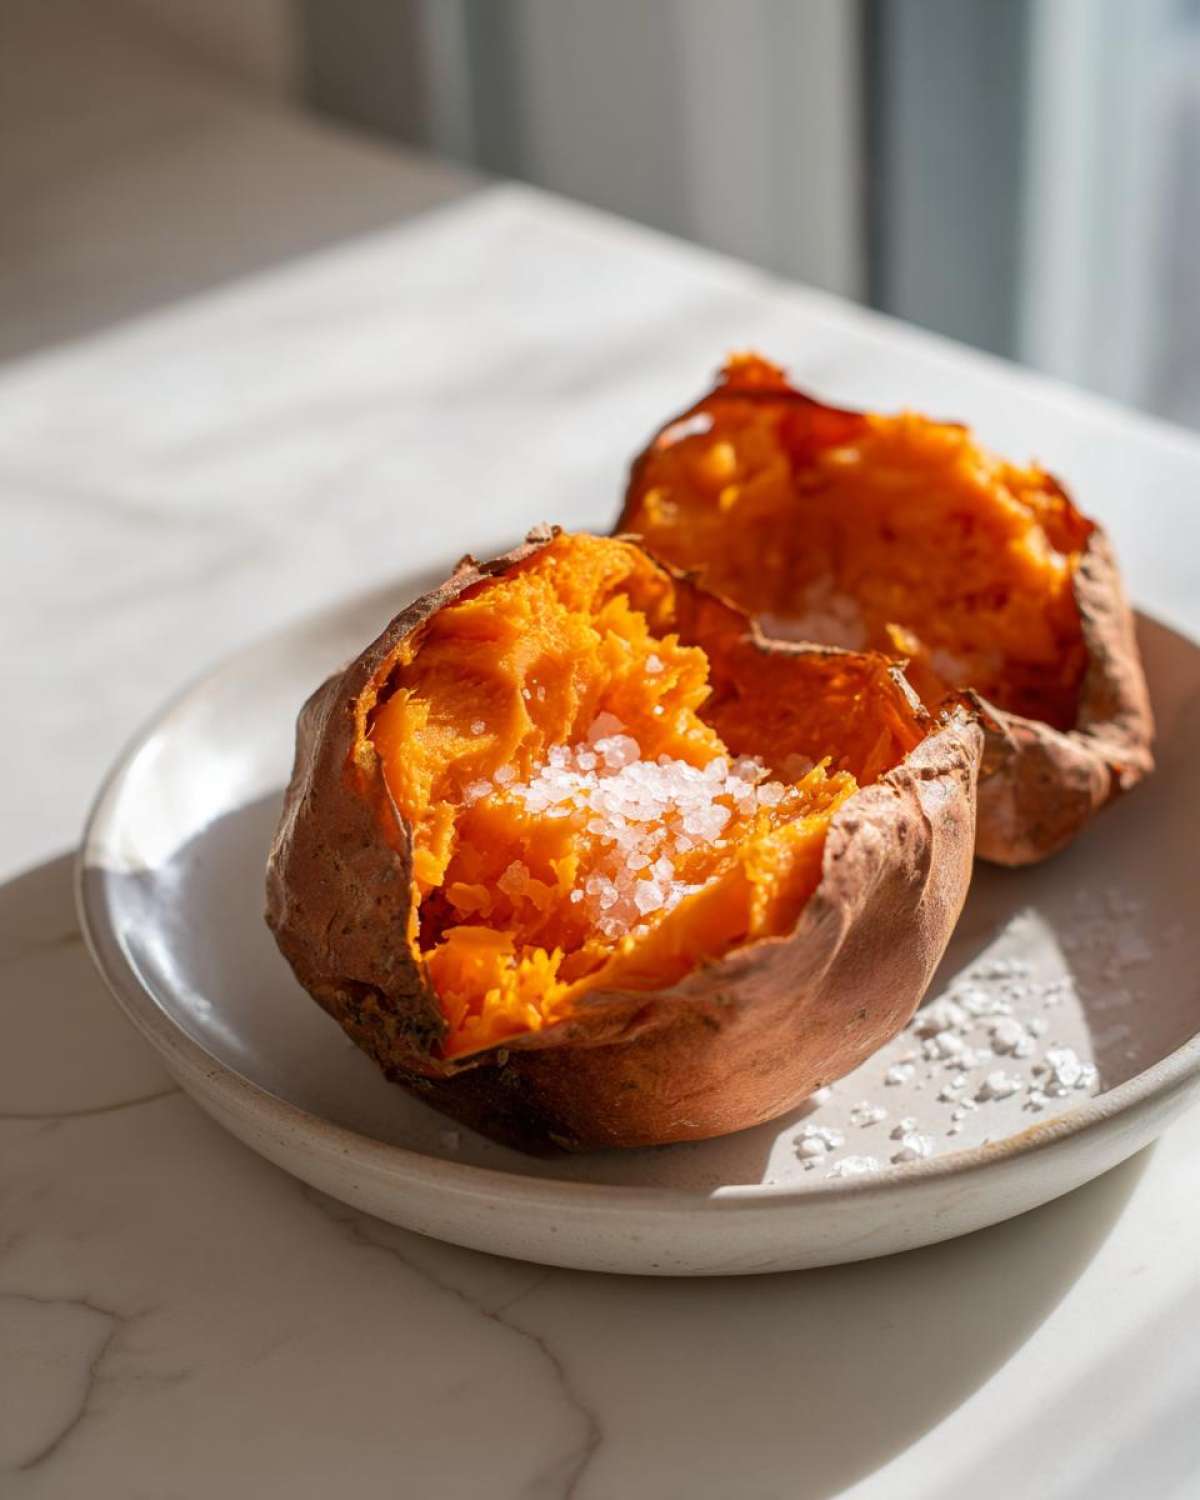
Once they are done, we love to add a little pat of butter right inside while they’re steaming hot. It’s the perfect simple side!
Tips for Success When Making a Baked Sweet Potato
Getting that perfect fluffy texture when you are making a baked sweet potato comes down to a couple of key choices before it even hits the heat. I remember one time Elias tried to rush things because we were late to a neighbor’s potluck. He decided to skip drying them off completely because he thought it would save thirty seconds—big mistake!
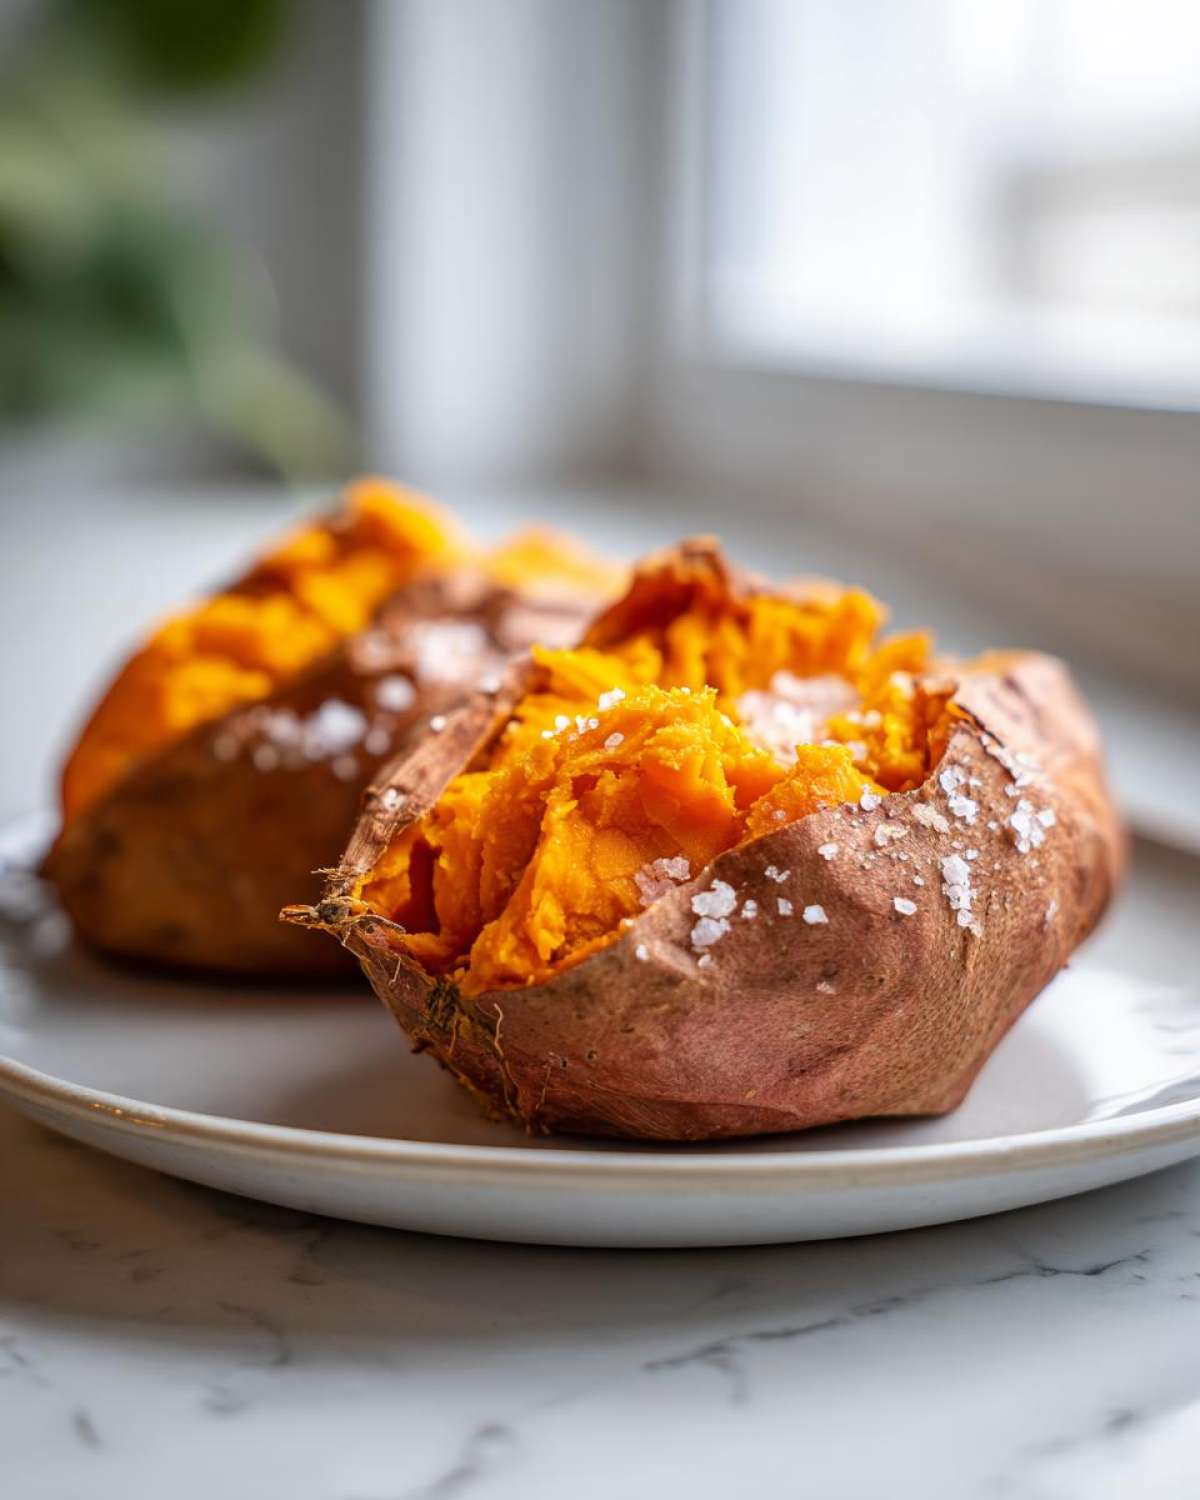
When we pulled them out, the skins were pale and slightly soggy underneath, almost gummy. They were cooked through, sure, but they totally lacked that satisfying caramelized chew we love. It was a good reminder that even small shortcuts can change the final outcome when you are aiming for the best possible result.
For the absolute best flavor and texture, always stick to the oven method we outlined. It truly is worth the extra few minutes!
Ingredient Notes and Substitution Ideas
I often get asked if I just throw them in the microwave when I’m really strapped for time, especially since we listed it in the notes. And yes, you *can* microwave a sweet potato. It takes maybe six or seven minutes, which is lightning-fast. But I have to be honest with you: the texture is just completely different. It’s soft, but it never develops that wonderful fluffy, almost dry consistency that the oven gives you, and you certainly don’t get any caramelization on the skin if you microwave it.
The oven method truly shines because the dry heat works to cook those starches perfectly. Keep that oven rocking at 400°F for that optimal baked sweet potato finish!
Now, for serving, while salt and pepper are essential for baking, don’t be shy after they come out! My favorite way to dress them up for a cozy night in is with a pat of cinnamon butter. It melts right down into the fluffy center and tastes like autumn in every bite. It’s a simple addition that screams comfort food, which is always a win in our book. You can see some other cozy meal ideas over on our Flavor Vista Blog!
Serving Suggestions for Your Tender Sweet Potato
Once you have that perfectly tender sweet potato ready, you might think, “What now?” That’s the fun part! Since this simple baked sweet potato acts as this amazing blank canvas, the toppings are endless. Elias and I like to keep things savory and a little zesty because the potato itself is naturally so sweet.
For a classic, easy dinner side, you can never go wrong with a sprinkle of smoked paprika, a dash of sea salt, and maybe some fresh green onions chopped bright green on top. It adds a layer of flavor that really makes the side dish POP!
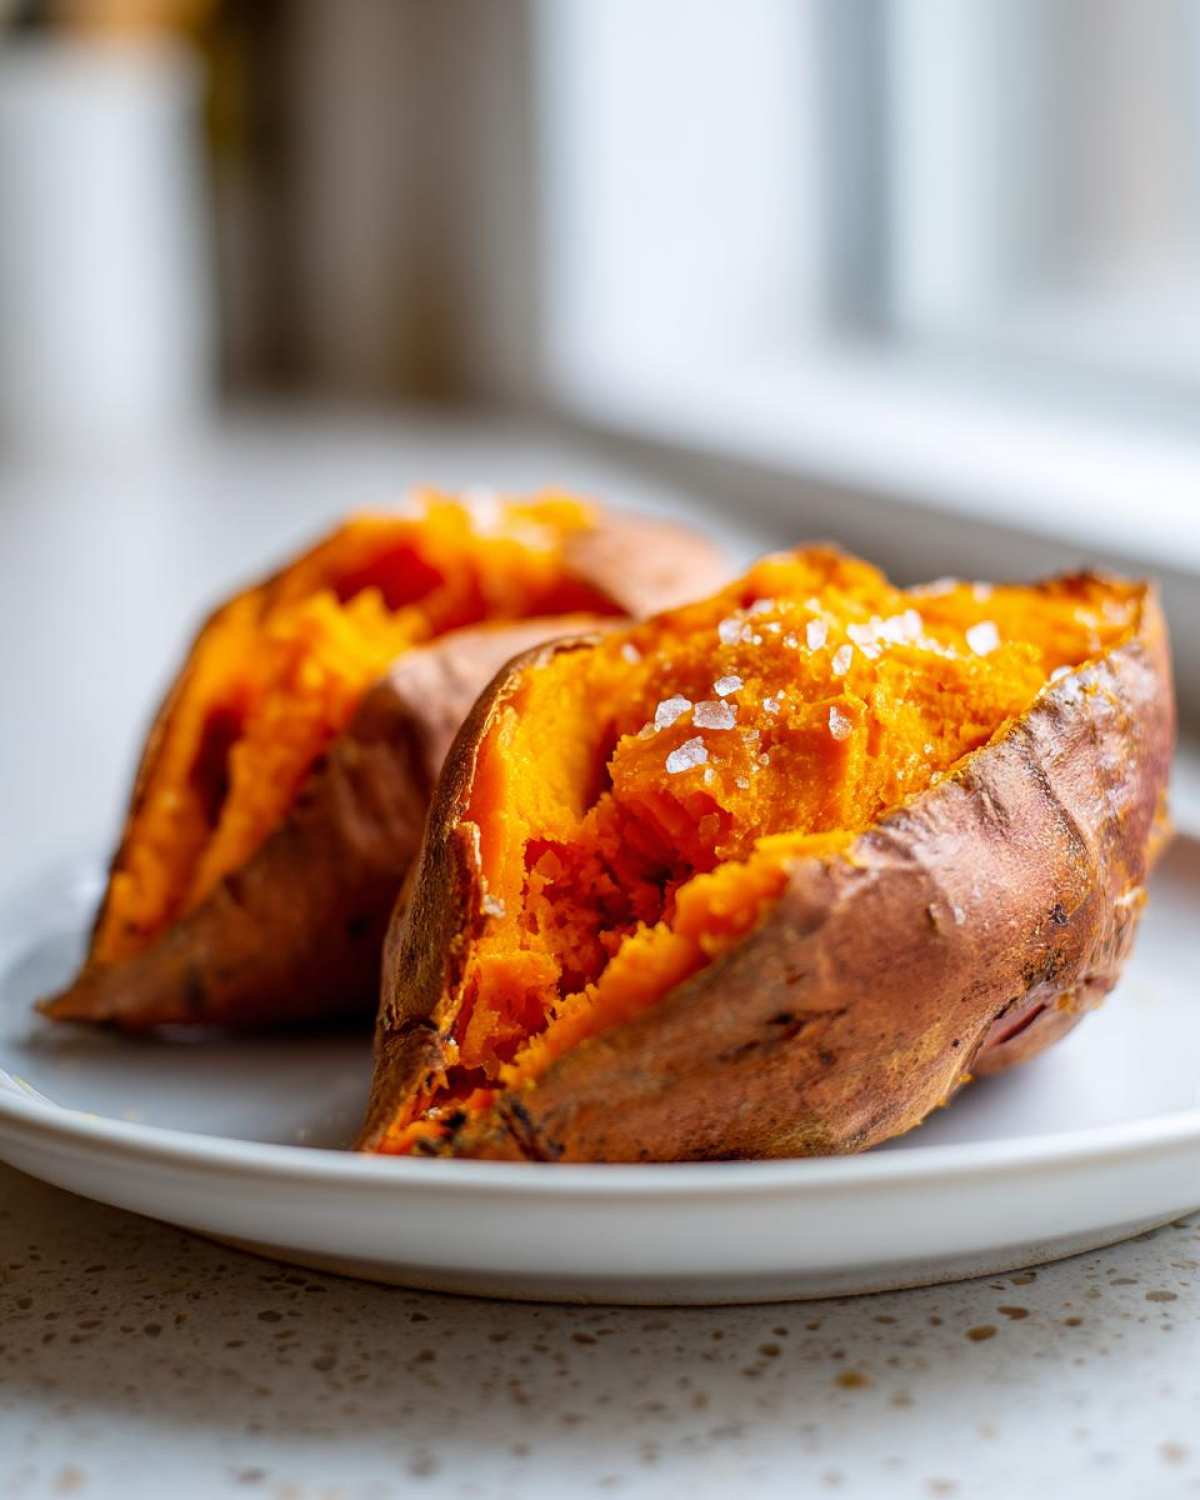
If you’re looking to serve it up as more of a light lunch or a really hearty side, we sometimes load it up! Think about swapping out your regular potato for one of these in your next meal. For example, they go absolutely wonderfully alongside something bright and flavorful, like our recipe for Sweet Chili Shrimp Tacos. The richness of the sweet potato balances out the heat of the chili perfectly.
Here are a few other ways we use our fluffy baked sweet potatoes:
- Savory Route: A scoop of black beans, a dollop of Greek yogurt (or sour cream), a sprinkle of sharp cheddar, and a drizzle of hot sauce. Hearty and totally satisfying!
- Simple Sweet Fix: Just as we mentioned before, melted butter mixed with a pinch of cinnamon and a drizzle of maple syrup. You can’t beat that simple, warming flavor combination.
- Breakfast Style: Scoop the center flesh into a bowl, mash it slightly, and top it with a perfectly fried or poached egg and some crumbled bacon bits. Talk about a game-changer morning meal!
The beauty of a great baked sweet potato is how versatile it is. It can handle bold flavors or just whisper sweetness, depending on what you pair it with!
Storage and Reheating Instructions for Baked Sweet Potato
Even after you’ve created the most incredible, fluffy baked sweet potato, you might have some leftovers—which is great because they are fantastic for meal prepping! You can easily enjoy them the next day, but how you store and reheat them really matters if you want to keep that tender texture we worked so hard to achieve.
When they are fresh out of the oven and cooled down—this is important, let them cool *before* sealing them up—you can easily store them in an airtight container in the fridge. They should stay perfectly good for about three to four days. If you plan to keep them longer than that, I’d suggest scooping out the flesh and freezing it instead. The whole potato tends to get a little mushy if left in the fridge for a full week.
Best Way to Reheat Your Baked Sweet Potato
Okay, here’s the golden rule for reheating: we are going for warmth, not steaming! You definitely want to avoid the microwave if you can, at least if you want that skin to have any semblance of crispness left. The microwave works fast, but it turns the skin soft and rubbery really quickly.
The reheating method I swear by is popping the reserved potato (still whole, or halved if you prefer) back into a 350°F oven for about 10 to 15 minutes. It seems backward to use the oven again, but it gently warms everything through and actually dries the skin out just a touch again, bringing back some of that lovely texture. If you’re in a massive hurry, slice the potato in half first, then pop the halves cut-side down on a baking sheet for about 8 minutes. That exposure to the direct heat really helps revive your baked sweet potato!
Freezing Sweet Potato Flesh for Later
If you made a huge batch and know you won’t eat them all within four days, scooping out all that fluffy flesh is the way to go. Mash it slightly (or leave it chunky, your choice!) and pack it into freezer-safe bags or containers. Before zipping them up, try to press out as much air as possible. Frozen sweet potato puree lasts for months.
When you are ready to use your frozen batch, just defrost it in the fridge overnight. Then, you can gently warm the flesh on the stovetop with a tiny splash of water or milk, or even use it straight out of the fridge as a base for those breakfast bowls we talked about! It saves so much time later when you need an easy side dish!
Frequently Asked Questions About How to Bake Sweet Potatoes
We get so many lovely messages asking for clarification on timing or texture when people try this method for the first time, and that’s wonderful! It’s smart to check, especially when you’re counting on a side dish to come out perfectly for a busy dinner. We just want to save you from any disappointing results!
Since Elias and I have tested this exact technique countless times, here are a few of the things folks ask most often about getting that wonderfully tender baked sweet potato.
How long does it take to bake sweet potatoes?
Generally, for medium-sized sweet potatoes—the kind that fit comfortably in your hand—you are looking at 45 to 60 minutes total baking time in a 400°F oven. It really depends on how large they are, though! If you put in two giant sweet potatoes, they might need closer to 70 minutes, so always check them starting around the 45-minute mark.
The way I teach people to check is always the same: you want that fork to slide in like butter, no pushing required. If you have to shove the fork in, they need a few more minutes to soften up.
Can I skip piercing the sweet potato before baking?
Oh, please don’t skip this step! I cannot stress this enough: you absolutely must pierce your sweet potato several times before it goes into the oven. This isn’t just about texture; it’s a safety thing, honestly.
The inside of the potato turns into super-hot steam as it cooks. If that steam has nowhere to go, it builds up pressure, and you risk the potato exploding inside your oven. Trust me, cleaning up that mess is *not* fun because the sugar caramelizes onto the racks! Plus, skipping the piercing traps that steam, which gives you a tougher, wetter interior instead of the fluffy texture we are aiming for with a perfect baked sweet potato.
If you have questions we didn’t cover here, please don’t hesitate to reach out to us over on our contact page! We love hearing from you.
Nutritional Estimate for One Baked Sweet Potato
We believe in clean eating and using simple ingredients, which is why this recipe is such a fantastic choice for a weeknight side dish. Since we are only using a few whole ingredients—sweet potatoes, olive oil, salt, and pepper—the nutritional profile is lovely and straightforward. Remember, these numbers are just an estimate based on using four medium potatoes, so your exact values might shift a tiny bit based on the size of your specific harvest!
This is a great, fiber-rich option that keeps things light. We’re focusing here on the estimate for just one plain, baked sweet potato using our standard preparation method.
Here is the approximate breakdown:
- Calories: Around 180 per potato
- Fat: Very low, about 0.5 grams
- Carbohydrates: Approximately 41 grams
- Protein: Near 4 grams
It’s a beautiful source of Vitamin A, too, which we all need! If you load it up with butter or marshmallows, naturally, those numbers will shift, so keep that in mind when planning your meals.
For absolute clarity on how we calculate these estimates and what that means for your kitchen goals—especially related to allergies or specific diets—please take a moment to check out our full nutritional disclaimer over on our disclaimer page. We want everyone to cook confidently here at Flavor Vista!
Share Your Perfect Baked Sweet Potato Experience
Elias and I live for hearing from you! Seriously, seeing you all recreate our simple meals in your own homes is the whole reason we started Flavor Vista.
When you try this foolproof method for a fluffy baked sweet potato, we really want to know how it went! Did your skin get that perfect slight wrinkle? Was the inside as creamy as you hoped? Don’t be shy!
Please drop a rating down below—five stars, four stars, whatever felt right for your potato adventure! And leave a comment telling us what you decided to top yours with. Are you a cinnamon butter person, or do you go savory with herbs?
If you snapped a photo of your beautiful, tender sweet potato, we’d absolutely love to see it! Tag us when you share on social media. It makes our day to see our recipes popping up in your kitchens. Happy cooking, friends!
PrintHow to Bake Perfect Sweet Potatoes: Fluffy and Tender Every Time

Learn our simple, no-fuss method for baking sweet potatoes that results in a creamy interior and perfectly caramelized skin. This recipe guarantees tender results for a healthy side dish.
- Prep Time: 5 min
- Cook Time: 50 min
- Total Time: 55 min
- Yield: 4 servings
- Category: Side Dish
- Method: Baking
- Cuisine: American
- Diet: Vegetarian
Ingredients
- 4 medium sweet potatoes
- 1 tablespoon olive oil
- 1 teaspoon coarse salt
- 1/2 teaspoon black pepper
Instructions
- Preheat your oven to 400 degrees Fahrenheit (200 degrees Celsius).
- Wash the sweet potatoes thoroughly under running water. Scrub the skins well to remove any dirt.
- Pat the sweet potatoes completely dry with a paper towel. This helps the skin crisp up.
- Pierce each sweet potato several times deeply with a fork or sharp knife. This allows steam to escape during baking.
- Rub the entire surface of each sweet potato with olive oil.
- Sprinkle the potatoes evenly with coarse salt and black pepper.
- Place the seasoned sweet potatoes directly onto the oven rack. Do not use foil, as this steams the potatoes instead of baking them.
- Bake for 45 to 60 minutes, depending on the size of the potatoes. You know they are done when the skin is slightly wrinkled and you can easily pierce the center with a fork.
- Remove from the oven and let them cool for a few minutes before slicing open and serving.
Notes
- For an extra sweet treat, serve with a pat of cinnamon butter.
- If you are short on time, you can bake sweet potatoes in the microwave, but the texture will not be as fluffy or caramelized.
- To check for doneness, squeeze the potato gently; it should yield easily.
Nutrition
- Serving Size: 1 potato
- Calories: 180
- Sugar: 13
- Sodium: 230
- Fat: 0.5
- Saturated Fat: 0.1
- Unsaturated Fat: 0.4
- Trans Fat: 0
- Carbohydrates: 41
- Fiber: 6
- Protein: 4
- Cholesterol: 0