

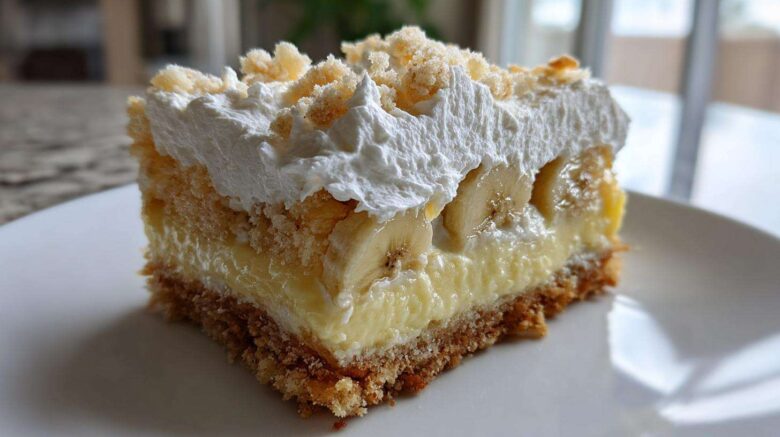
Making the Best Banana Pudding Bars: A Family Favorite
No heading needs to be written for the introduction.
I’m Hannah, and Elias and I live for simple, comforting sweets. We believe the best memories happen around food. These creamy Banana Pudding Bars are our current obsession. They take that classic, cozy flavor everyone adores. Then, we make it portable!
Forget messy bowls of pudding. These layered bars fit right into your picnic basket. That’s the magic here. We perfected this recipe over many lazy Sundays. It’s the kind of dessert that feels special, yet totally achievable. Get ready to make your new favorite treat.
Gather Your Ingredients for Banana Pudding Bars
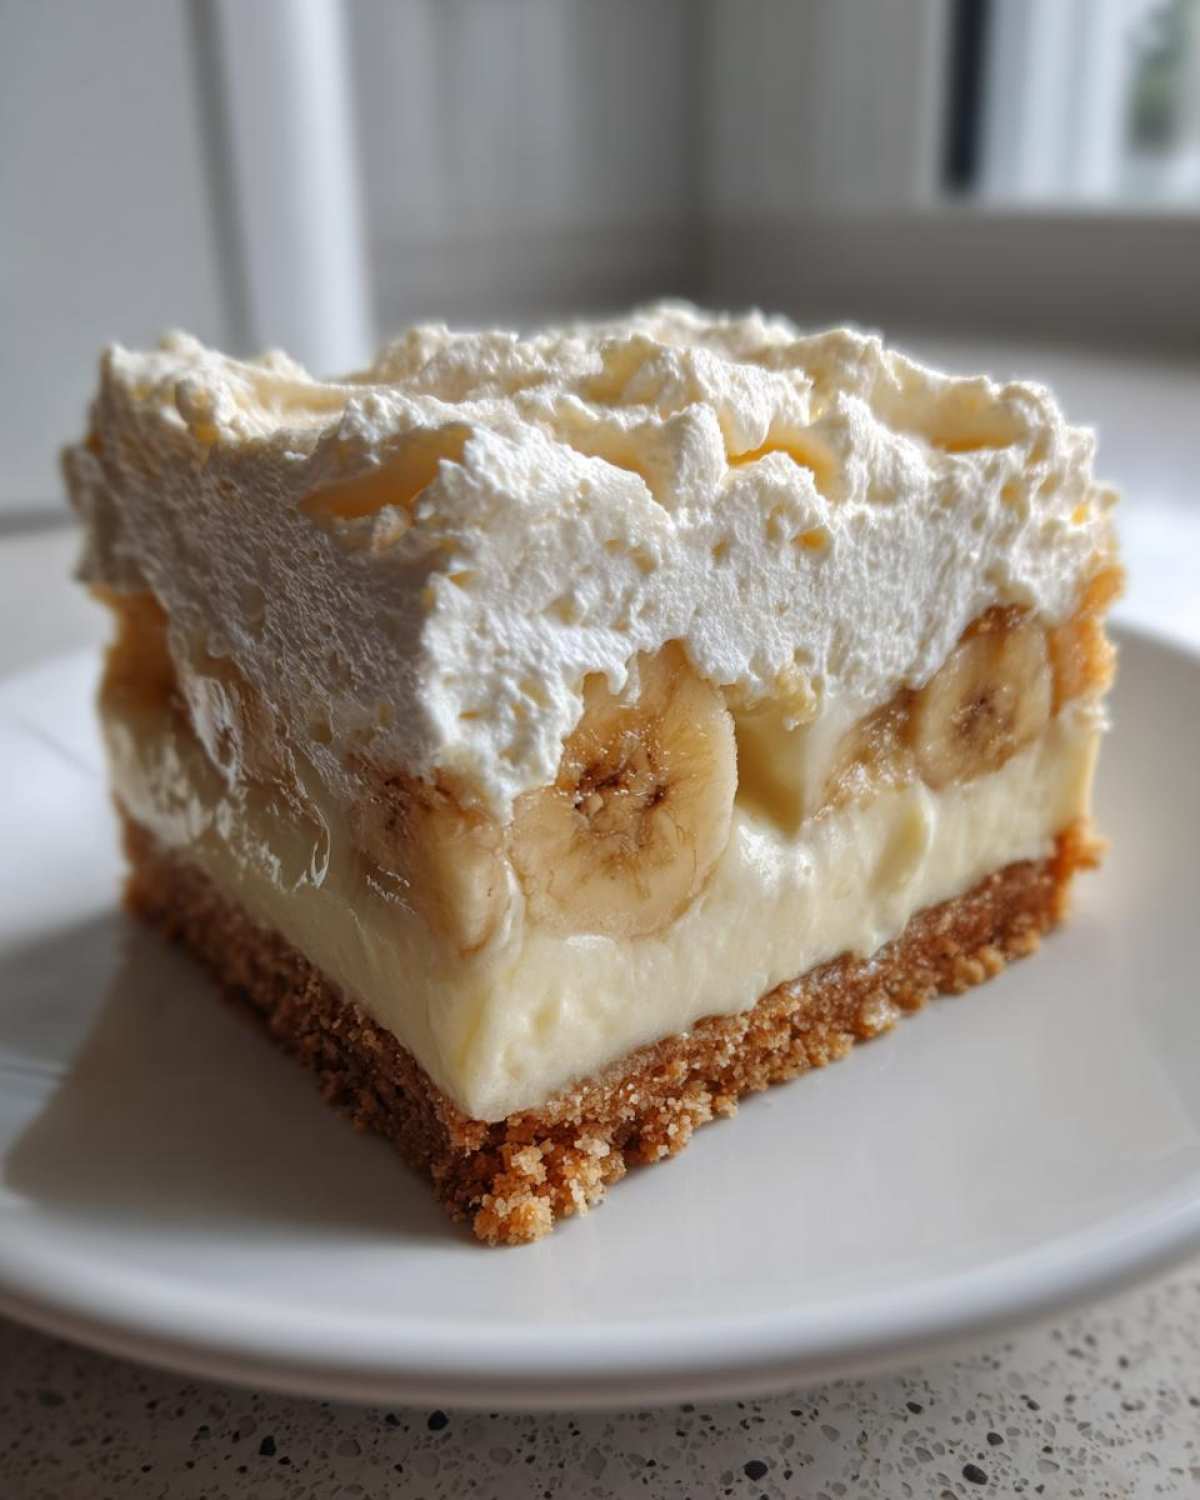
Getting ready to bake these wonderful Banana Pudding Bars? Great choice! Having everything measured out makes the process smooth. Remember, good ingredients make great desserts. Let’s look at what you need for each layer.
For the Buttery Crust
- 1 cup all-purpose flour
- 1/2 cup cold unsalted butter, cubed
- 1/4 cup granulated sugar
- 1/4 teaspoon salt
Make sure that butter is truly cold and cubed first. That helps the crust texture.
For the Creamy Filling
- 1 package (3.4 ounces) instant vanilla pudding mix
- 1 1/2 cups cold milk
- 1 teaspoon vanilla extract
- 2 ripe bananas, sliced
Use very cold milk here. It helps the pudding set up right away.
For the Whipped Topping and Optional Garnish
- 1 cup heavy cream
- 1/4 cup powdered sugar
- 1/2 teaspoon vanilla extract
- Optional: Nilla Wafers for topping
We need that heavy cream for stiff, fluffy peaks on top!
Essential Equipment for Perfect Banana Pudding Bars
You don’t need fancy tools for these Banana Pudding Bars. A few basics work wonders. I always grab my 8×8 inch baking pan first. This pan creates the perfect bar size. You will also need bowls for mixing everything up nicely. A whisk is key for the creamy filling, too.
Step-by-Step Instructions for Banana Pudding Bars
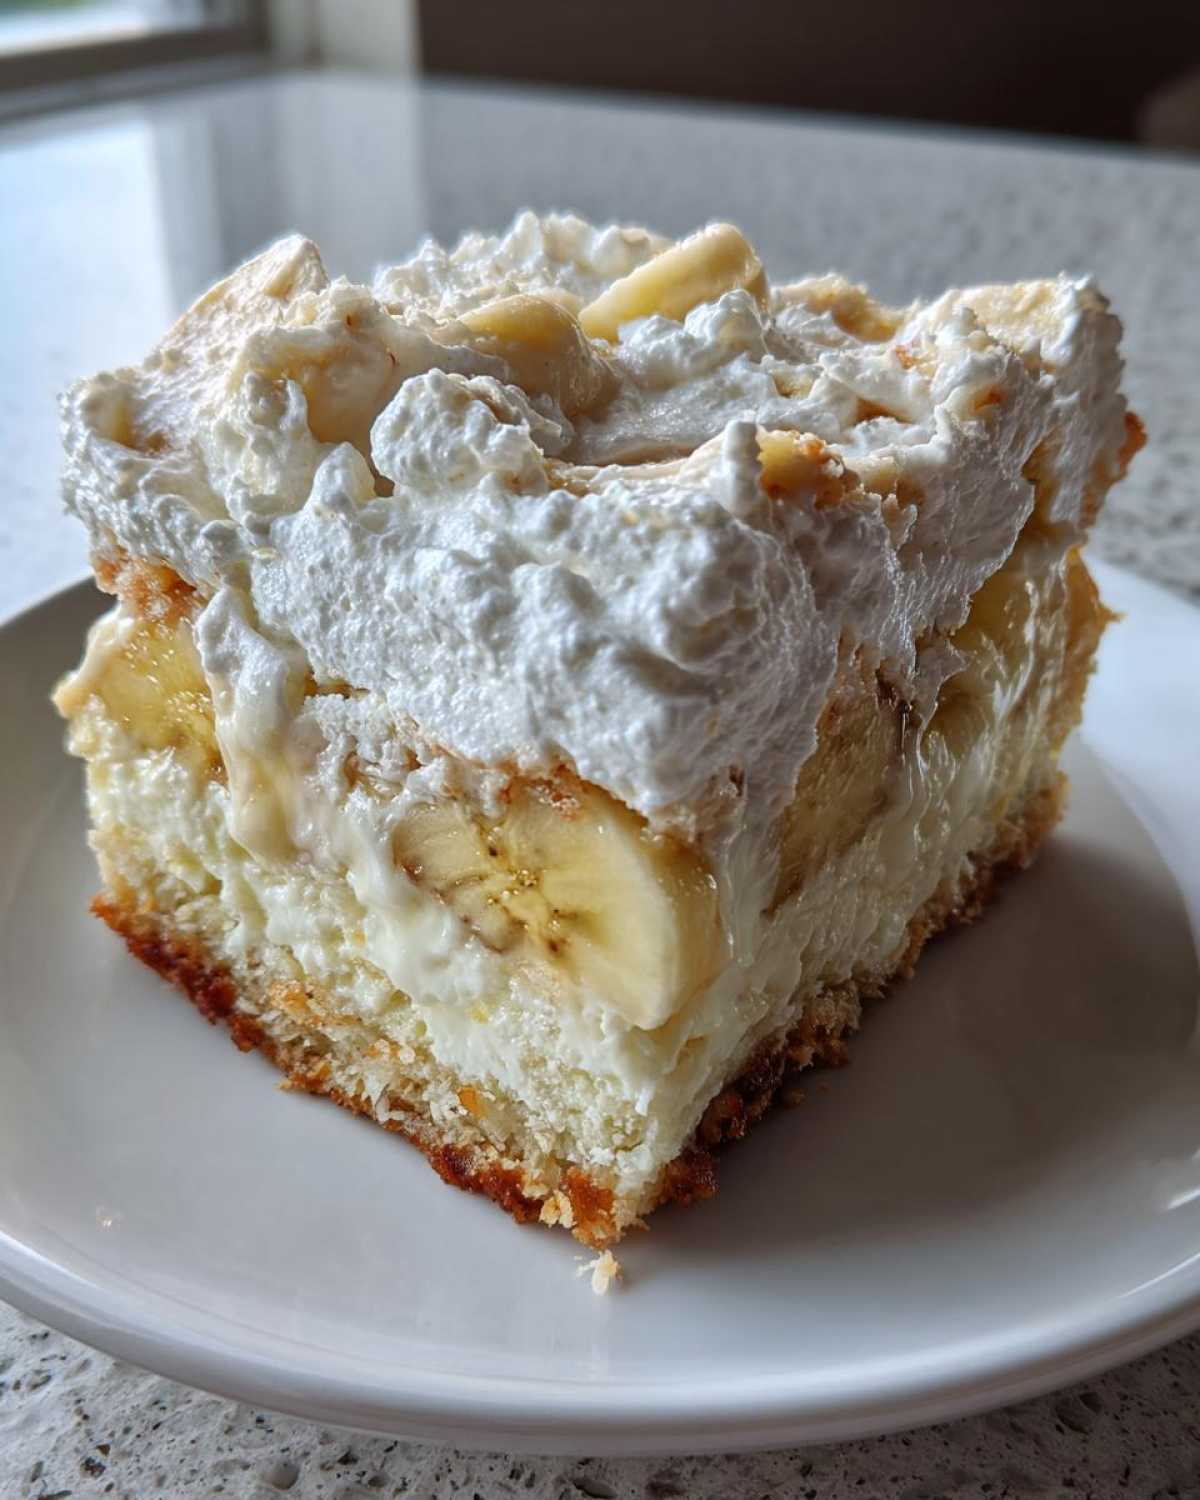
Now for the fun part! Making these Banana Pudding Bars feels like building a delicious, edible tower. We’ll move through the layers slowly. Patience here means perfect bars later. Let’s get started on this simple baking adventure.
Preparing and Baking the Crust
First things first, turn your oven to 350 degrees F. Line an 8×8 inch pan with parchment paper. Make sure that paper hangs over the sides a bit. This overhang acts like a sling later.
Mix your flour, sugar, and salt in a bowl. Next, use your fingers to rub in the cold, cubed butter. Keep working it until it looks like coarse crumbs. Don’t overmix this part!
Press those crumbs firmly into the bottom of your prepared pan. You want an even, flat base. Bake this crust for about 15 to 18 minutes only. Watch for a light golden color. Let it cool completely on a rack. Seriously, cool it all the way down. This prevents soupiness later.
Making the Creamy Layer
Time for the pudding filling! Whisk the instant pudding mix with the cold milk. Add that teaspoon of vanilla extract too. Whisk fast until it starts to thicken up nicely. This usually takes just two minutes.
Take your two ripe, sliced bananas. Gently fold those slices into the thickened pudding. Be careful when mixing them in. We want banana chunks, not mush.
Assembling and Chilling the Banana Pudding Bars
Spread that lovely banana mixture over your completely cooled crust. Smooth the top surface gently. Now, cover the pan well. Pop it into the refrigerator for at least two hours. This chilling time lets the filling firm up. If you are interested in the science behind why chilling is important for desserts, you can read more about how chilling affects baking results.
While that sets, whip up your topping. Beat the heavy cream, powdered sugar, and vanilla. Whip until you see stiff peaks forming. That means it holds its shape perfectly.
Spread that fluffy whipped cream over the set pudding layer. Return the assembled dessert to the fridge. Chill for one more hour before slicing. If you like, crush some wafers on top just before serving.
Tips for Clean Slicing
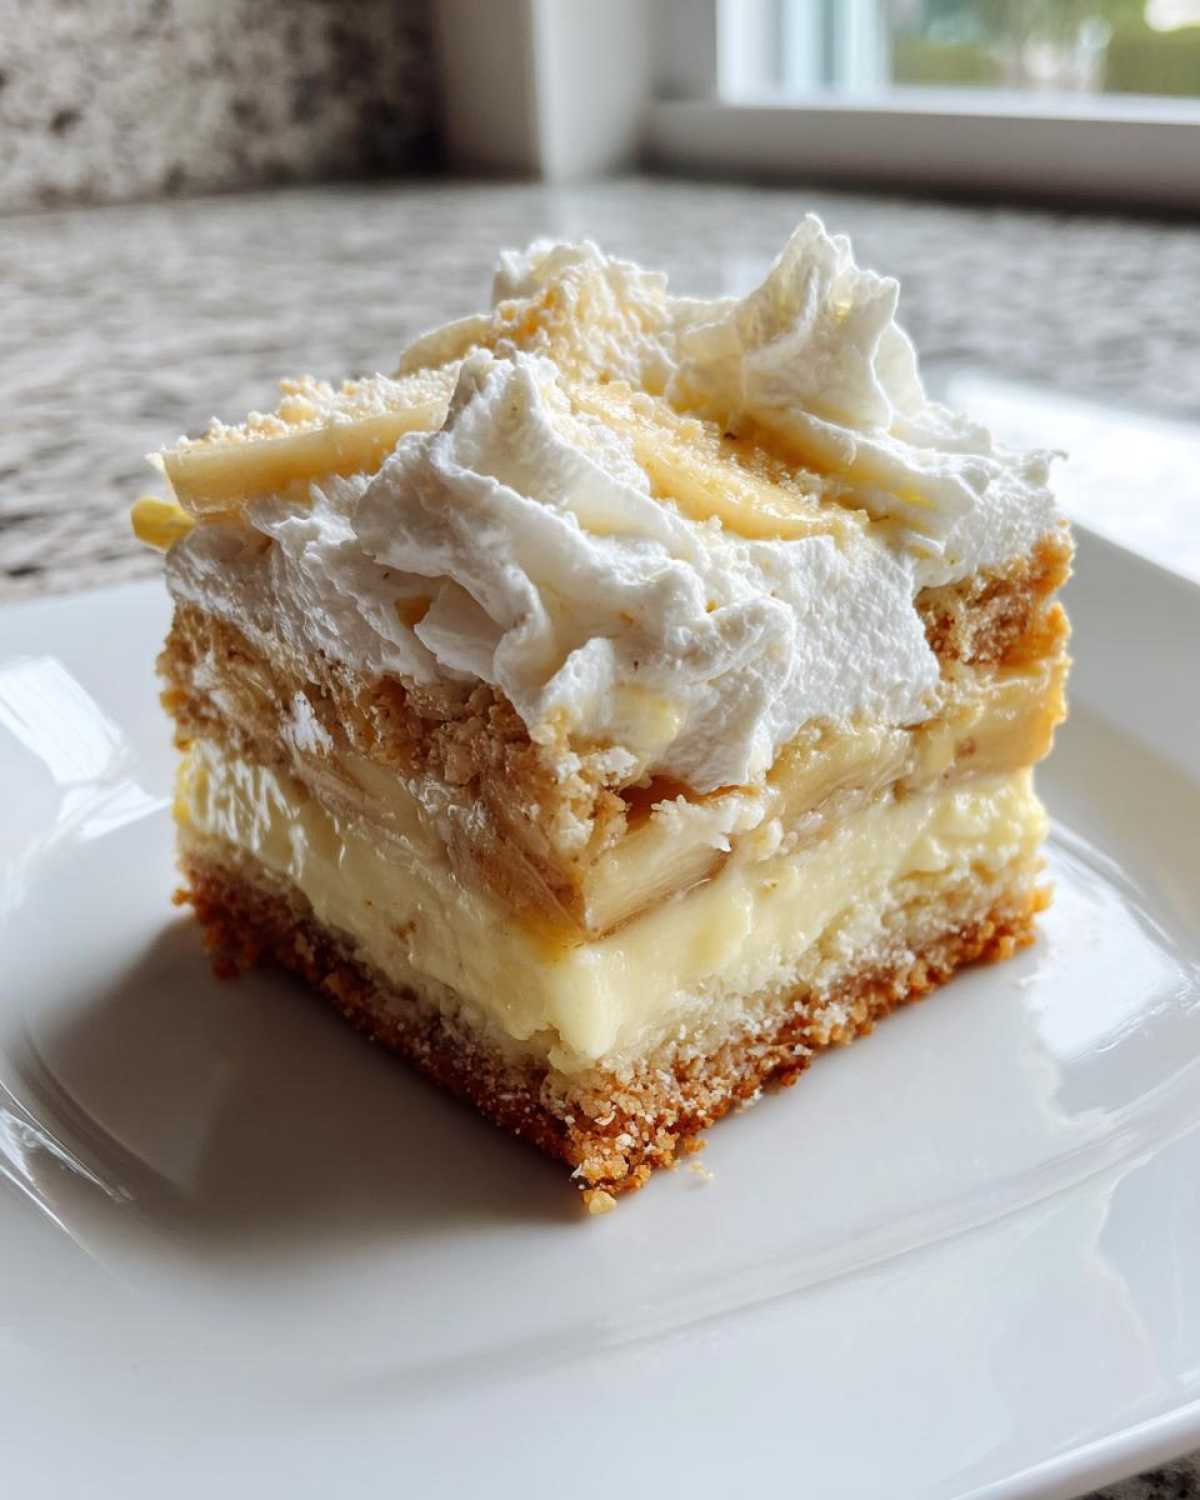
Getting those perfect squares takes one simple kitchen trick. Dip a long, sharp knife into hot water. Wipe the blade completely dry immediately after. Press down firmly to cut one bar.
Rinse and reheat the knife for every single cut you make. This hot, clean blade slips right through the layers. It keeps your final presentation looking sharp and professional!
Why You Will Love These Banana Pudding Bars
I think you’ll agree these treats are special. They solve so many dessert dilemmas! These Banana Pudding Bars are a weeknight winner. They are also perfect for big gatherings. Here is why they are our go-to sweet:
- They are wonderfully portable. Pack them for picnics easily.
- The texture contrast is amazing. Buttery crust meets creamy filling.
- The flavor tastes just like Grandma’s original recipe.
- You get the classic taste in a neat, single-serving format.
They truly bring joy to any table setting.
Frequently Asked Questions About Banana Pudding Bars
We get asked questions about these bars all the time! They are so popular. Here are some common things folks wonder about these layered bars.
How long do these bars last in the fridge?
I find they stay best for about three days. Keep them tightly covered in the refrigerator. They taste freshest on day one, though!
Can I make these Banana Pudding Bars ahead of time?
Yes, you absolutely can! I often make them the day before a party. Just wait to add the whipped topping until closer to serving time. This keeps the topping looking its best.
Why is chilling so important for this recipe?
Chilling is non-negotiable for these portable dessert bars. It lets the pudding filling firm up completely. A firm filling means you get clean slices. Soft filling just makes a mess.
Can I use fresh, slightly firm bananas instead?
You can try, but I strongly advise against it. Very ripe bananas give the best, sweetest banana flavor. They also mash slightly, blending perfectly into the creamy filling.
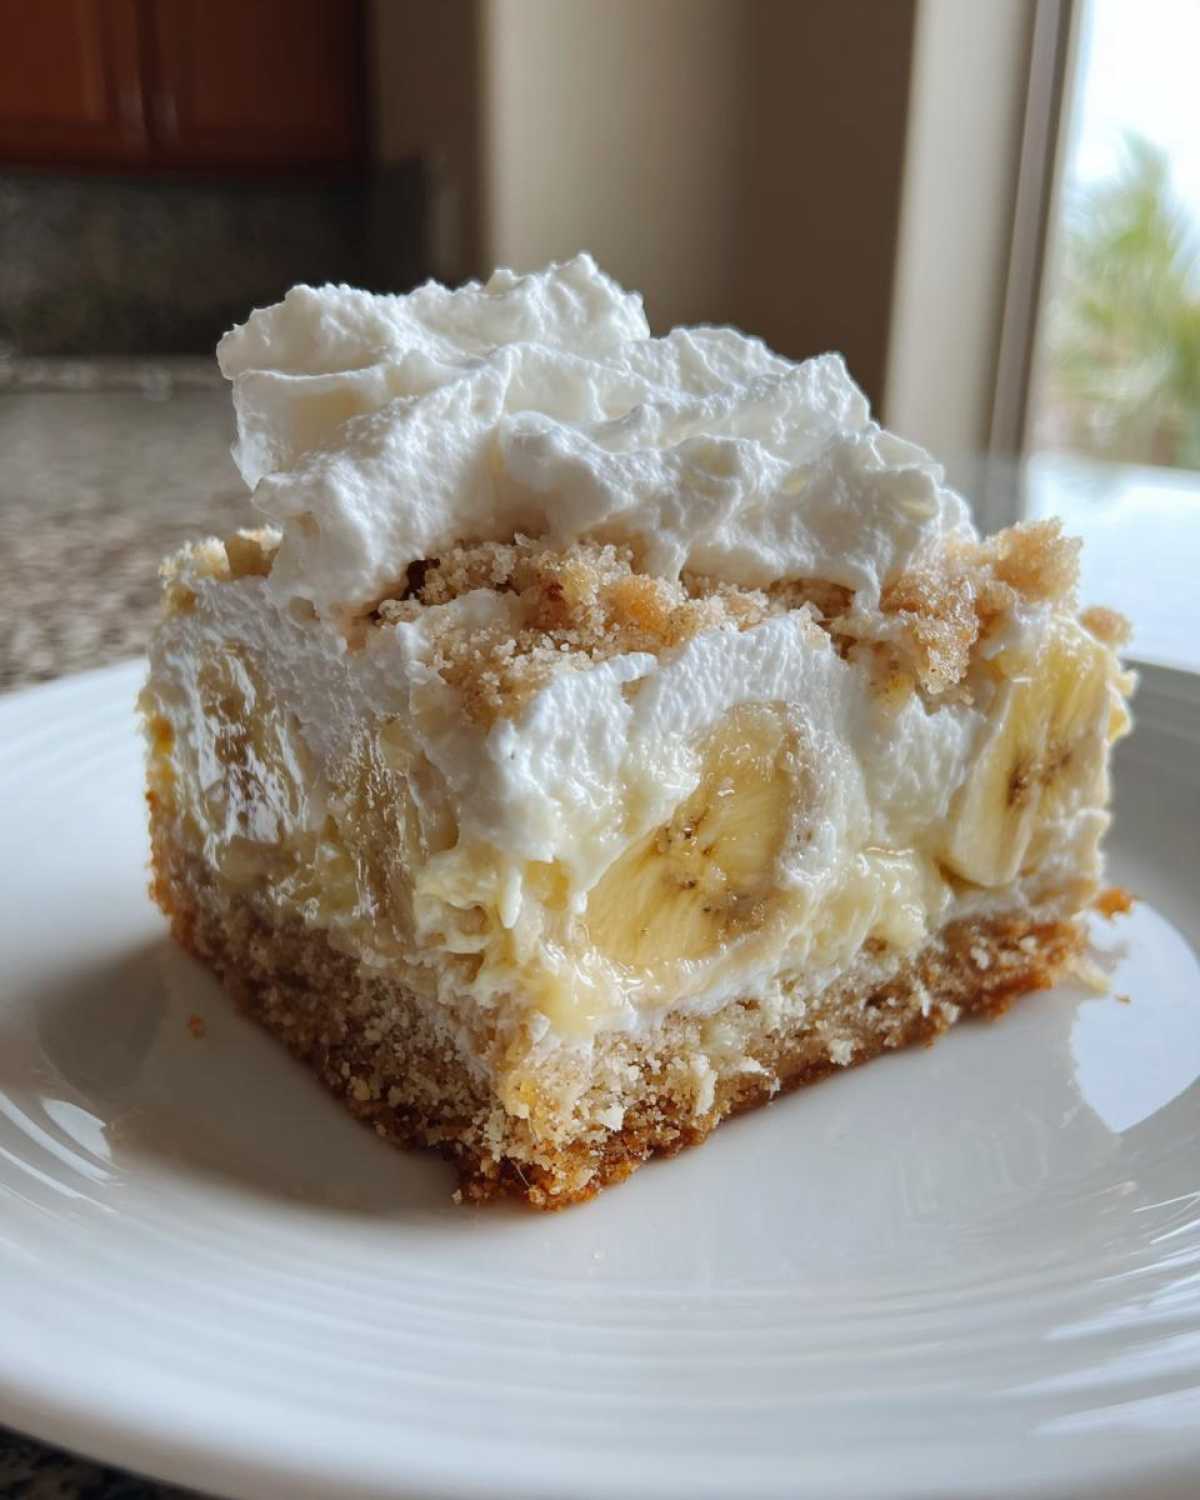
These layered bars really are simple to manage.
Ingredient Guidance and Substitutions for Your Recipe
Let’s talk specifics about making swaps. Sometimes you run out of something important. Other times, you just want a shortcut. I get it; we all have busy days in the kitchen.
For the best banana flavor, please use very ripe bananas. They should have brown spots all over them. This ripeness concentrates the sweetness naturally. Under-ripe bananas just taste starchy, not sweet.
If you are short on time, look for a store-bought shortbread crust. This swap saves about 20 minutes of prep work. Just press it into the pan firmly before baking it.
When whipping the cream, if you don’t have heavy cream, use whipping cream instead. It works just as well for the topping. Make sure it is very cold when you start beating it.
Remember that instant pudding mix is key here. Do not use the cook-and-serve kind. The instant version sets up fast when cold. This speed is what makes the layers hold their shape so well. For more baking tips, check out this guide to baking basics.
Storing and Serving Your Homemade Dessert
Once assembled, these Banana Pudding Bars need time to settle. Keep them in the refrigerator always. They must stay chilled until you are ready to serve them. Don’t leave them sitting out long.
The best way to eat them is cold, straight from the fridge. This keeps the whipped topping nice and firm. Enjoy these flavorful squares within three days for peak freshness!
Understanding the Nutrition Profile
I want to be super clear about these numbers. Cooking at home is wonderful. Nutrition facts are always estimates, though. This is true for any recipe we share here.
The values below are based on standard serving sizes. They do not account for ingredient variations. We used the amounts listed in the recipe above. Please view this information as a helpful guide only.
- Serving Size: 1 bar
- Calories: 250
- Fat: 14g
- Protein: 3g
- Carbohydrates: 30g
- Sugar: 18g
Enjoy these delightful treats! Know that homemade goodness tastes the best, no matter the exact count!
Share Your Flavor Vista Experience
We genuinely love seeing your kitchen creations! Did these bars bring smiles to your table? Tell Elias and me how they turned out for you. Rate this recipe below. Share your photos with us! For more inspiration, browse our full recipe collection.
PrintAmazing Banana Pudding Bars: 1 Flawless Recipe
Make these creamy Banana Pudding Bars for a fun, portable twist on the classic dessert. Everyone loves the layers of buttery crust, rich filling, and sweet topping.
- Prep Time: 25 minutes
- Cook Time: 18 minutes
- Total Time: 3 hours 53 minutes
- Yield: 16 bars
- Category: Dessert
- Method: Baking and Chilling
- Cuisine: American
- Diet: Vegetarian
Ingredients
- 1 cup all-purpose flour
- 1/2 cup cold unsalted butter, cubed
- 1/4 cup granulated sugar
- 1/4 teaspoon salt
- 1 package (3.4 ounces) instant vanilla pudding mix
- 1 1/2 cups cold milk
- 1 teaspoon vanilla extract
- 2 ripe bananas, sliced
- 1 cup heavy cream
- 1/4 cup powdered sugar
- 1/2 teaspoon vanilla extract
- Optional: Nilla Wafers for topping
Instructions
- Preheat your oven to 350 degrees F. Line an 8×8 inch baking pan with parchment paper, leaving an overhang.
- In a medium bowl, combine the flour, cold butter, granulated sugar, and salt. Use your fingers or a pastry blender to cut the butter into the dry ingredients until a coarse crumb forms.
- Press the crumb mixture evenly into the bottom of the prepared pan to form the crust.
- Bake the crust for 15 to 18 minutes, or until lightly golden brown. Let it cool completely on a wire rack.
- While the crust cools, prepare the pudding filling. Whisk together the instant vanilla pudding mix, cold milk, and vanilla extract in a medium bowl until thickened, about 2 minutes.
- Gently fold the sliced bananas into the pudding mixture.
- Spread the banana pudding mixture evenly over the cooled crust. Chill in the refrigerator for at least 2 hours, or until the filling is firm.
- Prepare the topping by beating the heavy cream, powdered sugar, and vanilla extract in a separate bowl until stiff peaks form.
- Spread or pipe the whipped cream over the chilled pudding layer.
- Refrigerate for another hour before slicing into bars. Top with crushed wafers, if desired, just before serving.
Notes
- Use very ripe bananas for the best banana flavor in your filling.
- Make certain the crust is completely cool before adding the pudding layer to prevent melting.
- You can substitute a store-bought shortbread crust for a quicker option.
- Slice the bars cleanly using a sharp knife dipped in hot water between cuts.
Nutrition
- Serving Size: 1 bar
- Calories: 250
- Sugar: 18g
- Sodium: 150mg
- Fat: 14g
- Saturated Fat: 8g
- Unsaturated Fat: 6g
- Trans Fat: 0g
- Carbohydrates: 30g
- Fiber: 1g
- Protein: 3g
- Cholesterol: 35mg