

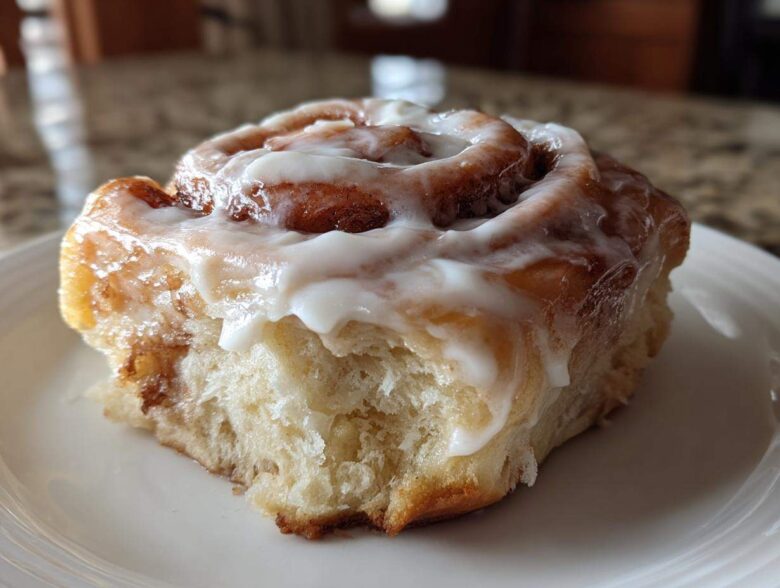
Oh, honey, let’s talk about the absolute disaster that is lumpy, weirdly sweet, or runny frosting. We’ve all been there, right? You spend all that time baking that perfect red velvet cake or cinnamon roll, only to ruin the top layer with something totally unworkable. So frustrating! Well, stop stressing right now, because I finally nailed it. This isn’t just *a* recipe; this is my tried-and-true, foolproof method for the best classic cream cheese frosting you will ever make. It’s perfectly tangy, incredibly fluffy, and always smooth. I spent years trying to replicate Grandma’s swirl on her legendary lemon loaf, that beautiful lemon raspberry loaf cake, and it only happened when I finally stopped rushing the temperature.
Why This Is the Best Classic Cream Cheese Frosting Recipe
This recipe beats those sad, grainy versions every single time. People always complain about lumps, but that’s usually because they don’t respect the temperature! My main goal here was to create a truly fluffy cream cheese frosting that works perfectly whether you’re topping my carrot cake muffins or just dipping a spoon in when nobody’s looking. We conquer the dreaded lump factor right at the start, I promise.
Achieving a Smooth, Fluffy Cream Cheese Frosting
The secret to a no lump frosting is simple: ingredients must be the same temperature! If your butter is cold or your cream cheese is stiff from the fridge, you get chunks, pure and simple. Also, you absolutely must sift your powdered sugar. It sounds annoying, but trust me, it’s the difference between a silky smooth finish and having to fish out those sad little sugar pebbles. It’s about treating the ingredients with respect!
The Perfect Balance: Tangy Cream Cheese Icing
What sets this apart from a standard sweet buttercream is that beautiful tang. We use a full 8 ounces of cream cheese to balance out the sweetness from the sugar and butter. This gives you that signature, slightly acidic punch that makes you want another bite. It ends up being a fantastic, rich, and wonderfully tangy cream cheese icing—it tastes so much better than any smooth buttercream alternative, and it’s just as stable for piping!
Ingredients for Perfect Cream Cheese Frosting
You don’t need a pantry full of weird supplies for this one; that’s the beauty of it! We’re keeping this classic, rich, and utterly simple. You’ll need two things to be absolutely perfect: full-fat cream cheese and unsalted butter. Both MUST be softened completely to room temperature—think soft enough for a slight indent when you press them, but not melty!
- 1 cup (2 sticks or 226g) unsalted butter, softened completely to room temperature
- 8 ounces (226g) full-fat cream cheese, softened completely to room temperature
- 4 cups (480g) powdered sugar, sifted—yes, you have to sift it!
- 1 teaspoon pure vanilla extract
- 1/4 teaspoon salt
Keep these items ready, and you’re halfway to icing your glorious cinnamon swirl pumpkin bread. This short ingredient list is all about quality, meaning you get fantastic flavor without needing to overcomplicate!
How to Prepare Quick Homemade Frosting
Seriously, you can whip this up in under 10 minutes as long as your butter and cream cheese are actually soft! That’s why having everything out on the counter while you preheat your oven is key. We are aiming for speed here, but speed doesn’t mean skipping the crucial steps that keep this the easy cream cheese frosting recipe everyone raves about. If you follow these two steps for mixing, you’ll get the ideal texture every time you make this **cream cheese topping** for your beautiful pumpkin bread.
Step 1: Creaming Butter and Cream Cheese for Cream Cheese Frosting
Grab your electric mixer—handheld or stand mixer, doesn’t matter—and throw in that softened butter and cream cheese. You need to beat these two together first, on medium speed, until they are just completely smooth and creamy. Don’t rush it! This takes about two full minutes. I always stop the mixer halfway through and grab my rubber spatula to scrape down the sides really well. You want zero lumps here; we are building the foundation for that silky finish!
Step 2: Incorporating Sugar and Achieving Fluffy Cream Cheese Frosting
Once you have that perfect creamy base, drop your mixer speed down low—very low! Now, add that sifted powdered sugar one cup at a time. If you dump it all in at once, you’ll end up wearing frosting everywhere, trust me! Let it just barely incorporate after each addition. Once all the sugar is in, along with your vanilla and salt, crank the speed up to medium-high. Beat it hard for another two or three minutes. This is where the magic happens, turning it into that gorgeous, light, and **fluffy cream cheese frosting**!
Tips for Pipeable Cream Cheese Frosting Stability
Okay, so you made it smooth—fantastic! But if you’re planning on using a piping bag for those cute little swirls on your beet red velvet cupcakes, you need it stiff enough to hold its shape. That’s where a quick chill comes in handy. If your frosting seems too soft, especially if your kitchen is warm, don’t panic! Just pop the whole bowl into the fridge for about 10 to 15 minutes. It firms up fast, and you don’t want to overbeat it once it chills, or it can start to look grainy.
On the flip side, if you accidentally added a bit too much milk when you were thinning a small batch or if your ingredients were just warm enough to make it a bit too loose, we can fix that easily. Forget adding more sugar; that just makes it sickly sweet. Just add another teaspoon of any dry element—powdered sugar works best, or even a tiny pinch of cornstarch if you’re brave! Beat it on medium speed just until it comes together. Having pipeable cream cheese frosting is usually just a matter of five minutes in the icebox!
Ingredient Notes and Substitutions for Cream Cheese Frosting
I know I keep harping on the temperature, but honestly, this is where most people give up before they even get to the good part. If you want that beautiful, lush texture we talked about, paying attention to your starting ingredients is how you prove you’re serious about making something great. This recipe shines because we’re sticking to the classics, but knowing *why* we use them helps you troubleshoot if things go sideways later. Think of it as gaining ingredient wisdom for all your future red velvet cheesecake brownie bars!
The absolute most important note is what I said before: everything needs to be exactly the same temperature. If you’re using butter from the fridge, put it out for at least an hour. If your cream cheese has been sitting out for too long and looks greasy or watery, toss it and grab a fresh block. Otherwise, you’re fighting a losing battle against separation later in the mixing process.
Now, let’s talk about cranking up that flavor. If you want a tangier flavor profile—maybe you find the standard ratio a little too sweet for your liking—you don’t just have to cut the sugar down and hope for the best. A fantastic little trick is adding a squeeze of lemon juice. About half a teaspoon is enough to bump up that sharpness without changing the consistency much. It really wakes up the flavor and makes it feel brighter, which is lovely on richer cakes.
And don’t forget the salt! I know, salt in frosting sounds weird to a beginner, but trust me, it’s critical. It’s not there to make the frosting salty; it’s there to cut through the richness of all that fat and sugar. That tiny 1/4 teaspoon of salt is what keeps the whole thing tasting balanced rather than just like sugary butter. It makes the vanilla flavor pop, too!
Serving Cream Cheese Frosting for Cinnamon Rolls and Cakes
This cream cheese frosting isn’t just for fancy cakes, oh no! It’s incredibly versatile, which is why I consider it my go-to recipe for so many desserts. If you’re making my famous cinnamon roll apple cobbler, for instance, this is what you absolutely need on top. For cinnamon rolls, you want it thick—don’t thin it out at all! Let it sit at room temperature for just five minutes after mixing, then glob it on generously while the rolls are still warm so it melts just slightly into the crevices.
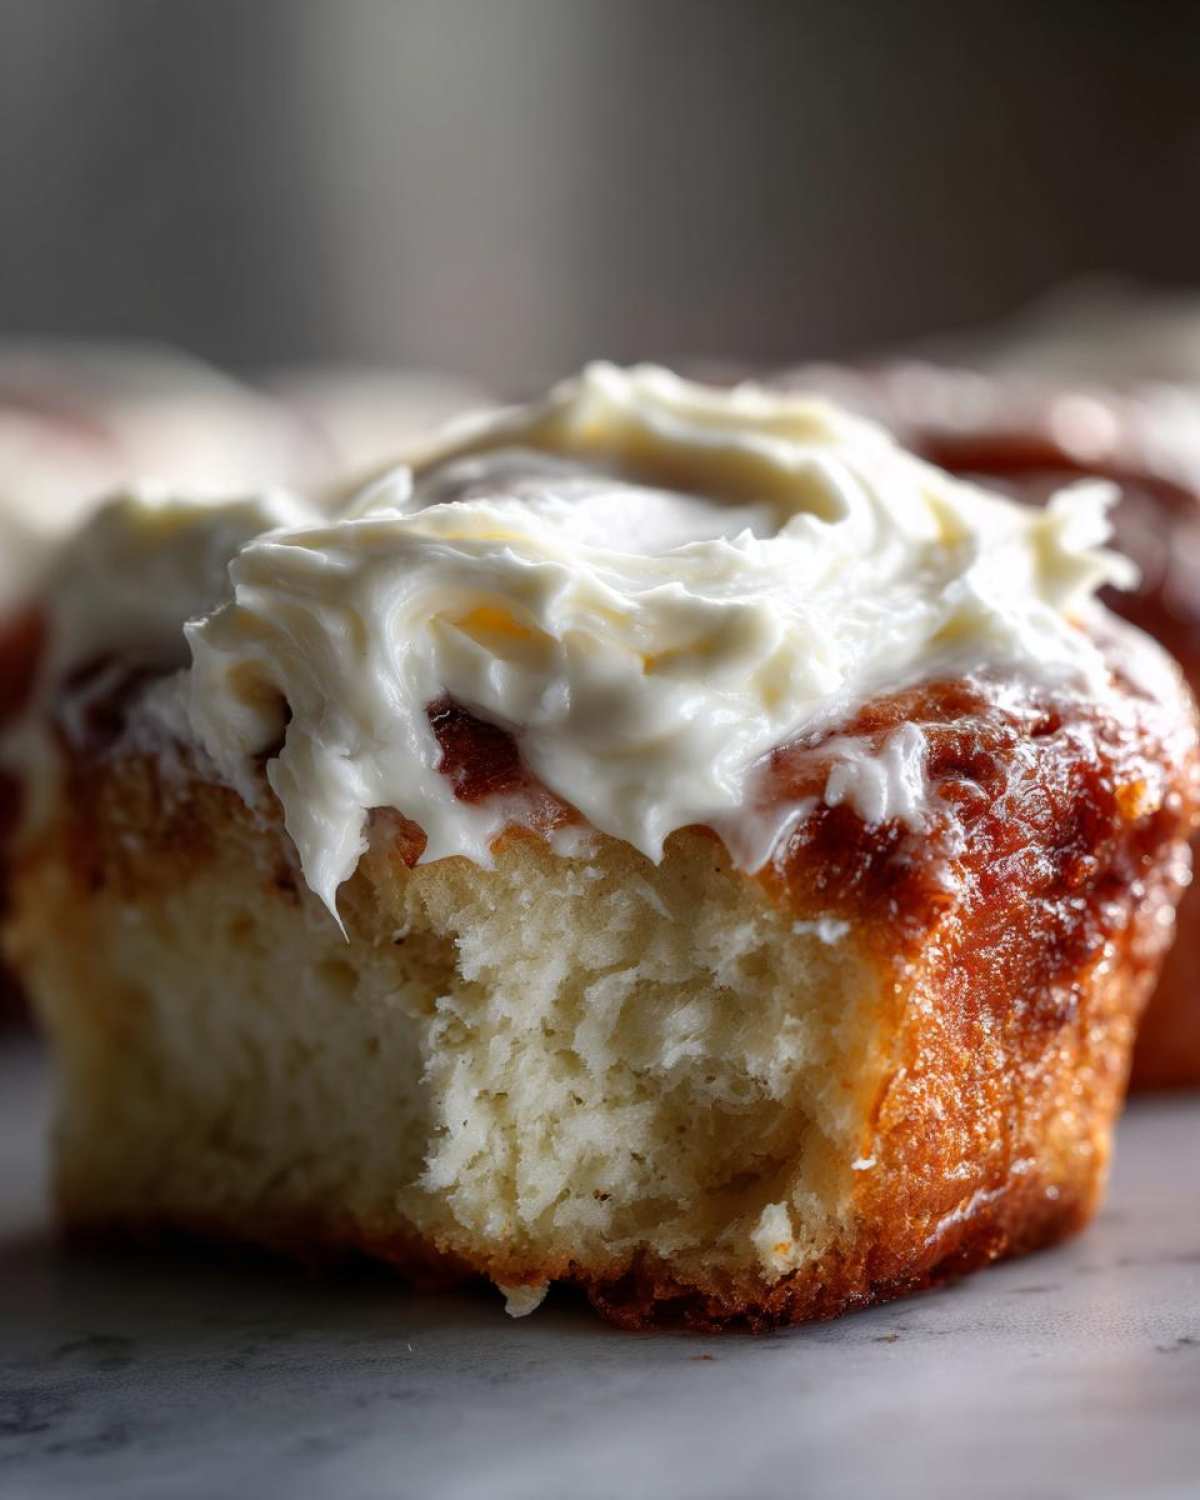
And of course, this is the *only* topping you should ever use on a true red velvet creation. It is essentially the **perfect frosting for red velvet cake** because that hint of tang cuts through the richness of the cocoa beautifully. Whether you are layering it thick between cake rounds or using it as a simple **cream cheese topping** on a quick bread, this recipe always delivers that perfect, rich coating!
Storage and Reheating Instructions for Cream Cheese Frosting
Now, what do you do when you have leftover frosting? Because let’s be honest, sometimes I make a double batch just to have some in the fridge for later emergency snacking! Good news: this cream cheese frosting keeps beautifully, but you have to treat it right because it contains dairy. Never, ever leave it out on the counter for more than a couple of hours, especially if your kitchen runs warm.
For simple storage, pop it into an airtight container. You can press a piece of plastic wrap right onto the surface of the frosting before you seal the lid—this is my trick to prevent a weird skin from forming on top. It will keep happily in the refrigerator for up to five days. Honestly, it usually lasts that long at my house, but it tastes best within the first three or four days.
When you’re ready to use it again, that’s when you have to be a little patient. You can’t just smear rock-hard frosting onto a room-temperature cake! Take it out of the fridge and let it sit on the counter for at least an hour, maybe even two if the block is big. Once it starts to feel soft around the edges, give it a quick whip with your mixer for about 30 seconds on medium speed. It’ll come right back to that light, smooth texture you loved when you first made it. Don’t try to microwave it or anything crazy—we want this to be perfect for those honey butter biscuits you might be making!
Frequently Asked Questions About Cream Cheese Frosting
I’ve answered a few burning questions that pop up around my kitchen all the time when whipping up this glaze. If you’re wondering about making it ahead or fiddling with the sweetness, you’re probably in the right place! I want you to have the best experience making this **tangy cream cheese icing** as possible, whether it’s for the famous cake or just spreading on a plain biscuit!
Can I use low-fat cream cheese for this cream cheese frosting recipe?
Oh, please don’t! Look, I love a bargain, but when it comes to the texture of this frosting, low-fat cream cheese is your enemy. Full-fat cream cheese contains the necessary amount of fat solids that combine perfectly with the butter. If you use low-fat, you’ll end up with a frosting that’s watery, runny, and frankly, sad. It will never hold a pipeable shape, and you’ll spend all your time trying to make it stiff, which just makes it taste weird. Stick to the full-fat block, sealed in its foil wrapper—it’s worth it!
How do I thin out my cream cheese topping without losing flavor?
This usually only happens if your butter was just a shade too soft when you started mixing, or if you added too much sugar! If you find your finished **cream cheese topping** is too stiff to spread nicely, the correction is super easy. Don’t reach for more powdered sugar, because that just makes it gritty. Instead, take a tiny bit of cold milk or heavy cream—we’re talking teaspoon amounts here—and beat it in on low speed. Beat it until it’s just moving freely again. Usually, one or two teaspoons is plenty to get that beautiful, spreadable texture back without making it taste like milk!
Another big question I get is about making it ahead of time. Can you make this recipe days early? Yes, you absolutely can! Just store it airtight in the fridge. When you take it out, let it warm up on the counter for about an hour, and then give it a good 30-second mix with the electric mixer. It comes right back to life, perfectly smooth and ready to ice whatever you’ve baked. You can even find some great tips on general dessert prep over on my favorite quick meal resource!
Estimated Nutritional Data for This Easy Dessert Topping
I always feel like a bit of a scientist when I post this, but transparency is key! Since every single ingredient brand can vary slightly—from the brand of butter to how thickly you spread the frosting—these numbers are just estimates based on the ratios in the recipe. They are here to give you a good idea of what you’re working with when you top your amazing baked goods with this easy dessert topping. I always encourage you to use these figures as a guide rather than gospel, especially since we’re talking about pure, delicious indulgence here!
This data is based on one serving size, which we figure is about 1/4 cup of the final batch volume. Treat yourself to that extra dollop sometimes; you deserve it. You can always find great general cooking tips over on my main cooking resource page for more general culinary notes!
- Serving Size: 1/4 cup
- Calories: 450
- Sugar: 55g
- Sodium: 120mg
- Fat: 25g
- Saturated Fat: 15g
- Trans Fat: 0.5g
- Carbohydrates: 58g
- Protein: 3g
So there you have it! That high sugar count is why a little goes a long way with this rich topping, and that 15g of saturated fat comes mostly from that beautiful, necessary unsalted butter and full-fat cream cheese. Now go put this wonderful homemade cake icing to good use!
PrintBest Classic Cream Cheese Frosting

Make a smooth, rich, and tangy cream cheese frosting quickly. This recipe yields a stable frosting perfect for cakes, cupcakes, and cinnamon rolls.
- Prep Time: 10 min
- Cook Time: 0 min
- Total Time: 10 min
- Yield: About 3 cups
- Category: Dessert Topping
- Method: Mixing
- Cuisine: American
- Diet: Vegetarian
Ingredients
- 1 cup (2 sticks or 226g) unsalted butter, softened to room temperature
- 8 ounces (226g) full-fat cream cheese, softened to room temperature
- 4 cups (480g) powdered sugar, sifted
- 1 teaspoon pure vanilla extract
- 1/4 teaspoon salt
Instructions
- Place the softened butter and softened cream cheese in a large mixing bowl. Beat them together with an electric mixer on medium speed until the mixture is completely smooth and creamy, about 2 minutes. Scrape down the sides of the bowl.
- Reduce the mixer speed to low. Gradually add the sifted powdered sugar, one cup at a time, mixing until just combined after each addition.
- Add the vanilla extract and salt. Increase the mixer speed to medium-high and beat for 2 to 3 minutes until the frosting is light, fluffy, and smooth. Do not overmix once fully combined.
- If the frosting is too soft for piping, chill it for 10 to 15 minutes before using. If it is too stiff, add 1 teaspoon of milk or heavy cream and beat briefly.
Notes
- Use room temperature ingredients to prevent lumps. Ensure both the butter and cream cheese are soft but not melted.
- Sifting the powdered sugar is necessary for a smooth, lump-free texture.
- For a tangier flavor, you can slightly reduce the powdered sugar or add 1/2 teaspoon of fresh lemon juice.
- This frosting holds its shape well for piping when slightly chilled.
Nutrition
- Serving Size: 1/4 cup
- Calories: 450
- Sugar: 55
- Sodium: 120
- Fat: 25
- Saturated Fat: 15
- Unsaturated Fat: 10
- Trans Fat: 0.5
- Carbohydrates: 58
- Fiber: 0
- Protein: 3
- Cholesterol: 75