

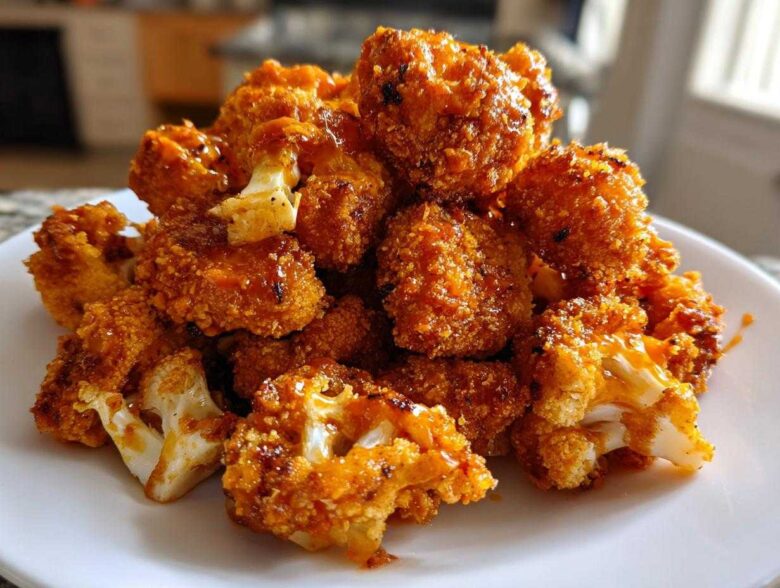
Oh my gosh, people! If you’ve ever tried to make cauliflower wings in an air fryer and ended up with a basket of slightly sad, damp veggies, I totally get it. I’ve been there, staring into that basket thinking, “Where is the crunch?!” But after weeks of testing, I think I finally cracked the code. Seriously, forget everything you thought you knew about air-fried chicken; this method makes vegetables even better! This isn’t just another recipe; this is the definitive guide for **Crispy Air Fryer Cauliflower Wings** that absolutely refuse to turn out soggy. Trust me, mastering the double-dipping texture transformation is the key to having the best vegetarian appetizers on the block!
Why This is the Best Crispy Air Fryer Cauliflower Wings Recipe (No Soggy Bites!)
I’m telling you, getting that perfect crunch when you’re trying to learn how to make cauliflower wings crispy in the air fryer is all about strategy, not luck. This method works because we respect the enemy: moisture! We fight it with a two-pronged attack. First, we use that glorious double-dip coating—wet batter followed by a dry mix loaded with crunch factors like panko and cornstarch. That seals everything up tight.
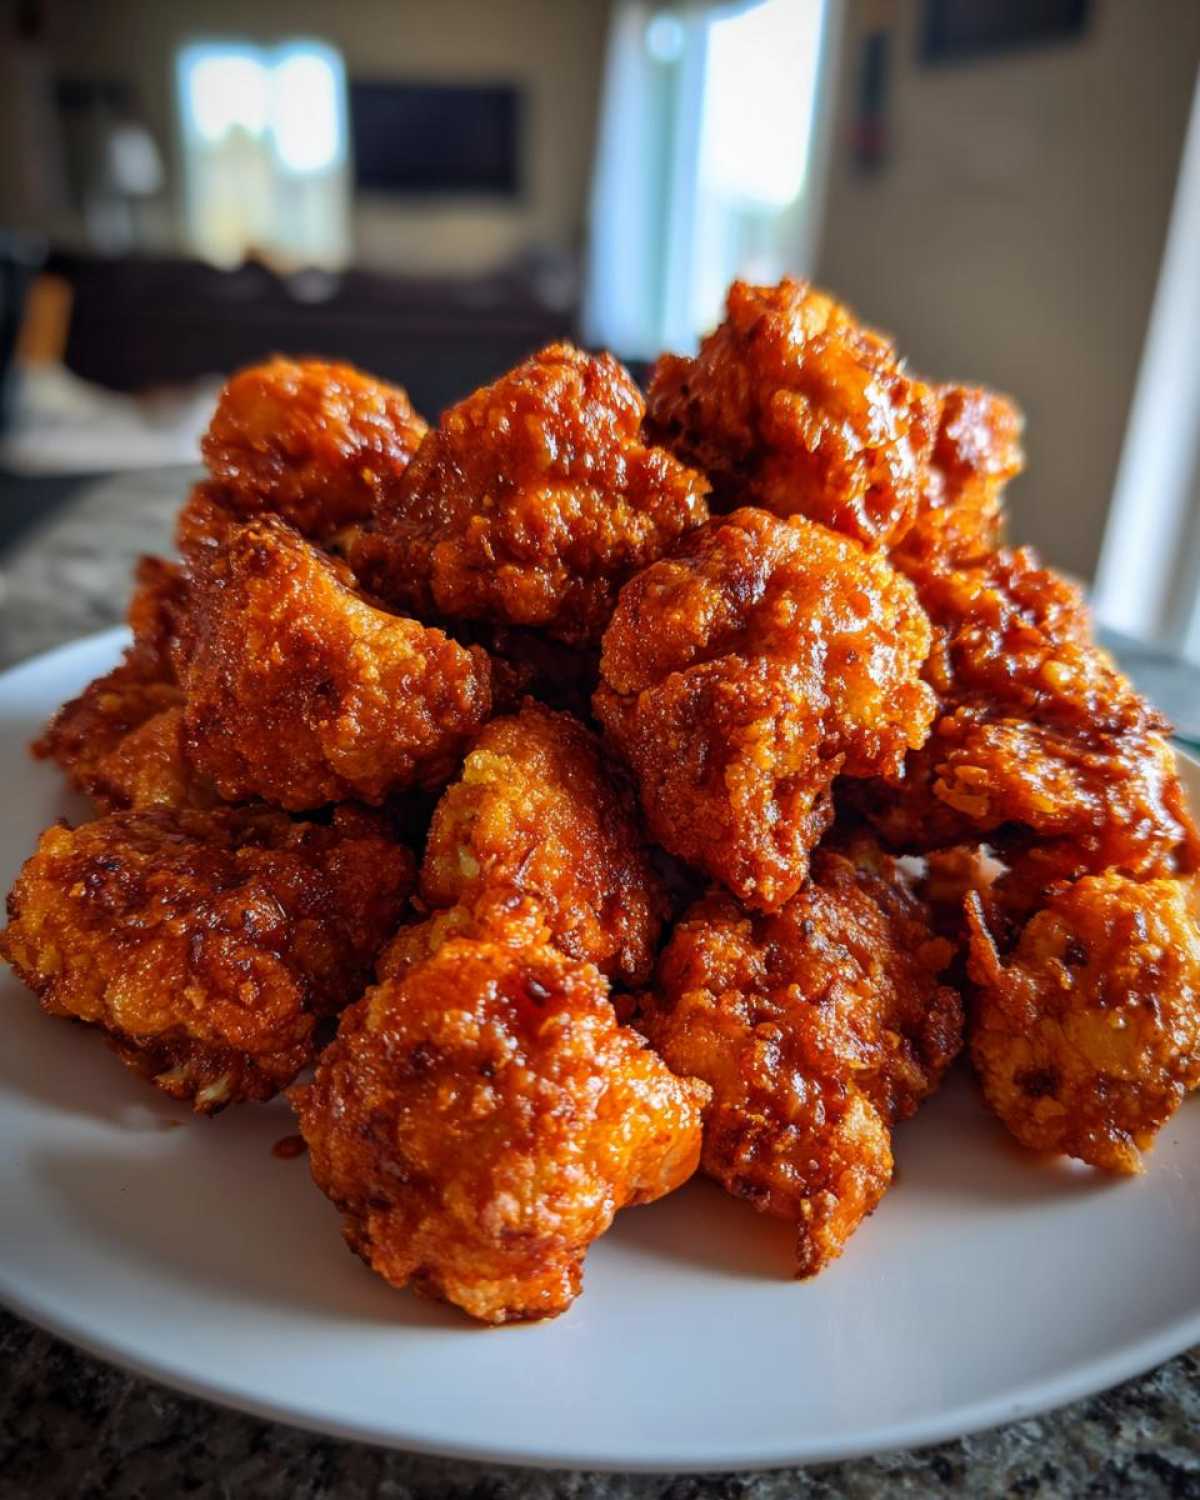
Second, we use temperature staging. We start lower, around 380°F, to cook the cauliflower through without burning the coating. Then, we crank the heat up to 400°F for the final 5 to 8 minutes. That blast of high heat is what turns a standard coating into the **Best Crispy Air Fryer Cauliflower** you’ve ever had. It dries out the surface perfectly and creates that deep golden crust. We’re treating these like actual fried wings, people, and the results speak for themselves!
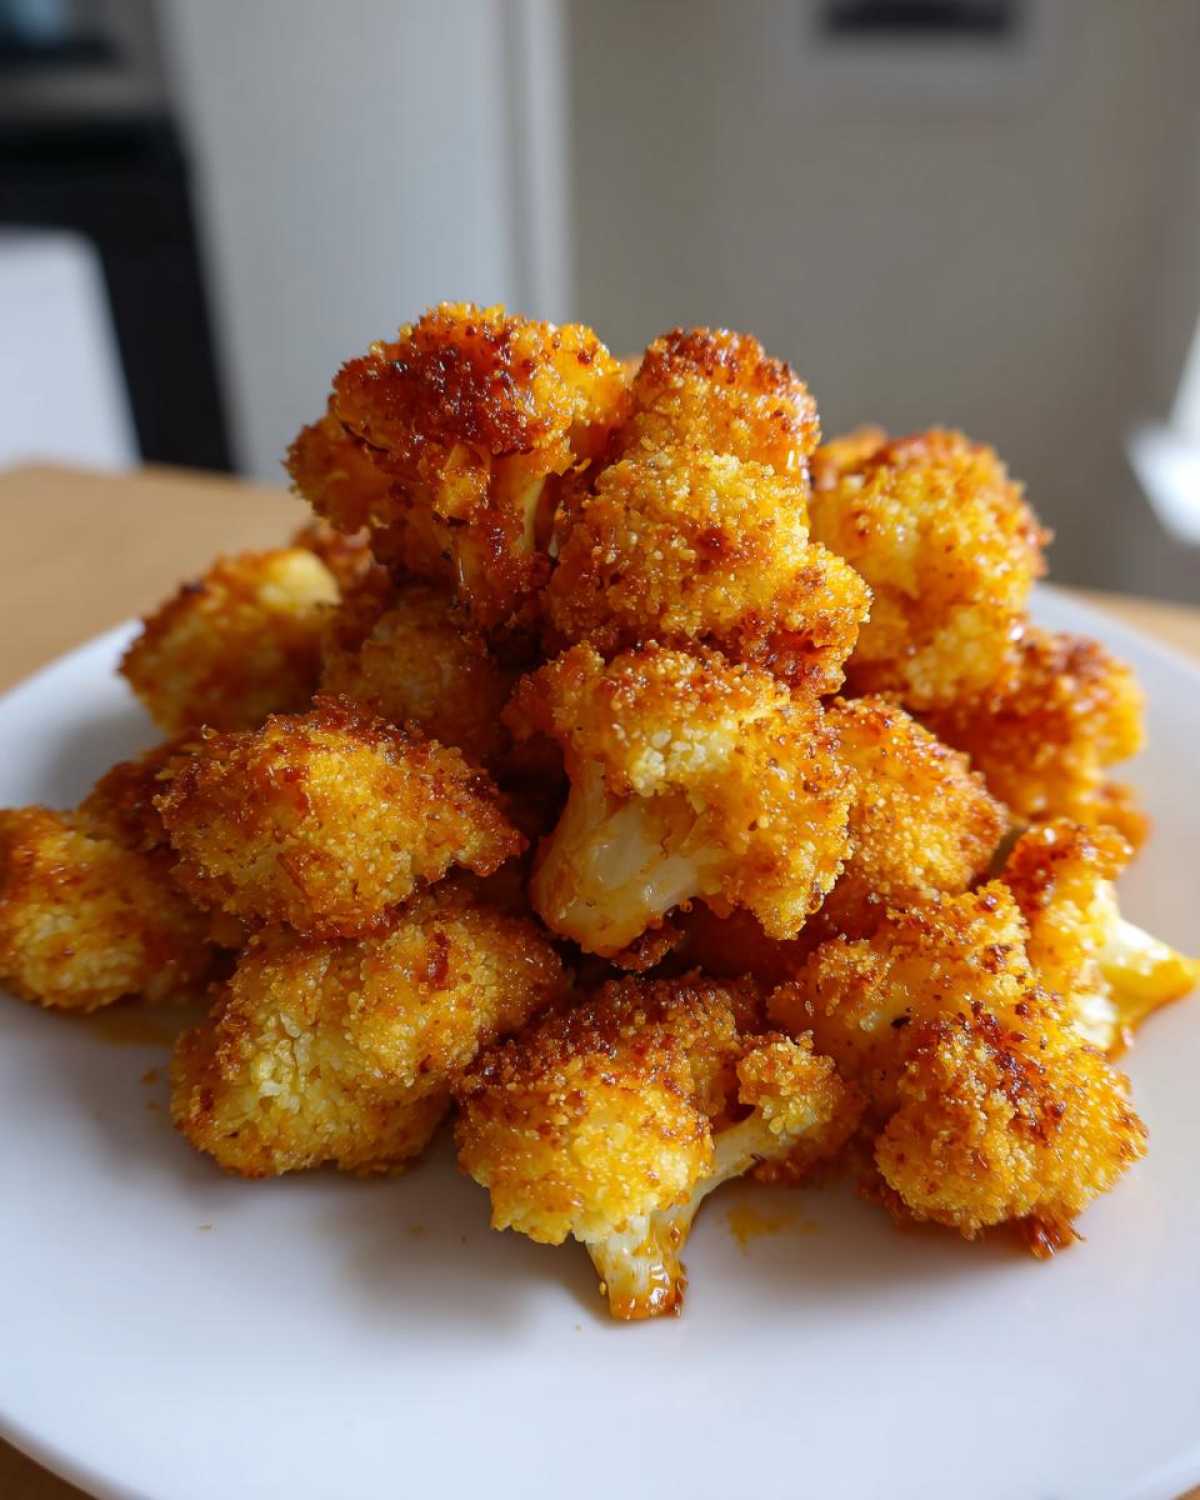
Quick Facts: Prep Time, Cook Time, and Yield for Crispy Air Fryer Cauliflower Wings
I know you’re busy, so here are the essential timings for these amazing **Crispy Air Fryer Cauliflower Wings**. It’s fast, too; we’re looking at just under 40 minutes total. This recipe is perfect for when you need a last-minute hearty snack that feels indulgent but is actually pretty light.
- Prep Time: 20 minutes (mostly elbow grease on the coating!)
- Cook Time: 18 minutes (split into two temperature stages)
- Total Time: 38 minutes
- Yield: 4 servings
Essential Ingredients for Perfectly Crispy Air Fryer Cauliflower Wings
Okay, now for the important part: what you need! Don’t even think about skipping ingredients here. This **Easy Cauliflower Wing Coating** is what separates the good attempts from the legendary ones. You must have two separate bowls ready: one for the wet bath and one for the super-crunchy dry coat. Seriously, having everything measured out before you start dipping prevents disaster!
- 1 large head cauliflower, cut into bite-sized florets (Make sure these are roughly the same size so they cook evenly!)
- 1 cup all-purpose flour (This is our base for the wet batter.)
- 1 teaspoon salt
- 1 teaspoon garlic powder
- 1/2 teaspoon black pepper
- 1 cup unsweetened plant milk (Or regular milk if you aren’t keeping it vegan—totally fine, just stick to unsweetened!)
- 1 cup panko breadcrumbs (Do not substitute regular crumbs if you can help it; the air pockets in panko are non-negotiable for crispiness!)
- 1/2 cup cornstarch (This is the secret weapon next to the panko, folks!)
- Cooking spray or 1 tablespoon oil for tossing (Just to help the final crisping along.)
- Your favorite sauce (Keep this on the side until AFTER they come out crunchy!)
Ingredient Notes and Substitutions for Your Crispy Air Fryer Cauliflower Wings
Listen up, I have included some expert advice directly from my marathon testing sessions. If you want to level up these Buffalo Cauliflower Wings Air Fryer results, pay attention to these crucial details. They make all the difference when you are striving for that perfect, non-soggy texture!
- The Chill Factor: If you have an extra 15 minutes, coat them, lay them on a wire rack, and stick them in the fridge. I promise you. That slight chill time lets the coating truly adhere, and when it hits the hot air fryer basket? Boom—instant structure.
- Frozen Cauliflower Handling: If you decide to use frozen cauliflower, you absolutely must thaw them completely first. Then, take a stack of paper towels and squeeze them dry. I mean squeeze them until you think you might hurt the cauliflower—moisture is the enemy here!
- Starch Magic Tip: If you find your coating isn’t clinging enough, try replacing half of the flour in the wet batter with potato starch or even tapioca starch instead of using more cornstarch in the dry mix. Starch absorbs moisture better during the initial cook, locking in the crunch we crave.
Step-by-Step Instructions for Crispy Air Fryer Cauliflower Wings
Alright, this is where the magic happens! Remember, these aren’t just any vegetable nuggets; we are making **Crispy Air Fryer Cauliflower Wings**, and following the sequence here is absolutely vital if you want that amazing texture. Don’t rush the prep, because messy starting equals mushy results later. I always lay out my setup like a little assembly line so I can move quickly through the coating process.
- Prepare the cauliflower: First things first—wash those florets, but then you have to make them bone dry! I use a clean kitchen towel and pat them down aggressively. Excess moisture makes the batter slide right off, and that means soggy wings later.
- Make the wet batter: In a medium bowl, whisk together the plant milk, flour, salt, garlic powder, and pepper until it’s smooth. You want it thick enough to coat nicely, but not so thick you can’t run that lovely batter off the fork.
- Prepare the dry coating: In a separate shallow dish—this is important so you don’t cross-contaminate your wet mix—combine your panko breadcrumbs and that magic cornstarch. Mix it up really well so the starch is perfectly dispersed.
- Coat the cauliflower (Double Dip Method): This is the secret sauce! Dip each floret first into the wet batter, letting the huge globs drip back into the bowl. Immediately take that wet floret and drop it into the dry coating. You have to press that panko mixture in gently but firmly until it’s completely covered. Don’t be shy!
- Arrange in the air fryer: Lightly spray your air fryer basket with cooking spray—a little fat helps it crisp up beautifully. Place the coated florets in a single layer in the air fryer. I cannot stress this enough: you must work in batches if needed! If you pile them up, the middle ones steam, and steamed cauliflower is the enemy of crispy anything.
- Air fry: Set that dial to 380°F (195°C). We start low and slow to cook it through. Cook for 10 minutes undisturbed.
- Toss and finish: Carefully pull out the basket when the timer goes off. Give the tops another very light spray of oil or cooking spray. Flip every single one over, and then blast them! Increase the temperature to 400°F (200°C) and cook for another 5 to 8 minutes until they look deeply golden brown and sound hard when you tap them. That high heat finishing is what makes these Panko Crusted Cauliflower Air Fryer successes!
- Sauce: Take them out immediately and toss them right away in your sauce. The heat of the wing pulls the sauce in beautifully, and they stay crunchy underneath. If you don’t serve them instantly, they might get a little soft, so eat these Non Soggy Air Fryer Vegetables as soon as possible!
Mastering the Coating: Achieving the Ultimate Crunch on Crispy Air Fryer Cauliflower Wings
Okay, if there is one spot in this entire recipe where you absolutely cannot take shortcuts, it’s the coating! This is the difference between a great air fryer chicken wings experience and a slightly disappointing one with our veggies. We aren’t just dusting these; we are building a fortress of crunch! My double-dip method isn’t fancy, but it’s the single most effective strategy for making these into genuinely **Panko Crusted Cauliflower Air Fryer** stars.
First, that wet batter made from flour and milk—that’s the glue! It needs to be thick enough to cling to the raw cauliflower surface. When that wet, heavy coating hits the dry mix, everything sticks together perfectly. The dry mix is where the real engineering happens. We use a combo of panko breadcrumbs and, crucially, cornstarch.
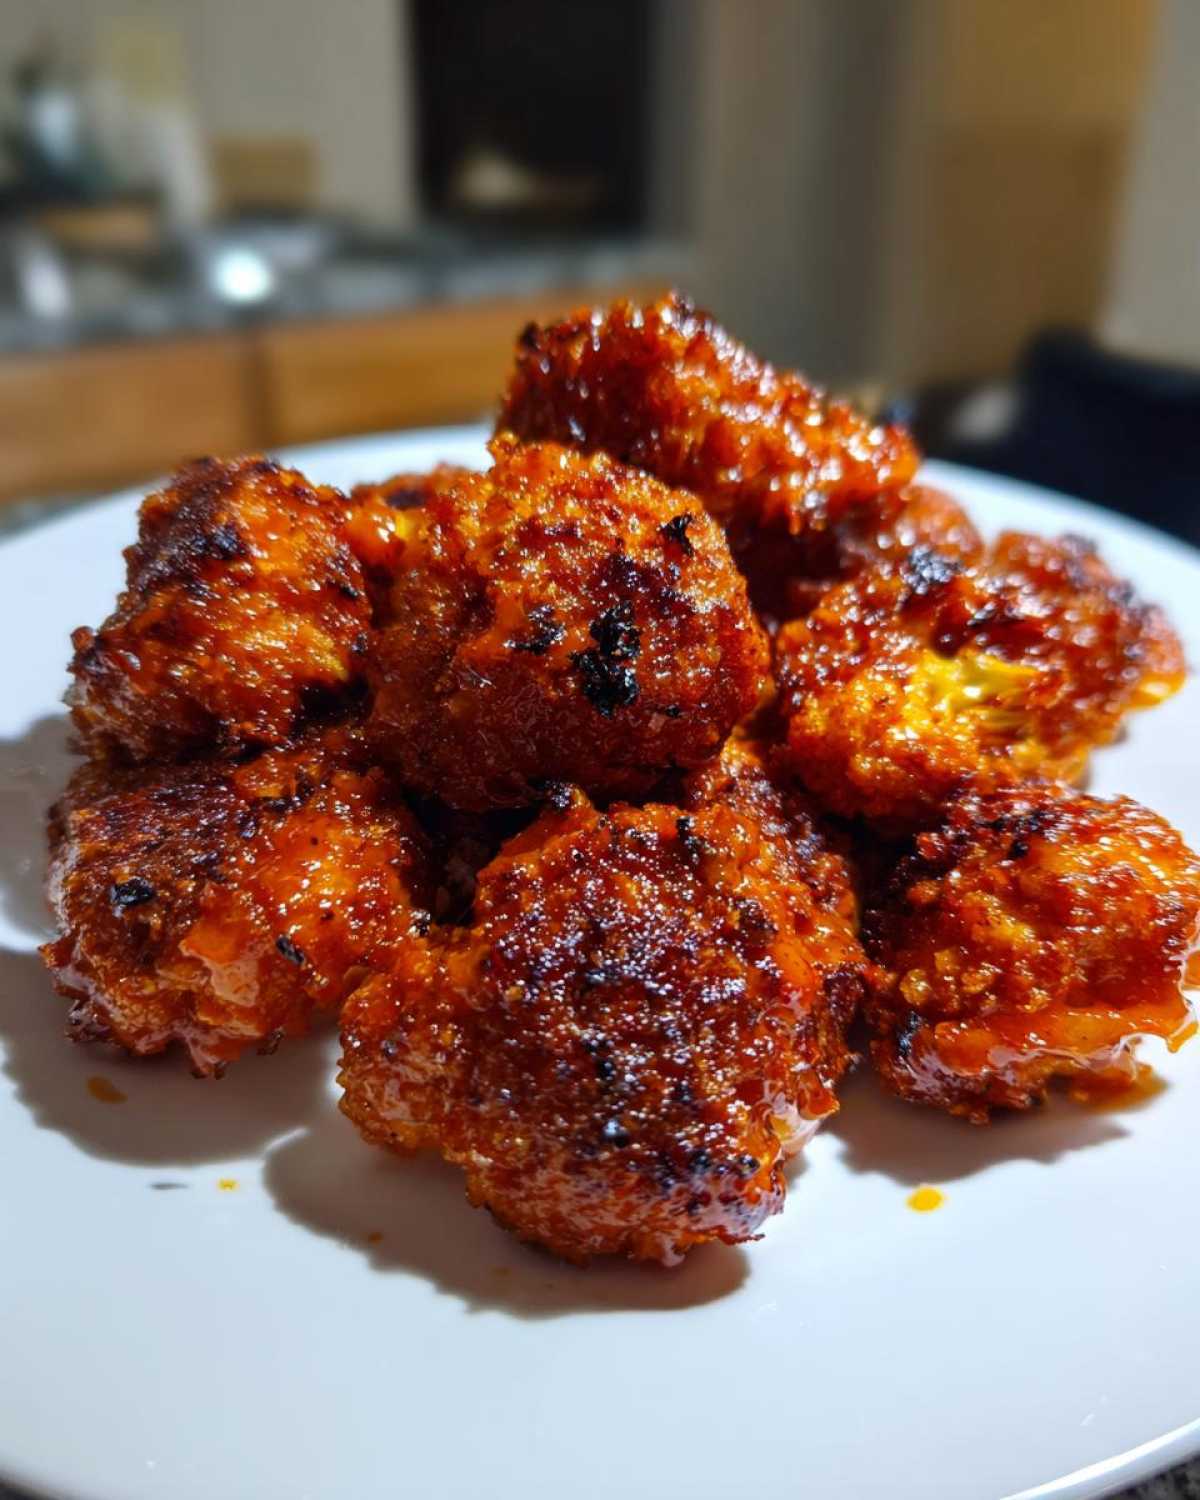
Why the cornstarch? Well, moisture evaporates when it hits that 400°F final blast in the air fryer, right? The cornstarch acts like a super-absorbent sponge that dries out lightning fast under that intense heat. This process essentially flash-fries the exterior coating, leaving you with an unbelievably light, impossibly crunchy shell. If you skip the cornstarch, you get good crunch, but if you use both, you get the structural integrity needed to hold a heavy sauce later without collapsing into mush. Trust me, the extra step is worth gold!
Flavor Variations: Sauces for Your Crispy Air Fryer Cauliflower Wings
Now that you’ve mastered the crunch—and I know you have, because you deserve perfectly crisp wings!—it’s time to talk about what makes them truly addictive: the sauce. Our base recipe keeps the wings wonderfully plain, which is exactly what we want, because a fragile crust doesn’t hold up well to pre-saucing. We want to coat them right at the end, hot out of the air fryer, so the sauce melts slightly and adheres without soaking into the beautiful crust we just worked so hard to create!
The classic choice, of course, is Buffalo. If you’re making Buffalo Cauliflower Wings Air Fryer style, use a good quality, slightly tangy Buffalo sauce. The trick here is speed: as soon as those wings come out of that 400°F blast, drop them straight into a big bowl with your sauce and toss quickly—maybe 30 seconds max! You want them coated, not bathing.
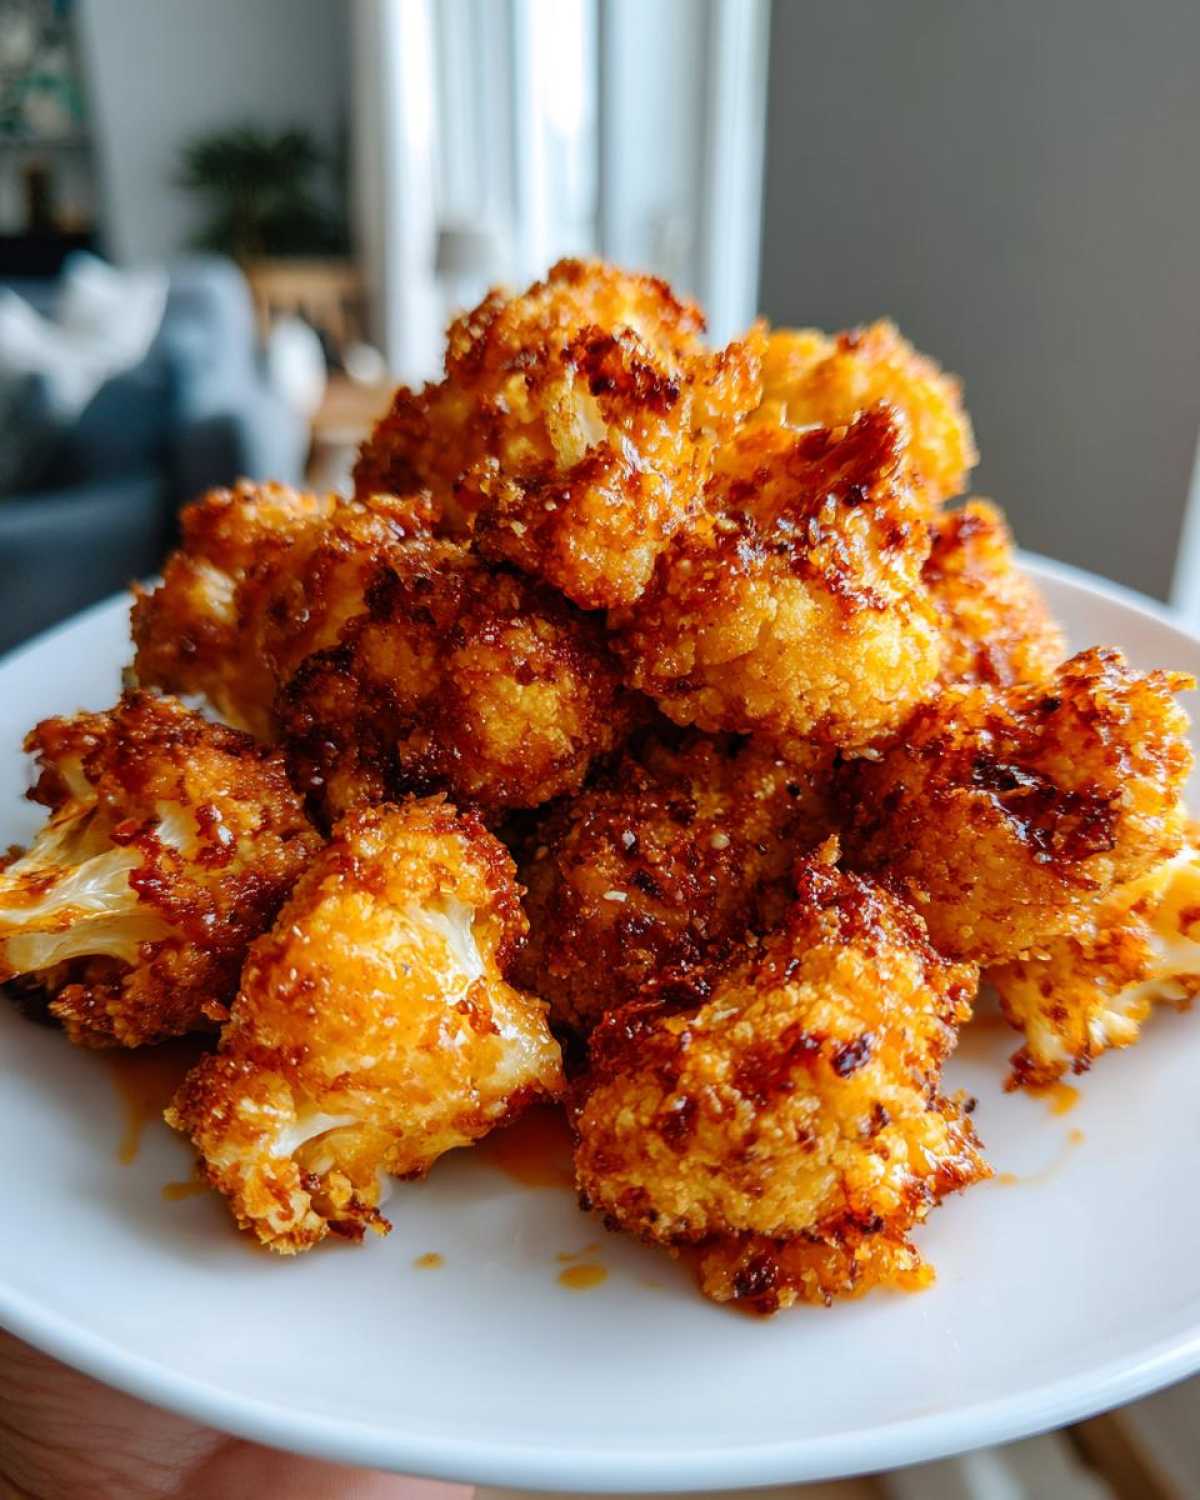
But don’t stop there! If you want something smoky and sweet, a thick BBQ sauce works wonders. Just make sure that BBQ sauce is slightly warmed up before tossing so it coats smoothly over the hot crunch. For a savory, nutty flavor that everyone loves, I highly recommend a Garlic Parmesan style sauce. We don’t need another recipe for that—simply melt a few tablespoons of butter (or vegan butter) with plenty of fresh garlic powder and a heavy sprinkle of grated parmesan or nutritional yeast. Toss those hot wings in that garlicky goodness until glistening. It’s seriously divine; you can find loads of inspiration on garlic and cheesy side ideas that pair perfectly with this flavor profile!
Honestly, having three different sauces ready for a little taste-testing flight is my favorite way to serve these when guests come over. Everyone gets to customize their own perfect bite!
Troubleshooting: How to Avoid Soggy Results with Crispy Air Fryer Cauliflower Wings
Look, even with the best recipe in the world for **Crispy Air Fryer Cauliflower Wings**, sometimes things go sideways, right? Don’t panic! When you’re trying to achieve that perfect crispiness, these little veggie bites can be dramatic. Usually, sogginess comes down to three main culprits, and thankfully, they are all super easy to fix. If you follow this troubleshooting guide, you’ll ensure you never have to eat sad, mushy cauliflower again!
The number one reason I see people run into trouble is moisture management. If your cauliflower florets are carrying even a little water, that turns into steam inside the air fryer basket, and steam equals collapse! If you’re finding your wings are still a little soft after the full cook time, go back to Step 1 of the main instructions and *over-dry* them. Seriously, grab a dedicated kitchen towel and roll them around until you can’t squeeze another drop out. We’re aiming for dryness, not just dampness.
The Air Fryer Overcrowding Disaster
This is the most common mistake, hands down, especially when making a big batch of these air fryer baked potato buddies alongside your wings! Your air fryer basket is designed to circulate super-hot air around every surface of the food. If you pile your coated florets on top of each other, the ones stuck underneath are basically steaming in their own trapped heat, and the coating can’t crisp up.
The solution is batch cooking. I know it takes longer, but it’s the only way to guarantee success with the **Non Soggy Air Fryer Vegetables**. Cook in a single layer. If your basket is small, you might have to do two or even three small batches. If you need to keep the first batch warm while the second one cooks, put the finished wings on a cooling rack set over a baking sheet and keep them in a low-temperature oven (around 170°F) for just a few minutes. They’ll stay warm without losing their texture.
Initial Temperature Too High: Burning vs. Crisping
Remember how I talked about temperature staging? That’s vital. If you crank your air fryer straight up to 400°F right away, the outside coating burns before the inside cauliflower has time to fully cook. The result is a dark, slightly bitter crust hovering over a warm, slightly underdone, and potentially moist center.
Stick to the plan! Start at 380°F for 10 minutes. This gives the wet batter time to set and the coating to start firming up without browning too fast. Then, you raise the heat for that final 5 to 8 minutes to aggressively drive off any residual moisture and achieve that deep golden brown, super crunchy exterior. This two-stage process is how we conquer sogginess!
Saucing Timing: When to Add Flavor
If you’re making Buffalo style, timing the sauce application is another massive factor in fighting sogginess. Never sauce your wings before they go into the air fryer! The sauce, especially if it contains vinegar or water, will break down that beautiful dry outer layer within minutes, turning your beautiful **Crispy Air Fryer Cauliflower Wings** soft before they even get going.
Only sauce them once they are completely done cooking and they are screaming hot. Toss them quickly in a big bowl and serve them immediately. If you *have* to sauce them ahead of time (maybe for a party platter?), you absolutely must reheat them in the air fryer for about 3 minutes at 380°F right before serving to bring that crunch back to life!
Serving Suggestions and Storage for Leftover Crispy Air Fryer Cauliflower Wings
So, you actually managed to have leftovers? Wow! That means these **Crispy Air Fryer Cauliflower Wings** were even better than I thought. That’s fantastic, but now we have to talk about storage. The number one concern with any air-fried food is that it gets floppy and sad when it cools down. We need to plan ahead to keep that crunch alive!
If you’re planning on serving these as part of a bigger spread, you want something cool and creamy to balance out that rich, tangy sauce you coated them in. A classic ranch or a homemade vegan blue cheese dip is always my go-to. It’s just so satisfying dipping that hot, crunchy exterior into something cold! If you want something fresh and crunchy on the side to cut through the richness, you absolutely have to check out my recipe for Easy Crunchy Cabbage Salad. The vinegar dressing provides the perfect bright contrast to a spicy Buffalo coating.
How to Store Them So They Don’t Get Waterlogged
If you have any of these amazing wings left over, the key to successful storage is minimizing condensation. Any trapped steam will turn that beautiful crust into something spongy overnight. You must let the wings cool down completely on a wire rack before you even think about putting them away. Don’t put them away hot!
Once they are totally cool, store them in an airtight container. If you have to stack them, place a small piece of paper towel between the layers—just to catch any sneaky moisture that tries to escape overnight. My personal rule is they are best eaten within 2 days, maximum, but honestly, they rarely last that long in my house!
The Absolute Best Way to Reheat for Maximum Crunch
Here is the million-dollar tip for day-two wings: Do NOT microwave these things. Ever. Microwaving is the fastest way to ruin your hard work and turn those **Crispy Air Fryer Cauliflower Wings** into pathetic rubber balls. We are professionals here, and we know the air fryer is our best friend for leftovers!
To bring back that glorious, just-fried texture, you have to reheat them in the air fryer. Set the temperature to 375°F. Lay the wings out in a single layer on the basket—again, no overcrowding! Air fry them for about 4 to 6 minutes. They will heat up quickly, and that blast of dry heat will evaporate any moisture that seeped into the coating overnight, making them unbelievably crispy again. Honestly, they taste almost as good as fresh!
Frequently Asked Questions About Making Crispy Air Fryer Cauliflower Wings
Can I use frozen cauliflower for this Crispy Air Fryer Cauliflower Wings Recipe?
You totally can, but you absolutely have to prepare them first! Frozen cauliflower holds so much surface moisture. You need to thaw them completely first—don’t try to cook them straight from frozen, or they will just steam. Once thawed, take them out of the water and pat them aggressively dry using paper towels or a clean kitchen cloth. I always over-dry them because that initial moisture is the single biggest threat to our crispiness goal!
What is the absolute best starch to use to guarantee a crunchier coating?
My favorite combination for these **Crispy Air Fryer Cauliflower Wings** is the panko breadcrumbs mixed with cornstarch, just like I outlined above. However, if you want to push that crunch factor even further, I mentioned it briefly before: try swapping out some of that all-purpose flour in the wet batter for potato starch. Potato starch creates a lighter, crisper shell when it hits the heat compared to regular flour. It’s a small move, but it really helps keep that coating locked onto the vegetable.
Are these considered a Healthy Vegan Wing Recipe Air Fryer option?
Yes, absolutely! If you stick to plant milk in the batter and use vegetable oil spray, these are wonderfully vegan and dairy-free. Because we are air frying instead of deep frying, the fat content is dramatically lower than traditional wings, making this a fantastic Healthy Vegan Wing Recipe Air Fryer choice. The main nutritional points come primarily from the cauliflower itself and the coating, which is far better than frying in several cups of oil!
Why do you suggest two different temperatures during the cooking process?
That two-step temperature method is essential for success! If you just hit 400°F immediately, the coating burns before the inside is cooked through, which can leave you with a soft center. We start lower, at 380°F, for about 10 minutes to gently cook the cauliflower and set the batter structurally without browning too fast. Then, we crank it up to 400°F for the finishing touch. That intense final heat is what dehydrates the crust quickly, making sure your **Crispy Air Fryer Cauliflower Wings** are golden brown and truly crunchy!
Share Your Perfect Crispy Air Fryer Cauliflower Wings Experience
Whew! We made it! Now that you have successfully made the best batch of **Crispy Air Fryer Cauliflower Wings** imaginable, I honestly want to hear all about it. Did you manage to keep them perfectly crisp until the last bite? That’s the real test, isn’t it?
I truly hope this recipe becomes your go-to snack for game days or whenever you need a simple vegetarian air fryer option that delivers real crunch satisfaction. If you followed the double-dip and the temperature staging, I’m betting you’re grinning at your basket right now!
Please, please, please let me know down in the comments how it went! Did you stick with the simple Buffalo sauce, or did you try pairing them with a totally wild sauce combination? I’m always looking for new ideas to toss my next batch in. If this recipe saved you from yet another sad, soggy cauliflower experience, give it a solid five stars right at the top of the page!
Your feedback helps other home cooks like us find the best tips and tricks for the air fryer. Head over to the main blog page if you’re looking for more kitchen adventures, but don’t leave without sharing your sauce secrets first!
PrintThe Ultimate Crispy Air Fryer Cauliflower Wings Recipe (No Soggy Bites!)

Follow this detailed method to achieve perfectly crispy cauliflower wings in your air fryer without any sogginess. This recipe uses a double-dip coating for maximum crunch.
- Prep Time: 20 min
- Cook Time: 18 min
- Total Time: 38 min
- Yield: 4 servings
- Category: Appetizer
- Method: Air Frying
- Cuisine: American
- Diet: Vegan
Ingredients
- 1 large head cauliflower, cut into bite-sized florets
- 1 cup all-purpose flour
- 1 teaspoon salt
- 1 teaspoon garlic powder
- 1/2 teaspoon black pepper
- 1 cup unsweetened plant milk (or regular milk)
- 1 cup panko breadcrumbs
- 1/2 cup cornstarch
- Cooking spray or 1 tablespoon oil for tossing
- Your favorite sauce (e.g., Buffalo sauce) for tossing after cooking
Instructions
- Prepare the cauliflower: Wash and thoroughly dry the cauliflower florets. Excess moisture prevents crisping.
- Make the wet batter: In a medium bowl, whisk together the plant milk, flour, salt, garlic powder, and pepper until smooth.
- Prepare the dry coating: In a separate shallow dish, combine the panko breadcrumbs and cornstarch.
- Coat the cauliflower (Double Dip Method): Dip each floret first into the wet batter, letting excess drip off. Immediately transfer the wet floret to the dry coating mixture, pressing gently to adhere the crumbs completely.
- Arrange in the air fryer: Lightly spray the air fryer basket with cooking spray. Place the coated florets in a single layer in the basket. Do not overcrowd; work in batches if necessary.
- Air fry: Set the air fryer temperature to 380°F (195°C). Cook for 10 minutes.
- Toss and finish: Carefully remove the basket, lightly spray the tops of the wings with cooking spray or toss with 1 tablespoon of oil. Flip the florets. Increase the temperature to 400°F (200°C) and cook for another 5 to 8 minutes, or until deeply golden brown and very crispy.
- Sauce: Immediately toss the hot, crispy wings in your desired sauce. Serve right away.
Notes
- For extra crispiness, chill the coated florets on a wire rack in the refrigerator for 15 minutes before air frying.
- If using frozen cauliflower, thaw completely and pat them extremely dry before coating.
- If you prefer a thinner coating, skip the cornstarch and use only flour and panko.
- If you do not have panko, use regular breadcrumbs, but the crunch will be slightly less pronounced.
Nutrition
- Serving Size: 5 florets
- Calories: 250
- Sugar: 3
- Sodium: 450
- Fat: 6
- Saturated Fat: 1
- Unsaturated Fat: 5
- Trans Fat: 0
- Carbohydrates: 45
- Fiber: 5
- Protein: 7
- Cholesterol: 0