

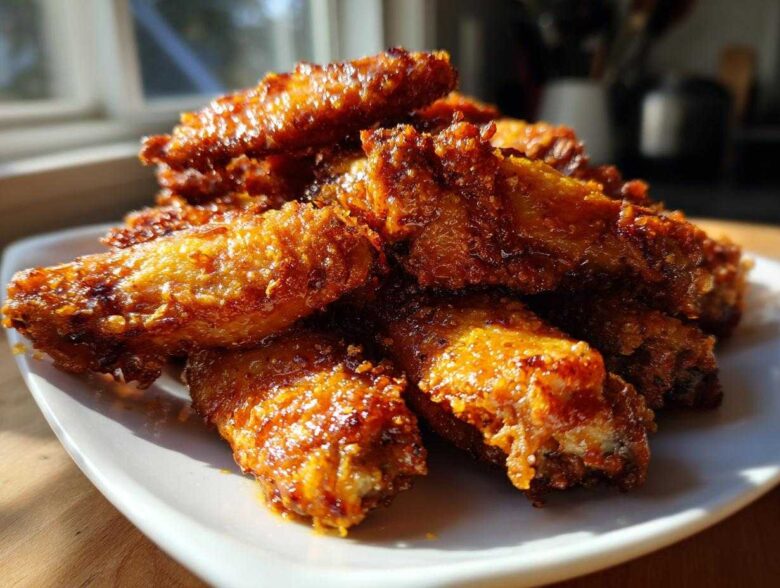
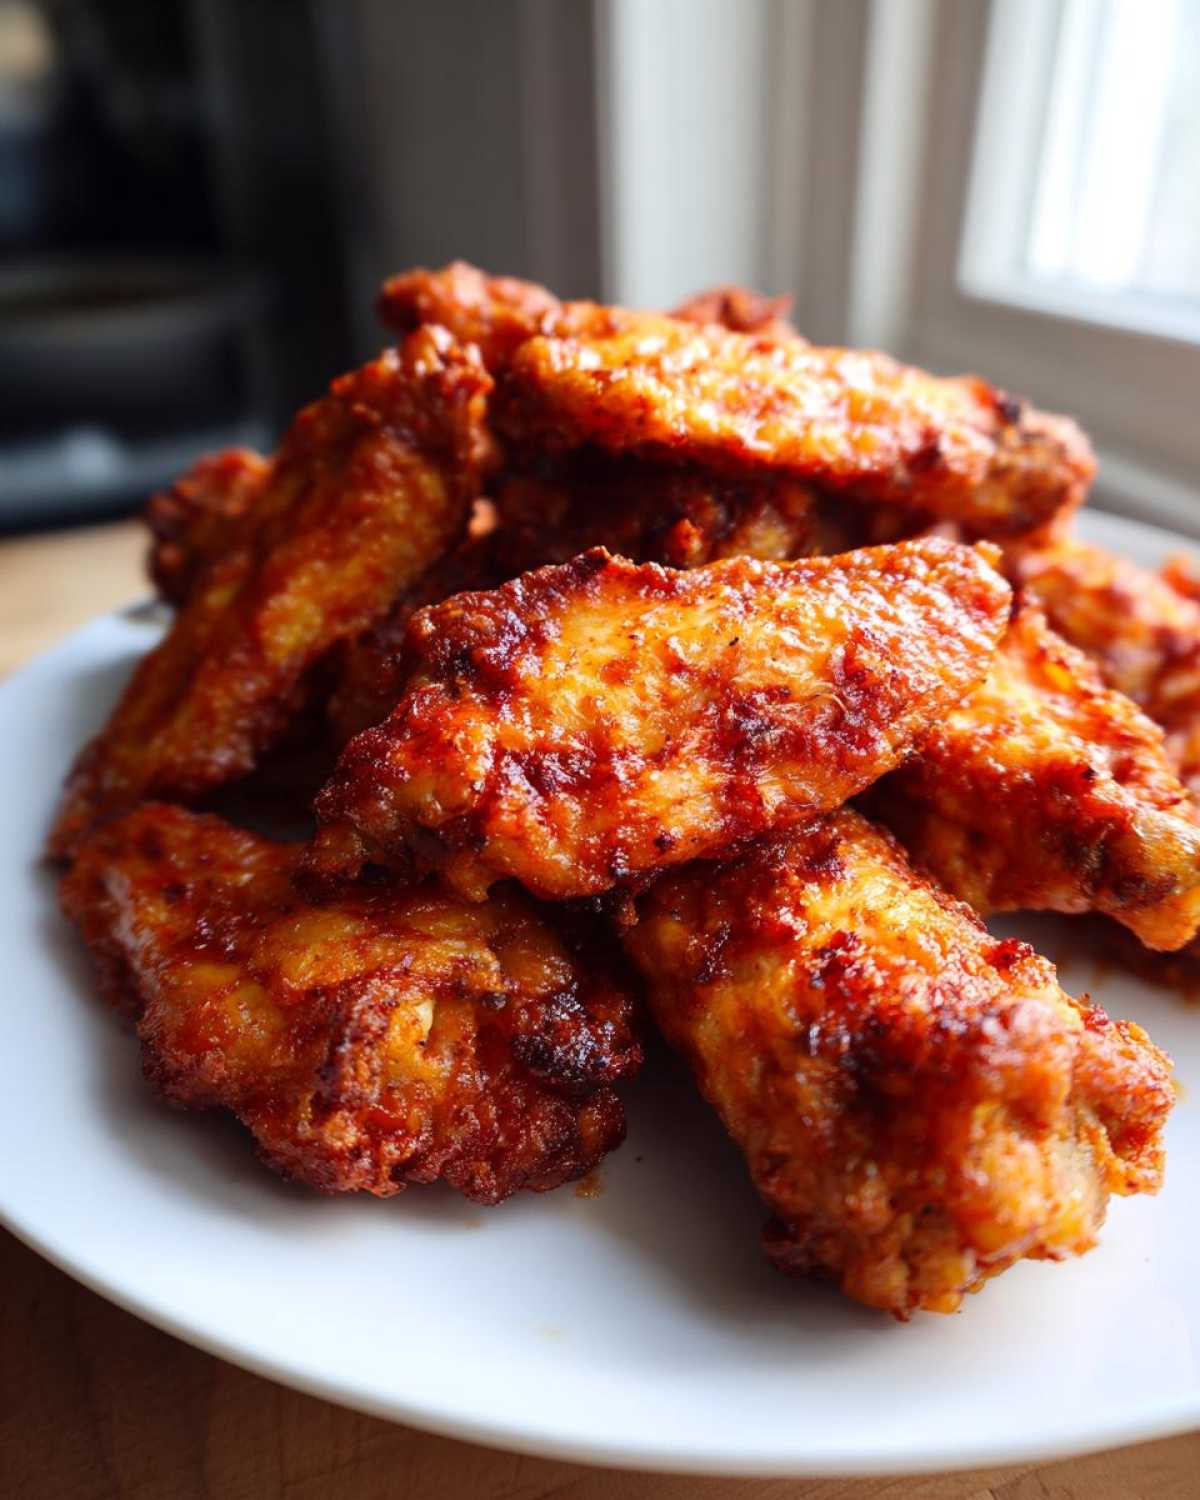
Oh man, I remember the dark ages of chicken wing making. You know, the sadness that sets in when you pull wings out of the oven, expecting that glorious shatter-crunch, and what you get is… limp, slightly pale skin that just doesn’t satisfy? Hannah and I fought that battle for ages! We tried draining the fat, cranking the heat, even flipping them five times. Nothing seemed to work—until we stumbled upon this small trick.
It sounds almost too simple to be true, but using regular old baking powder is hands-down the key to rendering that perfect texture. This isn’t about deep frying; this is about unlocking the magic hidden in the oven to produce truly crispy baked chicken wings. This technique changed game nights forever at our place. When we finally nailed this method, we knew we had to share it immediately with everyone who’s tired of soggy skin. If you’ve been looking for a reliable, no-mess way to get wings everyone raves about, you’re in the right spot. You can check out a few other great tips on getting wings crispy over at mykitchenkind, too, but trust me, our method below is the winner!
Ready to build an amazing mountain of crispy goodness? Make sure you bookmark this page—you’ll want this recipe saved for the next big game day! You can find the full recipe guide right here: crispy baked chicken wings no fry recipe.
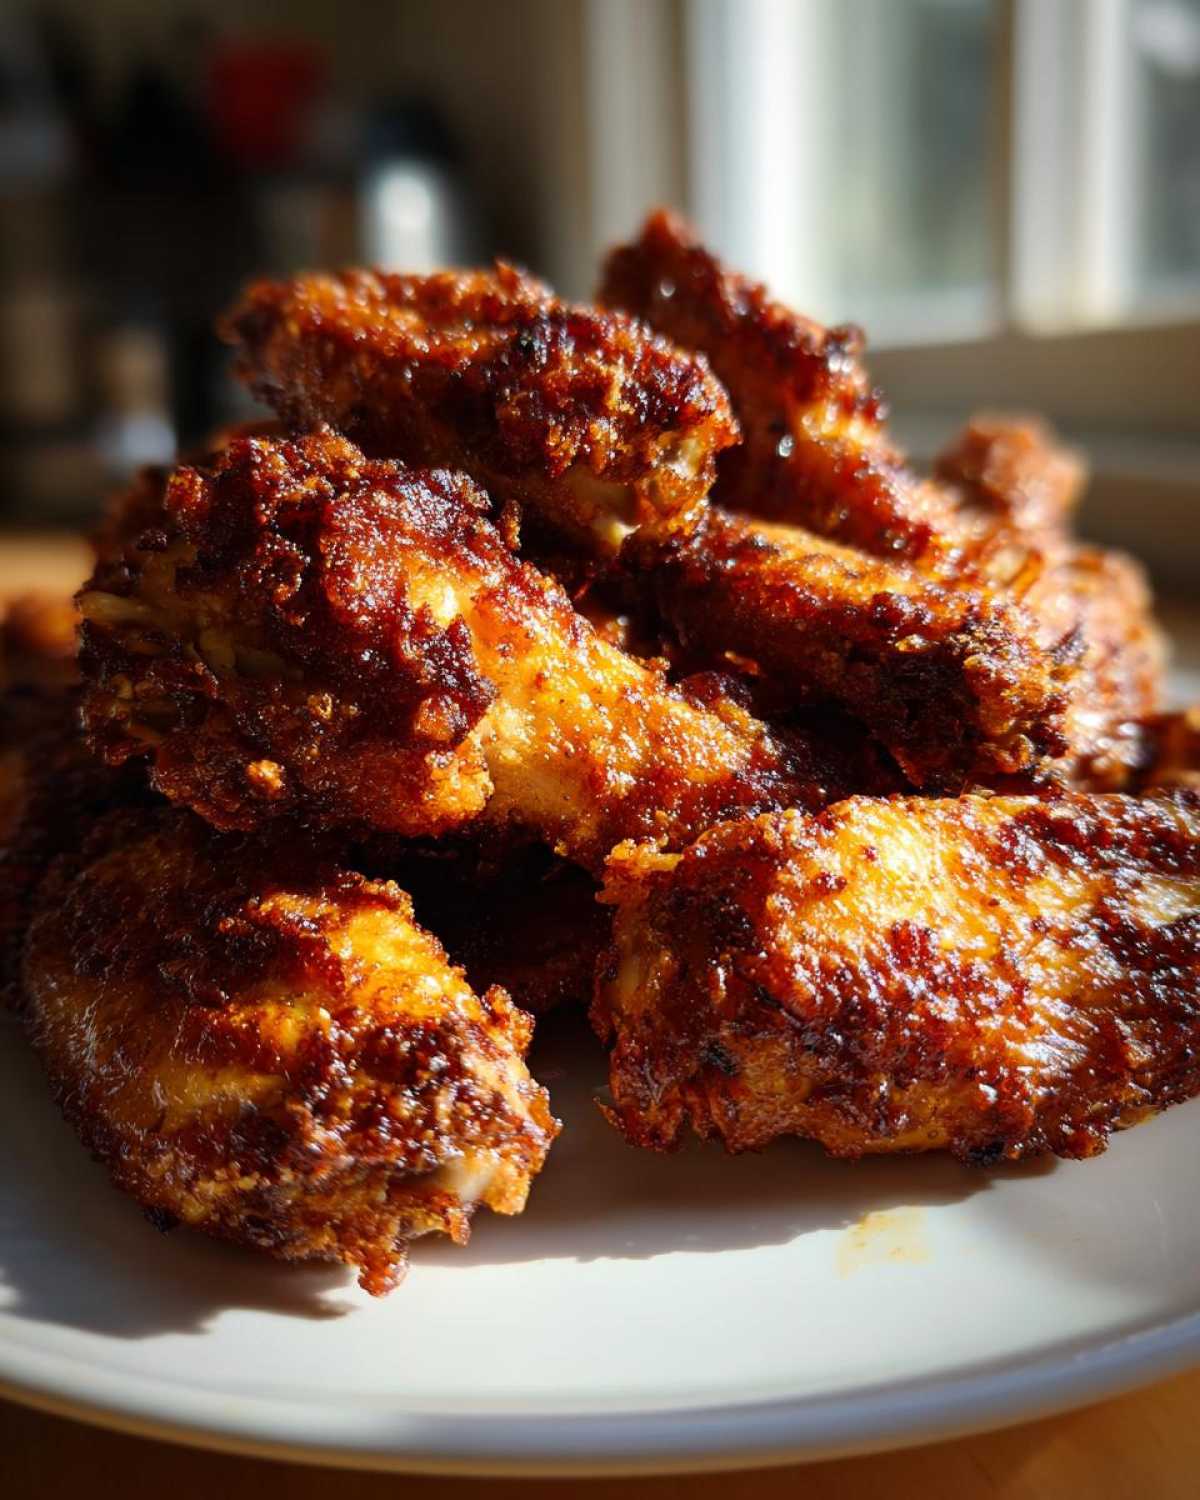
Why This Baking Powder Trick Makes the Best Crispy Baked Chicken Wings
I know what you’re thinking: baking powder? Isn’t that for cakes? Yes, it is, but it’s also our secret weapon against sad, flabby chicken skin! When Hannah first read about this, she was totally skeptical. But it really works because baking powder raises the pH level on the surface of the skin.
It sounds super scientific, but what this does, in plain English, is break down those proteins in the skin, helping it dry out much faster in the oven. Think of it like giving the skin a little head start on becoming crunchy! Because those proteins relax faster, they can brown beautifully without needing all that deep frying oil. That’s why you get those truly crispy baked chicken wings every single time. It’s pure kitchen chemistry working for us!
If you want to read some more about oven baking wings without fryers, check out this guide at oven-fried crispy baked chicken wings recipe. It’s great information!
Gathering Ingredients for Truly Crispy Baked Chicken Wings
Okay, let’s get our gear ready! For about four happy people, you’ll need about two pounds of wings—make sure you separate them into those cute little flats and drumettes. The single most important non-wing ingredient is the baking powder. Seriously, do not use baking soda; they are totally different chemicals, and soda will taste bitter!
We need a high heat environment, so preheating to 425°F is vital, and gathering up your wire rack is non-negotiable. That rack is our best friend for letting air circulate completely around the wings.
Essential Seasoning Mix for Crispy Baked Chicken Wings
The spices are simple because we want the baking powder to do the heavy lifting on the crisp side, but flavor is still everything! Grab your salt, garlic powder, onion powder, black pepper, and paprika. When I’m shopping, I always try to find the freshest garlic powder I can. Old spices just don’t give off that lovely aroma when they hit the heat. This combo really wakes up under that high oven blast!
Step-by-Step Instructions for Perfect Crispy Baked Chicken Wings
Alright, here is where the magic really happens! Don’t rush this part; preparation makes or breaks these wings. First things first: get your oven cranked up to 425°F (220°C). I line my sheet pan with foil—a little trick to save us scraping off rendered fat later! Then, pop that wire rack right on top. That small elevation is critical for airflow!
This next step seems simple, maybe even silly, but you absolutely must follow it if you want those crispy baked chicken wings. Grab your wings and pat them down until they feel like completely dry leather. I mean it—no moisture allowed! If they stay wet, they steam instead of crisping up. Once they are totally dry, toss them right into the bowl with that baking powder and spice mix. Make sure every single nook and cranny on every piece is coated evenly.
If you’re interested in other speedy cooking methods, we have a fantastic guide on air fryer chicken that yields similarly crunchy results!
Prep Work: Drying and Coating Your Wings
Remember what I said about drying? Do it again! Use fresh paper towels until you absolutely cannot get any more moisture off those wings. Once they are seasoned with our special dry rub—and I mean really coated—lay them out on that rack. This is super important: they must be in a single layer. If they are touching even a little bit, they will steam where they touch, and bye-bye crispiness!
Baking Times and Flipping for Crispy Baked Chicken Wings
We bake these in two stages. Pop the sheet pan into that hot oven for 25 minutes exactly. Don’t open the door! When the timer goes off, pull them out carefully and flip every single wing over. Back they go for another 20 to 25 minutes. We are looking for a deep, beautiful golden brown color. When they look perfectly done, golden, and feel wonderfully crispy baked chicken wings on the fork, pull them out. For more great oven wing tips, take a peek at what they’re doing over at thechickn!
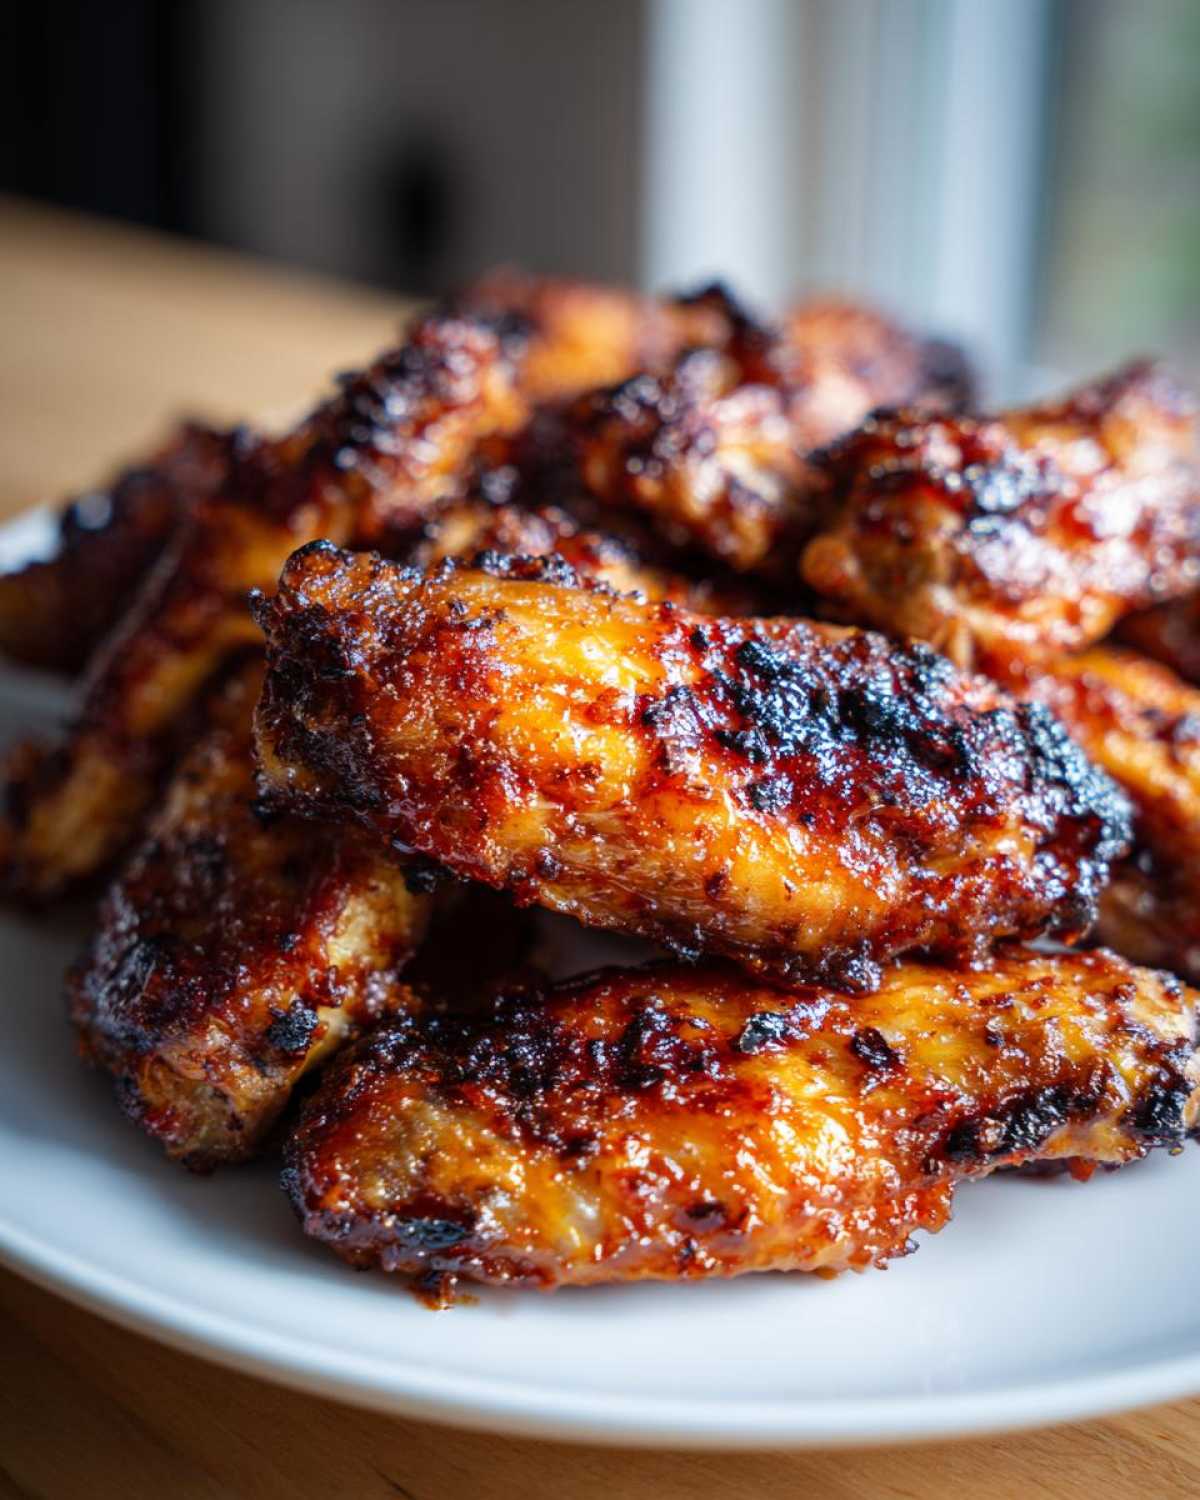
Pro Tips for Achieving Maximum Crunch on Your Crispy Baked Chicken Wings
Hannah and I have learned hard-won wisdom through trial and (mostly crunchy) error. If you want to guarantee those shatteringly good results, listen up! First, I always try to source aluminum-free baking powder because I swear it helps the skin crisp up even better. Second, that wire rack isn’t optional; it’s mandatory. I once got lazy, laid them directly on the foil, and the bottoms were just swimming in grease! Never again!
We rely on that airflow to transform these into real crispy baked chicken wings. If you have a moment to spare, check out the technique they use over at run lifter eat repeat for more inspiration on getting that crunch. Doing the extra prep work for these wings, like making sure they are coated evenly, is totally worth it when you bite into that perfect crust. Speaking of extra steps that pay off, if you love potatoes, you absolutely must try our recipe for twice baked potatoes next!
Saucing Your Crispy Baked Chicken Wings After Baking
Okay, so the wings are out of the oven. They look incredible, they smell amazing, and you’re tempted to eat them just like that. And honestly? You totally can! A great dry rub is a meal in itself. But if you’re a sauce person, timing is everything! You must sauce them immediately after they come out of that 425-degree heat.
The key here is speed. Toss the super-hot wings right into a large bowl with your favorite sauce—whether it’s Buffalo, BBQ, or maybe some honey garlic. Give them a good toss so every piece gets that glossy, sticky coating. If you wait even five minutes, the heat starts to dissipate, and the sauce won’t stick as well.
Now, here’s a little trick Hannah taught me for those moments when you want sauce *and* you still want them utterly crisp. If you’re worried about the sauce softening the crunch too much, put the sauced wings back onto the wire rack. Pop the whole thing under the broiler for just about 60 to 90 seconds. You have to watch them like a hawk, though! You just want the sauce to get bubbly hot and maybe caramelize just a tiny bit on the edges. Pull them out the second you see any hint of burning, or you’ll have charcoal wings!
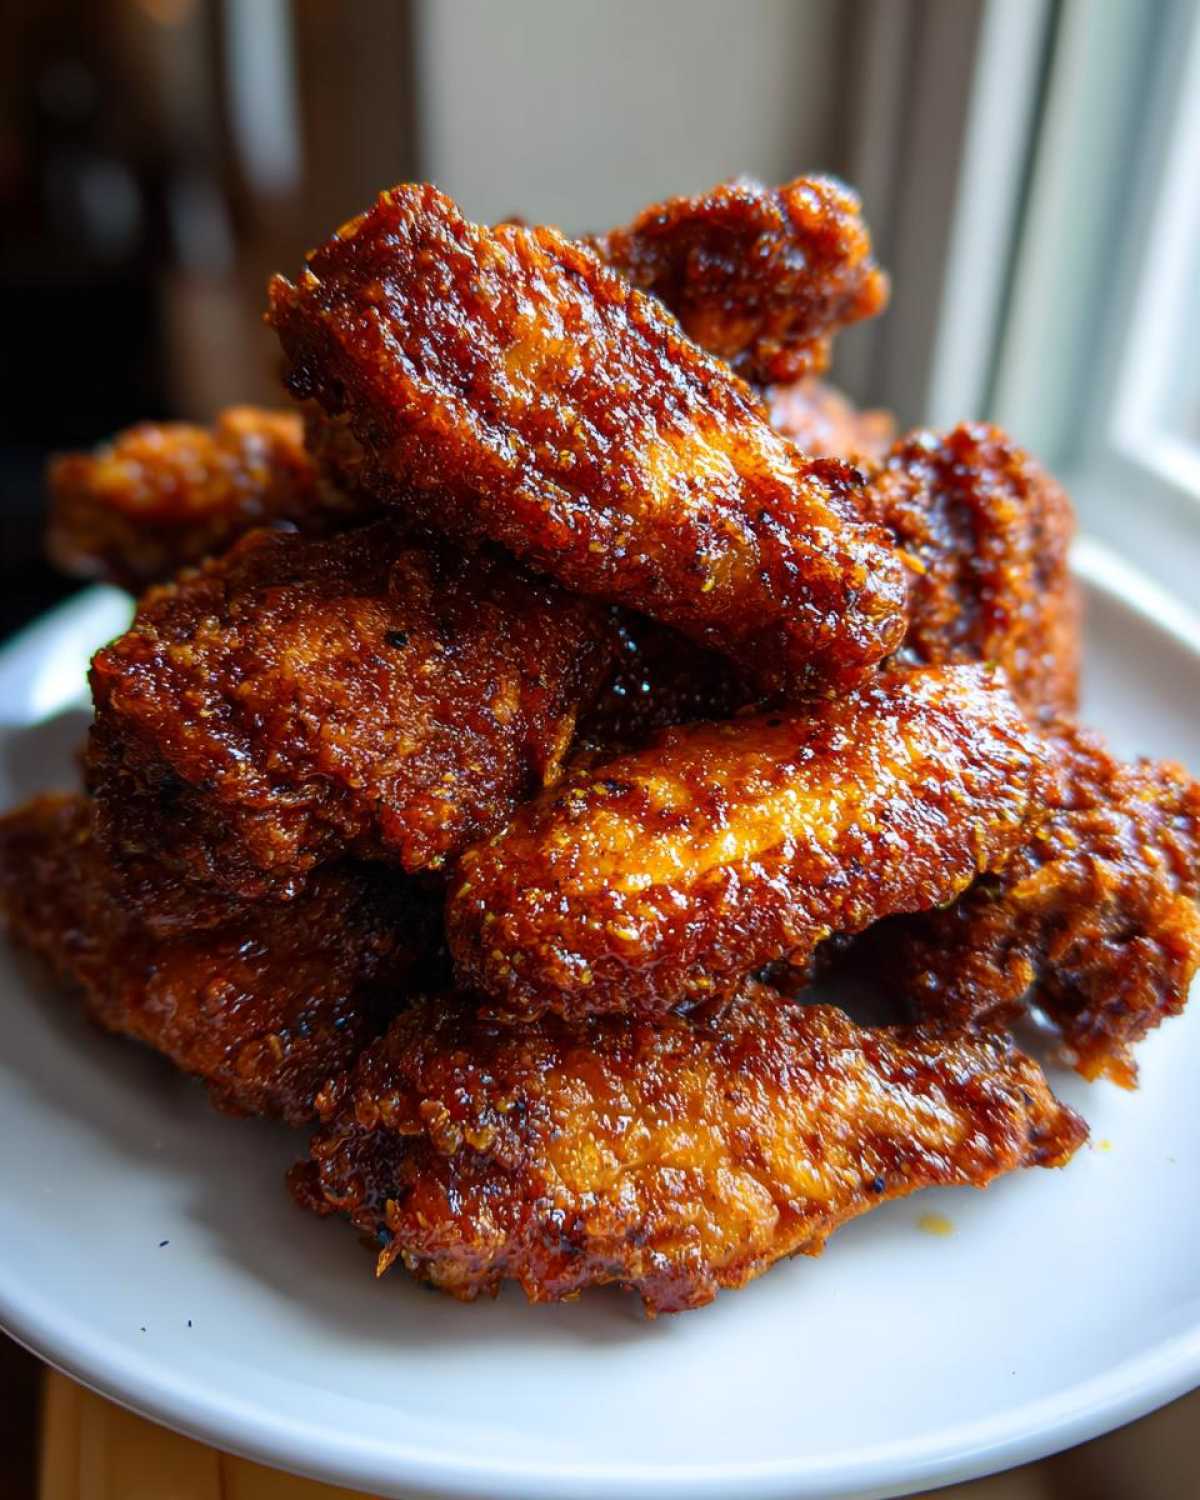
Serving Suggestions for Your Crispy Baked Chicken Wings
You’ve done the hard work, you’ve mastered the baking powder trick, and now you have these perfectly crunchy wings. You can’t just eat them staring at the oven, right? You have to serve them with the right supporting cast!
For us, game day or a casual Friday night appetizer isn’t complete without the classic accompaniments. That cooling, sharp contrast against the heat and spice of the wings is what balances the whole experience. You absolutely need cool, crisp celery sticks nearby. They’re perfect for scooping up dipping sauces!
And speaking of dipping sauces, you cannot skip the blue cheese or ranch dressing. Seriously, if you think you don’t like blue cheese, try it with these spicy wings—it totally changes the equation. The creaminess really mellows out the heat and makes you want another wing immediately. We occasionally make a side of garlic butter roasted carrots too, just to get some veggies in there, but the classic sticks and dip combo is unbeatable for wings!
Storage and Reheating Crispy Baked Chicken Wings
I know, I know. The dream is eating all the crispy baked chicken wings as soon as they come out of the oven, but sometimes there are leftovers, right? If you have to store them—and try to keep them crisp—here’s the deal. Pop any leftover wings in an airtight container and put them in the fridge. But here’s the catch: they won’t stay perfectly crisp. That wonderful crunch fades pretty quickly once the sauce or humidity gets to them.
The microwave is your enemy here; it turns them instantly into rubbery sadness! To bring back that crunch, you have to reheat them in a hot oven or an air fryer for just a few minutes until they feel hot all the way through and the skin firms up again. If you need recipes for leftovers that you prep the night before, check out my thoughts on an easy make-ahead egg bake!
Frequently Asked Questions About Crispy Baked Chicken Wings
We get tons of messages about this recipe, and that’s awesome! It just goes to show how many people are tired of soggy oven wings. We’ve gathered up the most common questions we see popping up in the comments and DMs so you can get cooking right away. If you have any other burning questions after trying them out, head over to our main blog page and leave a comment—we love hearing from you!
Can I use frozen wings for this crispy baked chicken wings recipe?
Oh, honey, please don’t start with frozen! I really, truly advise against it. Frozen wings are packed with ice crystals and extra moisture. When you put them in the oven, all that water has to evaporate before the skin can even think about crisping up, and by the time it does, the meat is usually getting a little dry. If you absolutely must use frozen wings because that’s all you have, you need to plan ahead. Thaw them fully in the fridge overnight, then pat them mercilessly dry with towels before you even think about seasoning them. Seriously, dry, dry, dry!
What is the best temperature for baking to get them crispy?
We are looking for high heat here, folks. We preheat and bake these beauties at 425°F (220°C). This high temperature is essential because it helps the skin render its fat quickly while also letting that baking powder coating work its magic to dry and brown the exterior. If you try to bake them lower, like at 375°F, they just sit there sweating instead of getting that fantastic crunch we’re aiming for. Don’t be shy with the heat!
Estimated Nutritional Data for Crispy Baked Chicken Wings
Now, I know we’re making these wings for flavor and crunch, but since they are baked and we skip the deep fryer, they still come out pretty friendly from a nutritional standpoint! For about four wings per serving, you are looking at roughly 250 calories. They are packing a great punch with about 26 grams of protein, and only about 1 gram of carbohydrate.
Keep in mind, these numbers don’t account for any sugary sauces you might toss them in later, though! Brands and added ingredients can change things up, so take this as a helpful guideline for the wings themselves. It’s good to know you can enjoy a whole pile of these game-day snacks without feeling totally weighed down!
PrintHow to Make Truly Crispy Baked Chicken Wings

Learn the simple secret to making truly crispy baked chicken wings in your oven without deep frying. This method gives you the ultimate crunch every time.
- Prep Time: 15 min
- Cook Time: 45 min
- Total Time: 60 min
- Yield: 4 servings
- Category: Appetizer
- Method: Baking
- Cuisine: American
- Diet: Low Fat
Ingredients
- 2 lbs chicken wings, separated into flats and drumettes
- 1 tablespoon baking powder (not baking soda)
- 1 teaspoon salt
- 1 teaspoon garlic powder
- 1 teaspoon onion powder
- 1/2 teaspoon black pepper
- 1/2 teaspoon paprika
- Optional: Your favorite sauce for tossing (like Buffalo or BBQ)
Instructions
- Preheat your oven to 425°F (220°C). Line a large baking sheet with foil for easier cleanup, then place a wire cooling rack on top of the foil.
- Pat the chicken wings very dry using paper towels. Removing moisture is key to achieving crispiness.
- In a medium bowl, combine the baking powder, salt, garlic powder, onion powder, black pepper, and paprika.
- Add the dried chicken wings to the bowl and toss them thoroughly until every piece is evenly coated with the dry seasoning mixture. The baking powder helps dry out the skin.
- Arrange the coated wings in a single layer on the wire rack set over the baking sheet. Make sure the wings are not touching each other for best air circulation.
- Bake for 25 minutes.
- Flip the wings over. Return them to the oven and bake for another 20 to 25 minutes, or until the skin is deeply golden brown and very crispy.
- Remove the wings from the oven. If you are using sauce, place the hot wings in a large bowl and toss them immediately with your favorite sauce until coated.
- Serve your extra crispy baked chicken wings right away with celery sticks and blue cheese or ranch dressing.
Notes
- For the absolute crispiest skin, use aluminum-free baking powder.
- Using a wire rack allows air to circulate completely around the wings, preventing a soggy bottom.
- If you want extra crispiness after saucing, place the sauced wings back on the rack and broil for 1-2 minutes, watching carefully to prevent burning.
Nutrition
- Serving Size: 4 wings
- Calories: 250
- Sugar: 0
- Sodium: 350
- Fat: 15
- Saturated Fat: 4
- Unsaturated Fat: 11
- Trans Fat: 0
- Carbohydrates: 1
- Fiber: 0
- Protein: 26
- Cholesterol: 90