

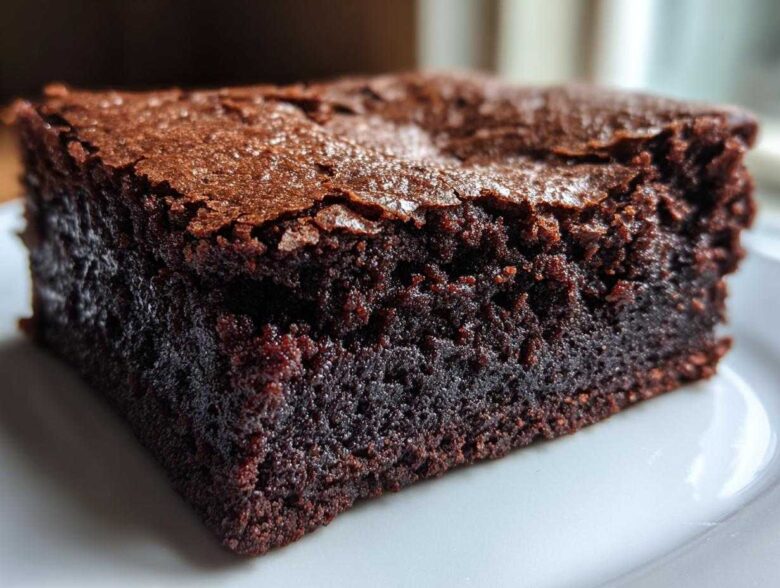
Oh, stop what you are doing right now! If you have ever battled a dry, cakey rectangle disguised as a chocolate treat, I have the answer you’ve been desperately searching for. Forget those hockey pucks! I’m talking about the ultimate, sink-your-teeth-into-it, deeply chocolatey, fudgy Brownie. Seriously, making the perfect fudgy Brownie with that signature, papery crackle on top used to feel like magic only professional bakers could conjure up, but I cracked the code years ago.
I remember the sheer frustration when my first batch looked perfect coming out of the oven, only to turn into dense bricks once they cooled. I wasted so much good chocolate before I realized it wasn’t just about the chocolate quantity—it was about the technique! This recipe—my favorite version of the classic sweet treat—guarantees that dense, wet interior and that gorgeous, shiny, crisp shell. Trust me, once you nail this one version, you won’t need another Brownie recipe ever again. We’ll get you baking the absolute best Brownie bars today!
If you’re interested in sneaking in a little bit more fiber without anyone noticing, check out my recipe for fudgy black bean brownies, but for pure, decadent indulgence, stick with me right here.
Why This Fudgy Brownie Recipe is the Only Brownie Recipe You Need
I know, I know, everyone claims they have the “best” recipe. But this specific Brownie formula is different because it balances texture and simplicity perfectly. I spent ages trying to get the right combination, and this one just delivers every single time. You owe it to your chocolate cravings to try this!
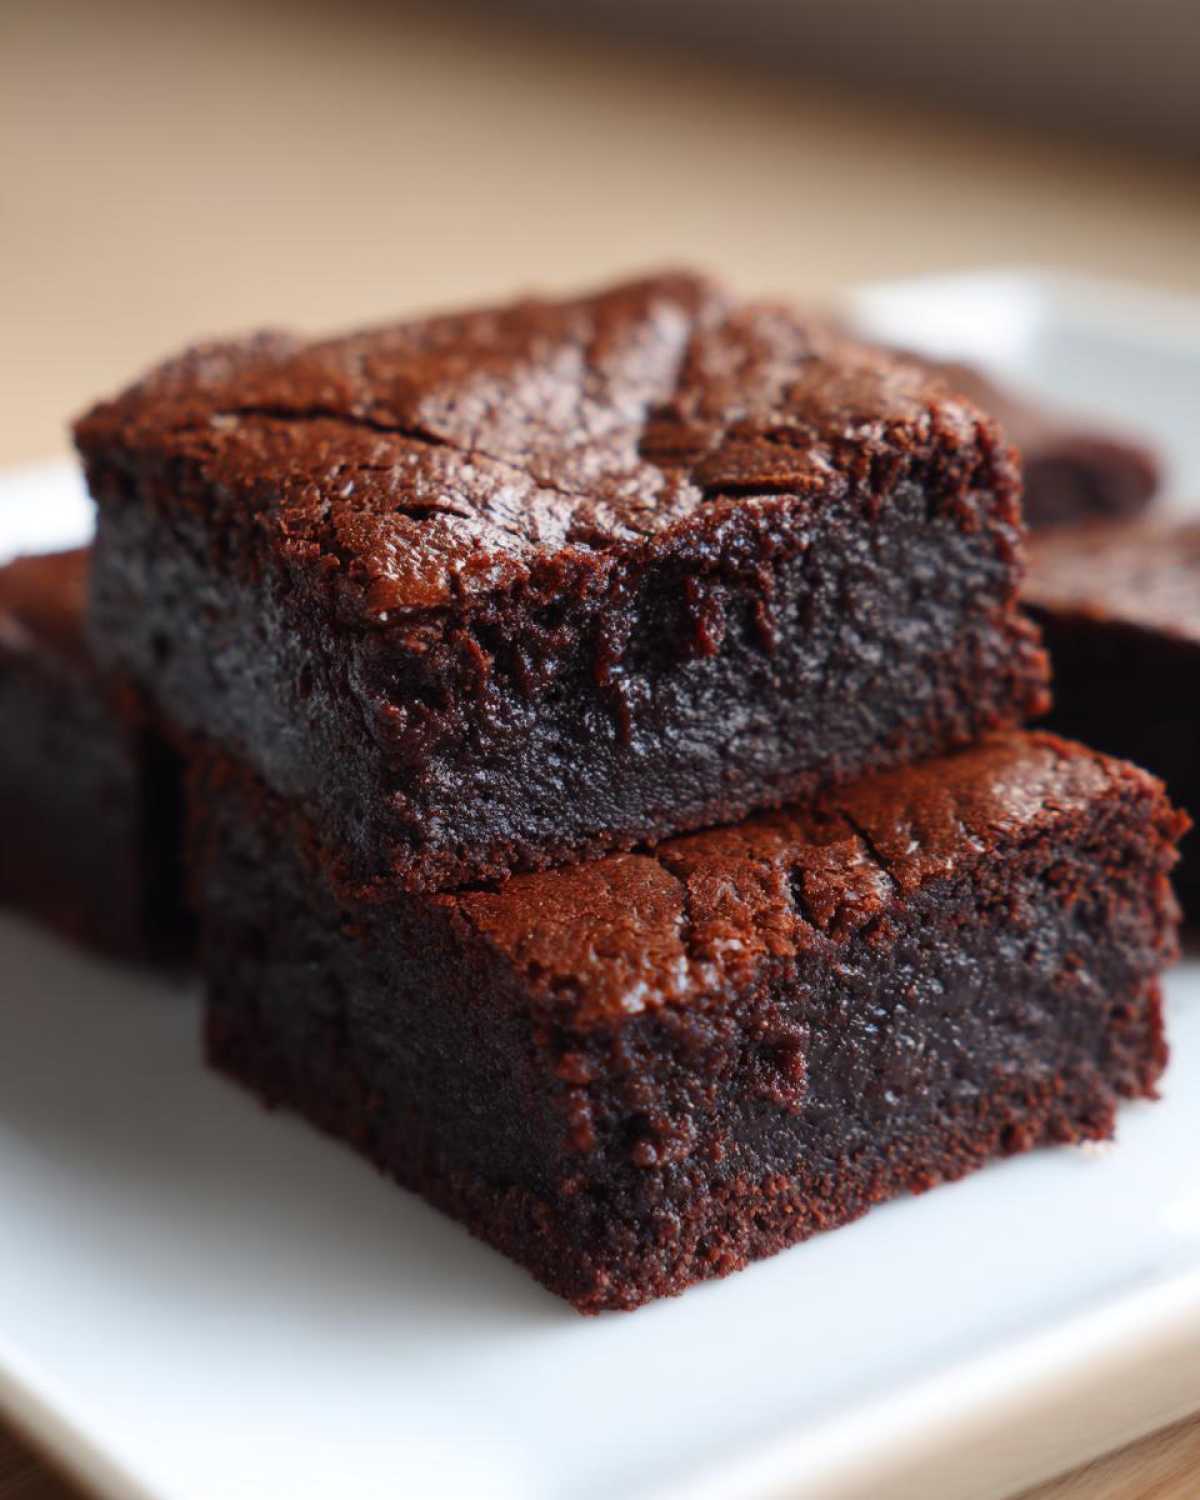
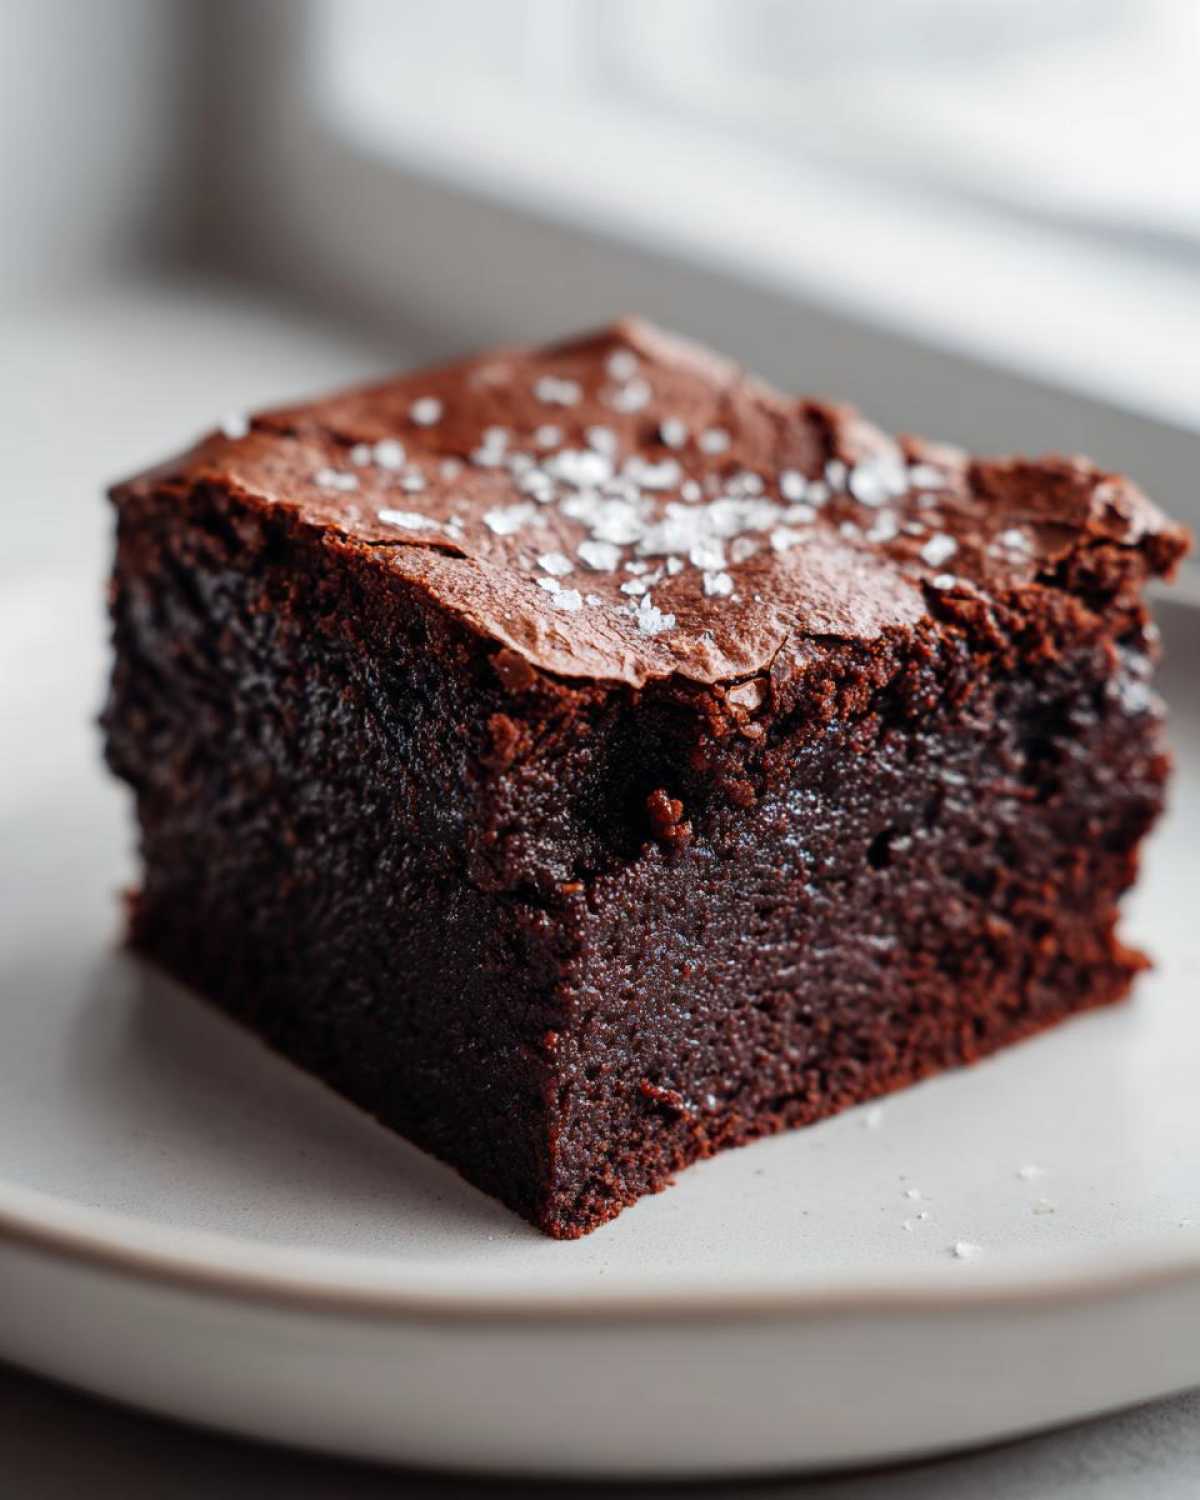
- The texture is pure fudge—dense, moist, and incredibly satisfying. No cake texture allowed here!
- That signature shiny, delicate crackly top appears almost magically.
- It uses simple pantry staples; no weird specialty ingredients needed for this classic Brownie.
If you want to explore healthier takes later on, I’ve got a fantastic sweet potato brownie option, but for that deep, dark, classic chocolate fix, this is your holy grail.
Gathering Ingredients for Your Ultimate Brownie
Okay, now for the fun part—gathering your supplies! Even though this is an easy homemade brownie recipe, quality matters for that deep chocolate punch. You’re going to need one cup of good unsalted butter, which we melt down later, by the way. Make sure you measure out one and a quarter cups of granulated sugar and three-quarters of a cup of light brown sugar, and really pack that brown sugar in; those molasses solids are key for fudginess!
We’re using four large eggs, the vanilla extract, the star of the show which is three-quarters of a cup of unsweetened cocoa powder, half a cup of flour, salt, and finally, a whole cup of semi-sweet chocolate chips folded in at the end. Don’t skimp on your dry ingredients; we only want about a half cup of flour, so that ratio keeps things dense. Trust me, these exact measurements are what turn basic ingredients into an amazing chocolate brownie.
If you’re curious about making a whole meal out of it, I have a really wild cottage cheese microwave brownie that’s surprisingly good for a quick fix, but let’s focus on this classic version for now!
Ingredient Notes and Substitutions for a Perfect Brownie
When we talk quality, we mean the butter, plain and simple. Softened butter is creamy, but melted butter is essential for the crackly top on this Brownie, and real dairy butter adds richness that margarine just can’t touch. You absolutely must use high-quality cocoa powder here; if you use something labeled Dutch-processed, your Brownie might come out a little flatter and darker because it reacts differently with the leaveners we aren’t really using. Stick to natural unsweetened cocoa powder for the best results!
Step-by-Step Instructions for the Best Fudgy Brownie
Alright, let’s get baking! This is where the magic happens for that perfect Brownie bar. First things first, get your oven heated up to 350°F (175°C). You need to prep your 9×9 inch metal pan. I cheat a little by lining mine with parchment paper, leaving plenty of overhang on two sides so I can just lift the whole thing out later—game changer!
Now for the wet stuff. You’re going to melt that cup of butter gently in a saucepan on very low heat. Once it’s melted, take it off the burner. Whisk in both your granulated and brown sugars until they look nice and glossy together in that melted butter. Then, one by one, beat in the four eggs, making sure each one is fully incorporated before adding the next. Don’t forget the vanilla extract!
In a separate bowl, mix your dry ingredients: the cocoa powder, flour, and salt. You want these mixed well before they hit the wet stuff. Gently fold those dry ingredients into the wet mixture. And here is a huge baker’s warning: only mix until *just* combined. Seriously, stop mixing when you think you should stop. Overmixing develops gluten, and gluten means cakey, not fudgy! Finally, fold in those chocolate chips. Spread that beautiful batter evenly.
If you want to make amazing additions like swirls of caramel or cheesecake, this is the time to do it using my absolute favorite tahini caramel drizzle before it heads into the oven.
Achieving the Signature Crackly Top on Your Brownie
This is the secret sauce! To get that thin, crackly, shiny shell, you have to whisk your sugar and eggs *before* you add the melted butter. When you whisk them vigorously for a minute or two, the sugar starts to dissolve into the egg proteins. This dissolves sugar mixture creates a tight, frothy surface right on top of your batter, which bakes into that perfect, delicate crust you see in all the professional pictures of a world-class Brownie.
Baking Time and Testing for Fudgy Brownie Doneness
Bake your masterpiece for 30 to 35 minutes. But please, do not rely on a perfectly clean toothpick! For a fudgy Brownie, we want moist crumbs clinging to the toothpick when you pull it out near the edge. If the toothpick comes out totally dry, congratulations, you’ve just made a slightly dry Brownie! The center might still look a tiny bit wobbly when you pull it out, but trust me, they set up beautifully as they cool down.
Brownie Baking Tips and Tricks for Consistent Results
Mastering the perfect Brownie isn’t just following steps; it’s understanding a little bit of baking science. The biggest thing I learned when perfecting this recipe was the melted butter versus creamed butter debate. Since we are using melted butter here, it dissolves the sugar quickly, which helps create that dense, fudgy chew instead of the lift you get from creaming butter like you would in a sponge cake.
Another huge factor for any ultimate Brownie is the flour. Once you add that little bit of flour, you have to stop mixing almost immediately! Overmixing the flour is the number one way home bakers accidentally turn a fudgy dream into a simple chocolate cake. Mix until you *just* see the last streak of white disappear. That gentle handling is what keeps the chew factor high.
If you enjoy experimenting with other baked goods, you might want to check out my thoughts on turning Brownie batter into crunchy blondies sometime. It’s a fun switch up from the regular chocolate bars!
Serving Suggestions for Your Homemade Brownie
Okay, pulling those perfectly cooled, dense squares out of the pan is a victory! Now, how to eat this divine creation? Honestly, eating a piece of this fudgy Brownie straight up is incredible, especially once they’ve rested and completely set. They are so rich, they barely need anything else!
But if you’re serving them warm—go for it! A scoop of good quality vanilla ice cream melting over the top is classic for a reason; the hot/cold contrast is just divine. Or, if you want a simple, elegant finish, just dust them lightly with powdered sugar right before serving. Sometimes less is more, especially when the Brownie itself is this good. If you’re whipping up frosting later, my tutorial on classic vanilla buttercream pairs surprisingly well with deep chocolate!
Brownie Storage and Freezing Guide
You might think you’re going to eat this entire batch of fudgy goodness in one night, but if you actually manage to have leftovers (which is a feat in itself!), knowing how to store them is crucial for maintaining that perfect texture we worked so hard for.
The best place for your leftover Brownie squares is actually right on the counter, tightly wrapped. I wrap mine right in plastic wrap first to trap all that moisture, and then I toss those wrapped chunks into an airtight container. Keep them at room temperature, and they should stay wonderfully fresh and fudgy for about four days. They’re almost better the next day, aren’t they?
Now, if you need them to last longer, freezing is your friend! You can absolutely freeze these bars. The trick is to slice them first, then wrap each individual Brownie square tightly in plastic wrap, and then put those wrapped pieces into a zip-top freezer bag. They keep beautifully for up to three months! When you want one, just pull it out and let it thaw on the counter for about 30 minutes. If you’re feeling fancy, you can even warm them up slightly before pulling apart a square to dip into something amazing, like the peppermint cream cheese variation!
Frequently Asked Questions About Making a Perfect Brownie
I get so many questions about this recipe—which is great, because it means you all are keen on baking the absolute best chocolate treat! Here are a few things people ask me all the time regarding texture, tweaks, and troubleshooting that final Brownie square.
Can I use unsweetened applesauce instead of butter in this Brownie recipe?
You technically can swap applesauce for butter if you’re trying to cut fat, but honestly, I wouldn’t recommend it for this specific recipe if you want that signature fudgy payoff. Butter brings fat and richness that creates that dense chew. Applesauce is mostly water, so if you swap it 1:1, you’re definitely going to end up with a much more cake-like Brownie. It won’t be bad, just not the ultimate fudgy experience we are aiming for here!
What causes the top of my Brownie to not get crackly?
Ah, the crackle dilemma! In almost every single case, the lack of a crackly top comes down to not whipping the eggs and sugar enough at the beginning. Remember I told you to really beat them until they look pale and glossy? That stage is critical because the vigorous beating whips tiny air bubbles into the mixture, binding the sugar to the egg whites. When that hits the heat, it creates that thin, fragile shell. Also, make sure your oven temperature is spot on; if it’s not hot enough initially, you lose that crucial first-stage lift.
How do I make Chewy Brownie Recipe From Scratch if I prefer that texture?
That’s a totally valid request! While this recipe leans heavily into fudge, if you prefer that distinct chewiness—that slight resistance when you bite in—you can easily nudge it that way. I would suggest slightly reducing the baking time—pull them out maybe two minutes earlier than I suggest. Also, slightly increasing the flour by about 1 to 1.5 tablespoons can help absorb some of that wetness and tighten up the structure for a great chewy brownie recipe from scratch. Remember, even a slight adjustment changes the final Brownie!
Nutritional Estimates for This Fudgy Brownie
Now, I’m not a nutritionist by any means, and I certainly don’t bake to count calories—I bake to be happy! But I know some of you are curious about what goes into this deep, dark indulgence. Based on the standard measurements for all those lovely ingredients like butter and sugar, here are the estimates per serving for one Brownie square.
Remember, these are just rough guidelines based on my calculations. If you use premium dark chocolate chips versus semi-sweet, or if you decide to cut them into sixteen tiny squares versus nine massive ones, these numbers will shift! We are aiming for happiness here, not perfect tracking, so take these figures with a grain of salt (and maybe a scoop of ice cream!).
- Serving Size: 1 Brownie
- Calories: 280
- Fat: 16g (with 10g being saturated fat—that’s the butter talking!)
- Carbohydrates: 33g
- Protein: 4g
If you want to see how different ingredients absolutely change the game, take a look at my recipe for flourless almond butter brownies—that one changes the fat profile entirely!
Share Your Perfect Brownie Creations
Now that you’ve mastered the ultimate fudgy Brownie, I absolutely want to see what you baked! Head over to the rating section and let me know how you did—did you get that crackly top? Five stars if you got gooey centers, naturally!
Please snap a picture of your glorious chocolate squares and tag me on social media. It makes my day to see what you’ve been baking! I’m always experimenting with new flavors, like my recent chocolate Guinness stout brownies. Tell me in the comments below: What is your favorite way to eat a fresh Brownie—warm with ice cream, or cooled completely with a cup of coffee?
PrintThe Ultimate Fudgy Brownie Recipe
Make rich, dense, and fudgy brownies with a perfect crackly top using this straightforward recipe.
- Prep Time: 15 min
- Cook Time: 35 min
- Total Time: 50 min
- Yield: 16 brownies
- Category: Dessert
- Method: Baking
- Cuisine: American
- Diet: Vegetarian
Ingredients
- 1 cup (2 sticks) unsalted butter
- 1 1/4 cups granulated sugar
- 3/4 cup packed light brown sugar
- 4 large eggs
- 1 tablespoon vanilla extract
- 3/4 cup unsweetened cocoa powder
- 1/2 cup all-purpose flour
- 1/2 teaspoon salt
- 1 cup semi-sweet chocolate chips
Instructions
- Preheat your oven to 350°F (175°C). Line a 9×9 inch metal baking pan with parchment paper, leaving an overhang on two sides for easy removal. Lightly grease the paper.
- In a medium saucepan over low heat, melt the butter. Remove from heat.
- Whisk the granulated sugar and brown sugar into the melted butter until combined.
- Whisk in the eggs one at a time, mixing well after each addition. Stir in the vanilla extract.
- In a separate bowl, whisk together the cocoa powder, flour, and salt.
- Gradually add the dry ingredients to the wet ingredients, mixing only until just combined. Do not overmix.
- Fold in the chocolate chips.
- Spread the batter evenly into the prepared pan.
- Bake for 30 to 35 minutes. A toothpick inserted near the edge should come out with moist crumbs attached, but the center should still look slightly underdone for maximum fudginess.
- Let the brownies cool completely in the pan on a wire rack before lifting them out using the parchment paper overhang and cutting them into squares.
Notes
- For the best crackly top, whisk the sugar and eggs vigorously for about one minute before adding the melted butter.
- Do not overbake the brownies; they continue to set as they cool.
- For deep chocolate flavor, use high-quality cocoa powder.
- Store cooled brownies tightly wrapped at room temperature for up to four days.
Nutrition
- Serving Size: 1 brownie
- Calories: 280
- Sugar: 30
- Sodium: 110
- Fat: 16
- Saturated Fat: 10
- Unsaturated Fat: 6
- Trans Fat: 0
- Carbohydrates: 33
- Fiber: 2
- Protein: 4
- Cholesterol: 75