

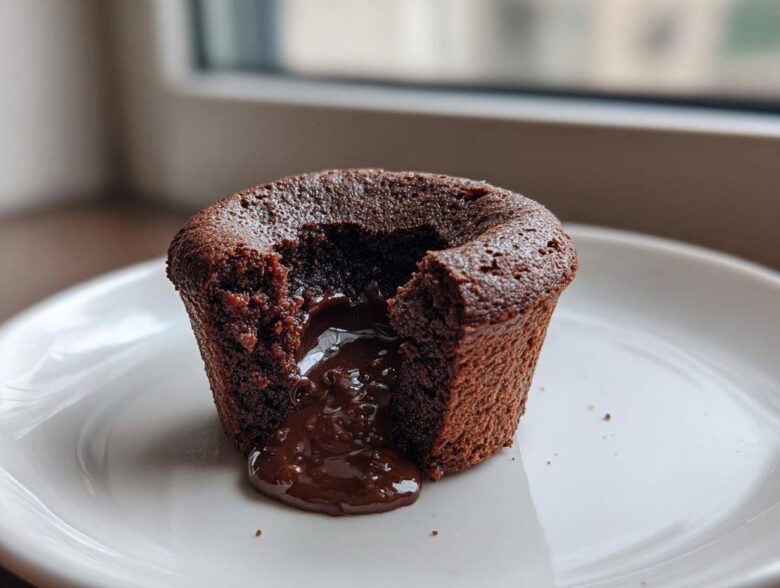
You know those moments when only pure, molten chocolate will do? When you need something rich, deep, and utterly decadent, but you’re sticking to gluten-free? Well, stop looking, because I’ve bottled lightning! I spent way too long trying to nail that perfect, fudgy brownie texture without any wheat hanging around, and finally, I cracked it.
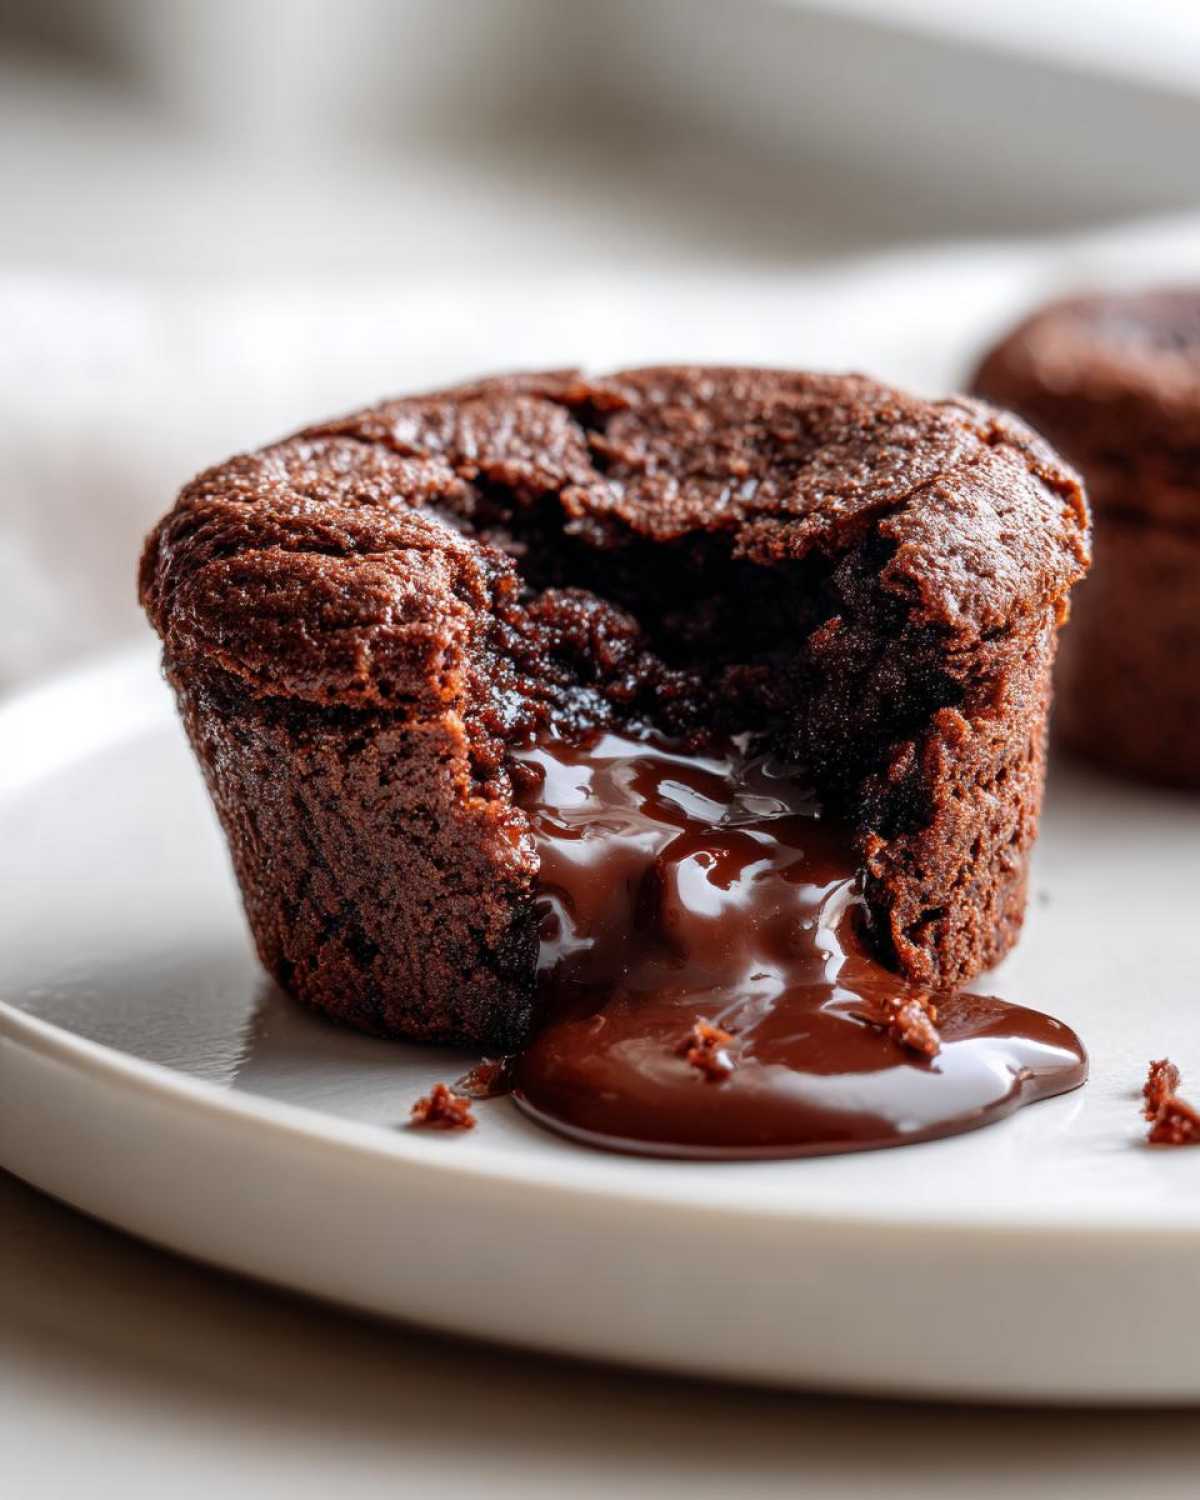
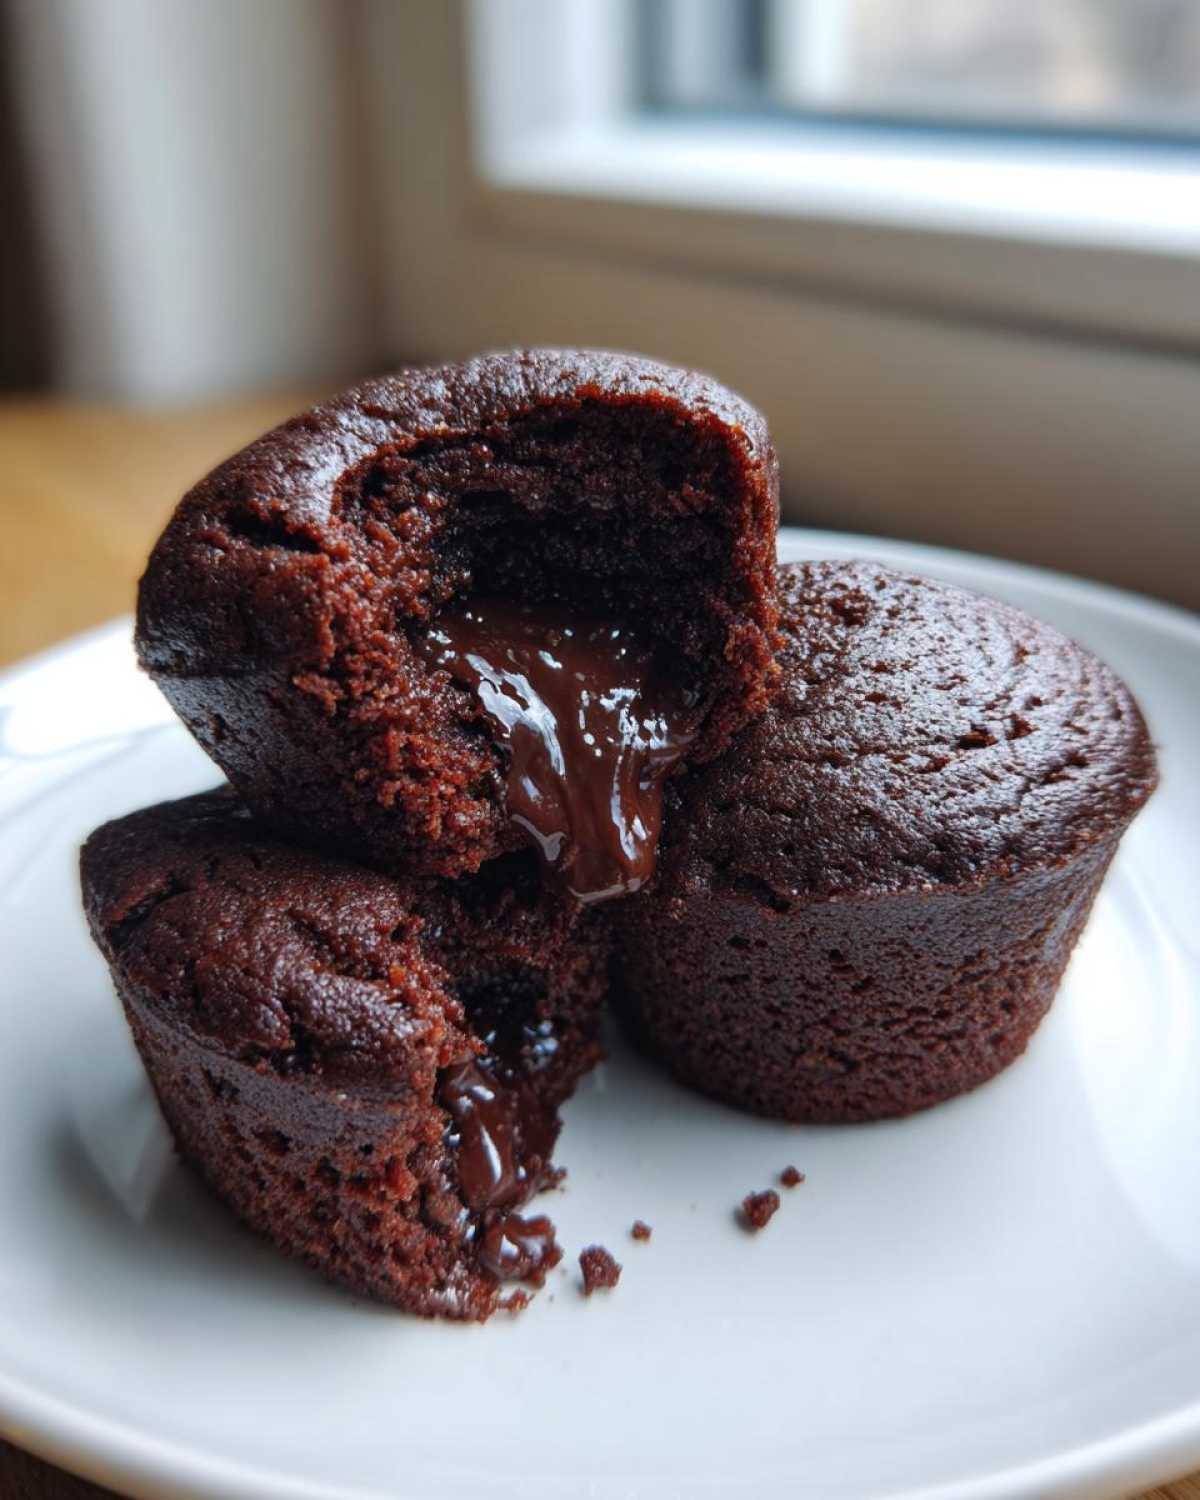
These individual, portion-controlled, and perfectly gooey Gluten-Free Chocolate Lava Brownie Cups are my new obsession. Seriously, I’m talking about a dense brownie exterior giving way to that hot, liquid center—it’s magical. After years of GF baking experiments that ended up tasting like dense bricks, I finally figured out the secret to making them beautifully fudgy every single time. Trust me, once you see that lava flow, you’ll never go back. We aren’t messing around with cakey textures here; we’re going full-on ooze!
For more on my GF baking deep dives, check out how I hid veggies in my famous bean brownies over here: secretly healthy black bean brownies.
Why This Gluten-Free Chocolate Lava Brownie Cups Recipe Works (E-E-A-T)
Okay, so gluten-free baking can be tricky, right? Most attempts at a brownie without wheat turn out like sad little cookies or heavy cakes. Not these!
The reason these Gluten-Free Chocolate Lava Brownie Cups are so successful comes down to two things: the flour choice and timing. We keep things focused, so the chocolate reigns supreme.
- They taste intensely chocolatey, not wheaty or grainy.
- The portion size means they bake fast and stay gooey!
If you want to see another amazing GF treat that avoids that dry texture, you absolutely have to check out my flourless almond butter brownies next: flourless almond butter brownies.
Achieving the Perfect Molten Center Without Gluten
This is where you need to listen closely. The magic for the lava is entirely in the oven temperature and taking them out *early*. If you let them bake until a toothpick comes out clean, you’ve made a perfect fudgy brownie, but you’ve lost the ‘lava’ part, haven’t you?
We use almond flour because it naturally adds fat and density, which keeps the structure fudgy rather than cakey. Set your timer for 15 minutes and go peek. The edges should be firm, but if you gently nudge the tin, the center needs to wobble like Jell-O. That wobble means goodness!
Essential Ingredients for Your Gluten-Free Chocolate Lava Brownie Cups
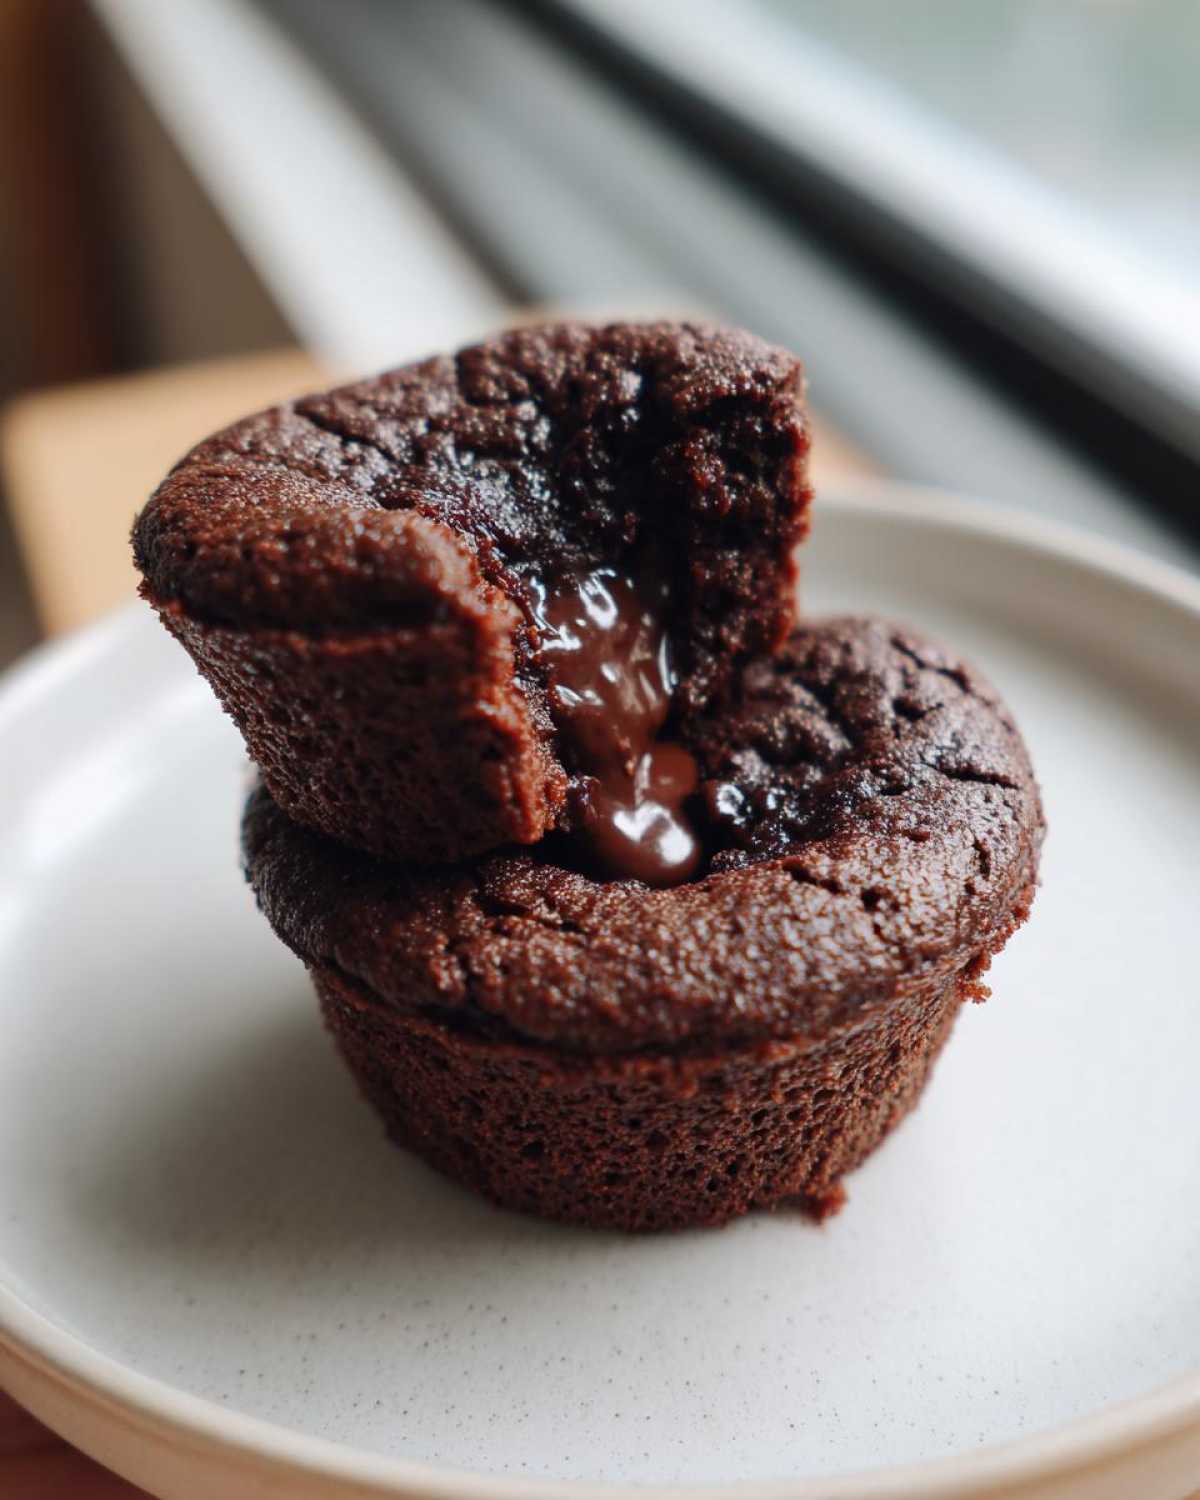
When you’re making something this decadent, you can’t skimp on the quality. Forget trying to hide the fact that these are gluten-free; we want them to taste like the richest, most intensely chocolatey dessert imaginable! These Gluten-Free Chocolate Lava Brownie Cups rely on a few key players to get that perfect texture and deep flavor.
Here’s what you need to grab before you even think about preheating the oven:
- 4 ounces unsweetened chocolate, chopped
- 1/2 cup (1 stick) unsalted butter
- 1 cup granulated sugar
- 2 large eggs
- 1 teaspoon vanilla extract
- 1/2 cup almond flour
- 1/4 cup unsweetened cocoa powder
- 1/4 teaspoon salt
- 1/2 cup semi-sweet chocolate chips (optional, for extra lava)
Gluten-Free Flour Selection and Substitutions
I know so many people have tried using those 1:1 gluten-free flour blends in brownies, and it just doesn’t give you the right fudgy result. Those blends often have too much starches that bake up a little too bouncy or cakey for what we want here.
For this recipe, we are sticking firm with almond flour. My number one tip is this: almond flour brings fat and protein to the party, which is exactly what you need to mimic the richness that wheat flour usually provides in a traditional brownie. It keeps the texture dense, moist, and wonderfully tender without feeling heavy.
If you want some deeper tips on working with this amazing flour, I wrote a whole guide on baking with almond flour brownies!
Step-by-Step Instructions for Lava Chocolate Cups Baking
Alright, let’s get these beauties into the oven! Remember, these aren’t like regular batch brownies; since they are individual Gluten-Free Chocolate Lava Brownie Cups, we need to treat the preparation with a little more focus on getting the sizing right so they bake evenly. Start by cranking your oven up to 350°F (175°C). You absolutely must grease your 12-cup muffin tin meticulously, or use liners to save your sanity later!
Next, we build that intense chocolate base. Then we fold everything together gently. Overmixing is the enemy when you’re trying to keep things fudgy, not cakey. We’re aiming for just combined—you’ll see a few streaks, that’s fine!
Spoon the batter into the cups, filling them about two-thirds full. If you want an extra surprise lava bomb in the middle, just plop three or four chocolate chips right on top of the batter in each cup before it goes in. Don’t forget to check out my quick idea for chocolate overnight oats if you need a speedy breakfast later: chocolate overnight oats.
Melting Chocolate and Butter Base
This is crucial for smooth results. Don’t just throw the chocolate and butter in the microwave hoping for the best—you’ll end up with seizing chocolate dust! I put mine in a sturdy, microwave-safe bowl and use 30-second blasts, stirring really well in between each one. It might seem slow, but trust me, you keep stirring until you think it’s done, and then stir it ten more times until it’s baby-smooth and glossy.
Once that base is perfect, whisk in the sugar quickly, then beat in your eggs—one at a time—and the vanilla. We want that mixture emulsified nicely before the dry stuff joins the party.
The Critical Bake Time for Gooey Center Brownie Cups
Here is the make-or-break moment. Once the batter is evenly distributed, slide that tin in and set a timer for 15 minutes. Resist the urge to open the door before then! You are looking for edges that look set—like a set cheesecake edge. However, if you gently tap the side of the tin, the very center of the cup must still look soft and jiggle a bit.
If a toothpick comes out dry on the first check, they are overbaked! Pull them out immediately and let them cool in the pan for exactly 10 minutes. That residual heat finishes the edges while keeping the center perfectly molten.
Tips for Perfect Gluten-Free Chocolate Lava Brownie Cups Presentation
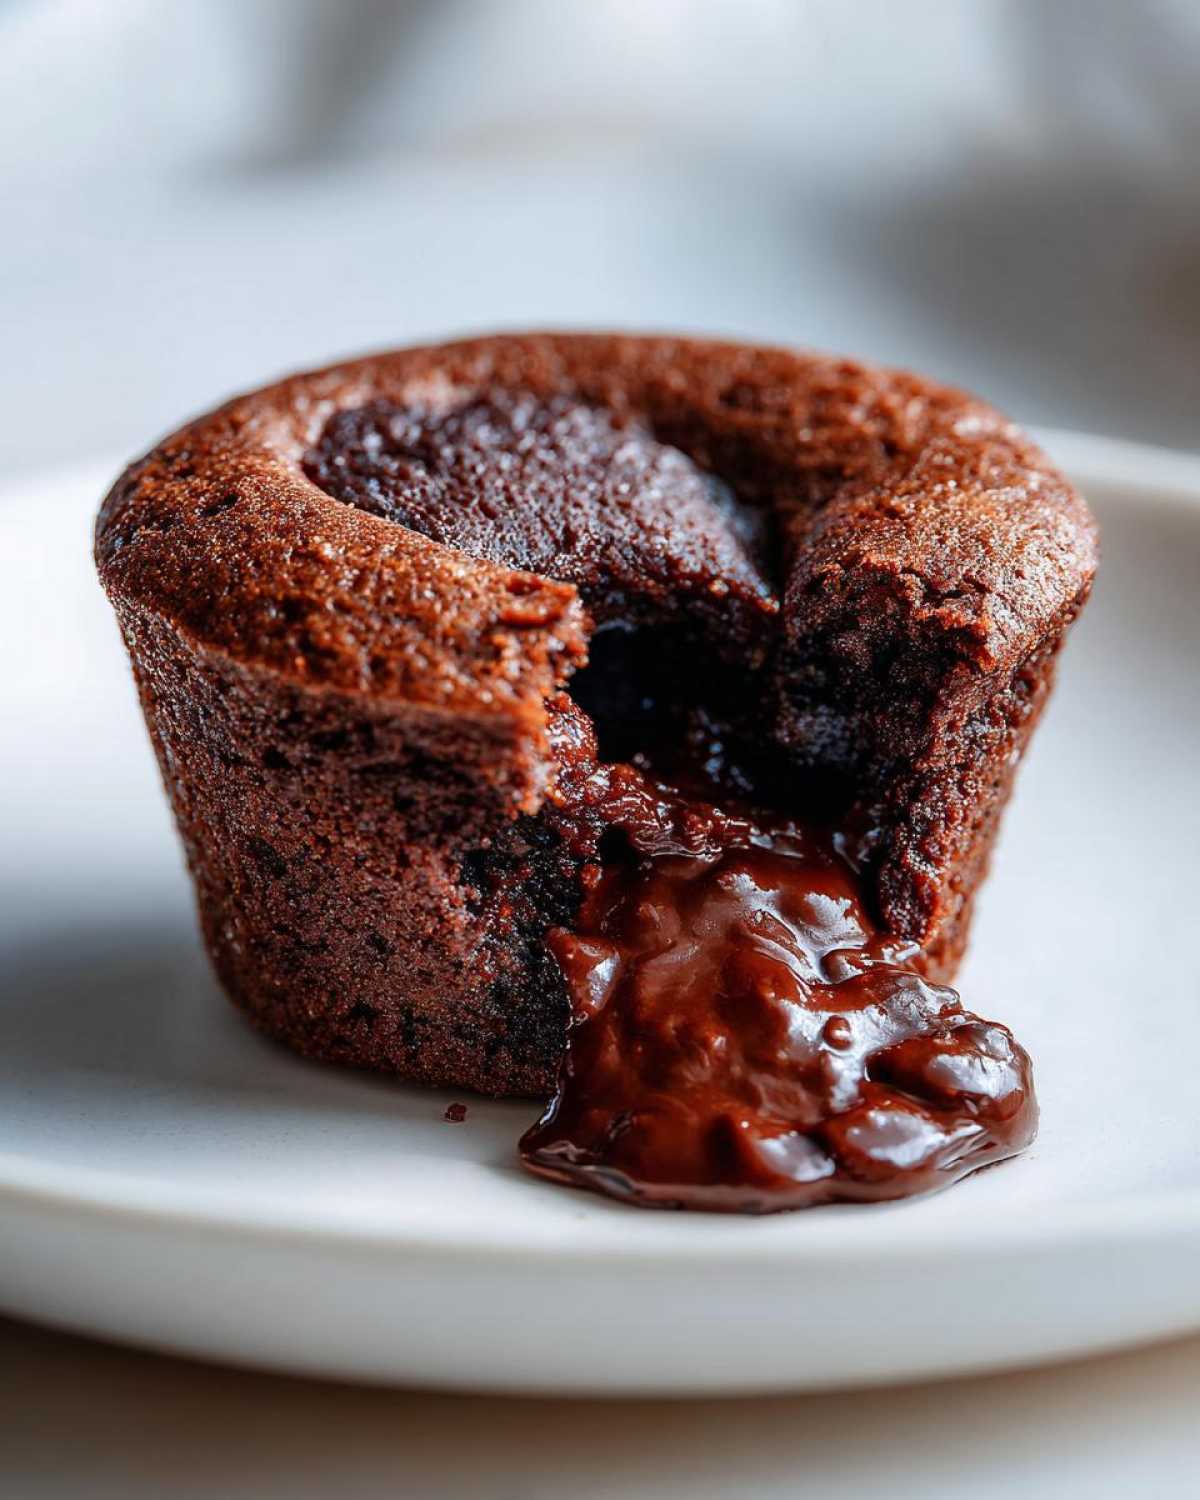
Okay, so you nailed the baking—that’s half the battle with any molten dessert! Now, presentation is everything, especially when dealing with something as delicate as these Gluten-Free Chocolate Lava Brownie Cups. The biggest mistake people make is trying to unmold them straight out of the oven. Don’t do it, or you’ll end up with a rich chocolate puddle!
You have to let them cool in that hot muffin tin for about 10 minutes. That small window allows the edges to firm up just enough so they can hold their shape as they transition out. If you used liners, peel those back carefully. If you didn’t, use a small offset spatula, but be gentle!
I always serve these warm, not piping hot. When they are piping hot, the center just runs right out onto the plate immediately. When they are warm (maybe 15 minutes after coming out of the pan), you get that satisfying thick, gooey ooze when you cut into them. If you want an amazing pairing idea that contrasts the rich chocolate beautifully, take a look at my recipe for the best soft chewy chocolate chip cookies—sometimes I make both!
Serving Suggestions for Your Molten Brownie Recipe GF
Honestly, when you pull these Gluten-Free Chocolate Lava Brownie Cups out, they’re already doing most of the heavy lifting—they are intense! But if you want to dress them up for guests, a little sprinkle of flaky sea salt right on top makes the chocolate flavor just sing. It sounds simple, but trust me, it cuts through the richness perfectly.
For pairings, you need something cold and creamy to contrast that warm center. A small scoop of vanilla bean ice cream is my go-to; the cold melts the lava! Fresh raspberries or strawberries add a lovely tartness that cuts the deep chocolate notes beautifully. And if you’re feeling ambitious, a tiny dollop of homemade light frosting is amazing. You can find my super easy recipe for vanilla buttercream frosting home right here.
Storage and Reheating Instructions
I really hope you don’t have leftovers, because these are best eaten seconds after they come out of the oven! But hey, life happens, and sometimes you just can’t eat twelve molten bites in one sitting. If you do manage to save some of these gooey center brownie cups, storage is actually pretty straightforward.
Keep them in an airtight container at room temperature, not in the fridge! Putting them in the refrigerator is where fudgy dreams go to die; the cold temperature causes the texture to firm up way too much. They should keep okay on the counter for two or maybe three days. If you think they’re getting stale, don’t throw them out!
The reheating process is key to getting that lava center back. You only need a microwave for this job, and honestly, you want to use it sparingly. Pop one cup onto a microwave-safe plate.
Heat it for just 10 to 15 seconds on medium-low power. Seriously, check it at 10 seconds. If you microwave it too long, you’re going to cook that molten middle solid, and then it’s just a regular (though still delicious) gluten-free brownie bite. The goal is just warming it through until everything slightly softens and the chocolate starts to melt again.
If you’re looking for other make-ahead or storage-friendly chocolate bakes, my chocolate chip pumpkin bars are fantastic for batch cooking, especially in the fall. You can find the instructions right here: chocolate chip pumpkin bars easy fall baking.
Frequently Asked Questions About Individual Chocolate Brownie Bites
I always get the same questions when people try this recipe for the first time—totally understandable when you’re aiming for that perfect lava flow in individual portions! Here are the things I hear most often about making these Gluten-Free Chocolate Lava Brownie Cups.
Can I make these Gluten Free Chocolate Desserts ahead of time?
This is tough, folks! Because the lava center depends on that precise level of underbaking, making these more than a day ahead means the center is going to firm up into a fudgy texture when cooled. You *can* bake them fully and store them, but you will lose the molten effect unless you reheat them carefully, as I mentioned above. For the true lava experience, I really recommend baking them the day you plan to serve them.
Can I substitute the almond flour in this Rich Brownie Recipe Without Wheat?
Oh, I wish I could say yes, but that almond flour is doing some heavy lifting here! It’s responsible for so much of the density that keeps these from turning into cake when we skip the wheat. If you absolutely can’t use almond flour, you might be able to try a quality, fine-ground oat flour, but you’ll probably need to adjust the wet ingredients a bit because the absorption rate is different. Be warned: your texture will change. If you want a different type of fudgy GF bomb, maybe try my black bean brownies recipe instead; you can find that science experiment here: black bean brownies fudgy easy healthy recipe.
How do I stop the tops from cracking too much?
Sometimes, even with GF baking, if the sugar melts too quickly or the oven heat is too intense on the top layer before the inside sets, you get fissures. My secret is a tiny bit of extra foil tenting over the top for the last 3 minutes of baking, but honestly, a tiny crack just means it’s homemade, right? A little crack is better than a huge sinkhole!
Estimated Nutritional Data for Gluten-Free Chocolate Lava Brownie Cups
Look, I’m a baker, not a certified nutritionist, so take these numbers with a grain of salt—or maybe a dusting of powdered sugar! Because these Gluten-Free Chocolate Lava Brownie Cups are so rich, they definitely pack a punch in terms of flavor and decadence compared to standard snack food.
The values I’m providing are based on the exact quantities listed in the recipe above, assuming you get 12 servings. Remember, adding extra chocolate chips or serving them with a scoop of ice cream changes the whole picture!
Here is my best estimate for the raw nutrition profile:
- Serving Size: 1 cup
- Calories: 250
- Sugar: 20g
- Sodium: 80mg
- Fat: 16g
- Saturated Fat: 9g
- Unsaturated Fat: 5g
- Trans Fat: 0g
- Carbohydrates: 25g
- Fiber: 2g
- Protein: 5g
- Cholesterol: 70mg
Because we are using almond flour, some of the fat content is healthier fats, which is a bonus! But still, these are for treating yourself, not for eating every day!
For the full legal breakdown and more context on how these numbers are calculated based on standard ingredient databases, you can read my page about my site’s general disclosures here: general legal disclosure. Just enjoy the gooey center!
Share Your Best Gluten Free Muffin Tin Brownies Experience
Wow, we made it! I’m so excited for you to experience that first forkful of gooey, fudgy, intensely chocolatey goodness. This journey into the world of Gluten-Free Chocolate Lava Brownie Cups is meant to be shared!
Did you try the optional extra chocolate chips in the center? How did your baking time turn out? I want to hear all about your experience making these individual brownie bites!
Please, don’t be shy. If you made these, I would absolutely love it if you left a rating right here on the page. A star rating helps other bakers know they can trust this recipe when their chocolate craving hits hard!
If you snapped a picture of that perfect lava flow, please tag me on social media. Seeing your creations is seriously the highlight of my week. It proves that baking decadent goodies without gluten is not only possible, it’s absolutely heavenly!
Head over to my main blog page if you’re looking for more cookie and bar adventures that everyone in the family (gluten-free or not!) will obsess over.
PrintGluten-Free Chocolate Lava Brownie Cups
Bake individual, rich chocolate brownie cups with a warm, gooey molten center using this gluten-free recipe.
- Prep Time: 15 min
- Cook Time: 18 min
- Total Time: 33 min
- Yield: 12 cups
- Category: Dessert
- Method: Baking
- Cuisine: American
- Diet: Gluten Free
Ingredients
- 4 ounces unsweetened chocolate, chopped
- 1/2 cup (1 stick) unsalted butter
- 1 cup granulated sugar
- 2 large eggs
- 1 teaspoon vanilla extract
- 1/2 cup almond flour
- 1/4 cup unsweetened cocoa powder
- 1/4 teaspoon salt
- 1/2 cup semi-sweet chocolate chips (optional, for extra lava)
Instructions
- Preheat your oven to 350°F (175°C). Grease and line a standard 12-cup muffin tin with paper liners or lightly grease the cups well.
- Place the chopped chocolate and butter in a microwave-safe bowl. Microwave in 30-second intervals, stirring between each, until completely melted and smooth.
- Whisk the sugar into the melted chocolate mixture until combined.
- Beat in the eggs one at a time, mixing well after each addition. Stir in the vanilla extract.
- In a separate bowl, whisk together the almond flour, cocoa powder, and salt.
- Gradually add the dry ingredients to the wet ingredients, mixing only until just combined. Do not overmix.
- Spoon the batter evenly into the prepared muffin cups, filling each about two-thirds full. If using, press a few extra chocolate chips into the center of each cup.
- Bake for 15 to 18 minutes. The edges should look set, but the center should still appear slightly soft and jiggly. This underbaking creates the lava center.
- Remove the tin from the oven and let the cups cool in the tin for 10 minutes before carefully transferring them to a wire rack to cool slightly more.
- Serve warm for the best molten effect.
Notes
- For easy removal, use parchment paper liners or ensure your muffin tin is very well greased.
- Do not overbake; the difference between a fudgy brownie and a lava center is only a minute or two.
- Almond flour provides the best texture for this gluten-free recipe.
Nutrition
- Serving Size: 1 cup
- Calories: 250
- Sugar: 20
- Sodium: 80
- Fat: 16
- Saturated Fat: 9
- Unsaturated Fat: 5
- Trans Fat: 0
- Carbohydrates: 25
- Fiber: 2
- Protein: 5
- Cholesterol: 70