

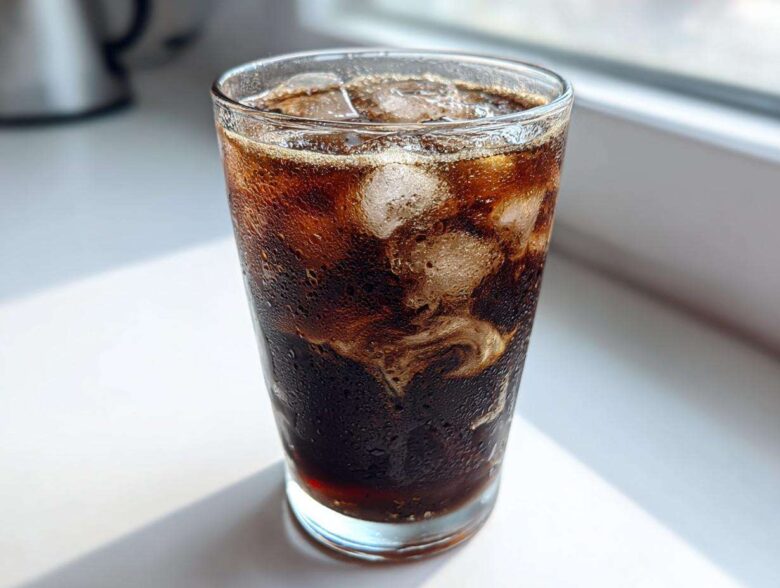
Oh my gosh, when that summer heat hits, nothing—and I mean *nothing*—beats the chill of a perfect coffee drink that tastes like it came straight from that fancy café downtown. Forget those complicated syrups and stirring for ages! I spent way too many scorching afternoons trying to perfect this, and I finally nailed it. This is seriously the easiest and quickest way to achieve a rich, balanced **Iced Mocha** right in your own kitchen. It’s my absolute go-to summer treat, and trust me, it only takes about five minutes from start to finish.
Why This Is the Best Homemade Iced Mocha Recipe
I’ve tried so many ways to make a cold coffee drink, especially when I’m desperate for caffeine and chocolate, but this one always wins. It’s the perfect harmony between the strong coffee kick and the deep chocolate flavor that makes it the best iced mocha at home, really. I love that I don’t have to wait around for anything to steep or chill for hours. It just works!
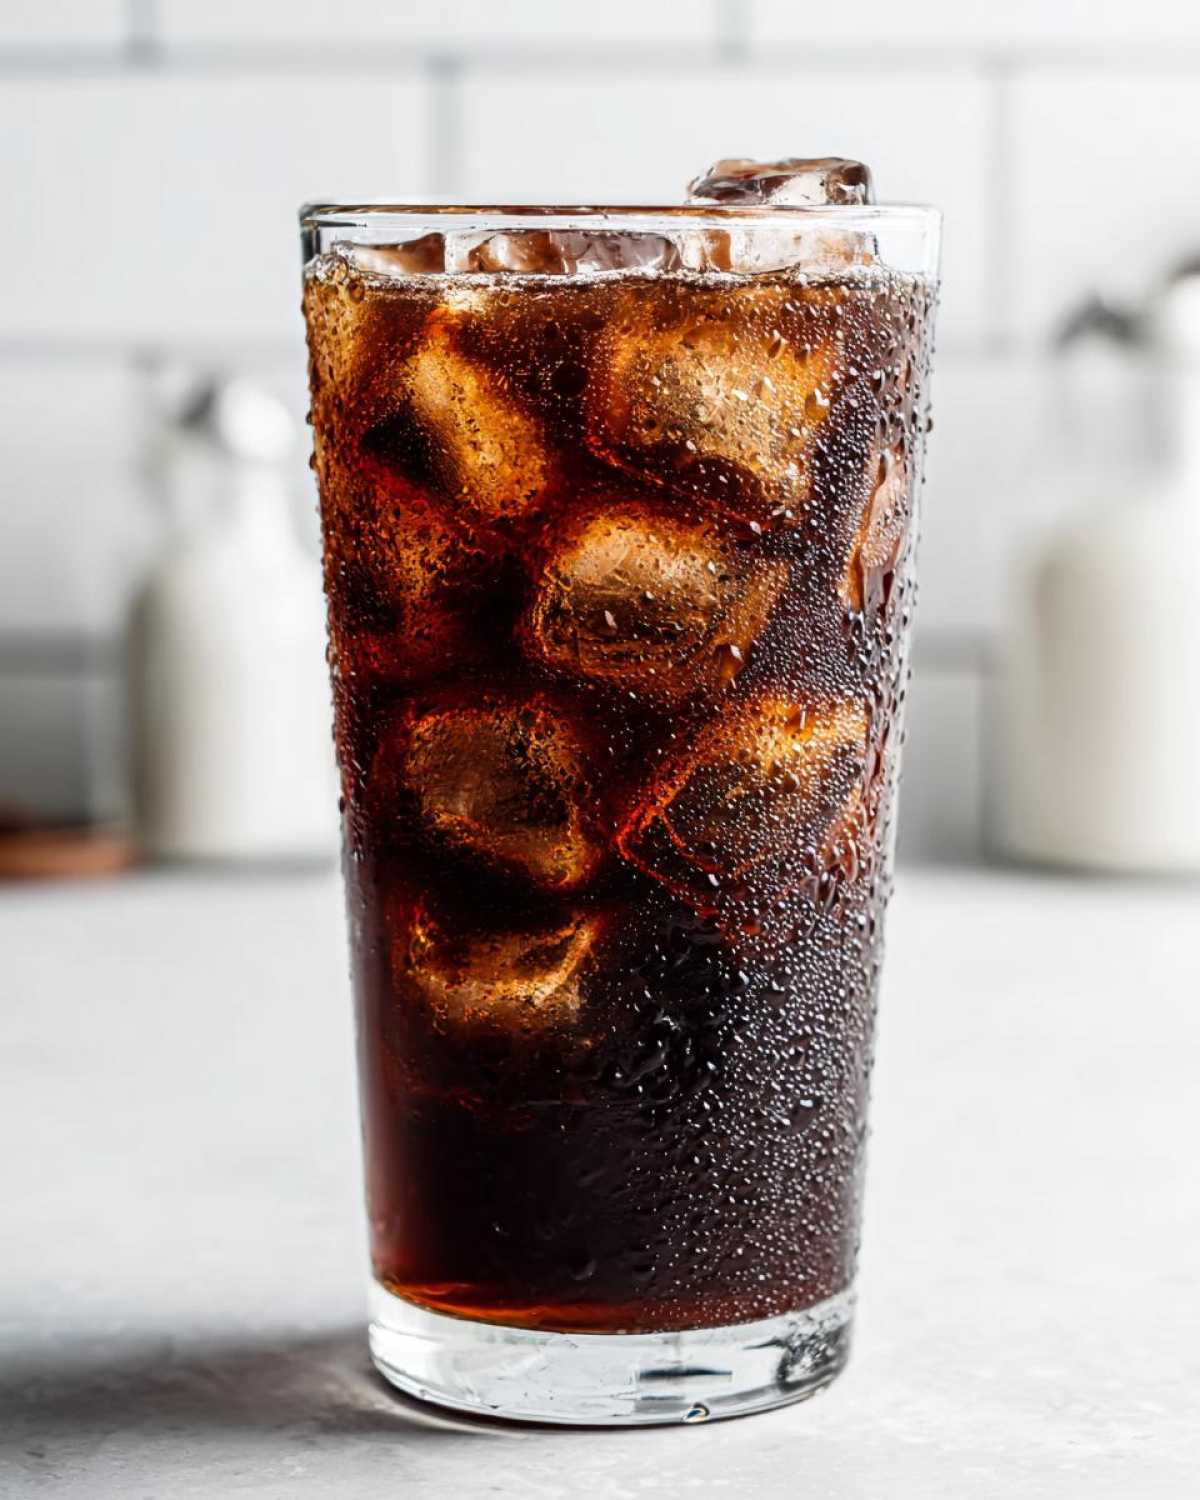
- The ratio of coffee to milk is spot-on, so it never tastes weak or watered down.
- It’s flexible! You can use whatever coffee you have on hand.
- These are truly quick iced coffee drinks—perfect for when you need that afternoon pick-me-up ASAP.
It’s so simple that even if you usually rely on coffee shops, you’ll be whipping this up in no time. For more great tips and tricks, check out the main blog archives!
Speed and Simplicity: An Easy Iced Mocha Recipe
Seriously, the biggest win here is the time commitment. Prep time is five minutes, and total time is five minutes. That’s it! You don’t need fancy equipment, either. This is an easy iced mocha recipe, built from the ground up for the busiest days. If you can stir milk and coffee together, you can make this.
Gathering Your Ingredients for the Perfect Iced Mocha
Okay, the magic starts right here with what you use. Don’t stress, you probably have everything needed already! We are aiming for that amazing flavor balance that makes this a truly Iced Mocha experience, not just sweet brown milk. The real key here is the coffee—it has to pack a punch to stand up to the chocolate, so strong is always better!
- We need 1 cup of very strong brewed coffee or about two shots of espresso. But listen, that coffee absolutely *has* to be cooled down first! Warm coffee melts the ice immediately, and nobody wants a watery disaster.
- Next up is your milk. You need 1 cup, and this is where we can get flexible.
- For the chocolate factor, I generally use 2 tablespoons of chocolate syrup because it mixes in instantly.
- A tiny splash of vanilla extract (about 1/2 teaspoon) really bumps up the richness, but it’s totally optional if you don’t have it.
- And of course, 1 cup of ice cubes to lock in that frosty temperature!
Ingredient Notes and Substitutions for Your Iced Mocha
This is where you make it your own! If you’re going dairy free iced mocha or aiming for a vegan iced mocha, just swap out regular milk for oat, almond, or soy. Oat milk is my personal favorite because it’s creamy and doesn’t water down the flavor at all.
Now, about the chocolate: If you don’t have syrup, you can use cocoa powder. But don’t just dump it in! If you use 1 tablespoon of cocoa powder, you need to mix it with 1 tablespoon of sugar and a tiny bit of hot water or hot coffee first. Make a tiny, thick paste! This step is vital—it prevents those annoying little lumps of dry cocoa powder from floating sadly in your perfectly chilled drink later. Trust me on this ‘chocolate mixture’ step.
Step-by-Step Instructions for Your Iced Mocha
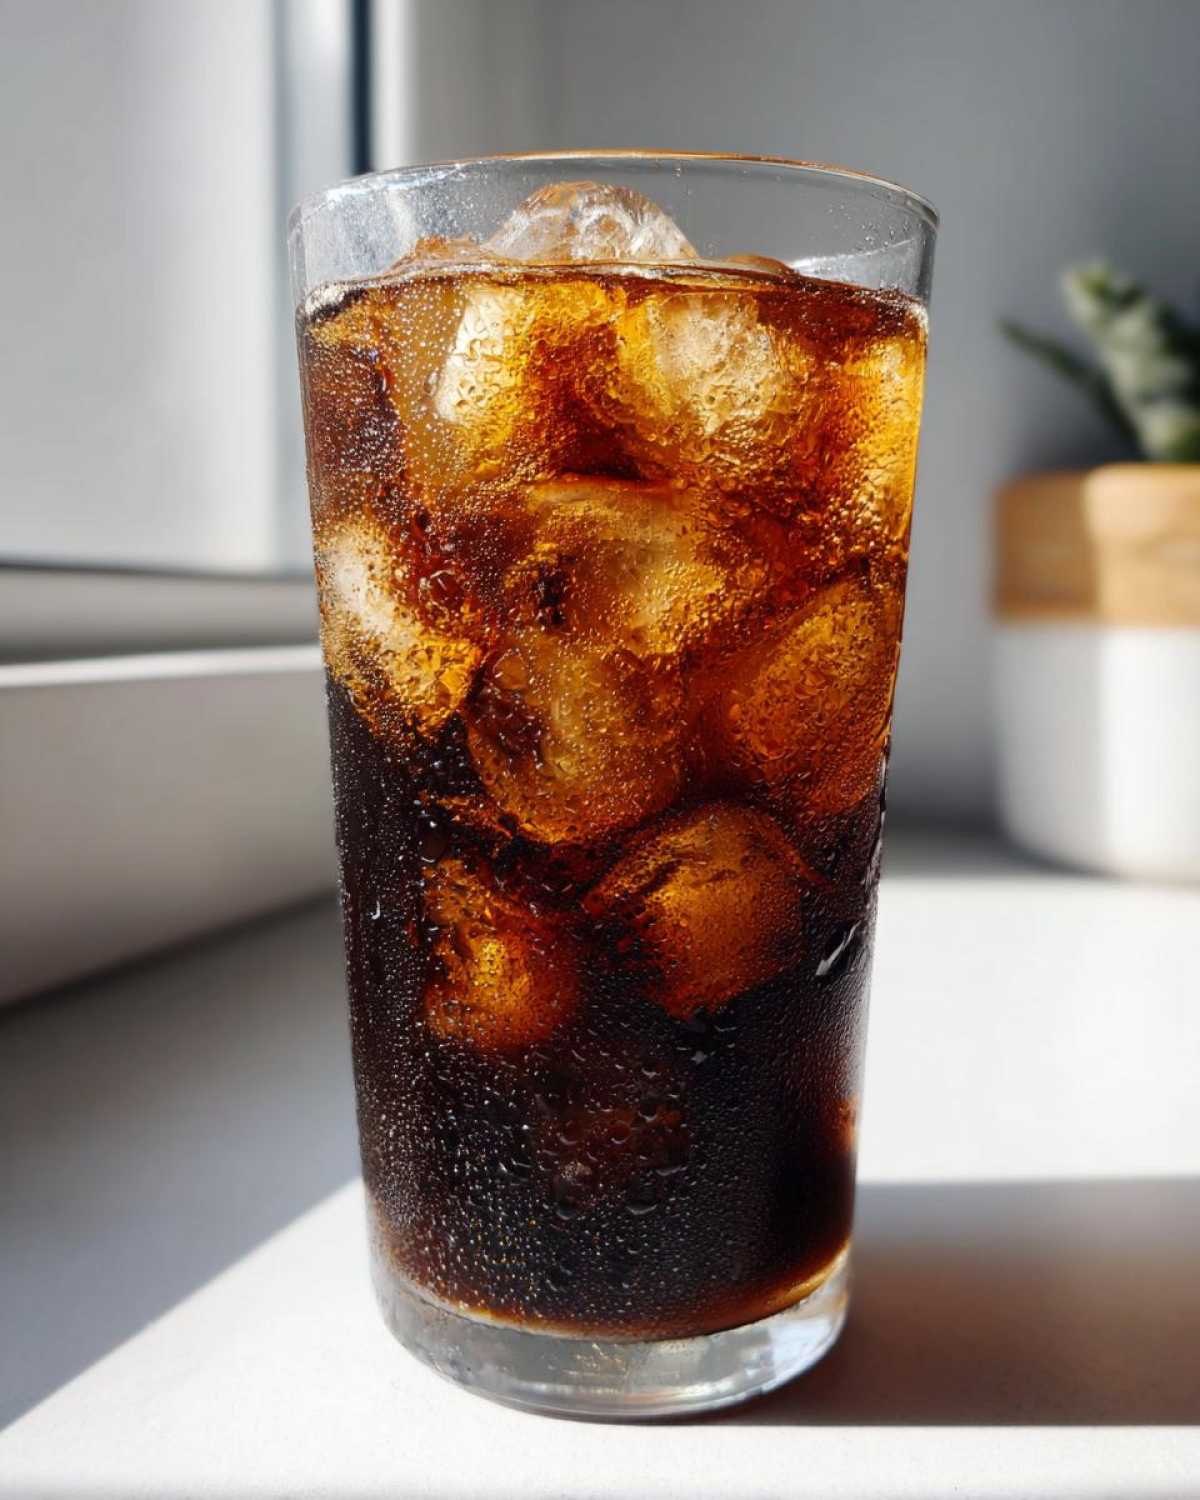
Alright, the moment of truth! Since all our ingredients—especially that coffee—are nice and cool, this part goes by in a flash. You can use a tall glass and a spoon, or if you like a little drama (I know I do!), grab a cocktail shaker. Remember, if you used iced coffee with brewed coffee or espresso, make sure it’s not steaming hot, or you’ll lose all that glorious ice!
- First things first: take your chocolate. If you decided to use the cocoa powder route, seriously, don’t skip this prep work. Mix that cocoa powder and sugar with just a spoonful or two of hot coffee until you get a super smooth, thick paste. If you’re using iced mocha with chocolate syrup, you get to skip straight to step two, lucky you!
- Now, get your main flavors together. In your glass or shaker, combine that cooled coffee, your milk choice, the dissolved chocolate paste (or the syrup!), and that hint of vanilla if you’re feeling fancy.
- Stir it like you mean it, or shake it until your arms get tired—we need that chocolate totally gone, fully incorporated into the coffee and milk.
- Time for the chill factor! Grab your glass and fill it right up to the top with ice cubes. Don’t be shy with the ice; it keeps things cold longer.
- Pour that gorgeous mocha mixture right over the ice. Give it one final, quick stir to make sure the bottom isn’t suddenly super sweet while the top is weak.
And boom, you’re done! Seriously, that’s it for the basic version. If you want to check out a fun recipe for making chocolate-flavored breakfast ahead of time, you should totally look at my chocolate overnight oats post—great for pairing with your mocha!
Tips for Achieving a Rich Chocolate Coffee Drink
The texture and richness rely almost entirely on making sure that chocolate disintegrates properly. If you skimp on making that initial chocolate paste when using cocoa powder, you’ll end up with little bitter chunks, and that is just a tragedy. You want that velvety smooth mouthfeel where the chocolate flavor blooms evenly with the strong coffee.
For richness, make sure your coffee concentrate is truly strong. If you use weak coffee, the milk and ice will wash out the flavor, and you’ll just end up with sweet iced milk instead of a decadent rich chocolate coffee drink. Don’t be afraid to add an extra teaspoon of syrup if you like things extra sweet or intense!
Customizing Your Iced Mocha: Variations and Flavor Twists
The best part about making your own Iced Mocha is that you are the boss of every drop that goes in! If you want to stick to our base recipe but need it plant-based, it’s super easy to make a fantastic dairy free iced mocha or vegan iced mocha. Just use oat milk or soy milk—they handle the richness way better than watery rice milk, in my opinion.
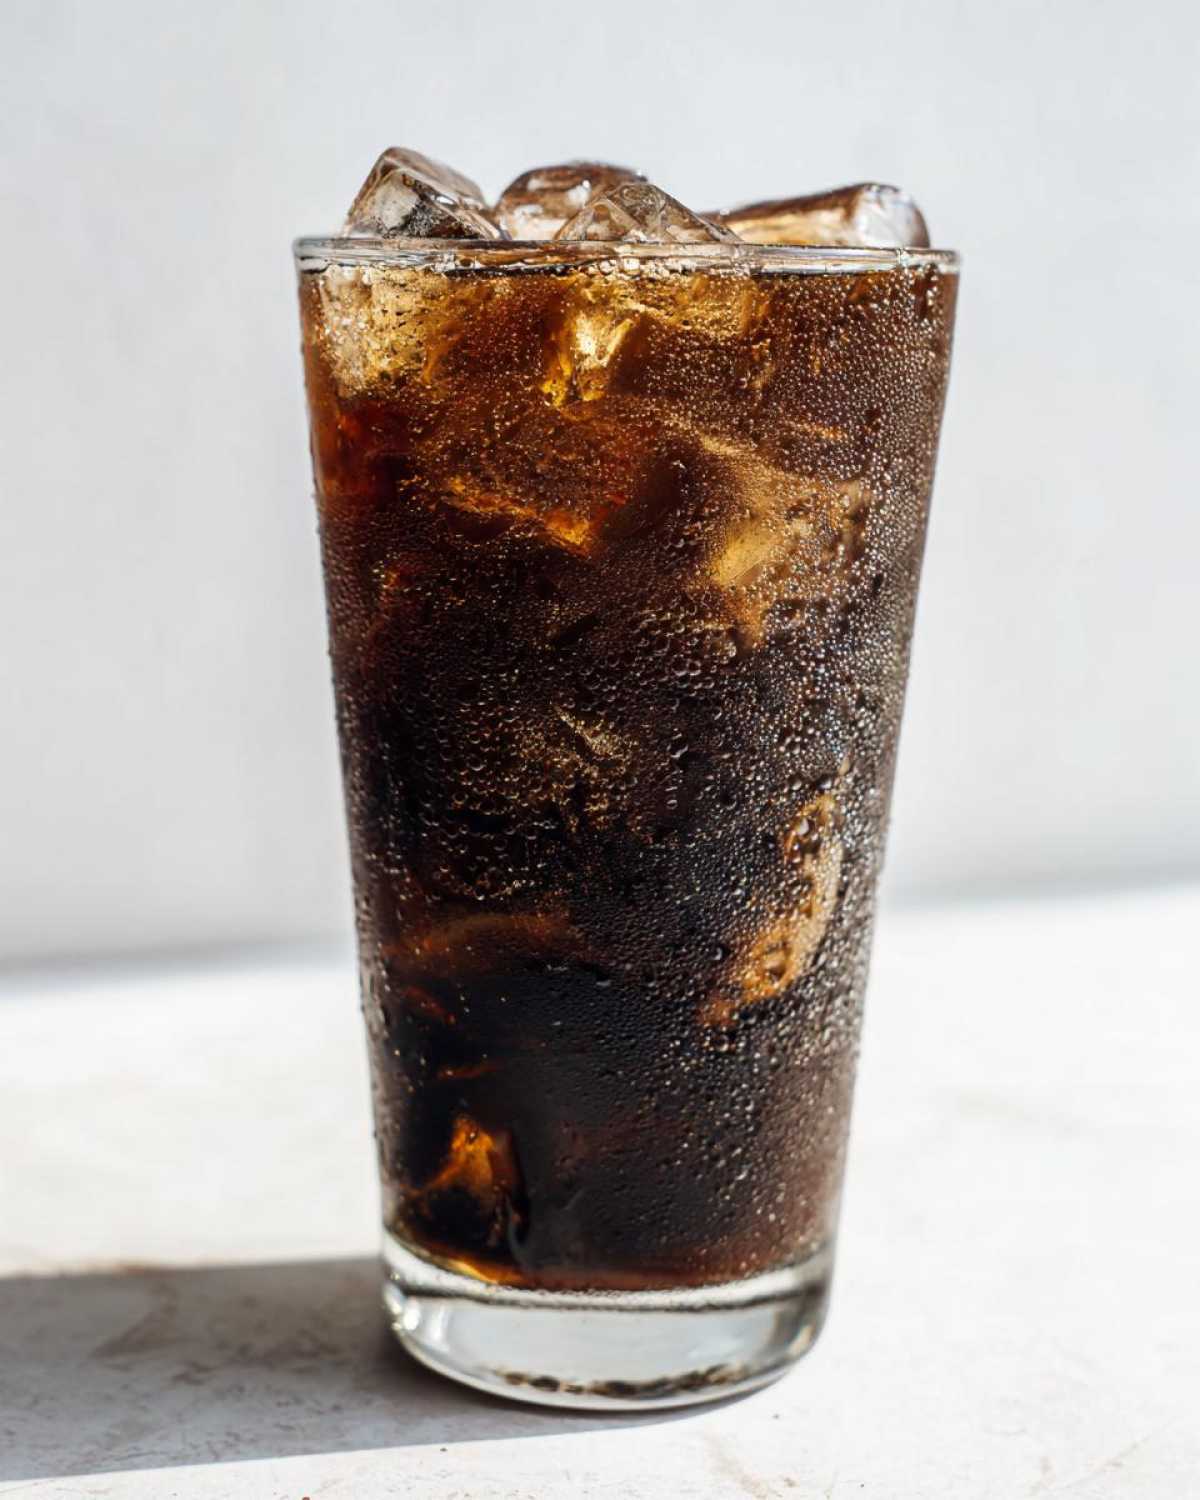
If you’re feeling like something festive or just craving extra decadence, grab some of those flavor syrups you might have lying around. A pump of caramel or even a hint of peppermint extract transforms this into something really special. It’s like getting a custom drink without the custom price tag!
And what if you want that ultra-thick, almost milkshake-like experience? That’s when we go for the frappe style iced mocha! Don’t spend money buying fancy mixers. For this, you just skip the part where you shake it. Instead, toss all your liquid ingredients—the coffee, milk, and any sweeteners/syrups—into a blender with plenty of ice. Blend it until it’s totally smooth and airy. You might need to add a tiny bit more ice and slightly decrease the milk to get that perfect thick consistency. It’s dangerously good, like a healthy version of a coffee dessert!
If you love baking alongside your coffee, you should totally check out my recipe for vanilla buttercream frosting at home—sometimes a dollop of homemade whipped cream on top of the mocha is just heavenly!
Equipment Needed for Making an Iced Mocha
The equipment list for this Iced Mocha is thankfully short, which is part of why it’s such a great recipe for beginners. You definitely don’t need a fancy espresso machine or one of those giant blenders that cost a fortune, though you can certainly use them if you have them!
For the basic stirred version, here’s what I usually grab right out of the cupboard:
- A Tall Glass: You need space for all that ice, so skip the tiny tumblers. About 12 to 16 ounces is perfect.
- A Spoon or Whisk: Something long-handled is helpful for stirring everything thoroughly, especially if you’re mixing the chocolate from scratch at the bottom of the glass.
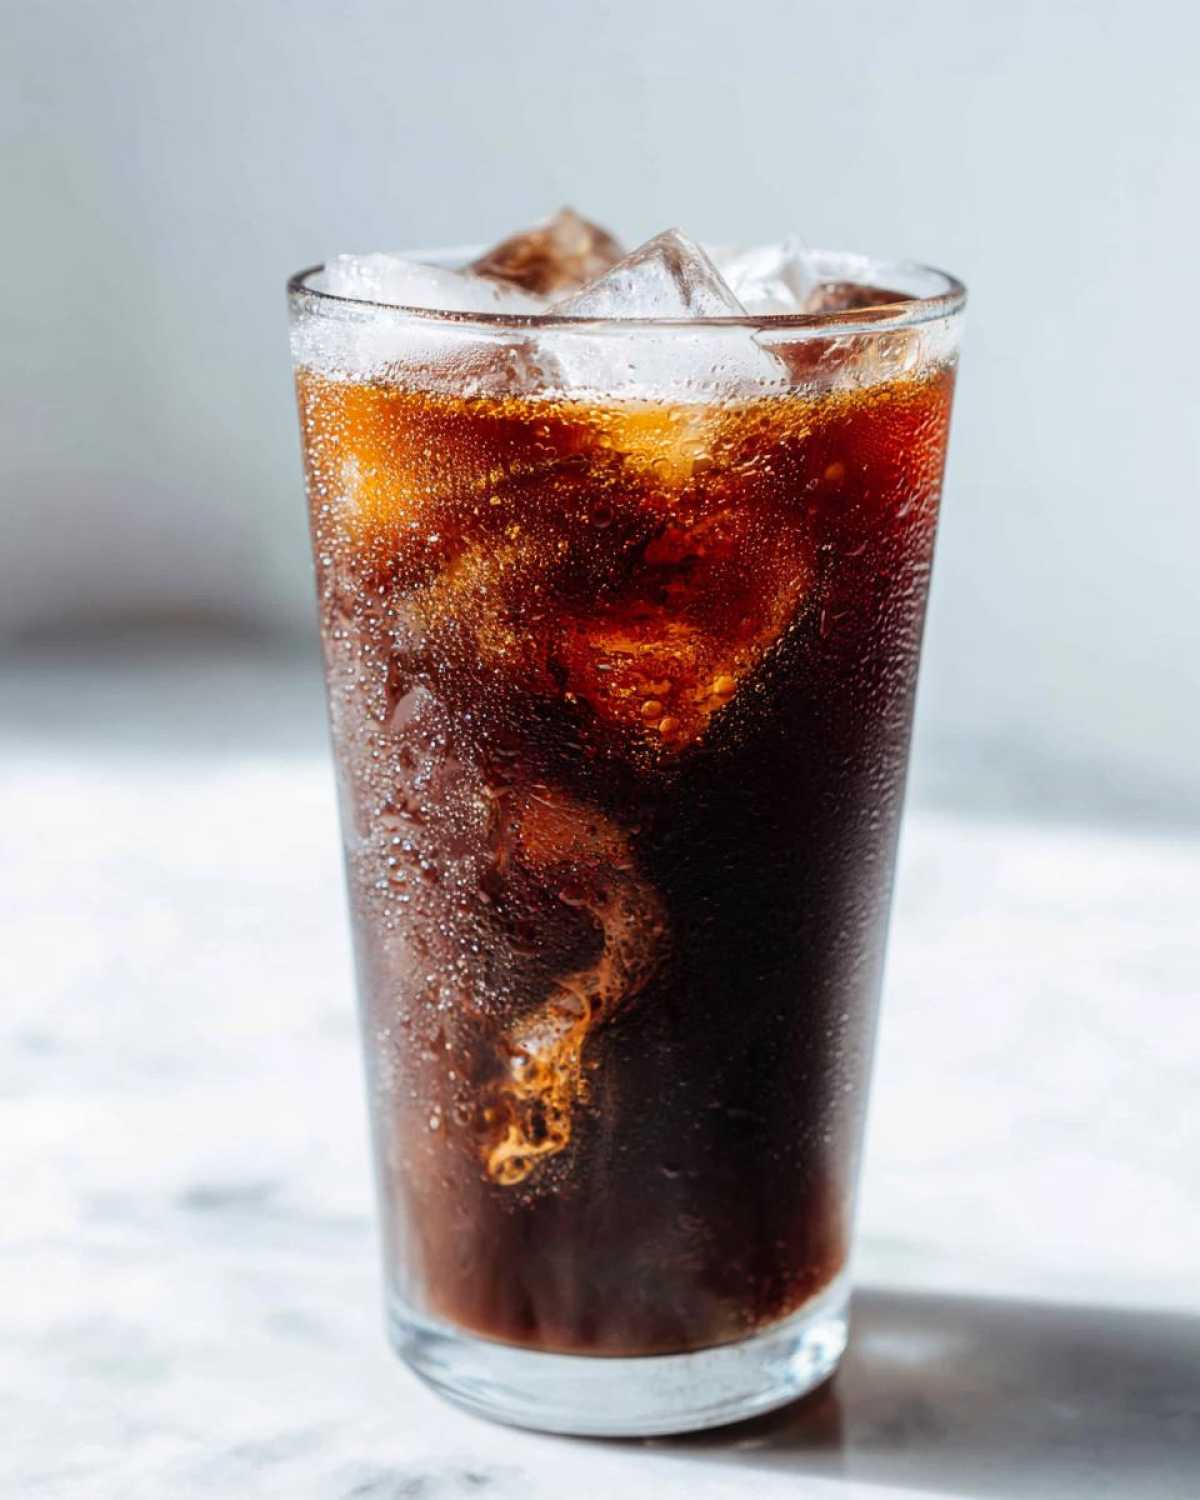
Now, if you are looking to upgrade to that blended experience—the true chiller or frappe style—then you’ll need a standard kitchen blender. When you blend, make sure the lid is tight because that ice can get everywhere! It helps to put the liquid ingredients in first, then the ice on top before you press that button. That way, the blades get going before they try to chop those big ice cubes.
If you prefer shaking to stirring, a cocktail shaker works wonderfully or even just a mason jar with a tight-fitting lid. Shaking is great because it cools down all the ingredients together really fast, giving you instant frostiness before you even add the ice!
Storage and Serving Suggestions for Your Iced Mocha
Okay, let’s talk about how to keep things perfect here. The honest truth is that this Iced Mocha really loves to be drunk right away! As soon as that beautiful mixture hits the ice, it starts its countdown to becoming less frosty, so don’t make it ahead of time.
The real hack for speed later? Keep your coffee concentrate brewed and chilled! Make a big batch of the strong coffee (or espresso shots) and keep it in the fridge. Then, when that craving hits, you’re only mixing milk and chocolate—instant satisfaction!
For serving, presentation counts! If you’re feeling ambitious, top it with a swirl of homemade whipped cream and a light dusting of cocoa powder or some dark chocolate shavings. If you want a quick topping idea, check out my recipe for vanilla buttercream frosting recipe—it whips up fast if you need something decadent!
Troubleshooting Common Iced Mocha Issues
Even with the easiest recipe, sometimes things go a little sideways! Don’t panic if your Iced Mocha isn’t perfect the first time. We’ve all been there, and these little setbacks are just opportunities for future iced mocha hacks!
If your drink tastes too watery, it almost always means one of two things: either your coffee wasn’t strong enough to begin with, or you let it sit too long before drinking. My fix is to always use those ice cubes as the final step—pour the liquid *over* the ice, don’t mix the liquid and ice together too aggressively before pouring. If the flavor is too weak, you just need a stronger coffee concentrate next time, or maybe add an extra half tablespoon of chocolate syrup.
And if you see those awful little clumps of chocolate at the bottom? That means you skipped the cocoa paste technique! If that happens mid-drink, just grab a longer spoon and aggressively mash those clumps against the side of the glass until they dissolve. It takes a bit of work, but it saves the whole drink!
Frequently Asked Questions About Making an Iced Mocha
I always get asked the same things whenever I post pictures of my summertime coffee drinks! Since this is the go-to method for the best iced mocha at home, I’ve rounded up a few common questions. If you have any other burning queries, check out the recipes over in the breakfast section!
Can I use instant coffee instead of brewing coffee or espresso?
You absolutely can! If you need an even faster version of this quick iced coffee drink, instant coffee is a great shortcut. The key is to use slightly less water than the recipe tells you to, so you’re making a very strong concentrate. You want about 1 teaspoon of instant coffee dissolved in 2 tablespoons of hot water to mimic that strong brewed coffee flavor. It skips a step, but it’s totally effective for a delicious Iced Mocha!
What is the best milk choice for a creamy iced mocha?
For the creamiest texture, especially if you skip the blender, I highly recommend oat milk or whole dairy milk. They both have a higher fat content, which cuts through the bitterness of the coffee and thickens up the drink slightly without needing a lot of added sugar. This keeps your homemade iced mocha tasting rich and luxurious!
How can I make my iced mocha recipe a lot sweeter without adding sugar or syrup?
That’s an interesting challenge! If you’re trying to cut back on refined sweeteners, the best hack is to focus on the chocolate itself—use a good quality chocolate syrup that relies on corn syrup or higher-fructose content, as those often taste sweeter at lower concentrations than plain sugar. Also, make sure your coffee isn’t too dark roast; sometimes a medium roast tastes naturally sweeter when chilled, meaning you need less sugar overall to balance it out.
Is it better to use chocolate syrup or cocoa powder for this recipe?
For an absolute beginner looking for speed, I say use the chocolate syrup. It blends instantly. However, if you want a deeper, more complex chocolate flavor—more like a true old-fashioned chocolate shop—using the cocoa powder paste is superior. That paste brings out a richness that syrup sometimes lacks. Just remember the paste step is non-negotiable if you go that route!
Estimating Nutrition for Your Homemade Iced Mocha
Now, I know what you’re thinking! When we’re whipping up something this delicious, who actually cares about the nutrition facts? I certainly don’t usually count calories when I’m trying to beat a summer heatwave, but I figured since the recipe is so straightforward, we should look at what’s generally going into that tall glass. Keep in mind, these numbers are my best guess based on using standard whole milk and a typical commercial chocolate syrup, so they are just estimates!
If you use almond milk or swap out the sugar content, these figures will change, but it gives you a good baseline for this amazing Iced Mocha serving.
- Serving Size: 1 drink
- Calories: About 250
- Fat: Around 8 grams (this changes a ton based on your milk!)
- Carbohydrates: Roughly 35 grams
- Sugar: Close to 30 grams (that’s a sweet drink, folks!)
- Protein: Around 10 grams
So yeah, it’s a treat! It packs a little bit of everything, but mostly it packs a punch of cold, chocolatey caffeine that tastes just like freedom on a hot day. If you want to see similar nutritional info for my other sweet recipes, you can peek at my vanilla buttercream frosting recipe post—though that one definitely runs higher on the sugar scale!
PrintSimple Iced Mocha Recipe

Make a rich, cold mocha at home using brewed coffee or espresso. This recipe is quick and easy for a refreshing chocolate coffee drink.
- Prep Time: 5 min
- Cook Time: 0 min
- Total Time: 5 min
- Yield: 1 serving
- Category: Beverage
- Method: Stirring/Shaking
- Cuisine: American
- Diet: Vegetarian
Ingredients
- 1 cup strong brewed coffee or 2 shots espresso, cooled
- 1 cup milk (dairy or non-dairy)
- 2 tablespoons chocolate syrup or 1 tablespoon cocoa powder mixed with 1 tablespoon sugar
- 1/2 teaspoon vanilla extract (optional)
- 1 cup ice cubes
Instructions
- If using cocoa powder, mix the cocoa powder and sugar with a small amount of hot coffee until a smooth paste forms. If using syrup, skip this step.
- In a glass or shaker, combine the cooled coffee (or espresso), milk, chocolate mixture (or syrup), and vanilla extract.
- Stir or shake well until the chocolate is fully dissolved and mixed.
- Fill a tall glass with ice cubes.
- Pour the mocha mixture over the ice.
- Stir briefly before drinking. For a blended version, combine all liquid ingredients and ice in a blender and process until smooth.
Notes
- For a dairy-free or vegan mocha, use almond, soy, or oat milk.
- Use strong coffee or espresso for the best flavor balance against the chocolate.
- Adjust the amount of chocolate syrup or cocoa mixture to control sweetness and richness.
- If you want a thicker, frappe-style drink, use less milk and more ice, then blend thoroughly.
Nutrition
- Serving Size: 1 drink
- Calories: 250
- Sugar: 30
- Sodium: 100
- Fat: 8
- Saturated Fat: 4
- Unsaturated Fat: 4
- Trans Fat: 0
- Carbohydrates: 35
- Fiber: 1
- Protein: 10
- Cholesterol: 25