

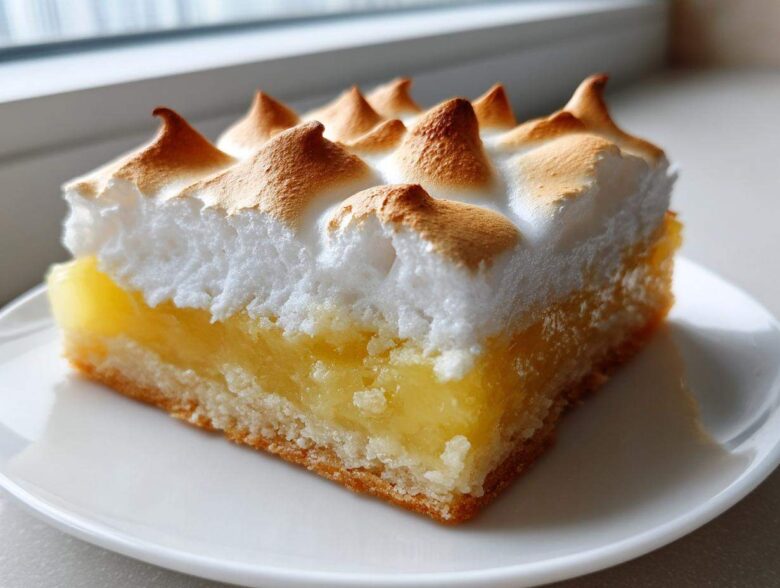
Okay, listen up! We all adore the classic Lemon Meringue Pie—that bright, zesty filling hitting that sweet, soft meringue? Heavenly! But trying to serve it at a BBQ or a potluck? Disaster waiting to happen! The filling slides, the meringue collapses into a sad, sticky puddle… it’s just too much drama for a simple gathering.
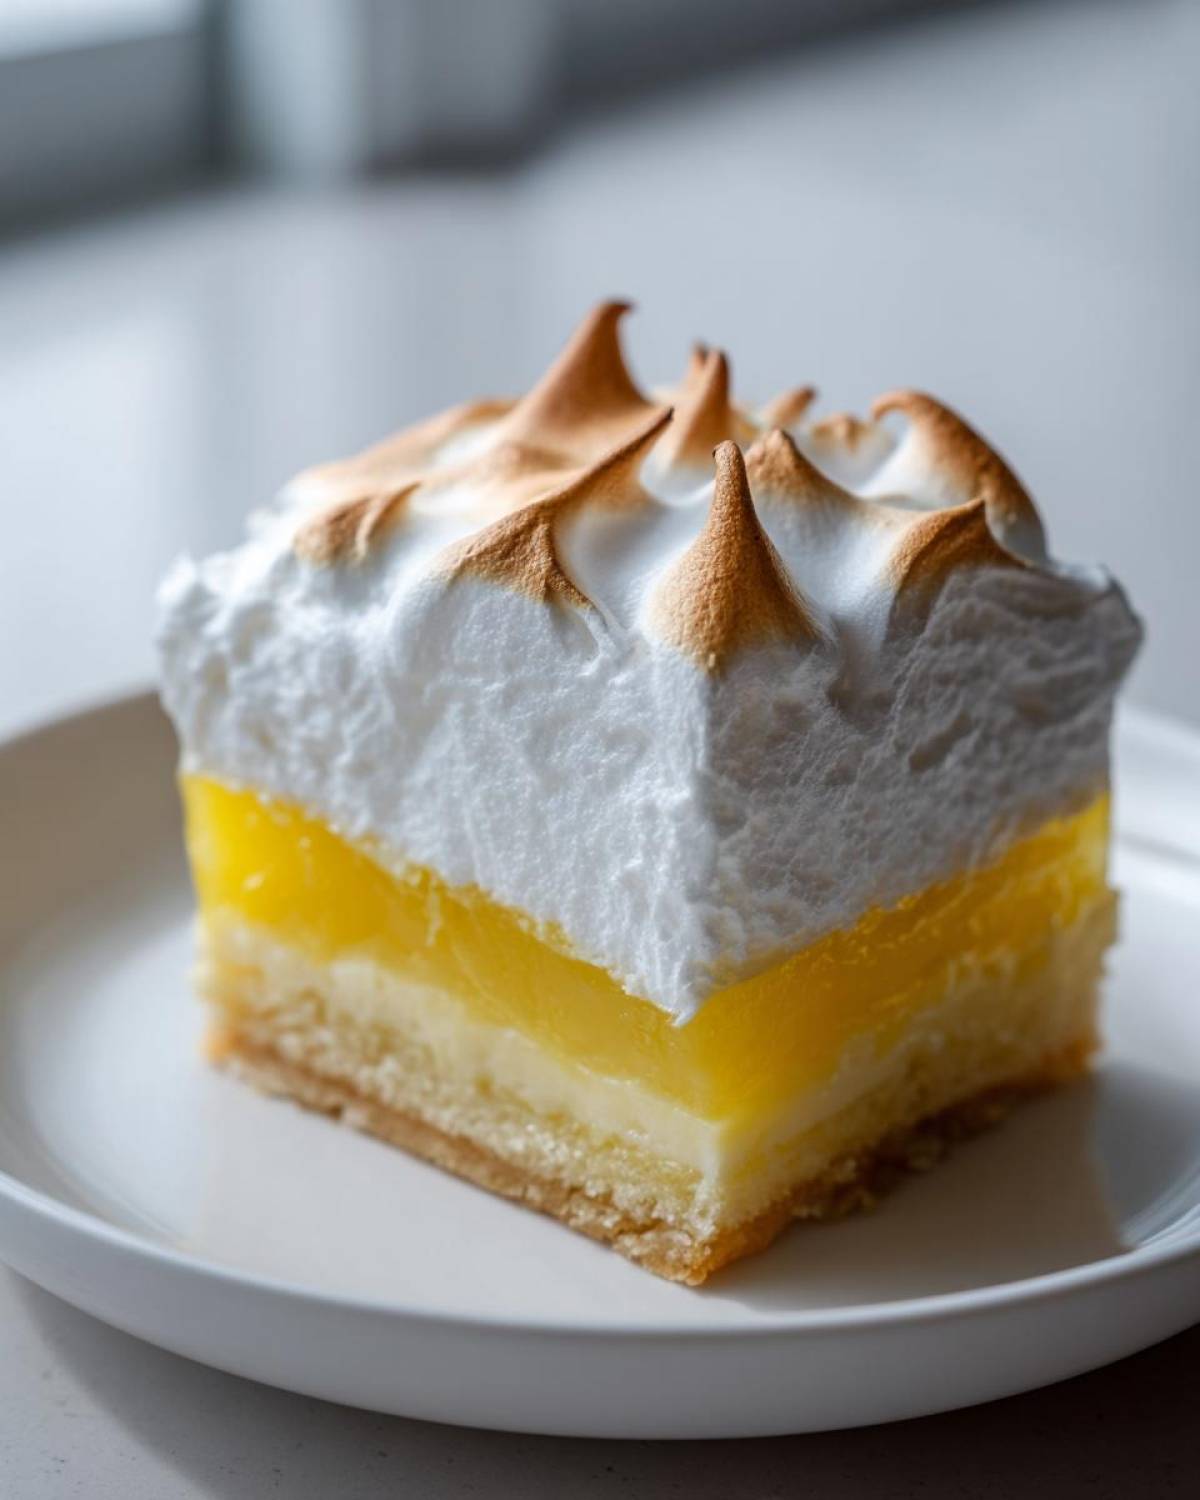
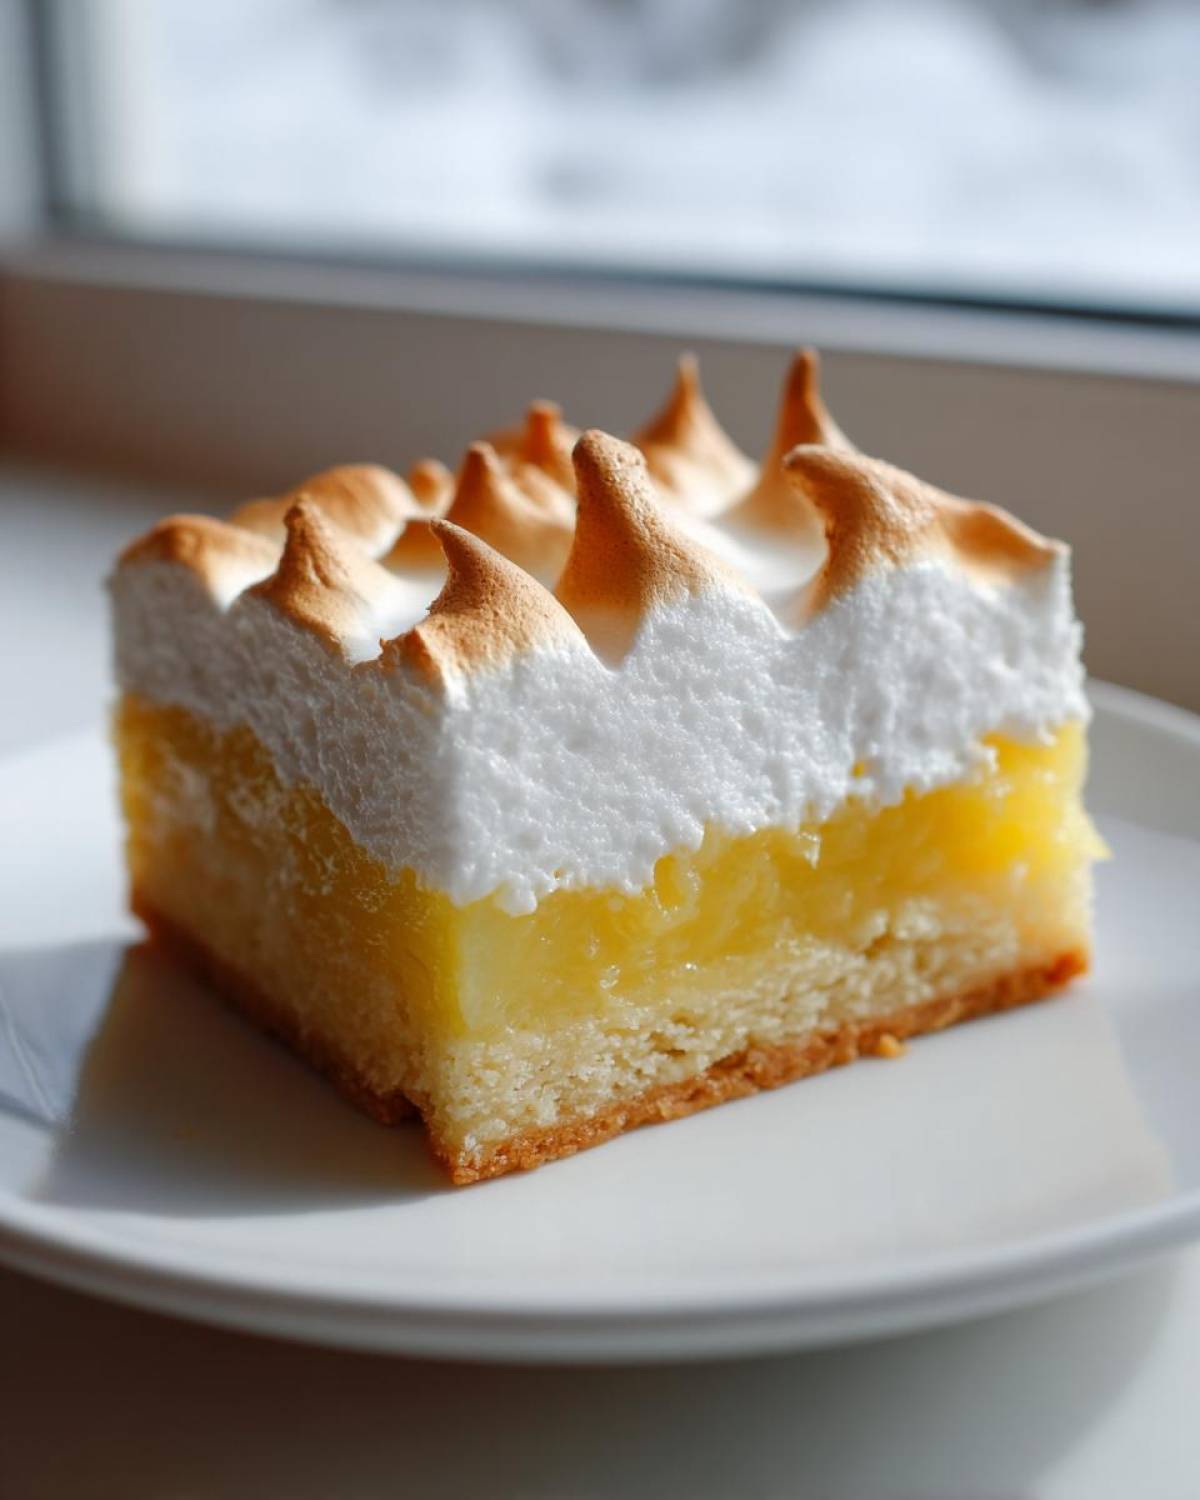
That’s why I decided to conquer the pie structure and turn it into something much more civilized: the ultimate Lemon Meringue Pie Bars! Seriously, these are the best Lemon Dessert Bars you will ever make. You get that satisfying buttery shortbread crust, that unbelievably tart lemon layer, and a cloud-like, toasted meringue top, all in one easy-to-handle square. Forget the fuss; these bars are foolproof, portable, and they look absolutely stunning when you bring them out. Trust me, once you go bar, you never go back!
Why You Will Love These Lemon Meringue Pie Bars
I’m passionate about baking, but I’m even more passionate about stress-free entertaining. These bars deliver on every front. You get the intense, bright citrus punch you crave, but without the mess of a traditional pie slice.
- They are incredibly convenient. Perfect for picnics or setting out on a buffet!
- You get the perfect texture ratio: buttery, crumbly base, smooth filling, and fluffy topping in every bite.
- They are so much easier to cut and transport than a wobbly pie. That’s why I call these my ‘No Fail Lemon Meringue Bars’!
- The flavor is perfectly balanced—not too sweet, bursting with real lemon tang.
Essential Ingredients for Perfect Lemon Meringue Pie Bars
Okay, I know ingredient lists can look scary, but trust me, these elements are what make these bars so incredible. When you’re making something this delicate—bright citrus hitting fluffy meringue—you can’t cut corners on quality! The success of these squares relies on having everything prepped exactly as I list it. Once you gather these goodies, putting it all together is a breeze. We’re using plenty of fresh citrus here, which is why I always keep a bag of lemons on hand. If you want the best flavor, check out my tips on Baking with Fresh Lemon Juice before you start!
For the Buttery Shortbread Crust
This crust is the anchor for the whole bar. It needs to be sturdy enough to hold up to that thick lemon layer but tender enough to crumble delightfully when you bite into it. The key here? Keep that butter FAST and cold!
- 1 1/2 cups all-purpose flour
- 1/2 cup granulated sugar
- 1/4 teaspoon salt
- 1 cup (2 sticks) cold unsalted butter, cut into cubes
For the Tart Lemon Filling
This is where the tang comes in! The cornstarch is our secret weapon to get that ultra-thick, creamy texture so it sets up perfectly when cooled. Do not substitute the cornstarch for flour; it just won’t set the same way when baked.
- 1 1/2 cups granulated sugar
- 1/4 cup cornstarch
- 1/4 teaspoon salt
- 4 large egg yolks, lightly beaten
- 1 1/2 cups cold water
- 2/3 cup fresh lemon juice
- 1 tablespoon lemon zest
- 2 tablespoons unsalted butter
For the Fluffy Meringue Topping
We need volume and stability here so that gorgeous meringue doesn’t weep all over your counter later. Make sure your egg whites have had a chance to come up to room temperature—it makes a huge difference in how much air you can incorporate!
- 4 large egg whites, room temperature
- 1/4 teaspoon cream of tartar (This is seriously helpful for structure!)
- 1/2 cup granulated sugar
- 1/4 teaspoon vanilla extract
Step-by-Step Instructions for Making Lemon Meringue Pie Bars
Okay, the ingredient list is conquered, now let’s get baking! Making these Lemon Meringue Pie Bars is a three-act play: Crust, Filling, Meringue. We move right along, but we have to be smart about timing, especially when dealing with eggs and heat. Don’t worry if you’ve never tempered eggs before; it’s easier than it sounds, and it’s the secret to a creamy filling instead of scrambled bits!
Preparing and Baking the Shortbread Crust
First things first, get that oven going! Preheat to 350°F (175°C). You want to line that 9×13 pan with parchment paper, making sure you leave some overhang on the sides. That overhang is your handle later—don’t skip it! Whisk your flour, sugar, and salt, then use your fingers or a pastry blender to work in that cold butter until it looks like lovely, shaggy, coarse crumbs. Press that firmly and evenly across the bottom of the pan. Bake it for about 18 to 20 minutes, just until those edges look nice and golden. Pull it out and let it cool down a touch while you move onto the star of the show.
Creating the Tangy Lemon Filling
Grab a medium saucepan—no microwave shortcuts here! Whisk your sugar, cornstarch, and salt together first, then slowly add the cold water until it’s totally smooth. Heat this over medium heat, stirring constantly, until it starts bubbling and gets thick—like pudding. Now for the tricky part: tempering the yolks. Take about a cup of that hot sugar mixture and drizzle it *very slowly* into your lightly beaten yolks while whisking non-stop. This warms them up gently!
Pour that tempered yolk mixture right back into the saucepan. Cook over medium-low heat for just two more minutes, stirring constantly until it’s super thick. Take it off the heat, stir in your lemon juice, zest, and that final two tablespoons of butter until everything melts. That butter smooths out the texture beautifully!
Assembling and Baking the Lemon Meringue Pie Bars
Pour that hot, glorious lemon filling right over your slightly warm crust. Spread it around gently so it’s even. Let it sit on the counter for about 30 minutes to take the initial high heat off before the meringue touches it. Now, make your meringue!
Once the meringue is peaked and glossy (check out my tips on How to Make Stable Meringue Topping if you’re nervous), spread it gently over the cooled lemon layer. Make sure you seal it right to the edges—this stops shrinkage later! Bake these magnificent Lemon Bars Recipe for 10 to 12 minutes until the meringue just starts developing those lovely golden peaks. If you have a kitchen torch, you can skip the oven and torch those peaks instead. Let them cool completely before you even think about slicing them!
Tips for Success with Your Lemon Meringue Pie Bars
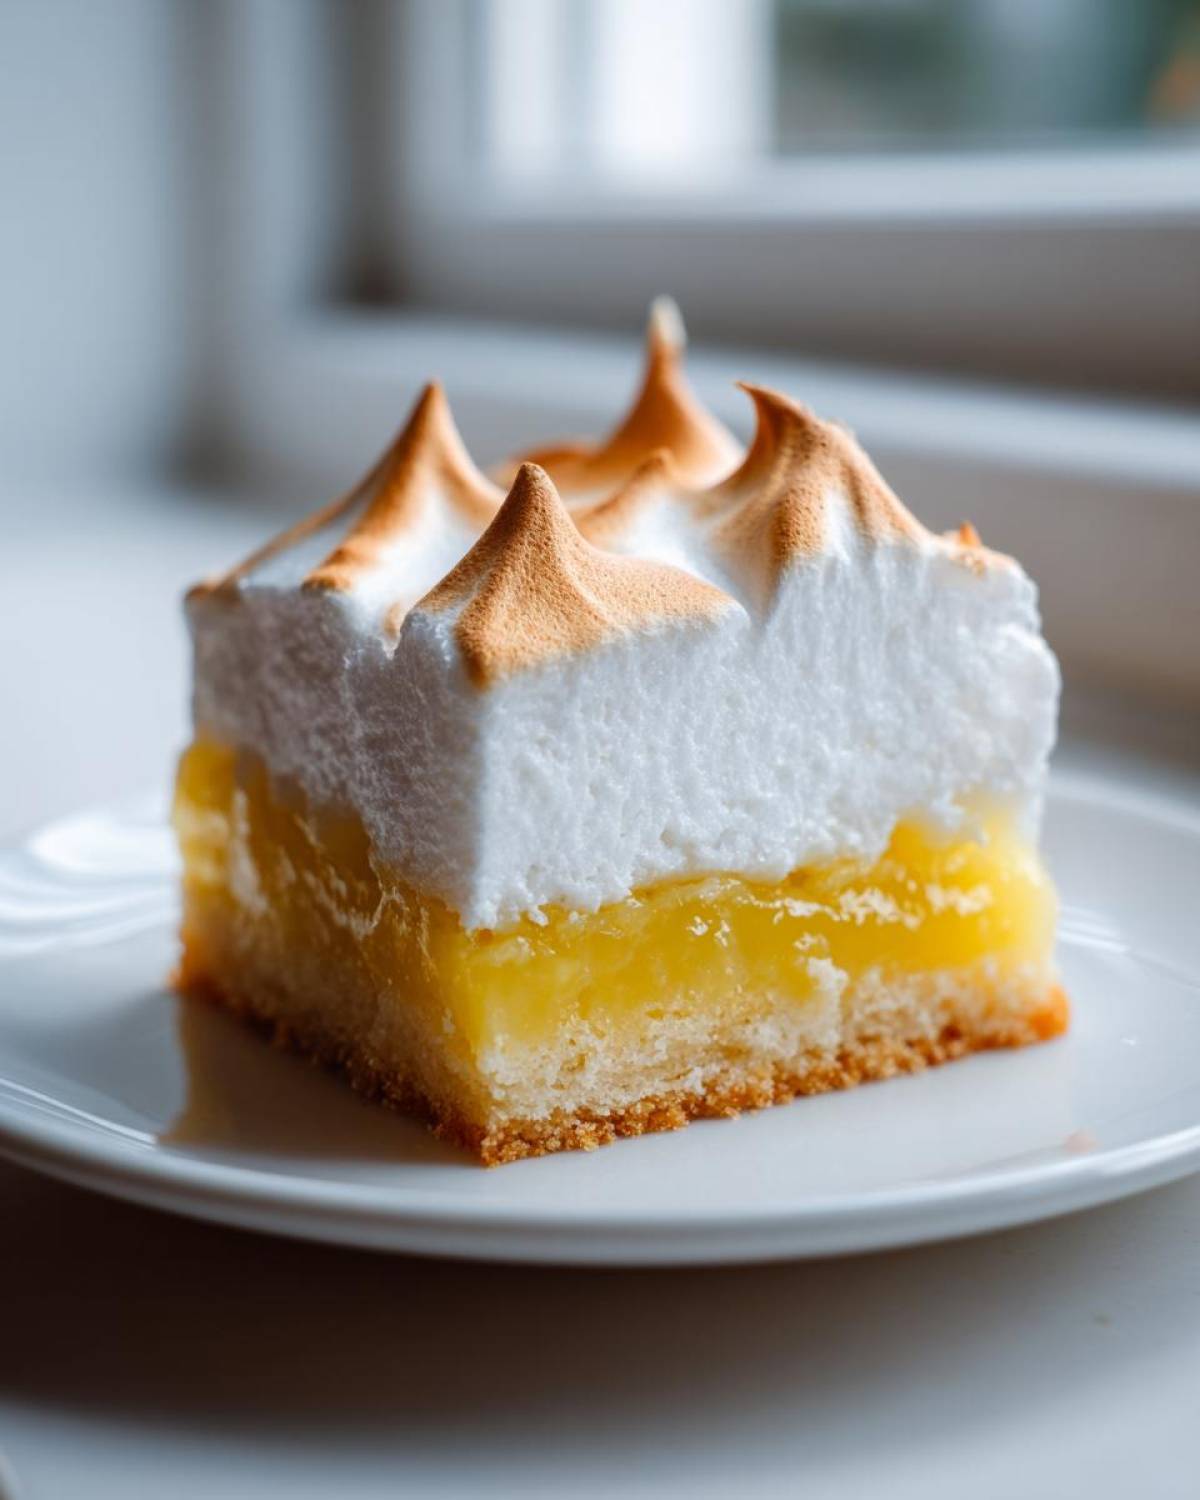
Honestly, these might look fancy because they have that gorgeous toasted top, but I promise you, getting them right is all about a few little tricks. We want perfectly set crust and meringue that stays beautiful, not one that weeps goo all over the plate. We’re aiming for maximum beauty and minimum drama here with these Lemon Meringue Pie Bars.
Achieving a Stable and Glossy Meringue
My biggest pet peeve is meringue weeping—that little puddle of sugary syrup that forms underneath the topping after it cools. It breaks my heart!
The absolute number one rule for stopping the weep? Make sure everything touching those egg whites—the bowl, the whisk attachment, everything—is totally spotless and grease-free. Even a drop of fat will prevent them from whipping up properly. Also, using the cream of tartar is non-negotiable for me. It acts like a tiny structural support beam, helping stabilize that beautiful egg white foam so you get those stiff, glossy peaks that hold their shape perfectly.
Controlling the Tartness of the Lemon Filling
We designed this filling to be sharply tart because that brightness is what cuts through the sweetness of the crust and the meringue. It’s the whole point of a great meringue bar!
That said, everyone’s lemons are different. If you squeeze your lemons and you taste them and think, “Wow, these are just okay,” or if you prefer a really aggressive zing, don’t be afraid to add an extra tablespoon of fresh lemon juice right at the end when you stir in the zest. It won’t mess up the thickening power of the cornstarch, and you can customize your Tart and Sweet Lemon Bars exactly how you like them!
Storage and Make Ahead Tips for Lemon Meringue Pie Bars
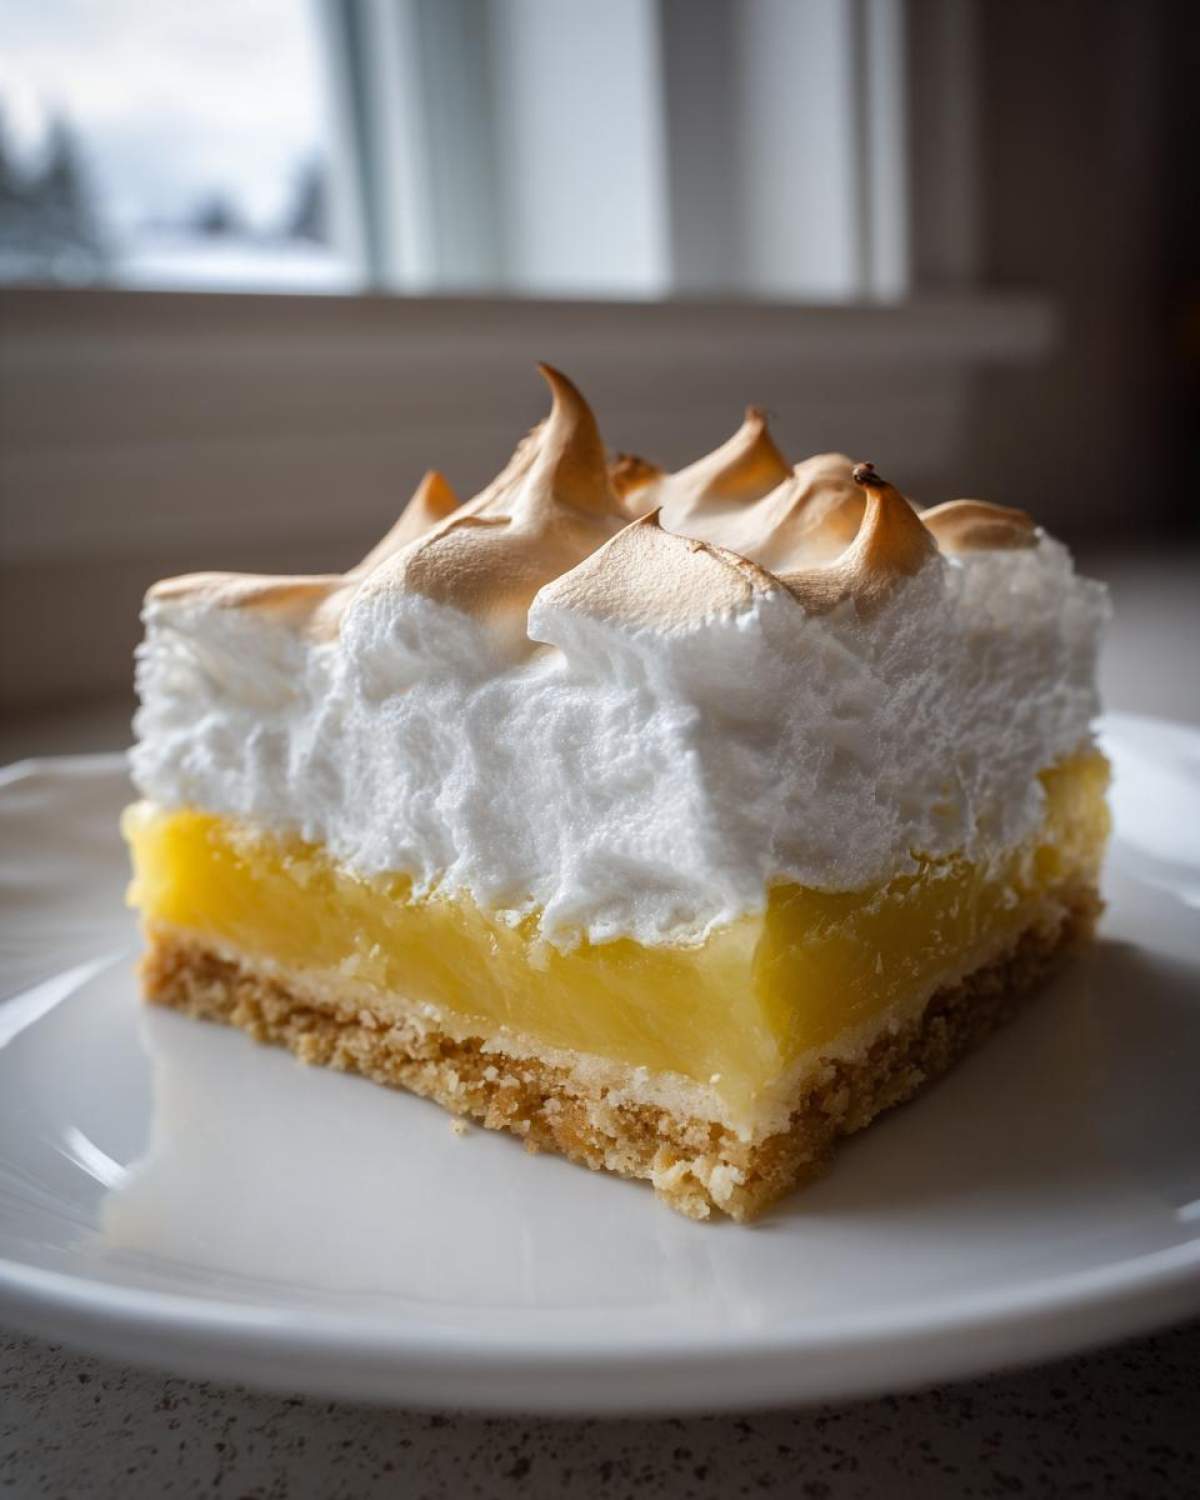
Because these are truly Lemon Meringue Pie Bars, they behave a little more like a pie than a regular sturdy cookie bar when it comes to storage. The meringue loves cool, dry air, so we absolutely have to chill these beauties!
Once they are completely cooled down after that initial thirty-minute countertop rest—and I mean completely cooled—you need to get them into the fridge. I use an airtight container, but I usually place a piece of parchment paper between the layers if I’m stacking them. They keep really nicely in the refrigerator for about three or four days. Storing them too long, especially uncovered, is what leads to that weepiness we talked about!
Now, for making these ahead of time? Yes, you totally can! This is why they are so fantastic for parties and entertaining. You can bake that shortbread crust and the lemon filling layers the day before. Bake the crust, let it cool, pour the filling over, and bake it through. Cover that filled-but-un-meringued pan of bars tightly with plastic wrap and stick it in the fridge overnight. The next day, when your guests are arriving, just whip up that meringue fresh, spread it on, and bake it off. Everything is faster, and you have gorgeous, fresh-tasting Dessert Bars for Parties!
If you want to get a head start on the whole process, check out my notes over on my general Make Ahead Lemon Bars post—the principles are almost identical for these squares!
Variations on Classic Lemon Dessert Bars
While this recipe for Lemon Meringue Pie Bars is truly the gold standard in my book, sometimes you just need to shake things up a bit! I love being able to use the same basic structure—that perfect shortbread base and creamy filling—to pivot into something slightly different but equally delicious. These little tweaks give you endless possibilities for Classic Lemon Bar Variations without having to rewrite the whole recipe from scratch.
Here are a few ways I like to switch things up when I want a flavor surprise:
- Zesty Lime Swaps: You can totally swap out the lemon for lime! Use fresh lime juice and zest in the filling instead of lemon. It makes this an absolutely phenomenal Summer Citrus Dessert Bar. The ratios are nearly identical, and lime meringue is just as gorgeous as lemon meringue.
- The Raspberry Ribbon: If you are serving these to guests, a little bit of red always looks fantastic against the yellow. After you pour the hot lemon filling over the warm crust, drop a few tablespoons of high-quality raspberry jam or preserve randomly over the top. Then, gently swirl it in with a knife—just one or two swirls! You don’t want to mix it too much. That little tart berry flavor alongside the lemon? Unreal.
- Blueberry Cheesecake Twist (Sort Of): This is a slightly bigger change, but if you want to check out something rich, I totally recommend looking at my Lemon Blueberry Cheesecake Bars recipe. That one uses a slightly different base, replacing some of the shortbread flour with cream cheese. It’s a totally different vibe, but it uses that same bright lemon flavor we love so much!
See? You already have several new desserts in your back pocket using what you learned making these bars. Baking should be fun, not rigid!
Equipment Needed for These Lemon Meringue Pie Bars
You don’t need fancy gadgets to make these incredible Lemon Meringue Pie Bars, but having the right tools definitely makes the process smoother! When I’m whipping these up, I always make sure I have everything ready to go so I can move fast when the filling is hot. Efficiency is key when there are three distinct layers involved!
Here is the list of gear I pull out of the cupboard for this recipe. If you’re missing one thing, don’t stress, but these are what make achieving that perfect structure so much easier.
- A 9×13 inch baking pan. This size is crucial for getting those nicely proportioned squares!
- Parchment paper. I cannot stress this enough—it acts as built-in sling handles to lift the whole dessert out later. A lifesaver!
- A stand mixer or a reliable hand mixer. You absolutely need this for whipping those egg whites into stiff, glossy meringue peaks. Trying to do that by hand is a workout!
- A medium saucepan. We use this for cooking down the lemon filling until it thickens up nicely.
- Pastry blender or your fingers. For cutting that cold butter into the flour for the shortbread crust.
- Mixing bowls of various sizes. You’ll need one for the crust, one for the filling assembly, and a very clean, grease-free bowl for the meringue.
- A sturdy whisk and a rubber spatula. For mixing the filling and folding the meringue gently.
Having these items ready means you’re set up for success. Cooking is always better when your tools are your friends, right?
Frequently Asked Questions About Lemon Meringue Pie Bars
I always get so many questions when people try baking this recipe for the first time, mostly because everyone wants to make sure their Lemon Meringue Pie Bars turn out absolutely spectacular! It’s totally normal to have a few hang-ups, especially when working with meringue. Here are the things I hear most often when people are baking my favorite version of these Easy Lemon Bars Recipe.
Can I make the crust ahead of time for these Lemon Meringue Pie Bars?
Oh, absolutely! In fact, I encourage it for entertaining. You can totally bake the shortbread crust and the lemon filling layers the day before you plan to serve them. Once the filling is set, cover the whole thing tightly and keep it in the fridge. When you’re ready, just whip up the meringue fresh—that’s the part that tastes best when it’s just baked—spread it on, torch or bake it, and you’re ready to go. Makes for super easy hosting!
What is the best way to cut clean squares from the Lemon Meringue Pie Bars?
This is crucial if you want those magazine-worthy squares! You cannot slice these while they are warm, or the lemon filling will just ooze everywhere—it’s a sticky mess. You need to let the entire pan chill completely, ideally for at least four hours in the fridge, or even overnight. Once they are ice cold, pull them out using the parchment handles. Then, grab your sharpest kitchen knife and dip it into a tall glass of hot water. Wipe the knife dry, and make your cut. For super clean edges, re-dip and wipe the knife after every single slice. It really helps separate the layers neatly!
Can I skip the meringue topping?
You certainly can, but then you’d just have amazing Shortbread Crust Lemon Filling bars, right? The meringue is the iconic part of a Lemon Meringue dessert! If you absolutely must skip it, you can just dust the cooled lemon layer with powdered sugar for a look akin to lighter Homemade Lemon Meringue Squares. But honestly? Go for the meringue—the sweet, airy cloud balances that tartness perfectly!
Can I use bottled lemon juice instead of fresh juice?
For a simple batch of standard lemon bars, maybe, but not for these stunning Lemon Meringue Pie Bars. Bottled lemon juice often has a duller, cooked flavor and can have added preservatives that change how the filling thickens. The brightness you get from fresh-squeezed lemons is truly unbeatable for cutting through that rich shortbread. Since the lemon is the main flavor component, please stick to fresh juice—it makes all the difference in ensuring you get that perfectly Bright Lemon Dessert flavor!
If you want more general baking advice on these types of treats, I cover a lot of groundwork in my Easy Lemon Bars Recipe guide!
Nutritional Estimates for Homemade Lemon Meringue Squares
Now, I know baking is usually best done by focusing on joy and flavor rather than counting every little thing, but since we are making something this wonderfully decadent, I figured I should share the rough estimates for these Homemade Lemon Meringue Squares. That way, you know exactly what you’re dealing with when you serve up a batch of these delicious Lemon Meringue Pie Bars!
Please remember these numbers are just guidelines. If you use, say, European butter versus regular, or if your lemons result in a slightly thicker filling, things shift! I ran this recipe through my standard calculator based on the amounts listed, assuming a yield of 24 bars, so take this as a friendly estimate rather than gospel truth! This confirms that even for an entertaining dessert, we can keep things transparent.
Here’s the breakdown per bar:
- Serving Size: 1 bar
- Calories: 220
- Sugar: 25g
- Sodium: 85mg
- Fat: 11g
- Saturated Fat: 7g
- Unsaturated Fat: 4g
- Trans Fat: 0g
- Carbohydrates: 30g
- Fiber: 0.5g
- Protein: 3g
- Cholesterol: 55mg
See? Not bad for a dessert that tastes this rich and satisfying! The shortbread and the sugar add up, of course, but the fact that we’re using real butter and fresh eggs means we’re avoiding a lot of those artificial fillers you find in store-bought treats. Enjoy them—you earned it!
PrintThe Ultimate Lemon Meringue Pie Bars

A recipe for convenient, shareable lemon meringue pie bars featuring a buttery shortbread crust, a bright, tart lemon filling, and a fluffy, toasted meringue topping.
- Prep Time: 25 min
- Cook Time: 35 min
- Total Time: 60 min
- Yield: 24 bars
- Category: Dessert
- Method: Baking
- Cuisine: American
- Diet: Vegetarian
Ingredients
- For the Shortbread Crust: 1 1/2 cups all-purpose flour
- 1/2 cup granulated sugar
- 1/4 teaspoon salt
- 1 cup (2 sticks) cold unsalted butter, cut into cubes
- For the Lemon Filling: 1 1/2 cups granulated sugar
- 1/4 cup cornstarch
- 1/4 teaspoon salt
- 4 large egg yolks, lightly beaten
- 1 1/2 cups cold water
- 2/3 cup fresh lemon juice
- 1 tablespoon lemon zest
- 2 tablespoons unsalted butter
- For the Meringue Topping: 4 large egg whites, room temperature
- 1/4 teaspoon cream of tartar
- 1/2 cup granulated sugar
- 1/4 teaspoon vanilla extract
Instructions
- Preheat your oven to 350°F (175°C). Line a 9×13 inch baking pan with parchment paper, leaving an overhang on the long sides for easy removal.
- Make the crust: In a medium bowl, whisk together the flour, 1/2 cup sugar, and salt. Cut in the cold butter using a pastry blender or your fingers until the mixture resembles coarse crumbs.
- Press the crumb mixture evenly into the bottom of the prepared pan. Bake for 18 to 20 minutes, or until the edges are lightly golden. Set aside to cool slightly while you prepare the filling.
- Make the lemon filling: In a medium saucepan, whisk together the 1 1/2 cups sugar, cornstarch, and salt. Gradually whisk in the cold water until smooth.
- Cook the mixture over medium heat, stirring constantly, until it thickens significantly and begins to bubble. Cook for 1 minute more, still stirring. Remove from heat.
- In a separate small bowl, whisk the egg yolks lightly. Temper the yolks by slowly whisking about 1 cup of the hot sugar mixture into the yolks.
- Pour the tempered yolk mixture back into the saucepan with the remaining hot mixture. Return to medium-low heat and cook, stirring constantly, for 2 minutes until the filling is very thick. Do not boil.
- Remove from heat. Stir in the lemon juice, lemon zest, and 2 tablespoons of butter until the butter melts and is incorporated.
- Pour the hot lemon filling evenly over the warm baked crust. Let the bars cool at room temperature for 30 minutes.
- Make the meringue: In a clean, grease-free bowl of a stand mixer fitted with the whisk attachment, beat the egg whites and cream of tartar on medium speed until soft peaks form.
- Gradually add the 1/2 cup sugar, one tablespoon at a time, beating well after each addition. Increase the speed to high and beat until stiff, glossy peaks form. Beat in the vanilla extract.
- Spread the meringue evenly over the cooled lemon filling, making sure to seal the meringue to the edges of the crust to prevent shrinking.
- Bake for 10 to 12 minutes, or until the meringue is lightly golden brown. Alternatively, use a kitchen torch to brown the peaks.
- Let the bars cool completely on a wire rack before lifting them out of the pan using the parchment overhang. Cut into squares.
Notes
- To prevent the meringue from weeping, ensure your egg whites are at room temperature and your mixing bowl is completely free of any grease or yolk residue.
- For a stable meringue, use cream of tartar, which helps stabilize the egg white foam.
- If you prefer a very tart bar, increase the fresh lemon juice by one tablespoon.
Nutrition
- Serving Size: 1 bar
- Calories: 220
- Sugar: 25g
- Sodium: 85mg
- Fat: 11g
- Saturated Fat: 7g
- Unsaturated Fat: 4g
- Trans Fat: 0g
- Carbohydrates: 30g
- Fiber: 0.5g
- Protein: 3g
- Cholesterol: 55mg