

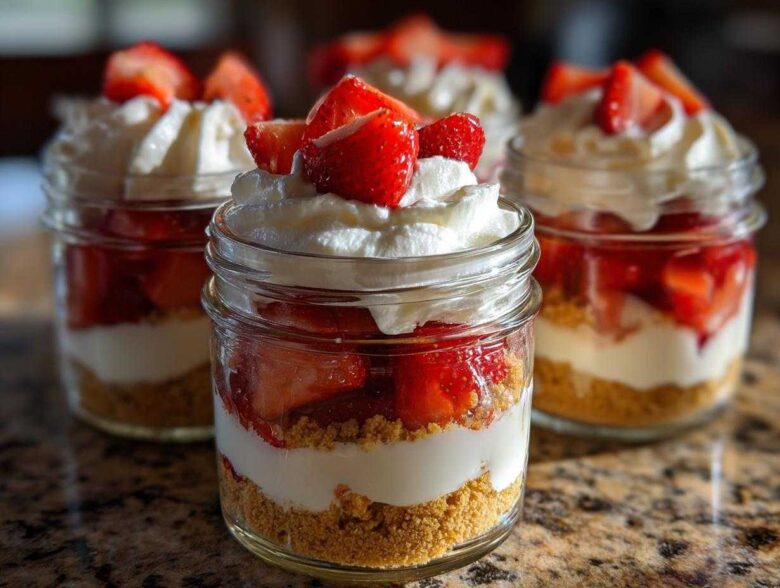
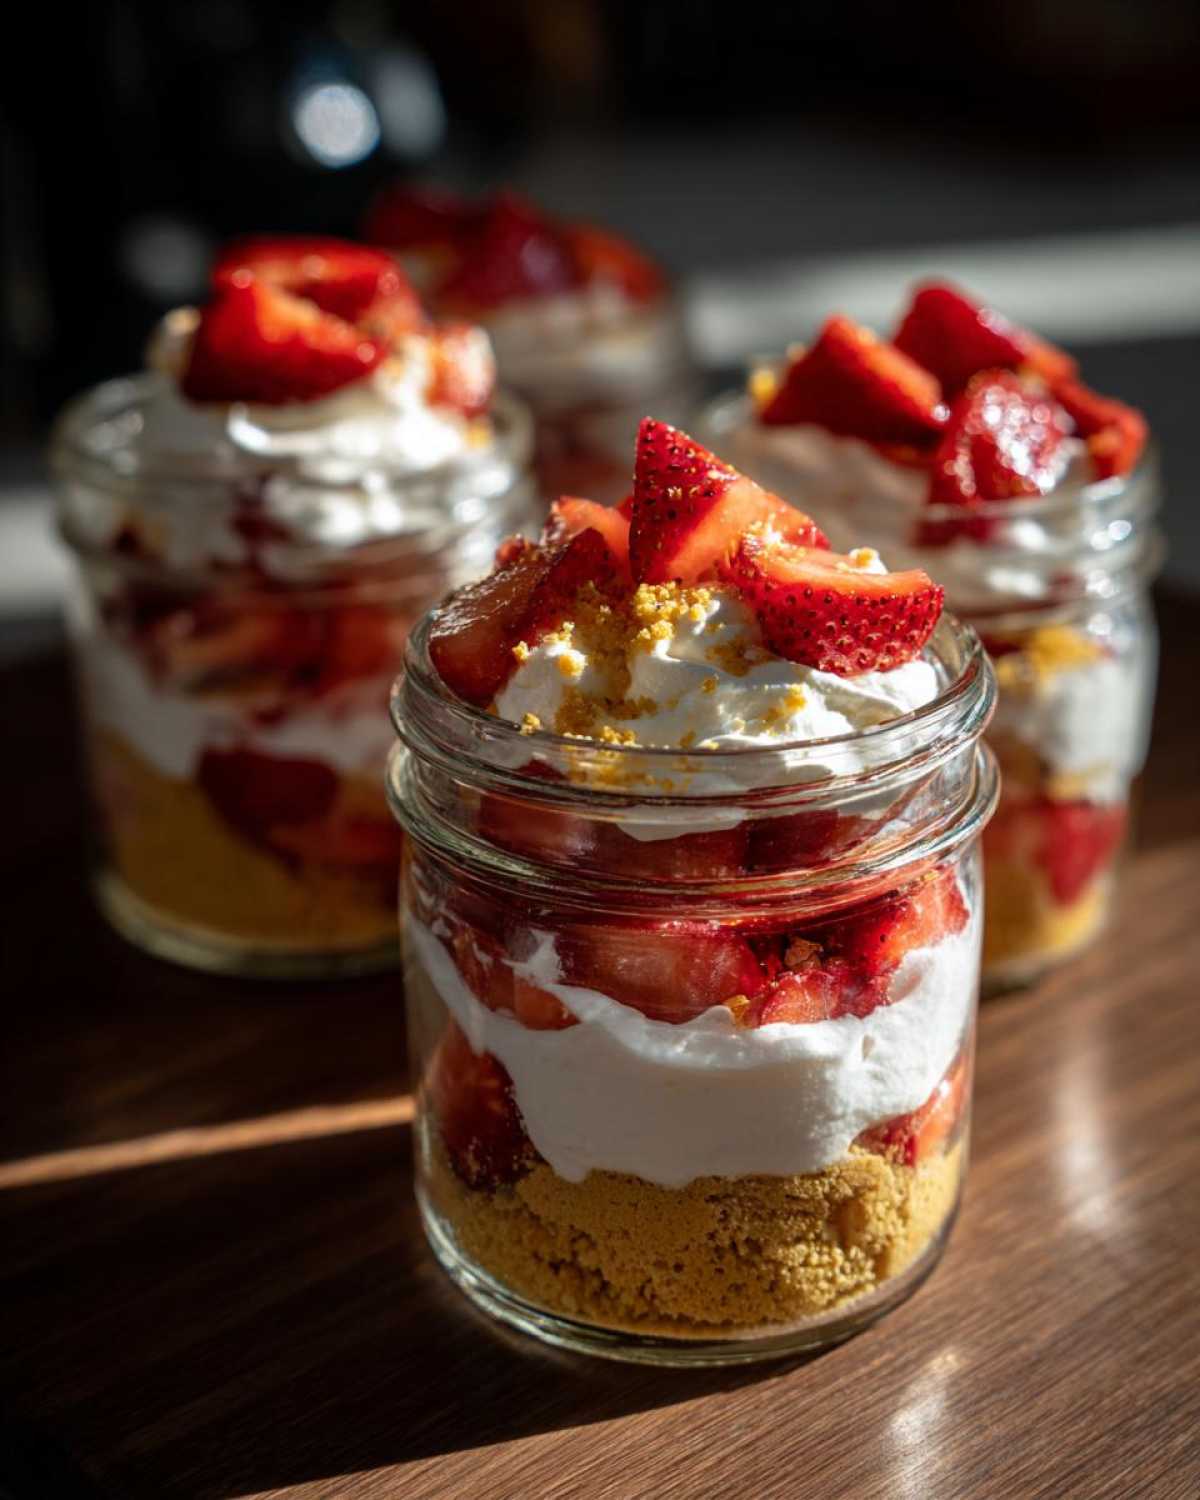
Oh my gosh, are you ready for the *easiest* dessert to grace your summer table? When the heat hits, the last thing I want to do is turn on the oven, and honestly, who wants to deal with a full pie pan cleanup? That’s why I became obsessed with these No-Bake Strawberry Cream Pie Jars. Trust me when I say these individual dessert cups are game-changers for parties, picnics, or just when you need a creamy, cool fix! They look so fancy layered in the glass jar, but they practically assemble themselves in minutes. I love them because they let the fresh flavor of the strawberries truly shine without any fussy baking required. You’re going to want to make these weekly!
Why You Will Love This No-Bake Strawberry Cream Pie Jars Recipe
I really can’t rave enough about how foolproof this recipe is. It checks every single box when I need a quick, crowd-pleasing sweet treat. If you’re looking for hassle-free summer desserts, stop looking right now!
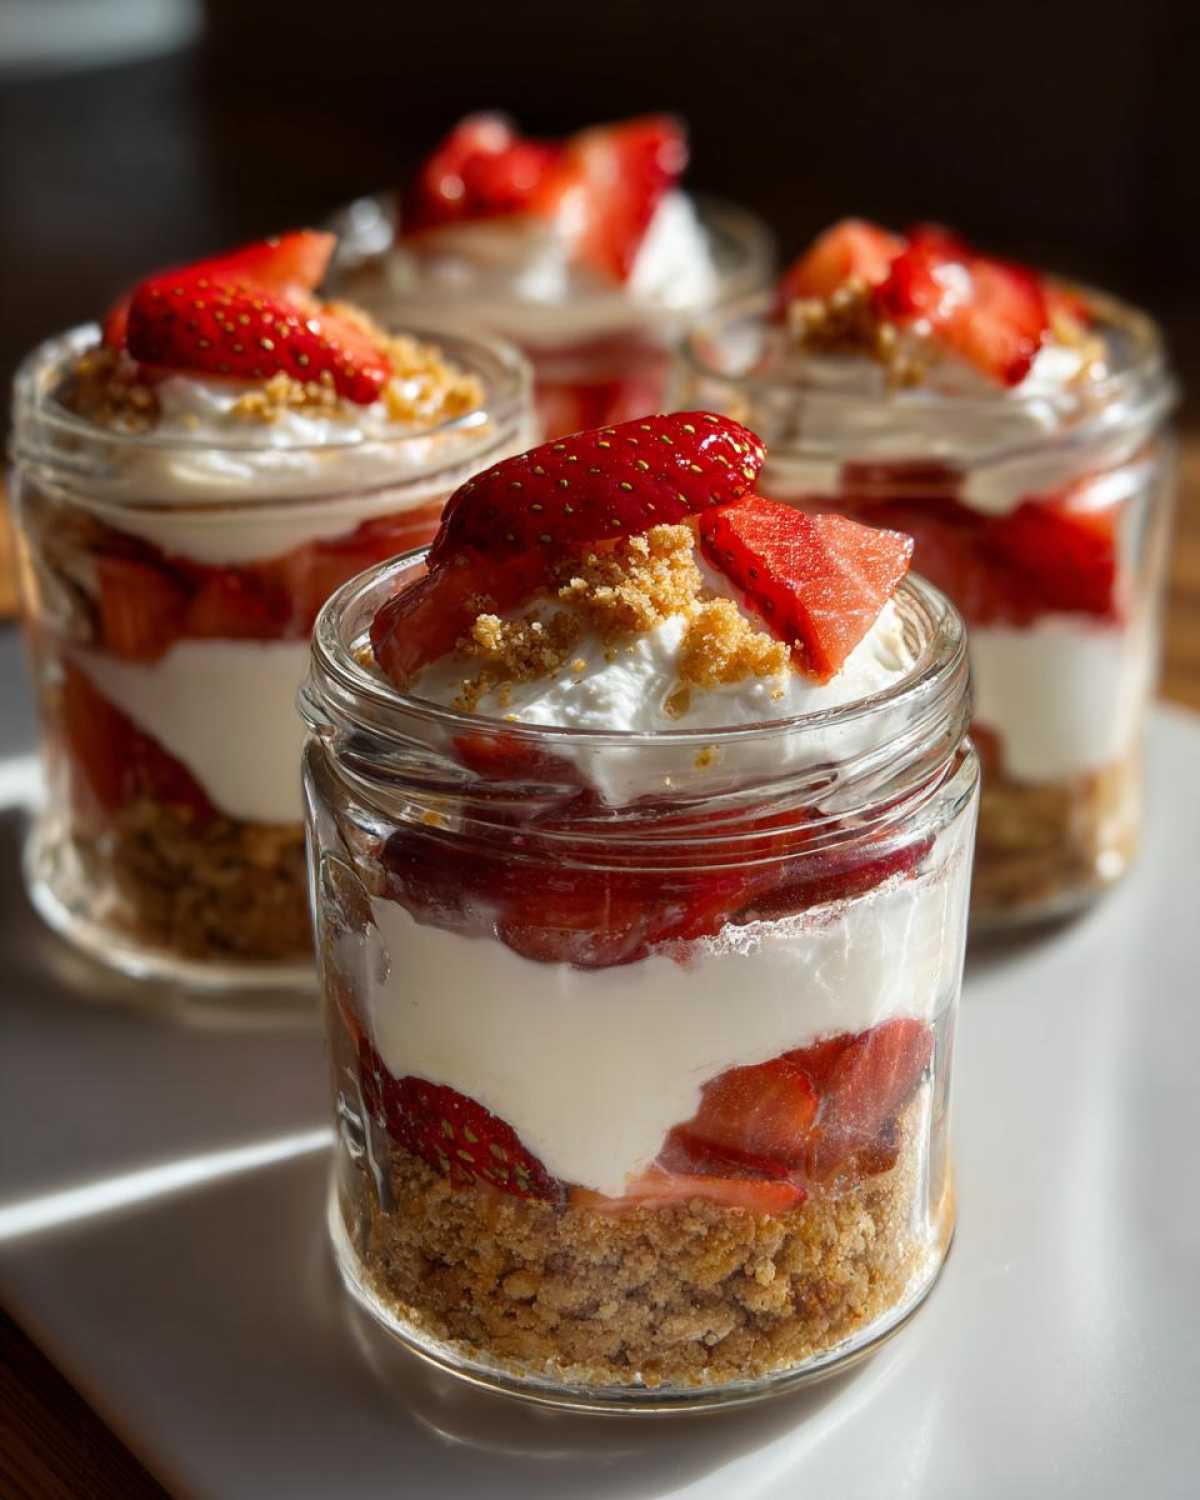
- No Oven Required, Ever! This is the biggest win for me. We keep the kitchen cool, and you only need a stove for a quick microwave zap if your butter is rock hard. It’s pure assembly magic.
- Perfectly Portioned for Parties: Because they are in individual jars, they are incredibly portable. Pack them up for a picnic or just set them out at a BBQ—no slicing or messy serving plates needed. Check out more summer dessert ideas porportional here!
- Super Speedy Assembly: Seriously, once your strawberries are sliced, you can have these layered and ready for the fridge in under 30 minutes of active work time. The total time is quick because there’s zero bake time factored in.
- Texture Heaven: You get that perfect combination: a buttery, slightly salty graham cracker crust, followed by that rich, light, and unbelievably creamy filling. It’s lighter than a traditional baked pie, which is just divine on a hot day.
- Make-Ahead Friendly: You can totally prep these the day before you need them! It takes the pressure off dessert when you’re hosting, which is always a lifesaver.
Gathering Ingredients for the No-Bake Strawberry Cream Pie Jars
Okay, let’s talk supplies! The beauty of these strawberry dessert recipes easy is that they use simple pantry staples, but the temperature of those ingredients is super important. Make sure your cream cheese is good and soft—you don’t want lumps in our filling! And please, please, use heavy whipping cream that has been chilling in the fridge, preferably overnight. Cold cream whips up into those gorgeous stiff peaks we need for structure.
You’ll need exactly six small jars, around 8 ounces each, ready to go. Here’s the quick list of what you need to pull together:
- 1 1/2 cups graham cracker crumbs
- 1/4 cup granulated sugar (this is just for the crust!)
- 6 tablespoons unsalted butter, melted
- 1 (8 ounce) package cream cheese, softened perfectly
- 1/2 cup powdered sugar
- 1 teaspoon vanilla extract
- 1 cup heavy whipping cream, ice cold
- 1/4 cup granulated sugar (this is for the whipped cream!)
- 2 cups fresh strawberries, nicely sliced up
Keep everything measured out. Once you start layering, things move fast, and you won’t want to scramble looking for the powdered sugar!
Step-by-Step Instructions for Perfect No-Bake Strawberry Cream Pie Jars
Alright, let’s get messy, but in a fun, organized way! The assembly is quick, but doing things in the right order keeps your layers looking sharp for those beautiful easy jar desserts. I’m going to walk you through exactly how to get that picture-perfect slice of pie in your jar.
Making the Graham Cracker Crust Base
First things first—the crunch! Mix those graham cracker crumbs with the initial 1/4 cup of sugar, then pour in the melted butter. Stir until it looks like wet sand. Divide this crumbly mix evenly into your 6 jars and use the back of a spoon or a small measuring cup to really press it down hard. We want a solid foundation for our quick no bake strawberry filling, so make sure that crust is packed tight before you stick them in the fridge!
Preparing the Creamy Filling for Your No-Bake Strawberry Cream Pie Jars
This is where the real cream magic happens. Beat that softened cream cheese with the powdered sugar and vanilla until it’s totally smooth—no bumps allowed! Now, for the whipped cream: whip your cold heavy cream and sugar until you have strong, beautiful stiff peaks. Remember, you need that airiness! Gently fold about a third of that fluffy whipped cream into the cream cheese mixture just to loosen it up. Then, very carefully, fold in the rest. Don’t go crazy stirring; we are keeping all those lovely air bubbles intact!
Layering and Chilling the Cream Pie in a Jar
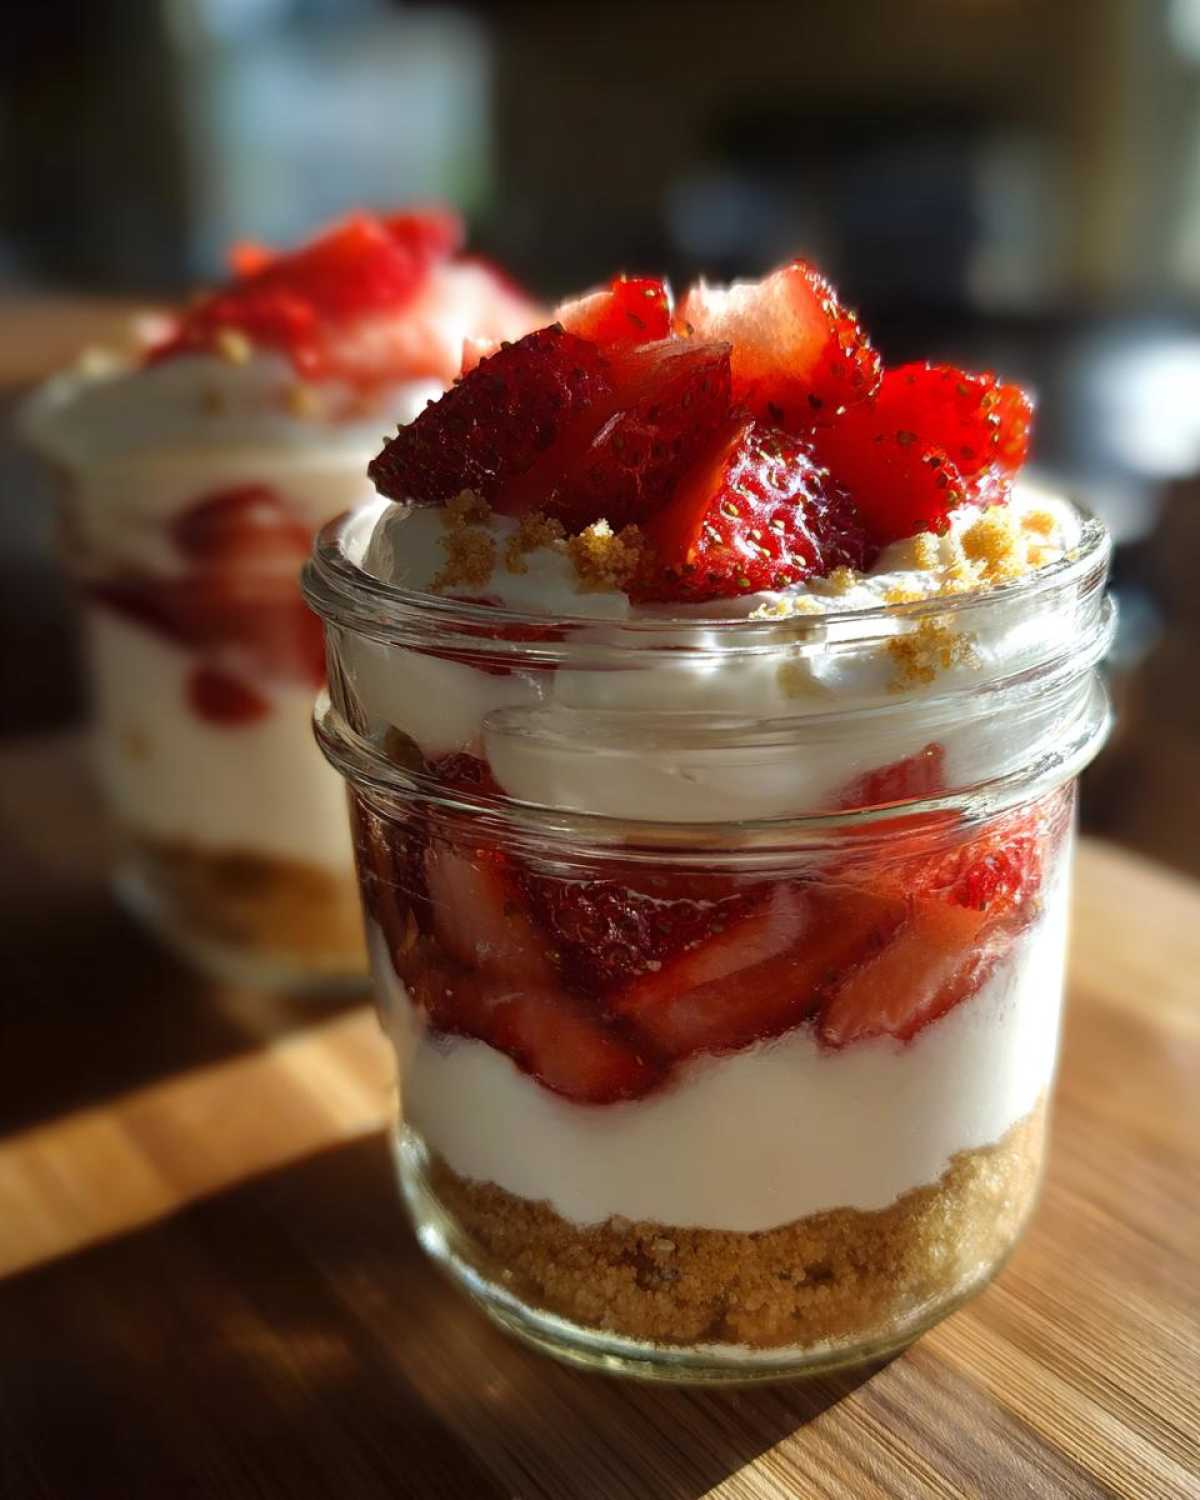
Time for the fun part! Place half of your sliced strawberries right on top of that chilled crust in each jar. Then, you need to get the filling in there. My big tip for no-bake strawberry cream pie jars is to use a piping bag for the filling here—it makes the cleanest line against the glass! Top the cream with the rest of your strawberries. Now, the hardest part: let them chill for a minimum of 2 hours. This lets that creamy filling firm up so your layers don’t slide when you eat them. Patience pays off!
Tips for Success with Single Serving Strawberry Treats
Even though these are simple whipped cream pie jars, a couple of little secrets will take them from good to absolutely unforgettable. You want that filling light and airy, not dense and gummy, right?
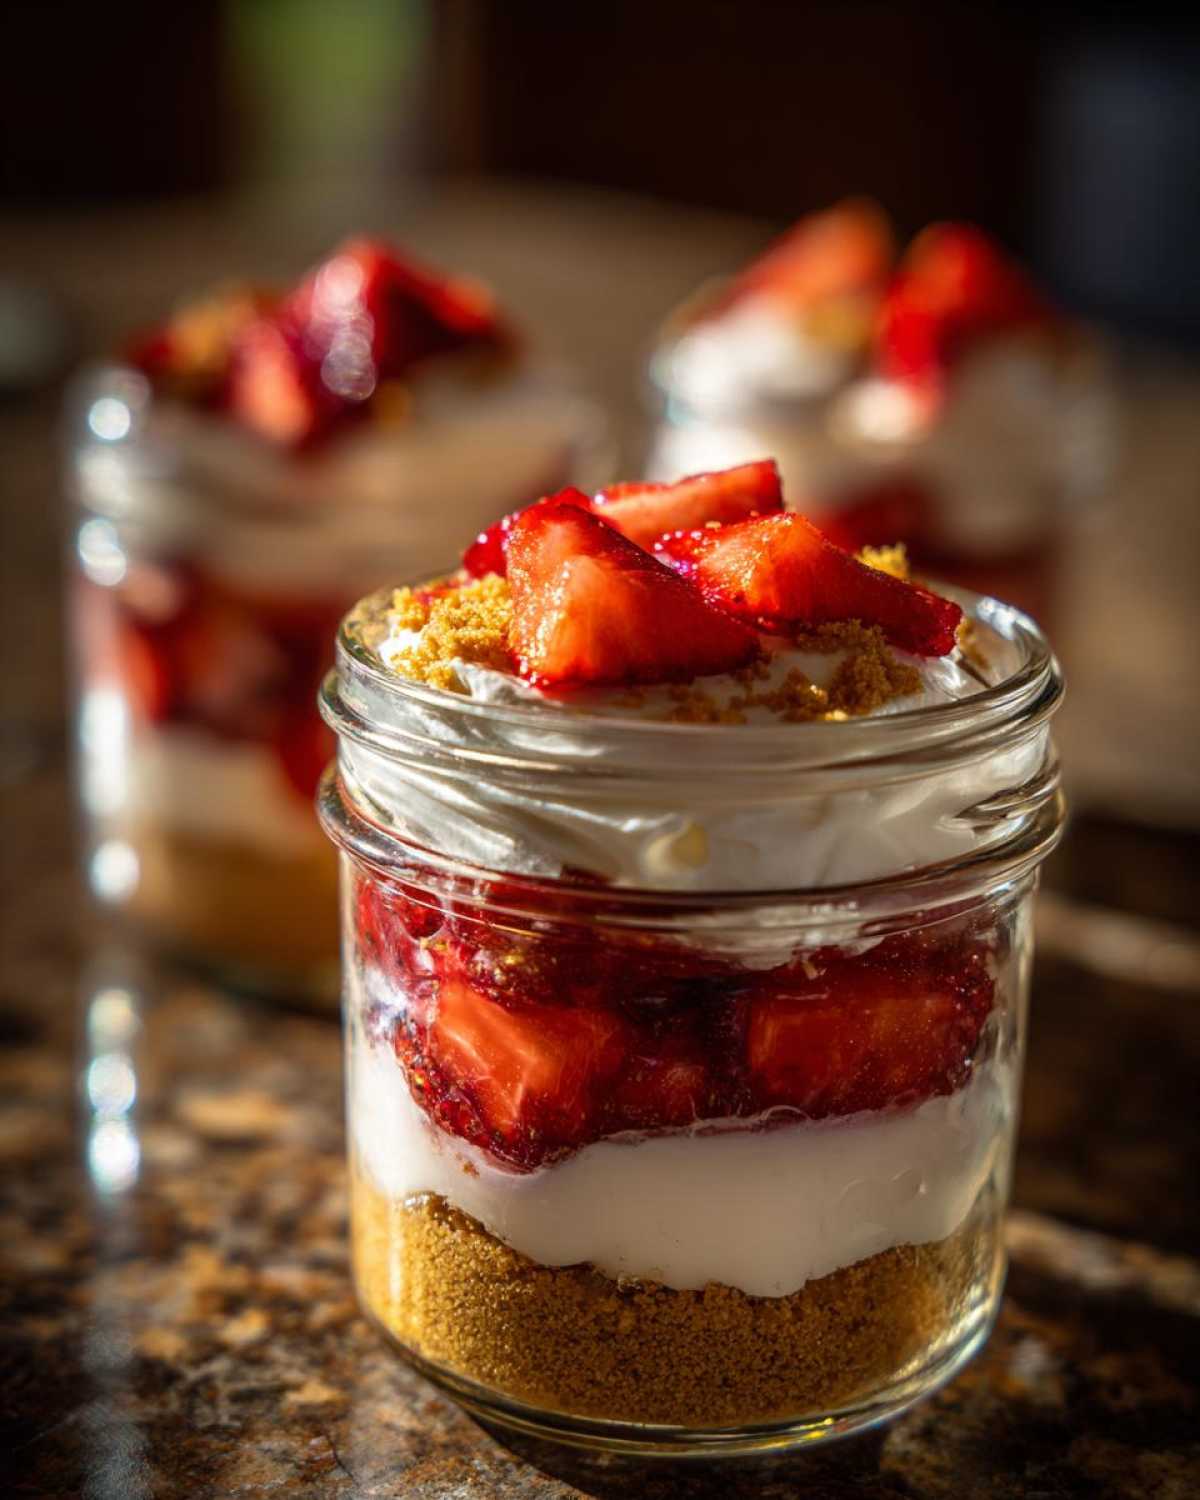
First, if you skip the homemade goop and just use butter to grease your jars—don’t! For these little jars, it’s best to skip the greasing entirely since the crust is meant to stick to the sides a bit. The second point comes directly from my notes: always use a piping bag for the **cream cheese filling**. It makes the presentation look professional, and it keeps the strawberry layers distinct. It seriously cuts down on the mess!
And here’s my personal E-E-A-T favorite tip: Make sure your cream cheese is truly room temperature—soft enough to mash easily—but your heavy whipping cream must be ice cold. If both are lukewarm, you won’t get that crucial volume in your filling, making the whole dessert a little flat. Follow those temperatures, and you’ll have perfect single serving strawberry treats every time!
Ingredient Notes and Substitutions for Creamy No Bake Pie
The beauty of this recipe, especially for graham cracker crust desserts, is that you can absolutely play around with the components without messing up the final texture, provided you respect the cream part!
If you run out of graham crackers, don’t panic! Vanilla wafers smash down beautifully and provide a slightly sweeter, buttery base that works wonderfully in these creamy no bake pie jars. You can also swap out the cream cheese for mascarpone if you want a slightly richer, less tangy filling, but you might need to cut back a tiny bit on the powdered sugar.
Now, let’s talk strawberries. Fresh is always best for that vibrant look, but if you’re making these in the winter months, frozen ones work fine! Just make sure they are completely thawed and drained really, really well. You don’t want any extra water seeping into your beautiful cream layers. Just pat them dry after thawing, and they are good to go!
Serving Suggestions for Portable Desserts for Parties
These little beauties are basically begging to be taken outside! Since these are the ultimate portable desserts for parties, I always keep the lids handy, but I don’t put them on until we are actually driving away. That keeps the crust nice and crisp!
For BBQs, they are perfect alongside grilled fruit or even just a scoop of simple vanilla ice cream on the side. If you’re serving them right away at home, top each one with a flash garnish! A tiny sprig of fresh mint looks so elegant against the red strawberries, or you can slice one hero strawberry perfectly thin across the top. It feels instantly fancy, and it takes zero extra time for your single serving strawberry treats!
Storage and Make Ahead Strawberry Dessert Ideas
Since these are filled with real cream, we can’t just leave them sitting out! For the best texture in your No-Bake Strawberry Cream Pie Jars, I strongly advise against freezing them. The fresh whipped cream layer doesn’t like the freezer—it gets grainy and separated when it thaws, and that’s just tragic.
The ideal scenario is making these about 4 to 6 hours before you plan to serve them. That gives them enough time in the fridge for the filling to set up properly around the crust but keeps the cream light. You can certainly make the crusts a day ahead and keep them sealed up tight, but don’t layer the wet ingredients until serving day, or worse, the day before. Keep them tightly lidded and chilled until it’s time to enjoy!
Frequently Asked Questions About No Bake Desserts
I always get so many questions when I first share this recipe, especially since people are curious about how to make sure these no bake desserts hold up well for parties! It’s all about keeping things simple and cool. Here are the main things folks ask me when they are trying out the cream pie in a jar for the first time.
Can I use store-bought graham cracker crumbs for these No Bake Strawberry Cream Pie Jars?
Absolutely, go for it! Sometimes you just don’t have time to crush a sleeve of crackers, and that’s totally fine. The main thing I watch for when using pre-crushed crumbs is the sugar content. Sometimes the store-bought ones have a little extra sugar mixed in. If they seem sweeter than usual, just cut back on the 1/4 cup of sugar you add to the mixture. The butter is the real binder anyway, so you’re good!
What is the best size jar to use for these individual dessert cups?
I stick to 8-ounce jars for my recipe, and I highly recommend it for these individual dessert cups. They are the perfect size—enough room for a good crust layer, plenty of filling, and a nice topping of strawberries without being overwhelming! You can use 6-ounce jars if you want smaller portions, like for a very fancy tasting menu, but you might have layers that nearly touch the top, so you’ll need to be extra careful when filling.
Can I swap out the strawberries for a different fruit?
Oh, yes! That’s the fun of being the baker! These are fantastic with blueberries or raspberries. If you use frozen fruit, just make sure you thaw it completely and drain **all** the liquid off—I mean roll it around on paper towels until almost dry. Extra liquid is the enemy of a good no-bake layer! Peaches also work great in the summer when they are in season.
How far in advance can I make these make ahead strawberry desserts?
Since we use fresh whipped cream, the sweet spot is making them the morning you plan to serve them, or no more than 4 hours before. If you try to make them the night before, the moisture from the strawberries can start to soften that lovely crust and make the cream filling a bit weepy. For the best structure, aim for that 4-hour minimum chill time just before serving!
Estimated Nutritional Information for Your Jar Dessert
I know some of you are tracking macros, and I totally get it! Knowing what’s in your dessert helps you fit it into your day. Since these single serving strawberry treats are made with fresh fruit and real cream cheese, they are a proper indulgence! Here is the general nutritional breakdown per jar based on the standard recipe amounts.
Please remember this is just an estimate, okay? If you use extra sugar in your crust or your strawberries are huge, the numbers change! Always treat these as a guideline rather than gospel, especially depending on what brand of cream cheese you end up grabbing.
- Serving Size: 1 jar
- Calories: Approximately 350
- Sugar: About 28 grams
- Fat: Around 22 grams total
- Saturated Fat: Roughly 13 grams
- Carbohydrates: Approximately 35 grams
- Protein: About 5 grams
See? A perfect, balanced treat for a summer evening! Enjoy every single creamy bite without guilt!
PrintNo-Bake Strawberry Cream Pie Jars
Prepare individual servings of creamy strawberry pie layered in jars. This no-bake dessert uses a graham cracker crust and a light, whipped cream filling.
- Prep Time: 25 min
- Cook Time: 0 min
- Total Time: 25 min
- Yield: 6 servings
- Category: Dessert
- Method: No-Bake Assembly
- Cuisine: American
- Diet: Vegetarian
Ingredients
- 1 1/2 cups graham cracker crumbs
- 1/4 cup granulated sugar (for crust)
- 6 tablespoons unsalted butter, melted
- 1 (8 ounce) package cream cheese, softened
- 1/2 cup powdered sugar
- 1 teaspoon vanilla extract
- 1 cup heavy whipping cream, cold
- 1/4 cup granulated sugar (for whipped cream)
- 2 cups fresh strawberries, sliced
Instructions
- Mix the graham cracker crumbs and 1/4 cup sugar in a small bowl. Pour in the melted butter and stir until the crumbs are evenly moistened.
- Divide the crumb mixture evenly among 6 small jars (about 8 ounces each). Press the mixture firmly into the bottom of each jar to form the crust layer. Place the jars in the refrigerator while you prepare the filling.
- In a medium bowl, beat the softened cream cheese with the powdered sugar and vanilla extract until smooth. Set aside.
- In a separate, chilled bowl, beat the cold heavy whipping cream and 1/4 cup sugar until stiff peaks form.
- Gently fold about one-third of the whipped cream into the cream cheese mixture to lighten it. Then, fold in the remaining whipped cream until just combined. Do not overmix.
- Layer half of the sliced strawberries over the crust in each jar.
- Spoon or pipe the cream cheese filling evenly over the strawberries in the jars.
- Top the cream filling with the remaining sliced strawberries.
- Chill the jars for at least 2 hours before serving.
Notes
- You can use vanilla pudding mix instead of making the cream cheese filling for a simpler version.
- For a cleaner look when layering, use a piping bag fitted with a large round tip for the cream filling.
- Keep the jars refrigerated until just before you serve them, especially in warm weather.
Nutrition
- Serving Size: 1 jar
- Calories: 350
- Sugar: 28
- Sodium: 210
- Fat: 22
- Saturated Fat: 13
- Unsaturated Fat: 9
- Trans Fat: 0
- Carbohydrates: 35
- Fiber: 1
- Protein: 5
- Cholesterol: 65