

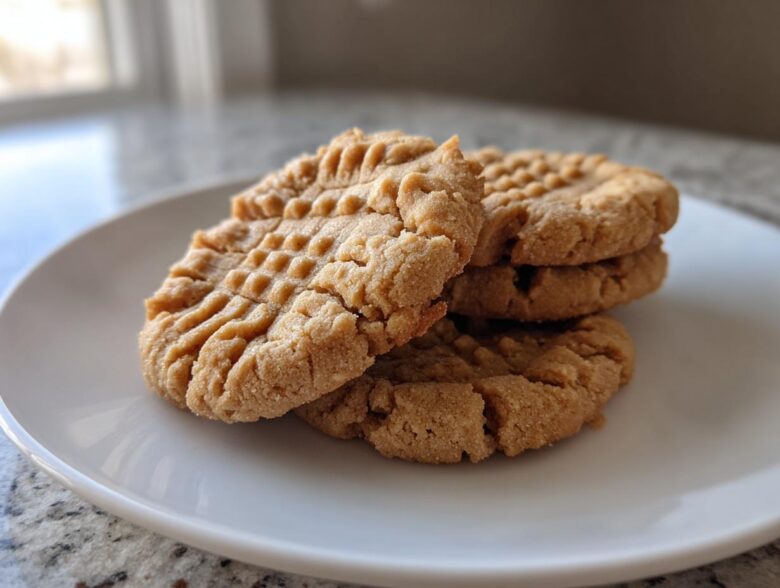
If there’s one cookie that’s the definition of baking nostalgia, it has to be the peanut butter cookie! Elias always says that the perfect version is a tightrope walk: you need those wonderfully crispy, craggy edges, but the center has to be soft, slightly chewy, and just melt in your mouth. Well, friends, I’m thrilled to tell you that after years of tinkering, I’ve landed on the definitive classic peanut butter cookies recipe. Here at Flavor Vista, we believe in sharing the simple classics that truly shine. I poured all my passion for achieving baking perfection into this one, and I can’t wait for you to try making this traditional cookie. You can always learn more about why we share these simple meals over on our About Us page!
Why These are the Best Peanut Butter Cookies You Will Ever Make
I truly believe these homemade peanut butter cookies are special, and not just because they are one of our favorite classic cookie recipes to whip up on a Tuesday night. What sets them apart is that guaranteed texture. We are talking crispy tender cookies—golden brown around the edges, with that gorgeous, soft middle that makes you close your eyes when you take the first bite. And of course, we can’t forget the iconic crosshatch pattern that signals pure, homemade peanut butter deliciousness!
Elias loves watching me make these because I get slightly obsessive about the process. But commitment pays off, trust me. If you follow these steps exactly, you’ll get exactly what you’re looking for, every single time. We even have another cookie recipe if you need a serious soft batch, but this one nails the traditional snap!
Achieving the Classic Peanut Butter Cookies Texture
The secret to balancing that crispy edge with the tender center boils down to two things: the creaming step and the sugar ratio. When we cream the butter, peanut butter, and both the light brown and granulated sugars, we incorporate just the right amount of air. This provides structure for the edges to firm up nicely while baking. Also, notice we use both brown and white sugar! The brown sugar keeps things chewy and moist at the center, while the granulated sugar helps promote that perfect, thin, crispy perimeter. It’s pure chemistry, and I love that it works!
Gathering Ingredients for Perfect Peanut Butter Cookies
When you are aiming for a truly classic cookie recipe, you need to pay attention to the ingredients you pull out of the pantry. Don’t worry, this list is straightforward, but the precision here is what guarantees you get those amazing homemade peanut butter cookies we’re aiming for. We want the crispiest edges and the most tender centers, right? So, take a moment to measure everything carefully before you even turn on the mixer!
- 1 cup (2 sticks) unsalted butter, softened
- 1 cup creamy peanut butter
- 1 cup granulated sugar
- 1 cup packed light brown sugar
- 2 large eggs
- 1 teaspoon vanilla extract
- 2 1/2 cups all-purpose flour
- 1 teaspoon baking soda
- 1/2 teaspoon baking powder
- 1/2 teaspoon salt
See? Nothing too fancy, just good quality staples. But wait, before you start dumping things in the bowl, I want to talk about how important the temperature of these ingredients is. It’s a small detail that makes a massive difference in your final peanut butter baking results!
Ingredient Notes and Substitutions for Your Peanut Butter Cookies
Let’s talk peanut butter first. For this recipe, I strongly recommend using creamy peanut butter. It blends seamlessly during the creaming process, which helps us achieve that consistent texture foundation. If you use crunchy, those nut pieces will change the way the dough holds together, and you might get more spreading than you want.
Now, ingredient temperature is key for successful traditional cookies. Your butter absolutely must be softened. Not melted—softened! You should be able to press your finger into it easily, but it shouldn’t look greasy or shiny. The eggs should also be around room temperature. Cold eggs can sometimes cause the creamed butter mixture to curdle or break apart when you add them in, and that messes up all that lovely air we just worked so hard to incorporate!
Also, a quick note on the flour: make sure you spoon it lightly into your measuring cup and level it off. Scooping directly from the bag compacts the flour, and too much flour will give you dry, crumbly cookies instead of the wonderfully moist ones we crave. Trust me on this one!
Step-by-Step Instructions for Classic Peanut Butter Cookies
Alright, let’s get baking! This is where the magic really happens in peanut butter baking. First things first, get your oven humming at 350 degrees F. I always line my baking sheets with parchment paper—it makes cleanup a breeze and helps ensure those bottoms don’t burn! Trust Elias on this one; we learned the hard way about sticking! You can check out another one of our favorite swaps for baking essentials right here.
Next, we mix. In a big bowl, cream the softened butter, that creamy peanut butter, and both sugars until it looks light and fluffy. It should seem airy, like a fluffy cloud. Beat in your eggs, one at a time, and then that splash of vanilla. In a separate bowl, whisk those dry ingredients—flour, baking soda, powder, and salt—together. Now, the most important part: Gradually add the dry stuff to the wet stuff, mixing slowly until it’s *just* combined. Stop the second you don’t see any more streaks of flour. Seriously, don’t overmix, or you’ll lose that soft center!
Scoop your dough into 1.5-inch balls and space them out on your prepared sheets. Now, grab that fork!
The Secret to the Perfect Crosshatch on Your Peanut Butter Cookies
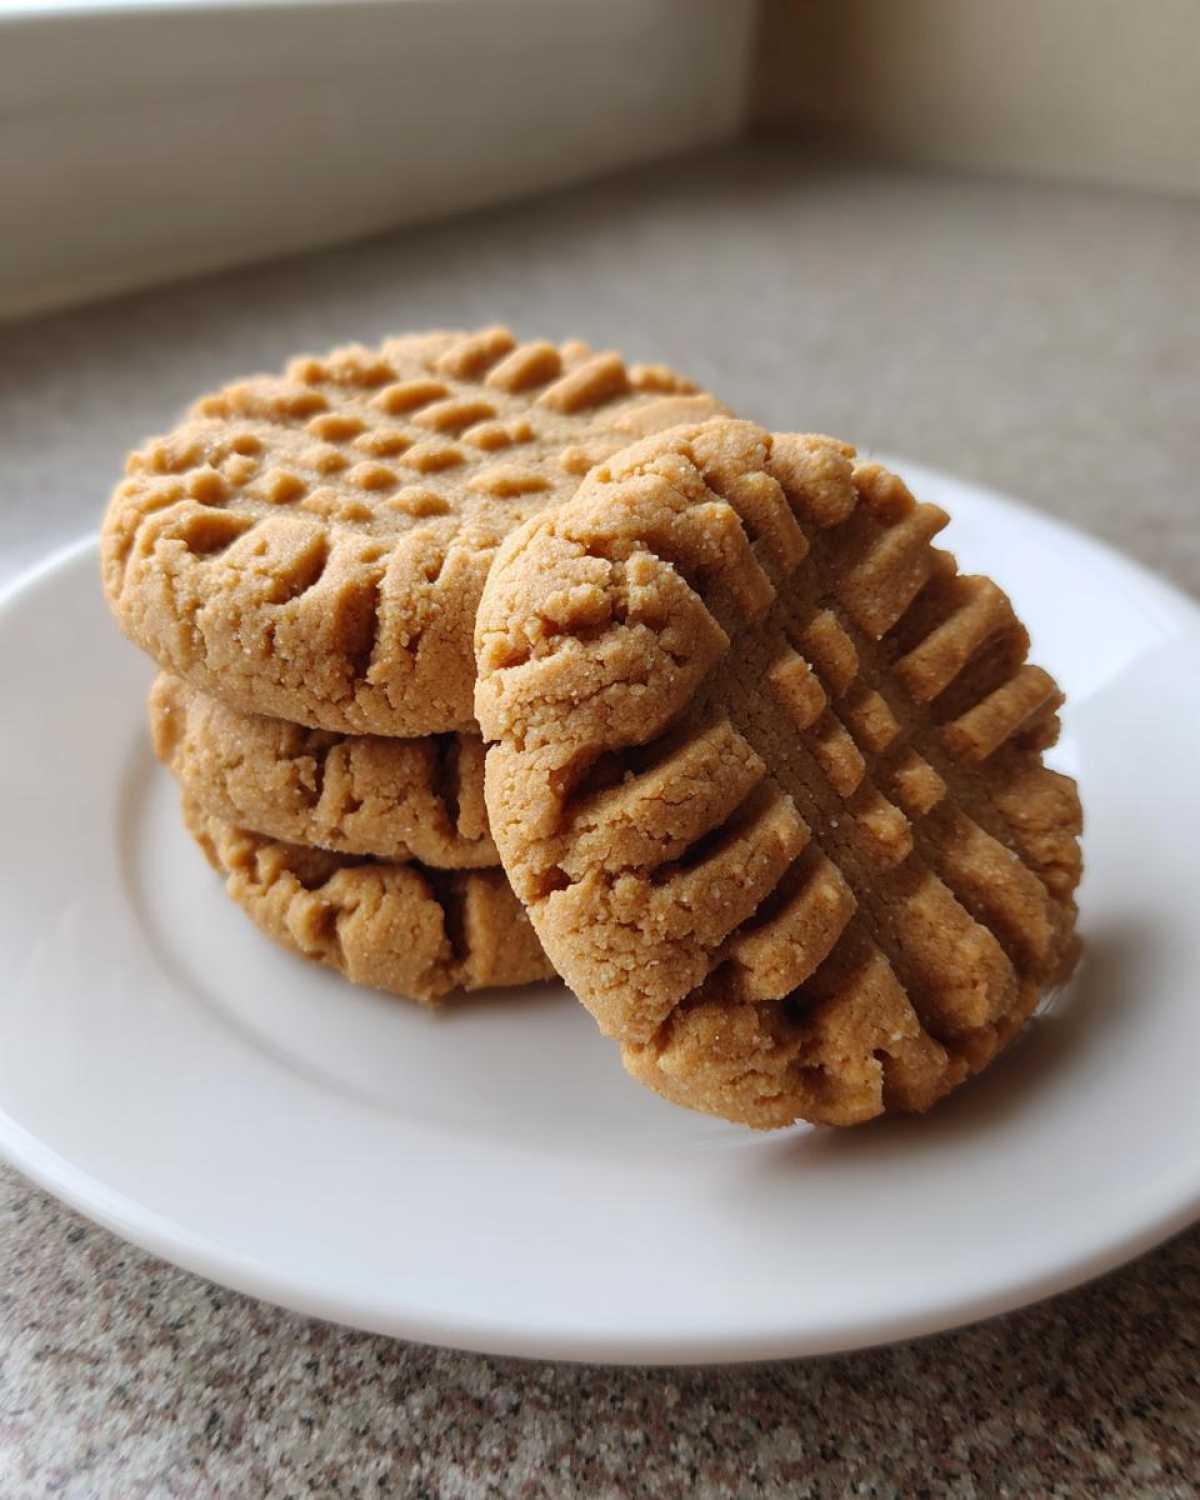
This is the signature part of all traditional cookies, right? Take a fork and press down gently on each dough ball. You do one press in one direction, like making hash marks, and then press again perpendicular to the first press to make that iconic crisscross pattern. This motion does two important things: it flattens the cookie so it bakes evenly, and it helps prevent them from spreading into sad, flat puddles in the oven. Go slow and steady here—it’s worth the effort!
Baking and Cooling: Key to Crispy Tender Cookies
Time to bake! Slide those sheets into the oven for about 10 to 12 minutes. You are aiming for edges that are just lightly golden brown. I know it’s tempting to wait until they look fully brown, but don’t! The centers should still look a little soft or even slightly underdone when you pull them out. This is the key to those crispy tender cookies we love.
Don’t move them yet! Let them rest right there on the hot baking sheet for a solid 5 minutes. This short cooling period on the hot surface is crucial because it lets the centers set up properly. After those five minutes, carefully move them to a wire rack to cool completely. If you try to move them earlier, they might crumble. Be patient—you’re almost at cookie heaven!
Tips for Success with Homemade Peanut Butter Cookies
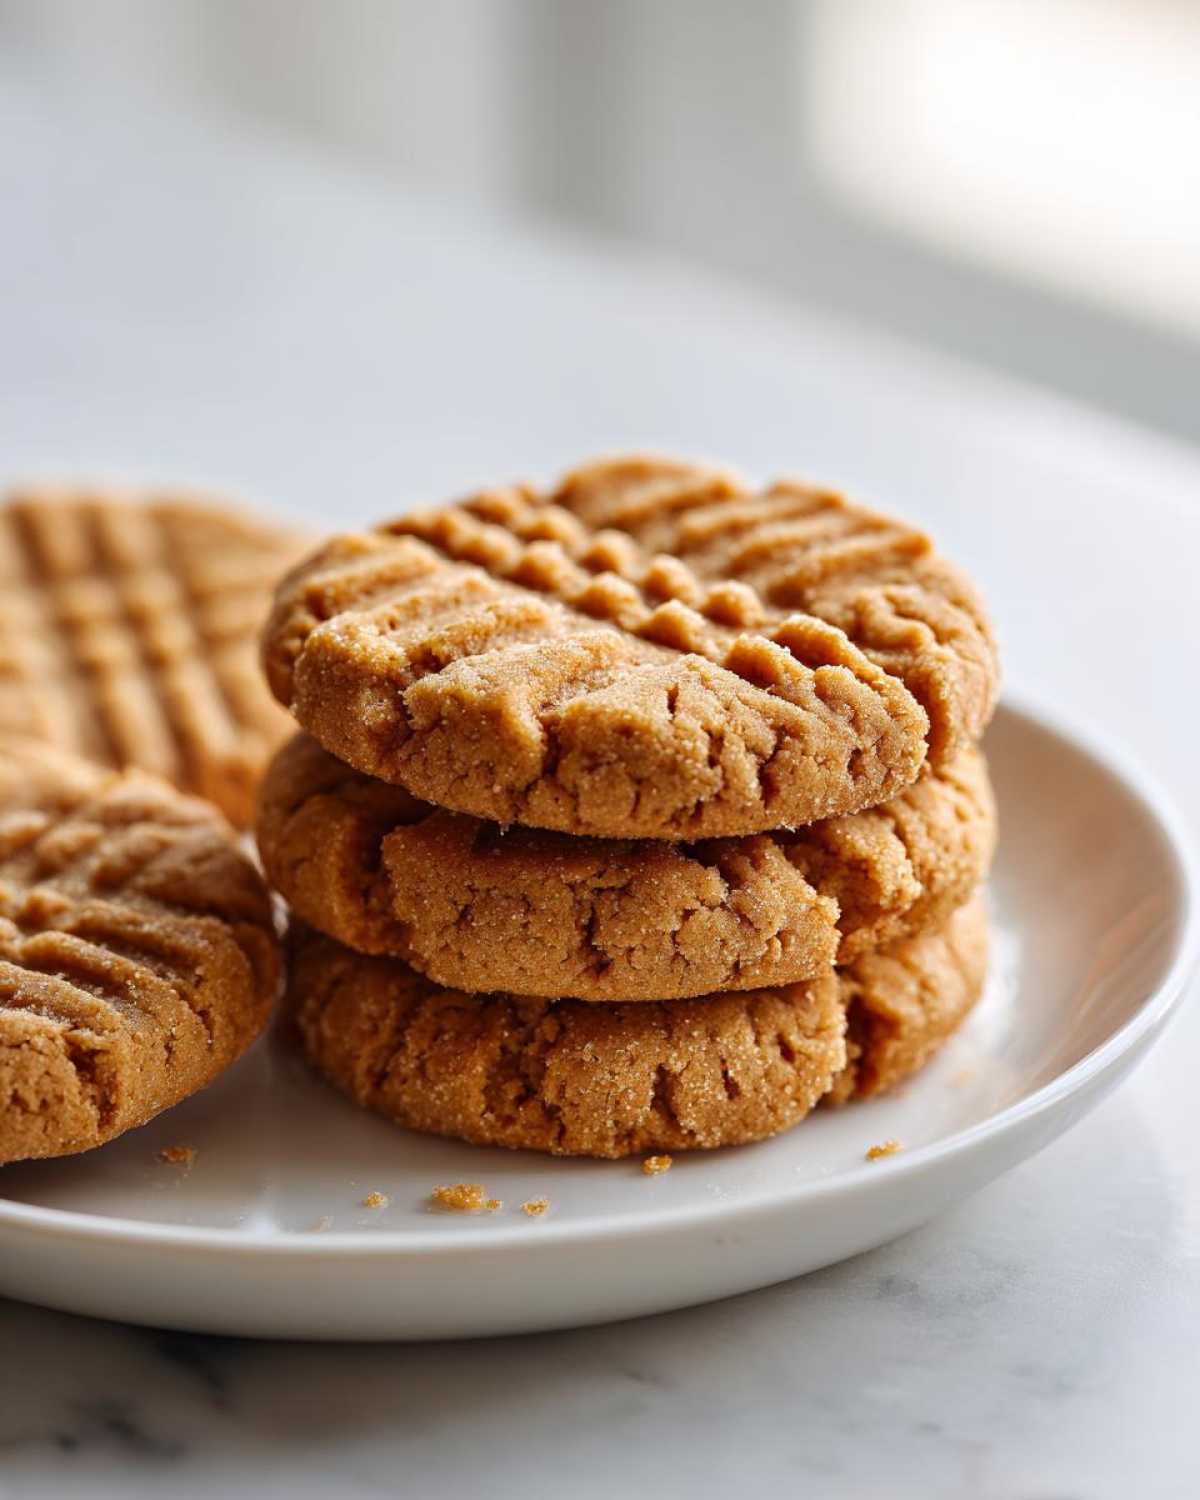
I’ve made enough batches of these classic peanut butter cookies to know that sometimes, even with the best recipe, little things can go wrong. So, here are a few of my go-to tricks that Elias and I use every single time we bake these traditional cookies. These nuggets of wisdom are what take a good batch and turn them into the *best* batch!
First up: the chilling trick! If you prefer your cookies thick instead of slightly flat—which means maximizing that tender center—you absolutely must chill the dough. Seriously, I know it’s hard to wait when you smell those delicious peanut butter aromas, but wrapping up the dough and letting it rest in the fridge for just 30 minutes makes a huge difference. It firmens up the fats so the cookies don’t spread as much when they hit the heat. You can check out one of our favorite make-ahead recipes right here if you want to prep ahead!
Secondly, let’s talk flavor boosts! While this is a classic recipe, we love making it our own sometimes. If you want to double down on that rich peanut flavor in your peanut butter baking, try swapping regular creamy peanut butter for a natural, unsweetened kind. Natural peanut butter tends to be a bit runnier, so you might need to add an extra tablespoon of flour (just watch the texture!), but oh boy, that depth of flavor is incredible.
My third piece of advice addresses the bake time gamble. Remember how I said the centers look slightly underdone when you pull them out? If you’re nervous about that, try pulling them out right at the 10-minute mark. Since these bake up relatively thin, the residual heat keeps them cooking. For a slightly softer, almost underbaked center that just melts, reducing the baking time by a whole minute can give you the goo-factor you’re chasing. It’s all about finding your own oven’s sweet spot!
Storage and Make-Ahead Options for Your Peanut Butter Cookies
I know sometimes you just can’t stop at eating just one batch, or maybe you’re making these delightful homemade peanut butter cookies for an event coming up next week. Don’t worry, these beauties store incredibly well! Elias likes to keep a stash hidden away for surprise afternoon snacks. The key with these crispy tender cookies is keeping them away from too much moisture, which destroys that perfect edge crispness we worked so hard to achieve.
Once they are completely cool—and I mean totally cool on the wire rack—store your peanut butter cookies in an airtight container at room temperature. If you stack them, place a square of parchment paper between the layers. This stops them from sticking together and helps maintain that fantastic texture. They should stay delightfully fresh and flavorful for a good four to five days this way. If you’re finding they are starting to lose a little spring after day four, just pop one in the microwave—literally five seconds—and it comes right back to life!
If you’re planning ahead, I highly recommend making the dough in advance. This is a lifesaver when you need quick treats! Scoop the dough balls, press the crosshatch pattern on them, and then place the entire tray (uncooked!) into the freezer until the dough is rock hard. Once frozen solid, transfer those cookie balls into a heavy-duty freezer bag. You can keep them frozen for up to three months. When you get the baking urge, just pull out as many as you need, place them on parchment-lined sheets, and bake them straight from frozen. You might need to add about 2 to 3 minutes to the baking time, but trust me, the payoff of having fresh peanut butter cookies ready in minutes is huge!
For already baked cookies, you can absolutely freeze those too! Ensure they are fully cooled, place parchment paper between them in a freezer-safe container, and freeze. Thaw them overnight on the counter, and they are ready to go the next day. Happy baking ahead!
Serving Suggestions for Classic Cookie Recipes
Now that you have a cooling rack full of the best peanut butter cookies imaginable, the real hard part begins: resisting eating them all in one sitting! Elias and I have our favorite ways to enjoy these traditional cookies, and I want to share how you can elevate the experience of eating these simple, wonderful treats.
First off, you simply cannot go wrong with the absolute classic: ice-cold milk. There is something about the salty-sweet punch of the peanut butter cookie hitting creamy, cold milk that is totally unbeatable. It brings back all those childhood memories of after-school snacks! Keep a tall glass ready when you pull those cookies off the cooling rack—they are perfect for dunking, too, if you like a slightly softened cookie edge!
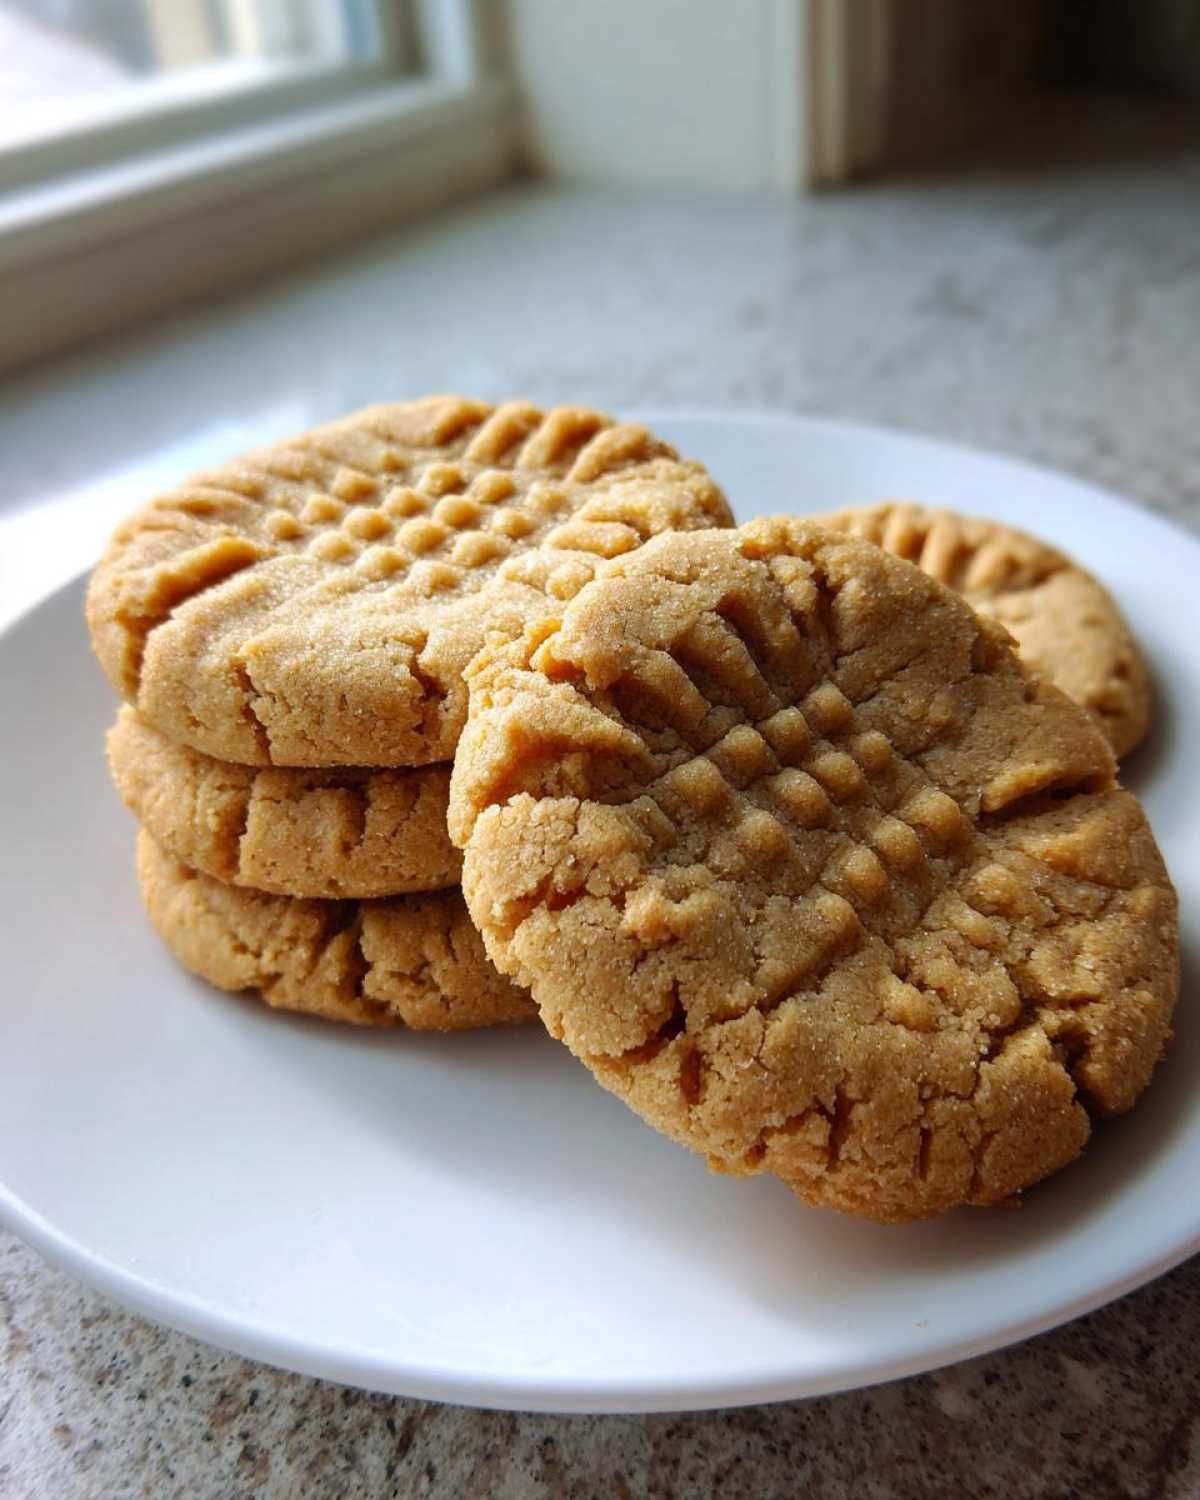
If you are enjoying these around a coffee break, they pair beautifully with a rich, dark cup of coffee. The slight bitterness of the coffee cuts through the sweetness of the molasses in the brown sugar, making the roasted peanut flavor really pop. Honestly, it makes getting through the afternoon slump so much easier!
For a real showstopper dessert, though, you have to try using these peanut butter cookies as a base for an ice cream sandwich. Just take two slightly smaller cookies and sandwich a scoop of high-quality vanilla bean ice cream between them. If you want to get really fancy (and I often do!), try adding a drizzle of melted chocolate or even a dollop of that thick pumpkin bar topping we made last fall—though maybe wait until autumn for that one!
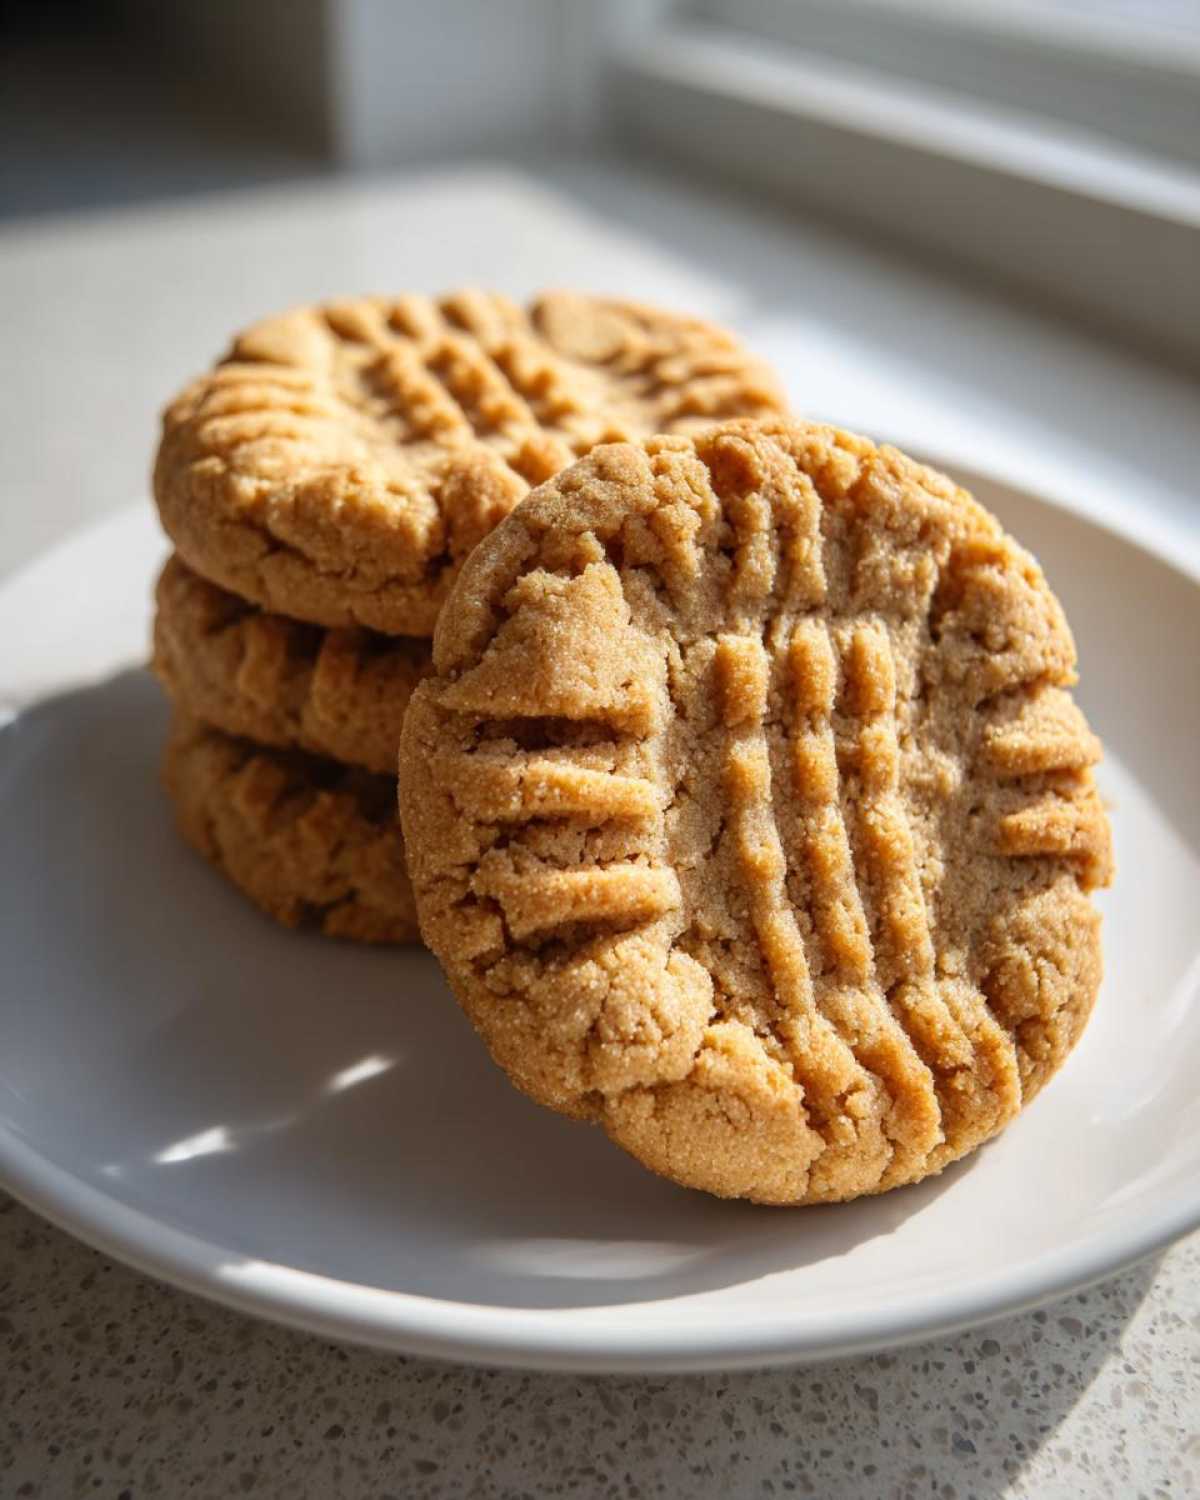
However you choose to enjoy them, remember that sharing is caring. These classic cookie recipes are meant to bring joy, whether you’re serving them up for a party or just for yourself curled up on the couch!
Frequently Asked Questions About Peanut Butter Baking
Is anything more frustrating than setting out to make a batch of perfect classic peanut butter cookies and getting a result that just isn’t quite right? Peanut butter baking involves a little bit of dairy science, and sometimes we need to troubleshoot! Elias and I get a ton of questions about texture and ingredient swaps, so I put together answers to the things I hear most often. Hopefully, this helps you nail that perfect crispy-tender result!
Can I use crunchy peanut butter in this peanut butter cookies recipe?
You absolutely can use crunchy peanut butter if that’s what you have or what you prefer! I generally steer folks toward creamy because it mixes in so smoothly and helps build that uniform, tender center. If you use crunchy, just know that the little peanut bits will interrupt that smoothness slightly, giving you more texture variance throughout the bite. It won’t ruin them, but it will definitely result in a cookie that feels a bit less uniform than the one you see in the pictures.
Why did my classic peanut butter cookies spread too much?
Oh, spreading! That’s the nemesis of a good batch of traditional cookies. Nine times out of ten, spreading is caused by the fat being too warm before it hits the oven. Remember how I harped on the butter being softened but not melted? If your butter or peanut butter is too soft, it melts too fast in the oven, and the cookie spreads before the structure can set. Another culprit could be skipping the chilling step entirely if your kitchen runs warm.
If you find your dough is just too soft to handle before you even scoop it, pop the whole mixing bowl into the fridge for 15 minutes to firm things up a bit. A slightly warmer oven temp (say, 365°F instead of 350°F) might also help set the edges faster on subsequent batches, but first, check your ingredient temperatures!
Estimated Nutritional Snapshot for These Peanut Butter Cookies
Now, Elias keeps reminding me that as much as we love talking about flavor and texture, people are often curious about the nutritional breakdown of our favorite treats. I absolutely get it! We aren’t aiming for health food here—these are indulgent, traditional homemade peanut butter cookies, after all—but I always look up estimates when I can.
However, I have to give you the standard disclaimer here, because this is super important for anyone baking from a beloved family recipe. The nutritional information provided is just an estimate, and it can really change significantly based on what brands of peanut butter you use, exactly how much you pack that brown sugar, or even the size of your eggs! We use approximate server sizes based on how we usually divide the batch.
For the most accurate accounting, especially if you’re tracking macros or counting things out, it’s always best to input your *exact* ingredients into your preferred tracking app. You can read more about why we emphasize quality ingredients over precise tracking in our full disclaimer here. In short: enjoy these classic peanut butter cookies guilt-free, because they are made with love, and that’s what matters most!
Share Your Perfect Peanut Butter Cookies Experience
Whew! We’ve covered whipping, creaming, pressing, and cooling—now it’s your turn to make some magic happen in your kitchen! I sincerely hope that making these classic peanut butter cookies brings you as much joy as it brings Elias and me every single time. There is truly nothing better than pulling a hot tray of these golden treats out of the oven!
I am so eager to see your results! When you bake these best peanut butter cookies, please, please snap a picture! We absolutely live for seeing your creations shared online. When you post them on Instagram or share them elsewhere, be sure to tag us so we can see how wonderfully yours turned out. Elias and I are always scrolling, looking for photos of your beautiful crispy tender cookies!
And if you loved this recipe for homemade peanut butter cookies—if it became your go-to for traditional cookies—we would be so grateful if you could hop back over and leave us a rating. Five stars truly helps us know which classic cookie recipes resonate most with you all, letting us know we are sharing exactly what you need in your kitchens. If you ever need to reach out with a question or just want to say hello after a great baking session, feel free to drop us a line on the Contact page. Happy baking, friends! Enjoy every single bite!
PrintClassic Peanut Butter Cookies: Crispy Edges, Tender Centers

Make the best peanut butter cookies with this straightforward recipe. You get that perfect texture—crispy edges and a soft, chewy middle—every time you bake.
- Prep Time: 15 min
- Cook Time: 12 min
- Total Time: 27 min
- Yield: About 3 dozen cookies
- Category: Dessert
- Method: Baking
- Cuisine: American
- Diet: Vegetarian
Ingredients
- 1 cup (2 sticks) unsalted butter, softened
- 1 cup creamy peanut butter
- 1 cup granulated sugar
- 1 cup packed light brown sugar
- 2 large eggs
- 1 teaspoon vanilla extract
- 2 1/2 cups all-purpose flour
- 1 teaspoon baking soda
- 1/2 teaspoon baking powder
- 1/2 teaspoon salt
Instructions
- Preheat your oven to 350 degrees F. Line baking sheets with parchment paper.
- In a large bowl, cream together the softened butter, peanut butter, granulated sugar, and brown sugar until the mixture is light and fluffy.
- Beat in the eggs one at a time, then mix in the vanilla extract.
- In a separate medium bowl, whisk together the flour, baking soda, baking powder, and salt.
- Gradually add the dry ingredients to the wet ingredients, mixing on low speed until just combined. Do not overmix.
- Scoop the dough into 1.5-inch balls and place them 2 inches apart on the prepared baking sheets.
- Use a fork to press down on each ball to create the classic crosshatch pattern, pressing once in one direction, then once perpendicular to the first press.
- Bake for 10 to 12 minutes, or until the edges are lightly golden brown. The centers will look slightly underdone.
- Let the cookies cool on the baking sheet for 5 minutes before transferring them to a wire rack to cool completely.
Notes
- For extra peanut flavor, use a natural, unsweetened peanut butter.
- If you prefer a slightly softer cookie, reduce the baking time by one minute.
- Chill the dough for 30 minutes before scooping for thicker cookies.
Nutrition
- Serving Size: 1 cookie
- Calories: 180
- Sugar: 13
- Sodium: 110
- Fat: 10
- Saturated Fat: 4
- Unsaturated Fat: 6
- Trans Fat: 0
- Carbohydrates: 21
- Fiber: 1
- Protein: 4
- Cholesterol: 25