

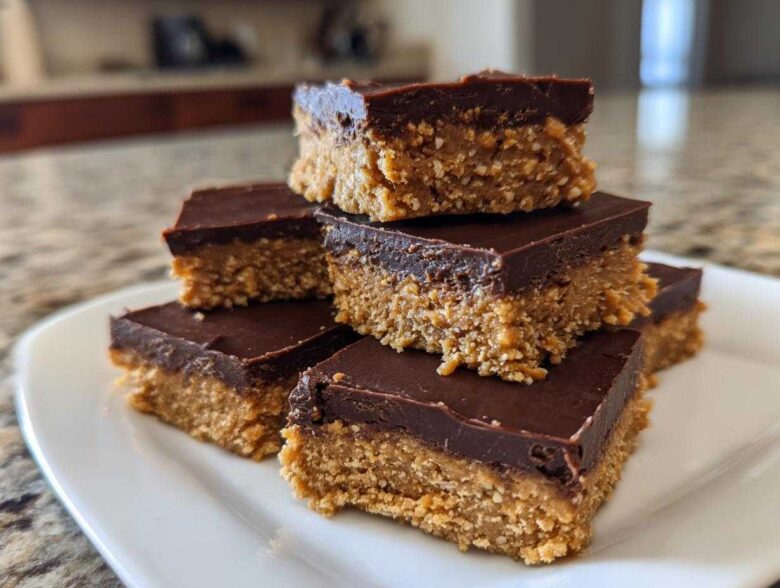
Okay, listen up, because sometimes you just need that perfect, rich, deeply satisfying hit of sugar and salt without even pretending to turn on the oven. We all have those nights, right? Especially when the counter is full of dishes from the *last* thing I tried to make! That’s why I’m obsessed with these Simple No-Bake Peanut Butter Bars. They are my go-to solution when I need maximum payoff for minimum effort. Seriously, if there’s one pantry staple I cannot live without, it’s creamy peanut butter. This recipe uses just a handful of things you probably already have.
I first perfected this recipe back in college when my oven broke—twice! It quickly became the staple I relied on for study breaks and late-night cravings. It’s one of those foundational, no-fail recipes that prove you don’t need fancy equipment to create something truly decadent. Trust me, these bars disappear faster than you can say “double batch.”
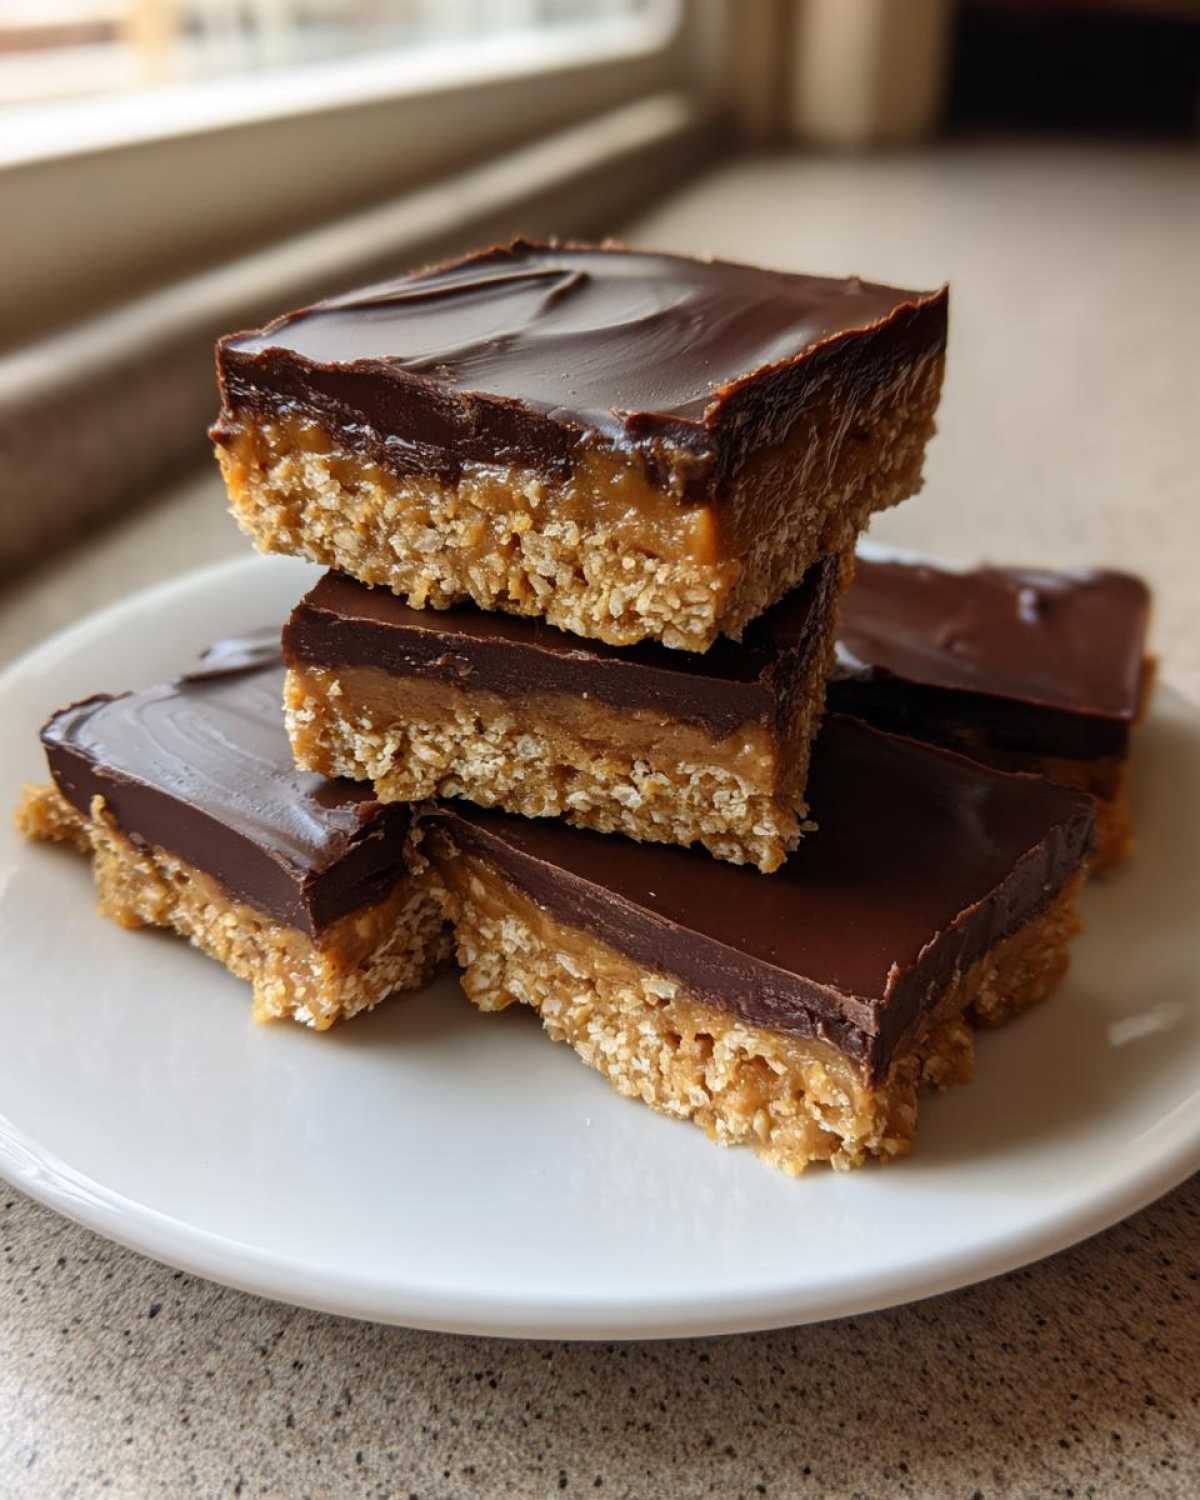
Why You Need These No-Bake Peanut Butter Bars
I’m telling you, these bars are a lifesaver when time is tight. They hit that sweet and salty craving perfectly, and the cleanup? Forget about it! You’re mostly just dealing with one bowl and one measuring cup. If you’re looking for something absolutely foolproof that tastes like it took hours, look no further.
- They come together faster than you can find your favorite baking pan.
- The combination of buttery **Peanut Butter** and rich chocolate is pure magic.
- You don’t even need to preheat an oven! Less energy use, too!
- If you love my easy peanut butter cookies, you’ll adore the texture here!
Gathering Ingredients for Perfect Peanut Butter Bars
Before we even think about mixing, we need to make sure our lineup is ready. This recipe is all about having the right amounts of sweet, salty, and fat working together. Don’t cheat yourself by using the wrong form of **Peanut Butter**—creamy is absolutely the way to go here for that smooth base layer. You’ll need a full cup of that creamy goodness.
For the dry stuff, grab your powdered sugar and about a cup and a half of graham cracker crumbs. Make sure your butter is softened! If it’s still stiff, the mixture won’t incorporate correctly. Finally, for that glorious topping, we need semi-sweet chocolate chips and just a tiny bit of coconut oil. The oil helps everything melt down super silky, which is key for that professional finish on top of your bars!
Step-by-Step Instructions for No Bake Peanut Butter
Okay, let’s get this done! Since these are no-bake, we move fast, but we need to be firm when we pack down that base. Don’t forget to line your 8×8 pan first—use parchment paper hanging over the sides so you can lift the whole thing out later like a prize! We don’t want any sticking drama here, trust me.
Seriously, these are the best no bake energy bites’ bigger, more decadent cousin. We’re moving straight through mixing to setting up that chocolate layer.
Preparing the Peanut Butter Base Layer
In a good-sized bowl—one big enough you won’t spill—you’re going to beat together your peanut butter, powdered sugar, and softened butter until it looks creamy, not gritty. Once that base is smooth, fold in those graham cracker crumbs until everything is just combined. No overmixing! Now take that mixture and press it down hard into your lined pan. Use the bottom of a drinking glass if you need extra leverage—you want this layer dense!
Melting and Spreading the Chocolate Topping for your Peanut Butter Bars
Next up, the chocolate! Get your chips and the tiny bit of coconut oil into a microwave-safe bowl. Microwave it in short bursts—30 seconds is perfect—stirring really well between each burst until it’s glossy and totally smooth. Pour that melted chocolate right over the peanut butter base and use an offset spatula to spread it all the way to the edges. Now comes the hardest part: waiting! Pop the whole thing in the fridge for at least two hours until that top layer is rock solid. Then you lift it out using those parchment paper handles and slice!
Tips for Success with Your Creamy Peanut Butter Creations
I know these look simple, but a couple of fast tricks will take your **Peanut Butter** bars from good to absolute perfection. First, temperature is everything! Don’t use cold butter; it just won’t cream properly with the sugar, leaving you with a lumpy base that won’t press down right. Softened, but not melted, butter is your best friend here.
When it comes time to cut them, don’t rush it after chilling. If the chocolate is too cold, it will crack, and nobody wants jagged edges! Try running your sharp knife under really hot water, wiping it dry quickly, and making your cut. If you repeat that hot-knife trick for every single slice, you get those beautiful, clean edges you see in pictures. It’s a game-changer, especially if you’re bringing these to a party! You can see similar tips over on my easy peanut butter cookies post too.
Storage and Reheating Instructions for Leftover Peanut Butter
Because these **Peanut Butter** bars have a solid chocolate top and a buttery, rich base, they absolutely need to stay cool to keep their shape. Don’t even think about leaving them on the counter! Pop them right into an airtight container once they are cut.
They stay fantastic in the fridge for up to a full week—which is amazing because usually, we eat them all in two days! You don’t ever need to reheat these, not even slightly. If you pull them from the fridge and they seem a little too firm, just let them sit out on a plate for about 10 minutes before serving. That little bit of time brings the peanut butter layer back to that perfect soft consistency.
Ingredient Notes and Substitutions for Peanut Butter
One of the best things about this **Peanut Butter** recipe is how adaptable it is, even though I swear by creamy! If you prefer a little texture, go ahead and swap in crunchy peanut butter, but know that the base won’t feel quite as smooth when you’re pressing it down. That’s just physics, folks!
If you are trying to keep sugar down, you can technically use a low-sugar or natural peanut butter, but you might need to add an extra tablespoon of powdered sugar to the base mixture because natural butters can really change the texture. Also, if you’re using a natural brand where the oil separates, make sure you stir that lovely oil back in completely before measuring it out.
For the crumbs, graham crackers are classic, but don’t panic if you’re out! Vanilla wafer crumbs work beautifully—they give it a slightly sweeter, softer bite. Even crushed shortbread cookies can stand in if you need a very quick swap. You can browse some other great uses for all types of peanut butter over at my guide on natural peanut butter recipes!
Serving Suggestions for These Easy Peanut Butter Snacks
Honestly, these **Easy Peanut Butter Snacks** are pretty perfect just sitting on a plate with a napkin, but if you want to fancy them up a little, I have a few thoughts! They are absolutely divine alongside a hot cup of coffee in the afternoon—the bitterness of the coffee really cuts through the richness of the chocolate and peanut butter.
For an extra little something, after you cut them, try dusting the top chocolate layer very lightly with unsweetened cocoa powder. It looks so professional! Or, if you want to add some fresh color, serve one little square next to a few tart raspberries or sliced strawberries. That fruitiness keeps things from getting too heavy. You can find even more inspiration for quick bites where these bars shine over at my guide on easy snacks!
Frequently Asked Questions About Peanut Butter Bars
It’s like magic how many questions pop up once people realize how dangerously easy these **Peanut Butter** bars are! I’ve gathered the ones I get asked most often about this recipe and the general concept of **Peanut Butter Dessert Ideas**. Hopefully, this clears everything up so you can get back to enjoying them!
Can I make these Peanut Butter Bars vegan?
Yes, you absolutely can! It’s surprisingly easy to tweak this recipe to be completely dairy-free and vegan. For the butter, you’ll simply swap it out for an equal amount of high-quality vegan butter sticks—the stick kind works much better than the tub stuff for binding. For the chocolate topping, make sure you grab dairy-free chocolate chips, which are widely available now. If you follow those swaps, you’ve got yourself some fantastic **Vegan Peanut Butter Recipes**!
How to get clean cuts on the finished Peanut Butter Dessert Ideas?
This is where most people run into trouble, especially with that rich chocolate topping! The #1 secret is chilling. Don’t even think about slicing these things until they’ve been in the fridge for a solid two hours, or even better, overnight. They need to be completely firm.
Once they are set, take a nice, sharp knife and run it under very hot water for about 15 seconds. Wipe the blade completely dry, and then make your first cut. Repeat that hot water rinse and dry before every single slice. It melts just enough of the chocolate and the base so you get that super clean, gorgeous edge every time, making them look like professional **Peanut Butter Dessert Ideas**!
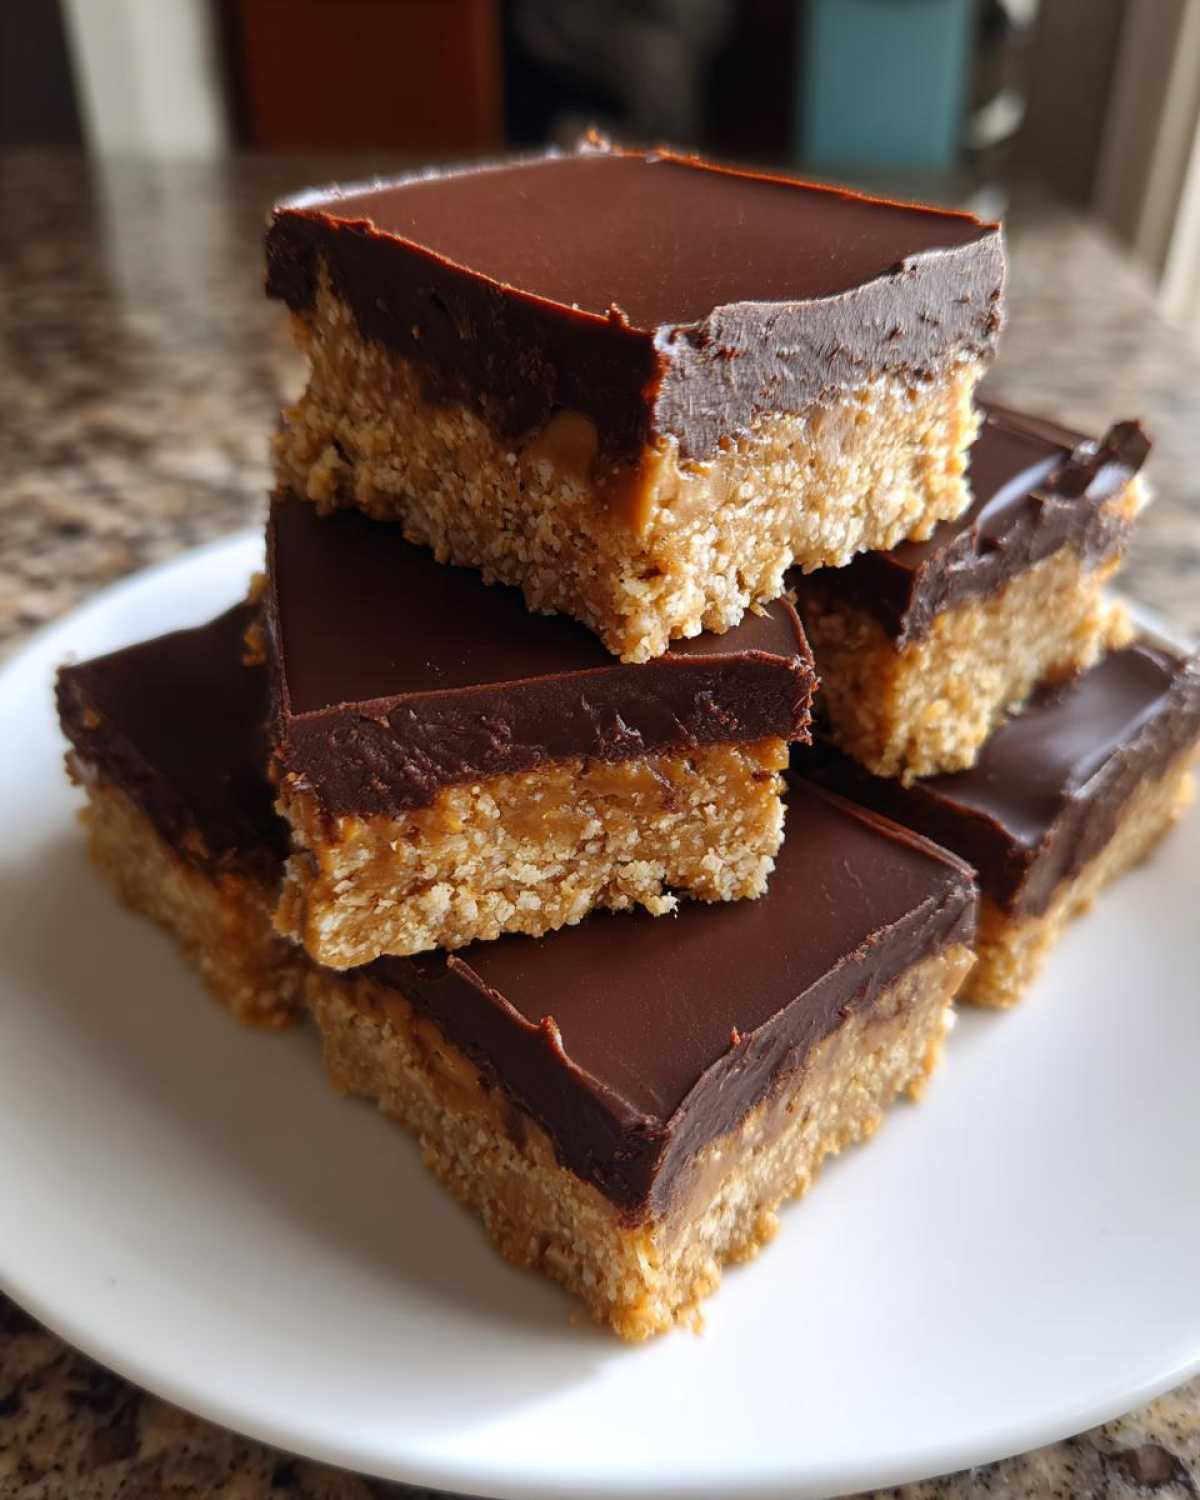
What if my chocolate topping cracks when I try to cut it?
Oh, that crackle is so annoying! It usually happens because the chocolate layer got too cold, or you didn’t use the hot knife trick I just mentioned. If the topping has already set and it’s looking like a dry riverbed, don’t panic! You can sometimes fix it by very gently warming the knife blade slightly more or letting the whole pan sit on the counter for an extra five minutes before you attempt to slice again. If you’re using natural **Peanut Butter**, sometimes the base is a little looser, which can contribute to cracking, so remember to press that base down as firmly as possible!
Can I use crunchy peanut butter instead of creamy?
You certainly can! If you love texture and want an extra bit of crunch in your bars, crunchy peanut butter works just fine. Just be aware that the base layer won’t feel as uniform or smooth when you’re mixing and pressing it. The final texture will be a little more rustic, but the flavor is still 100% there!
Nutritional Estimates for One Peanut Butter Bar
I always feel a little guilty looking at the numbers for these bars because they are just so delicious, but hey, knowledge is power, right? Since this is a homemade treat, these numbers are based on the ingredients listed above using average brands. If you switch out the type of **Peanut Butter** or the brand of chocolate chips you use, your numbers might shift a bit, so always treat this as a good ballpark estimate!
Remember, these are rich, decadent bars, so they pack a punch! This information is just to give you a general idea of what you’re looking at for one generous square, so don’t sweat it too much!
- Serving Size: 1 bar
- Calories: 250
- Sugar: 18g
- Fat: 17g
- Protein: 6g
- Carbohydrates: 23g
- Sodium: 110mg
We’re seeing a decent amount of fat here, which is expected thanks to the butter and the rich **Peanut Butter** base, but we also get a nice little bump of protein from the nuts. Enjoy them guilt-free—they are worth every bite!
PrintSimple No-Bake Peanut Butter Bars
Make quick, easy peanut butter bars without turning on the oven. These treats use common pantry ingredients.
- Prep Time: 15 min
- Cook Time: 0 min
- Total Time: 2 hr 15 min
- Yield: 16 bars
- Category: Dessert
- Method: No Bake
- Cuisine: American
- Diet: Vegetarian
Ingredients
- 1 cup creamy peanut butter
- 1 cup powdered sugar
- 1/2 cup unsalted butter, softened
- 1 1/2 cups graham cracker crumbs
- 1 cup semi-sweet chocolate chips
- 2 tablespoons coconut oil
Instructions
- Line an 8×8 inch baking pan with parchment paper, leaving an overhang on two sides for easy removal.
- In a medium bowl, mix the peanut butter, powdered sugar, and softened butter until smooth.
- Stir in the graham cracker crumbs until fully combined.
- Press the mixture firmly and evenly into the prepared pan.
- In a small, microwave-safe bowl, combine the chocolate chips and coconut oil. Microwave in 30-second intervals, stirring between each, until completely melted and smooth.
- Pour the melted chocolate mixture over the peanut butter base. Spread evenly to cover the entire surface.
- Refrigerate for at least 2 hours, or until the chocolate topping is firm.
- Use the parchment overhang to lift the bars from the pan. Cut into 16 squares before serving.
Notes
- For a firmer bar, use natural peanut butter that has been refrigerated for a few hours before mixing.
- If you prefer a thicker chocolate layer, increase the chocolate chips and coconut oil by 1/4 cup each.
- Store leftovers in an airtight container in the refrigerator for up to one week.
Nutrition
- Serving Size: 1 bar
- Calories: 250
- Sugar: 18g
- Sodium: 110mg
- Fat: 17g
- Saturated Fat: 5g
- Unsaturated Fat: 12g
- Trans Fat: 0g
- Carbohydrates: 23g
- Fiber: 1g
- Protein: 6g
- Cholesterol: 10mg