

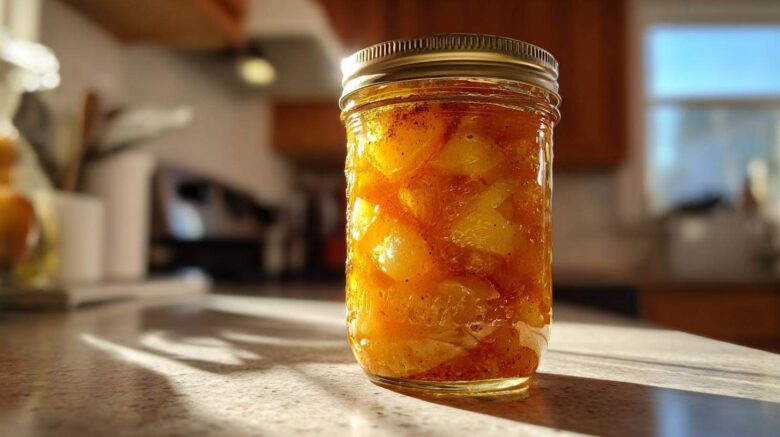
Oh, the magic of late summer and early autumn! When the air gets that crisp edge, and local markets overflow with the most beautiful, fragrant produce. For me, that means one thing: pears! There’s something truly special about a firm, ripe pear, its subtle sweetness hinting at sunny days. It always brings me back to my grandmother’s kitchen, where the scent of simmering fruit was a constant, comforting presence. She always said, “Elias, good food is good memories.” And she was so right!
That’s why I get so excited about making a fresh batch of pear preserves. It’s like capturing a little bit of that seasonal sunshine in a jar. This simple Pear Preserves Recipe lets you hold onto that delicate flavor all year long. Hannah and I remember our first time making these together. We were just starting out, learning each other’s rhythms in the kitchen. The house filled with this sweet, warm aroma, and we just knew we were making something truly special.
It’s more than just a recipe; it’s about creating those simple, profound pleasures right at home. That’s what our “Flavor Vista” is all about!
Why You’ll Love This Pear Preserves Recipe
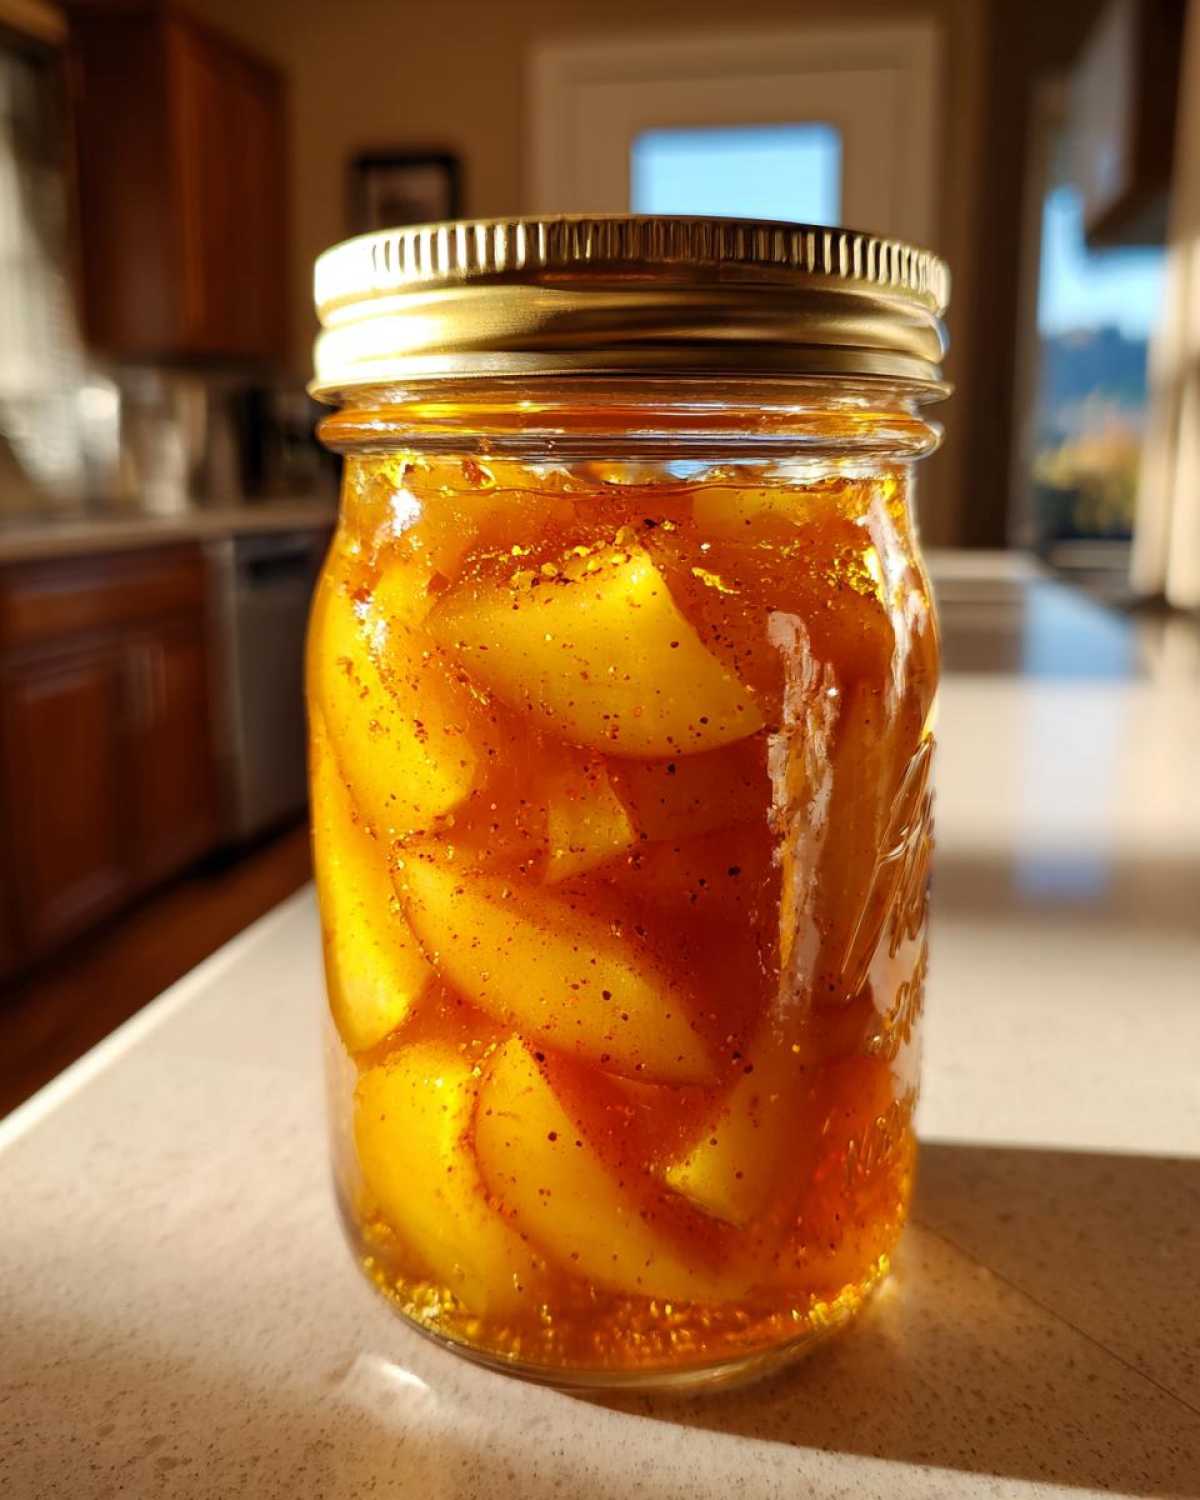
Making your own pear preserves is such a rewarding experience. This Pear Preserves Recipe makes it easy. You’ll get a delicious spread that tastes so much better than anything from the store. Plus, you control what goes into it. No weird additives here! It’s a simple way to enjoy the taste of fresh pears all year.
- It’s surprisingly simple to make.
- You get amazing, fresh flavor.
- It’s a perfect way to use up fresh pears.
- Homemade always tastes best!
The Joy of Homemade Pear Preserves
There’s a special kind of joy in opening a jar of homemade preserves. The fresh taste of pears just shines through. You know exactly what went into your food. This Pear Preserves Recipe gives you that feeling of accomplishment. It’s a wonderful way to capture summer’s sweetness. Plus, these preserves make thoughtful gifts. You’ll feel so proud sharing them!
Essential Ingredients for Your Pear Preserves Recipe
Gathering your ingredients is the first step to delicious homemade pear preserves. For this amazing Pear Preserves Recipe, I always make sure I have everything ready. It makes the whole process smooth. Here’s what you’ll need:
- 8 cups firm, ripe pears. This is about 4 pounds. Make sure they are peeled, cored, and chopped into small 1/2-inch pieces.
- 6 cups granulated sugar.
- 1/2 cup water.
- 2 tablespoons fresh lemon juice. This helps with setting and brightness.
- 1 teaspoon ground cinnamon (optional).
- 1/2 teaspoon ground nutmeg (optional).
- 1/4 teaspoon ground cloves (optional).
Selecting the Best Pears for Pear Preserves
Choosing the right pears is key for this Pear Preserves Recipe. I always look for firm, ripe pears. Bosc or Bartlett varieties work wonderfully. They hold their shape well during cooking. Overripe pears can turn mushy, and we don’t want that! A good pear gives your preserves that lovely chunky texture. It makes all the difference.
Step-by-Step Guide to Your Pear Preserves Recipe
Making these pear preserves is a process I truly enjoy. It’s a dance between patience and a little bit of magic! Follow these steps for your perfect batch.
- First, combine your chopped pears, sugar, and water. Use a large, heavy pot for this. A Dutch oven works great.
- Stir everything really well. Make sure those pear pieces are coated with sugar.
- Now, let the mixture sit. Give it about 30 minutes. This lets the sugar pull out the pear juices. It’s an important step!
- Place your pot over medium heat. Bring the mixture to a gentle boil. Keep stirring constantly until all the sugar dissolves. You don’t want any sugar crystals.
- Once boiling, lower the heat to low. Let it simmer. Stir it occasionally. This will prevent sticking.
- Cook for 1 to 1.5 hours. The pears should get tender. The syrup will thicken. You want a chunky, jam-like look.
- In the last 10 minutes of cooking, stir in your lemon juice. Add any optional spices too. Cinnamon, nutmeg, and cloves smell amazing!
- Remove the pot from the heat. Carefully ladle the hot preserves. Fill sterilized canning jars. Leave 1/4 inch headspace.
- Wipe the jar rims clean. This is super important for a good seal.
- Center the lids on the jars. Apply the bands. Tighten them until they are fingertip tight.
- Process the jars in a boiling water canner. Do this for 10 minutes. Adjust time if you live at a higher altitude.
- Turn off the heat. Remove the canner lid. Let the jars sit in the hot water for 5 minutes. This helps with sealing.
- Carefully remove the jars. Place them on a wire rack. Let them cool for 24 hours.
- Check all your seals. Properly sealed jars will have a depressed lid. Store them in a cool, dark place.
Preparing Jars for Your Pear Preserves
Sterilizing your jars is a must for this Pear Preserves Recipe. It keeps your preserves safe to eat. Plus, it makes them last longer! I wash my jars in hot, soapy water first. Then, I place them in boiling water for at least 10 minutes. Keep them hot until you’re ready to fill.
Achieving the Perfect Consistency for Pear Preserves
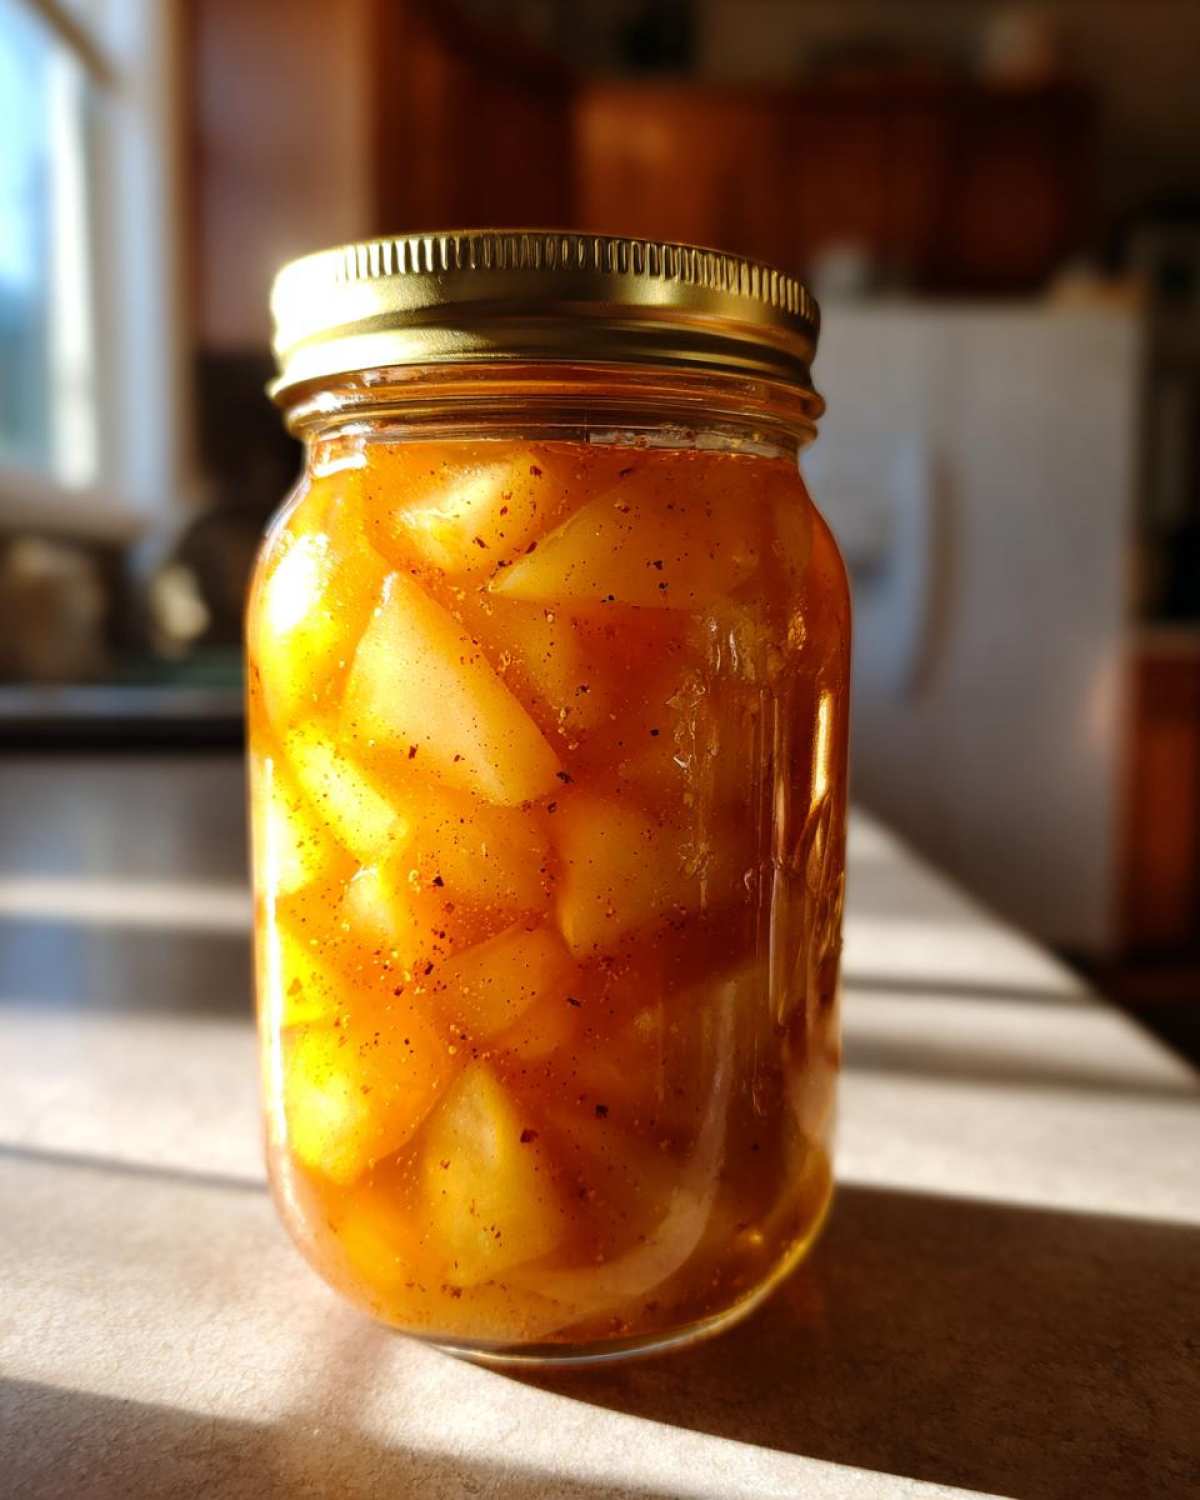
Getting the right consistency for your Pear Preserves Recipe is all about patience. I look for the preserves to thicken. When I stir, the bottom of the pot should show for a second. Another trick is to spoon some onto a cold plate. Let it cool. It should wrinkle when you push it with your finger. That’s how I know it’s ready!
Tips for Success with Your Pear Preserves Recipe
Making this Pear Preserves Recipe is fairly simple. Still, a few tips can make it even better! Always use firm, ripe pears. If your pears are very sweet, you can slightly reduce the sugar. Just taste as you go. If you accidentally use overripe pears, don’t worry! They might get a bit mushy. You can mash them a bit with a potato masher during cooking. This will give you a smoother preserve. For canning, clean jars and lids are a must. A good seal keeps your preserves fresh. Always confirm the seal after cooling.
Frequently Asked Questions About Pear Preserves
I get asked a lot of questions about this pear preserves recipe! Here are some common ones. I hope these answers help you on your preserving journey.
Can I use different types of pears for this Pear Preserves Recipe?
Yes, you can! I often use Bartlett or Bosc. But other firm, ripe pears work well too. Just make sure they’re not too soft. That helps keep a nice texture.
How long do homemade pear preserves last?
Properly sealed jars of these homemade pear preserves can last up to a year in a cool, dark place. Once opened, store them in the fridge. They’ll be good for a few weeks there.
What can I do with leftover pear preserves?
Oh, so many things! They’re amazing on toast or biscuits. Try them with cheese and crackers. You can also swirl them into yogurt or oatmeal. I love them as a topping for pancakes or waffles. They make a simple dessert extra special.
Storing and Enjoying Your Pear Preserves
Once your pear preserves are sealed, you’re all set! Store your properly sealed jars in a cool, dark place. A pantry or cellar is perfect. They will last for up to one year this way. After opening a jar, always keep it in the refrigerator. It will stay fresh for several weeks. This Pear Preserves Recipe gives you a taste of summer. Enjoy it whenever you like!
Serving Suggestions for Your Pear Preserves
There are so many ways to enjoy your homemade Pear Preserves Recipe! I love them on warm, buttery toast. They are fantastic with a sharp cheddar cheese and crackers. Try a spoonful over vanilla ice cream. Or swirl them into your morning oatmeal. They even make a wonderful filling for tarts or pastries!
Estimated Nutritional Information for Pear Preserves
Here’s an estimated look at the nutritional content for this Pear Preserves Recipe. Please remember, these values can change. It depends on the exact ingredients you use. Also, the brands you choose can affect it. This information is for one serving, about two tablespoons.
- Calories: 150
- Sugar: 35g
- Sodium: 0mg
- Fat: 0g
- Carbohydrates: 38g
- Fiber: 2g
- Protein: 0g
Share Your Pear Preserves Recipe Success!
I absolutely love hearing from you! If you try this Pear Preserves Recipe, please let me know how it goes. Did you add any special spices? How did your family like it? Leave a comment below. You can also rate the recipe. Or share your beautiful creations on social media! Tag us if you do. We’re building a wonderful community here, and your stories inspire us all.
PrintAmazing Pear Preserves Recipe: Capture 1 Year of Sweetness
Make delicious pear preserves with this simple recipe. It’s perfect for capturing the sweet flavor of fresh pears in a chunky, jam-like spread.
- Prep Time: 30 minutes
- Cook Time: 1 hour 30 minutes
- Total Time: 2 hours
- Yield: 5-6 half-pint jars
- Category: Preserves
- Method: Boiling Water Canning
- Cuisine: American
Ingredients
- 8 cups firm, ripe pears (about 4 pounds), peeled, cored, and chopped into 1/2-inch pieces
- 6 cups granulated sugar
- 1/2 cup water
- 2 tablespoons lemon juice
- 1 teaspoon ground cinnamon (optional)
- 1/2 teaspoon ground nutmeg (optional)
- 1/4 teaspoon ground cloves (optional)
Instructions
- Combine chopped pears, sugar, and water in a large, heavy-bottomed pot or Dutch oven.
- Stir well to coat the pears with sugar. Let the mixture sit for 30 minutes to allow the sugar to draw out juices from the pears.
- Place the pot over medium heat. Bring the mixture to a gentle boil, stirring constantly until the sugar dissolves.
- Reduce heat to low and simmer, stirring occasionally, for 1 to 1.5 hours, or until the pears are tender and the syrup has thickened to your desired consistency. The preserves should look chunky and jam-like.
- Stir in lemon juice and optional spices (cinnamon, nutmeg, cloves) during the last 10 minutes of cooking.
- Remove from heat. Ladle the hot preserves into sterilized canning jars, leaving 1/4 inch headspace.
- Wipe jar rims clean. Center lids on jars and apply bands until fingertip tight.
- Process jars in a boiling water canner for 10 minutes (adjust time for altitude).
- Turn off heat, remove canner lid, and let jars stand in hot water for 5 minutes.
- Remove jars and cool on a wire rack for 24 hours. Check seals. Store properly sealed jars in a cool, dark place.
Notes
- Use firm, ripe pears for the best texture. Overripe pears will become mushy.
- Adjust the amount of sugar to your taste and the sweetness of your pears.
- For a smoother preserve, you can mash some of the pears with a potato masher during cooking.
- Sterilize canning jars and lids before filling to ensure proper sealing and preserve shelf life.
Nutrition
- Serving Size: 2 tablespoons
- Calories: 150
- Sugar: 35g
- Sodium: 0mg
- Fat: 0g
- Saturated Fat: 0g
- Unsaturated Fat: 0g
- Trans Fat: 0g
- Carbohydrates: 38g
- Fiber: 2g
- Protein: 0g
- Cholesterol: 0mg