

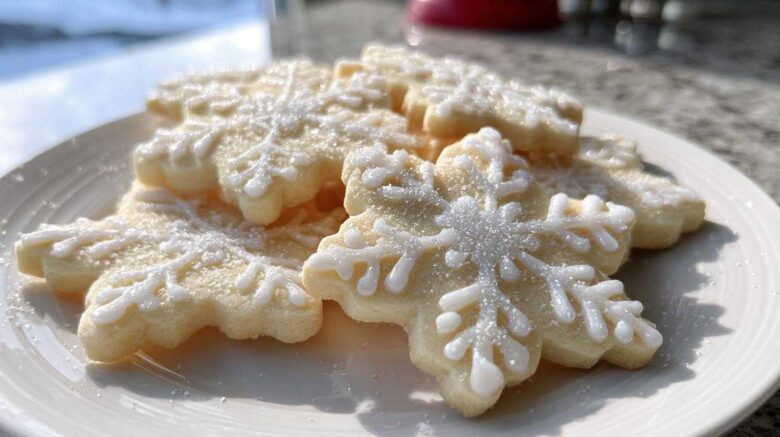
There’s something truly magical about the holidays. The air gets crisp, lights twinkle everywhere, and our kitchens fill with the sweet scent of baking. This year, I wanted to capture that winter wonderland feeling in a treat that’s as beautiful as it is delicious. That’s how these snowflake sugar cookies with glaze came to be. They’re a little bit of edible art, perfect for sharing or just enjoying with a warm mug of cocoa. I poured my heart into making them just right for you.
No heading needs to be written for the introduction.
Our Snowflake Sugar Cookies with Glaze Story
Elias and I have always loved winter baking. It feels like a hug in food form. One year, we decided to try our hand at decorating cookies for a neighbor’s holiday party. We spent hours, laughing and covered in flour, trying to get our little gingerbread men to look just so.
That memory always comes back when I make these snowflake sugar cookies with glaze. They remind me of that first attempt, but now, with years of practice, they’re so much easier and, dare I say, prettier! We’ve learned so much about dough consistency and the best way to get that perfect glaze. It’s these simple traditions, built over time, that make our kitchen feel so special. These cookies are a piece of that journey, shared with you.
Why You’ll Love These Snowflake Sugar Cookies with Glaze
These aren’t just any cookies; they’re a little bit of holiday cheer you can eat! Here’s why I think you’ll adore them:
- They’re absolutely stunning, like tiny edible snowflakes ready to melt in your mouth.
- Don’t let their beauty fool you; they’re surprisingly simple to whip up.
- They make your home smell incredible while they bake.
- The delicate sugar cookie base and sweet glaze are a classic combo.
- They are perfect for any winter gathering or as a thoughtful homemade gift.
Gathering Your Snowflake Sugar Cookie Ingredients
To bring these beautiful snowflake sugar cookies with glaze to life, you’ll need a few pantry staples. Gathering them is the first step to a successful baking adventure! Don’t worry, the list is pretty straightforward, and I’ll break it down so you know exactly what to grab.
Let’s get our ingredients ready:
Essential Ingredients for Snowflake Sugar Cookies
- 3 cups all-purpose flour
- 1 teaspoon baking powder
- 1/2 teaspoon salt
- 1 cup (2 sticks) unsalted butter, softened
- 1 1/2 cups granulated sugar
- 2 large eggs
- 1 teaspoon vanilla extract
- 1/4 cup milk
Crafting the Perfect Glaze for Your Snowflake Sugar Cookies
- 2 cups powdered sugar
- 1/4 cup milk or water
- 1 teaspoon vanilla extract
- Optional: blue or white food coloring
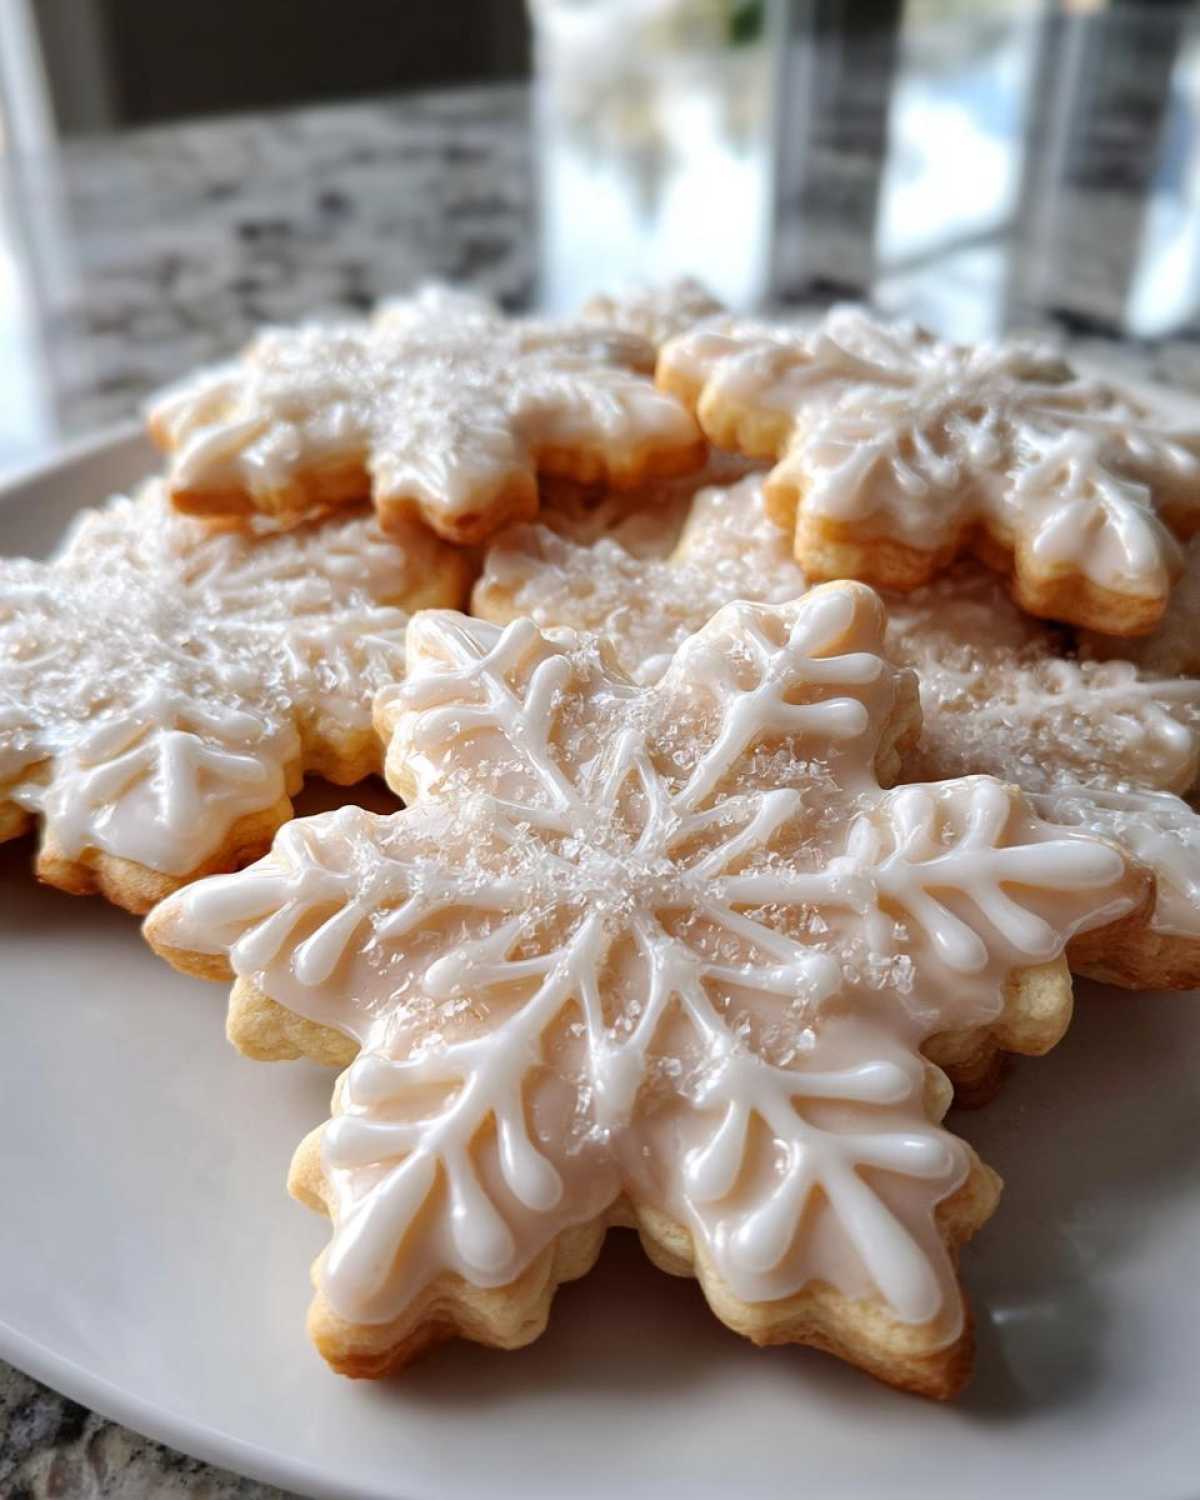
Step-by-Step Guide to Making Snowflake Sugar Cookies with Glaze
Now for the fun part! Bringing these beautiful snowflake sugar cookies with glaze from your imagination to your kitchen counter is simpler than you might think. Follow along, and we’ll create some edible magic together. Remember, patience is key, especially when chilling the dough and letting the cookies cool.
Let’s get baking!
- First, let’s get our dry ingredients ready. In a medium bowl, whisk together the flour, baking powder, and salt. This ensures everything is nicely combined. Set this bowl aside for now.
- Now, grab a large bowl. Cream together your softened butter and granulated sugar. You want this mixture to be light and fluffy. This is where the sweetness really starts.
- Next, beat in your eggs, one at a time. Make sure each egg is fully incorporated before adding the next. Stir in the vanilla extract.
- It’s time to combine wet and dry. Gradually add the flour mixture to the butter mixture. Alternate this with the milk. Start and end with the dry ingredients. Mix until everything is just combined. Don’t overmix here; we want tender cookies.
- Divide the dough in half. Flatten each half into a disc. Wrap them tightly in plastic wrap. Pop these into the refrigerator for at least 1 hour. This chilling step is super important for easy handling.
- Preheat your oven to 350°F (175°C). Line your baking sheets with parchment paper. This prevents sticking and makes cleanup a breeze.
- On a lightly floured surface, roll out one disc of dough. Aim for about 1/4-inch thickness. Roll gently and evenly.
- Now, use your snowflake cookie cutter to cut out shapes. Press down firmly to get clean edges.
- Place the cut-out cookies on the prepared baking sheets. Leave about 1 inch between them. They need a little space to spread.
- Bake for 8-10 minutes. Keep an eye on them! You want the edges to be just lightly golden.
- Let the cookies cool on the baking sheets for a few minutes. Then, carefully transfer them to a wire rack. They need to cool completely before glazing.
- While the cookies cool, let’s make the glaze. In a medium bowl, whisk together the powdered sugar, milk (or water), and vanilla extract. Whisk until it’s nice and smooth. If you like, add a drop or two of blue or white food coloring for that frosty look.
- Once your cookies are totally cool, dip them into the glaze. Or, you can drizzle the glaze over them with a spoon. Get creative with your designs!
- Let the glaze set completely before you serve or store your beautiful snowflake sugar cookies. This usually takes about 30 minutes to an hour.
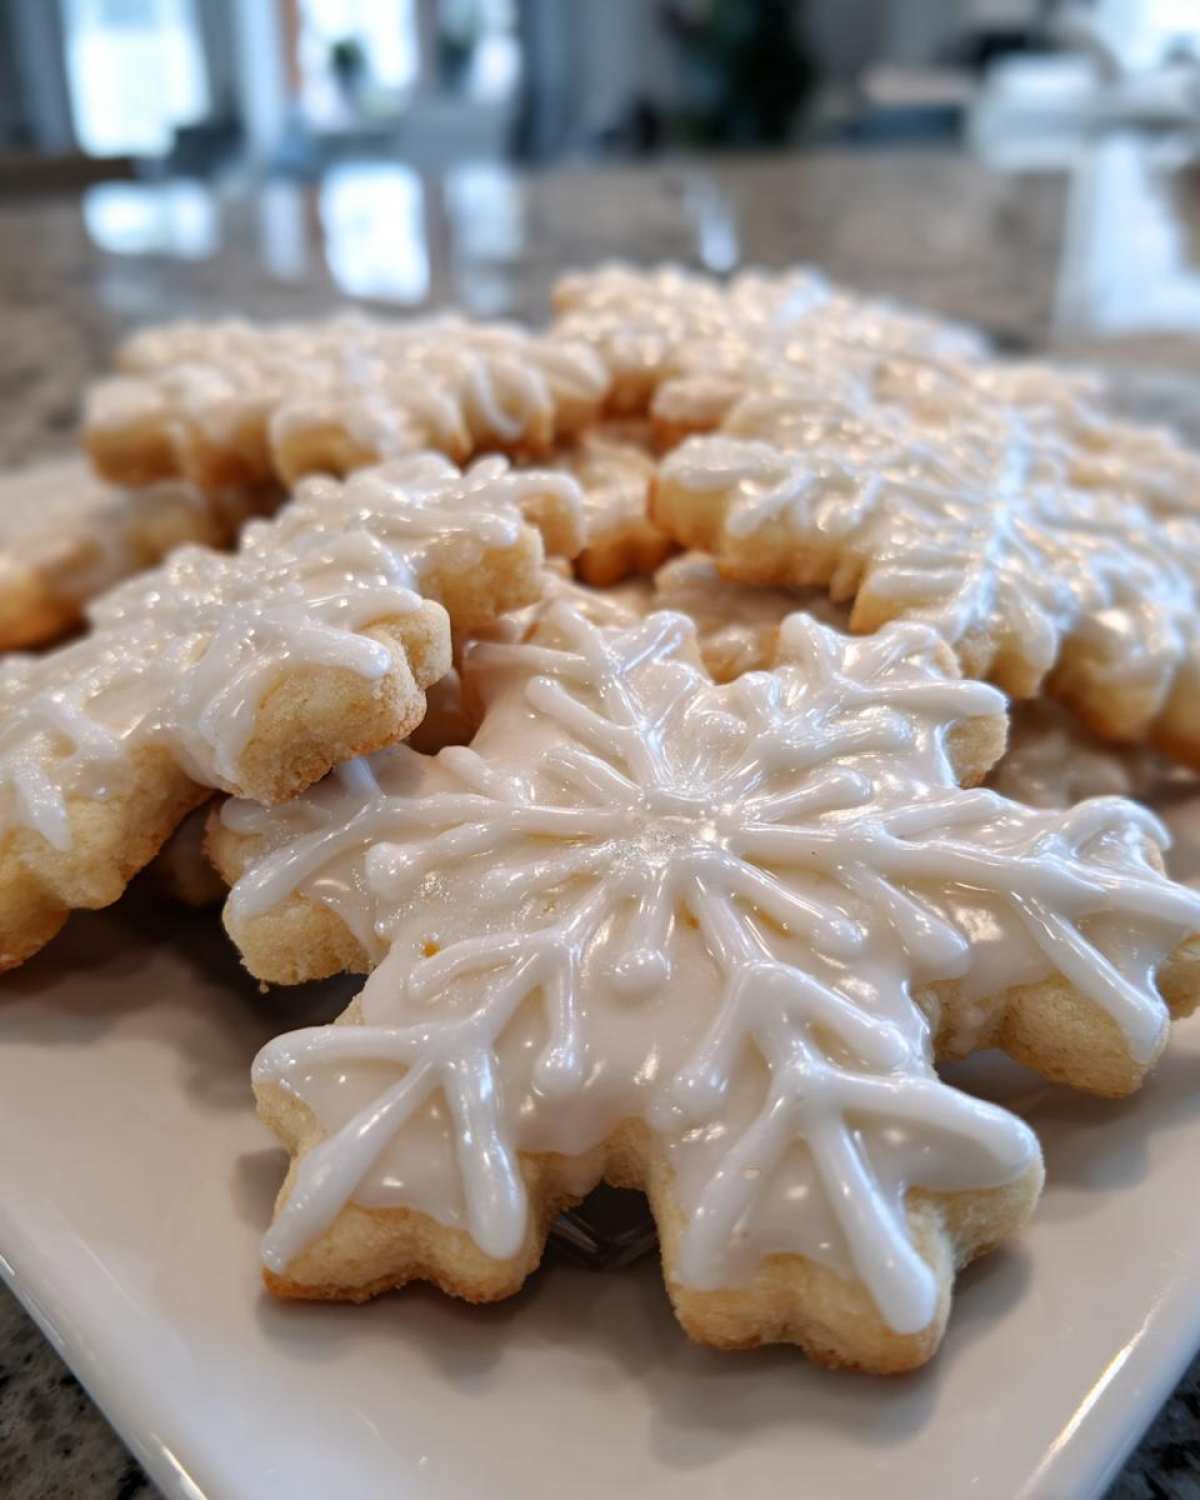
Tips for Perfect Snowflake Sugar Cookies with Glaze
Making these snowflake sugar cookies with glaze is a joy, but a few little tricks can make them even better. Here are my top tips to ensure your cookies turn out beautifully every time:
- Butter matters: Make sure your butter is softened, not melted. This is key for that perfect tender cookie texture.
- Don’t overmix: Once you add the flour, mix only until it’s just combined. Overmixing can lead to tough cookies.
- Chill out: Don’t skip chilling the dough! It makes rolling and cutting out those delicate snowflakes so much easier.
- Watch the oven: Cookies bake fast! Keep an eye on them so they don’t get too brown. Lightly golden edges are what we’re aiming for.
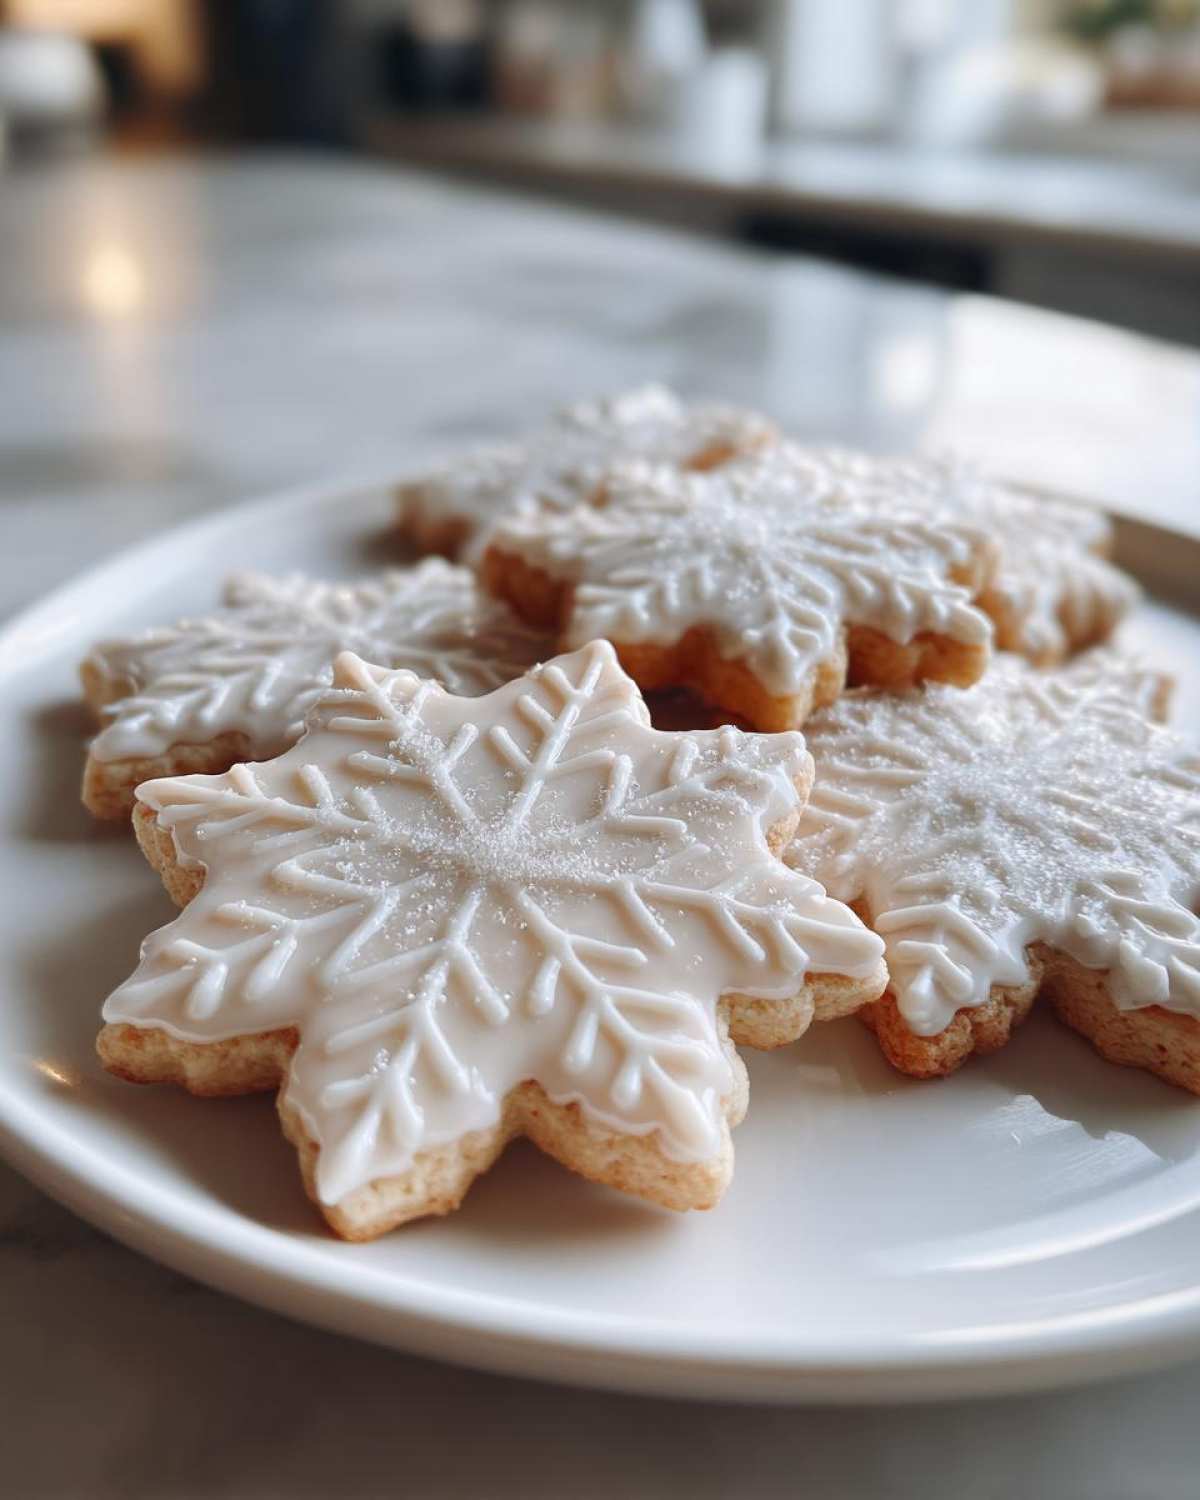
Frequently Asked Questions About Snowflake Sugar Cookies with Glaze
Got questions about whipping up these festive snowflake sugar cookies with glaze? I’ve got you covered! Here are some common queries I get about this simple sugar cookie recipe.
Can I make these cookies ahead of time?
Absolutely! You can bake the cookies a day or two in advance. Store them in an airtight container at room temperature. Glaze them just before serving or up to a day before for the freshest look.
What’s the best way to cut out snowflake shapes?
Use a good quality metal snowflake cookie cutter. Press straight down firmly and twist slightly. If the dough gets too soft, pop it back in the fridge for a few minutes. This helps get nice, clean edges for perfect holiday cookie decorating.
How do I store leftover snowflake sugar cookies with glaze?
Once the glaze is completely set, store the cookies in an airtight container. A single layer is best to prevent the glaze from sticking. They’ll keep well at room temperature for up to 3-4 days. They’re a wonderful make-ahead treat!
Can I use a different type of icing?
You sure can! While this simple glaze is lovely, you could also use royal icing for more intricate decorating. Just make sure the cookies are completely cool before icing them.
Understanding the Nutrition of Your Snowflake Sugar Cookies with Glaze
Just a friendly heads-up: the nutritional info for these delightful snowflake sugar cookies with glaze is an estimate. It can change based on the brands you use and how much glaze you add! On average, one cookie has about 150-200 calories, around 8-10g of fat, 1-2g of protein, and 20-25g of carbohydrates. Enjoy them as a special treat!
Share Your Snowflake Sugar Cookie Creations!
I’d absolutely love to see your beautiful snowflake sugar cookies with glaze! Did you try any fun decorating tricks? Please share your experiences and photos in the comments below. What are your favorite holiday cookie traditions? Let’s spread the festive cheer!
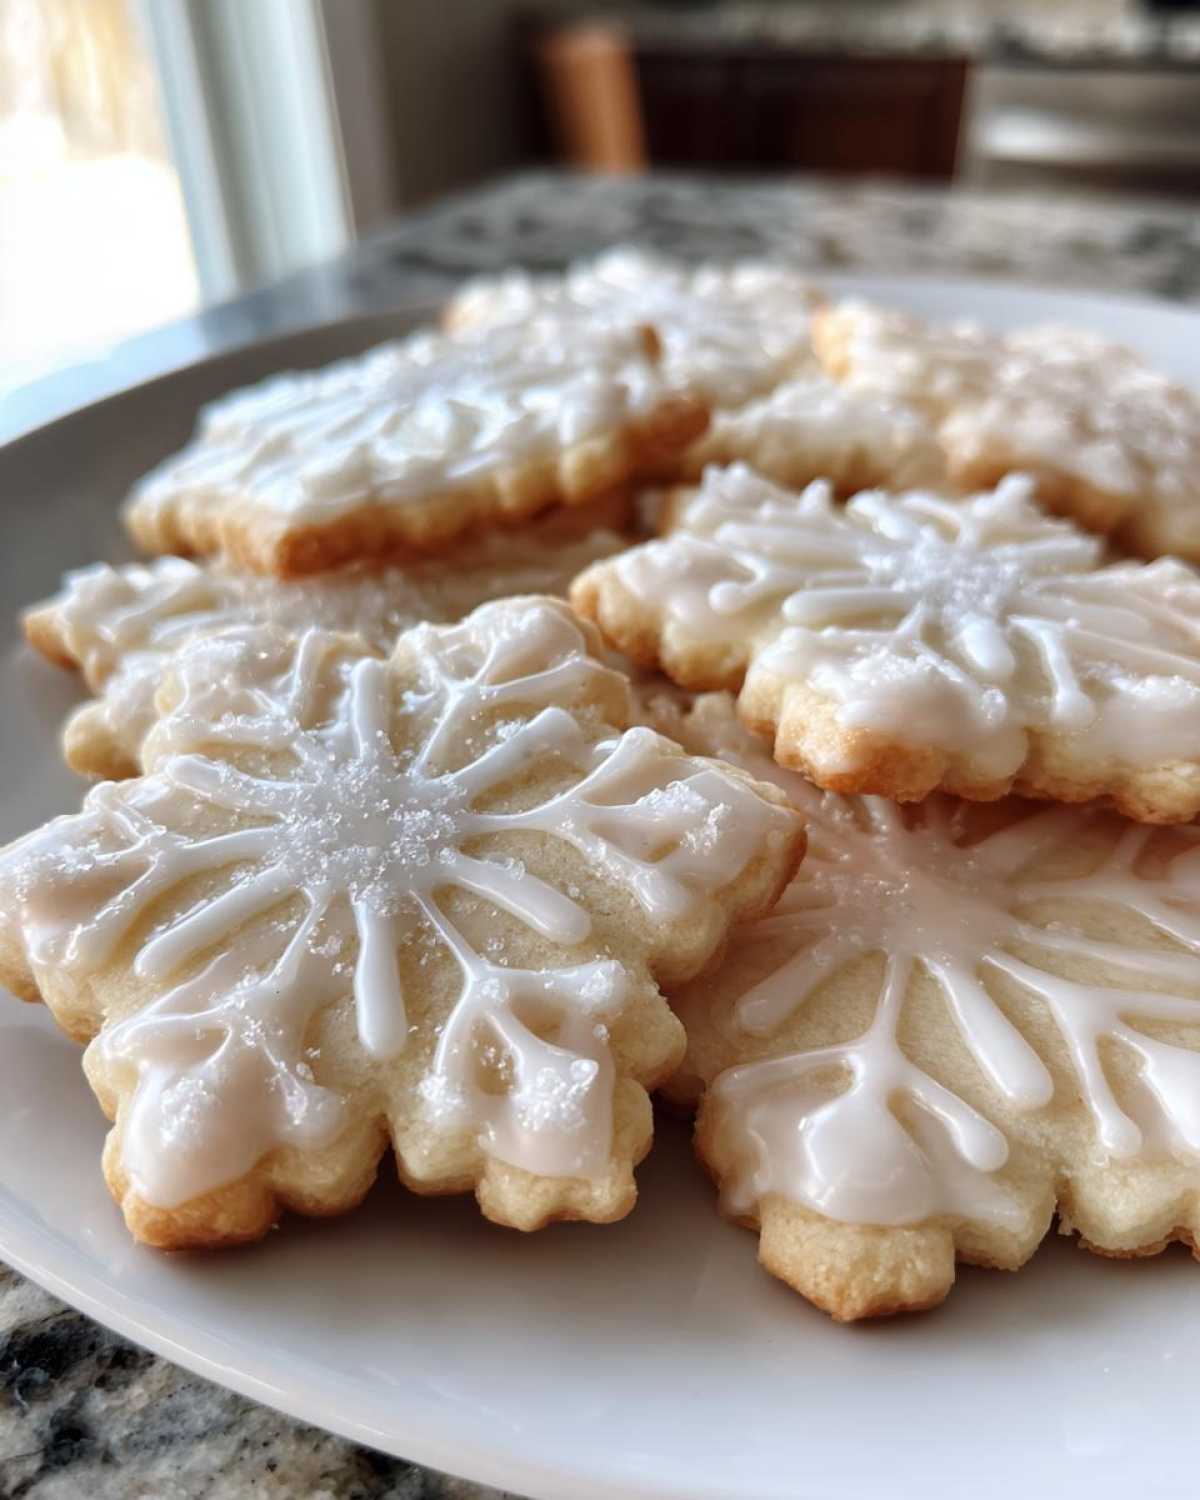
Sparkling Snowflake Sugar Cookies with Glaze Delights
Create beautiful snowflake sugar cookies perfect for winter holidays. These cookies have a delicate design and are finished with a sweet glaze.
- Prep Time: 30 minutes
- Cook Time: 10 minutes
- Total Time: 1 hour 40 minutes (includes chilling time)
- Yield: Approximately 24 cookies
- Category: Dessert
- Method: Baking
- Cuisine: American
- Diet: Vegetarian
Ingredients
- 3 cups all-purpose flour
- 1 teaspoon baking powder
- 1/2 teaspoon salt
- 1 cup (2 sticks) unsalted butter, softened
- 1 1/2 cups granulated sugar
- 2 large eggs
- 1 teaspoon vanilla extract
- 1/4 cup milk
- For the Glaze:
- 2 cups powdered sugar
- 1/4 cup milk or water
- 1 teaspoon vanilla extract
- Optional: blue or white food coloring
Instructions
- In a medium bowl, whisk together the flour, baking powder, and salt. Set aside.
- In a large bowl, cream together the softened butter and granulated sugar until light and fluffy.
- Beat in the eggs one at a time, then stir in the vanilla extract.
- Gradually add the dry ingredients to the wet ingredients, alternating with the milk, beginning and ending with the dry ingredients. Mix until just combined.
- Divide the dough in half, flatten each half into a disc, wrap in plastic wrap, and refrigerate for at least 1 hour.
- Preheat your oven to 350°F (175°C). Line baking sheets with parchment paper.
- On a lightly floured surface, roll out one disc of dough to about 1/4-inch thickness.
- Cut out snowflake shapes using a cookie cutter.
- Place the cookies on the prepared baking sheets, about 1 inch apart.
- Bake for 8-10 minutes, or until the edges are lightly golden.
- Let the cookies cool on the baking sheets for a few minutes before transferring them to a wire rack to cool completely.
- While the cookies are cooling, prepare the glaze. In a medium bowl, whisk together the powdered sugar, milk (or water), and vanilla extract until smooth. If using, add food coloring.
- Once the cookies are completely cool, dip them into the glaze or drizzle the glaze over them.
- Let the glaze set before serving.
Notes
- Ensure your butter is softened but not melted for the best cookie texture.
- Do not overmix the dough after adding the dry ingredients.
- Chill the dough sufficiently to make it easier to roll and cut.
- Watch the cookies closely while baking to prevent overbaking.
- Adjust the amount of liquid in the glaze to achieve your desired consistency.
Nutrition
- Serving Size: 1 cookie
- Calories: Approximately 150-200 (will vary based on glaze amount)
- Sugar: Approximately 15-20g
- Sodium: Approximately 50-70mg
- Fat: Approximately 8-10g
- Saturated Fat: Approximately 5-6g
- Unsaturated Fat: Approximately 3-4g
- Trans Fat: 0g
- Carbohydrates: Approximately 20-25g
- Fiber: Less than 1g
- Protein: Approximately 1-2g
- Cholesterol: Approximately 25-30mg