

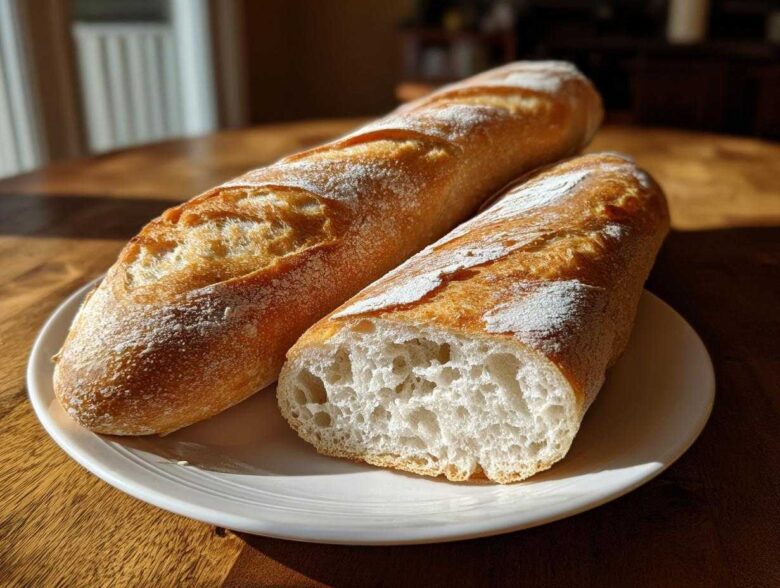
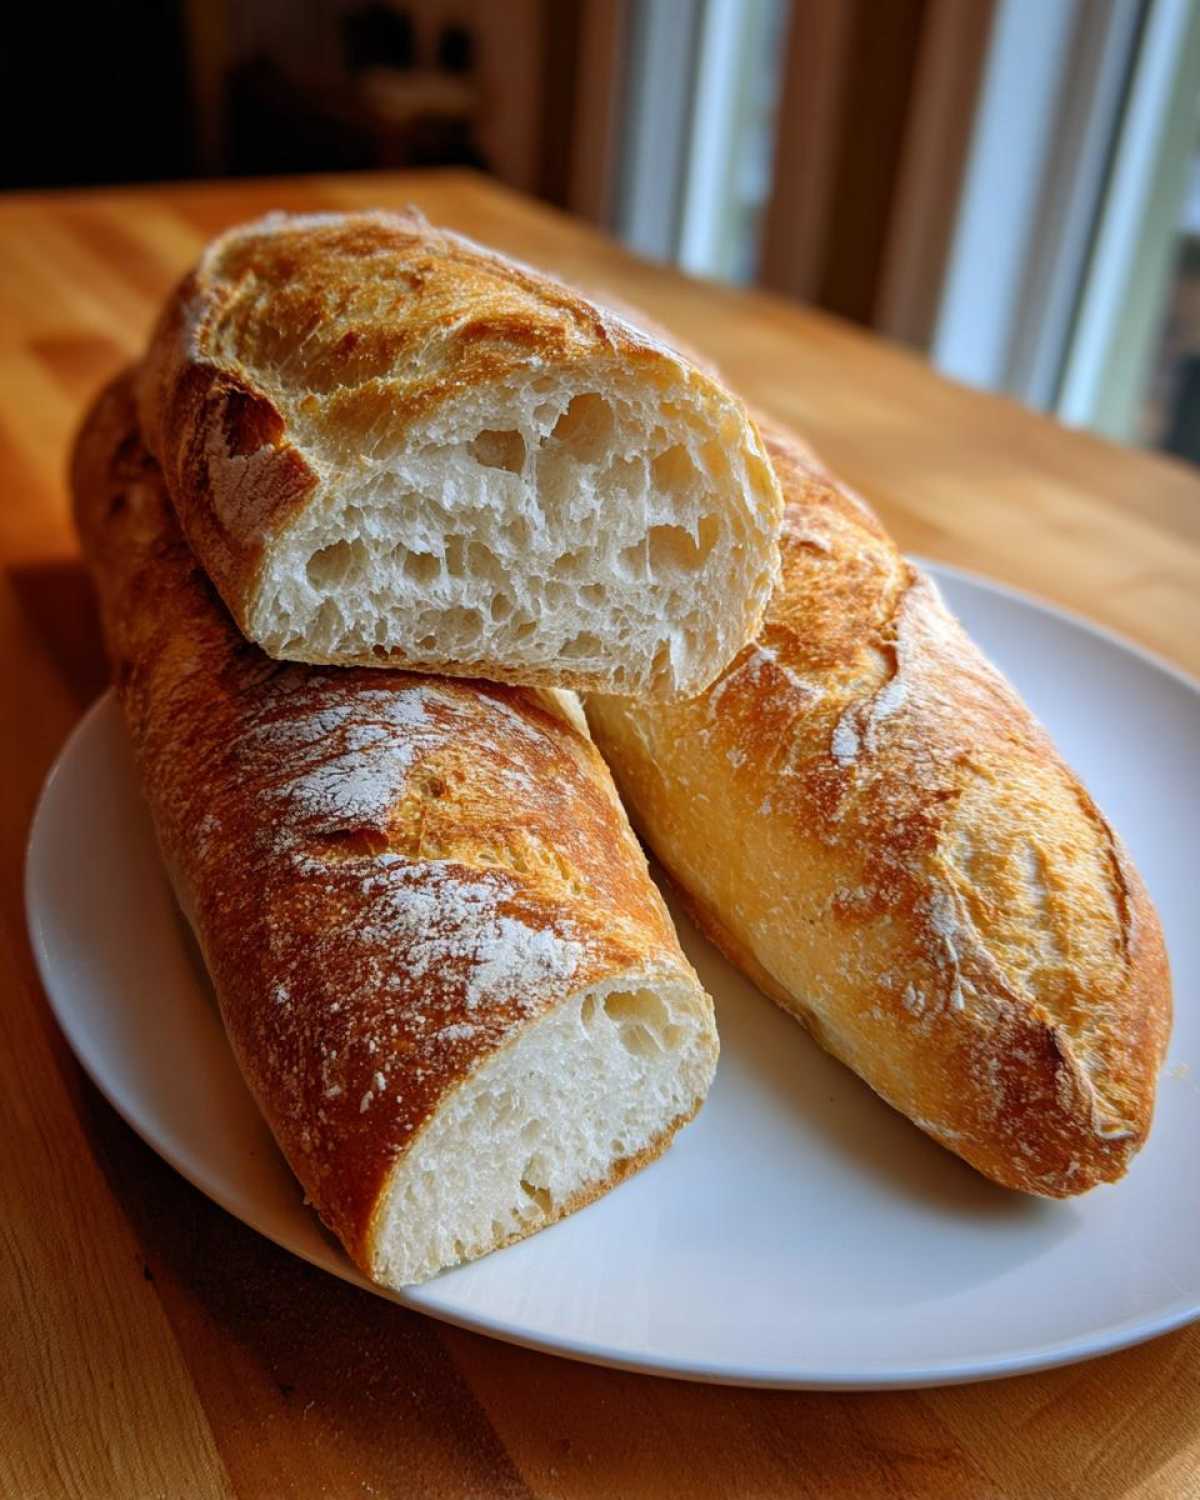
Oh, you guys. If there is one smell that instantly makes me feel cozy and right at home, it’s the scent of fresh, yeasty dough baking. Seriously, the entire house fills up, and Elias always wanders into the kitchen just because he can’t help himself! We’re Hannah and Elias, and today we are sharing the recipe that changed how we think about store-bought loaves forever: our Easy Homemade French Bread. Forget spending ages on fussy techniques; this recipe delivers that perfect balance—a wonderfully crisp, crusty exterior that gives way to the softest, fluffiest crumb inside. Trust me, this bakery-style French bread is guaranteed to be ready for your dinner table in under two hours. It’s simple, and you’re going to nail it!
Why This Homemade French Bread Recipe is Your New Favorite
I know what you’re thinking: French bread is complicated, right? It takes all day, and you need special machinery to get that crunch. Nope! We designed this particular recipe specifically so you can achieve that dreamy bakery-style bread without the drama. It truly hits all the key points everyone wants in a homemade loaf.
- It has that crackly, audible crust when you slice into it.
- The interior crumb is light, tender, and wonderfully soft—perfect for soaking up soup juices.
- It’s surprisingly fast, getting you from pantry to plate in one afternoon.
It’s the absolute best when you want that amazing aroma of artisanal bread without spending your whole weekend waiting on dough!
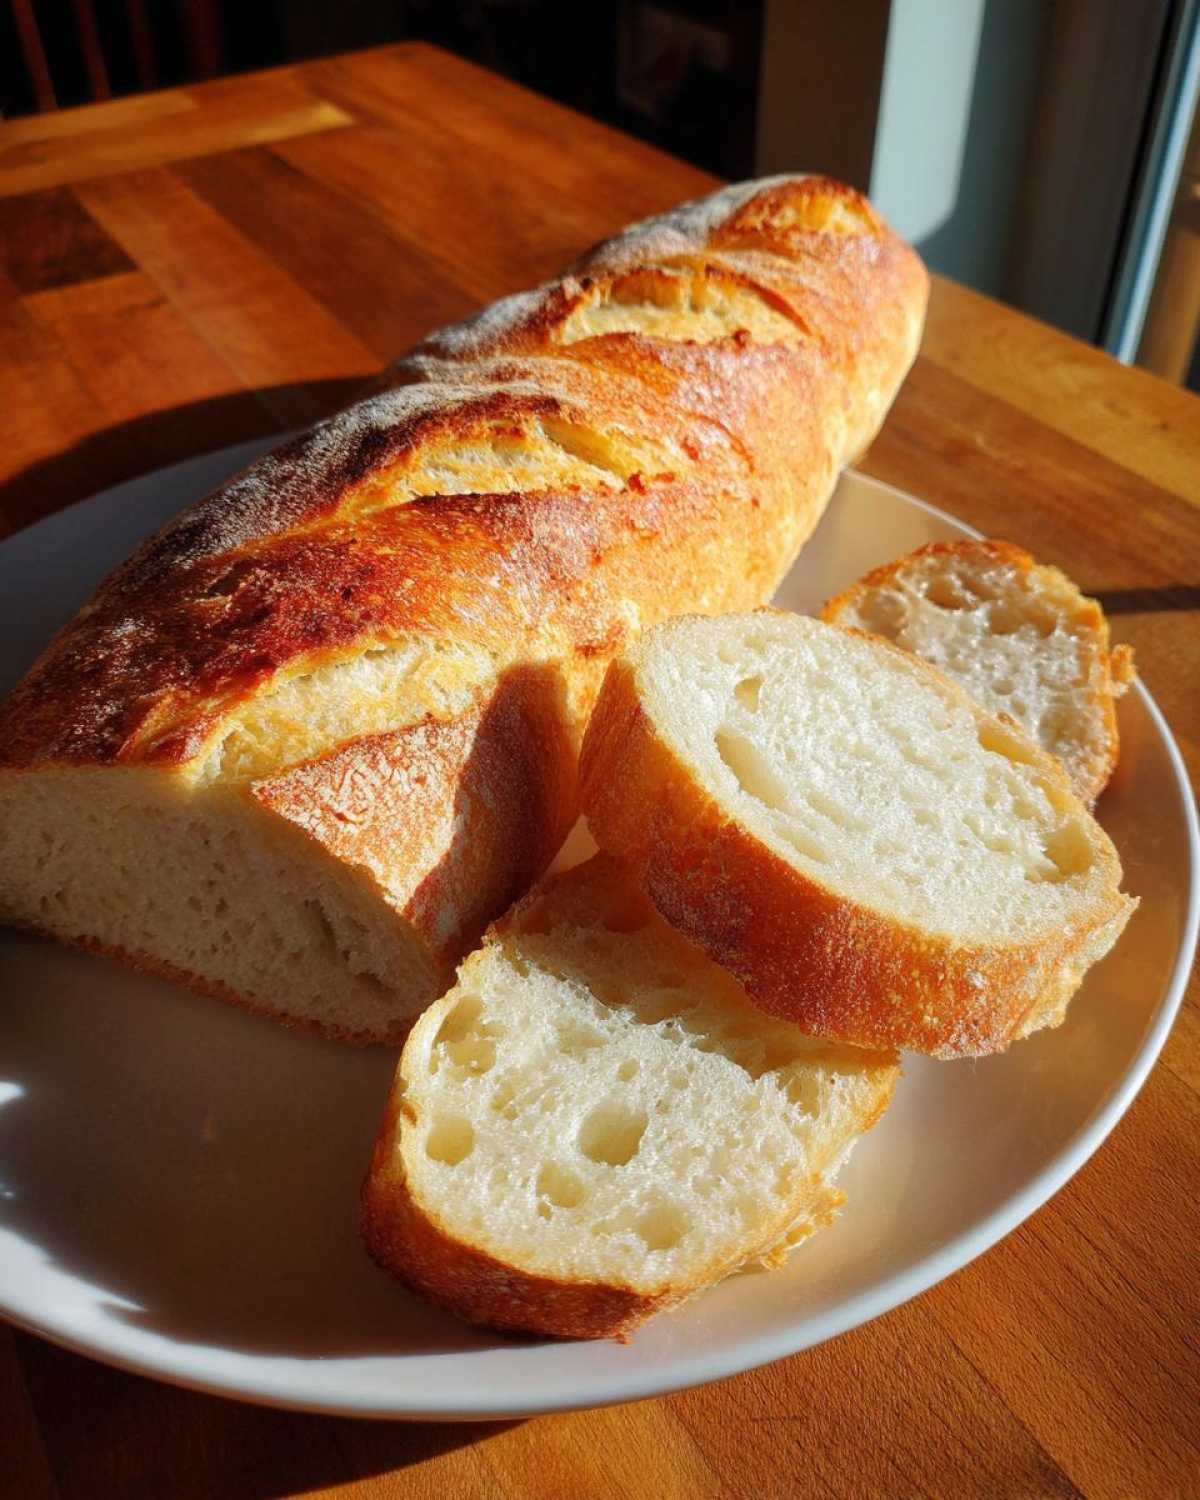
Achieving that Perfect Soft French Bread at Home Texture
The secret to getting that incredibly soft French bread at home, folks, is definitely in the knead! Elias is usually the one who takes over here, and he is so meticulous. That 5 to 7 minutes of kneading builds the necessary structure in the dough. That structure is what traps the gases beautifully, giving you that light, fluffy texture instead of a heavy brick. It’s worth every bit of arm power!
Quick French Bread Recipe Timeline
We managed to squeeze this recipe into a very manageable afternoon schedule. From starting the yeast to pulling the loaves out of the oven, we’re looking at just under two hours total time. That makes this an ideal Dinner Side Bread because you can mix it up right after lunch and have it ready just as you sit down for the evening meal. Nice and quick!
Gathering Ingredients for Your Easy French Bread
Okay, let’s talk about what you need to pull off this amazing loaf. The beauty of homemade French bread is that it really just uses pantry staples. You won’t need any strange flours or specialized equipment here! You’ll want to grab just a few things, and I’ve listed every measurement out for you below so there are no surprises down the line. Getting these measurements right is half the battle for a good rise.
- 3 cups all-purpose flour
- 1 teaspoon salt
- 1 packet (2 1/4 teaspoons) active dry yeast
- 1 1/4 cups warm water (must be between 105-115°F!)
- 1 tablespoon sugar
- 1 egg white, lightly beaten (this is for the crust, we’ll talk about it!)
- Water for steaming
Ingredient Notes and Substitutions for Perfect French Bread
Before you mix everything, that yeast needs a little wake-up call! In Step 1, you mix the yeast with the warm water and sugar, and you must wait 5 to 10 minutes until it gets foamy. If it doesn’t foam, your yeast is dead, and we have to start over—so don’t skip that visual check! Another thing: that egg white wash gives you that fantastic golden, slightly shiny crust. But, if you’re worried about sugar, you can skip the egg white and just brush melted butter on top when the bread comes out if you prefer a softer feel.
Step-by-Step Instructions to Make French Bread
Alright, bakers, this is the main event! Don’t let the steps scare you—we’ve broken down how to Make French Bread from Scratch into three really manageable chunks. Remember, bread loves patience, so just breathe and follow along. We’ll make sure you get those airy insides and a fantastic crust!
Activating Yeast and Making the Dough for French Bread
First things first: we need that foamy layer on top of our water, yeast, and sugar mixture. Don’t rush it! Wait that full 5 to 10 minutes until it looks bubbly and alive. Once it does, stir in your flour and salt until you have a shaggy ball of dough—it won’t look pretty yet! Then, turn it out onto your counter. That’s when Elias steps in to knead for about 7 minutes. It really works the gluten and builds the backbone for that soft, tender crumb we are chasing.
The Rises and Shaping Your Homemade French Bread Loaves
After kneading, tuck that dough into an oiled bowl, cover it up, and let it hang out in a warm spot for a good 60 to 90 minutes until it’s totally doubled. It takes its time, but that long, slow rise is crucial. Once it’s puffy, gently punch the air out. Now you can divide that dough in half and start shaping it gently into two long loaves, like small baguettes. Pop those shaped loaves onto your baking sheet, cover them loosely, and let them rest for a final 30 minutes.
Creating the Bakery Style Bread Crust on Your French Bread
This is the final trick for getting that dreamy, Crusty Artisan Bread look! While your loaves are having their second nap, crank your oven up to 400°F and make sure you put a shallow pan on the bottom rack as it preheats. Right before they go in, brush the tops lightly with that beaten egg white and use a very sharp knife to make three pretty diagonal slashes across the top of each loaf. The absolute key: carefully pour about half a cup of hot water into that hot pan on the bottom rack—that steam creates the ultimate Bakery Style Bread crust that snaps when you touch it!
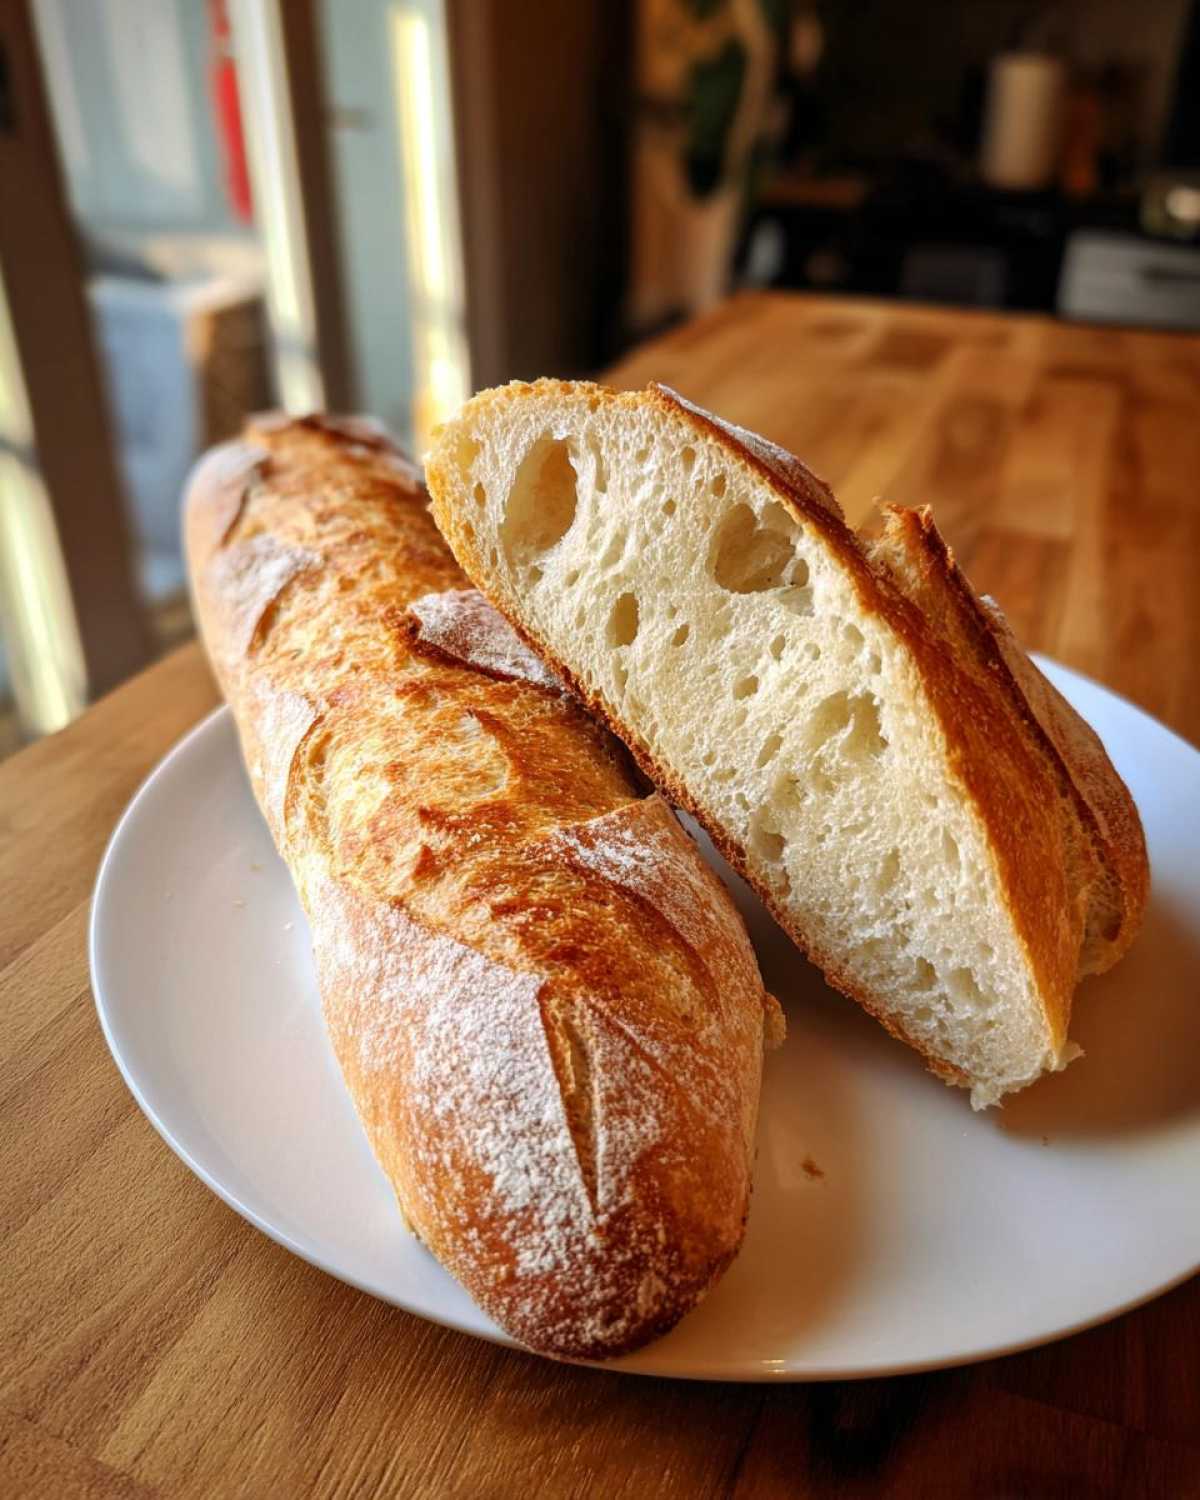
Baking Homemade Bread Tips for Success with French Bread
Now that you’ve got the steam working its magic, let’s talk about making sure your final bread is perfect. Baking great bread isn’t just about following the steps; it’s about listening to what the bread is telling you! Once they are golden brown, pull them out and give them a little thump on the bottom—if it sounds hollow, you know you’ve got that perfect texture inside. Elias always insists on this final auditory check, even more than the knife test!
We want you to feel confident making this loaf again and again. Check out some great advice over at Baking Homemade Bread Tips if you want to become a total bread whiz. If you love quick recipes that deliver crusty results, you should definitely peek at this fun recipe from our friends over at Everyday She Moms for another quick twist!
Tips for a Softer Crust on Your French Bread
Remember I mentioned that egg white wash earlier? That’s what gives you that shiny, sturdy, crisp crust. If you really prefer a softer exterior—maybe because you know you’ll be dipping it right away into a stew. You can totally skip the egg white, though! Instead, immediately when you pull the French bread out of the oven, brush the tops really lightly with some melted butter. That little bit of fat stops that hard shell from forming and keeps the loaf wonderfully tender all around.
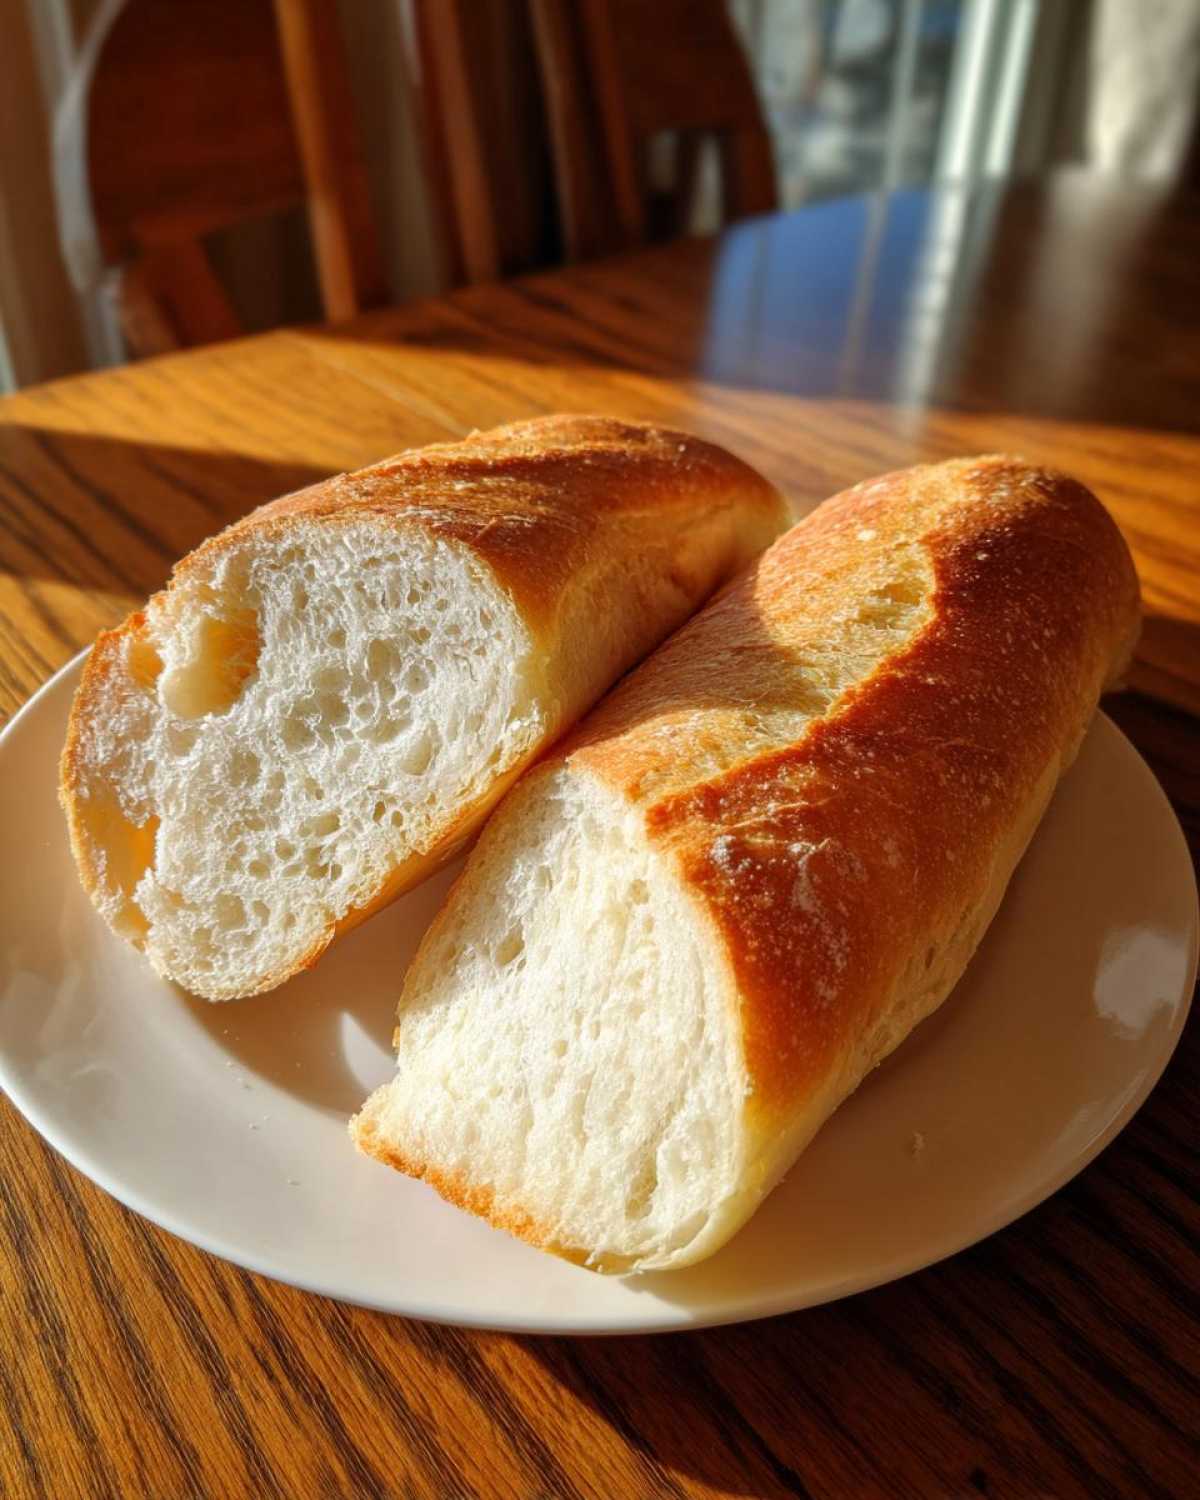
Serving Suggestions for Your Fresh French Bread
Honestly, making this Homemade French Bread Recipe is only half the fun; the other half is figuring out what to eat it with! Elias and I used leftovers last night to make these amazing, garlicky toasted bread slices to go alongside our roasted carrots—it was the perfect Dinner Side Bread combo. But don’t just stop there! This loaf is sturdy enough that it makes the absolute best Bread for Sandwiches; the layers stay crisp, not soggy. Think thick slices piled high with cold cuts, or just sliced thin and served warm with good quality salted butter and honey. It feels like such a win!
Storing Your Leftover French Bread
I wish we never had leftovers! This French bread is best the day it’s baked, of course, but if you do have some left tomorrow, don’t panic. You should always keep it at room temperature, wrapped tightly in plastic wrap or tucked into a paper bag. Seriously though, avoid the fridge! It makes the bread go stale faster, and we want to keep that tender crumb.
If you won’t eat it within 24 hours, slice up whatever is left and freeze it airtight. It thaws beautifully! To reheat, just dampen the slice slightly and pop it in a 350°F oven for about five minutes. That will bring that classic crust right back to life!
Frequently Asked Questions About Making French Bread
You guys are asking the best questions! It’s totally normal to wonder about tweaking a recipe, especially when you’re aiming for that perfect texture in your Simple Yeast Bread. Here are a few things Elias and I hear all the time about achieving bakery-style results!
Can I make this French Bread recipe faster?
I totally get wanting this done ASAP! While some folks try for a “One Hour Bread Recipe,” remember that the full rise time is key for that airy, soft structure we love. Rushing the rise usually results in a denser loaf. If you’re super pressed, you can aim for the 60-minute rise instead of 90, but no guarantees on that pillow-soft texture!
What if my yeast doesn’t foam up when making this French Bread?
If you wait those 10 minutes and nothing foams, don’t just dump it in the flour! That means your yeast is probably old or, more likely, your water was too hot, which basically kills the yeast. If the water was cold, your yeast might just be sluggish. Next time, check your water temperature (aim for slightly warmer than body temp, around 110°F is perfect!), or grab a fresh packet of yeast.
Can I shape this dough into Baguettes instead of loaves?
Yes, absolutely! This dough handles shaping really well, so you can definitely make individual baguettes instead of two wider loaves. Just remember, thinner baguettes bake faster than a thicker loaf. Keep a close eye on them, maybe checking after 18 minutes instead of waiting for the full 25, to make sure they don’t brown too much!
Nutritional Information for This French Bread Recipe
Okay, so while we aren’t obsessing over every gram here at Flavor Vista—our focus is always flavor first!—it’s good to have a general idea of what’s in this delicious French bread. If you happen to be tracking things, here is the breakdown per slice. Just remember, these are just rough estimates based on the ingredients we used, and yours might vary depending on the type of flour or how much butter you slather on top later!
- Serving Size: 1 slice
- Calories: 150
- Sugar: 1g
- Sodium: 250mg
- Fat: 1g
- Carbohydrates: 31g
- Protein: 4g
Share Your Homemade French Bread Creations
That’s it! You have now successfully made beautiful, soft, crispy French bread right there on your own counter. Doesn’t that feel amazing? We truly love hearing from you guys when you try our recipes. Please, please leave a comment below letting us know how the crust turned out—did it snap perfectly? Did Elias’s kneading tips work for you?
If you snap a picture of your gorgeous loaves, tag us on social media! I, Hannah, always check the tags, and seeing your results is the best motivation to keep sharing our recipes from Flavor Vista. We can’t wait to see what you bake next over at the main blog page!
PrintEasy Homemade French Bread Recipe for Soft and Crusty Loaves

You will find this soft fluffy French bread recipe is exactly what you need for dinner tonight. Forget store-bought loaves when you can make amazing, truly soft fluffy French bread yourself with simple ingredients you already have. This recipe is easy for beginners and yields a bakery-style loaf.
- Prep Time: 20 min
- Cook Time: 25 min
- Total Time: 1 hour 55 min
- Yield: 2 loaves
- Category: Baking
- Method: Baking
- Cuisine: French
- Diet: Vegetarian
Ingredients
- 3 cups all-purpose flour
- 1 teaspoon salt
- 1 packet (2 1/4 teaspoons) active dry yeast
- 1 1/4 cups warm water (about 105-115°F)
- 1 tablespoon sugar
- 1 egg white, lightly beaten (for brushing)
- Water for steaming
Instructions
- In a large bowl, mix the warm water, yeast, and sugar. Let this stand for 5 to 10 minutes until it becomes foamy. This shows your yeast is active.
- Add the flour and salt to the yeast mixture. Mix with a wooden spoon until a shaggy dough forms.
- Turn the dough out onto a lightly floured surface. Knead for about 5 to 7 minutes until the dough is smooth and elastic. Elias says this kneading builds the structure for that perfect soft crumb.
- Place the dough in a lightly oiled bowl, turning it once to coat. Cover the bowl with plastic wrap or a clean kitchen towel. Let the dough rise in a warm place for 60 to 90 minutes, or until it has doubled in size.
- Gently punch down the risen dough. Divide it in half. Shape each half into a long, even loaf shape, similar to a baguette or a standard French loaf.
- Place the shaped loaves on a baking sheet lined with parchment paper, or on a pizza stone. Cover loosely and let them rest for a second rise for 30 minutes.
- Preheat your oven to 400°F (200°C). Place a shallow pan on the bottom rack while the oven heats; you will use this for steam.
- Just before baking, brush the tops of the loaves lightly with the beaten egg white. Use a sharp knife to make three diagonal slashes across the top of each loaf.
- Carefully pour about 1/2 cup of hot water into the preheated shallow pan on the bottom rack to create steam. Immediately place the loaves in the oven.
- Bake for 20 to 25 minutes, or until the crust is golden brown and the bread sounds hollow when tapped.
- Remove the bread from the oven and let it cool on a wire rack before slicing. Enjoy this homemade French bread warm with butter.
Notes
- For an extra crusty exterior, you can lightly spritz the inside of the oven walls with water a couple of times during the first 10 minutes of baking.
- If you want a softer crust, skip the egg white wash and simply brush the tops with melted butter immediately after they come out of the oven.
- This recipe is perfect for making bread for sandwiches or as a dinner side bread.
Nutrition
- Serving Size: 1 slice
- Calories: 150
- Sugar: 1
- Sodium: 250
- Fat: 1
- Saturated Fat: 0
- Unsaturated Fat: 1
- Trans Fat: 0
- Carbohydrates: 31
- Fiber: 1
- Protein: 4
- Cholesterol: 0