

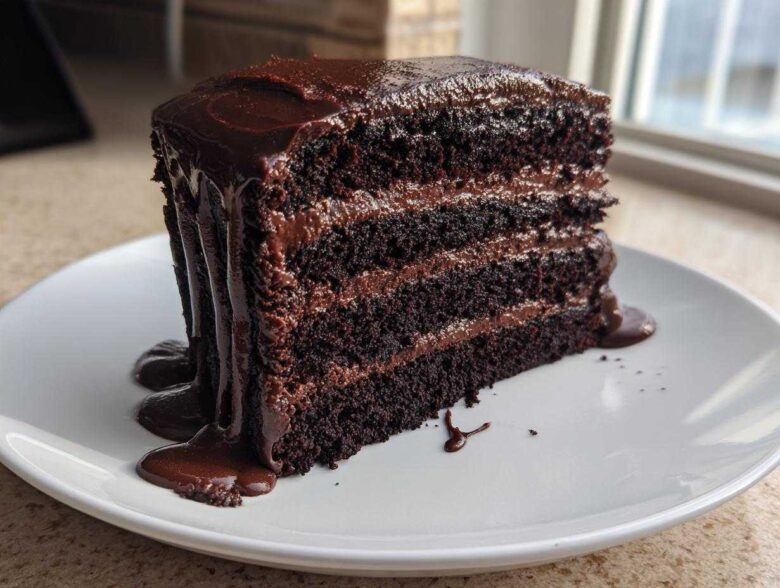
Listen, sometimes you get a craving. I’m not talking about a little sweet treat; I’m talking about a fundamental need for chocolate that nothing else will fix. When that happens, you don’t mess around with light dusting or weak frosting—you go straight for the ultimate, over-the-top Death by Chocolate Cake. Trust me, I spent years tinkering, trying to find that perfect spot where the cake is dark, tender, and so moist it practically melts before you chew.
After years of testing, I finally perfected the balance of dark cocoa and that secret cup of hot coffee to achieve this level of richness. This isn’t just a recipe; it’s an experience. Forget everything you thought you knew about chocolate cake. This one has three, count them, *three* layers of chocolate goodness stacked up high. You are going to need a bigger plate, seriously!
If you’re looking for a truly show-stopping dessert, you’ve come to the right place. I’ve even included the links below for some of my other less-intense chocolate adventures for when you only need a slight sugar rush, like these chocolate chip pumpkin bars.
Why This Death by Chocolate Cake is the Ultimate Indulgence
When I call this the ultimate indulgence, I mean it holds nothing back! This isn’t just a slice of cake; it’s a full-on chocolate immersion therapy session. If you love chocolate the way I do—intensely and unapologetically—then this Decadent Chocolate Cake Recipe is going to be your new legend.
- It uses high-quality dark cocoa for that necessary moody color and deep flavor profile.
- The frosting is pure, fluffy fudge; there’s no light-and-airy buttercream nonsense here!
- It’s genuinely an Intense Chocolate Dessert experience from top to bottom.
I was looking at some other chocolate overnight oats recipes the other day, and honestly, they just don’t hit the spot when you need this level of rich reward!
Achieving Maximum Moisture in Your Death by Chocolate Cake
The main reason this sponge is so incredibly soft, even days later, comes down to two liquids that might surprise you. First, we skip regular milk for tangy buttermilk. That little bit of acid reacts beautifully with the baking soda, making the crumb incredibly tender.
Second, and this is critical, we add a full cup of *hot* brewed coffee right at the end. Don’t worry, you won’t taste coffee! It just blooms the dark cocoa powder, releasing massive amounts of chocolate flavor and keeping the finished layers unbelievably moist. It’s pure magic, I tell you!
The Triple Threat: Sponge, Frosting, and Ganache
What makes this a true ‘Death by Chocolate Cake’ is that we hit you with chocolate flavor on three distinct levels. You get the dark, coffee-infused chocolate sponge first. Then, you bite into the thick, buttery chocolate fudge frosting that holds it all together.
Finally, we top it all off with that glossy, bittersweet ganache dripping down the sides. It’s a textural and flavor overload, and every bite delivers exactly what the name promises—pure, total chocolate satisfaction!
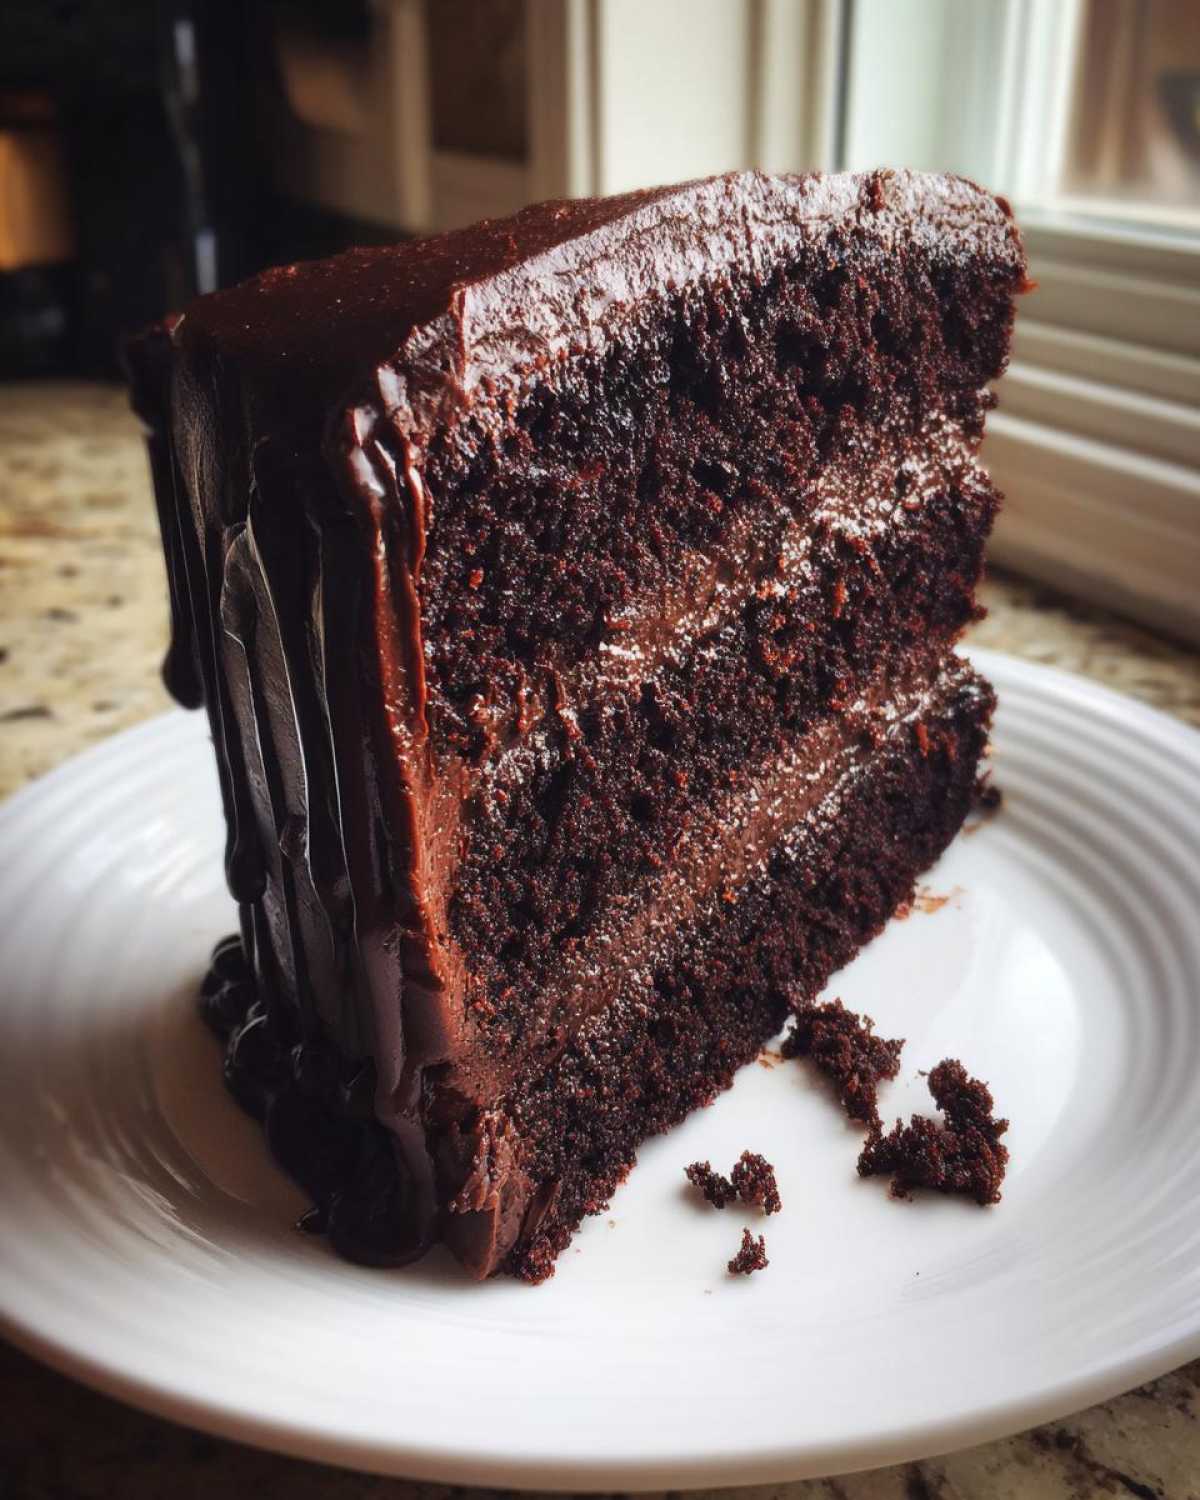
Gathering Ingredients for Your Death by Chocolate Cake
Okay, now that you’re drooling over the idea of this intense chocolate dessert, we have to talk about what you need to pull off this showstopper. Remember, for a cake this serious, we can’t skimp on the quality! I always make sure my eggs are sitting out on the counter for an hour before I start mixing—room temperature eggs incorporate so much better into the batter, which helps us reach that ultra-moist texture we love.
We need parts for three separate chocolate happenings here: the actual cake layers, the thick fudge frosting, and that gorgeous, glossy ganache drip. Don’t worry if you’re intimidated; following this list exactly is the secret weapon here!
If you need a refresher on making frosting in general, check out my notes on vanilla buttercream frosting for technique!
Ingredients for the Fudgy Chocolate Cake Layers
This is what creates the deep, dark sponge. See how we specify dark cocoa? That’s crucial for that deep chocolate color and intense flavor!
- 2 cups all-purpose flour
- 2 cups granulated sugar
- 3/4 cup unsweetened cocoa powder, dark
- 2 teaspoons baking soda
- 1 teaspoon baking powder
- 1 teaspoon salt
- 1 cup buttermilk
- 1/2 cup vegetable oil
- 2 large eggs
- 1 teaspoon vanilla extract
- 1 cup hot brewed coffee
- 1 cup semi-sweet chocolate chips (for batter)
Ingredients for the Rich Chocolate Fudge Frosting
This is the stuff you’ll want to eat with a spoon before you even frost the cake. Make sure that butter is properly softened!
- 1 cup unsalted butter, softened
- 3 cups powdered sugar
- 1/2 cup cocoa powder
- 1/2 cup milk or heavy cream
Ingredients for the Glossy Chocolate Ganache Drip
For the perfect drip, you need good quality chocolate. We are using bittersweet here for a slight counterpoint to all that sweetness in the sponge and frosting.
- 4 ounces bittersweet chocolate, chopped
- 1/2 cup heavy cream
Step-by-Step Instructions for the Ultimate Death by Chocolate Cake
Alright, this is where the magic happens! Don’t be intimidated by the three components; we’re taking this slow and steady. The most important thing is not to rush the cooling process. You simply cannot frost a warm cake—it’ll turn into a sloppy, soupy mess. You want patience and precision here to make sure your Ultimate Chocolate Birthday Cake layers are perfect.
Before you even start measuring your flour, make sure your oven is preheated to 350°F (175°C). A hot oven is key! If you’re curious about other foolproof baking ratios, I swear by the techniques I used for my best soft, chewy chocolate chip cookies. Same gentle mixing rules apply!
Baking the Moist Dark Chocolate Cake Layers
First things first: grease and flour your two 9-inch pans so they are ready to go. In a big bowl, whisk all your dry ingredients—flour, sugar, cocoa, baking soda, powder, and salt. Keep whisking until it all looks uniform!
Next, add the wet ingredients—buttermilk, oil, eggs, and vanilla. Mix that on a medium speed for a solid two minutes until it’s looking smooth. Now, be careful here: slowly pour in that cup of hot brewed coffee while mixing. The batter will look crazy thin, almost watery, but that’s exactly right for this Moist Dark Chocolate Cake! Gently stir in your chocolate chips last.
Divide that thin batter evenly between your two pans and bake for about 30 to 35 minutes. My personal trick? I always test doneness by touch after the toothpick comes out clean. Gently press the *center* of the cake; if it springs back softly, it’s done. If it feels mushy, it needs two more minutes. Let them cool in the pan for 10 minutes before flipping onto a wire rack completely.
Making the Homemade Chocolate Fudge Frosting
While those glorious layers are cooling—and you *must* let them cool completely!—we whip up the fudge frosting. Start by beating your softened butter until it’s light and fluffy. Slowly start adding your powdered sugar and cocoa powder, alternating with the milk or cream. Keep beating until it’s beautifully smooth.
If you taste it and realize you need it thicker for piping those beautiful borders—add more powdered sugar, a tablespoon at a time! If, somehow, it’s too thick to spread nicely, thin it out with just a splash more cream. You’re aiming for something wonderfully spreadable, not runny.
Creating the Decadent Chocolate Ganache Drip
This ganache is what separates a good chocolate cake from an Extreme Chocolate Indulgence. Place your chopped bittersweet chocolate into a heatproof bowl. Heat your heavy cream just until it simmers—watch it closely, don’t let it boil over!
Pour that sizzling hot cream over the chocolate and just walk away for five minutes. Seriously, let it sit! Resist the urge to stir immediately. After five minutes, gently whisk until it’s shiny and completely combined. The crucial trick here is timing: you want it cooled slightly—maybe 15 minutes on the counter—so it’s thick enough to slowly drip down the sides instead of just running off the cake and onto the plate!
Assembling Your Showstopper Death by Chocolate Cake
Okay, layers are cool, frosting is perfect, ganache is dripping-ready. Place your first cake layer down. Be generous with that fudge frosting—use a good, thick layer right to the edges. Pop the second layer gently on top.
Now, frost the whole cake—top and sides—with the remaining fudge frosting. This seals everything in. Once the outside is smooth, it’s time for the showstopper moment! Spoon that slightly thickened ganache onto the center top and gently use an offset spatula to coax it toward the edge, letting gravity help it drip artfully. Don’t overwork it! Let that ganache set up firm before you even *think* about slicing into this masterpiece.
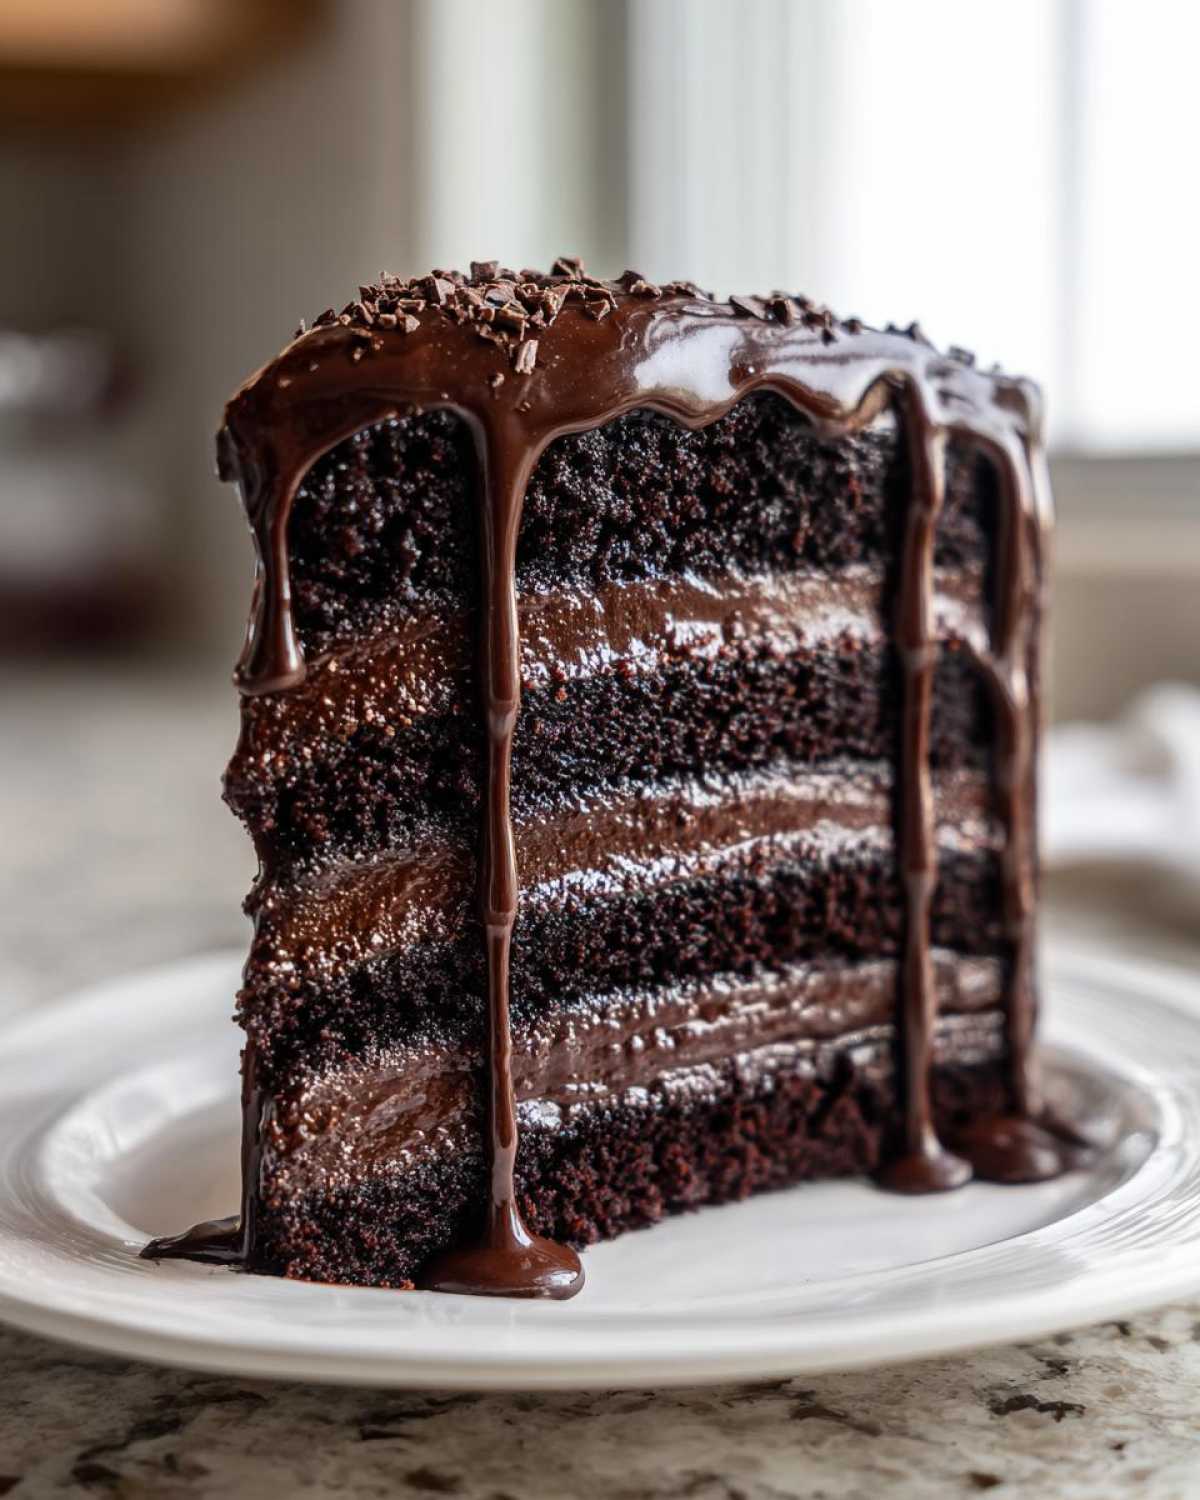
Tips for a Perfect Death by Chocolate Cake Success
When you go this intense with chocolate, you need a few little tricks up your sleeve to guarantee perfection. My biggest survival tip? Don’t try to rush the mixing! Remember, overmixing the batter after you add the flour is the express route to a crumb that feels stiff instead of fudgy. We want tender cake layers, not chocolate bricks!
Also, please, please, please—let your ganache cool down just enough before you pour it. If it’s too hot, it melts your hard work of fudge frosting clean off the sides. If it’s too cold, it becomes a chunky mess that won’t drip! You want that beautiful, slow ribbon effect. If you’re looking for tips on handling other batters, I’ve got a few secrets for getting perfect muffins, too!
Variations on the Death by Chocolate Cake Theme
Even though this recipe is the pinnacle of chocolate decadence, I totally get that sometimes you need to switch things up! If you’re making this Deep Dark Chocolate Recipe for an adult gathering, try adding a teaspoon of espresso powder right into the dry ingredients. It doesn’t make it taste like coffee, but wow, does it deepen the chocolate flavor!
Instead of semi-sweet chips in the batter, you can swap them for chopped bittersweet chocolate chunks for a richer melt inside the layers. You know, if you happen to have some leftover pumpkin bar chocolate chips lying around, those work too!
And if you’re in a total pinch but still need that rich topping? You can always use your favorite boxed dark chocolate cake mix, but *promise me* you’ll still use *this* recipe for the fudge frosting and ganache. That’s how you turn an easy version into a respectable Easy Death by Chocolate Cake!
Serving Suggestions for Your Rich Chocolate Layer Cake
Now that you’ve conquered this glorious, fudgy monster, presentation matters! You need something to cut through that sheer density of chocolate. I always lean toward something tart. A scattering of fresh raspberries or thinly sliced strawberries is just perfect against the dark frosting.
If you want to keep it truly classic, a tiny dollop of high-quality vanilla bean ice cream on the side of your slice is divine. It’s the perfect contrast! Honestly, this cake needs no other decoration when it’s heading to a celebration. It is, without a doubt, the ultimate Ultimate Chocolate Birthday Cake that everyone will remember.
Storage and Reheating Instructions for Death by Chocolate Cake
Because this is such a rich, decadent bake, knowing how to store it properly is key to keeping that fudge frosting pristine. If you are serving this Death by Chocolate Cake the same day, it’s actually fine covered loosely at cool room temperature for up to 4 hours.
For longer storage, you absolutely need to refrigerate it. Wrap the whole thing tightly in plastic wrap once the ganache is set—this keeps the air out and preserves that amazing moisture. If you chill it, just pull a slice out about an hour before serving to let the cake and frosting soften up again. Never try to microwave a slice of this stuff; it’ll turn the fudge into soup!
If you happen to have any leftovers that just won’t quit, freezing works too! I always wrap the individual slices incredibly well. They freeze beautifully for months, and you can defrost them overnight in the fridge. For more tips on keeping your best bakes fresh, check out how I manage my freezer-friendly muffins!
Frequently Asked Questions About This Intense Chocolate Dessert
Whenever I post photos of this cake—and believe me, it’s practically a monthly occurrence—I get flooded with questions. It’s my go-to answer for any big celebration, and it requires a couple of specific techniques to get it right. Here are the most common things people ask me about making this Rich Chocolate Layer Cake!
Can I make the Death by Chocolate Cake layers ahead of time?
Absolutely, and I highly recommend it when you’re dealing with a triple-layer cake! You can bake the sponge layers and let them cool completely, then wrap each one tightly in plastic wrap, followed by a layer of foil. They do great stored at cool room temperature for about two days, or you can freeze them for up to two months. If you freeze them, thaw them overnight wrapped in the fridge before you even think about frosting!
What is the best way to slice a cake with ganache drip?
This is where most people mess up their beautiful presentation! The ganache sets up firm, so a dull knife just tugs everything apart. You need a really sharp, thin knife—I prefer an 8-inch chef’s knife for this. Then, the trick is to dip that knife into a tall glass of hot water and wipe it completely dry *before* every single cut. That clean, hot blade glides right through the ganache and the fudgy layers like butter. Always wipe between slices!
Can I substitute the buttermilk in this Rich Chocolate Layer Cake?
If you’ve run out of buttermilk, don’t panic and don’t skip the acidic component—it’s what makes this cake so tender! For every one cup of buttermilk required, measure out one cup of regular milk (whole milk works best). Then, stir in one tablespoon of white distilled vinegar or lemon juice. Let that mixture sit on the counter for about five to ten minutes until it curdles slightly. That’s your homemade buttermilk replacement, and it works perfectly for this Deep Dark Chocolate Recipe!
If you want to see what happens when I try to improvise on my normal Sunday baking schedule, check out my post on easy weeknight bolognese sauce—sometimes skipping key ingredients just doesn’t work, whether it’s savory or sweet!
Nutritional Estimates for Your Extreme Chocolate Indulgence
Okay, let’s be real: when we bake something this over-the-top, we aren’t exactly aiming for a light snack! But, just so you know what you’re diving into with this powerhouse Death by Chocolate Cake, here are the estimates. Remember, these numbers are just starting points based on standard ingredients, so your totals might vary slightly depending on the exact brand of chocolate or cream you use.
If you want to read more about how I calculate these figures, you can check out my full disclaimer page here: my disclaimer page.
- Serving Size: 1 slice
- Calories: 550
- Sugar: 65g
- Sodium: 350mg
- Fat: 32g
- Protein: 6g
The Ultimate Death by Chocolate Layer Cake
This recipe creates an intensely rich, moist, dark chocolate layer cake topped with fudge frosting and a glossy ganache drip for maximum chocolate indulgence.
- Prep Time: 30 min
- Cook Time: 35 min
- Total Time: 1 hour 50 min
- Yield: 12 servings
- Category: Dessert
- Method: Baking
- Cuisine: American
- Diet: Vegetarian
Ingredients
- 2 cups all-purpose flour
- 2 cups granulated sugar
- 3/4 cup unsweetened cocoa powder, dark
- 2 teaspoons baking soda
- 1 teaspoon baking powder
- 1 teaspoon salt
- 1 cup buttermilk
- 1/2 cup vegetable oil
- 2 large eggs
- 1 teaspoon vanilla extract
- 1 cup hot brewed coffee
- 1 cup semi-sweet chocolate chips (for batter)
- 1 cup unsalted butter, softened (for frosting)
- 3 cups powdered sugar (for frosting)
- 1/2 cup cocoa powder (for frosting)
- 1/2 cup milk or heavy cream (for frosting)
- 4 ounces bittersweet chocolate, chopped (for ganache)
- 1/2 cup heavy cream (for ganache)
Instructions
- Preheat your oven to 350°F (175°C). Grease and flour two 9-inch round cake pans.
- In a large bowl, whisk together the flour, sugar, cocoa powder, baking soda, baking powder, and salt.
- Add the buttermilk, oil, eggs, and vanilla extract to the dry ingredients. Beat with an electric mixer on medium speed for two minutes.
- Carefully stir in the hot coffee until the batter is smooth. Stir in the chocolate chips. The batter will be thin.
- Divide the batter evenly between the prepared pans. Bake for 30 to 35 minutes, or until a wooden pick inserted into the center comes out clean.
- Let the cakes cool in the pans for 10 minutes before inverting them onto a wire rack to cool completely.
- Prepare the Fudge Frosting: Beat the softened butter until creamy. Gradually add the powdered sugar and cocoa powder, alternating with the milk/cream, until smooth and spreadable. Add more sugar for thickness or more liquid for thinness.
- Prepare the Ganache: Place the chopped bittersweet chocolate in a heatproof bowl. Heat the heavy cream until it just simmers. Pour the hot cream over the chocolate. Let it sit for 5 minutes, then whisk until smooth and glossy. Let the ganache cool slightly until it thickens enough to drip slowly.
- Assemble the cake: Place one cooled layer on a serving plate. Spread a thick layer of fudge frosting on top. Place the second layer on top. Frost the top and sides of the entire cake with the remaining fudge frosting.
- Pour or spoon the slightly cooled ganache over the top center of the cake, allowing it to drip down the sides. Let the ganache set before slicing.
Notes
- Using dark cocoa powder provides a deeper, more intense chocolate flavor for the sponge.
- Do not overmix the batter once the wet ingredients are added to keep the cake tender.
- If you prefer a firmer drip, chill the cake briefly after applying the ganache.
Nutrition
- Serving Size: 1 slice
- Calories: 550
- Sugar: 65g
- Sodium: 350mg
- Fat: 32g
- Saturated Fat: 18g
- Unsaturated Fat: 14g
- Trans Fat: 0.5g
- Carbohydrates: 68g
- Fiber: 3g
- Protein: 6g
- Cholesterol: 95mg