

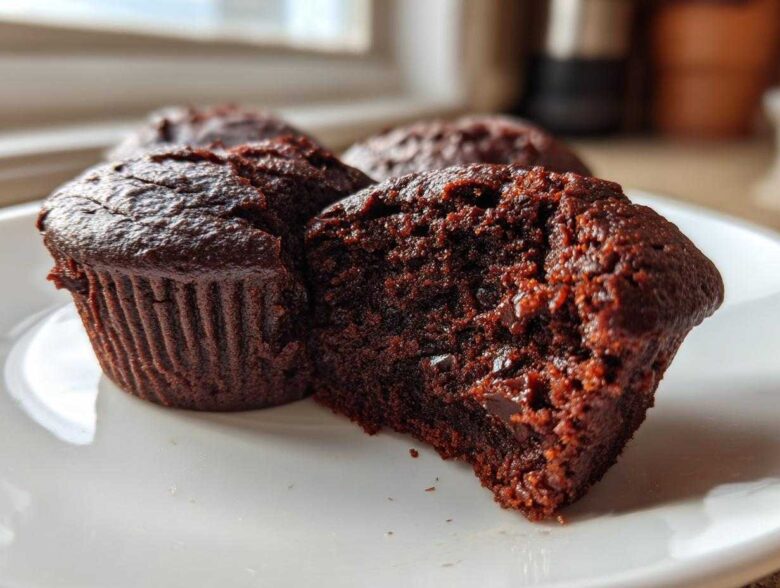
Oh my gosh, you know those moments when a serious, deep, fudgy brownie craving hits you, but you are nowhere near a plate and fork? Me too! That’s why I am obsessed—and I mean *obsessed*—with these brownie muffins. People see them and think, “Oh, chocolate cupcakes,” but trust me, these are miles away from cake territory. These are rich, dense, perfectly chewy **Brownie Muffins** that bake up with that iconic, beautiful, crinkly top brownies are famous for.
I perfected this recipe because I needed a way to sneak decadent chocolate into lunchboxes without causing a massive sugar rush disaster that a giant slab of traditional brownie would bring. They are the perfect portion-controlled treat! Baking them in a tin gives you that crisp edge we all fight over, surrounding a soft, gooey center. If you are ready to make the best single-serve chocolate treat you’ve ever had, we need to get mixing!
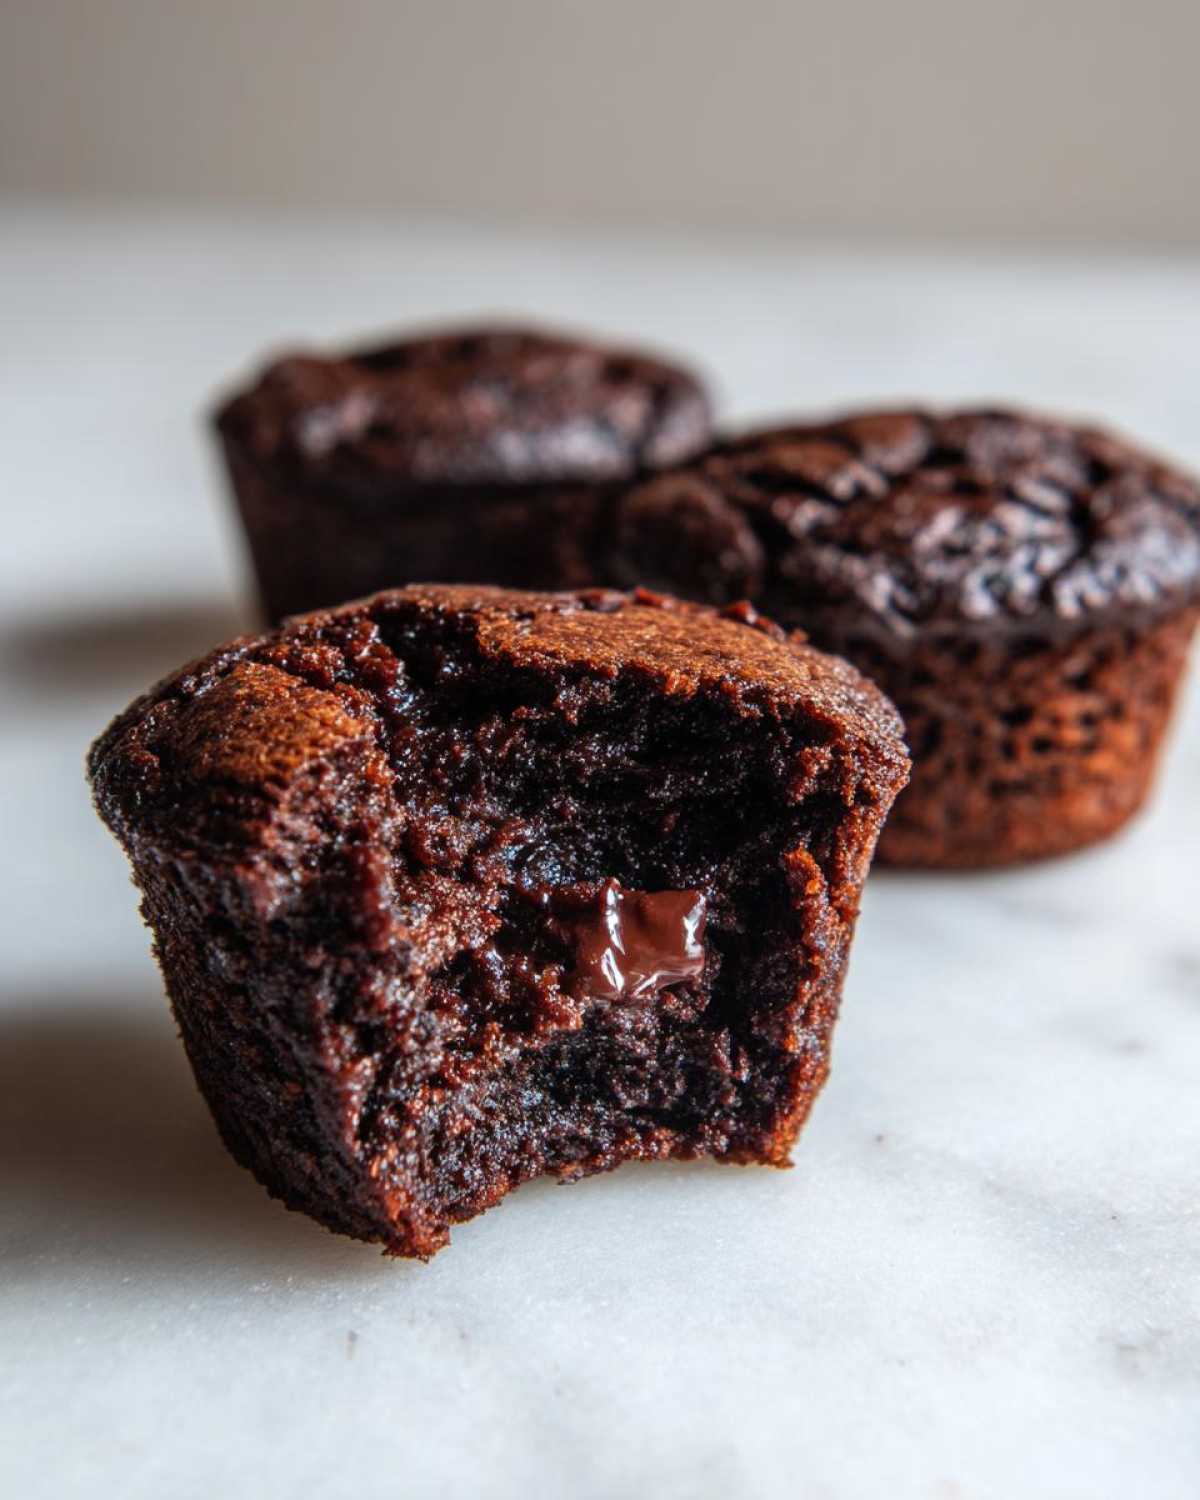
Why You Need These Fudgy Brownie Muffins Today
Seriously, why wrestle with cooling racks and cutting sticky squares when you can just grab and go? These **Brownie Muffins** are my absolute favorite way to satisfy that chocolate craving.
- They capture that perfect fudgy texture every single time.
- The tops get wonderfully crinkly—just like the best sheet brownies!
- Portion control is built-in, which makes snacking so much easier.
If you loved my recipe for Chocolate Guinness Stout Brownies, you’ll adore this portable magic. They come together so fast!
Ingredients for the Best Brownie Muffins
Trust me, the ingredient list here is short, which is part of the magic! You probably have most of this sitting in your pantry right now. We are keeping things super straightforward, which is exactly how you get that deep, classic brownie flavor without all the fuss of making a full pan. Don’t substitute the butter for anything else; melted butter is key to that dense base.
- 1/2 cup unsalted butter, melted
- 1 cup granulated sugar
- 2 large eggs
- 1 teaspoon vanilla extract
- 1/3 cup unsweetened cocoa powder
- 1/2 cup all-purpose flour
- 1/4 teaspoon salt
- 1/4 teaspoon baking powder
- 1/2 cup semi-sweet chocolate chips
That’s it! Simple, reliable, and ready to go!
Step-by-Step Guide: How to Bake Perfect Brownie Muffins
This is where the magic happens, and honestly, this recipe couldn’t be easier! When learning How to Bake Brownie Muffins, the key is respecting the ratio of fat to flour. We aren’t adding much leavener here, so we rely on technique to get volume without losing that dense, satisfying fudginess. Follow these steps exactly, and you’ll have portable perfection in under 30 minutes!
Preparing the Wet Base for Your Brownie Muffins
First things first: get your oven roaring at 350°F (175°C) and get those muffin cups lined or greased well. We want easy release later! In a medium bowl, whisk that lovely melted butter right into the sugar—just until they look happy together. Then, beat in your two eggs, one at a time. You don’t need to whip it into a cloud; just mix until each egg disappears before adding the next. Stir in that vanilla extract last. That’s your wet base—nice and rich!
Combining Dry Ingredients and Achieving the Best Brownie Muffin Batter
Now, grab a small, separate bowl. Whisk your dry stuff—cocoa powder, flour, salt, and baking powder. Whisking them separately is super important, trust me! It breaks up any lumps in the cocoa and ensures the tiny bit of leavener is evenly distributed. Gently add these dry ingredients to your wet mixture. Mix them carefully, only until you stop seeing streaks of flour. Stop stirring then! Overmixing is how you turn a brownie into a hockey puck. Once just combined, fold in those chocolate chips.
Baking and Testing Your Brownie Muffins for Fudginess
Spoon that thick, gorgeous **Best Brownie Muffin Batter** into your prepared cups, filling them about two-thirds full. Don’t overfill, or they’ll spill over and crowd each other. Bake these beauties for about 18 to 22 minutes. Here’s the real test for fudginess: Pull one out around the 18-minute mark. Stick a toothpick in near the edge—not the exact center. If you see moist crumbs clinging to the toothpick, they are *done*. If it’s wet batter, give it three more minutes. Moist crumbs mean fudgy centers when they cool!
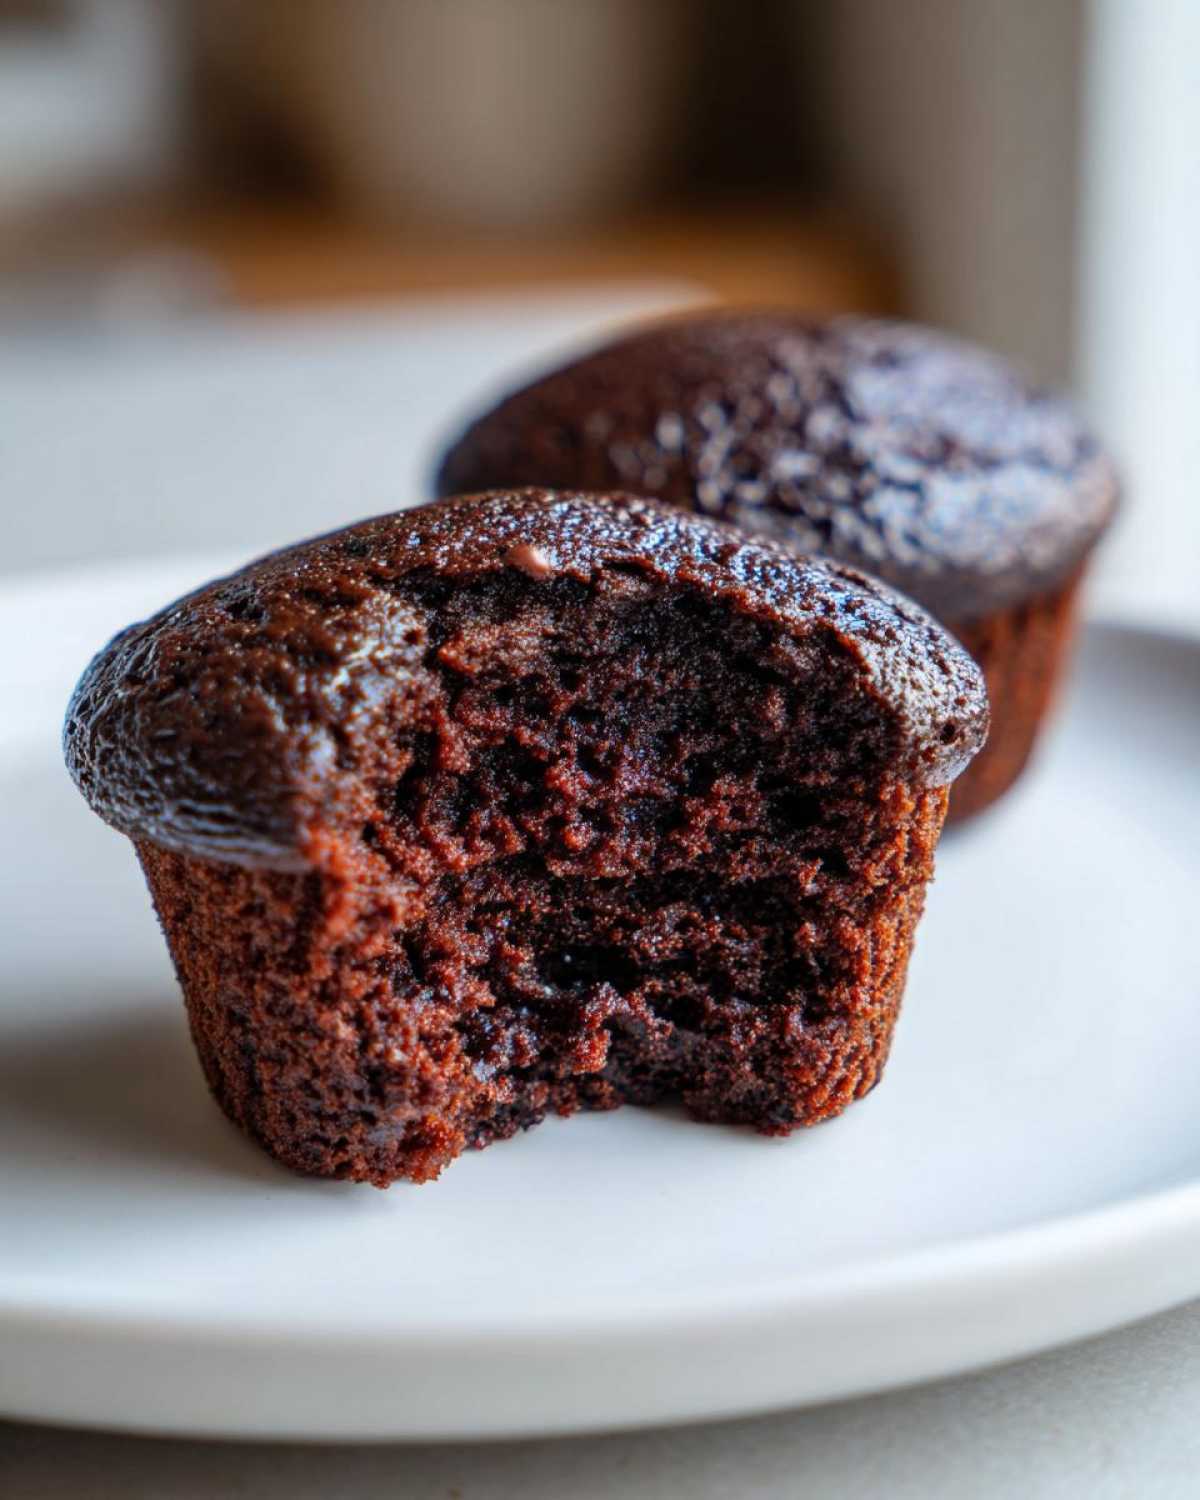
Tips for Crinkly Top Brownie Muffins Success
Okay, everybody wants that shiny, crackly crust on their brownies, right? It’s the signature sign of a top-tier chocolate fix, and you can absolutely nail it with these **Crinkly Top Brownie Muffins**! The science behind that glorious shine starts before they even hit the heat.
My biggest secret comes from making sure the sugar is perfectly dissolved in the fat early on. Remember how we mixed the butter and sugar until they were smooth? That step is crucial. If the sugar crystals are still sharp, they can’t form that thin, glassy layer on top.
Another trick I use, which I detailed in my notes for the Chocolate Chip Pumpkin Bars, is a tiny sprinkle of fresh granulated sugar right over the batter in the muffin cups before baking. It gives the surface something to grab onto as it sets. Also, make sure your oven temperature is spot-on at 350°F. Too cool, and that top won’t set right!
Ingredient Notes and Delicious Brownie Muffin Variations
The beauty of this recipe is how simple the base is, which means it’s just begging you to play around with add-ins! While I absolutely love them plain—they are so rich as a Single Serve Brownie Recipe—you can easily customize them for whatever you are craving.
If you are worried about them being too soft, swap out half of that white sugar for packed light brown sugar. That little bit of molasses really ups the chew factor! And yes, you can absolutely toss in your favorite goodies. Half a cup of chopped walnuts or pecans adds the best crunch against all that chocolate goo.
Making Rich Chocolate Muffin Brownie Hybrid Swirls
Sometimes I want something extra fancy, especially if I’m making these for friends. You can easily turn these into a true **Rich Chocolate Muffin Brownie Hybrid** by adding a swirl on top! Before you bake them, after spooning the batter into the cups, drop a teaspoon of softened cream cheese or peanut butter right onto the center of each cup.
Take a toothpick—or a small knife—and gently swirl it down into the batter once or twice. Don’t over-swirl, or you’ll lose the effect! When they bake up, you get this beautiful marbled look, which definitely elevates them from a simple treat to something that looks like it came from a fancy bakery. They are truly incredible that way!
Storage and Reheating Instructions for Brownie Muffins
Listen, these **Brownie Muffins** are so good fresh out of the oven that you might not even have leftovers, but just in case you manage to save a few—or if you want to bake ahead for that week’s school lunches—storage is simple!
The most important thing is to let them cool completely on a wire rack first. If you try to seal them up while they are even slightly warm, you’re just setting yourself up for condensation, and nobody wants soggy brownie tops! Once they are totally cool, pop them into an airtight container. You can layer them between sheets of parchment paper if you want to stack them up high, just like I do when storing my Moist Date and Nut Bread.
They are fantastic left on the counter at room temperature for about three days. Because they have that high fat content, they stay fudgy beautifully without needing the fridge, which is great!
Now, if they’ve been sitting for a day or two and you want that *just-baked* gooey texture back? Pop one in the microwave for about 10 to 12 seconds. That little blast of warmth melts those cocoa solids and chocolate chips right back into bliss. Don’t push it past 15 seconds, or you’ll lose that fudge and go straight to rubbery!
Serving Suggestions for Your Brownie Muffins
While these are absolutely perfect served straight out of the tin with zero fuss—they are designed to be that grab-and-go treat, remember?—sometimes you want to dress them up a little bit! Especially if you’re serving them warm after dinner, they turn into a luxurious little dessert bite.
You can never go wrong with the classics. A tall, frosty glass of cold milk is the ultimate companion for any truly rich chocolate item. It just cuts through the richness perfectly, doesn’t it? For the grown-ups, a strong black coffee or a hot espresso shot next to one of these fudgy bites is just divine—the bitterness balances the sweetness so nicely.
If you want to get a little fancy, though, especially if you made the swirl variation we talked about earlier, you have to serve it à la mode! Pop one of these in a little microwave-safe bowl for about 10 seconds just to warm it up a tiny bit, and then top it with a scoop of good quality vanilla ice cream. I sometimes even make a quick drizzle of my easy Vanilla Buttercream Frosting, thinned out with just a tiny bit of milk, just to make it look extra special.
Honestly, they are so satisfying on their own, but a warm brownie muffin with cold ice cream? That’s just heavenly!
Frequently Asked Questions About Baking Brownie Muffins
I get so many great questions about this recipe because everyone wants that perfect, rich result! It’s easy to feel nervous when moving from a flat brownie pan to individual cups, but don’t sweat it! I’ve gathered up the most common things folks ask me when they are making their first batch of these amazing **Brownie Muffins**.
Can I make these Brownie Muffins ahead of time?
Absolutely, yes! That’s one of the best parts about making these Single Serve Brownie Recipe options—they keep so well. I usually make a double batch just because they disappear so fast. Keep your cooled **Brownie Muffins** stored in a truly airtight container at room temperature. They stay wonderfully moist and fudgy for about three full days. If you need them to last longer, you *can* freeze them! Wrap each one tightly in plastic wrap, then pop them all into a freezer bag. They thaw out perfectly on the counter in about an hour.
How do I ensure my Brownie Muffins are fudgy, not cakey?
This is the most important question, hands down! Why bother making one if it’s cakey? It all comes down to three things we talked about. First, that fat-to-flour ratio we used—we are heavy on the melted butter, which keeps things dense. Second, stop stirring once the dry ingredients are *just* incorporated; overmixing develops gluten, which makes things airy and cake-like. Finally, the toothpick test! Remember I said to look for moist crumbs, not a clean stick? That little bit of wet residue left behind is what turns into that gorgeous, fudgy center when they cool down. If you nail the toothpick check, you’ve nailed the texture!
Estimated Nutritional Data for Single Serve Brownie Recipe
Okay, now I want to be super clear about this part. When you’re making something this decadent, the calories are going to add up a bit, but honestly, these are **Portion Controlled Brownies** for a reason! These numbers are just an estimate based on the standard ingredients I used when testing the recipe, so your specific brands or if you added nuts might change things just a tiny bit.
Think of this as a good guide for tracking, especially if you are counting macros! I always recommend using the generic numbers for the most trustworthy data, but here is what my batch of 12 came out to:
- Calories: 185
- Total Fat: 10g
- Carbohydrates: 22g
- Protein: 3g
It’s a nice hit of energy packed into one little treat! The sugar content is naturally a bit higher because, well, they are brownies! But the fact that you get that rich satisfaction from just one little wrapper means you don’t overindulge later. That’s a win in my book!
PrintFudgy Brownie Muffins
Bake rich, fudgy brownies in convenient muffin form. This recipe yields individual portions with a desirable crackly top.
- Prep Time: 10 min
- Cook Time: 20 min
- Total Time: 30 min
- Yield: 12 muffins
- Category: Dessert
- Method: Baking
- Cuisine: American
- Diet: Vegetarian
Ingredients
- 1/2 cup unsalted butter, melted
- 1 cup granulated sugar
- 2 large eggs
- 1 teaspoon vanilla extract
- 1/3 cup unsweetened cocoa powder
- 1/2 cup all-purpose flour
- 1/4 teaspoon salt
- 1/4 teaspoon baking powder
- 1/2 cup semi-sweet chocolate chips
Instructions
- Preheat your oven to 350 degrees Fahrenheit (175 degrees Celsius). Line a standard 12-cup muffin tin with paper liners or grease well.
- In a medium bowl, whisk the melted butter and sugar together until combined.
- Beat in the eggs one at a time, then stir in the vanilla extract.
- In a separate small bowl, whisk together the cocoa powder, flour, salt, and baking powder.
- Gradually add the dry ingredients to the wet ingredients, mixing only until just combined. Do not overmix.
- Gently fold in the chocolate chips.
- Spoon the batter evenly into the prepared muffin cups, filling each about two-thirds full.
- Bake for 18 to 22 minutes. A toothpick inserted near the edge should come out with moist crumbs attached, not wet batter, for a fudgy center.
- Let the muffins cool in the tin for 5 minutes before transferring them to a wire rack to cool completely.
Notes
- For a chewier texture, you can substitute 1/4 cup of the granulated sugar with packed light brown sugar.
- Add 1/2 cup of chopped walnuts or pecans to the batter with the chocolate chips for added crunch.
- To achieve a more pronounced crinkly top, sprinkle a tiny pinch of granulated sugar over the top of each batter-filled cup before baking.
Nutrition
- Serving Size: 1 muffin
- Calories: 185
- Sugar: 18
- Sodium: 65
- Fat: 10
- Saturated Fat: 6
- Unsaturated Fat: 4
- Trans Fat: 0
- Carbohydrates: 22
- Fiber: 1
- Protein: 3
- Cholesterol: 45