

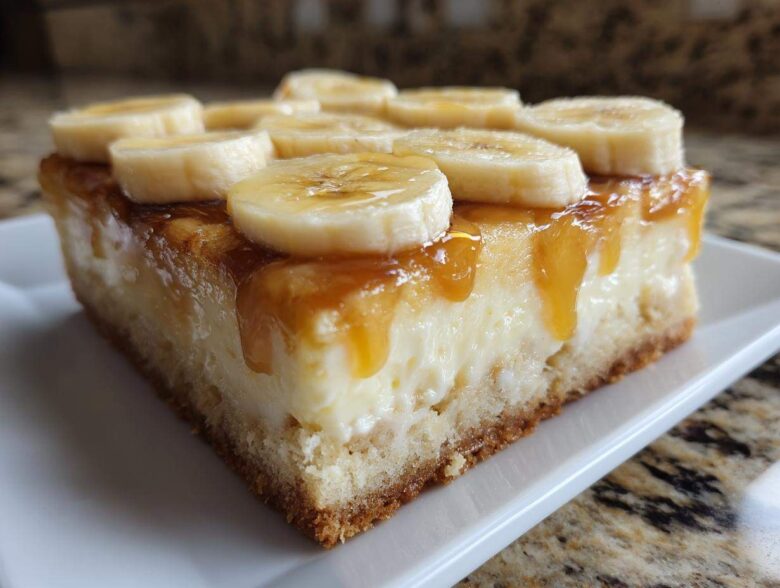
Oh my goodness, you just have to try this creation! I live for those moments where you manage to smash two amazing desserts into one incredible experience. Seriously, when I first thought about merging classic, velvety banana pudding with a tangy, rich cheesecake foundation, I knew I had struck gold. These Banana Pudding Cheesecake Bars are what my dreams are made of—they take the best textures from both worlds. Trust me, after years of tweaking layered desserts, I’ve nailed the ratio here. This recipe delivers that perfect combination of a crunchy vanilla wafer base, a smooth cream cheese middle, and that dreamy, sweet banana topping. It’s absolutely guaranteed to be the star of any gathering!
Why You Will Love These Banana Pudding Cheesecake Bars
Honestly, sometimes you just can’t choose between pudding, cake, or cheesecake. Why should you have to? These bars solve that major life dilemma! Once you try one, you’ll understand why they are now in heavy rotation at my house. I actually based the texture of these bars on my very favorite soft, chewy cookie recipe, just adapted for a bar! Here are just a few reasons why you need to try this recipe today:
- We get that fantastic, buttery crunch from the vanilla wafer crust—it’s so much better than a plain shortbread base!
- The cheesecake layer is wonderfully tangy and rich, providing the perfect counterpoint to the sweet pudding topping.
- They travel beautifully! They hold their shape perfectly, making them ideal for any potluck or summer get-together.
- You get that classic, unmistakable taste of homemade banana pudding baked right into a sturdy bar format.
- These Banana Pudding Cheesecake Bars slice cleanly, so everyone gets a perfectly portioned slice of heaven without messy serving spoons.
- The different layers mean you get a new burst of texture and flavor in every single bite—creamy, crunchy, and soft all at once!
Essential Ingredients for Perfect Banana Pudding Cheesecake Bars
You know, when you’re dealing with a layered dessert like this, the quality of what you start with really dictates the final outcome. We’re covering three distinct parts here: the crust, the filling, and the topping. For the base, you absolutely need vanilla wafer crumbs—don’t even think about graham crackers unless you’re desperate! Combine those with melted butter. Then comes the star attraction: the cheesecake layer. Make sure your cream cheese is totally softened, or you’ll get lumps; mix that with sugar, one egg for binding, and a splash of vanilla. For the lush topping, we’re using instant vanilla pudding mix—it needs that cold milk to set up fast—to fold into whipped topping. And please, use bananas that are perfectly ripe but still holding their shape rather than being mushy. It makes all the difference for that creamy texture on top!
Ingredient Notes and Substitutions for Your Banana Pudding Cheesecake Bars
A little secret for that cheesecake layer? If your cream cheese isn’t room temperature, you’ll spend five minutes whipping it and still end up with little hard bits. Just let it sit out! If you’re out of vanilla wafers, aiming for graham cracker crumbs is your next best bet, though the flavor profile changes a little bit. And while I swear by the standard whipped topping for stability, if you want to go all out, you can certainly whip up some fresh heavy cream. If you do that, you’ll want to sweeten it slightly, maybe even adding just a tiny bit of that wonderful vanilla buttercream frosting flavor we love into the pudding layer for depth!
Step-by-Step Instructions for Layered Cheesecake Bars
Okay, here is where the magic really happens! Don’t let the layers scare you; it’s just a couple of short baking steps followed by some easy assembly. I recommend having everything measured out before you start, since things move pretty fast once you get going. We are aiming for those beautifully distinct layers that make these bars so impressive, and it all comes down to timing. Once you’ve mastered the assembly, you can find even more great ideas over at my favorite cheesecake bar roundup!
Preparing the Vanilla Wafer Crust and Baking
First things first, get that oven humming at 350°F (175°C). You want to line that 8×8 pan with parchment paper—make sure you leave a bit of overhang on the sides! That overhang is your best friend later when we pull these beauties out. Mix up your vanilla wafer crumbs and melted butter until it looks like wet sand, then press it down *really* firmly into the bottom of the pan. Pop that in the oven for just 10 minutes to set it up nicely. Then, just pull it out to start cooling down a bit.
Creating and Baking the Creamy Cheesecake Layer
Now for the creamy part! Use your mixer to beat the softened cream cheese and sugar until they are perfectly smooth—you don’t want any lumps, but don’t beat it forever either! Just when it starts to look uniform, gently add in the egg and vanilla. Spread this mixture carefully over your slightly cooled crust. Bake this layer for about 15 to 18 minutes. The visual cue is crucial here: the edges should look set, but if you nudge the pan gently, the very center should still have a tiny wiggle to it. That jiggle means it’s perfect!
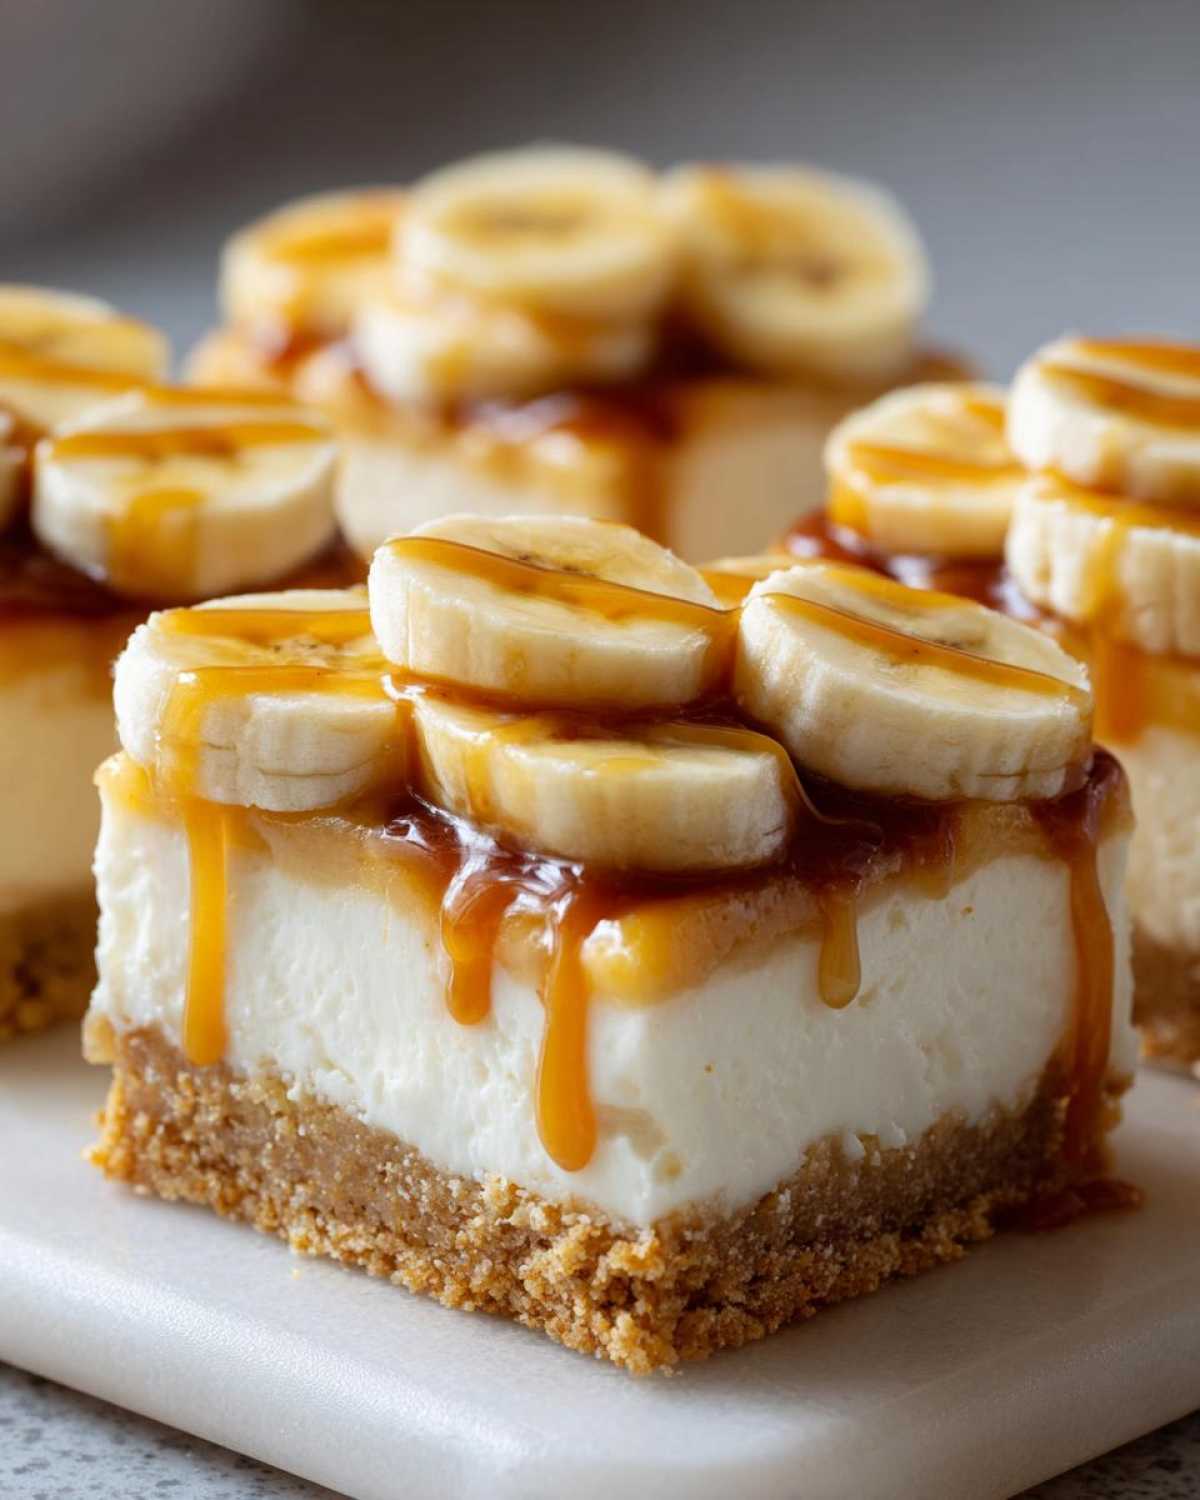
Assembling the Banana Pudding Topping for Your Banana Pudding Cheesecake Bars
While that cheesecake is cooling down on the counter, whip up your instant vanilla pudding using the cold milk—it thickens up fast! Once it’s got a little body, gently fold in your thawed whipped topping. Don’t stir too vigorously, or you’ll deflate all that nice air! Next, arrange your sliced bananas evenly over the completely cooled cheesecake layer. This is important: if the cheesecake is warm, the bananas will slide right off! Finally, spread that lovely banana pudding mixture right over the top of those bananas. These Banana Pudding Cheesecake Bars are almost ready for their nap!
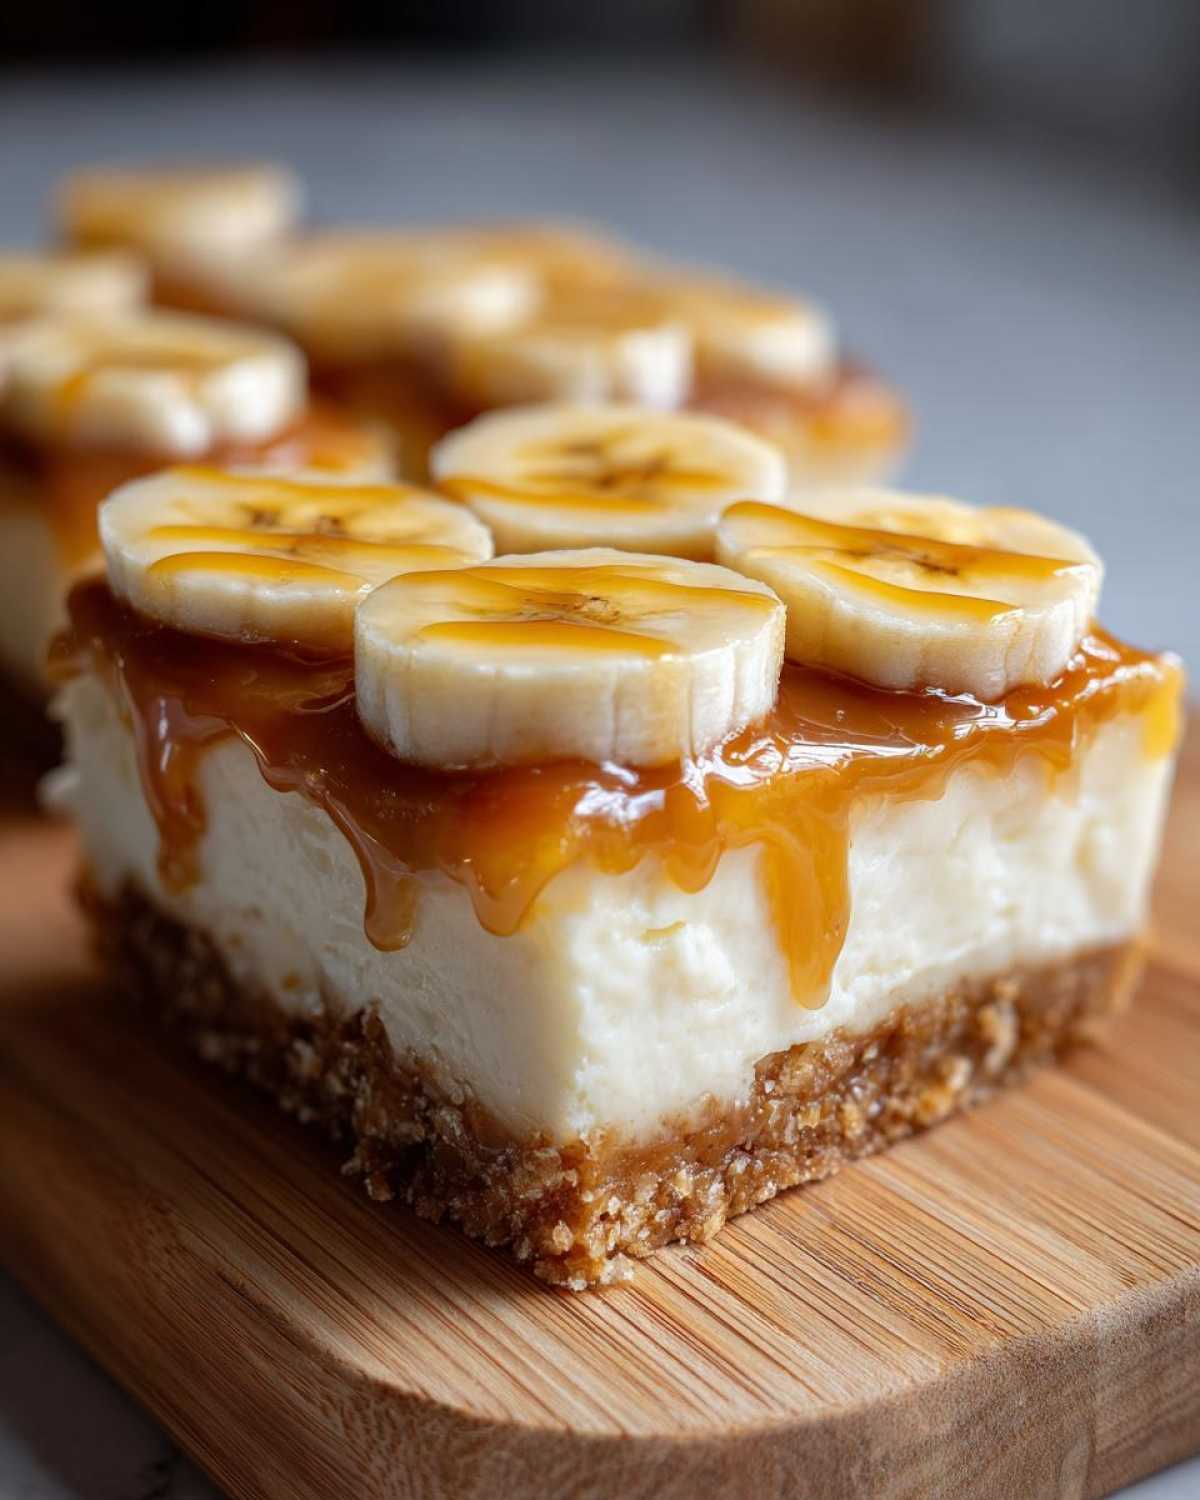
Chilling and Serving the Finished Banana Pudding Cheesecake Bars
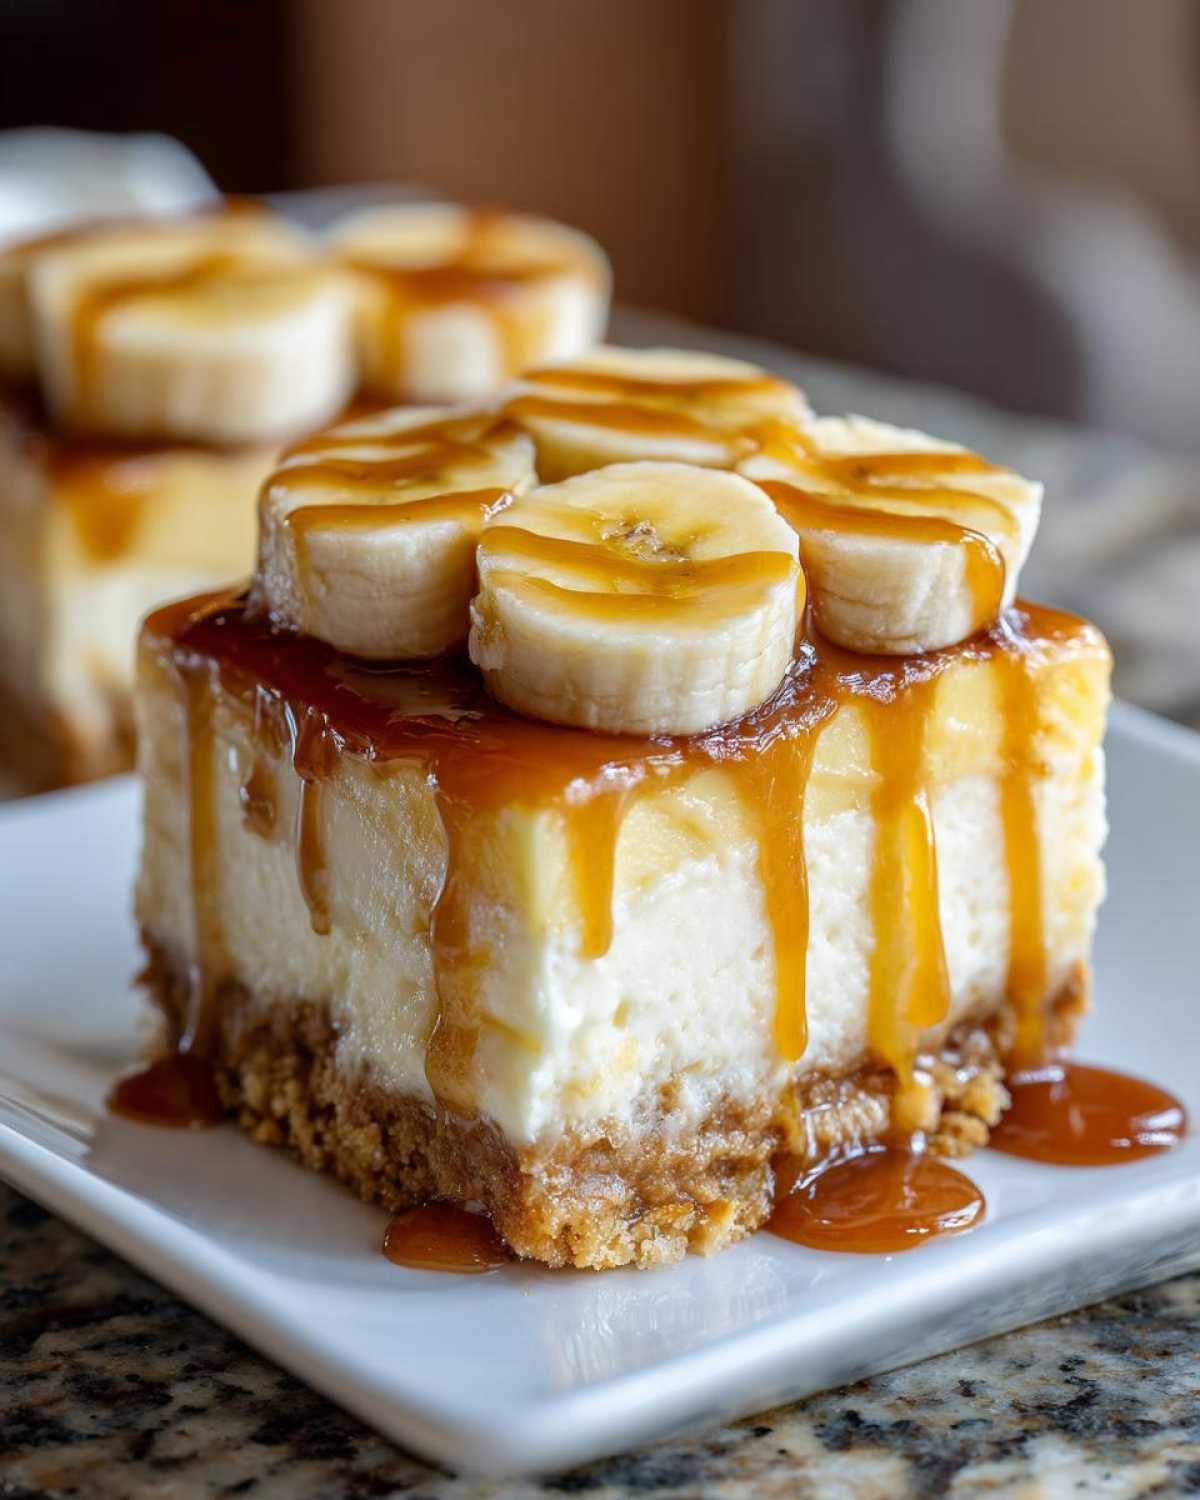
This is the hardest part: waiting! Cover the entire pan carefully and get it into the fridge. You absolutely need a minimum of four hours, but honestly, overnight is even better for the cleanest cuts. Once they are totally firm, use the parchment overhang you cleverly left earlier to lift the entire block out onto a cutting board. Then, slice it up into sixteen squares. If you want to make these Banana Pudding Cheesecake Bars look extra special for your guests, drizzle a little caramel sauce right before serving. Wow!
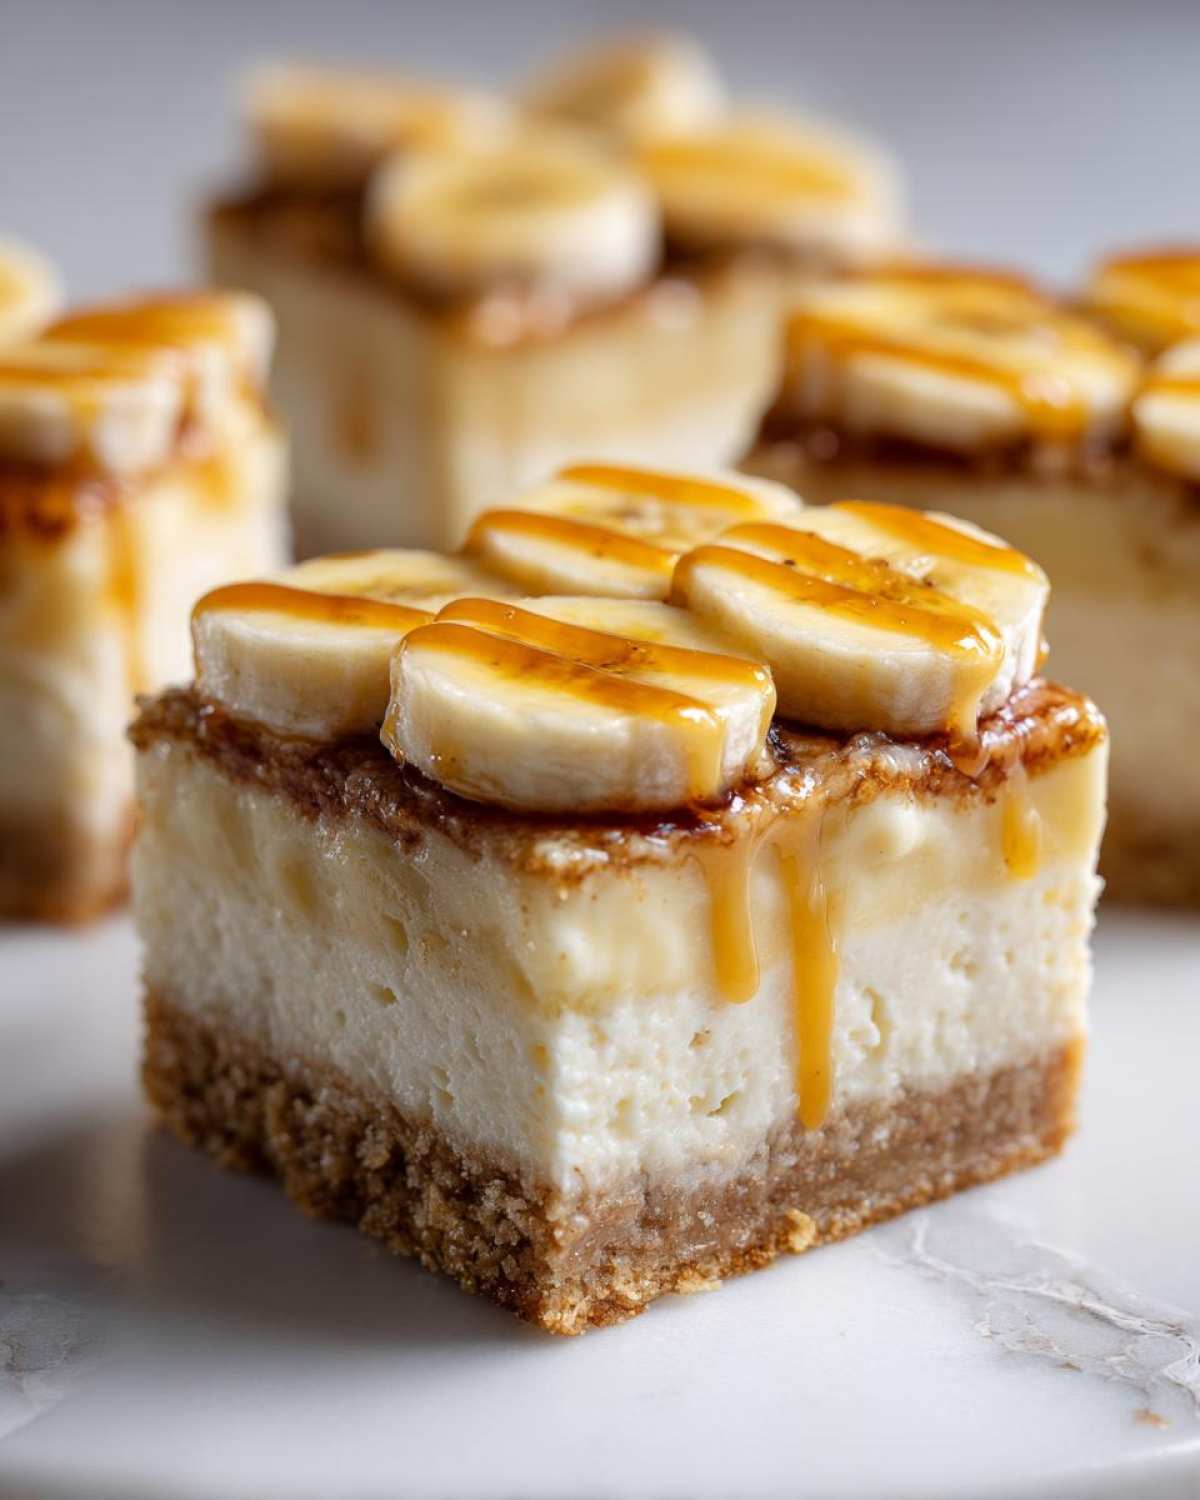
Tips for the Best Banana Pudding Cheesecake Bars Every Time
Look, even great recipes can go sideways if you rush the little things. I want your Banana Pudding Cheesecake Bars to be legendary! So, I’m sharing my insider knowledge for perfection. First, let’s talk bananas: use ones that are ripe—yellow with a few brown spots—but they must still be firm enough to handle slicing. Mushy bananas equal soup on top, and we absolutely do not want that! For the crust, press that buttery wafer mix down like you mean it; a loose crust crumbles when you try to cut it later.
Here’s a tip I learned the hard way: If you are making these ahead of time, try to avoid leaving them uncovered in the fridge for days. The pudding layer doesn’t love dry air! Also, sometimes the pudding can get a little watery if it sits too long. You can combat that weeping by adding just a teaspoon of cornstarch whisked into the cold milk before you start mixing the pudding—it gives that mixture an extra backbone!
If you want to check out how I get my muffins to stay super moist even after freezing, you can peek at my thoughts over at my blueberry muffin post; the principle of keeping moisture locked in is similar here!
Variations on Classic Banana Cheesecake Bars Recipe
The beauty of a recipe like this is that it’s already a mashup, right? But that just means there’s more room for play! I love making little tweaks depending on what I have on hand or what kind of decadent mood I’m in. If you are looking to elevate these from great to absolutely show-stopping, you have to think about adding a swirl!
My absolute favorite little addition is taking about a quarter cup of prepared dulce de leche—you can buy that ready-made jarred stuff—and spooning little dollops over the baked cheesecake layer *before* you add the banana pudding on top. Then, take a butter knife and gently swirl it through the cream cheese. It tastes like heaven when it all chills together. It turns these into something far more impressive than simple Banana Pudding Dessert Bars!
Another fun thing is playing with the base. If you aren’t a massive vanilla wafer fan, try crushing up shortbread cookies instead! The buttery flavor of shortbread mixes so well with the cream cheese layer. It gives the Banana Cheesecake Bars Recipe a slightly different, paler brown crust, but the flavor payoff is huge. If you want something chunkier, toss in a cup of chopped pecans along with your crumbs before you press them into the pan. I actually have a similar trick for making my pumpkin bars more flavorful, which you can check out here: my chocolate chip pumpkin bar post. See? Baking is all about experimentation once you nail the basics!
Storage and Make-Ahead Guide for Banana Pudding Cheesecake Bars
Good news! These Banana Pudding Cheesecake Bars are actually fantastic make-ahead treats, which is why I love bringing them to parties. You should chill them for at least four hours, but honestly, they are even better if you let them set up overnight in the fridge. Once they are totally firm, they last wonderfully for three to four days tightly covered in the refrigerator. I’ve even had success freezing leftovers! If you plan on freezing, it’s best to slice them first; wrap each bar individually in plastic wrap and then pop them into a freezer-safe container. They thaw perfectly on the counter in about an hour. If you want to see how I handle freezing other good things, check out my tips for making bran muffins freezer-friendly; the logic for dessert bars is similar!
Frequently Asked Questions About Banana Dessert Bars
I always get so many questions when I post pictures of these layered treats! It proves everyone loves a good, creamy dessert bar. I pulled together some of the most common things people ask me when they are ready to make their own batch of these easy banana desserts. If you’re looking for other simple desserts that require no baking, you should check out my guide on no-bake energy bites!
Can I use fresh whipped cream instead of whipped topping in this Banana Pudding Cheesecake Bars Recipe?
You totally can, but you need to be careful! The whipped topping (like Cool Whip) we use is stabilized, meaning it holds its shape really well in the fridge, which is important for that thick pudding layer. If you use freshly whipped heavy cream, the bars might weep or deflate slightly after chilling overnight because the moisture settles out. If you go the fresh cream route, whip it until it’s really stiff—stiffer than you think—and then fold it in as gently as possible. It’s a trade-off between a potentially softer topping and better stability.
What is the best way to cut clean squares for these Creamy Cheesecake Bars?
This is the absolute key to getting those picture-perfect squares you see online! You cannot try to cut these bars right out of the fridge when they are rock solid, and you definitely can’t cut them warm. Wait until they are chilled for hours. Then, grab a long, sharp knife and stand it under very hot tap water for about 30 seconds. Wipe the knife completely dry. Make one smooth, downward cut. Wipe the knife clean again, run it under hot water, and wipe it dry before the next slice. Keep repeating this hot-and-clean routine, and you’ll get those gorgeous, clean edges!
Can I skip baking the crust and cheesecake layers for a No Bake Cheesecake Bars version?
Oh, you absolutely can! If you are looking for an easy summer treat when you don’t want to heat up the kitchen, skipping the oven works great. You’ll mix the crust ingredients and press them into the pan, then chill that for about a half hour to firm up. For the cheesecake layer, you won’t bake it; instead, you’ll mix the cream cheese, sugar, and vanilla until super smooth and just spread that over the chilled crust. Then, you pop the whole thing back into the fridge for about an hour to set before adding the banana pudding topping. These no-bake versions are fantastic, just slightly less dense than the baked ones.
What kind of bananas should I use for the topping?
This is crucial for the overall success of your Banana Pudding Dessert Bars! You want bananas that are ripe enough to be sweet, meaning bright yellow with maybe a few brown freckles on the peel. However, they cannot be *overripe*—the ones that are almost going black are too soft and will turn mushy quickly once layered with the pudding. You need bananas that are firm enough to hold their slice shape when you arrange them over the cheesecake layer. If they are mushy when you slice them, they will just dissolve into the pudding.
Estimated Nutritional Information for Banana Pudding Cheesecake Bars
Now, I always tell people to enjoy the moment and not stress too much about the numbers when baking something this decadent! But, just so you know what you’re getting into when you devour one—and remember, this is just an estimate based on my calculations—here’s the rundown per bar. We’re looking at about 280 calories for a standard square. You’re getting around 16 grams of fat and about 32 grams of carbs, with 4 grams of protein. That means there are roughly 22 grams of sugar in each slice, but trust me, it’s worth every bite!
Share Your Experience Making These Banana Pudding Cheesecake Bars
Well folks, that’s it! We’ve gone through the crust, the creamy filling, and the dreamy banana topping. I poured my heart into getting this recipe just right so you could impress everyone you know. Now that you’ve got all my best tips for making the ultimate Banana Pudding Cheesecake Bars, I really, really want to hear about your results!
Don’t be shy! I built this entire site to share cooking joy. Have you made these yet? Did you try the caramel swirl variation, or did you stick to the classic look? Please leave me a rating down below—five stars if they blew your socks off, and let me know if you have any questions for me! I read every single comment.
If you snap a picture of your finished bars—maybe sitting on your patio table or packed up for a picnic—tag me on social media! I absolutely love seeing your baking successes. Seriously, sharing your photos is the best compliment a baker like me can get. Head over to my main blog page to find links where you can tag me!
Go ahead, try these bars for your next potluck or just because it’s Tuesday. You won’t regret it!
PrintBanana Pudding Cheesecake Bars
A recipe for creamy, layered dessert bars combining a vanilla wafer crust, a rich cheesecake layer, and a banana pudding topping.
- Prep Time: 20 min
- Cook Time: 25 min
- Total Time: 285 min
- Yield: 16 bars
- Category: Dessert
- Method: Baking
- Cuisine: American
- Diet: Vegetarian
Ingredients
- 1 1/2 cups vanilla wafer crumbs
- 1/2 cup unsalted butter, melted
- 8 ounces cream cheese, softened
- 1/2 cup granulated sugar
- 1 large egg
- 1 teaspoon vanilla extract
- 1 (3.4 ounce) package instant vanilla pudding mix
- 1 1/2 cups cold milk
- 2 ripe bananas, sliced
- 1 cup whipped topping, thawed
- Optional: Caramel sauce for drizzling
Instructions
- Preheat your oven to 350°F (175°C). Line an 8×8 inch baking pan with parchment paper, leaving an overhang for easy removal.
- Combine the vanilla wafer crumbs and melted butter in a bowl. Press this mixture firmly into the bottom of the prepared pan to form the crust. Bake for 10 minutes. Let cool slightly.
- In a medium bowl, beat the softened cream cheese and granulated sugar until smooth. Beat in the egg and vanilla extract until just combined.
- Spread the cream cheese mixture evenly over the cooled crust. Bake for 15 to 18 minutes, or until the edges are set but the center still has a slight jiggle. Cool completely on a wire rack.
- While the cheesecake layer cools, prepare the instant vanilla pudding according to package directions, using the cold milk. Let it set for 5 minutes.
- Gently fold the whipped topping into the prepared pudding until fully incorporated.
- Arrange the sliced bananas evenly over the cooled cheesecake layer.
- Spread the banana pudding mixture over the bananas.
- Cover the pan and chill in the refrigerator for at least 4 hours, or until firm.
- Once chilled, lift the bars out using the parchment overhang. Cut into squares. Drizzle with caramel sauce before serving, if desired.
Notes
- You can use a store-bought vanilla wafer crumb mixture to save time.
- For a no-bake version, skip steps 1, 2, and 4. Chill the crust mixture for 30 minutes before topping with the cream cheese mixture (made with 4 oz cream cheese, 1/4 cup sugar, and 1/2 tsp vanilla, mixed until smooth, not baked).
- Use firm, slightly under-ripe bananas for the best texture in the topping layer.
Nutrition
- Serving Size: 1 bar
- Calories: 280
- Sugar: 22
- Sodium: 180
- Fat: 16
- Saturated Fat: 9
- Unsaturated Fat: 7
- Trans Fat: 0
- Carbohydrates: 32
- Fiber: 1
- Protein: 4
- Cholesterol: 45