

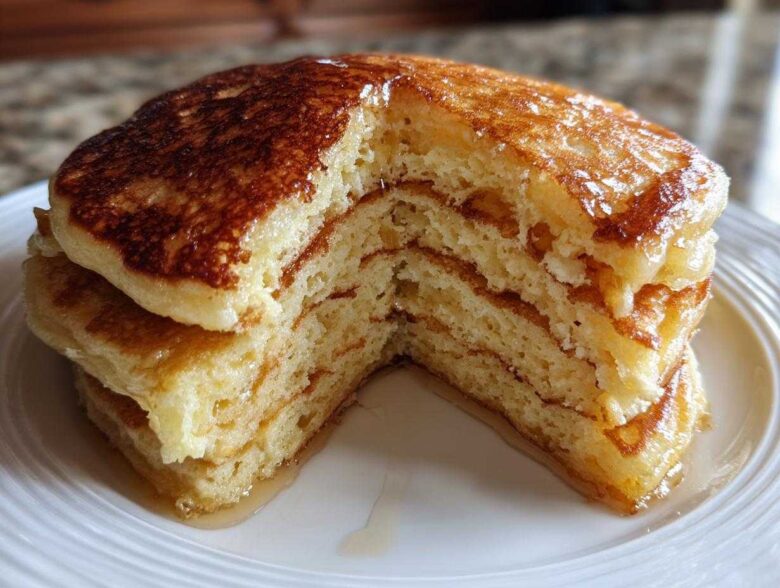
There’s nothing quite like the smell of Saturday morning, right? Skip the dry, thin discs you might get from a box mix. I’m telling you, I cracked the code for the Absolute Best Fluffy Old-Fashioned Buttermilk Pancakes a few years back—and trust me, my kids actually cheered. We’re talking thick, light, and airy stacks that actually hold up to a serious drizzle of syrup. These pancakes are my go-to when I need a weekend brunch win, and they always deliver that classic American flavor we all crave when we’re eating breakfast from scratch. If you loved the sound of this classic recipe, you might also want to check out my recipe for ricotta lemon pancakes sometime! Forget fancy gadgets; this recipe uses ingredients you probably have right now to create the most perfect, towering breakfast you’ve ever made.
Why These Are the Best Fluffy Old-Fashioned Buttermilk Pancakes
Okay, let’s talk texture, because that’s the whole game here. These aren’t those sad, thin flapjacks the diner slaps down. We are aiming for a Thick and Fluffy Breakfast masterpiece! The goal is to get those glorious, Light and Airy Pancakes that are tender all the way through, almost like little cakes on your plate. The real secret weapon, and the reason these are called Buttermilk Pancakes, is that tangy dairy itself.
Buttermilk reacts so beautifully with the baking soda we use. That acid works overtime, creating tons of carbon dioxide bubbles right in the batter. This reaction is what gives you that incredible rise and the signature soft texture that makes you want to stack them a mile high. It’s magic, really! You just have to trust the process; no extra whisking required, trust me.
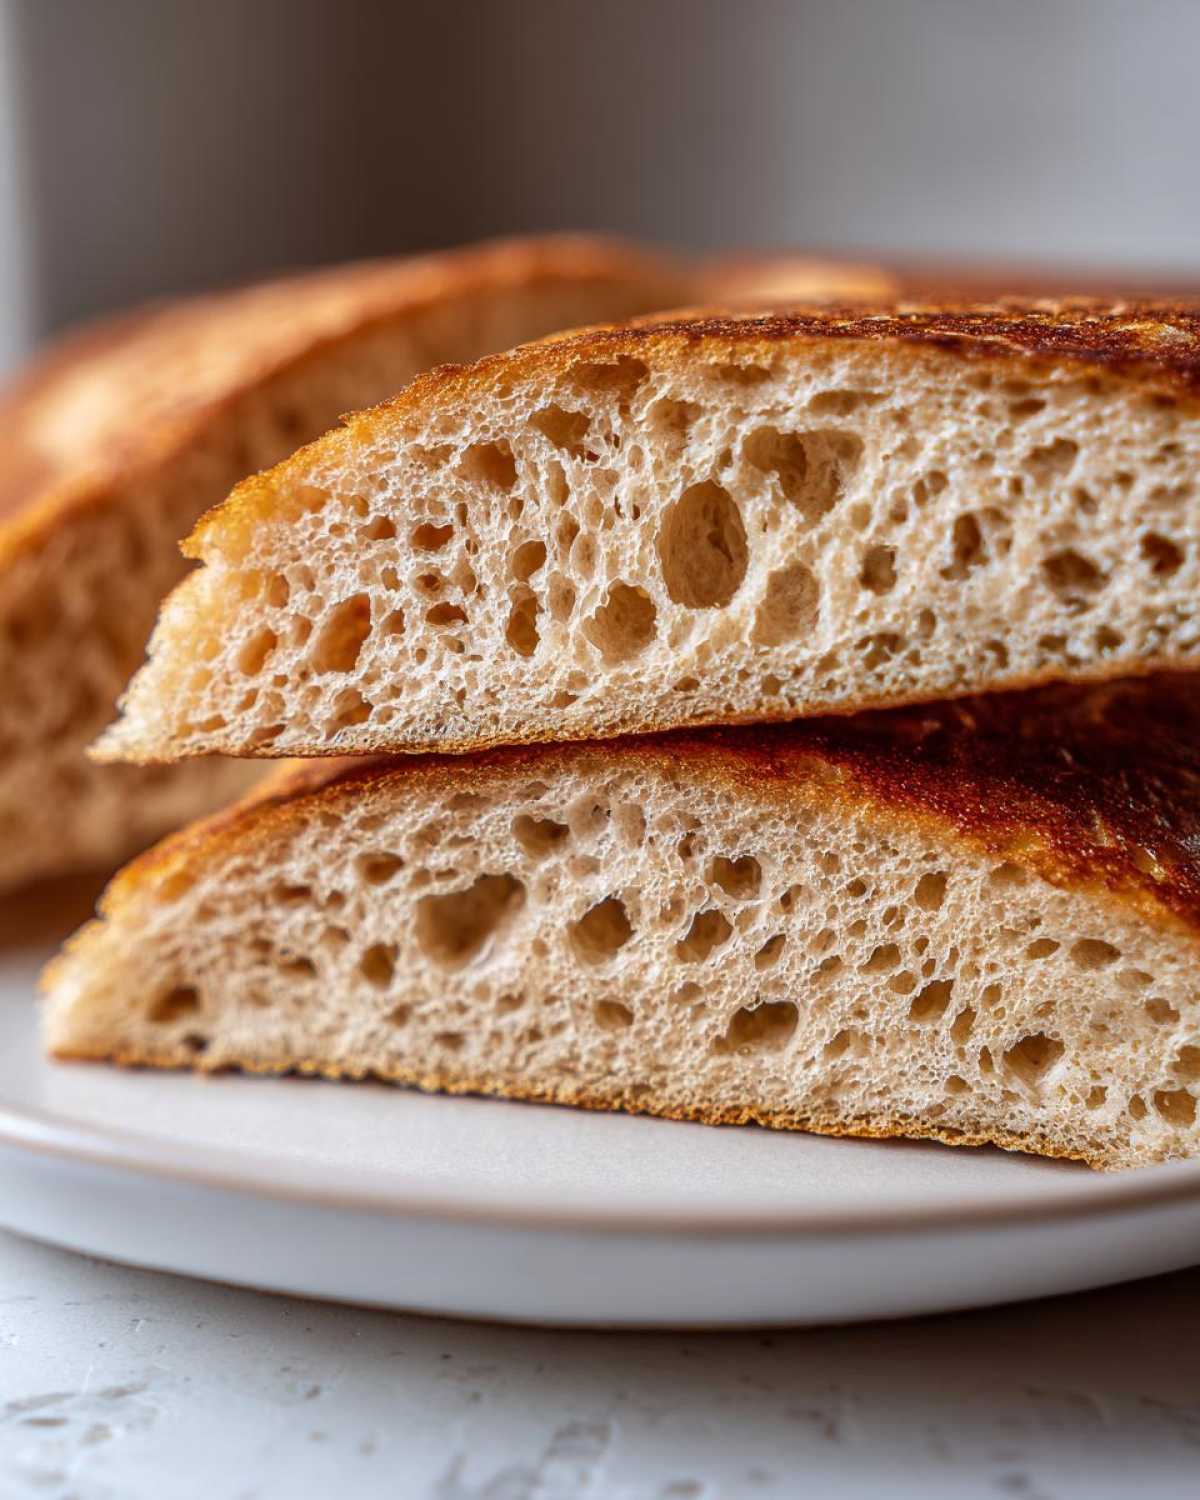
Quick Facts About These Fluffy Old-Fashioned Buttermilk Pancakes
- Prep Time: 10 min
- Cook Time: 15 min
- Total Time: 25 min
- Yield: About 12 pancakes
See? Ten minutes of prep gets you an amazing fluffy no-knead dinner rolls equivalent in pancake form. I can’t think of a better way to start a weekend.
Gathering Ingredients for Perfect Pancakes
You don’t need a fancy store-bought mix for this! This is truly an Easy Homemade Pancakes Recipe, relying on super simple pantry staples you likely have laying around right now. Gathering your ingredients is half the fun, but pay close attention to the details that matter. We need two cups of flour, two teaspoons of baking powder, and importantly—the baking soda to react with our buttermilk. Also, please don’t forget the four tablespoons of unsalted butter have to be melted, and you need two large eggs, not medium!
Here’s one of my biggest tips, and it’s a big one for texture: try and keep your buttermilk and eggs slightly cooler than room temperature. When the cold dairy hits the dry stuff, it slows that initial reaction just enough so the bubbles don’t pop immediately. It helps make for a better final product when you mix everything for these classic pancakes. You can check out my favorite buttery maple cornbread muffins recipe if you want another easy breakfast idea!
Ingredient Notes and Substitutions for Your Pancakes
What if you opened your fridge and realized you’re out of buttermilk? Don’t panic and don’t run to the store! We can whip up a quick substitute right here. For every cup of buttermilk this recipe calls for, just take one cup of regular milk and stir in one tablespoon of white vinegar or fresh lemon juice. Let that mixture sit on the counter for about five to ten minutes until it looks a little bit curdled. That’s your buttermilk stand-in, ready to go! Since we need two cups, you’ll just double that substitution. It absolutely works for getting that classic tangy flavor profile and keeping the pancakes perfectly light.
Mastering the Simple Pancake Batter
This is where most people accidentally turn their perfect ingredients into sad, flat disks, so listen closely! The key to achieving those picture-perfect, Best Fluffy Pancakes is restraint when mixing. We’re making Classic American Pancakes, not mixing glue, okay?
First, grab your wet ingredients—the buttermilk and eggs—and give them a quick, gentle whisk just to combine them. Don’t go crazy beating the air into them; we want them vaguely married, that’s all. Then, you take those lovely dry ingredients (flour, sugar, leaveners, salt) and dump the wet mixture right into the middle of them. Now, using a whisk or a rubber spatula, mix them together slowly and deliberately. I mean it: stop mixing the second you see no more dry streaks of flour!
I know that little voice in your head is screaming that there are lumps everywhere. That’s good! Truly! Those lumps are pockets of unmixed flour that will hydrate perfectly when they hit the heat, creating those light, airy pockets inside. If you mix until it’s perfectly smooth, you’ve developed the gluten too much, and you’ll end up with tough, chewy pancakes. We want tender, remember? If you have a few extra minutes, let the batter sit undisturbed on the counter for about five minutes. This little rest lets the baking powder and soda start working their magic before they even see the griddle. If you want to explore other interesting batters, my recipe for tahini banana pancakes is a fun adventure!
The Secrets to Cooking Fluffy Old-Fashioned Pancakes
Alright, we’ve got the perfect batter, which means we’re halfway there! Now we have to cook these beauties just right to seal in the fluffiness. First things first: heat management. You absolutely must use medium heat. If your griddle or skillet is too hot—say, screaming high heat—the outside of your pancakes will burn to a crisp before the inside has even started to firm up. You want a nice, gentle, even heat. We aren’t searing steaks here!
To test if the pan is ready, I always flick a tiny drop of water on the surface. If it sizzles immediately and dances around before evaporating, you’re golden. If it just sits there, give it another minute. If it vanishes instantly in a plume of steam, it’s too hot! Lightly coat the surface with a smear of butter—just enough to keep them from sticking, but not so much that they look greasy.
When you ladle about a ¼ cup of batter onto the hot surface for each pancake, watch them like a hawk! You are waiting for two main things to happen before you even *think* about flipping to get those beautiful Classic American Pancakes. First, you’ll see bubbles start to form across the entire surface of the raw batter. Second, those bubbles need to start popping and staying open, while the edges of the pancake look distinctly dry and set. That takes about two to three minutes usually.
Now, for the cardinal rule that everyone breaks: Do not, I repeat, DO NOT press down on the pancake with your spatula after you flip it! That is the fastest way to deflate all that beautiful airy structure we worked so hard to build! Just gently slide your spatula under and flip it once. The second side cooks faster, usually just a minute or two, until it’s that lovely golden brown. Once they are flipped, just let them be. If you’re making a huge stack for brunch, you can keep finished ones warm on a baking sheet in a very low oven (about 200°F). If you’re feeling adventurous after mastering these, you could try my sheet pan pancakes for a crowd next time, or even my wild pancake tacos with berries and cream!
Tips for Success with Your Pancakes From Scratch
If you want a truly Foolproof Pancake Recipe, there are a couple of extra little secrets I use every time. First, let’s talk melted butter versus softened butter. While we whisk melted butter into the batter at the end, I always use softened butter when I grease the griddle. Why? Melted butter on the pan tends to spread out too thin, making those lacy, thin edges we are trying to avoid. A quick swipe with a stick of softened butter gives you just the right amount of non-stick surface without making your pancakes greasy.
Also, keeping them warm is essential if you’re feeding a crowd! As I mentioned, I keep the finished pancakes on a baking sheet in a 200°F oven. This works like a charm to keep them hot and ready for syrup. Don’t stack them straight out of the pan, though, or the steam will make the bottom ones soggy! Lay them out single file on that baking sheet until everything is finished cooking. If you love easy breakfast prep, you have to try my recipe for baked oatmeal cups for other mornings!
Make Ahead Pancakes and Storage Instructions
I love making an enormous batch of these pancakes on a Sunday, knowing I’ve got a secret weapon for quick weekday breakfasts. People ask me all the time about Make Ahead Pancakes, and I can tell you this buttermilk recipe freezes like a dream! It’s way better than trying to make box mix pancakes during the rush.
First, you have to let them cool completely on a wire rack after they come off the griddle. Don’t try to store them warm, or you’ll end up battling steam and sogginess. Once they are totally cool—and I mean cold—you layer them. Put a small square of parchment paper between each pancake. This is crucial! It stops them from sticking together into one giant, unmanageable pancake blob. Then, pop that stack into a freezer-safe bag or container. They stay great in the freezer for about a month.
When you need a fast breakfast, how you reheat them determines their fluffiness. Seriously, ditch the microwave if you can! While the microwave works fast, it can make them chewy fast. The best method is a quick zap in a toaster oven or conventional oven set to about 350°F for five to seven minutes. That gets them hot all the way through and brings back that lovely crispy edge. If you need freezer meals that last even longer, check out my recipe for freezer breakfast burritos!
If you’re just storing them in the fridge for a couple of days, just keep them in an airtight container. They reheat nicely in the toaster too, just like waffles. This way, you always have the option for a Quick Breakfast Idea without any morning effort!
Serving Suggestions for Your Fluffy Pancakes
Now that you have a giant stack of the fluffiest, most beautiful pancakes ever made, the real fun begins: toppings! This is where your weekend brunch truly shines. Don’t let these beautiful cakes be ruined by cheap syrup or limp fruit. You deserve better!
The classic setup is always perfect, of course. I always make sure I have high-quality, real maple syrup—the darker the better. Warm the syrup up ever so slightly in a tiny saucepan or even just a microwave-safe mug; pouring warm syrup over cold pancakes is just insulting, right? Add a generous pat of good salted butter right on top and watch it melt down the sides. It’s simple, it’s elegant, and it shows off how thick and airy your homemade pancakes really are.
But if you want to take it up a notch for a special occasion, try adding fresh, bright colors. A handful of perfectly ripe blueberries or sliced strawberries adds a burst of flavor that cuts through the richness. For a truly indulgent touch, I sometimes fold a tablespoon of toasted pecans and a tiny pinch of cinnamon into my syrup before drizzling. Speaking of amazing brunch indulgence, have you seen my caramel pecan French toast bake? It’s amazing alongside these pancakes!
For a lighter touch, sometimes I don’t even use syrup. Instead, a simple dusting of powdered sugar makes them look gorgeous and lets the buttermilk flavor shine. A little dollop of fresh whipped cream on top? Pure comfort food heaven. Whatever you choose, serve them immediately and watch everyone dig in!
Frequently Asked Questions About Buttermilk Pancakes
Can I use regular milk instead of buttermilk?
You absolutely can, but you’re going to miss out on that signature tang and extra fluffiness we talked about! If you have to substitute, please don’t use plain milk straight from the carton. If you only have regular milk, make a quick substitute: mix 2 cups of regular milk with 2 tablespoons of white vinegar or lemon juice. Let it sit on the counter for about 10 minutes until it starts to curdle slightly. That chemistry is vital for getting those light and airy pancakes! Otherwise, your results will be flatter for sure.
Why are my pancakes flat and not thick?
Oh, this is the number one pain point when people try to make thick and fluffy breakfast at home! Nine times out of ten, it’s one of two things, maybe even both. First, mixing too much! Remember how I stressed leaving the lumps? Overmixing develops the gluten, and gluten tightens up when it hits the heat, squashing the fluff. Second, did you press down on them with the spatula after flipping? That releases all the trapped steam and air. Resist the urge! If you follow my instructions for the simple pancake batter and let them rest, you shouldn’t have any flat ones.
Can I freeze leftover batter?
This is a tricky one, honestly. For the best results with these buttermilk pancakes, you should cook the batter right after the 5-minute rest. The leavening agents (baking powder and soda) have a short lifespan once they get wet. If you want to prep ahead, I *highly* recommend mixing only the dry ingredients and storing those in an airtight container. Then, when you want pancakes, just mix the cold wet ingredients (buttermilk and eggs) into the dry portion. That way you get freshly activated flavor and texture every time. It keeps the recipe truly foolproof!
What is the perfect serving size for this batch?
This recipe yields about 12 pancakes, using ¼ cup of batter per cake. If you have a family of four, that usually works out perfectly for a filling meal—that’s about 3 pancakes per person, which is a great target for a substantial sweet breakfast treat. If you’re looking for other make-ahead options for busy mornings, you might want to check out my sausage egg breakfast muffins recipe!
Estimated Nutritional Snapshot for These Pancakes
Alright, my sweet-toothed friends, let’s have a little chat about what’s going into those gorgeous stacks before you load them up with syrup and butter. Since we are talking about a truly homemade, from-scratch recipe, these numbers are just estimates based on the raw ingredients, okay? They don’t account for whatever mountain of butter or high-quality maple syrup you might be adding—and trust me, I’m not going to judge if you go heavy on the good stuff!
This nutritional information is based on a standard serving size of just two of these fluffy pancakes, before any toppings are added in. It’s just a handy little guide for those of you tracking calories or macros. If you’ve got a ravenous crew, remember this yield is about 12 pancakes total, so you’ll need to multiply these figures if you’re eating more than just two. While I love keeping things simple, if you need something that locks in nutrition for traveling, my recipe for breakfast burrito that keeps you full until lunch might be a better fit! But for a weekend treat, these are fantastic.
Here’s the quick breakdown for two pancakes:
- Serving Size: 2 pancakes
- Calories: 300
- Fat: 12g
- Carbohydrates: 40g
- Protein: 10g
- Sugar: 6g
See? Not too bad for something this delicious! They have a good balance—enough protein to actually stick with you past breakfast, and that low sugar count means you control the sweetness with your toppings. Enjoy every single bite, you’ve earned it!
PrintThe Absolute Best Fluffy Old-Fashioned Buttermilk Pancakes
Make thick, light, and airy buttermilk pancakes from scratch. This recipe uses simple ingredients for a classic, foolproof breakfast.
- Prep Time: 10 min
- Cook Time: 15 min
- Total Time: 25 min
- Yield: About 12 pancakes
- Category: Breakfast
- Method: Griddling
- Cuisine: American
- Diet: Vegetarian
Ingredients
- 2 cups all-purpose flour
- 2 tablespoons granulated sugar
- 2 teaspoons baking powder
- 1 teaspoon baking soda
- 1 teaspoon salt
- 2 cups buttermilk
- 2 large eggs
- 4 tablespoons unsalted butter, melted, plus more for the griddle
Instructions
- In a large bowl, whisk together the flour, sugar, baking powder, baking soda, and salt.
- In a separate medium bowl, whisk the buttermilk and eggs until combined.
- Pour the wet ingredients into the dry ingredients. Mix gently with a whisk until just combined. Do not overmix; a few lumps are fine.
- Gently whisk in the 4 tablespoons of melted butter.
- Heat a lightly oiled griddle or large non-stick skillet over medium heat. The griddle is ready when a drop of water sizzles immediately.
- Pour 1/4 cup of batter onto the hot griddle for each pancake.
- Cook for 2 to 3 minutes per side, until bubbles appear on the surface and the edges look set. Flip and cook the second side until golden brown.
- Serve immediately with your preferred toppings.
Notes
- For extra fluffiness, let the batter rest for 5 minutes before cooking.
- Do not press down on the pancakes with the spatula after flipping; this releases air and makes them flat.
- Use medium heat. If the outside browns too fast, the inside will be raw.
Nutrition
- Serving Size: 2 pancakes
- Calories: 300
- Sugar: 6
- Sodium: 550
- Fat: 12
- Saturated Fat: 7
- Unsaturated Fat: 5
- Trans Fat: 0
- Carbohydrates: 40
- Fiber: 1
- Protein: 10
- Cholesterol: 80