

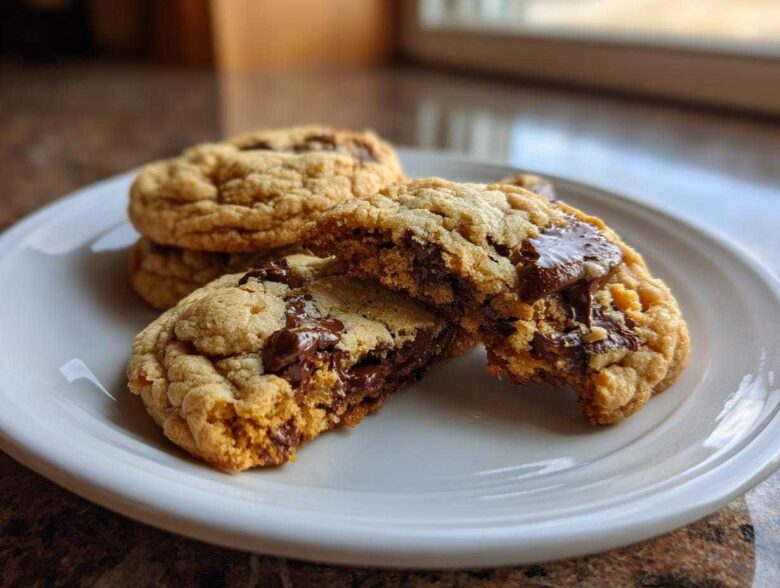
You think you know chocolate chip cookies, right? We all have that classic go-to recipe tucked away, the one that always brings folks running when they smell it baking. But trust me when I say, taking one simple step—browning your butter—can completely revolutionize that classic experience. Suddenly, your cookies aren’t just sweet; they’re complex, nutty, and just a touch sophisticated. That rich, toasted flavor is what makes my Brown Butter Chocolate Chip Cookies the absolute best homemade cookies you’ll ever whip up. I discovered this trick years ago, and once you taste the depth it brings, you’ll never go looking back. It’s my secret weapon for achieving bakery style cookies right on my own kitchen counter. If you love soft, chewy results, you’ll definitely want to check out my guide for the best soft chewy chocolate chip cookies, but this brown butter version hits different!
Why You Will Love These Brown Butter Chocolate Chip Cookies
Honestly, this recipe takes that nostalgic favorite and gives it a huge flavor upgrade without adding any real complexity to the process. Here’s what makes it a keeper:
- The flavor is beyond compare! You get these incredible, deep, and nutty notes from the browned butter—it just tastes *expensive*.
- These cookies bake up with the perfect chocolate chip cookie texture: chewy edges that snap just right, and a gooey center that melts in your mouth.
- It seems fancy, but the browning step is quick and actually easier than waiting for butter to soften perfectly!
If you’re looking for more foundational recipes that will revolutionize your dessert game, take a peek at my favorites for the best homemade cookies!
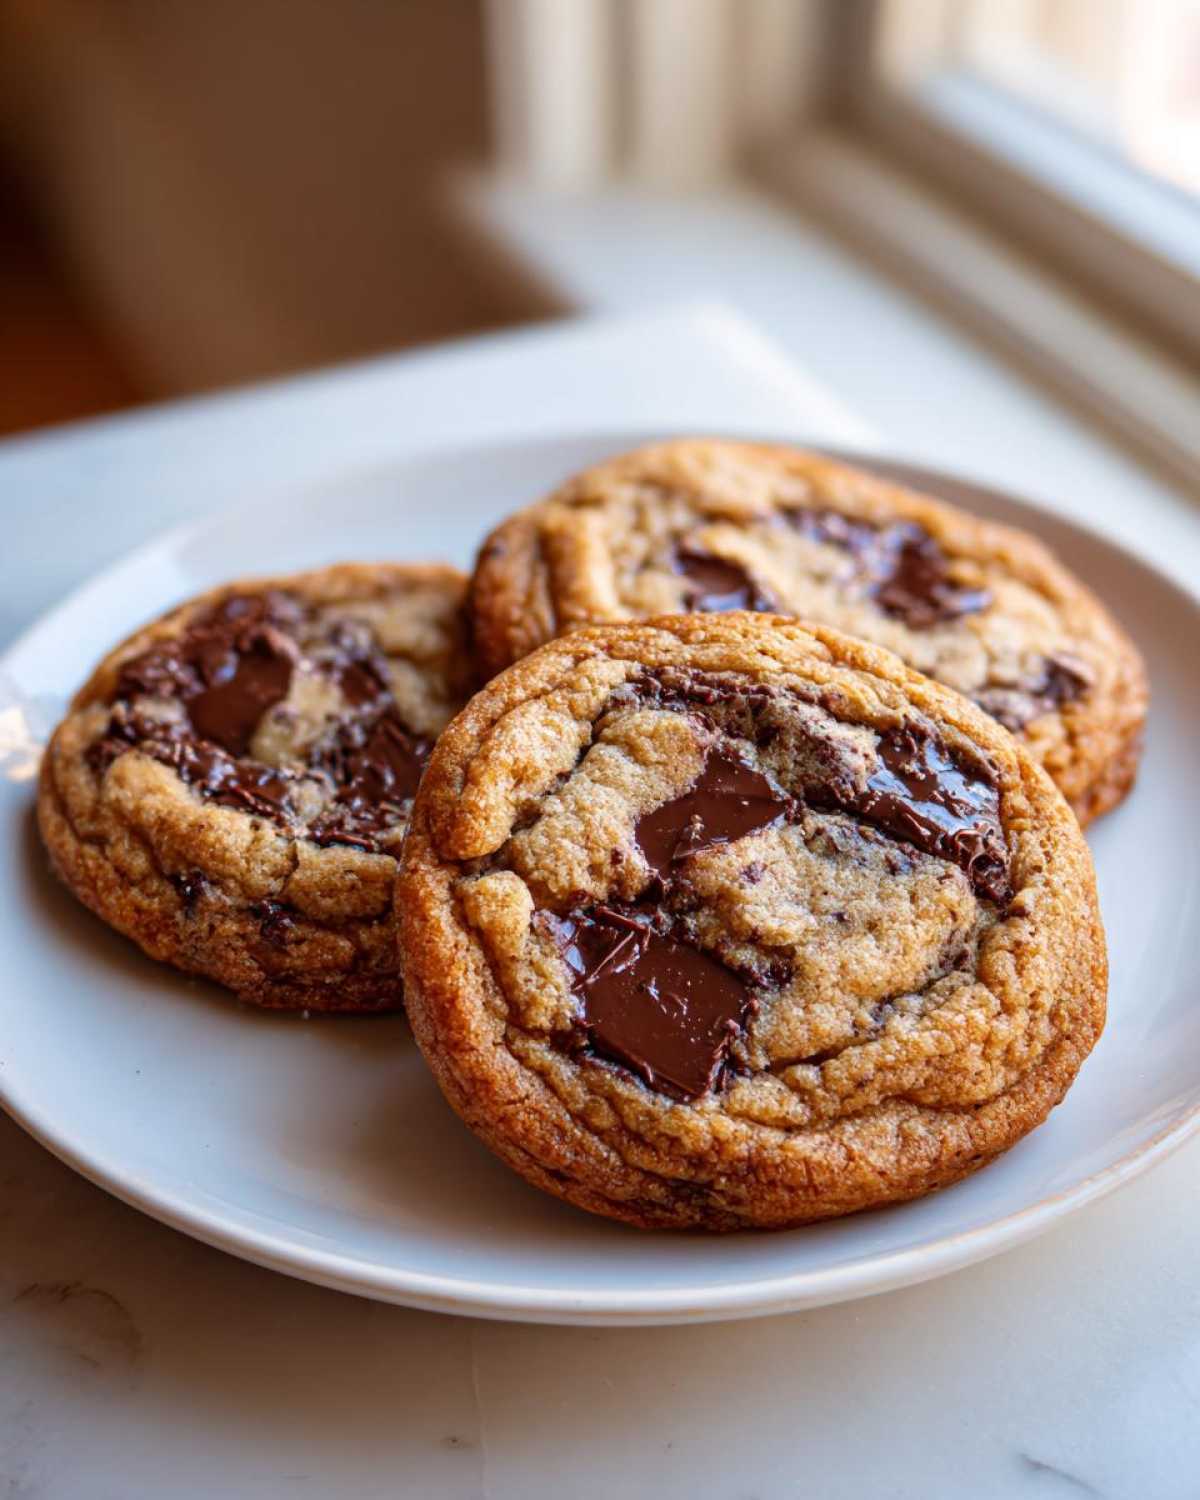
Essential Ingredients for Perfect Brown Butter Chocolate Chip Cookies
You’ve heard me rave about the brown butter, but the rest of the ingredients have to pull their weight too! Remember, we are aiming for deep flavor cookies here, so sourcing quality items really helps. Don’t substitute the brown sugar for white sugar; that molasses flavor is crucial for that caramel finish we get after browning the butter.
Gather up everything you need before you start, because once that butter is browning, you want to move fast!
- 1 cup (2 sticks) unsalted butter – This is what we are transforming!
- 1 cup packed light brown sugar – Gotta have that molasses!
- 1/2 cup granulated sugar – For just the right bit of crispness.
- 2 large eggs – Make sure they are room temperature if you can!
- 1 tablespoon vanilla extract – Be generous with the good stuff here.
- 2 1/4 cups all-purpose flour
- 1 teaspoon baking soda
- 1/2 teaspoon salt – We’ll add more later, but this gets mixed in.
- 1 1/2 cups semi-sweet chocolate chips or chunks – I prefer chunks for those big molten pockets!
- Flaky sea salt for topping (optional) – Don’t skip this if you want that amazing salty-sweet crunch on top.
If you’re looking for other tried-and-true recipes for your baking adventures, check out these recipes like my chocolate chip pumpkin bars—they are fantastic too!
Mastering the Brown Butter Chocolate Chip Cookies Technique: Step-by-Step
This is where the magic happens, friends! Browning the butter seems intimidating, but I promise you, once you see it happen, you’ll realize it’s one of the easiest ways to elevate any bake. This technique is key to those cookies with nutty butter flavor you crave. Remember, we need to go from liquid butter to those tiny, dark brown specks at the bottom of the pan! If you want a deep dive into how to handle brown sugar in other recipes, check out my favorite brown sugar garlic chicken thighs recipe, but for cookies, focus right here on the butter stage!
How to Make Brown Butter for Cookies
Grab a light-colored saucepan so you can actually see those gorgeous solids forming on the bottom. Toss in your whole stick of butter and put it over medium heat. At first, it melts, then it starts to bubble and foam like crazy—that’s the water boiling off! Keep stirring gently. After about five minutes, the bubbling will die down, and you’ll hear little crackling sounds. Watch closely now! The foam subsides, and you start seeing brown bits collecting below. You need to smell it—it should smell deeply nutty, like toasted hazelnuts. As soon as you hit that color and scent, dump that butter immediately into a heatproof bowl. If you leave it a second too long, it burns, and sadly, you have to start over! Let that beautiful browned butter cool down for a good 15 minutes. It needs to be liquid but not hot enough to scramble your eggs later.
Mixing the Brown Butter Chocolate Chip Cookies Dough
Once your butter has cooled slightly, whisk in both the brown and granulated sugars right into that bowl of nutty goodness. Whisk it happily until it’s just combined. Now, add your eggs one at a time, beating well after each addition—we want air! Follow that up with the vanilla. In a separate bowl, quickly whisk your flour and baking soda together. Now, add the dry ingredients to your wet mixture, and this is important: mix on low speed, or by hand, only until you see no more white streaks of flour. Seriously, stop mixing then! Overmixing at this stage is the fastest way to lose the soft center. Fold in those chocolate chunks, cover the dough up tight, and stick it in the fridge for at least 30 minutes. Chilling is non-negotiable if you are aiming for thick and chewy cookies!
Tips for Achieving the Perfect Brown Butter Chocolate Chip Cookies Texture
Okay, even with perfect browned butter, you can still end up with flat, sad cookies if you rush the texture part! My main goal when I bake these is always the same: thick and chewy cookies that rival any high-end bakery. That means controlling the spread, because warm brown butter is still butter, and it likes to flow!
The absolute biggest difference maker here is chilling time. I know, I know, waiting is the hardest part, but trust me on this: chill that dough for at least two hours, or better yet, overnight. Chilling solidifies those fats, making them spread less in the oven, which guarantees you get those wonderfully thick edges. If you need cookies *now*, thirty minutes is the bare minimum, but your texture payoff will be less dramatic.
Let’s talk chocolate, too. I’m a huge advocate for using chocolate chunks instead of standard chips whenever possible. Chips are designed to hold their shape slightly, but chunks—especially high-quality ones—melt into those gorgeous, molten puddles when they hit the heat. We want those glorious, oozy pockets of chocolate in the center, don’t we?
For a real bakery style cookie experience, try this little trick I picked up: after you scoop your dough balls onto the sheet, take a small piece of extra dough and lightly press it over the top of the mound, sealing the edges slightly before baking. It sounds silly, but it helps the cookie hold its dome shape beautifully. If you want more inspiration on giant, satisfying cookies, check out my guide on Levain style giant cookies, or see how I get a soft result in my simple one-bowl oatmeal cookies!
Troubleshooting Common Brown Butter Chocolate Chip Cookies Issues
Look, even when we follow the steps perfectly, sometimes cookies just don’t cooperate, right? Don’t panic if you run into a spreading issue or if your dough looks a little sad. Since we are using liquid fat (the brown butter), managing temperature is extra important for these gooey chocolate chip cookies recipe winners.
The number one culprit for cookies spreading into thin, crispy wafers? Your dough was too warm! If you skipped the chill time, or if your kitchen is just running hot (mine gets sweltering over the stove!), the fat melts too fast in the oven. The solution is easy: If your dough looks soft and greasy before scooping, stick it back in the fridge for another 30 minutes. It’s worth the wait, I promise! This is why chilling is vital for texture control, much like I stress in my banana bread recipes where temperature matters, like in my chocolate chip pumpkin bars guide.
What about lumps? Sometimes, if you let the brown butter cool down too long before adding the sugars, it starts to solidify again. If you get a grainy or lumpy wet mixture, don’t worry! Just warm the bowl gently over a pot of simmering water—just enough to persuade the butter back into a smooth paste—then whisk vigorously before adding the eggs. It smooths right out.
And one last tip for flat cookies: Watch your baking soda. If it’s old or you accidentally used too much baking powder instead, the cookies will puff up and then collapse immediately. Always check that your leaveners are fresh before you start!
Variations for Your Brown Butter Chocolate Chip Cookies
Honestly, once you nail the base recipe, these cookies are begging for you to play around with them! That nutty foundation from the brown butter works beautifully with almost any mix-in you love. I always treat the base recipe like a canvas, and sometimes I want a little something extra—maybe a twist for the holidays or just because I bought a fancy new type of chocolate.
When I change things up, I try to stick close to the original flavor profile, making sure not to overload the dough, especially since we are already adding that rich butter flavor. If you love experimenting with butter and sugar combos, you might enjoy my easy peanut butter cookies recipe, which also features a deep, satisfying base flavor!
Here are a few simple ways I like to shake up batch:
- Chocolate Swap: Ditch the semi-sweet chips and go for a dark chocolate bar chopped finely. Or try a mix! Half dark and half milk chocolate makes for such a beautiful contrast in every bite.
- The Spice Touch: A sneaky addition that I love, especially when serving them warm, is just a tiny half-teaspoon of espresso powder mixed in with the dry ingredients. It doesn’t make them taste like coffee, it just deepens the chocolate flavor! You could also try a whisper of cinnamon, about 1/4 teaspoon, if you want that spicy warmth.
- Nuts, If You’re Into That: If you aren’t allergic, toast a half cup of pecans or walnuts until fragrant and roughly chop them. Toss them in along with the chocolate chips. Toasting them first makes a huge difference in their flavor intensity against the brown butter.
See? Nothing too complicated! Just little tweaks to keep things exciting while keeping that signature browned butter essence front and center.
Serving Suggestions for These Deep Flavor Cookies
Now that you’ve created these magnificent, rich treats, how are you going to eat them? My personal preference, every single time, is to eat the first cookie warm, straight off the cooling rack—you simply have to experience that molten gooey center before it sets!
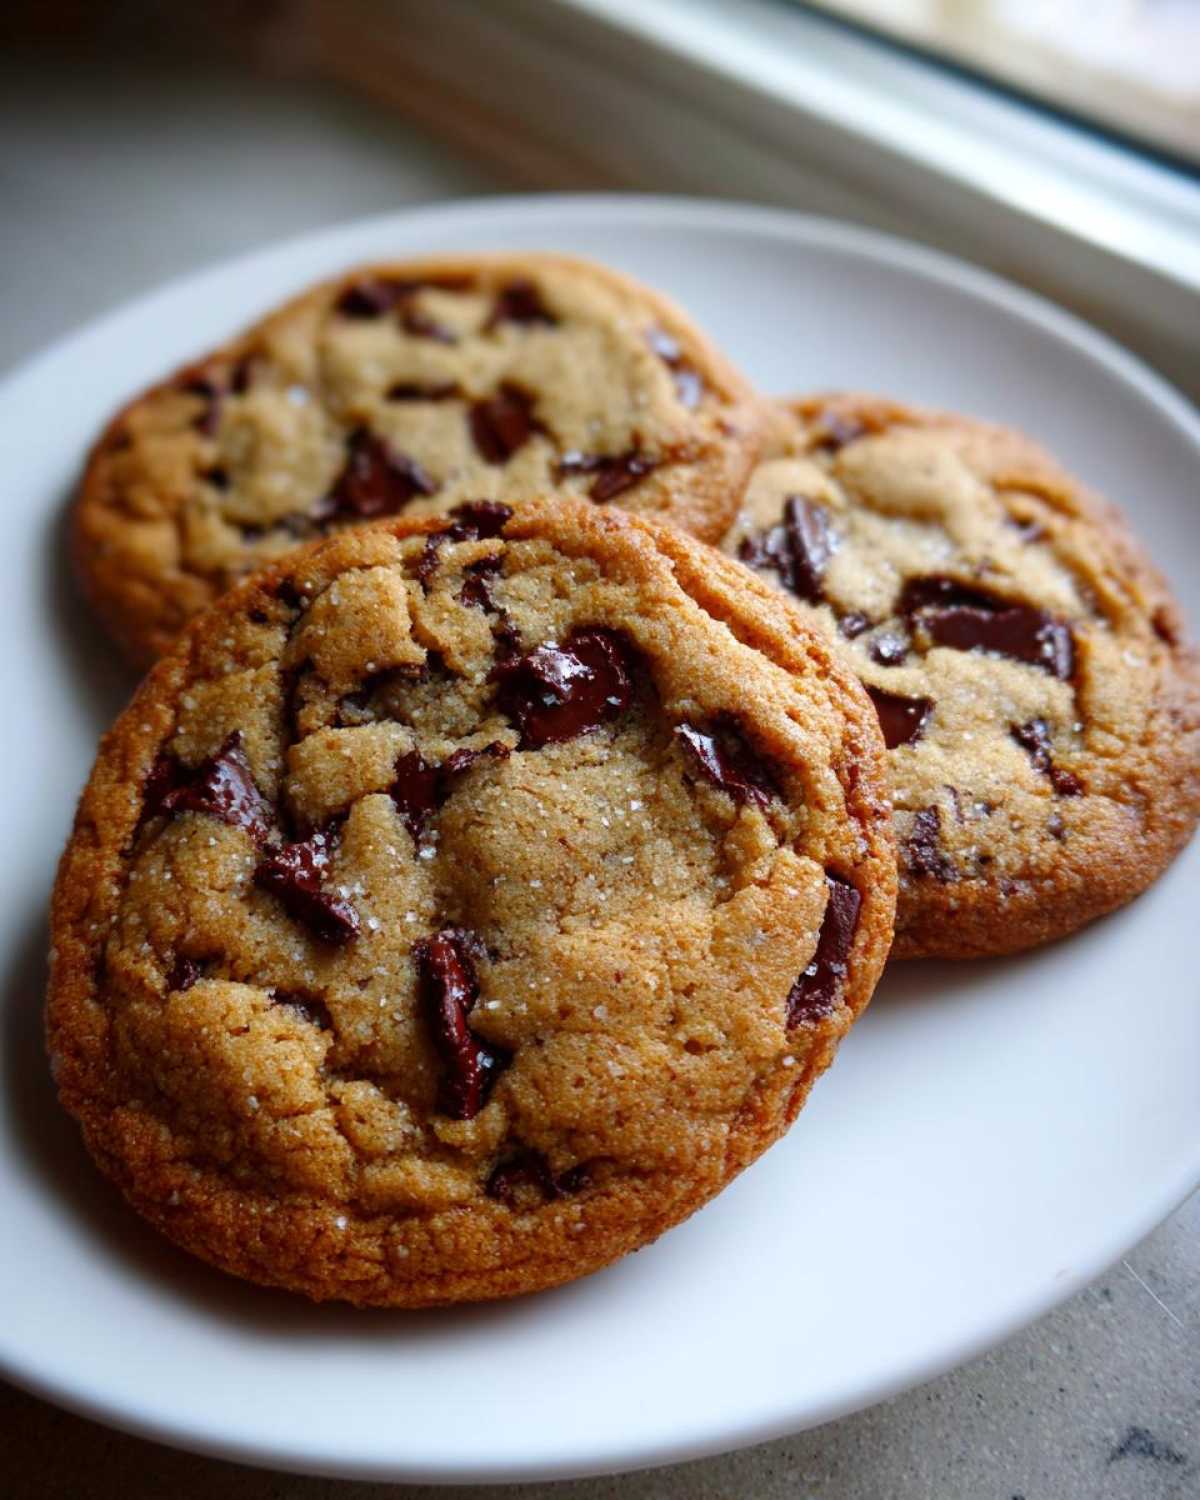
These deep flavor cookies are so robust in flavor, they pair beautifully with things that cut through the richness. If you are serving them after dinner, a quality glass of cold milk is the ultimate partner, hands down. The contrast between the warm, nutty cookie and the cold dairy? Perfection!
For an afternoon snack or an after-dinner dessert, I love having them alongside a strong cup of coffee. The slight bitterness of the brew really highlights that toasted, nutty note from the brown butter. And if you’re feeling extra decadent, a scoop of high-quality vanilla ice cream is mandatory. If you happen to have some homemade frosting lying around after baking something else, you could even try a tiny dab of my favorite vanilla buttercream frosting on top, though usually these cookies are perfect all on their own!
Storage and Reheating Instructions for Brown Butter Chocolate Chip Cookies
So, you’ve got a dozen glorious cookies, and you’re trying desperately not to eat them all in one night—I get it! The good news is that because we used browned butter and chilled our dough, these babies actually keep really well. They have such a deep flavor, too, that they don’t lose that toasted taste even after a few days.
For short-term freshness, you just need an airtight container. Once the cookies are completely cooled—and I mean *completely*, otherwise you’ll get condensation trapped in there and make them soggy—stack them on top of each other with some parchment paper between the layers to prevent sticking. They’ll stay beautifully soft and chewy like this for about four to five days at room temperature.
If you’re not planning on eating them all within the week—or if you just want the satisfaction of knowing you have emergency cookies ready—the freezer is your best friend! You can do this two ways:
- Baking Later: Freeze the dough balls. Scoop them out, place them on a lined sheet, and freeze until solid. Then transfer them to a heavy-duty freezer bag. They keep well for up to three months! When you want a fresh-from-the-oven treat, just toss them onto a baking sheet (no need to thaw!) and add about 2 to 4 extra minutes to the bake time.
- Freezing Baked Cookies: If you have leftovers you want to save later, wrap individual cookies tightly in plastic wrap first, and then place them all in an airtight container. This double layer of protection is great for keeping out freezer smells.
When it’s time to reheat one of these beauties, the microwave is your best friend for getting that gooey center back instantly. Just microwave a cookie for about 10-15 seconds. You get that perfect soft warmth again! If you prefer to crisp up the edges a bit, pop it in a toaster oven for just two minutes. It’s amazing how reviving these rich cookies is so simple! If you’re looking for tips on keeping other baked goods moist, you might enjoy my guide on moist date and nut bread; the storage principles are similar!
Frequently Asked Questions About Brown Butter Chocolate Chip Cookies
I feel like people always have a few lingering questions, especially after messing with an ingredient like butter! It’s totally normal. Baking relies on science, but once you get the hang of these steps, it becomes intuitive. If you have more general baking questions, you can always check out my main blog page!
Do I have to chill the dough for these Brown Butter Chocolate Chip Cookies?
You absolutely don’t *have* to, which is what makes this a truly simple brown butter dessert, but I strongly recommend it if you care about the final thinness! Remember, browning the butter leaves us with a liquid fat, even after cooling for 15 minutes. If you bake the dough immediately, that fat is still too soft, and you’ll end up with very flat, very thin cookies—and that’s definitely not our goal for perfect chocolate chip cookie texture.
If you chill for at least an hour, those fats solidify again, giving you the structure needed for those wonderfully thick centers. If you want the absolute thickest, chewiest results, go for an overnight chill—it really deepens the entire flavor profile too!
How do I know when my butter is perfectly browned?
This is the most important question, since it’s the whole point of the recipe! You need to watch, smell, and listen. What you’re looking for is the transition point. Initially, the butter foams quite aggressively. As the water cooks off, the foam settles down, and you’ll see tiny brown specks—these are the milk solids toasting! The smell changes completely from creamy dairy to richly nutty, like roasted almonds.
If you wait too long past that nutty smell, those brown bits turn black, and you’ve burned it. My biggest tip from my how to make brown butter for cookies guide is to know your pan. If you are using stainless steel, the color change is subtle, so rely heavily on that amazing smell. Once it smells toasty, pull it off the heat immediately and pour it out!
PrintBrown Butter Chocolate Chip Cookies
A recipe for rich chocolate chip cookies using browned butter for a deep, nutty flavor and a chewy texture.
- Prep Time: 20 min
- Cook Time: 12 min
- Total Time: 47 min
- Yield: About 2 dozen cookies
- Category: Dessert
- Method: Baking
- Cuisine: American
- Diet: Vegetarian
Ingredients
- 1 cup (2 sticks) unsalted butter
- 1 cup packed light brown sugar
- 1/2 cup granulated sugar
- 2 large eggs
- 1 tablespoon vanilla extract
- 2 1/4 cups all-purpose flour
- 1 teaspoon baking soda
- 1/2 teaspoon salt
- 1 1/2 cups semi-sweet chocolate chips or chunks
- Flaky sea salt for topping (optional)
Instructions
- Melt the butter in a light-colored saucepan over medium heat. Continue cooking, stirring occasionally, until the butter foams, then subsides, and brown bits form at the bottom. The butter will smell nutty. This takes about 5 to 8 minutes.
- Immediately pour the brown butter into a heatproof bowl. Let it cool for 15 minutes until it is no longer hot but still liquid.
- Whisk the brown sugar and granulated sugar into the cooled brown butter until combined.
- Beat in the eggs one at a time, mixing well after each addition. Stir in the vanilla extract.
- In a separate bowl, whisk together the flour and baking soda.
- Gradually add the dry ingredients to the wet ingredients, mixing on low speed until just combined. Do not overmix.
- Fold in the chocolate chips or chunks.
- Cover the dough and chill for at least 30 minutes, or up to 24 hours, for thicker cookies.
- Preheat your oven to 375 degrees Fahrenheit. Line baking sheets with parchment paper.
- Scoop rounded tablespoons of dough onto the prepared sheets, spacing them about 2 inches apart.
- Bake for 10 to 12 minutes, or until the edges are golden brown and the centers look slightly underdone.
- Remove from the oven. If desired, immediately sprinkle the tops with flaky sea salt.
- Let the cookies cool on the baking sheet for 5 minutes before transferring them to a wire rack to cool completely.
Notes
- Browning the butter correctly is key; watch for the milk solids to turn brown at the bottom of the pan.
- Chilling the dough prevents excessive spreading and deepens the flavor.
- Use high-quality chocolate chunks for a better melt and texture.
Nutrition
- Serving Size: 1 cookie
- Calories: 180
- Sugar: 15
- Sodium: 85
- Fat: 10
- Saturated Fat: 6
- Unsaturated Fat: 4
- Trans Fat: 0
- Carbohydrates: 22
- Fiber: 1
- Protein: 2
- Cholesterol: 30