

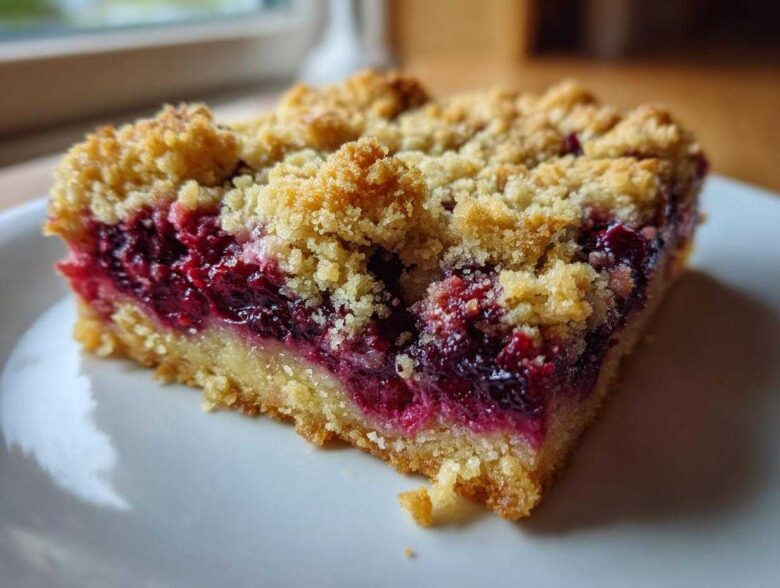
If you’re anything like me, sometimes you just need that perfect, bright, sweet treat that doesn’t require a whole afternoon of fuss. We all love those towering layer cakes, sure, but when it’s time for a casual get-together or just a Tuesday craving, you need something sturdy and simple. Hello, Lemon Berry Crumble Squares!
When I first started baking, getting those clean slices on fruit bars was my biggest challenge—they would always squish or crumble apart. But seriously, this recipe changed that for me! The secret is in that buttery, pre-baked base and the chilled finish. These Lemon Berry Crumble Squares are just one example of the many incredible Dessert Squares you can master. They come together fast and taste exactly like sunshine!
Why You Will Love These Lemon Berry Crumble Dessert Squares
Stick with me on this one—these aren’t just another tray bake. They genuinely hit every single mark when you need a foolproof, delicious result. I keep coming back to this recipe because it delivers every time, no matter how chaotic my kitchen is!
-
Bright Flavor Profile
Oh, the lemon! It just cuts through the sweetness so perfectly. You get that tart, zingy kick from the fresh juice and zest, which plays off the sweet, jammy mixed berries beautifully. It’s sunshine in a bite, honestly.
-
Perfectly Texture Dessert Squares
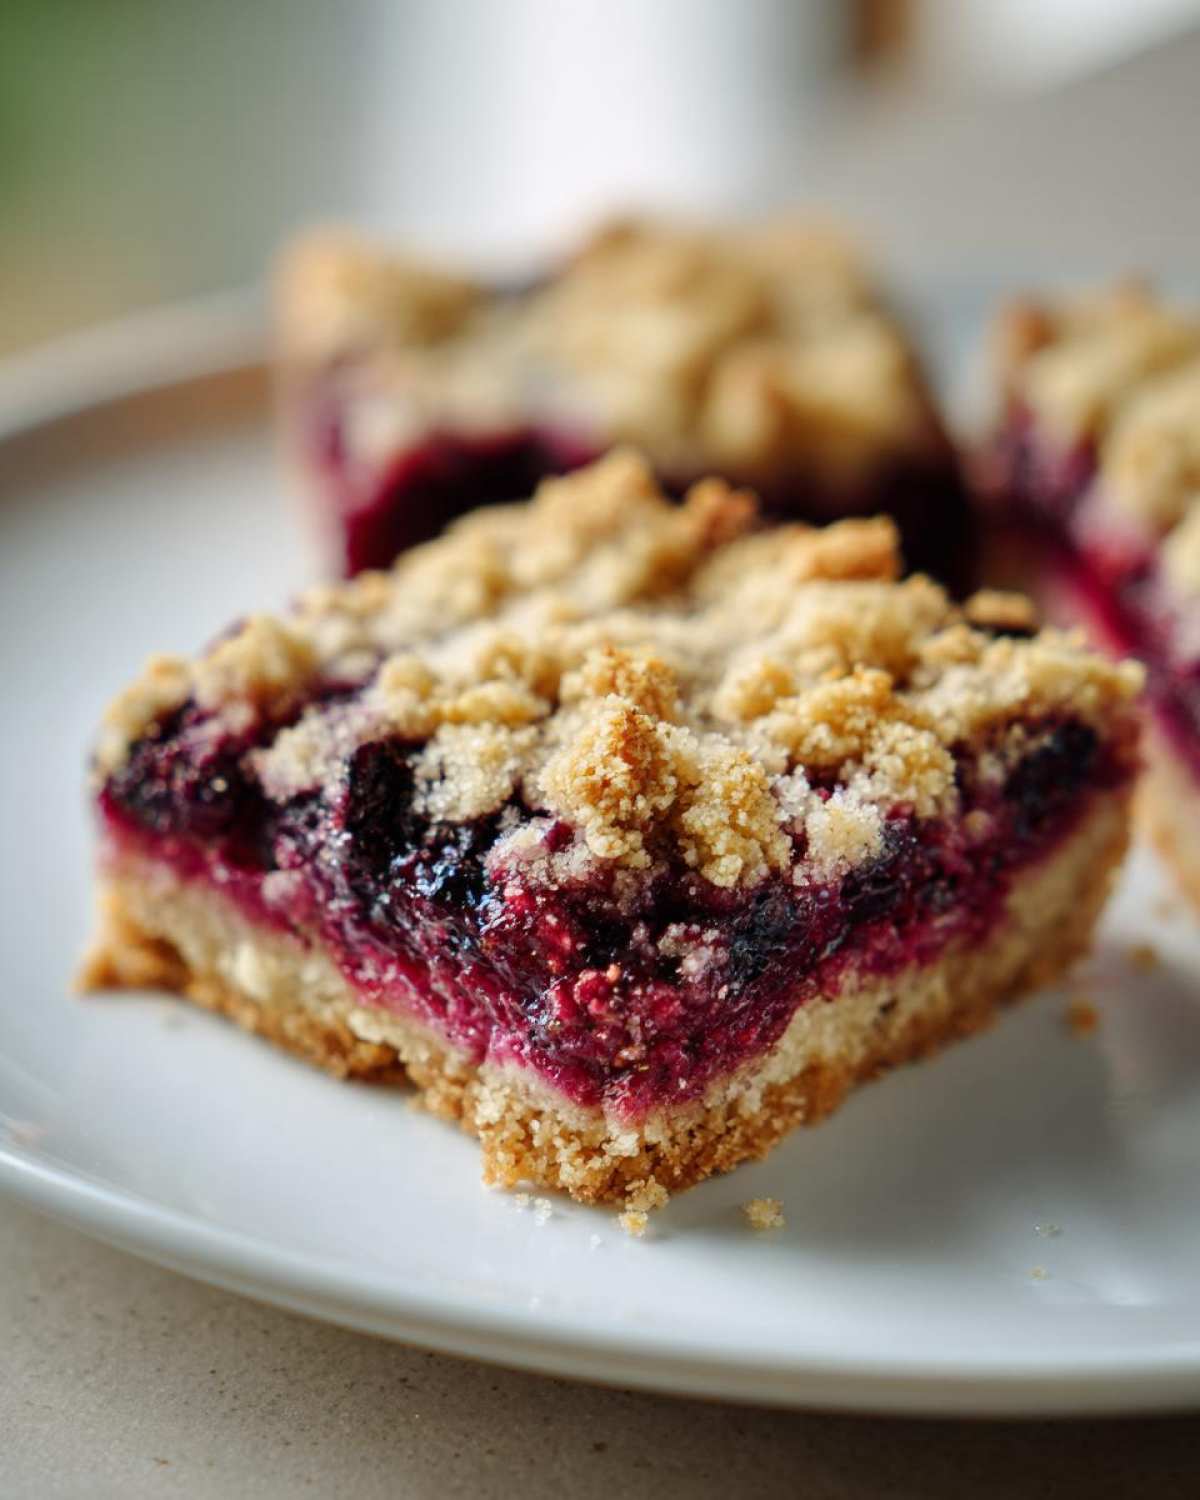
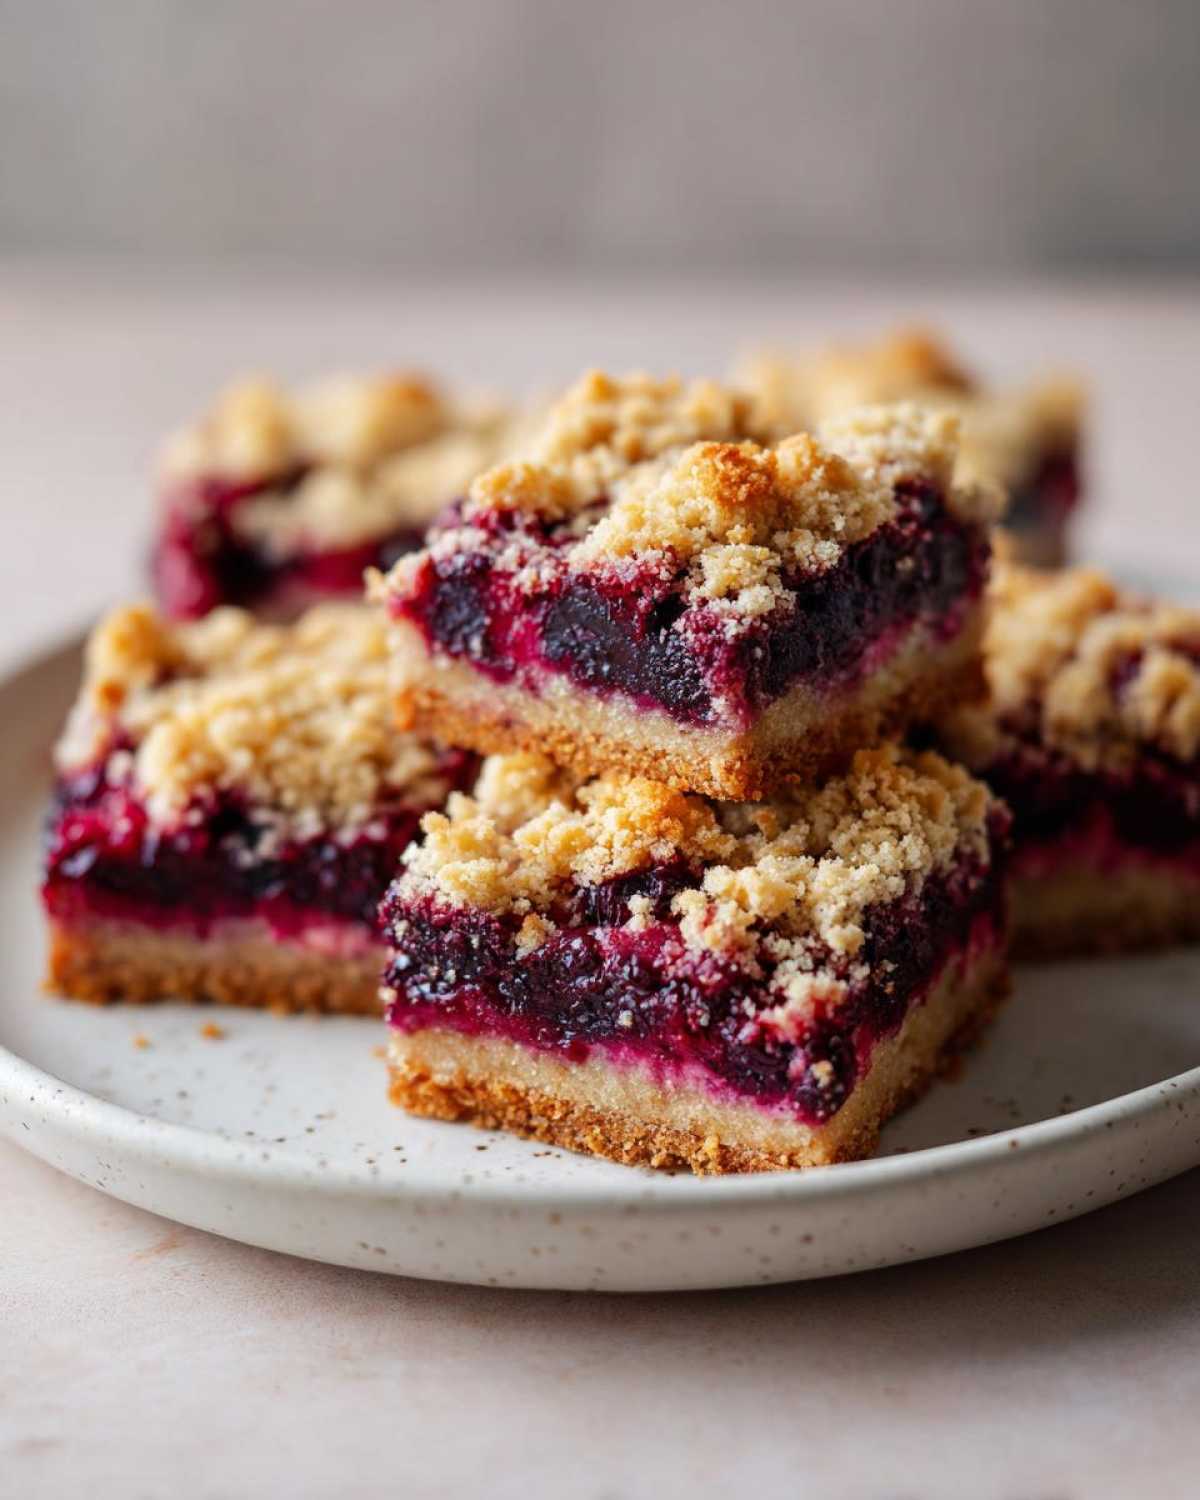
This is where the magic happens! You get three distinct textures, which is what separates a good bar from a great one. We have that rich, buttery shortbread base that snaps just right, then the soft, thickened berry filling, and finally, the crunchy crumble topping. These are truly magnificent **Dessert Squares**.
-
Ideal for Sharing and Transport
If you’re heading to a potluck, camping, or just taking treats to the office, these are your jam. Because they bake up firm and hold their shape so well once chilled (we’ll talk about the chilling step later!), you aren’t left with a soggy mess. They travel like champs. If you love this kind of shareable treat, you should check out my full roundup of easy bar recipes too!
Gathering Ingredients for Your Lemon Berry Crumble Dessert Squares
Okay, look at this list. I know it looks like a lot of little components, but trust me, it’s mostly just repeating ingredients for the base and the topping! The key to these being among the shortbread base desserts that slice perfectly is making sure your butter is totally cold when you start mixing the dry parts. Don’t pre-melt anything!
For the Shortbread Base and Topping
These two sections share the same building blocks, which keeps things easy. We need just enough to form a soft dough for the bottom and enough remaining to make a lovely crumb topping.
- 1 1/2 cups all-purpose flour (for the base)
- 1/2 cup granulated sugar (for the base)
- 1/2 teaspoon baking powder
- 1/4 teaspoon salt
- 1/2 cup **cold unsalted butter, cubed** (for the base)
- 1 large egg
- 1 teaspoon vanilla extract
- For the topping: use 1/4 cup all-purpose flour, 1/4 cup packed brown sugar, and 1/4 cup **cold unsalted butter, cubed**
For the Fruity Lemon Filling
This filling is cooked briefly on the stovetop so it sets up nicely and doesn’t get soupy in the oven. If you are using frozen berries, just toss them straight from the freezer into the pot—don’t worry about thawing them!
- 1 cup fresh or frozen mixed berries
- 1/2 cup granulated sugar
- 2 tablespoons cornstarch (this is our thickener!)
- 1/4 cup fresh lemon juice
- 1 tablespoon lemon zest
Step-by-Step Instructions for Baked Dessert Squares
Okay, this is the fun part where everything comes together! I always like to crank up my oven fan before I start mixing because that buttery aroma from the base alone is worth the effort. Remember, we are working in stages here, which is how we get those phenomenal baked sweet squares that don’t fall apart when you try to serve them.
Preparing the Pan and Crust
First things first: get your oven preheated to 350°F (175°C). I’m old school, but I swear by lining the 8×8 inch pan with parchment paper, letting the paper hang over two opposite sides. That overhang becomes your built-in handle later! Now, for the base, you dump the flour, sugar, baking powder, and salt together. Toss in your cold, cubed butter. You need to cut that butter in until it looks like coarse, happy crumbs—I use a pastry blender, but your fingers work great too, just fast!
Whisk that egg and vanilla together swiftly, add it to the crumbs, and mix just until a soft dough forms. Don’t overwork it! Press that dough evenly into the bottom of your prepared pan. This crust needs a little head start, so slide it into the oven for 15 minutes until it’s just lightly set.
Cooking the Bright Berry Filling
While that base is firming up, we hit the stovetop for the filling. Get your berries, the other half cup of sugar, cornstarch, lemon juice, and zest into a small saucepan. You have to stir this constantly over medium heat. I mean it, don’t walk away! After about 5 to 7 minutes, you’ll see it magically thicken up into a beautiful, glossy fruit sludge. Take it off the heat right away so it doesn’t scorch.
Assembling and Baking Your Dessert Squares
When the base comes out, pour that thick berry filling right over the top and spread it carefully smooth. Now for the grand finale: the crumble topping! Mix the remaining flour and brown sugar, cut in the last bit of cold butter until it’s crumbly, and scatter it generously over the berries. Back into the 350°F oven they go for another 25 to 30 minutes. You are looking for a topping that’s golden brown and those berry juices bubbling up around the edges. Patience is key before cutting these Dessert Squares!
Tips for Perfect, Clean-Cutting Dessert Squares
Look, the hardest part about making any magnificent bar recipe is the slicing. You spend all that time baking these gorgeous thick cut dessert squares, and then when you go to make the portions, they just ooze everywhere. Ugh. Been there! But I figured out the necessary evil to ensure your squares look as good as they taste.
The Cooling Rule for Thick Cut Dessert Squares
You must, I repeat, you absolutely must let these cool completely before you even think about cutting them. Pulling them out of the oven and trying to slice them while warm is a one-way ticket to ‘Fruity Mess Land.’ Seriously, don’t try to speed this up too much! Once the pan is cool enough to handle on the counter, I pop the whole thing, parchment sling and all, into the refrigerator for at least one full hour.
Chilling firms everything up—the base, the jammy filling, even the crumble topping gets a little rigid. This is what allows you to pull up on that parchment sling and lift the whole block out onto your cutting board. Then, use a very long, sharp knife. Run the knife under hot water and wipe it dry between every single slice. That trick keeps the knife clean so your cuts are super crisp!
Ingredient Temperature Checks
While cooling handles the post-bake mess, making sure your butter is perfect during the bake keeps the structure sound in the first place. Remember how I stressed using **cold, cubed butter** for both the base and the topping? That’s not just kitchen snobbery, I promise! Cold butter melts slowly in the oven, creating those little pockets of steam that give you that fantastic, crumbly texture rather than turning everything into a flat, greasy cookie.
Variations on Fruity Dessert Squares
Since we have nailed down the ultimate structure of the Lemon Berry Crumble Squares, I really want you to feel empowered to mess around with this base! It’s one of those fantastic fruity dessert squares recipes that really welcomes interpretation. Don’t feel locked into berries and lemon year-round; this buttery, shortbread-style base and crumble topping can handle almost anything!
Swapping the Berries
If you’re not feeling the mixed berries, try using a full 12 ounces of just one kind. Whole raspberries are fantastic because they hold their shape really well, and the tartness is intense. Or, if it’s summer and you have access to stone fruit, swap the berries out for about 1 1/2 cups of finely diced peaches or even tart cherries. Just make sure they are diced small so you don’t end up with chunks that are too heavy for the base to support!
Adding Spice to Your Dessert Squares
Sometimes you want something warm that reminds you of classic baking, even if you have bright lemon. This is super easy to achieve in the topping! When you are mixing the flour and brown sugar for the crumble, toss in about 1/2 teaspoon of ground cinnamon. If you’re feeling really adventurous, a tiny pinch—like half a teaspoon—of cardamom mixed into that crumble elevates these **Dessert Squares** into something truly gourmet. It sounds small, but oh boy, does it change the whole aroma!
Serving Suggestions for These Layered Dessert Bars
These Lemon Berry Crumble Squares are seriously tasty all on their own—they’re so perfectly balanced that they don’t *require* anything extra. But, hey, sometimes you’re having company or you just want to treat yourself a little extra, right? That’s when we dress these layered dessert bars up a bit!
Because of that bright, zesty lemon flavor, you want accompaniments that are cool and creamy to contrast the tartness. My absolute favorite way to serve these, especially when they are slightly warm (but still chilled enough to hold their shape!), is with a simple dollop of good quality vanilla bean ice cream. The cold creaminess melts just slightly onto the warm crumble top—it’s heaven.
If you’re serving them for dessert after a big meal and want something lighter, skip the ice cream. Instead, just grab a small bowl of fresh, barely sweetened whipped cream. You don’t want a heavy frosting here; just a light cloud of cream on the side lets people control how much sweetness they want with their square. A tiny dusting of powdered sugar over the top right before serving also looks super elegant for company!
Storage and Reheating Instructions for Homemade Dessert Squares
One of the best things about making a big batch of **homemade dessert squares** like this is knowing you have treats ready to go for days! These Lemon Berry Crumble Squares hold up incredibly well, which is why they are my go-to for making ahead when I know I’ll be busy later in the week. Make sure you check out my tips for making the best homemade dessert squares overall!
The crucial first step happens *before* you store them: remember what I said about chilling them for that perfect slice? Keep them chilled when storing, too! Store the uncut slab or your already sliced portions in an airtight container. If you’re stacking them, place a small square of parchment paper between the layers so that buttery crumble topping doesn’t stick to the layer underneath. Stored this way in the refrigerator, they stay fresh and perfectly textured for about four to five days. Don’t leave them on the counter for too long, especially since ours has a fruity filling!
Now, if you need to make them even further ahead—say, for a holiday gathering—they freeze like a dream! I strongly recommend cutting them into individual portions *before* freezing. Lay the cut squares on a baking sheet lined with parchment paper and freeze them until solid. Once they are frozen solid, transfer those individual squares into a heavy-duty freezer bag. They’ll keep perfectly for up to three months. No need to reheat these, just pull out what you need and let them thaw on the counter for about 30 minutes, or even grab one straight from the freezer if you like them extra firm!
Frequently Asked Questions About Lemon Berry Dessert Squares
I know everyone has their own baking quirks, so let’s tackle a few little things that pop up when people first try these Lemon Berry Crumble Squares. If you’re looking for more quick ideas similar to these, check out my favorite chewy dessert bars for inspiration!
Can I make these squares without baking the crust first?
Oh, trust me, you really don’t want to skip that 15-minute pre-bake! If you try to put the filling right onto that raw, soft dough, the liquid from the berries will soak right into the bottom layer, making it gummy instead of firm. That short pre-bake sets the structure, so when the wet filling goes on, you end up with those distinct, clean layers, which is crucial for any good **Dessert Squares** recipe.
Are these considered chewy dessert bars or more cake-like?
That’s a great question about texture! These lean much closer to the firm bar side than they do to cake. The edges and the crumble top are definitely crisp and crumbly, thanks to that cold butter. Where you get that slight chewiness is right where the baked, thick berry filling meets the bottom crust layer. They are dense, satisfying, and hold their shape wonderfully—definitely not cakey!
What is the best way to get 16 even portions from these dessert squares?
If you want those picture-perfect portions, especially if you’re planning on taking these to a picnic or a party, you have to commit to the chilling step I mentioned earlier—at least an hour in the fridge! Once they are fully chilled, lift the whole slab out onto a cutting board using the parchment paper handles. Then, use a large chef’s knife. The trick I use for super even portions is to dip the knife under hot water, wipe it totally dry, and then make one cut. Repeat the hot water/dry routine for every single cut. It keeps the knife from sticking and dragging the topping!
Estimated Nutritional Information for Dessert Squares
When we talk about **Dessert Squares** that feature fruit and buttery crumble, people often wonder where these fit in nutritionally. Keep in mind that these numbers are just estimates based on the standard amounts listed. If you use a ton more butter for greasing the pan, or if you use sweeter berries, these numbers will shift a little bit, naturally!
This breakdown is based on yielding 16 generous portions from the 8×8 pan. For a quick reference, here’s what you’re usually looking at per single-serving square. If you are looking for more general baking information to help you bake at home, you can always check out my main baking resource page!
- Serving Size: 1 square
- Calories: 230
- Sugar: 18g
- Fat: 12g
- Protein: 3g
- Carbohydrates: 30g
- Sodium: 55mg
It’s pretty balanced for a sweet treat, especially since we are getting some natural fruit sugar in there! I like seeing the low sodium count; it means we aren’t relying too heavily on extra salt to carry the flavor. These numbers make me feel much better about grabbing a second one!
PrintLemon Berry Crumble Squares

Make these simple, bright lemon and berry squares with a buttery crumble base and topping. They slice cleanly and are perfect for sharing.
- Prep Time: 20 min
- Cook Time: 45 min
- Total Time: 65 min
- Yield: 16 squares
- Category: Dessert Squares
- Method: Baking
- Cuisine: American
- Diet: Vegetarian
Ingredients
- 1 1/2 cups all-purpose flour
- 1/2 cup granulated sugar
- 1/2 teaspoon baking powder
- 1/4 teaspoon salt
- 1/2 cup cold unsalted butter, cubed
- 1 large egg
- 1 teaspoon vanilla extract
- 1 cup fresh or frozen mixed berries
- 1/2 cup granulated sugar
- 2 tablespoons cornstarch
- 1/4 cup fresh lemon juice
- 1 tablespoon lemon zest
- 1/4 cup all-purpose flour (for topping)
- 1/4 cup packed brown sugar (for topping)
- 1/4 cup cold unsalted butter, cubed (for topping)
Instructions
- Preheat your oven to 350°F (175°C). Line an 8×8 inch baking pan with parchment paper, leaving an overhang on two sides for easy removal.
- In a medium bowl, combine 1 1/2 cups flour, 1/2 cup sugar, baking powder, and salt for the base. Cut in the 1/2 cup cold butter until the mixture resembles coarse crumbs.
- Whisk the egg and vanilla extract together. Add this to the flour mixture and mix until a soft dough forms. Press this dough evenly into the bottom of the prepared pan.
- Bake the crust for 15 minutes until lightly set.
- While the crust bakes, prepare the filling. In a small saucepan, combine berries, 1/2 cup sugar, cornstarch, lemon juice, and lemon zest. Cook over medium heat, stirring constantly, until the mixture thickens, about 5 to 7 minutes. Remove from heat.
- For the crumble topping, mix the remaining 1/4 cup flour and brown sugar in a small bowl. Cut in the remaining 1/4 cup cold butter until crumbly.
- Pour the berry filling evenly over the partially baked crust. Sprinkle the crumble topping over the berry layer.
- Return the pan to the oven and bake for an additional 25 to 30 minutes, or until the topping is golden brown and the filling is bubbly.
- Let the squares cool completely in the pan on a wire rack before lifting out using the parchment paper overhang and cutting into 16 squares.
Notes
- For the cleanest cuts, chill the cooled squares in the refrigerator for at least one hour before slicing.
- Use frozen berries if fresh are unavailable; do not thaw them before cooking the filling.
- If you prefer a stronger lemon flavor, increase the zest to 2 teaspoons.
Nutrition
- Serving Size: 1 square
- Calories: 230
- Sugar: 18g
- Sodium: 55mg
- Fat: 12g
- Saturated Fat: 7g
- Unsaturated Fat: 5g
- Trans Fat: 0g
- Carbohydrates: 30g
- Fiber: 1g
- Protein: 3g
- Cholesterol: 35mg