

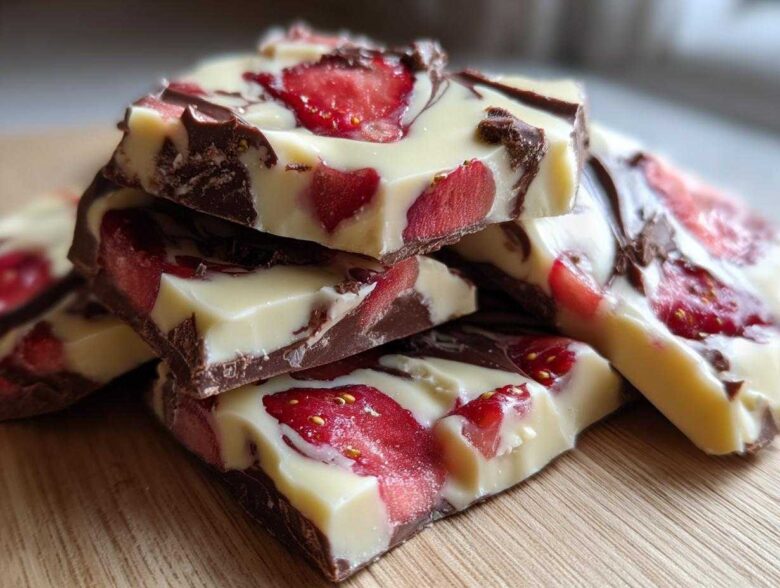
Oh my goodness, are you tired of complicated holiday baking? Me too! When things get hectic, especially around Valentine’s Day or Christmas, you need a showstopper that doesn’t require an oven or hours of your life. That’s where my absolute favorite shortcut comes in: **Chocolate Covered Strawberry Bark**.
Seriously, this stuff is magic. It’s essentially a no-bake strawberry dessert that looks wildly impressive, making it the perfect candidate for quick dessert bars or incredible DIY chocolate gifts. I love snapping big, messy pieces off the tray right after it chills—it’s just so satisfying! It manages to taste gourmet without needing any complicated techniques, and trust me, you are going to nail this.
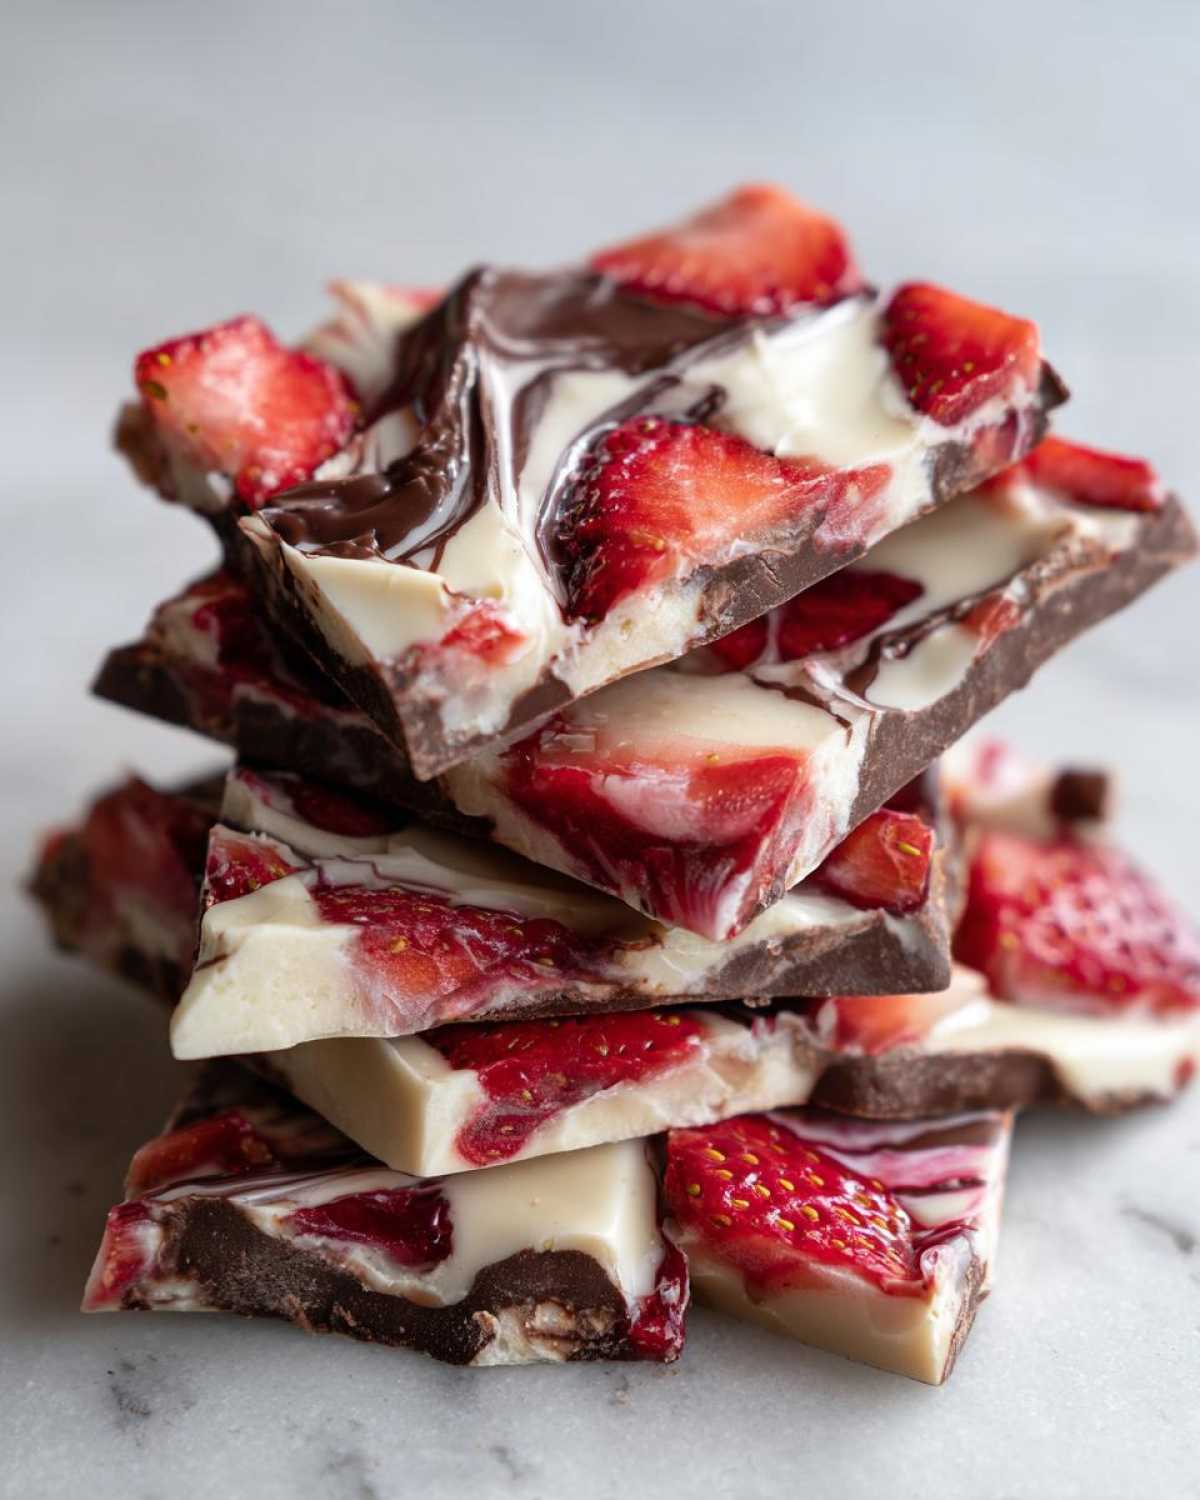
You can even use this recipe as a base for some amazing DIY chocolate gifts later if you decide to package some up. It’s just too good not to share!
Why This Chocolate Covered Strawberry Bark is Your New Favorite Quick Dessert Bars
What I really adore about this recipe is that it checks every single box for a busy cook like me. Forget waiting ages for things to bake; this is a pure, glorious no bake strawberry dessert. You get all the flavor payoff—that rich, creamy chocolate mixed with bright, fresh berries—but with almost zero kitchen time. It sets up beautifully in the fridge, and suddenly you have these fantastic, ready-to-go quick dessert bars.
Honestly, if you need something fast for a last-minute party or just want a sweet treat without turning on the oven, this is your answer. It’s just so dependable!
Effortless Assembly: Making Chocolate Covered Strawberry Bark Simple
The beauty of bark is its simplicity, and this recipe takes that even further. There’s no tempering required—we’re just melting, layering, and chilling. That’s it! You don’t have to worry about fussy piping bags or perfect edges. When it comes out of the pan, you break it into jagged, gorgeous pieces. It’s intentionally rustic, which means it’s impossible to mess up the presentation.
Perfect for Gifting: Gourmet Flavored Bark Presentation
Because it looks so sophisticated, everyone assumes you spent hours slaving over this—and that’s our little secret! This really shines when you package it up. It makes amazing Valentine’s Day candy, and it always disappears first at Christmas parties. Think of it as your go-to gourmet flavored bark for any occasion. A little cellophane bag and a ribbon, and you’ve got a thoughtful, handmade gift ready in under two hours total!
Gathering Ingredients for Perfect Chocolate Covered Strawberry Bark
Okay, let’s talk about what you need! Unlike a baked good, this recipe relies heavily on the quality of just a few things. You’ll need about twelve ounces of good white chocolate chips and eight ounces of dark or milk chocolate chips—whichever flavor you’re craving more! Don’t skimp here; the chocolate *is* the dessert.
You’ll also need a full cup of beautiful, fresh strawberries, sliced up thin. Oh, and I always keep a tiny bit of coconut oil on hand just in case the chocolate needs a little coaxing to be perfectly smooth.
Ingredient Notes and Substitution Tips for Chocolate Covered Strawberry Bark
Remember how I said quality matters? It really does when you’re making homemade candy making recipes like this. Stick to good quality chocolate chips or wafers—this makes a huge difference if you want that perfect snap. If you use something cheap, the bark might not set right, or the flavor will be waxy. That little bit of coconut oil is my secret weapon for the best chocolate for bark texture; it helps the melted chocolate stay liquid longer so you can swirl it beautifully.
If you can’t find chips, you can definitely use bars, just chop them up small before melting! But for this easy chocolate bark recipe, chips usually melt the easiest.
Step-by-Step Instructions for Homemade Candy Making
Alright, let’s get down to business! This is where the magic happens, and I promise you, this process is so straightforward it barely counts as cooking. We are making incredible **Chocolate Covered Strawberry Bark**, and the main thing to remember is patience with the heat and moisture control.
First things first, you need to prep your pan. Grab an 8×8 inch baking dish—don’t eyeball this, the size matters for thickness! Line it perfectly with parchment paper, making sure you leave a little overhang hanging outside the edges. This overhang is your handle later, trust me, you’ll thank me when you pull the whole thing out in one clean slab.
Next, we need to handle those gorgeous strawberries. You need to slice them thinly, really thin, because thick slices won’t set up right in the bark. And here’s the huge deal for any homemade candy making: you have to pat those slices bone dry with paper towels. Seriously, blot, blot, blot! Any water will make your chocolate seize up and turn into grainy sludge. Water is the enemy of smooth chocolate!
Preparing Strawberries: The Key to Seamless Chocolate Covered Strawberry Bark
This drying step is the secret handshake for avoiding that grainy texture. If you happen to be using frozen strawberries—which works, although fresh is better—you have to let them thaw completely and squeeze out every drop of juice they release. That’s the trick to making that frozen strawberry bark trick work without ruining your chocolate.
Once they pass your absorbency test, arrange those dried slices right on the bottom of your parchment-lined pan. Press them down gently so they make good contact with whatever chocolate layer goes down first.
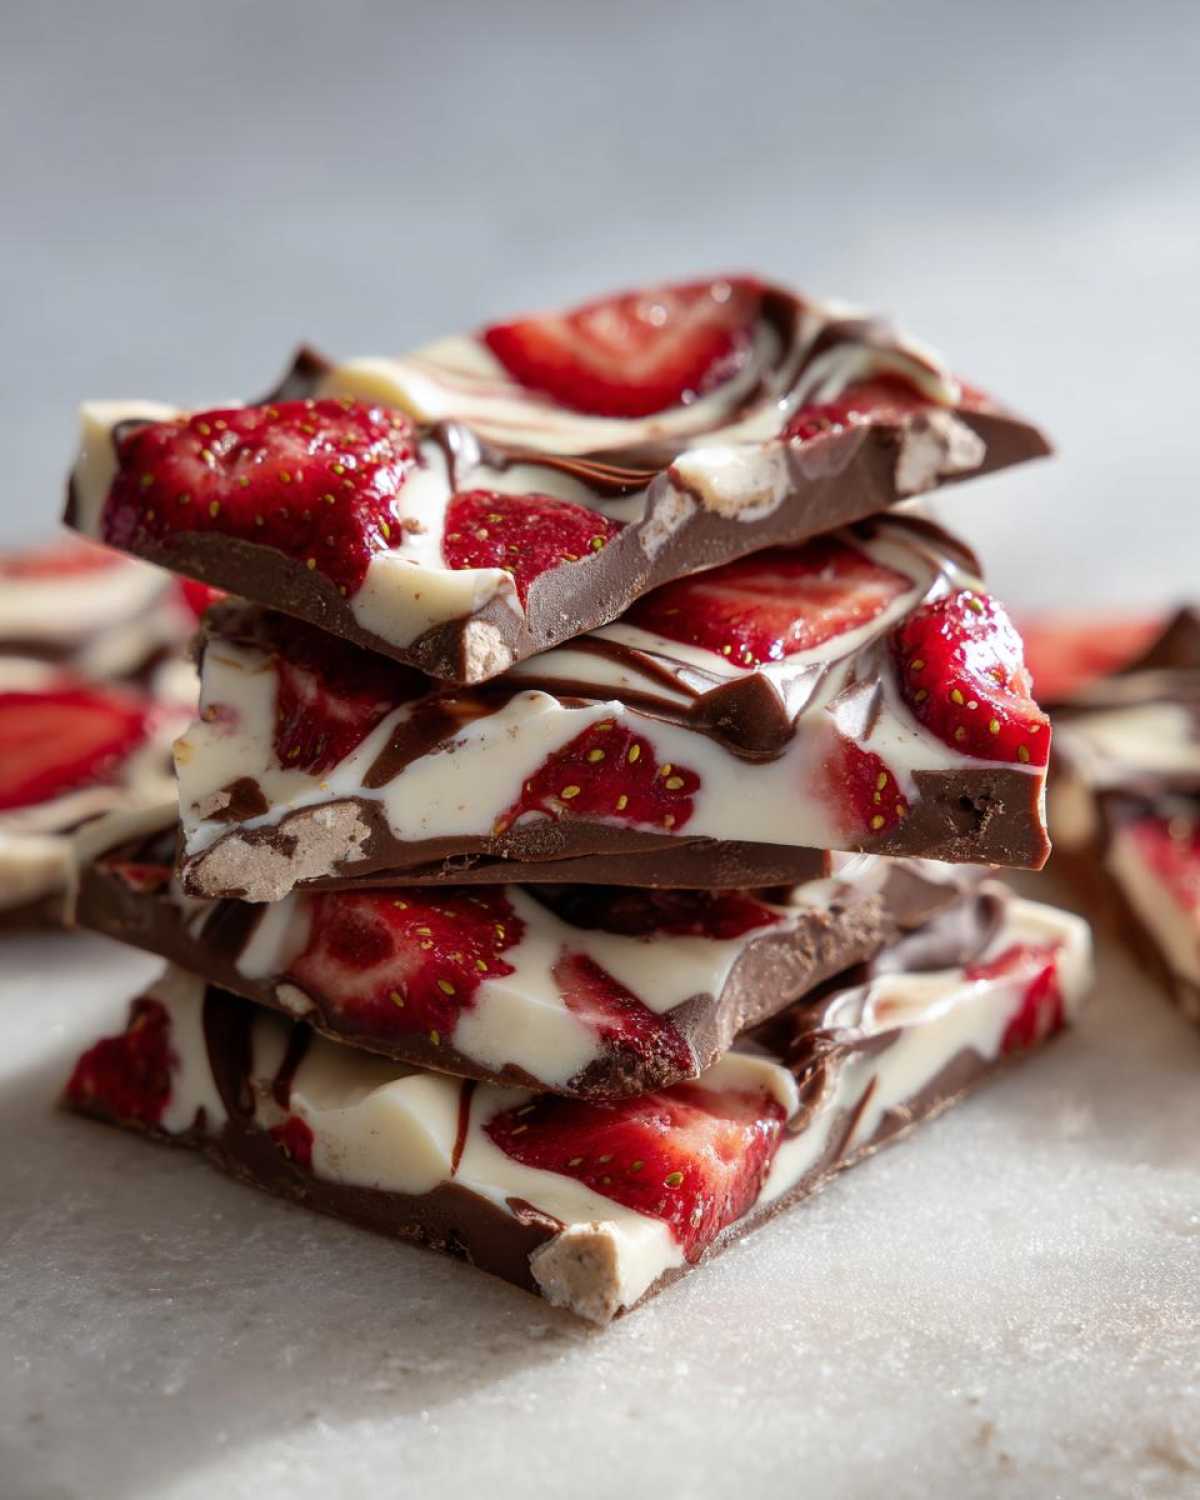
Melting and Swirling the Chocolate for Your Chocolate Dessert Tutorial
Time for the white chocolate! Pop the chips and that optional little bit of coconut oil into a microwave-safe bowl. Now, we melt low and slow. Microwave it for 30 seconds, stir it really well, even if it doesn’t look melted yet. Repeat that until it’s perfectly smooth. Don’t rush this or you’ll scorch it!
Pour that glorious melted white chocolate right over your strawberries and spread it evenly with an offset spatula. Then, melt your darker chocolate using the same gentle method. Drizzle that dark chocolate randomly over the white layer. If you want that gorgeous, bakery-style look? Take a thin knife or a skewer and gently drag it through both layers a couple of times to mix them just a bit—that’s your beautiful dark chocolate strawberry swirl!
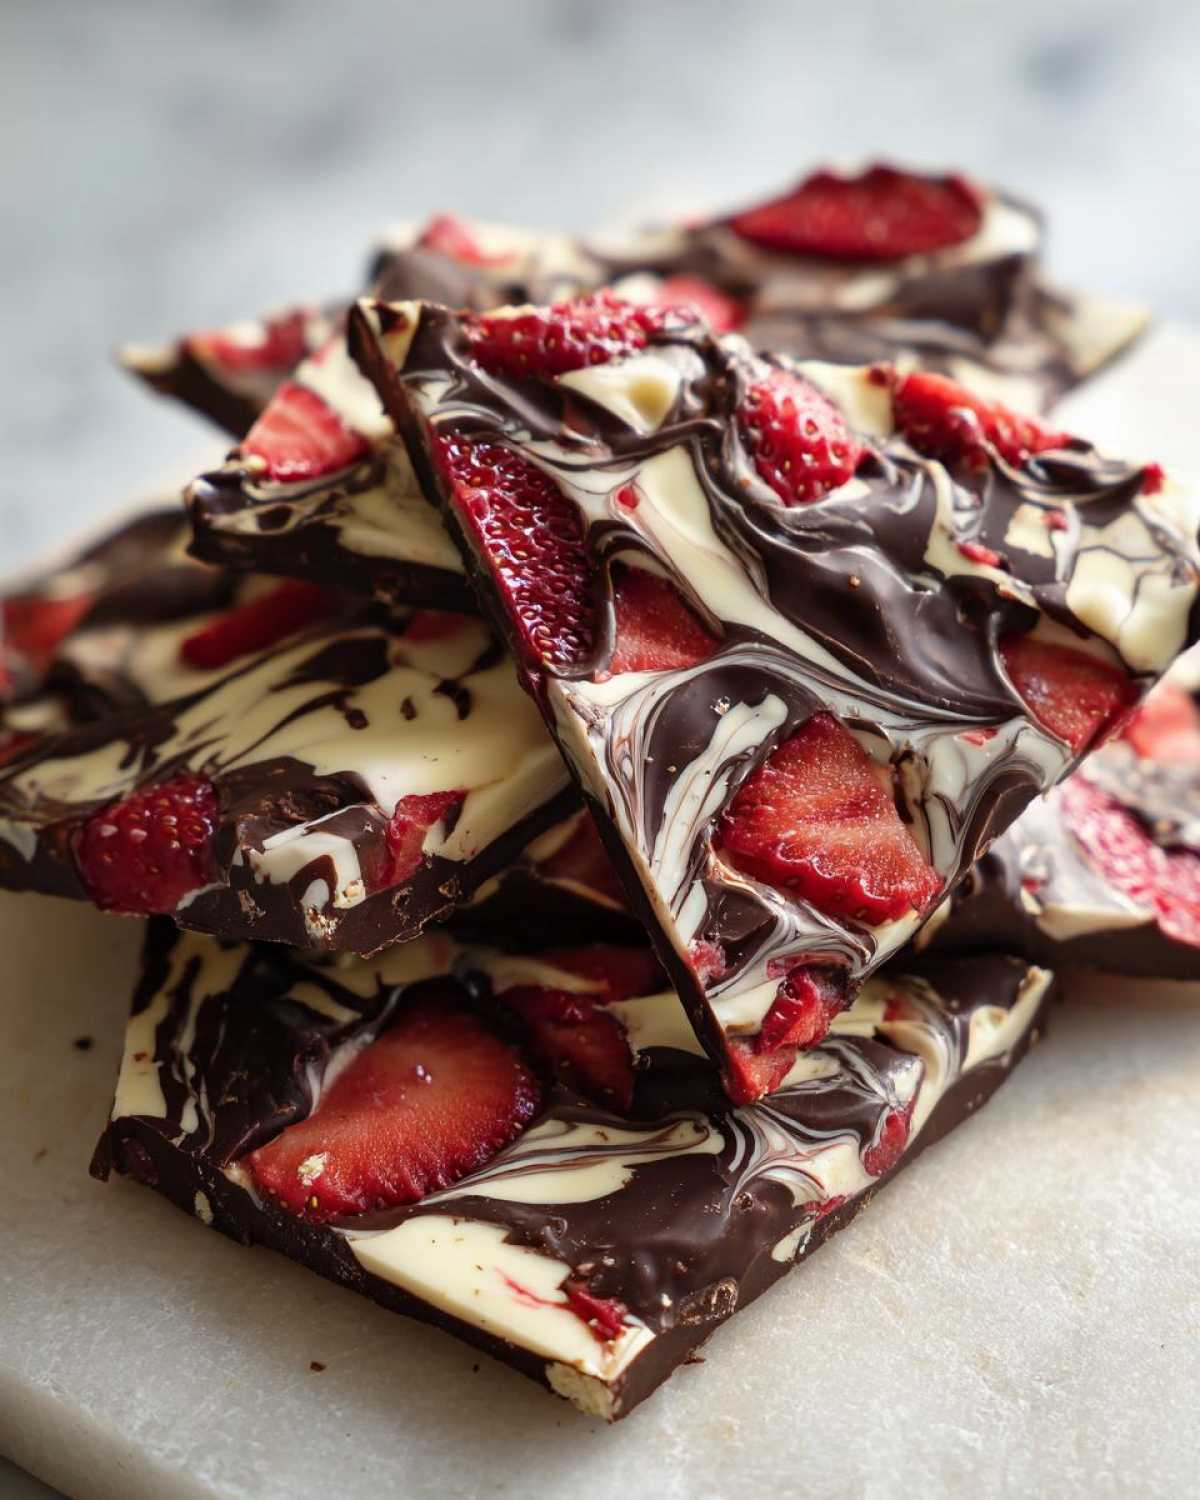
Quickly, pop that pan into the fridge for at least an hour until it’s rock hard. Done!
Tips for Success When Making Chocolate Covered Strawberry Bark
Look, this is easy, but chocolate can be fussy. I’ve learned the hard way that temperature control is everything here. My biggest tip, and one I learned over years of frustrating candy failures, is this: never, ever overheat your chocolate, especially the white kind! If it smells burnt or gets thick and grainy while stirring, it’s probably scorched and you need to start that batch over.
When you’re microwaving, those 30-second bursts are non-negotiable. Take it out when there are still a few stubborn lumps left. The residual heat will finish melting it perfectly as you stir. This ensures you get that smooth, shiny finish, which guarantees your finished bark will have a satisfying snap when you break it later on. Also, remember the parchment paper overhang? Make sure those sides are clear so it can release easily once chilled!
If you want to dive deeper into general candy making pitfalls, check out my general baking and tips page! It has tons of insights for working with melted sugar and fats!
Storage and Make-Ahead Tips for Your Chocolate Covered Strawberry Bark
Since this is mostly chocolate, storage is thankfully pretty straightforward, which makes it fantastic for holiday planning! You definitely want to make this ahead of time. I usually whip up a big batch a few days before an event because, honestly, nobody wants to be dealing with melting chocolate right before guests arrive.
The key thing to remember is that we used fresh strawberries here, so we need to keep them cool to maintain that fresh look and stop them from sweating inside the container. Once you’ve broken your finished Chocolate Covered Strawberry Bark into those perfect, irregular pieces, slide them into a truly airtight container.
Keep that container tucked away in the refrigerator. If you’ve sealed it up tight, it should stay beautifully crisp and delicious in the fridge for up to a week. Just take it out about 15 minutes before you plan to serve it so the chocolate softens just a hair. They get rock hard straight from the fridge, and while edible, they aren’t as fun to bite into!
Variations on Classic Chocolate Covered Strawberry Bark
While the classic white and dark chocolate swirl is heavenly, I love experimenting once I’ve mastered the basic technique. Making adaptations is what pushes this from a simple recipe into true gourmet flavored bark territory! Since we know how to keep the strawberries dry now, we can start swapping things up.
If you are absolutely obsessed with the strawberries and cream combo—which, who isn’t?—you can skip the dark chocolate entirely and focus only on the white chocolate. Just double up on the white chocolate chips! This gives you an intensely creamy base for your **white chocolate strawberry bark**, making the pink hues from the berries really pop. It’s dazzling, especially dotted with a light sprinkle of edible glitter around the holidays.
But why stop at just two colors? You can use ruby chocolate chips for a third layer if you want to be extra fancy! Or, if you’re making this for a nutty crowd, toss in some chopped, toasted pecans or slivered almonds right on top of the white chocolate layer before you pour the dark chocolate over. Just make sure your nuts are toasted first—it makes a world of difference in flavor depth!
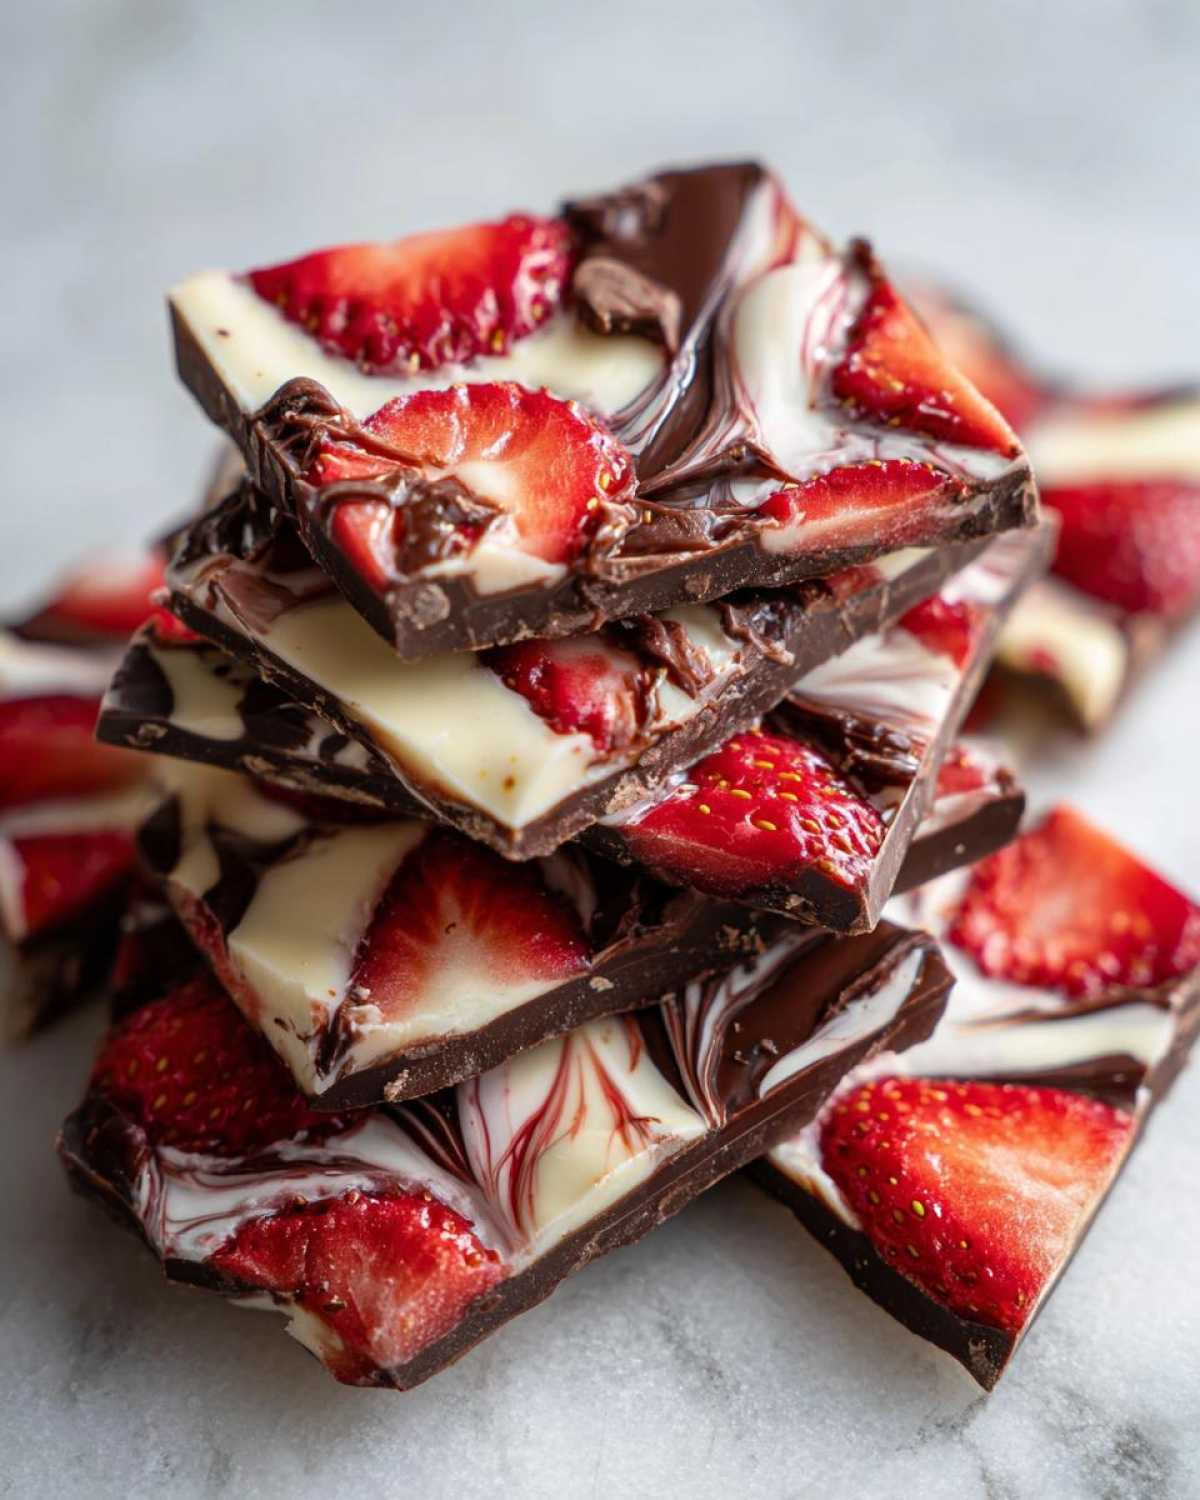
I also experiment with the fruit sometimes. If strawberries aren’t in season or you just want something different, raspberries work beautifully, though they are even more delicate with moisture, so be extra careful drying those! Sometimes I’ll chop up freeze-dried strawberries instead; they don’t bleed color at all, and they give you this intense, concentrated strawberry flavor. It’s a brilliant trick if you’re looking for a more subtle appearance. You can find some other fun ingredient swaps over on my guide to chocolate chip pumpkin bars that can often inspire other chocolate additions!
Frequently Asked Questions About Chocolate Covered Strawberry Bark
I’ve been asked a few questions repeatedly about this Chocolate Covered Strawberry Bark, and usually, the issues all come back to moisture or chocolate quality. Don’t sweat it if you have questions; achieving that perfect snap takes a little know-how!
Can I use frozen strawberries in this easy chocolate bark recipe?
You absolutely *can*, but you have to treat them right! If you use frozen strawberries straight from the bag, you are asking for trouble. As they thaw, they release a ton of water, and that water will make your melted chocolate seize up instantly, turning it into a grainy mess—it won’t spread at all! If you must use frozen, thaw them completely in a sieve, and then place those thawed berries on several layers of paper towels. Press down hard and let them sit until they are as dry as possible before they ever touch the chocolate. This is the trick to making this easy chocolate bark recipe work with thawed fruit.
What is the best chocolate for bark texture?
For the best texture, the one that gives you that satisfying *snap* when you bite into it, you need good quality chocolate. I always recommend using high-quality chips or wafers that list cocoa butter near the top of the ingredients—it just melts cleaner. While you *can* temper your chocolate for an incredibly professional shine and snap, honestly? For a fun, quick version like this, using good chips and avoiding overheating them (like we discussed!) gets you 95% of the way there. It’s much easier than trying to temper for this specific batch of chocolate coated fruit slabs.
How do I get the dark chocolate strawberry swirl effect?
The swirl is my favorite part because it’s where you get to play artist! Once your white chocolate layer is spread smoothly over the strawberries, just drizzle the melted dark chocolate randomly across the top in lines or dots. Then, grab a thin knife, maybe a butter knife or a skewer, and gently drag it through the two layers, going in one direction, then looping back through in the other direction. You only want to pass through a couple of times! Over-swirling is what mixes the colors too much, and you end up with a boring brown slab instead of that beautiful contrasting **dark chocolate strawberry swirl** we are aiming for.
Estimated Nutritional Data for Chocolate Covered Strawberry Bark
Now, I know when we’re making something this delicious and decadent, we don’t always want to talk about the numbers, but I always like to share what I have! This bark is loaded with good fats from the chocolate, so keep that in mind when you’re portioning it out. Since this is a homemade candy making recipe based on averages, please remember that these figures are just estimates, especially depending on the exact type of white and dark chocolate chips you decide to use for your quick dessert bars.
Here’s a rough breakdown per serving (assuming about 16 pieces):
- Serving Size: 1 piece
- Calories: 180
- Sugar: 18g
- Fat: 12g
- Protein: 2g
- Carbohydrates: 19g
See? Not bad for such a gourmet treat nestled in your DIY chocolate gifts stash! Just enjoy it in moderation, and remember that the joy of making simple chocolate bark recipes far outweighs worrying about the exact count!
Share Your Homemade Candy Making Creations
That’s it—you’re officially done! Doesn’t that feel amazing? Now that you’ve conquered the art of making this **Chocolate Covered Strawberry Bark** at home, I really, really want to hear about it! This hobby thrives on community sharing, and nothing makes my day like seeing your beautiful, swirled creations.
Did you manage to keep those strawberries perfectly dry, or did you have a tiny chocolate seize moment that you fixed? Let me know in the comments below! Tell me if you tried extra vanilla or added nuts. Your feedback helps every other reader know exactly what worked best for them when trying out this easy chocolate bark recipe.
If you took a gorgeous picture of your finished bark—maybe arranged nicely for a party or packed up for a favor—please share it on your favorite social media platform and tag me! I love seeing how you style your final bits of homemade candy making magic. You can always reach out directly through my contact page if you have a private question, but public comments are the best way to start a fun conversation!
Go ahead, give this recipe a star rating if you loved it, and let’s spread the sweet joy of this no-bake treat!
PrintEasy Chocolate Covered Strawberry Bark
Make this simple, no-bake chocolate bark featuring fresh strawberries. It is perfect for gifting or quick desserts.
- Prep Time: 15 min
- Cook Time: 0 min
- Total Time: 1 hour 15 min
- Yield: About 16 servings
- Category: Dessert
- Method: No Bake
- Cuisine: American
- Diet: Vegetarian
Ingredients
- 12 oz white chocolate chips
- 8 oz dark or milk chocolate chips
- 1 cup fresh strawberries, thinly sliced
- 1 teaspoon coconut oil (optional, for smoother melting)
Instructions
- Line an 8×8 inch baking pan with parchment paper, letting the paper overhang the sides for easy removal.
- Prepare the strawberries: Slice them thinly. Pat the slices very dry with paper towels to remove excess moisture. This prevents the chocolate from seizing.
- Melt the white chocolate: Place the white chocolate chips and coconut oil (if using) in a microwave-safe bowl. Microwave in 30-second intervals, stirring well after each interval, until completely smooth. Do not overheat.
- Spread the melted white chocolate evenly into the prepared pan.
- Arrange the dried strawberry slices over the white chocolate layer. Press them down slightly.
- Melt the dark or milk chocolate: Repeat the melting process with the second type of chocolate.
- Drizzle or swirl the melted dark chocolate over the strawberries and white chocolate layer. Use a knife or skewer to create a marbled effect if desired.
- Chill the bark: Place the pan in the refrigerator for at least 1 hour, or until the chocolate is completely firm.
- Remove the bark from the pan using the parchment paper overhang. Break or cut the bark into irregular pieces.
Notes
- Use high-quality chocolate for the best flavor and texture.
- Ensure strawberries are completely dry before adding them to the chocolate; moisture causes the chocolate to become stiff and grainy.
- Store the finished bark in an airtight container in the refrigerator for up to one week.
Nutrition
- Serving Size: 1 piece
- Calories: 180
- Sugar: 18
- Sodium: 15
- Fat: 12
- Saturated Fat: 7
- Unsaturated Fat: 5
- Trans Fat: 0.1
- Carbohydrates: 19
- Fiber: 1
- Protein: 2
- Cholesterol: 5