

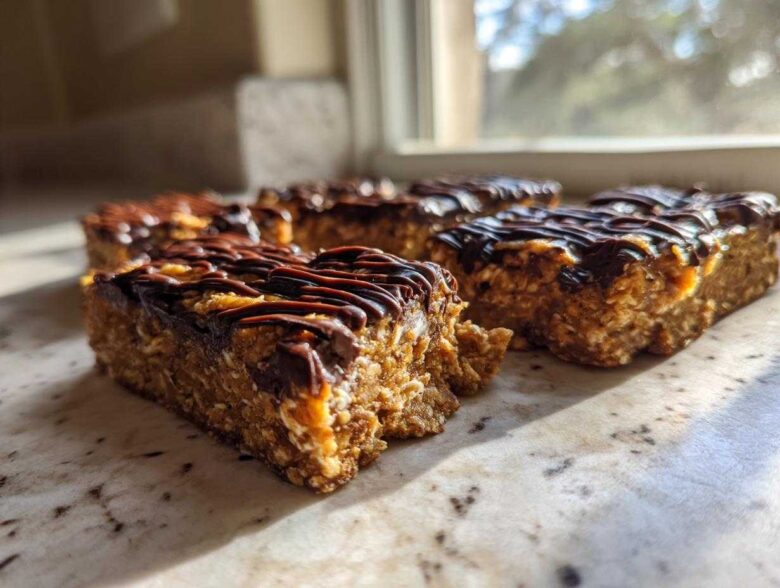
Oh my gosh, are you tired of wading through the grocery aisle, picking up expensive, plastic-wrapped protein bars that end up tasting like chalk dusted with fake sweetener? Me too! Elias and I needed a serious upgrade for our snack game because when life gets busy—and trust me, it always gets busy—we need something healthy we can grab without cheating on our goals. That’s why I poured all my energy into perfecting this easy 5-ingredient no-bake peanut butter protein bars recipe. Seriously, these just mix together and chill, and the flavor is genuinely shocking for how simple they are. If you need satisfying, quick, high protein recipes that actually taste incredible, stop scrolling. If you want the full, in-depth guide on how we make these, check out this post! You’re home now!
Why These Homemade Protein Bars Are Your New Go-To Snack
I hear you when you say store-bought bars leave you feeling unsatisfied. That’s the main reason Elias and I created this version. We wanted something genuinely satisfying that didn’t hide a bunch of fillers or weird chemicals in the ingredient list. When you control everything, you control the taste and the quality! These protein bars for beginners are seriously reliable.
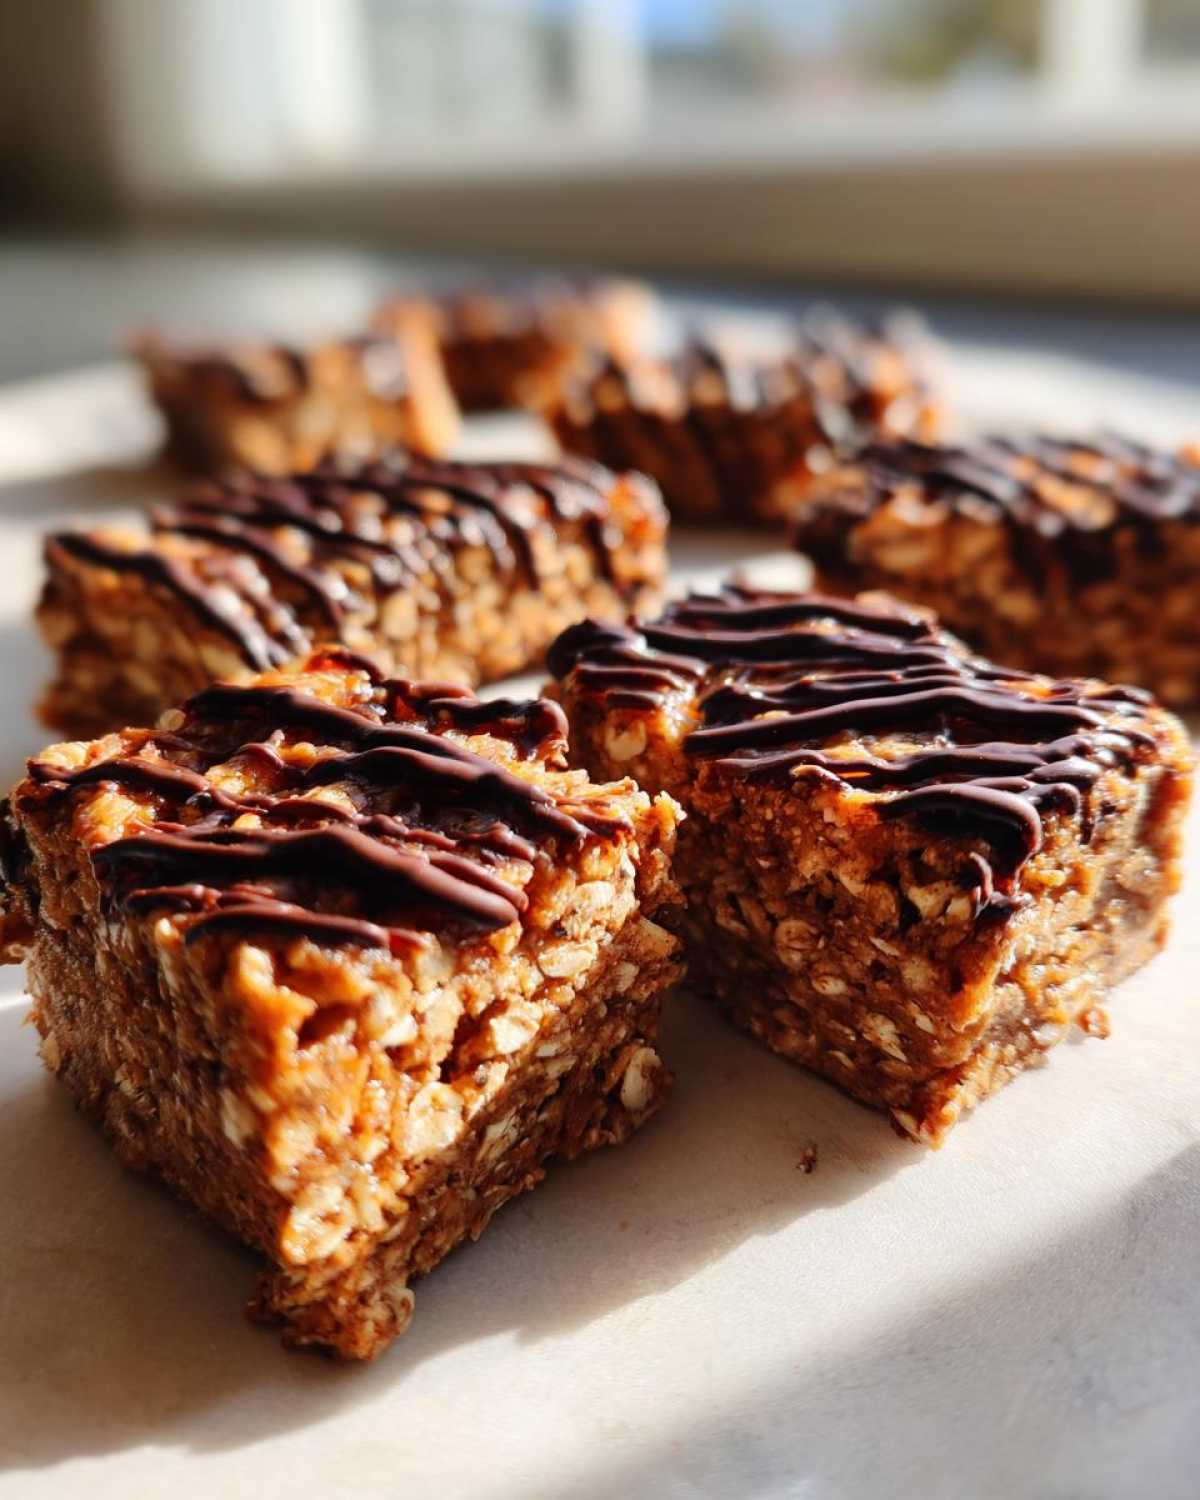
- They taste way better than those expensive options at the checkout counter—I promise!
- No oven needed, which means less heat in the kitchen, especially during summer.
- They keep me on track for my afternoon coffee break goals.
Quick Prep Time for Busy Days
We’re talking 10 minutes of actual work time here. That’s it! If you’re having one of those weeks where you barely have time to breathe, mixing up a batch of these homemade protein bars on a Sunday means you have healthy fuel ready for days. It’s the ultimate low-effort, high-reward snack. If you’re new to this kind of snacking, these are totally foolproof!
Simple Ingredients for Perfect Protein Bars
This recipe is deliberately short! We stuck to just five core components before the optional drizzle. Why complicate things when nature already gives us everything we need? Limiting it keeps the cost down and makes sure you always have what you need on hand to whip these up fast. If you’re also into other quick fixes, check out my recipe for blueberry protein muffins next!
Gathering Ingredients for Your 5-Ingredient Peanut Butter Protein Bars
Okay, let’s get down to what you actually need. I’ve kept this list super lean because I hate recipes that require a specialty store run just for one item! For our peanut butter protein bars, you need structure, sweetness, and protein. That structure comes from the 1 cup of rolled oats—please use the old-fashioned kind here; the instant ones get mushy too easily.
Next is the glue: 1/2 cup of peanut butter. I really stress using a natural style peanut butter—the drippy kind where the oil separates—because those overly processed, hard butters mess with the texture and won’t mix as smoothly. Then, the powerhouse: 1/2 cup of your favorite protein powder. I usually grab vanilla, but if you keep it unflavored, you get that pure peanut butter/oat flavor shining through. And finally, the binder, 1/4 cup of honey or maple syrup.
Ingredient Notes and Substitutions for Protein Bars
This is where we keep things flexible! If you’re keeping things strictly plant-based, swap that honey out for maple syrup—it works just as beautifully. These small tweaks really help when you’re building up your collection of homemade protein bars recipes. If peanuts aren’t your thing, don’t sweat it! Almond butter or even sunflower seed butter makes fantastic bases for these high protein recipes. Just make sure the consistency of your substitute nut butter is relatively smooth so it fully incorporates into that thick dough we’re aiming for.
For an extra special touch that costs zero extra ingredients, check out Elias’s favorite ways to brainstorm new ideas in this post on protein bar ingredient ideas!
Step-by-Step Instructions: Making No Bake Protein Bars
This is where the magic really happens, and guess what? No preheating required whatsoever! We’re keeping it simple since these are no bake protein bars. First, grab an 8×8 inch pan. You absolutely must line it with parchment paper first, making sure you leave some overhang on the sides. Trust me on this—it acts like handles so you can lift the whole block of bars out later like a cake! That parchment is your best friend here.
Next, toss your oats, peanut butter, protein powder, and honey (or maple syrup if you went vegan!) into a good-sized bowl. Now, for the mixing. You’re going to mix everything until it looks like a cohesive mass. It gets stiff fast!
Mixing the Dough for Chewy Protein Bars
When you start stirring, it seems like it won’t ever come together. It looks dry, crumbly, and you might panic! Don’t worry, that’s normal for these high-protein mixes. If you find it really fighting you, add water or milk, just one teaspoon at a time. When it still won’t cooperate, ditch the spoon—I always say you need to get your hands in there! Really work it all together until you have this thick, uniform dough. Now, take that dough and press it down firmly and evenly into your prepared pan. You aren’t just sprinkling it in; you need to press it down hard to make sure these chewy protein bars hold their shape when you cut them.
Chilling and Cutting Your Homemade Protein Bars
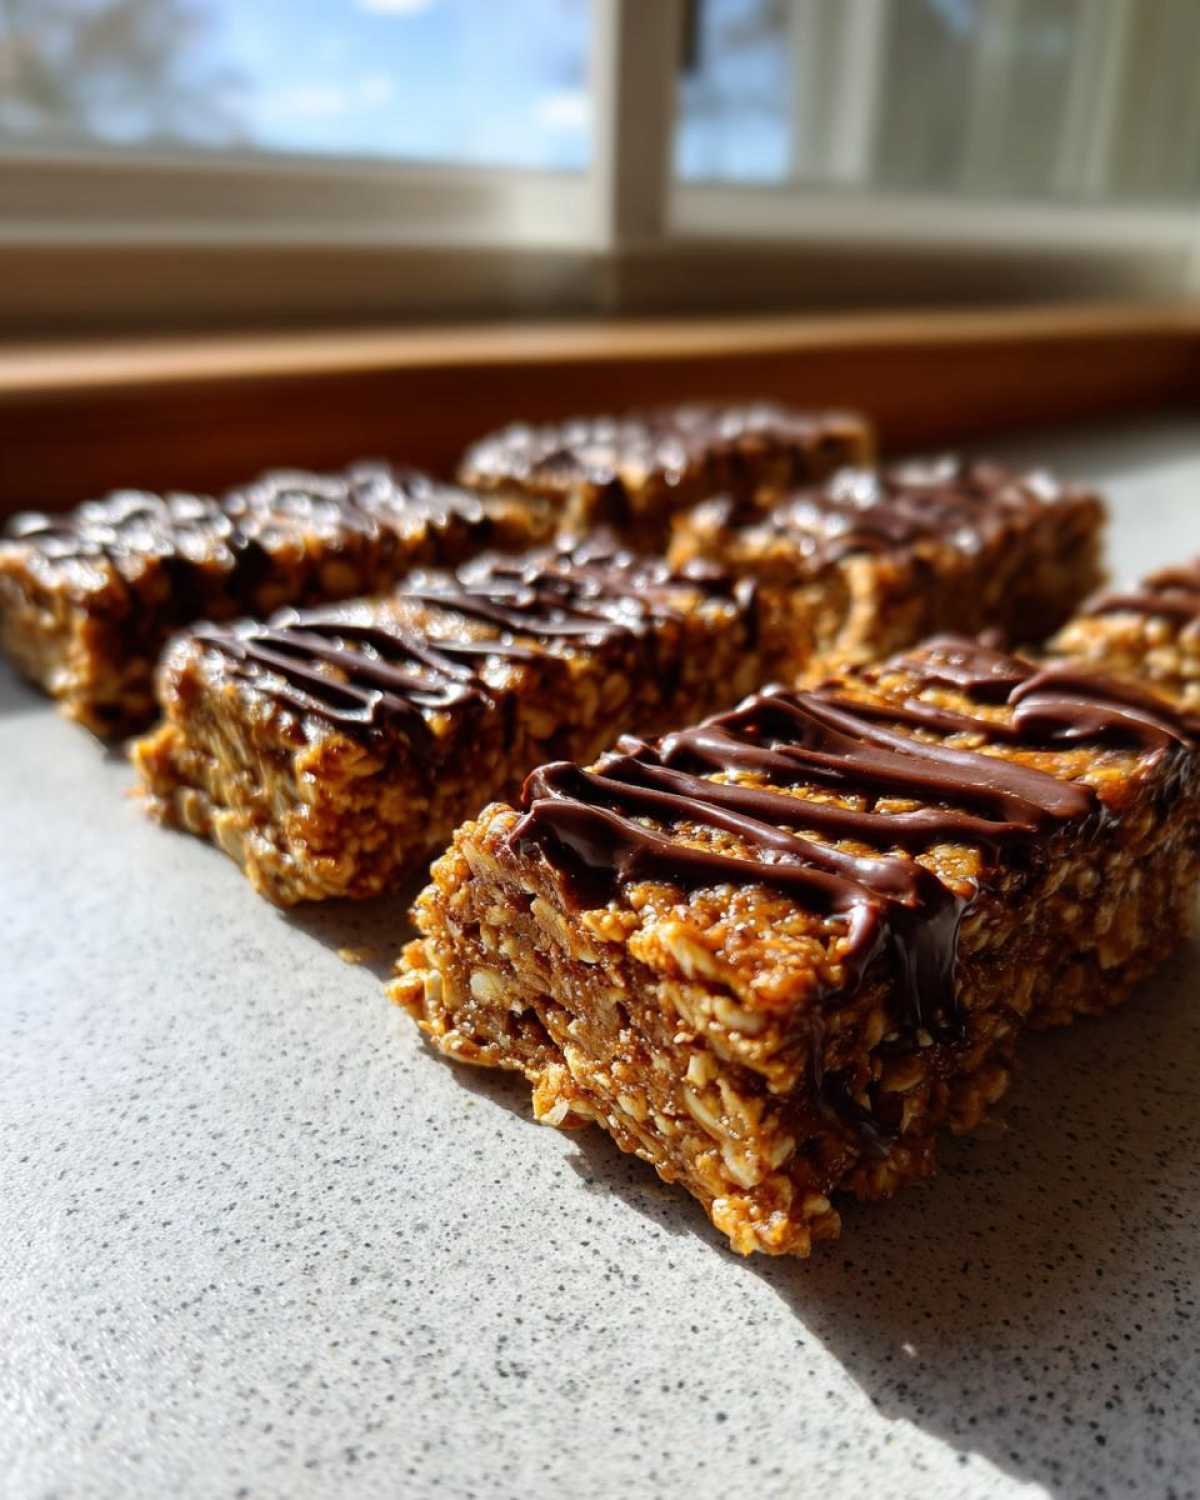
Once it’s pressed flat, we introduce the freezer! We need these firm so they slice beautifully. Pop that pan into the freezer for at least 30 minutes minimum—45 minutes is even better if you can wait. After it’s well chilled, use those parchment paper handles to carefully lift the whole thing out onto a cutting board. Now you can slice them into 10 even bars.
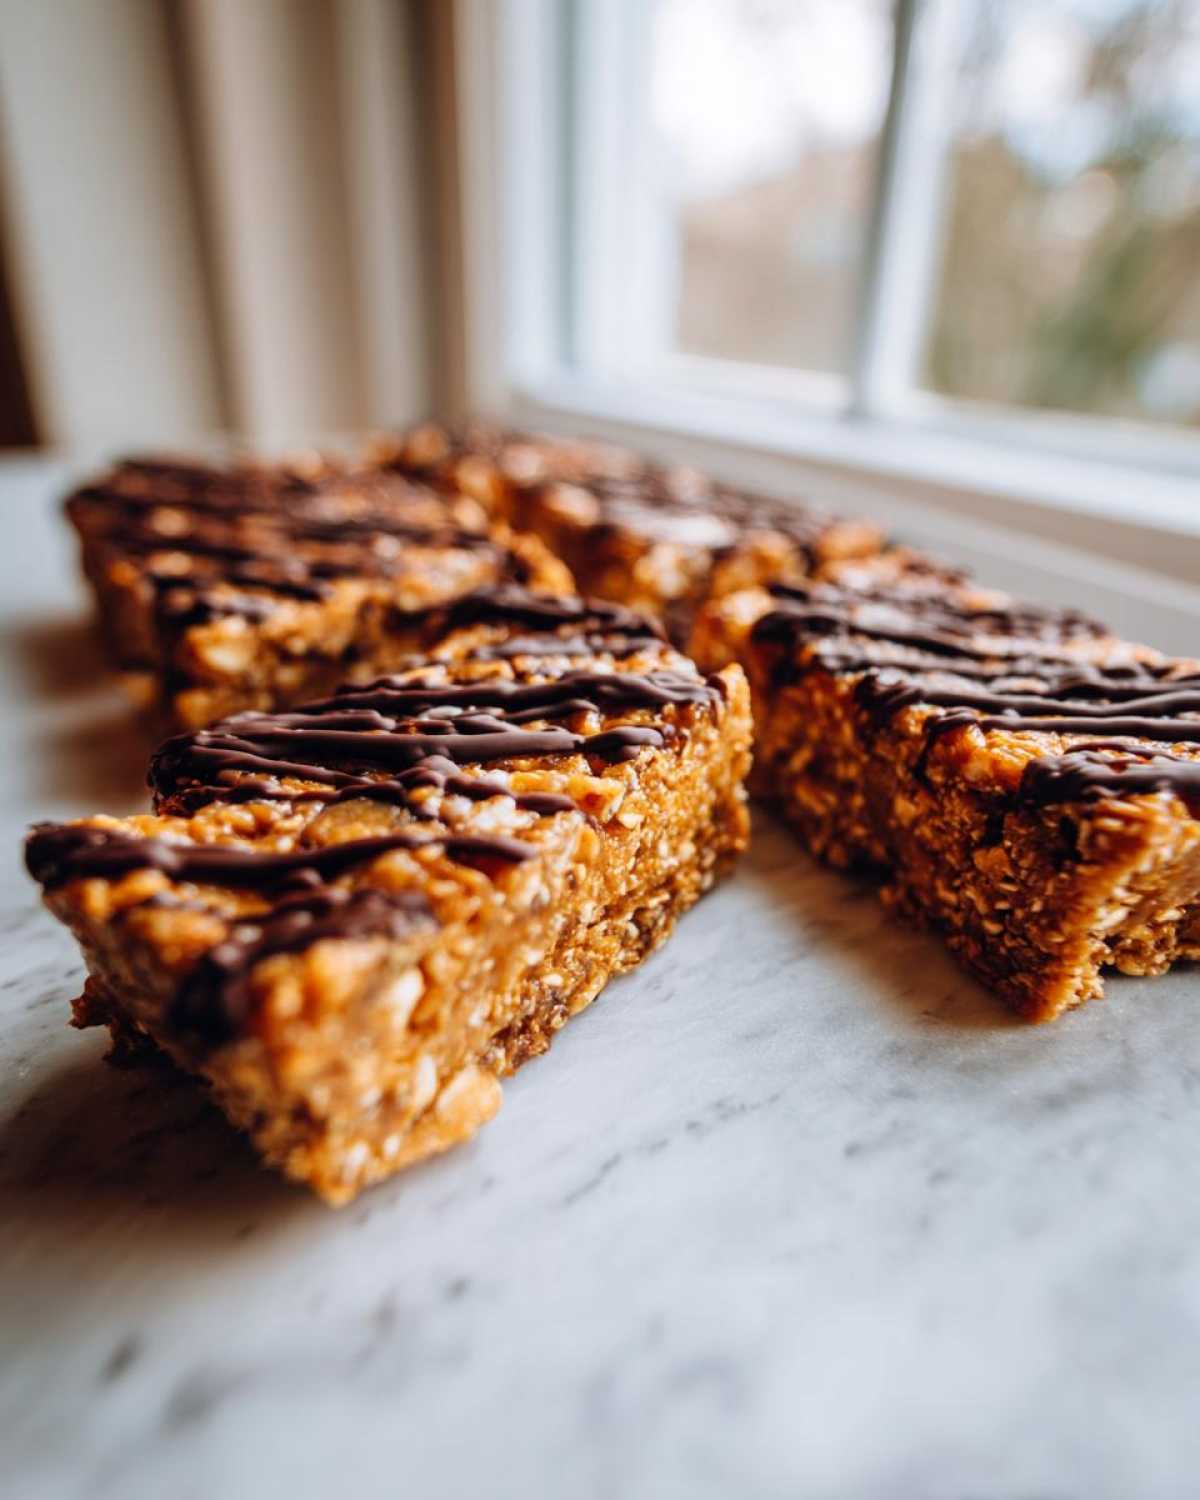
For the final touch, melt your chocolate chips gently. I do this in the microwave in 30-second bursts so it doesn’t seize up on me. Drizzle that shiny chocolate over the tops. For the cleanest lines, put them back in the fridge until that cocoa sets up hard. If you love seeing how others handle their batches, definitely take a peek at this great guide on making homemade protein bars!
If you want to dive deeper into making no-bake wonders, check out my favorite no bake energy bites for another quick fix!
Tips for Perfect Meal Prep Protein Bars
So, you’ve made your batch of incredible homemade protein bars! Now, how do we make sure they still taste amazing three or four days from now when you finally dig into that last one? Storing these properly is key to maintaining that chewy texture. Elias and I always make a double batch on Sunday afternoons so we basically have snacks covered for the entire work week!
Since these are no-bake and rely on the healthy fats from the peanut butter to hold everything together, they absolutely must stay chilled. If you leave them on the counter, they get soft and sticky way too fast. Store them in an airtight container in the refrigerator. They’ll stay perfectly firm and fresh in there for about a week, easy peasy.
For longer storage—like if you’re prepping for vacation or a big trip—pop them in the freezer! They actually freeze brilliantly. Just separate the layers with little squares of parchment paper or wax paper so they don’t stick together in a giant block. You can grab one straight from the freezer for an instant, cold treat, or let it thaw on the counter for about 15 minutes. If you’re looking for other freezer solutions, I have a fantastic recipe for an easy make-ahead egg bake perfect for busy mornings, too!
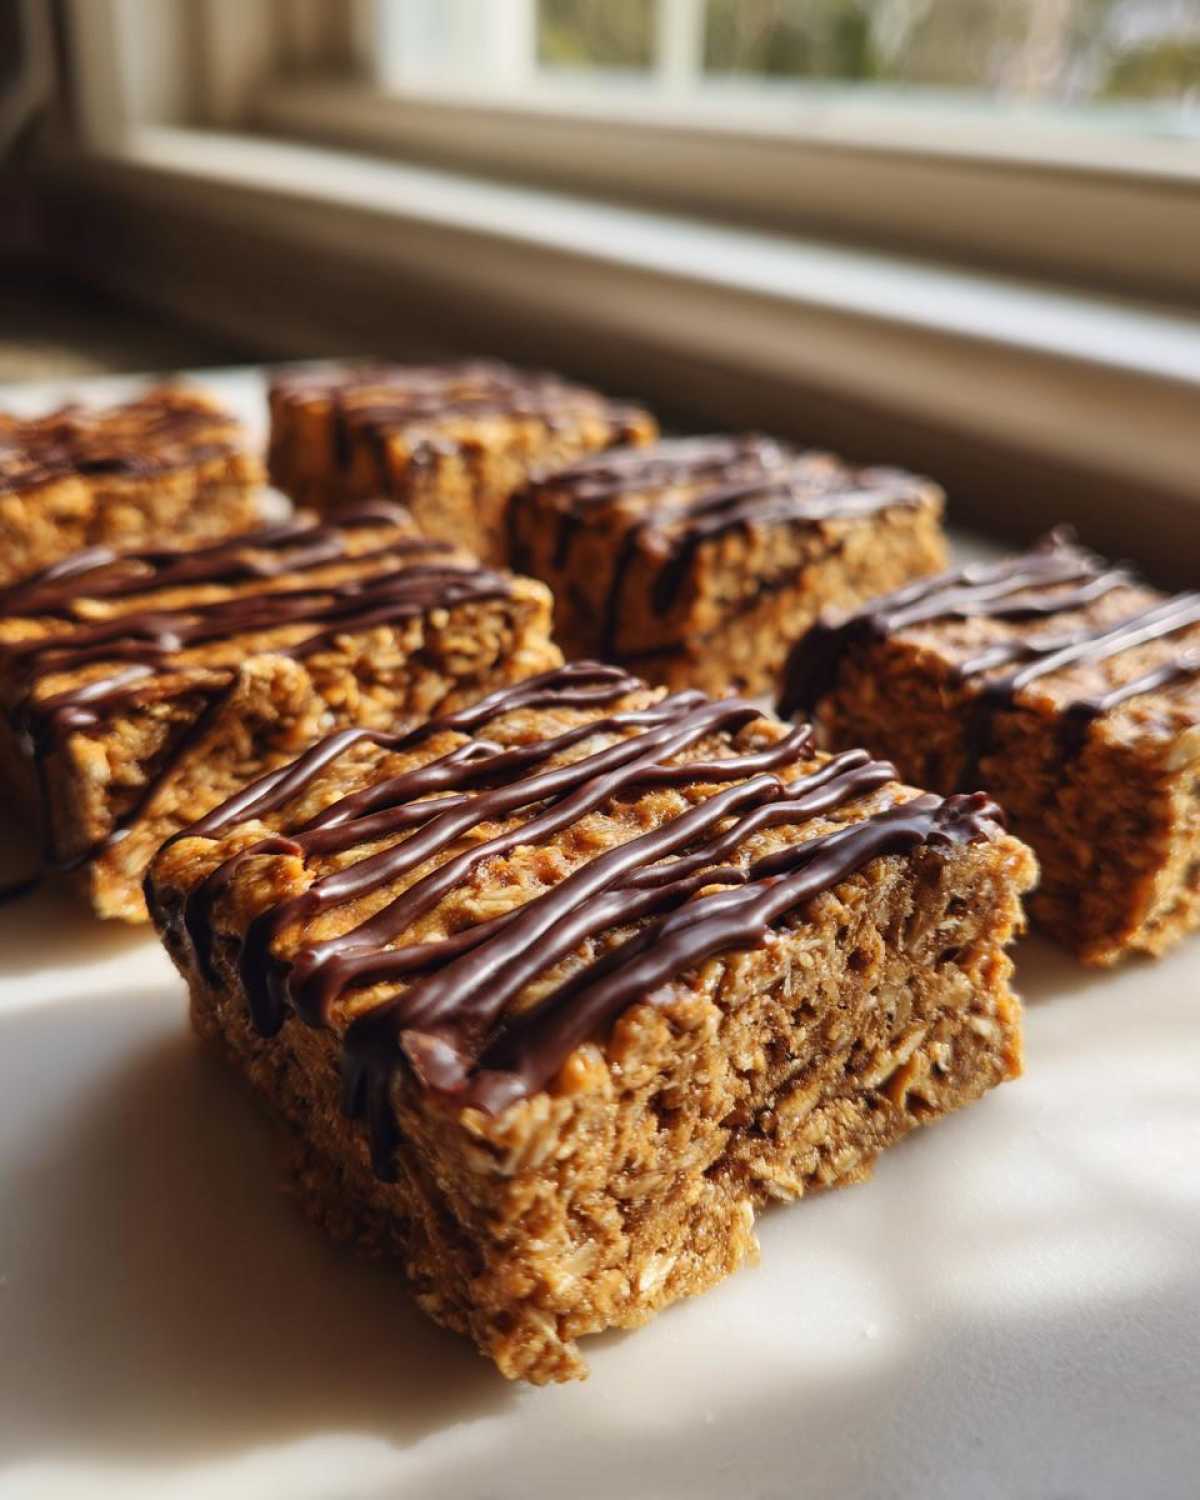
For best results and to keep them tasting as good as day one, follow the advice on this great guide for storing no-bake protein bars; chilling is non-negotiable!
Variations for Your Next Batch of Protein Bars
Elias loves making a batch of these peanut butter protein bars, but after a while, even he asks if we can switch things up! That’s the beauty of having a fantastic base recipe like this one; you can customize the flavors endlessly. We want you to keep coming back, so let’s talk about how you can turn this into your favorite oatmeal protein bars or adapt it for different dietary needs!
If you want to skip the peanut butter entirely, use the exact same measurements of almond butter, cashew butter, or tahini for a totally different flavor profile. Since we’re using rolled oats, these are pretty robust and handle swaps well. If you wanted to lean into a richer, darker flavor, you could swap the vanilla protein powder for chocolate powder and maybe skip the peanut butter for a straight-up chocolate protein bars no bake version!
Making Low Sugar Protein Bars Alternatives
The honey or maple syrup in this recipe provides natural sweetness, which I generally prefer, but I know some of you are looking to keep the sugar content really low, like when hunting for low sugar protein bars. If you need to skip the honey, you can totally replace it with granular or powdered sugar substitutes like erythritol or monk fruit sweetener. Just know that these granular sweeteners don’t bind quite the same way liquid does!
If you make this swap, you are definitely going to need to add a tiny bit more liquid—maybe a teaspoon of water or almond milk—to get that thick, mixable dough consistency we talked about earlier. It takes a little trial and error when substituting sweeteners, but it’s worth it if you’re trying to cut down. Remember, if dairy is an issue, using a plant-based powder keeps these as amazing vegan protein bars recipe options too!
For another simple, sweet treat that feels totally indulgent, you should try out the recipe I have for my famous oatmeal cookie perfection chips!
Serving Suggestions for These High Protein Recipes
So, lunch is handled, but what about styling up these delicious protein bars for maximum enjoyment? These healthy snack bars are pretty flexible, which I love. They feel indulgent enough for a dessert, but they are absolutely perfect fuel when you need a solid boost!
Since we went with a peanut butter base, pairing them with something slightly acidic or bold really cuts through the richness nicely. My absolute favorite way to enjoy one of these is with a big, hot mug of coffee—Elias jokes that the two are scientifically made for each other. I know, I know, I have a coffee cake recipe that I absolutely love, a super moist one with streusel topping if you want another great pairing!
If you’re eating these mid-afternoon and want something lighter than coffee, try pairing one of these quick protein treats with some fresh fruit. Sliced apples or crisp strawberries are amazing because the sharpness balances the sweetness of the chocolate drizzle and the peanut butter. It just brightens everything up!
If you’re taking these on the go for post-workout fuel, I usually just wrap them individually in plastic wrap, but if you want more ideas on how to enjoy these types of snacks, check out the inspiration over at this great recipe guide!
Frequently Asked Questions About Homemade Protein Bars
I know you might have a few lingering questions once all the mixing is done! That’s totally normal when you’re making protein bars from scratch for the first time. Elias and I have answered the questions we get most often from readers who are trying to nail down the consistency or storage. We want you to feel confident baking these high protein recipes!
Do I have to bake these protein bars?
Oh, absolutely not! That’s the best part about this recipe. These are completely no bake protein bars. You just mix everything up, press it down really firmly into the pan, and then you let the freezer do all the hard work setting them up nice and hard. It makes them such a fantastic, quick option for when you need simple homemade snacks in a pinch!
How long do these simple homemade snacks last?
Because we aren’t using any kind of baking process to sterilize or change the ingredients, these rely on cold to stay firm. You absolutely must keep your finished homemade protein bars stored in an airtight container in the refrigerator. If you keep them chilled, they stay perfectly textured and tasty for about a whole week. If you somehow managed to make more than a week’s worth, they freeze beautifully for up to three months. Just cover them well!
Can I use a different protein powder in these protein bars?
This is a great question, because protein powders are *not* all created equal! If you switch from a whey-based powder to a plant-based powder, you might find the mix is a little drier because plant proteins tend to absorb liquid more intensely. If your dough feels crumbly when you switch to a plant-based option (like pea or soy), just temper it by adding water or milk, one teaspoon at a time, until it comes together like cookie dough. It’s all about achieving that right moisture level for perfectly chewy protein bars!
If you’re looking for even more insights on optimizing your baking efforts, feel free to explore our main blog archives; we cover all sorts of kitchen tips!
Estimated Nutritional Snapshot for Our Protein Bars
Now for the numbers! I know many of you are tracking macros or just trying to keep an eye on what goes into your body, so I wanted to give you a quick rundown of the estimated nutrition for one of these peanut butter protein bars. Remember, because we are using real, whole ingredients like natural peanut butter and various protein powders, these values are an honest approximation. The exact brand of powder or type of sweetener you use can shift these numbers a bit!
But generally speaking, when made as written, you can expect a really solid snack with a great protein punch. Elias finds this information really helpful to see how they slot into his daily intake for his workouts, and I love seeing that low sugar count!
- Serving Size: 1 bar
- Calories: About 210
- Protein: A fantastic 12 grams!
- Total Fat: Around 12 grams
- Carbohydrates: 18 grams
- Sugar: Just 7 grams (mostly from the honey/maple syrup)
These numbers make these bars excellent healthy snack bars, giving you sustained energy without a huge sugar crash later in the day. They’re truly fuel, not just a candy bar in disguise!
Share Your Favorite Protein Bars Creations
Elias and I truly hope this recipe for protein bars becomes a staple in your busy life, just like it is in ours! We work hard to make sure everything we share here at Flavor Vista is easy and tastes amazing, and we would absolutely love to see your creations! Please try these out, and if you do, snap a photo and tag us on social media—it seriously makes our day to see your beautiful simple homemade snacks.
If the recipe worked wonders for you, don’t forget to jump back here and leave a rating below; those stars mean the world to us! If you ever have questions or just want to say hi, you can always reach out through our contact page. Thanks so much for stopping by our kitchen today. Happy snacking!
PrintEasy 5-Ingredient No-Bake Peanut Butter Protein Bars
You can make these simple, chewy protein bars at home with just five ingredients. They require no baking and are perfect for quick meal prep or a satisfying, high-protein snack.
- Prep Time: 10 min
- Cook Time: 0 min
- Total Time: 40 min
- Yield: 10 servings
- Category: Snack
- Method: No-Bake
- Cuisine: American
- Diet: Vegetarian
Ingredients
- 1 cup rolled oats
- 1/2 cup peanut butter (natural style works best)
- 1/2 cup protein powder (vanilla or unflavored)
- 1/4 cup honey or maple syrup
- 1/4 cup dark chocolate chips (for drizzling)
Instructions
- Line an 8×8 inch baking pan with parchment paper, leaving an overhang on the sides for easy removal.
- In a medium bowl, combine the rolled oats, peanut butter, protein powder, and honey or maple syrup.
- Mix all ingredients thoroughly until a thick, uniform dough forms. You may need to use your hands to fully incorporate everything.
- Press the mixture evenly into the prepared pan. Press down firmly to make sure the bars hold their shape.
- Place the pan in the freezer for at least 30 minutes to firm up.
- Once firm, lift the parchment paper to remove the block of bars from the pan. Cut into 10 even bars.
- Melt the chocolate chips in a microwave-safe bowl in 30-second intervals, stirring until smooth. Drizzle the melted chocolate over the tops of the bars.
- Return the bars to the refrigerator or freezer until the chocolate sets. Store the finished protein bars in an airtight container in the refrigerator.
Notes
- For a vegan option, use maple syrup instead of honey and ensure your protein powder is plant-based.
- If the mixture seems too dry, add one teaspoon of water or milk at a time until it comes together.
- These homemade protein bars taste best when kept chilled.
- You can substitute peanut butter with almond butter or sunflower seed butter for a different flavor profile.
Nutrition
- Serving Size: 1 bar
- Calories: 210
- Sugar: 7
- Sodium: 110
- Fat: 12
- Saturated Fat: 3
- Unsaturated Fat: 9
- Trans Fat: 0
- Carbohydrates: 18
- Fiber: 2
- Protein: 12
- Cholesterol: 0