

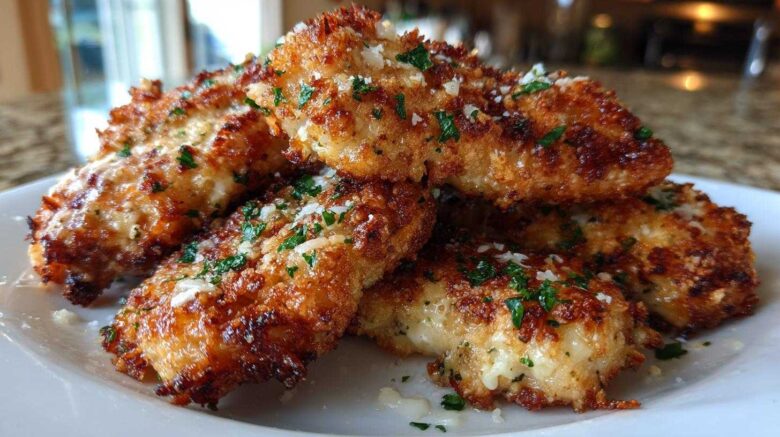
Friends, welcome to Flavor Vista! I’m Elias, and Hannah and I are thrilled you’re here. Forget those bland, frozen fingers of chicken. We’re talking about an upgrade.
We wanted a weeknight meal that felt special. Something crispy and savory. This recipe for Garlic Parmesan Chicken Tenders was born from that desire. It’s our family favorite now.
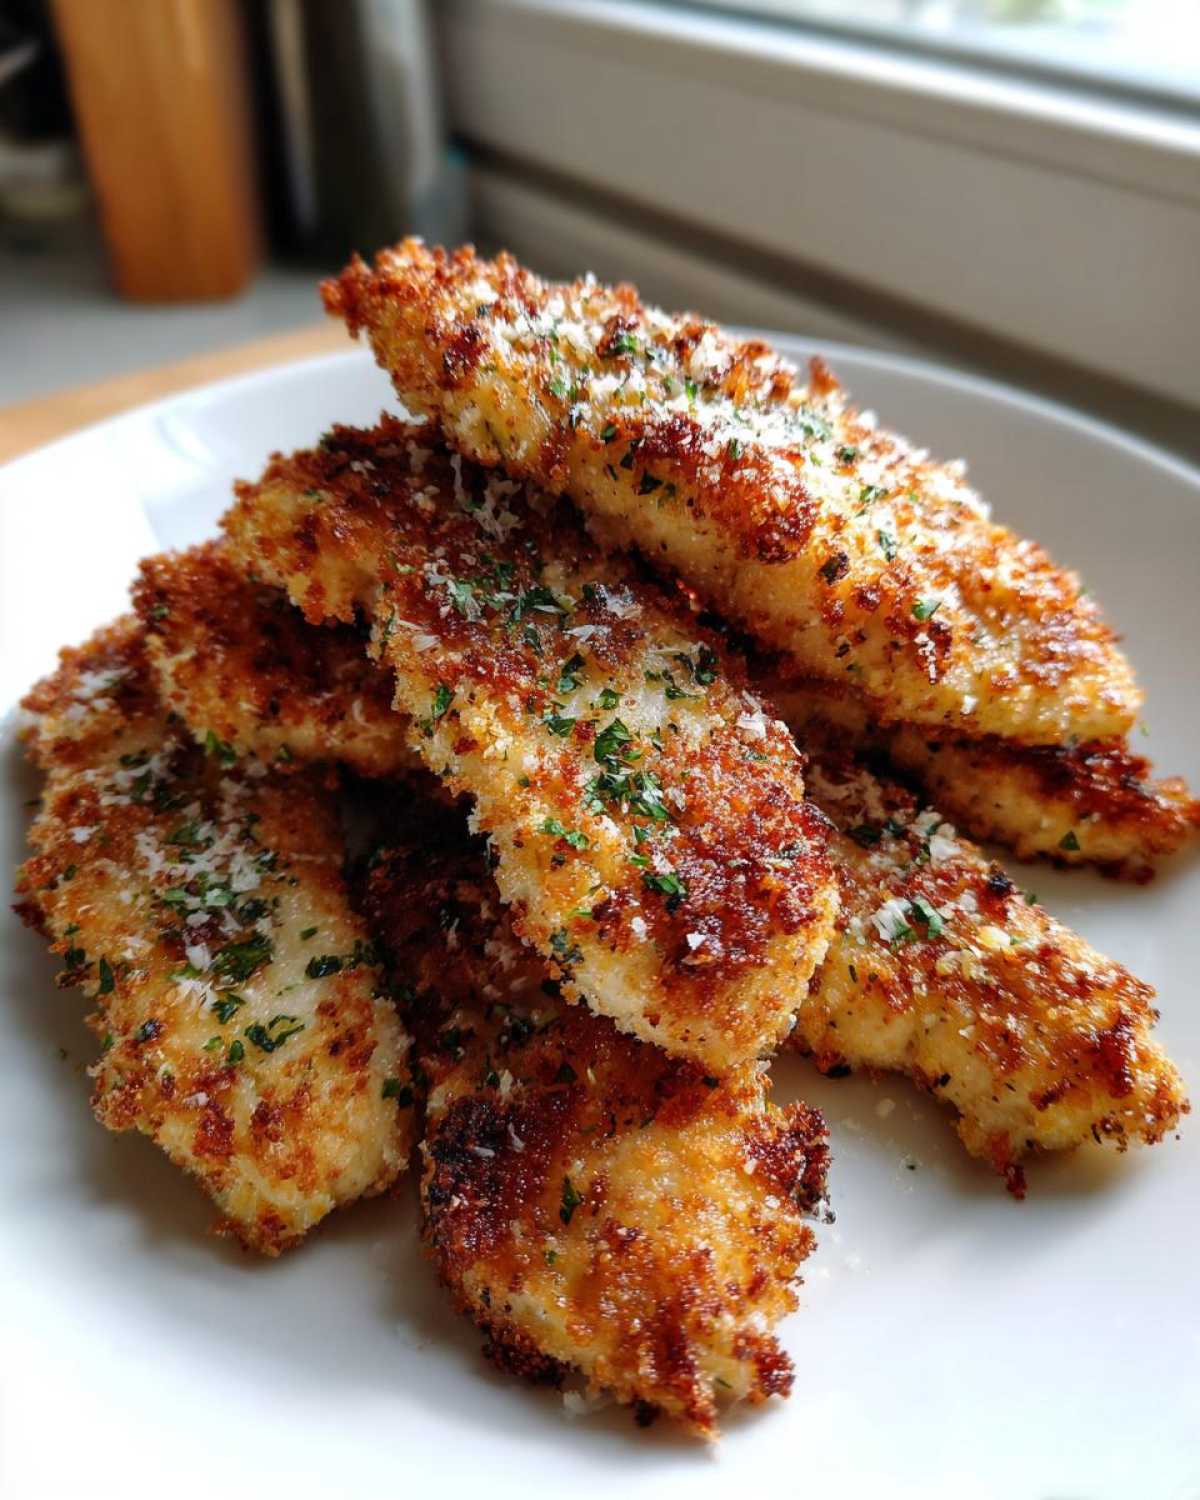
It takes simple chicken breasts and turns them into golden, cheesy perfection. You won’t believe how easy these homemade tenders are. They seriously beat takeout every time. Get ready for amazing flavor.
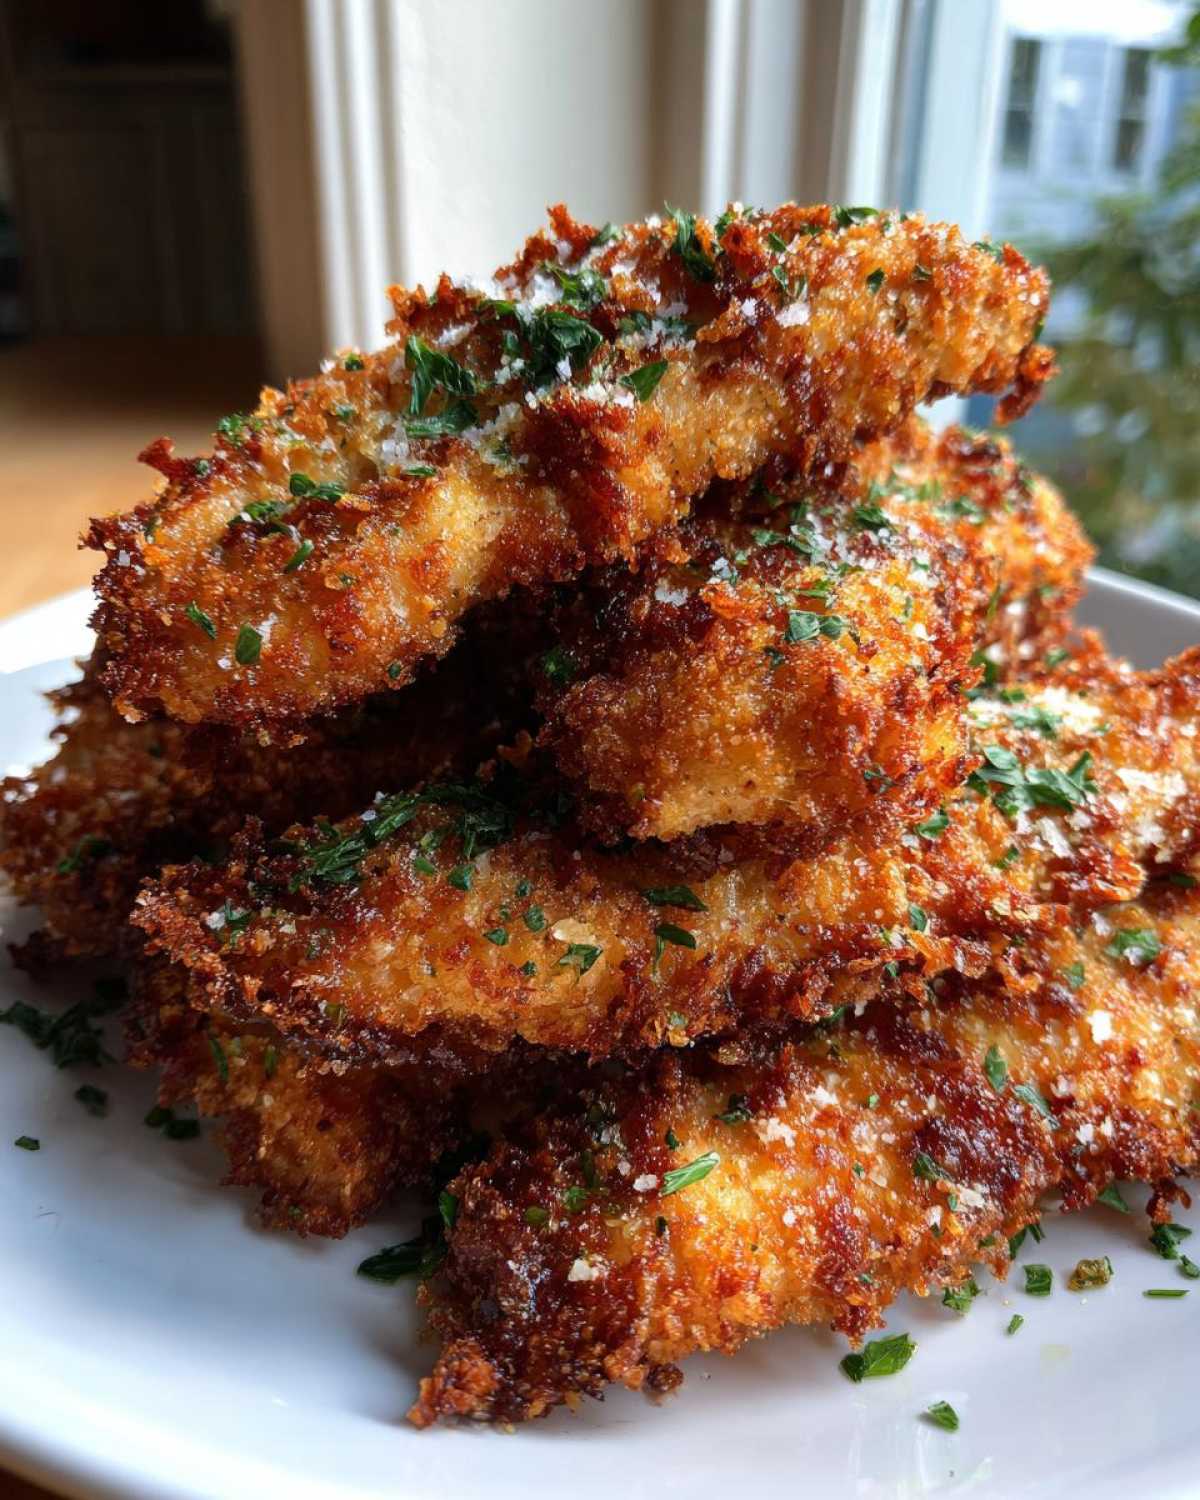
Why You’ll Love These Garlic Parmesan Chicken Tenders
Life gets busy, right? I get it. That is why Hannah and I developed this recipe. It hits all the right notes for us.
- They are unbelievably crispy, every single time.
- The Parmesan and garlic flavor is rich.
- Kids absolutely devour these chicken tenders.
- Dinner comes together super fast.
These qualities make them a true weeknight winner.
Quick Prep for Flavor Vista Garlic Parmesan Chicken Tenders
We clocked the prep time at just 15 minutes. That is fast! You just need three shallow dishes ready to go. You slice the chicken. Then you dredge and coat them quickly. You’ll be frying them fast. It’s real cooking momentum.
Essential Ingredients for Crispy Garlic Parmesan Chicken Tenders
Getting the right ingredients matters a lot. These components build that signature flavor. I laid everything out before we started cooking. It makes the dredging process smooth.
You need 1.5 pounds of boneless, skinless chicken breasts. Cut these into nice, even tenders. For the dry coating, grab one cup of all-purpose flour. Season it well with salt, pepper, garlic powder, and paprika.
- Two large eggs must be lightly beaten in a separate dish.
- For that crunch, use one cup of panko breadcrumbs.
- Mix the panko with a half cup of grated Parmesan cheese.
- Don’t forget two tablespoons of fresh parsley, chopped finely.
- We use a half cup of vegetable oil for frying them up.
Ingredient Notes and Substitution Options
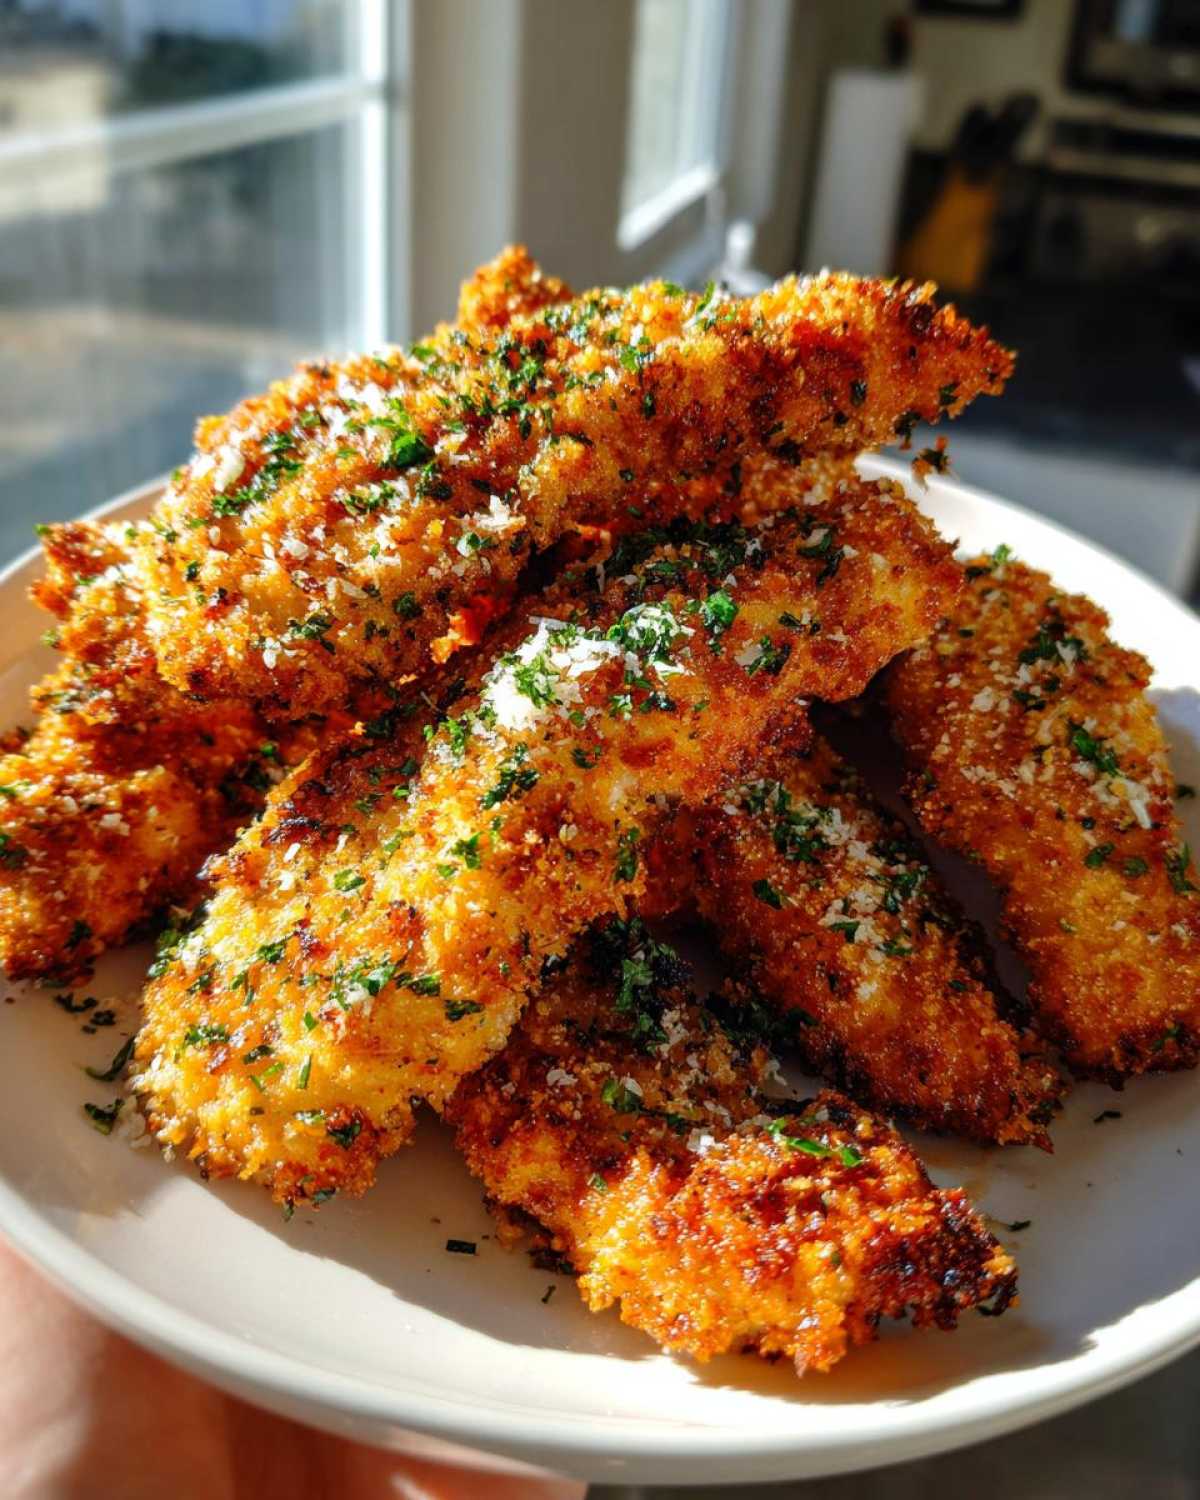
Panko breadcrumbs are non-negotiable for crispiness. They are lighter than regular crumbs. They create those beautiful, jagged edges we love. Don’t swap them out here!
For the cheese, use freshly grated Parmesan if you can. The pre-grated stuff sometimes clumps badly. If you want more garlic punch, add an extra half teaspoon of garlic powder to your flour.
If you must skip frying, these tenders still work great. Just know the texture changes a bit. We always stick to vegetable oil for a neutral taste. For more information on safe oil temperatures, check out resources from the U.S. Food and Drug Administration.
Equipment Needed for Garlic Parmesan Chicken Tenders
You don’t need fancy gadgets for this recipe. I keep my setup simple. Good tools just make the process easier, though.
We rely on basic kitchen items. Make sure everything is clean and ready first.
- Three shallow dishes are essential for dredging.
- A large skillet works best for frying the tenders.
- A wire rack placed over a baking sheet helps drainage.
- Paper towels are great for blotting any extra oil.
- A sharp knife cuts the chicken breasts evenly.
- A whisk mixes the dry flour coating well.
Having these things ready helps everything flow smoothly. It truly speeds up the process.
Step-by-Step Instructions for Perfect Garlic Parmesan Chicken Tenders
Follow these steps closely. You will get amazing results every time. I promise you that! We want perfectly coated, juicy tenders.
Preparing the Chicken Coating Station
Set up your three dredging dishes first. This is the key to speed. Dish one holds your seasoned flour mixture. Shake off any extra flour right away. Too much flour burns in the oil.
Next, dip the floured tender into the beaten eggs. Let any wet egg drip back into the bowl. This egg acts like glue for the crust. Finally, press the tender firmly into the panko Parmesan mix. Make sure it is totally covered. This creates the crispy shell we crave.
Frying Technique for Golden Garlic Parmesan Chicken Tenders
Heat your vegetable oil in that large skillet. You want it shimmering over medium-high heat. If the oil smokes, it is too hot. Lower that heat slightly right away.
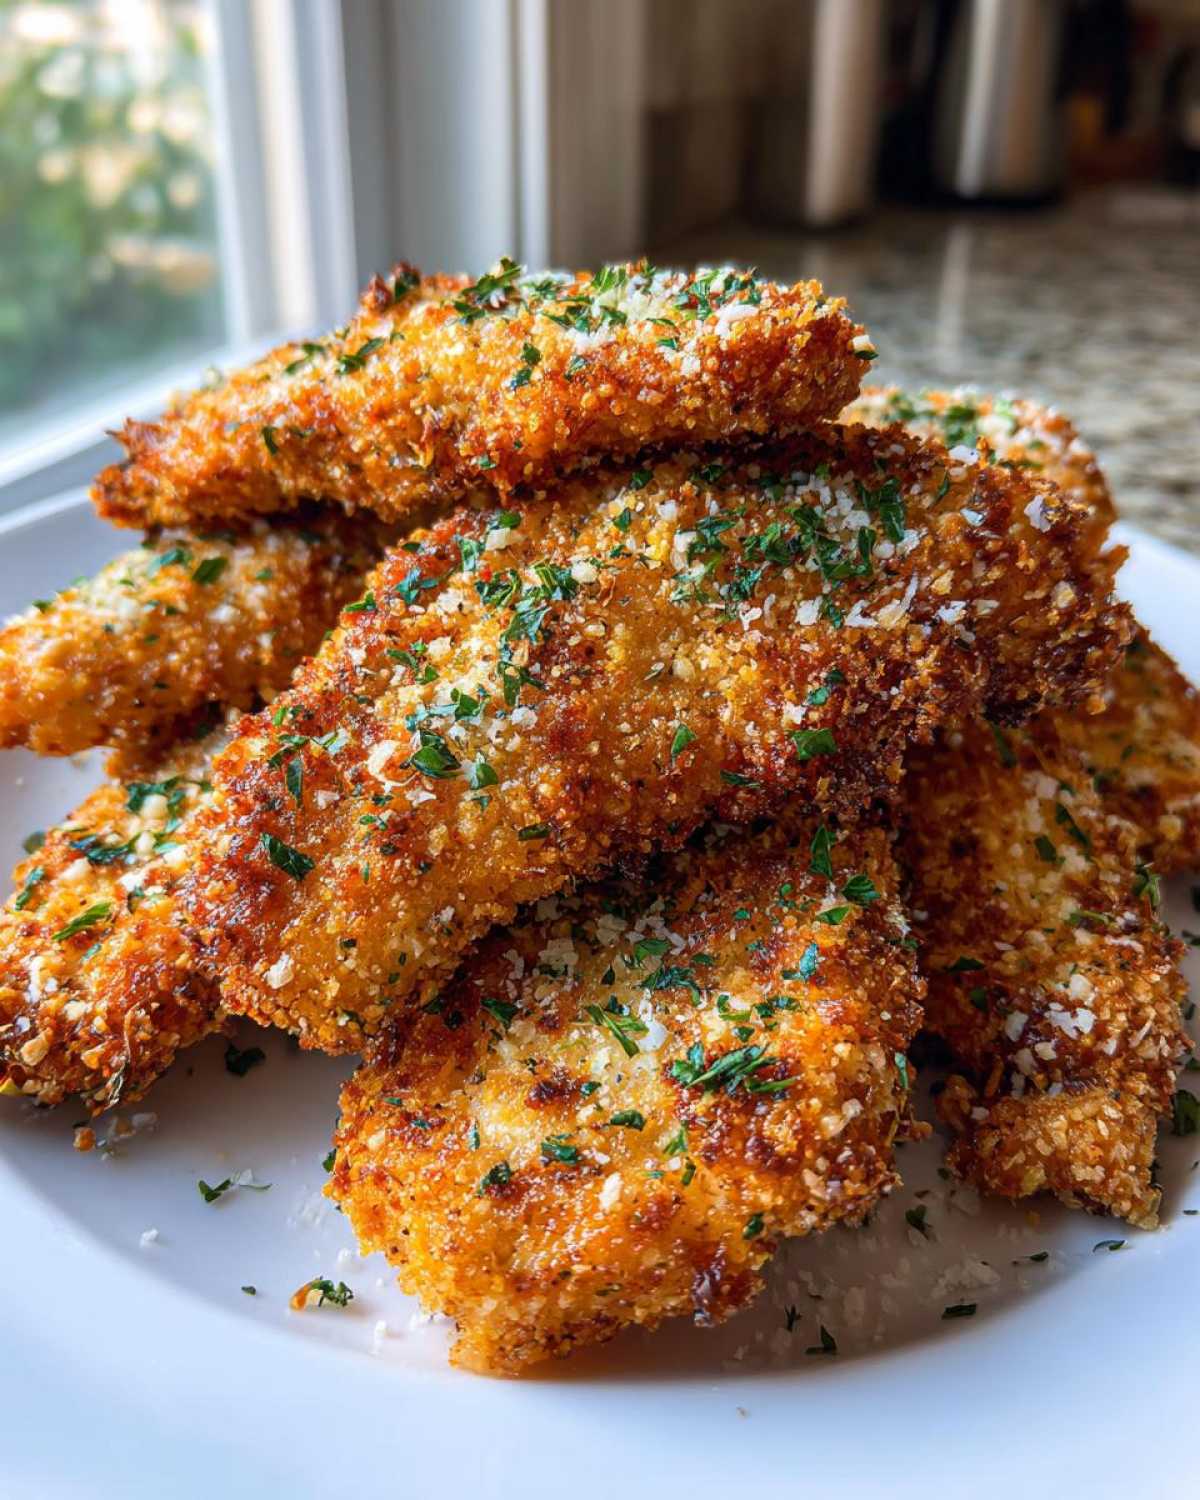
Fry only a few tenders at a time. Overcrowding drops the oil temperature fast. Soggy tenders are the enemy here! Cook them for three to four minutes per side. Look for that deep golden brown color. Use a meat thermometer too. The internal temperature must hit 165 degrees Fahrenheit. This ensures the best Garlic Parmesan Chicken Tenders.
Use tongs to move them to the wire rack. Sprinkle them with fresh parsley immediately after frying. The heat helps the parsley stick perfectly.
Tips for Success Making Garlic Parmesan Chicken Tenders
Hannah and I have learned a few tricks over the years. These small steps make a big difference. They ensure your tenders turn out restaurant quality.
Do not skip chilling the coated tenders if you can wait. This really helps the crust set up hard. We chill ours for about 15 minutes minimum. This stops the coating from falling off in the hot oil.
If frying isn’t your thing, we have you covered. You can bake these tenders instead. Here are our best tips for perfect results:
- Chill coated tenders for 15 minutes before cooking.
- Bake at 400 degrees Fahrenheit for 15 to 20 minutes.
- Feel free to adjust the garlic powder amount.
Trust me, these small things elevate your homemade tenders.
Serving Suggestions for Your Garlic Parmesan Chicken Tenders
Now that you have these golden beauties, what should you eat them with? A great tender needs a great partner. I always think about balancing the richness of the Parmesan.
Dipping sauces make everything better, honestly. My favorite is a simple, tangy ranch dressing. It cuts through the savory garlic flavor nicely. Honey mustard is also a huge hit here. If you are looking for a great side dish pairing, check out our recipe for creamy coleslaw recipe.
For a full meal, think about simple sides. We love serving ours with some crisp, acidic coleslaw. Roasted broccoli works well too. It keeps the meal feeling light.
If you are making them for game day, keep it casual. A big bowl of celery sticks is traditional. Maybe some simple carrot coins on the side. Keep the focus on those amazing chicken tenders!
Storing and Reheating Your Garlic Parmesan Chicken Tenders
Leftovers are the best, aren’t they? We always make extra just for lunch the next day. Storing them properly keeps them tasting great.
First, let the tenders cool completely. This is super important for storage. Warm food creates steam in the container. Steam makes things soggy fast. Nobody wants soggy tenders!
Store the cooled tenders in an airtight container. Keep them in the refrigerator for up to three days. Do not pile them too high in the container. This also helps prevent crushing.
Reheating is where many people go wrong. Microwaving them is a disaster. It melts the crust right off! I have a better way to bring back that crunch.
- Use an oven or toaster oven for reheating.
- Set your oven to 375 degrees Fahrenheit.
- Place the tenders on a wire rack over a baking sheet.
- Heat for about 8 to 10 minutes total.
This method dries out the crust again. It brings back that satisfying golden crispiness. Enjoy them like they were just made!
Frequently Asked Questions About Garlic Parmesan Chicken Tenders
I get so many questions after people try this recipe. Cooking is all about learning. Let’s tackle a few common worries about making these crispy chicken tenders.
People always ask about getting that perfect crunch. Texture is everything with a good tender. I want you to succeed. Here are some quick answers for you.
Can I use chicken thighs instead of breasts? Yes, you absolutely can! Thigh meat stays moister when cooked. Just watch the frying time closely. Chicken thighs might need an extra minute or two.
How do I stop the coating from falling off? This is a big one. Make sure your chicken is super dry first. Pat it well with paper towels. Also, be sure to press the panko mixture firmly onto the egg wash. That firm press locks everything in place.
Can I make the Garlic Parmesan Chicken Tenders ahead of time?
You can prepare them ahead, but with a catch. I strongly suggest you only prep the dredging station. Coating the chicken too early can cause issues.
If you must coat them early, chill them uncovered. Place the raw, coated tenders on a baking sheet. Put them in the fridge for up to four hours. This keeps the coating dry.
Do not store coated tenders overnight in a sealed container. The moisture from the chicken will make the crust gummy. For the best results, coat them right before you plan to fry them. This keeps your homemade tenders perfectly crispy.
Understanding the Nutrition in Our Garlic Parmesan Chicken Tenders
We love food that tastes good. We also like knowing what we are eating. When you make these at home, you control everything. That is a huge plus over eating out.
I calculated the basics for you. These numbers reflect the recipe as written. Remember this is just an estimate, okay? Every ingredient varies slightly.
This data is based on four servings total. Each serving is about four tenders. It gives you a good idea of the macros involved.
- Calories: Around 380 per serving.
- Protein: A solid 30 grams per serving.
- Total Fat: Roughly 20 grams.
- Carbohydrates: About 18 grams total.
- Sodium: Near 450 milligrams.
See? That protein count is fantastic for a main dish. We keep the sugar very low here. That is just from the small amount in the breadcrumbs. Enjoy your flavorful meal!
PrintAmazing 15-Minute Garlic Parmesan Chicken Tenders

Make amazing, crispy Garlic Parmesan Chicken Tenders at home. This recipe delivers a flavor upgrade to the classic, perfect for family dinners or game day snacks.
- Prep Time: 15 minutes
- Cook Time: 15 minutes
- Total Time: 30 minutes
- Yield: 4 servings
- Category: Main Dish
- Method: Pan-Frying
- Cuisine: American
- Diet: None
Ingredients
- 1.5 lbs boneless, skinless chicken breasts, cut into tenders
- 1 cup all-purpose flour
- 1 teaspoon salt
- 1/2 teaspoon black pepper
- 1 teaspoon garlic powder
- 1/2 teaspoon paprika
- 2 large eggs, lightly beaten
- 1 cup panko breadcrumbs
- 1/2 cup grated Parmesan cheese
- 2 tablespoons chopped fresh parsley
- 1/2 cup vegetable oil, for frying
Instructions
- Pat the chicken tenders dry with paper towels.
- In a shallow dish, whisk together the flour, salt, pepper, garlic powder, and paprika.
- In a second shallow dish, place the lightly beaten eggs.
- In a third shallow dish, combine the panko breadcrumbs and Parmesan cheese.
- Dredge each chicken tender first in the flour mixture, shaking off excess.
- Dip the floured tender into the egg wash, letting excess drip off.
- Coat the tender completely in the breadcrumb mixture, pressing gently to adhere.
- Heat the vegetable oil in a large skillet over medium-high heat until shimmering.
- Carefully place the tenders in the hot oil, working in batches to avoid overcrowding.
- Fry for 3 to 4 minutes per side, until golden brown and cooked through (internal temperature reaches 165°F).
- Remove tenders from the oil and place them on a wire rack lined with paper towels to drain excess oil.
- Sprinkle immediately with fresh parsley before serving.
Notes
- For extra crispiness, chill the coated tenders for 15 minutes before frying.
- You can bake these tenders at 400°F for 15-20 minutes if you prefer not to fry.
- Adjust the garlic powder amount to match your taste preference.
Nutrition
- Serving Size: 4 tenders
- Calories: 380
- Sugar: 1g
- Sodium: 450mg
- Fat: 20g
- Saturated Fat: 5g
- Unsaturated Fat: 15g
- Trans Fat: 0g
- Carbohydrates: 18g
- Fiber: 1g
- Protein: 30g
- Cholesterol: 95mg