

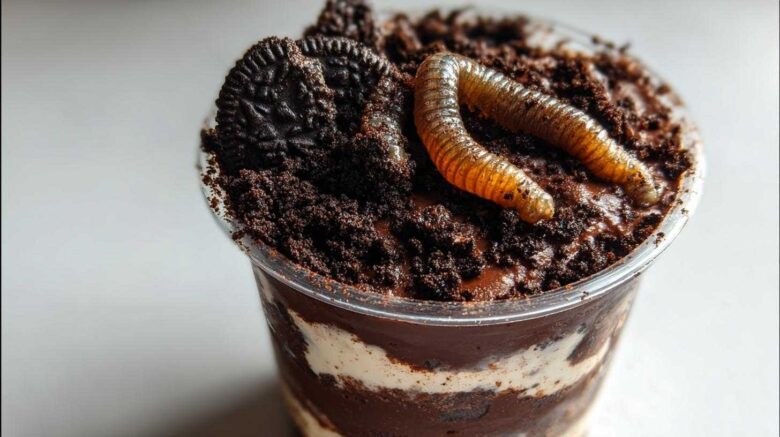
There’s something truly magical about Halloween, isn’t there? The crisp air, the costumes, and of course, all the delicious treats. For me, it brings back so many happy memories. Every year, my family and I would gather in the kitchen, ready to whip up something wonderfully spooky. And without fail, our go-to was always these fantastic Halloween Dirt Cups. They’re such a fun, no-bake dessert, perfect for getting everyone involved.
I remember one year, my niece, Lily, insisted on putting “extra wiggly” gummy worms in hers. It was chaotic and messy, but full of laughter. These dirt cups are a tradition for us, a simple way to make sweet memories, whether you’re a kid or just a kid at heart.
Why You’ll Love These Halloween Dirt Cups
I just know you’re going to adore these Halloween Dirt Cups! They are:
- Super easy to make.
- Perfect for kids and adults.
- No baking required.
- Full of chocolatey goodness.
- A total blast to customize.
They bring so much joy to any celebration.
The Magic of Halloween Dirt Cups
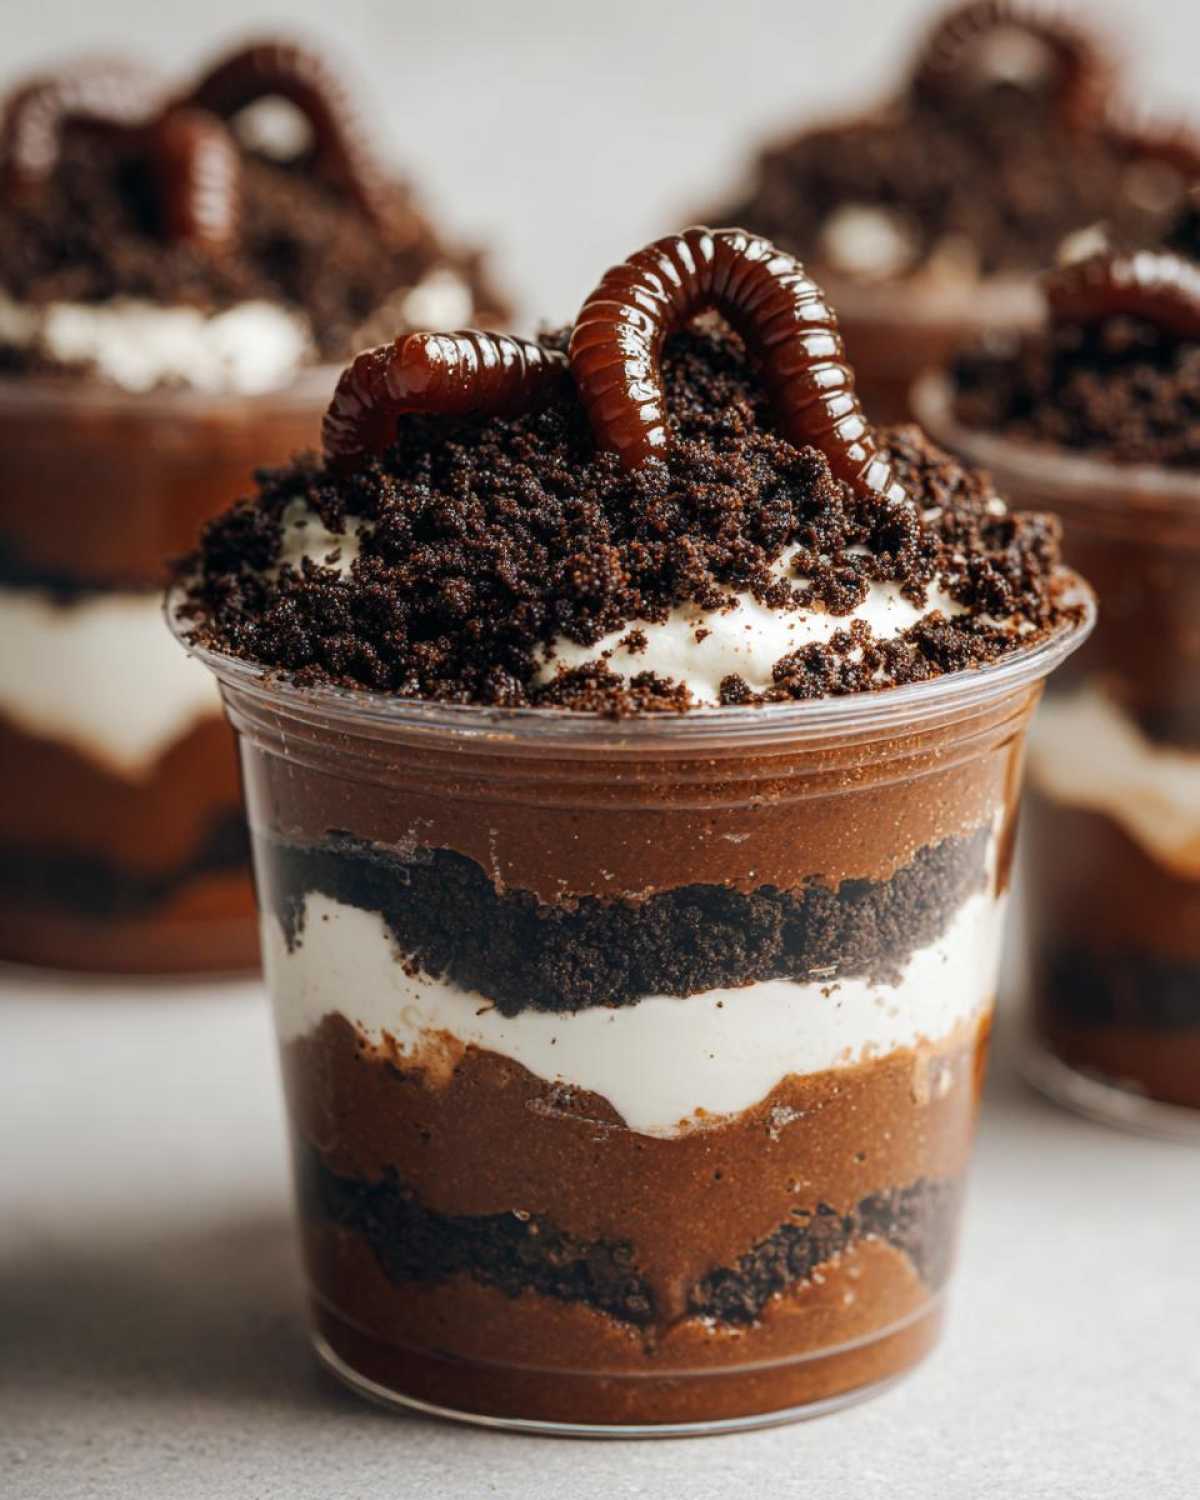
These Halloween Dirt Cups are pure magic. They look spooky and fun. The crushed Oreos perfectly mimic dirt. Then, you add those wiggly gummy worms! It’s a delightful surprise with every bite. The rich chocolate pudding makes them extra special. They are a Halloween party favorite for a reason.
Essential Ingredients for Perfect Halloween Dirt Cups
To make these spooky Halloween Dirt Cups, you’ll need a few simple things. I always grab:
- 1 (5.9 ounce) package instant chocolate pudding mix.
- 3 cups cold milk.
- 1 (8 ounce) container frozen whipped topping, thawed.
- 1 (14.3 ounce) package Oreo cookies.
- 1 (5 ounce) package gummy worms.
- 6-8 clear plastic cups or small jars.
These are the core ingredients for pure dirt cup fun.
Gathering Your Supplies for Halloween Dirt Cups
Before you start, gather everything you need. This makes cooking so much smoother. Check those expiration dates on your pudding mix and whipped topping, too. Freshness matters for the best flavor. Having it all ready helps the fun begin quickly!
How to Make Spooky Halloween Dirt Cups
Making these Halloween Dirt Cups is super easy! First, you’ll want to get your “dirt” ready. Take your Oreo cookies. You can put them in a Ziploc bag. Then, crush them with a rolling pin. I love doing this part; it’s a great stress reliever! If you have a food processor, that works too. Just pulse them until they look like fine dirt. Set those crushed Oreos aside for a moment.
Next, let’s make the chocolate pudding. In a large bowl, whisk together the instant chocolate pudding mix and the cold milk. Whisk it for about 2 minutes. It will start to thicken up nicely. Then, gently fold in your thawed whipped topping. Mix it until everything is well combined. This makes the pudding light and fluffy. It’s truly a secret weapon for creamy dirt cups.
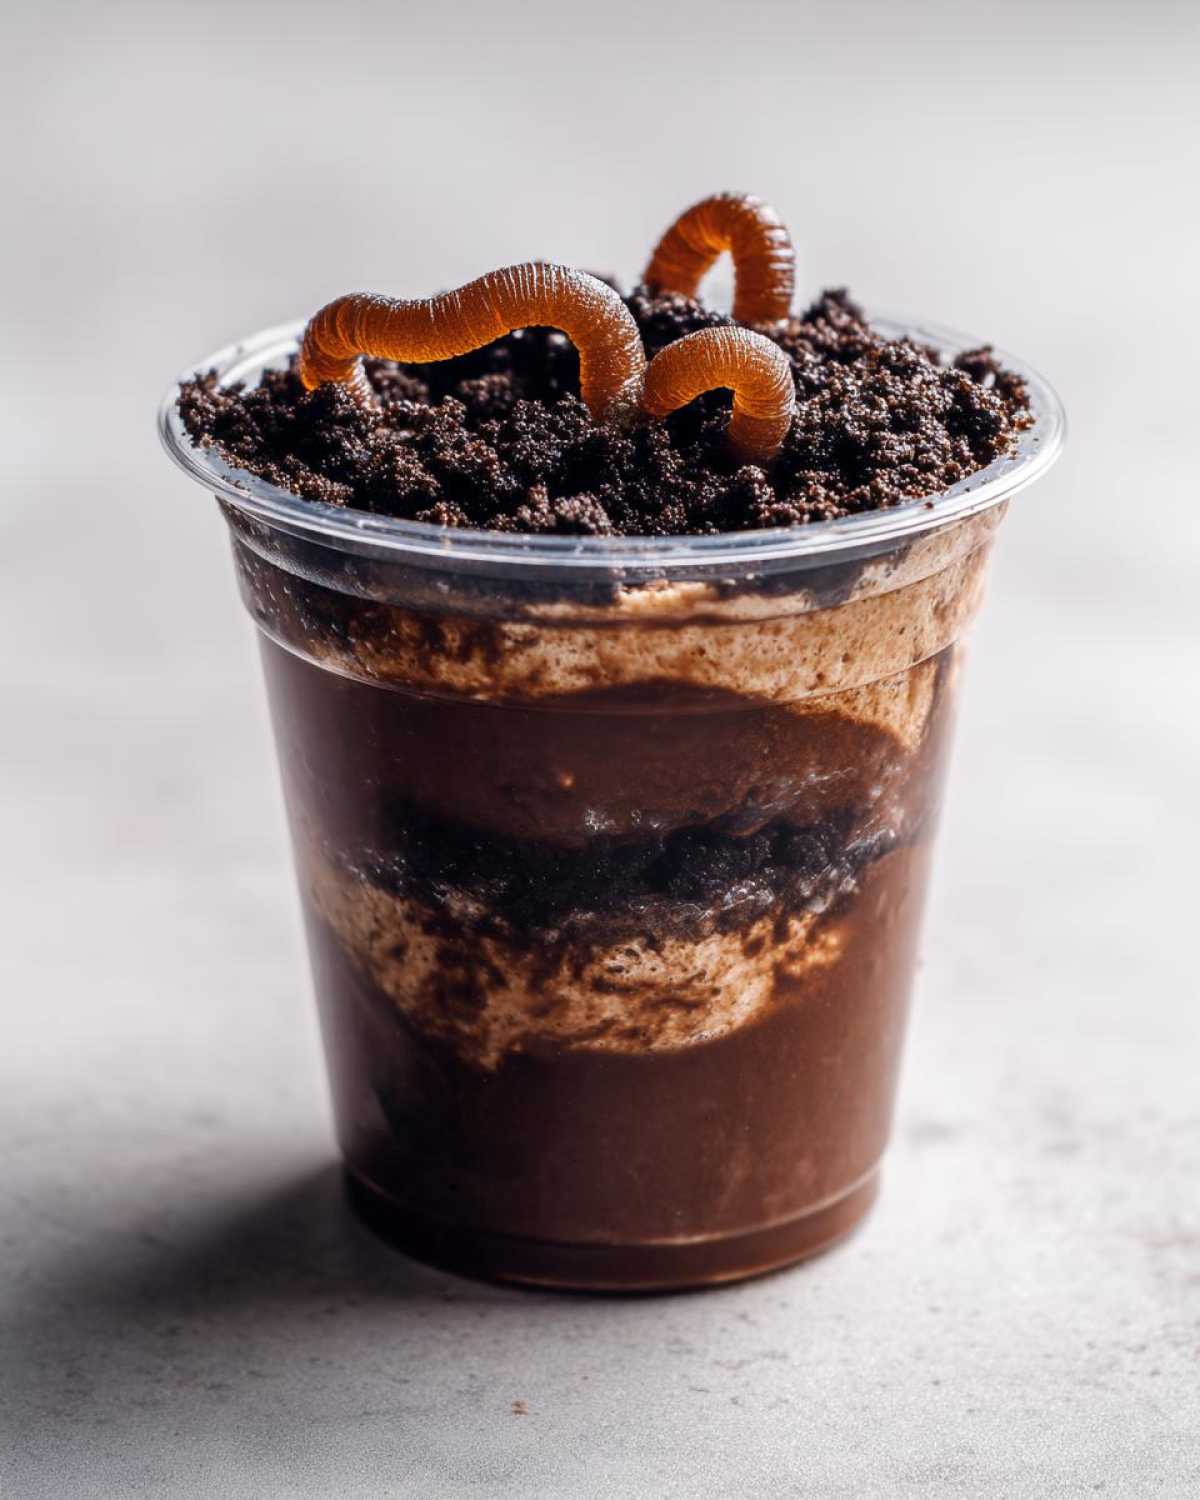
Now, it’s time to build your cups! Spoon about 2 tablespoons of crushed Oreos into the bottom of each clear cup. This is your first layer of “dirt.” Then, add a layer of the chocolate pudding mixture. Fill the cup about halfway. Add another layer of crushed Oreos on top of the pudding. Keep layering the pudding and Oreos. Make sure to end with a layer of crushed Oreos on top. This really makes it look like fresh dirt.
Finally, grab your gummy worms! Insert a few into the top layer of “dirt” in each cup. Position them so they look like they are crawling out. It’s so fun and spooky! Pop your finished dirt cups into the fridge. Let them chill for at least 30 minutes. This helps everything set. They taste best when they are thoroughly chilled.
Step-by-Step Assembly of Your Halloween Dirt Cups
The key to great Halloween Dirt Cups is layering. Start with that base of crushed Oreos. It’s like the foundation of your spooky garden. Then, add a generous dollop of that creamy chocolate pudding. Don’t be shy! Follow with more “dirt.” The alternating layers create a cool visual effect. It also gives you that perfect mix of textures in every bite. It’s satisfying to see them come to life.
Tips for the Best Halloween Dirt Cups
For the best Halloween Dirt Cups, chilling is crucial. Don’t skip that 30 minutes in the fridge. It makes them firm and delicious. You can get really creative with toppings, too! Try adding candy corn, candy pumpkins, or even some edible googly eyes. Different colors of gummy candies also look amazing. Feel free to experiment and make them your own!
Equipment for Your Halloween Dirt Cups Adventure
You won’t need much for these Halloween Dirt Cups. I use a big mixing bowl for the pudding. A whisk is perfect for blending it smooth. You’ll also want some measuring cups. And, of course, those clear plastic cups or cute little jars. They show off all your fun layers. A rolling pin or food processor helps crush the Oreos. That’s it!
Halloween Dirt Cups Variations and Serving Suggestions
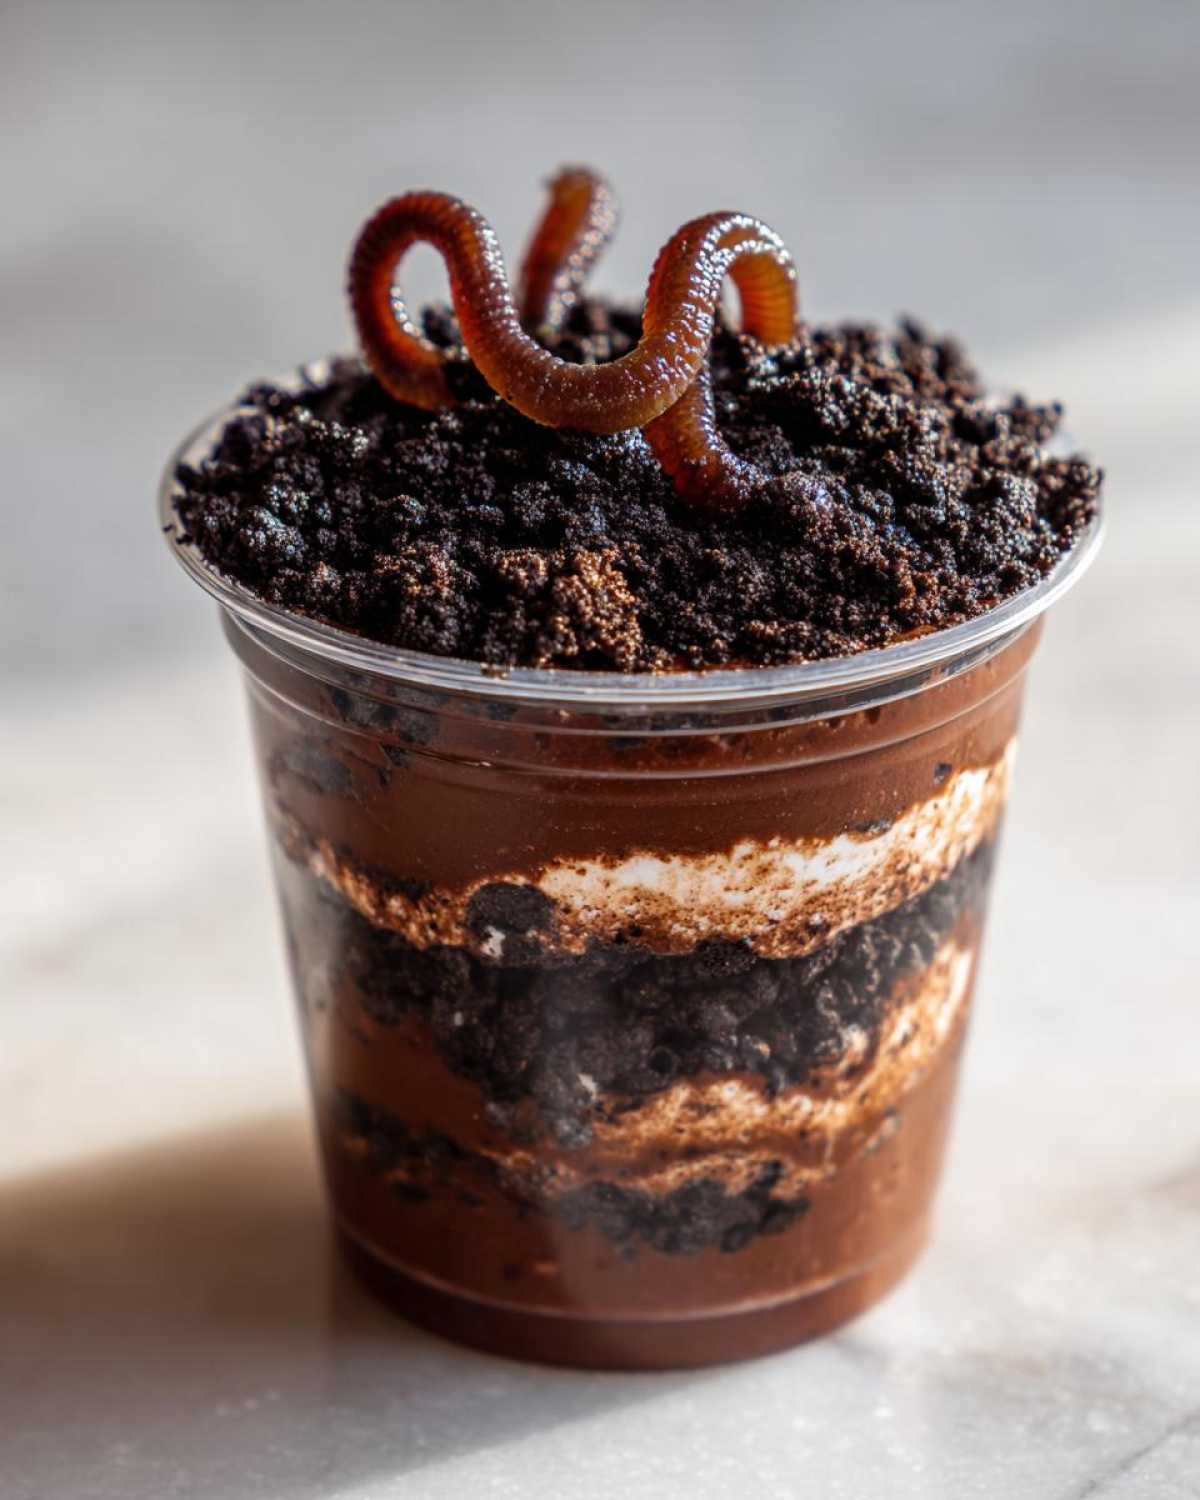
One of my favorite things about these Halloween Dirt Cups is how easy they are to change up. You can make them your own! I love to offer a topping bar when I serve them. Think about little bowls of extra gummy worms. Maybe add some candy corn or chopped up chocolate candies. For a party, I often put out a big tray of them. They are perfect on their own. But they also go great with other spooky treats. Think about ghost-shaped cookies or spooky pretzels. They are a delightful finish to any Halloween meal.
Creative Twists for Your Halloween Dirt Cups
Want to get even more creative? Try different pudding flavors. Vanilla or white chocolate pudding works too. You could even use different cookies. Chocolate chip cookies can be fun. For extra spooky vibes, use red gummy worms. Or, add some crushed green candies. Don’t be afraid to experiment! Make these Halloween Dirt Cups uniquely yours.
Storing Your Halloween Dirt Cups
Once your Halloween Dirt Cups are assembled, you can store them. Just cover them tightly with plastic wrap. Pop them into the refrigerator. They will stay fresh for up to 2 days. Since they are a no-bake treat, there’s no need to reheat them. They are best served chilled. So, enjoy them cold!
Common Questions About Halloween Dirt Cups
Can I make Halloween Dirt Cups ahead of time?
Absolutely! You can make these Halloween Dirt Cups up to two days in advance. Just cover them well and keep them chilled. This makes party planning so much easier!
What if I don’t have clear cups for my Halloween Dirt Cups?
No clear cups? No problem! Any small dessert cups or bowls work just fine. Mason jars are also a great option. They look really cute and rustic. The fun is still there!
Can I use sugar-free ingredients for Halloween Dirt Cups?
Yes, you can use sugar-free pudding mix and whipped topping. Keep in mind, the taste might be a little different. The texture should still be great, though. It’s a good modification for dietary needs.
How can I make my Halloween Dirt Cups extra spooky?
To make your Halloween Dirt Cups spookier, add candy eyeballs. Place them peeking out of the “dirt.” You can also use green or red gummy worms. A few candy pumpkins on top add a fun touch. Get creative with it!
Estimated Nutritional Information for Halloween Dirt Cups
I know many of you like to keep an eye on what you’re eating. So, here’s an estimated look at the nutritional info for one serving of these Halloween Dirt Cups. Please remember, these are just estimates. The exact numbers can change based on the brands you use. They also depend on how big your servings are.
- Serving Size: 1 cup
- Calories: 450
- Sugar: 50g
- Sodium: 400mg
- Fat: 20g
- Saturated Fat: 10g
- Unsaturated Fat: 8g
- Trans Fat: 0g
- Carbohydrates: 60g
- Fiber: 2g
- Protein: 5g
- Cholesterol: 10mg
Enjoy these treats in moderation!
Share Your Halloween Dirt Cups Creations
I hope you loved making these Halloween Dirt Cups as much as I do! I’d love to see your spooky creations. Did you add any fun twists? Please share your photos and comments below. Your feedback helps me and others in our cooking community. Happy haunting and happy eating!
PrintAmazing Halloween Dirt Cups: 2-Day Chilling Secret
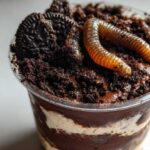
Halloween Dirt Cups are a fun, no-bake dessert. They feature layers of rich chocolate pudding and crushed Oreo ‘dirt’, topped with playful gummy worms for a creepy-crawly look and delicious chocolatey taste.
- Prep Time: 20 minutes
- Cook Time: 0 minutes
- Total Time: 50 minutes
- Yield: 6-8 servings
- Category: Dessert
- Method: No-Bake
- Cuisine: American
Ingredients
- 1 (5.9 ounce) package instant chocolate pudding mix
- 3 cups cold milk
- 1 (8 ounce) container frozen whipped topping, thawed
- 1 (14.3 ounce) package Oreo cookies
- 1 (5 ounce) package gummy worms
- 6-8 clear plastic cups or small jars
Instructions
- Crush the Oreo cookies. You can do this by placing them in a Ziploc bag and crushing them with a rolling pin, or by using a food processor.
- In a large bowl, whisk together the instant chocolate pudding mix and cold milk for 2 minutes, or until thickened.
- Gently fold in the thawed whipped topping into the pudding mixture until well combined.
- Spoon about 2 tablespoons of crushed Oreos into the bottom of each cup.
- Add a layer of chocolate pudding mixture over the Oreos, filling the cup about halfway.
- Add another layer of crushed Oreos on top of the pudding.
- Continue layering pudding and Oreos until the cups are full, ending with a layer of crushed Oreos on top to resemble ‘dirt’.
- Insert a few gummy worms into the top layer of ‘dirt’ in each cup, positioning them as if they are crawling out.
- Refrigerate the dirt cups for at least 30 minutes before serving, or until thoroughly chilled.
Notes
- For extra fun, use different colors of gummy candies or other Halloween-themed candies.
- You can make these ahead of time and store them in the refrigerator for up to 2 days.
- Adjust the amount of crushed Oreos and pudding to your preference.
- If you don’t have clear cups, any small dessert cups or bowls will work.
Nutrition
- Serving Size: 1 cup
- Calories: 450
- Sugar: 50g
- Sodium: 400mg
- Fat: 20g
- Saturated Fat: 10g
- Unsaturated Fat: 8g
- Trans Fat: 0g
- Carbohydrates: 60g
- Fiber: 2g
- Protein: 5g
- Cholesterol: 10mg