

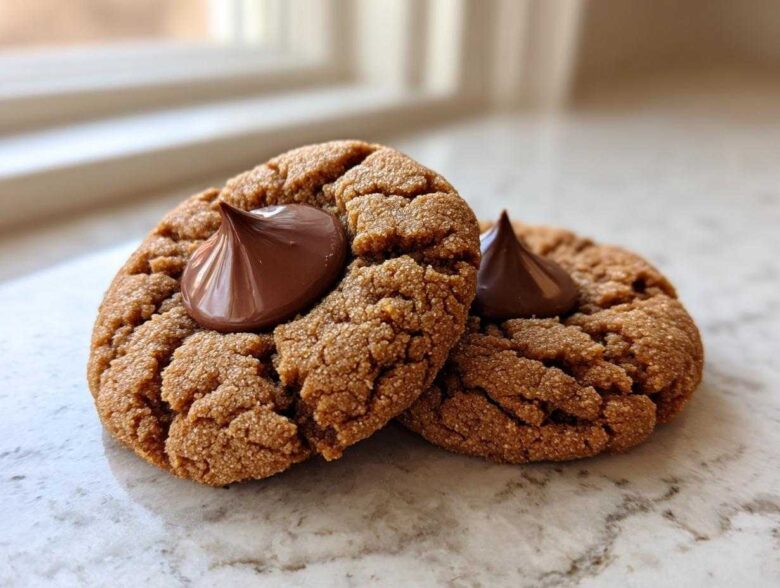
There’s just something about the smell of warm peanut butter mixing with chocolate that pulls you right back to Grandma’s kitchen during the holidays. If you grew up hearing that unmistakable crunch giving way to that soft, melted center, you know exactly what I mean! Forget those dry, crumbly versions you sometimes find—I’ve perfected the recipe for the absolute best Peanut Butter Blossom Cookies. This is my go-to, no-fail recipe that I seriously rely on every single year.
We’re talking about that perfect trifecta: sweet, salty, and utterly nostalgic. This recipe is so reliable because I’ve tested it dozens of times, ensuring that the dough bakes up soft and chewy, not hard as a rock. I’m sharing all my little secrets right here so you can make these easy cookies without any drama. Trust me, once you try this method, you won’t look back!
I want you to have amazing results, so make sure to check out my tips on achieving the ultimate soft cookie texture—it’s actually linked over here if you want a deeper dive into general cookie perfection, but for now, let’s focus on the Chocolate Kisses!
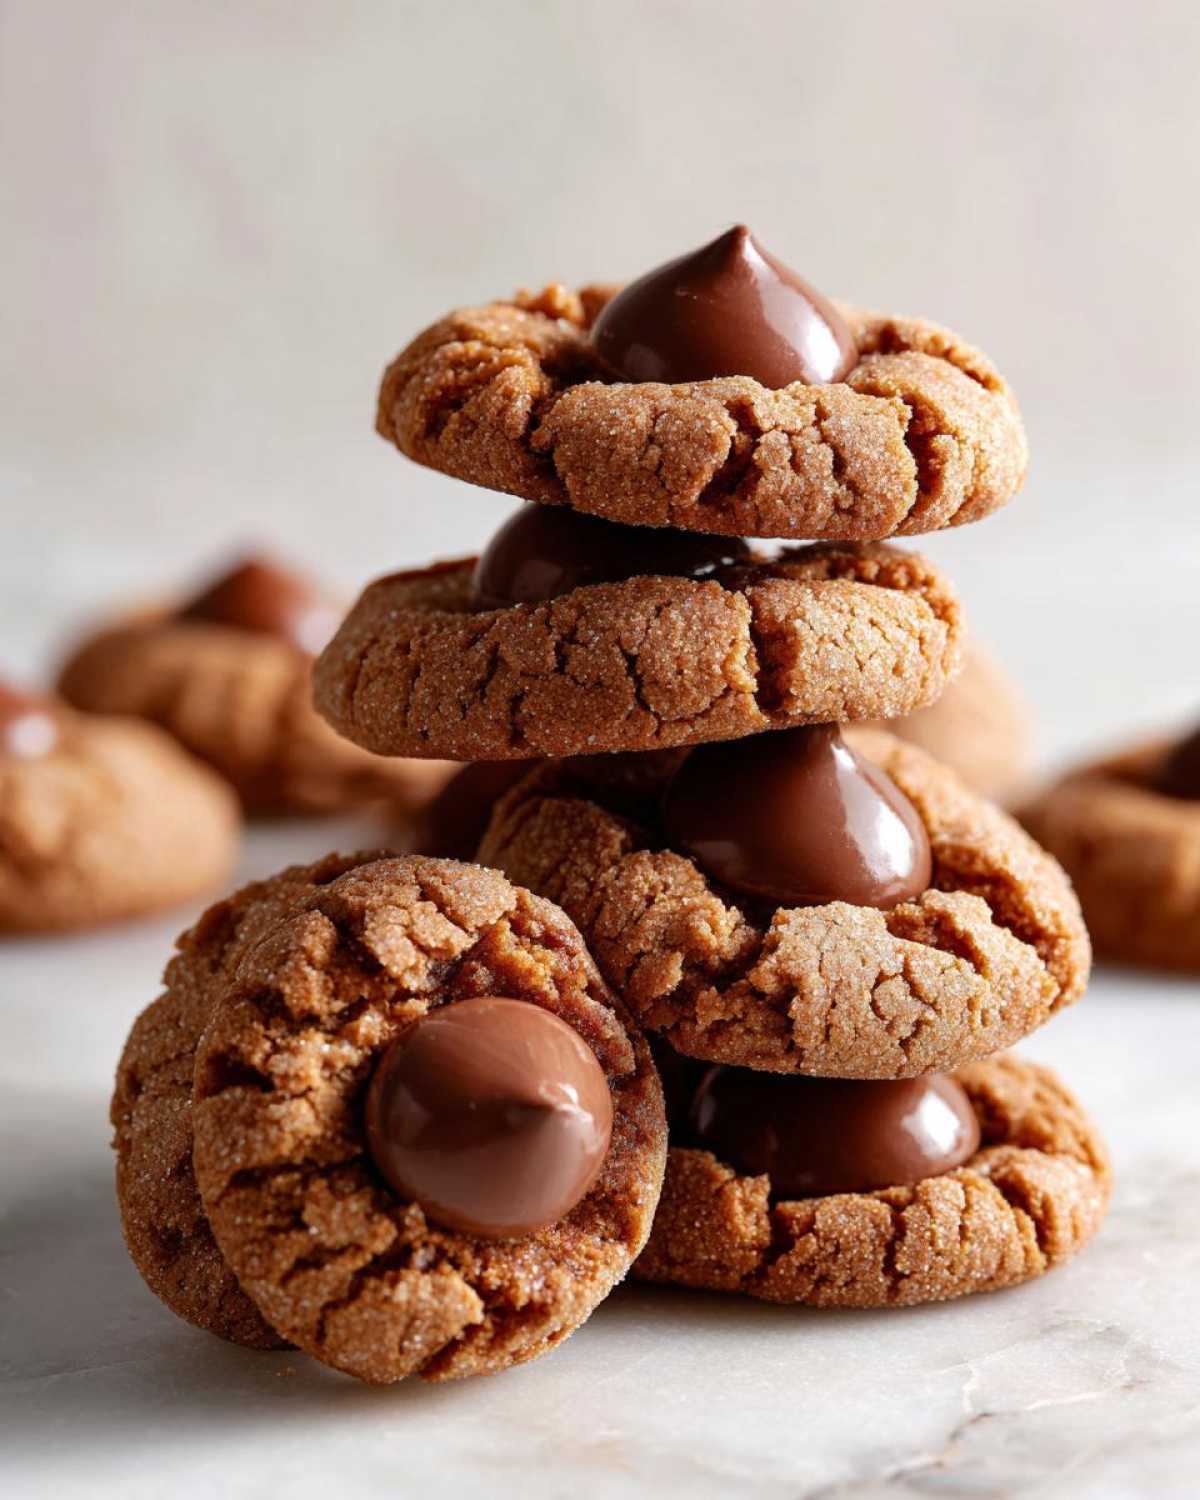
Why This Peanut Butter Blossom Cookies Recipe Works Every Time
We aren’t just making cookies here; we are making memories! This recipe stands out because it balances richness with simplicity. Most recipes get too fancy, but this one sticks to what works. It’s an easy peanut butter cookie recipe that truly delivers on the promise of being soft and charming.
Here’s what makes my version the absolute keeper:
- Perfect softness thanks to the mixture of two kinds of sugar, which locks in moisture beautifully.
- They bake incredibly fast, which is perfect when you need a quick batch of holiday cookie baking ideas.
- The technique keeps the edges just right—a little crisp, but the center stays tender for that perfect melt when you add the kiss.
You can see my notes on other simple peanut butter cookie recipes if you’re looking for speed, but for the true classic, stick with this one!
Achieving the Perfect Soft Center Blossom Cookies Texture
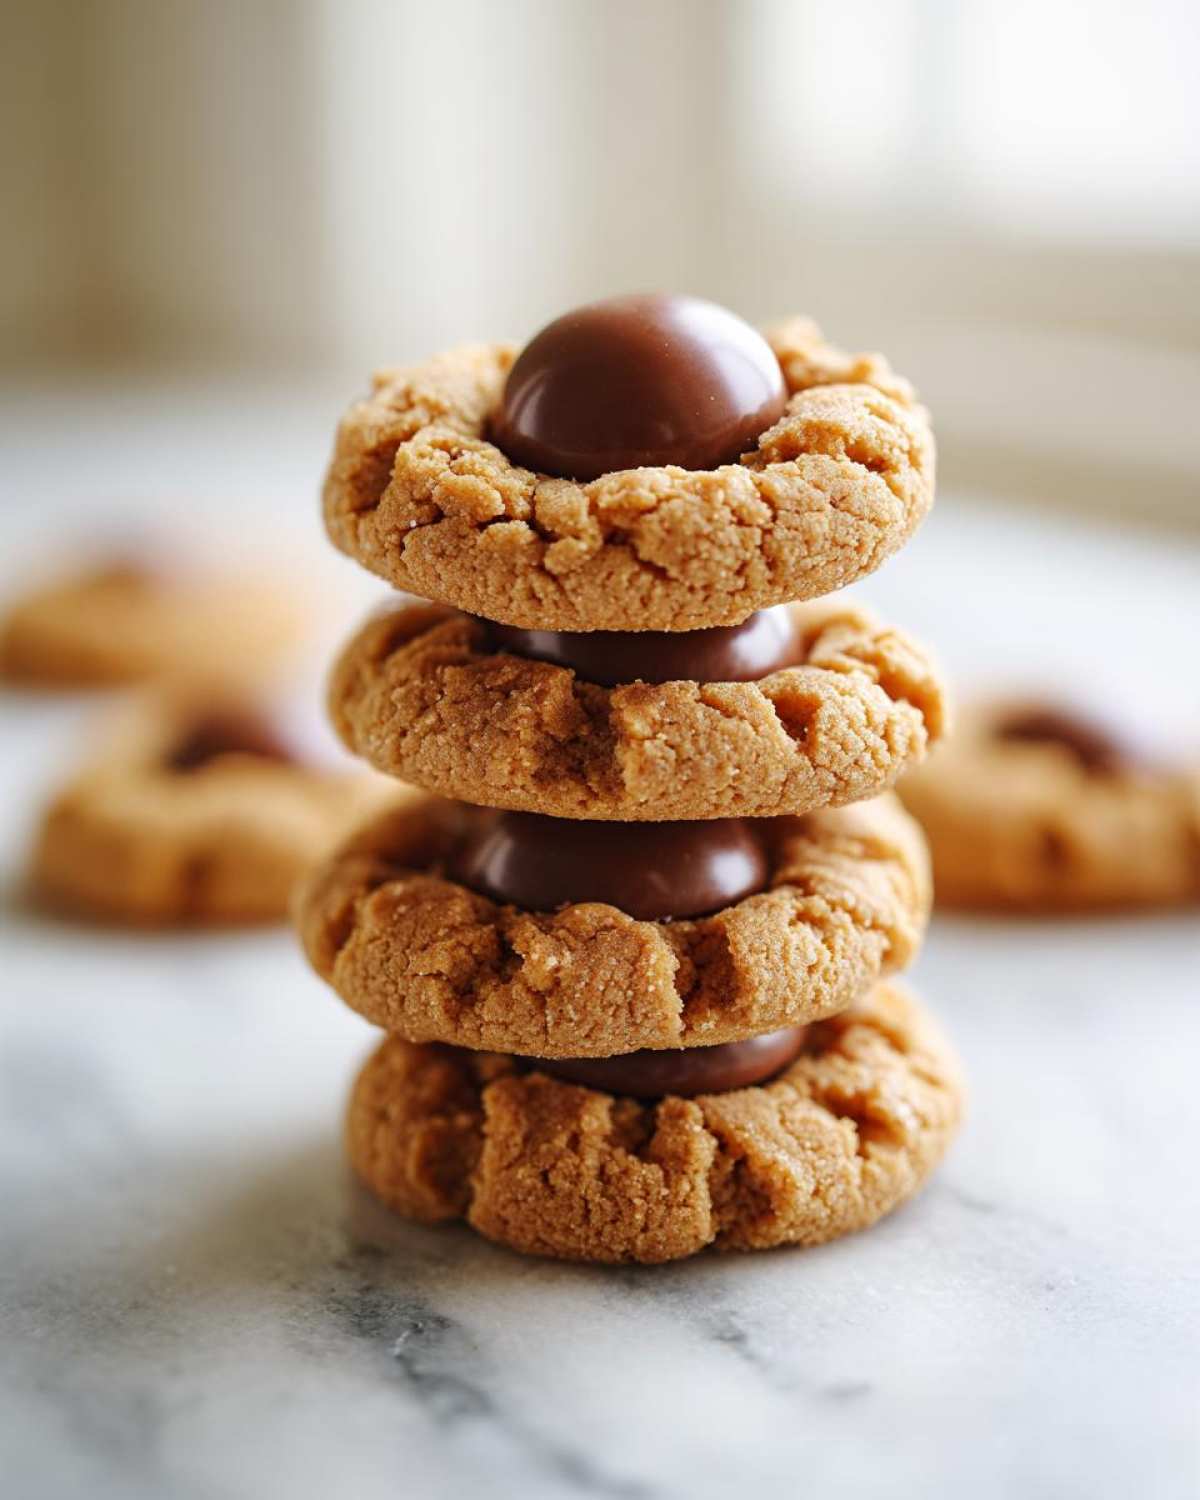
The secret to getting those irresistibly soft center blossom cookies is all in the timing! You really need to watch them carefully in the oven. I tell everyone: take them out when the edges are just set, say around the 9-minute mark. If you wait until the whole thing looks fully baked, you’re going to end up with a good cookie, but not a *great* one.
Leaving them in for just a minute less than you think you should means that residual heat from the baking sheet is doing the final work. That lingering warmth is what softens the chocolate kiss just enough without making the cookie itself collapse. It’s a delicate balance achieved through slight underbaking!
The Secret to Classic Peanut Butter Cookies Appearance
If you want that authentic, crinkly look that screams traditional bakery style cookies, you absolutely have to do the sugar roll. Seriously, don’t skip this optional step! When you roll those dough balls in extra granulated sugar right before they hit the tray, it creates a coating.
As the cookie spreads slightly in the oven, that sugar coating pulls and cracks on the surface, giving you those lovely, decorative fissures around the edges. It adds a tiny bit of extra crunch, too, which is just wonderful contrast to the soft center!
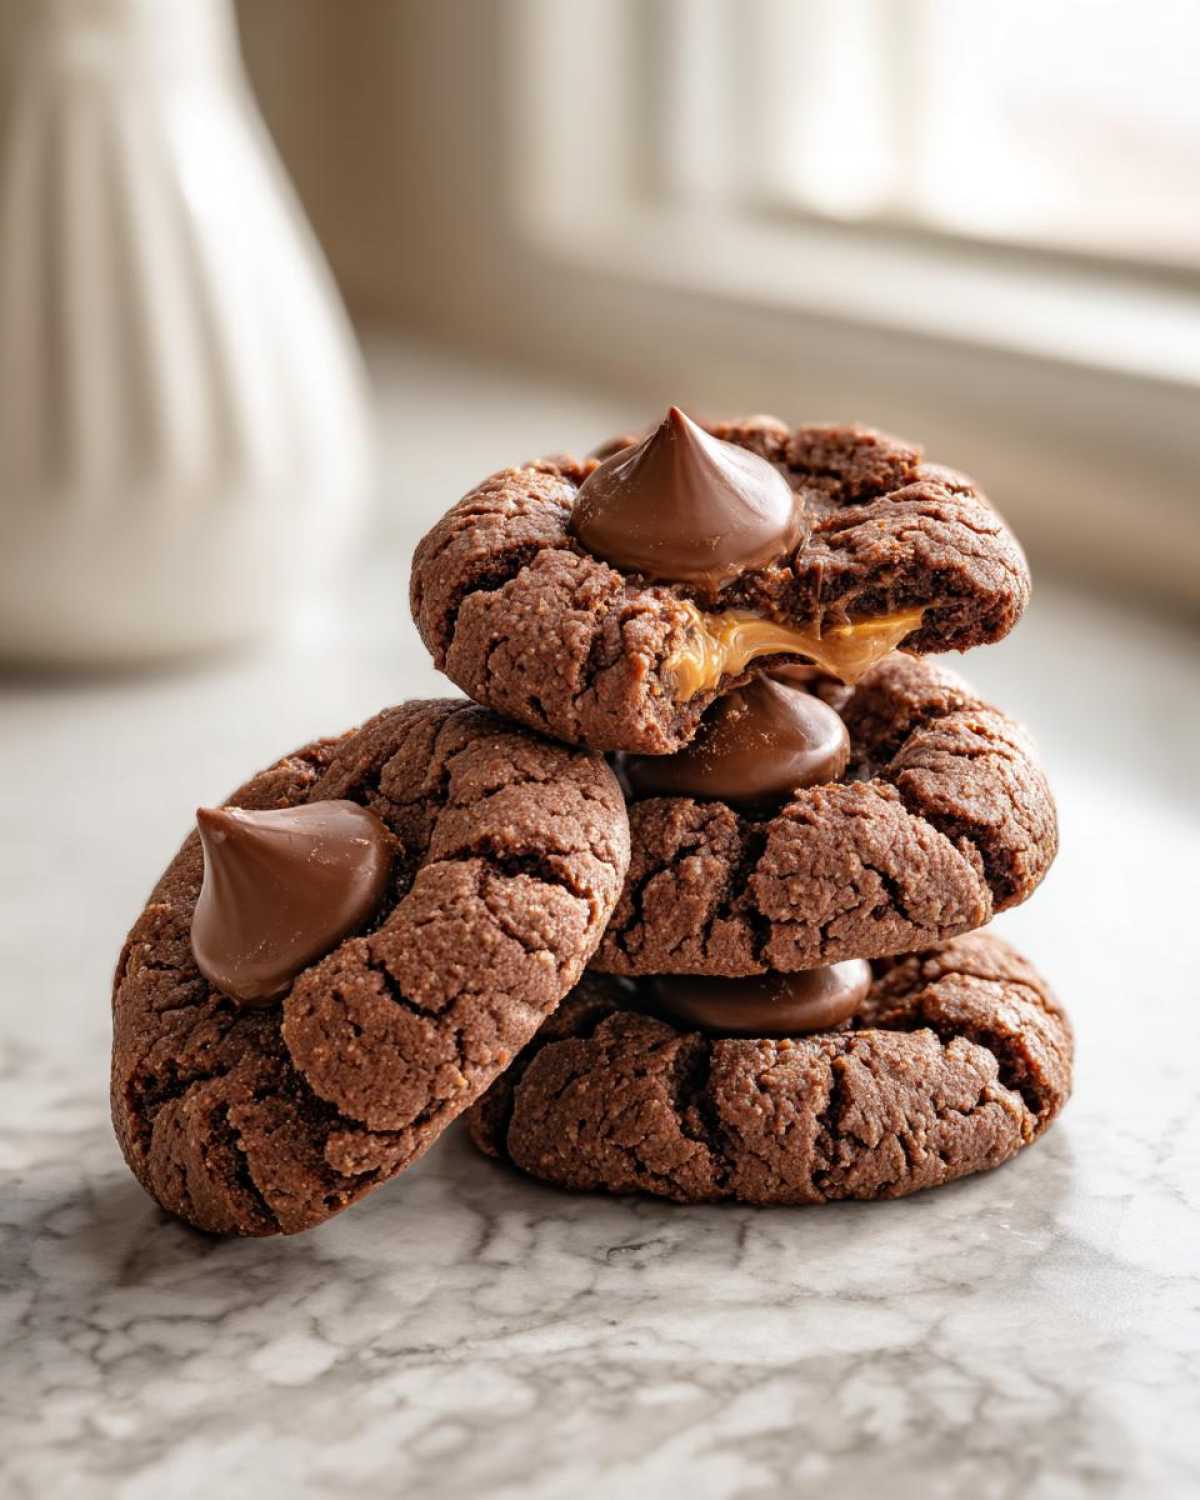
Essential Ingredients for Perfect Peanut Butter Blossom Cookies
Gathering your ingredients is the fun part, right? You get to see everything lined up and ready to go, promising deliciousness later. For these Peanut Butter Blossom Cookies, we are keeping it classic, but the quality of what you use really shines through. We need the perfect ratio of rich fats and dry structure to hold that chocolate center.
You’ll notice we’re using both granulated and brown sugar. That brown sugar is essential for achieving that chewy quality—it brings molasses depth that white sugar just can’t match. And please, make sure your peanut butter is creamy! Crunchy peanut butter just throws off the smooth rolling texture we need.
Here is exactly what you need to round up before we start mixing:
- 1 cup unsalted butter, softened (Super important that it’s softened, not melted!)
- 1 cup granulated sugar
- 1 cup packed brown sugar
- 2 large eggs
- 1 teaspoon vanilla extract
- 1 cup creamy peanut butter
- 2 3/4 cups all-purpose flour
- 1 teaspoon baking soda
- 1/2 teaspoon baking powder
- 1/2 teaspoon salt
- About 1 cup Hershey’s Kisses, totally unwrapped (Have these ready to go right near the oven!)
If you want to explore how mixing different ingredients can change your dough, I’ve got some fun notes on my oatmeal cookie variations that might give you some inspiration for next time, but for this traditional recipe, these are your anchors!
Step-by-Step Instructions: How to Make Peanut Butter Blossom Cookies
Okay, now for the real magic! Making these Peanut Butter Blossom Cookies is amazingly straightforward, which is why they are my go-to, no-fail recipe for any holiday cookie baking ideas roundup. The key here is just paying attention to your mixing steps since we are using leavening agents—overmixing the flour is the quickest way to disappoint yourself with a tough cookie!
Keep your ingredients patient, ready, and waiting for their moment. We’re aiming for that perfect, soft texture that contrasts beautifully with the chocolate center. I’m sharing all my secrets right here so you can make these easy cookies without any drama. Trust me, once you try this method, you won’t look back! If you want an even deeper dive on technique for super soft results, I talk a lot about my process over here when I make soft and chewy chocolate chip cookies—the principles are the same!
Preparing the Dough for Your Peanut Butter Blossom Cookies
First thing’s first: get that oven fired up to 375 degrees F (190 degrees C). Line those baking sheets with parchment paper; trust me, it makes cleanup a dream when you’re making a big batch!
In your big mixing bowl, beat together the softened butter, granulated sugar, and that lovely packed brown sugar until it looks light and creamy—that’s your foundation right there for these Classic Peanut Butter Cookies. Then, beat in your eggs one by one until they are fully incorporated, followed by the vanilla and the creamy peanut butter.
In a completely separate bowl, whisk together all your dry stuff: the flour, baking soda, baking powder, and salt. Now, this is crucial: add those dry ingredients to the wet mixture GRADUALLY, mixing only on low speed until things are *just* combined. Stop as soon as you don’t see streaks of flour! Overmixing leads to tough cookies, and we absolutely want tender ones, so don’t push it!
Baking and Adding the Chocolate Kiss Center Cookies Recipe
Once the dough is mixed, roll those babies into nice one-inch balls. If you want that extra traditional look, you can roll them lightly in extra granulated sugar—it’s optional but gives you that fantastic crinkle. Drop them about two inches apart on your prepared sheets.
Bake these beautiful balls for exactly 8 to 10 minutes. If you’re aiming for that ultra-soft center, pull them closer to the 8-minute mark; they should just look set on the edges. Have your unwrapped Hershey’s Kisses sitting right next to the oven, because timing is everything here!
Immediately—and I mean within ten seconds of pulling the tray out—gently press one chocolate kiss right into the center of each hot cookie. Seriously, the cookie needs to be hot enough to soften the chocolate just enough. Let them sit on that hot sheet for five minutes to firm up just a tiny bit before moving them to a wire rack to cool completely. This quick press time is the key to perfect Peanut Butter Blossom Cookies!
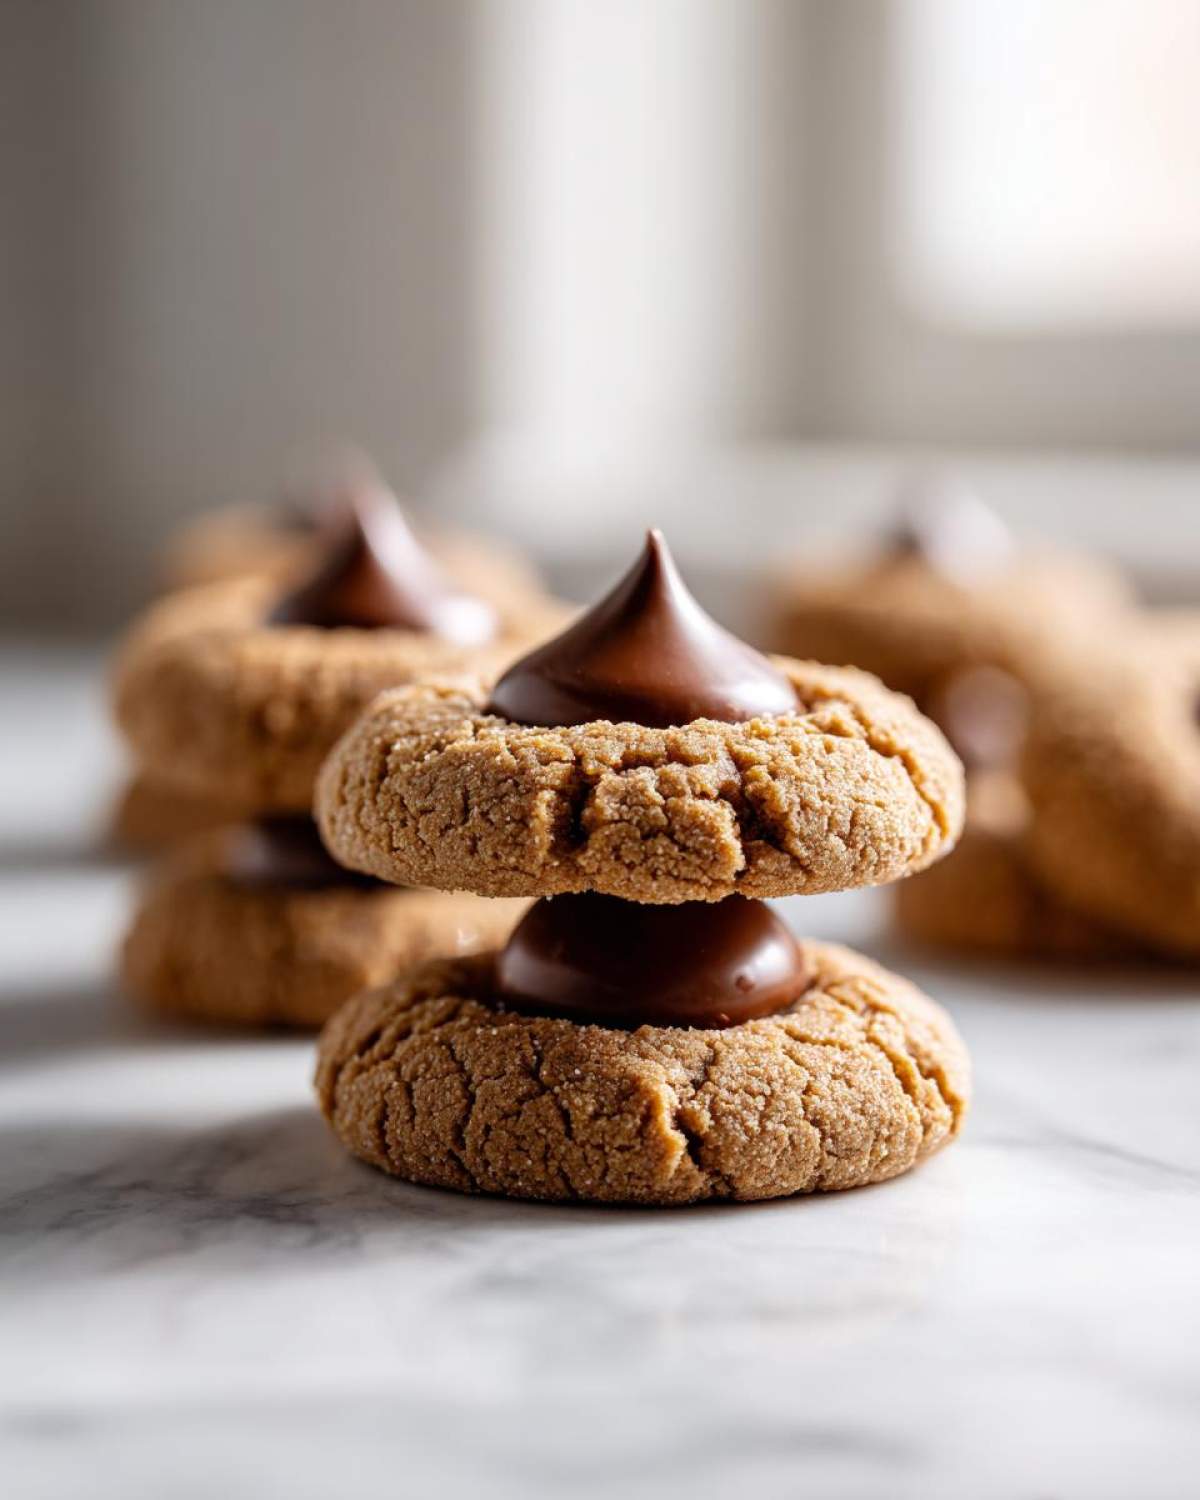
Tips for Success When Making Your Peanut Butter Blossom Cookies
Even with a straightforward recipe like this one, a few little tricks can separate a good batch of Peanut Butter Blossom Cookies from an absolutely legendary one. I’ve learned these lessons the hard way, so you don’t have to! These extra tips really cement this as the best peanut butter blossoms recipe out there, building up the trust you need to know these will turn out perfectly every time. If you want more deep dives into various cookie techniques, I wrote a whole piece on baking tips for blossom cookies!
Peanut Butter Selection and Dough Temperature
When you’re creaming your butter, it needs to be perfectly softened—think pliable, but not greasy or melted. If your butter is too cold, it won’t properly incorporate air with the sugar, and you’ll miss out on that lift we need for a slightly chewy cookie. Also, if your peanut butter comes straight out of the fridge, it can be stiff, which works against the soft butter. It helps to slightly warm your peanut butter, maybe 15 seconds in the microwave, to make sure it blends smoothly with the creamed fats. Proper blending equals the perfect texture!
Chocolate Kiss Cookies Recipe: Substitutions for the Center
Now, sometimes you just can’t find Hershey’s Kisses, or maybe you want to try something different, like a Reese’s Miniature or another favorite chocolate candy. That’s totally fine! The most important thing to remember for any substitution in this Chocolate Kiss Cookies Recipe is that the cookie MUST be hot when you press the candy in. If you wait until the cookie has cooled down, the chocolate won’t soften even a little bit, and you’ll end up just poking a hole in a hard cookie.
So, no matter what candy you choose, make sure it’s unwrapped and ready to go right next to the oven the second those 8-10 minutes are up! You need that radiant heat to do the softening magic.
Storage and Reheating Instructions for Peanut Butter Blossom Cookies
One thing I appreciate about these Peanut Butter Blossom Cookies is that they actually hold up really well! Unlike super delicate, cake-like cookies, these have the structure to last a few days, which is great if you bake a giant batch for the holidays and want to save some for later in the week.
The absolute best rule for storage is airtight containers. Keep them at room temperature—don’t bother with the fridge! The fridge tends to dry out cookies, and we worked really hard to get that soft center, so we don’t want to undo that work. I’ve found that they stay wonderfully fresh for up to a week tucked away in a cookie tin.
If you’ve baked way too many—and honestly, who hasn’t?—freezing is a fantastic option. I let them cool completely first, and then I layer them between sheets of parchment paper inside a heavy-duty freezer bag. They freeze beautifully for about two months. To reheat, just pull what you need and let them sit on the counter for about 20 minutes. They come right back to life! You can even pop one in the microwave for about 10 seconds, but be quick about it, or that chocolate kiss will become soup!
For more tips on keeping baked goods incredibly moist over time, you might want to check out my notes on storing date and nut bread—the principles of sealing in moisture are very similar!
Variations on the Classic Peanut Butter Cookies
While I absolutely swear by this recipe for the perfect, nostalgic, chocolate-kissed treat, sometimes you just want to shake things up a little bit, right? Switching out one or two components can totally change the feel of your cookie without completely rewriting the recipe or messing up that perfect texture we worked hard for!
These little twists are super fun to try out, especially if you’re making a huge assortment of holiday cookie baking ideas and need some visual variety. You can keep the structure of the dough exactly the same; it’s just how we dress it up before or after the bake that changes!
For instance, if you’re looking for more ways to enhance your baking arsenal, I have a great guide on making easy homemade breadsticks that uses similar creaming techniques if you ever get tired of cookies!
Switching Up the Peanut Butter Texture
If you only have crunchy peanut butter handy, go for it! Just know that the texture in the cookie base itself will be a bit lumpier, which some people actually prefer. If you use crunchy, you might want to slightly reduce the rolling sugar step because you’re already getting texture from the nuts.
Another thing people love doing is using natural, unsweetened peanut butter. Be careful with this one, though! Natural peanut butter often separates, so you might need to add a tiny bit more flour (maybe a tablespoon or two) to make sure your dough balls hold their shape better when you roll them. It adds a slightly deeper, saltier peanut flavor which is divine.
Adding a Warm Spice Kick to the Dough
The recipe as written is perfectly balanced with just the right amount of richness, but if you love spice, try stirring 1/2 teaspoon of ground cinnamon directly into your flour mixture. Yes, cinnamon! It smells amazing while baking and complements the peanut butter and chocolate beautifully. It turns the whole cookie into a cozier, slightly warmer flavor profile without overwhelming the peanut butter itself.
You could also try adding a tiny pinch of nutmeg—just a quarter teaspoon—along with the cinnamon for an extra layer of depth. This is especially good if you are setting these out later in the evening with coffee!
Experimenting with the Chocolate Center
We all know and love the iconic Hershey’s Kiss, but don’t feel tied down! Sometimes I swap them out entirely. For a richer chocolate experience, try pressing in a small piece of good quality dark chocolate, maybe a square from a good bar, just broken into appropriate sizes.
Another fun one is using a miniature peanut butter cup instead of the Kiss. You have to be super gentle when pressing that in because the cup shape is wider, but oh my goodness, the explosion of peanut butter and chocolate when you bite into it is incredible. Remember, regardless of the candy you choose, it MUST go on while the cookie is piping hot from the oven!
Serving Suggestions for Your Homemade Peanut Butter Blossom Cookies
These rich, wonderful cookies are just begging to be paired with something perfect! Honestly, nothing beats the classic: a tall, cold glass of whole milk. That cool dairy cuts through the richness of the peanut butter beautifully. That’s my number one suggestion, especially for the kids.
If you’re having these out when company drops by, or maybe setting them out during the holidays, they also go wonderfully with a hot cup of strong, dark roast coffee. The bitterness of the coffee really makes the sweet chocolate centers pop! You can even serve them alongside some simple sugar cookies you might have made—it creates a lovely textural contrast on the platter. Don’t worry about anything too fancy; these homemade peanut butter cookies with chocolate are stars all on their own!
I even have a great recipe for easy homemade French bread if you decide you want something savory to balance out all the sweets later in the day!
Frequently Asked Questions About Peanut Butter Blossom Cookies
I get so many questions about these classic cookies! It’s like everyone has their own cherished version of how they make their Peanut Butter Blossom Cookies perfect. Here are the most common things I hear or see people worrying about when they’re trying to bake the best Peanut Butter Blossoms.
Don’t stress if your first batch isn’t exactly like mine! Baking is all about learning, and sometimes these little traditional recipes need a nudge. If you’re looking for a great pairing for these, my steak recipe is totally different but incredibly simple: easy crockpot steak recipe works wonders for a savory change of pace later!
Can I use crunchy peanut butter in this Chocolate Kiss Cookies Recipe?
Yes, you absolutely can use crunchy peanut butter in this Chocolate Kiss Cookies Recipe! If you swap it out, the main difference isn’t taste—it’s texture. Your cookie base will have little bits of peanut scattered throughout, which some people actually love! It makes the dough a little firmer to roll, but the overall flavor is still rich and peanut-forward. Just remember that since crunchy PB is a little less uniform than creamy, your dough balls might look a bit more rustic, and that’s perfectly fine for these homemade peanut butter cookies with chocolate!
Why are my Peanut Butter Blossom Cookies spreading too much?
I totally get how frustrating it is when your cookies spread out into thin, sad discs! Since this recipe doesn’t require chilling the dough (we want them soft!), the main culprit is almost always warm butter. If your butter was too soft, or if your kitchen is really warm, the dough balls melt too fast in the oven before the structure has a chance to set.
Here’s a quick fix if you notice the dough is too soft when you roll it: pop the balls into the freezer for about 10 minutes before baking. Not the fridge—the freezer! This gives the fats a little chill boost right before they hit that hot oven, which helps those chewy peanut butter cookies maintain a nicer, thicker dome shape instead of just flattening out completely.
How do I get that perfect criss-cross pattern if I want to skip the Hershey’s Kiss sometimes?
That classic criss-cross mark is the signature look for any standard Classic Peanut Butter Cookie, and it’s super easy to replicate if you ever decide not to use the chocolate center! Right before you place the dough balls into the oven, grab a fork. Dip the tines lightly in sugar or flour to keep it from sticking, then gently press down one way, rotate the tines 90 degrees, and press down again to create that iconic ‘X’ shape.
This fork pressing does two things: it flattens the dough slightly so it bakes evenly, and it creates those decorative cracks we talked about earlier. It’s vital to press *before* baking, though—pressing after will just push the cookie right down and damage the lift!
Can I use natural peanut butter in this No Fail Peanut Butter Cookies recipe?
That’s a tricky one, honey! Natural, runny peanut butter separates really easily, and since water (or oil) in the peanut butter messes with the delicate flour ratio we set up, it can make your dough oily and hard to manage. If you must use natural peanut butter, I strongly recommend chilling the dough for at least an hour after rolling it into balls, and then you might need to add an extra tablespoon or two of flour until you reach a manageable consistency. It won’t be quite as soft as the ones made with standard creamy PB, but you can definitely make it work!
Estimated Nutritional Data for Peanut Butter Blossom Cookies
Now, I know what you’re thinking. We bake these beautiful, rich, chocolate-topped treats because they taste like childhood, not because we’re counting macros! But for those of you who like to keep track, I pulled together the estimated nutrition based on the standard ingredient list we used. It’s always good to have a rough idea of what’s in these fantastic Peanut Butter Blossom Cookies!
Keep in mind that since we’re talking about homemade baking, these numbers are just a guideline. If you use slightly more butter, or if your batch yields 30 cookies instead of 36, the numbers will shift a bit. Think of this as a helpful estimate rather than a strict lab report!
For a single cookie made with this recipe, the estimates look something like this:
- Serving Size: 1 cookie
- Calories: 180
- Sugar: 15g
- Sodium: 85mg
- Fat: 10g
- Saturated Fat: 4g
- Trans Fat: 0g
- Carbohydrates: 22g
- Fiber: 1g
- Protein: 4g
- Cholesterol: 25mg
If you want a low-carb side dish to go with your sweets (or maybe for tomorrow!), you should definitely check out my recipe for easy weeknight bolognese sauce—it’s packed with flavor and no sugar added!
PrintClassic Peanut Butter Blossom Cookies
A straightforward recipe for making traditional peanut butter cookies topped with a chocolate kiss.
- Prep Time: 20 min
- Cook Time: 10 min
- Total Time: 30 min
- Yield: About 3 dozen cookies
- Category: Dessert
- Method: Baking
- Cuisine: American
- Diet: Vegetarian
Ingredients
- 1 cup unsalted butter, softened
- 1 cup granulated sugar
- 1 cup packed brown sugar
- 2 large eggs
- 1 teaspoon vanilla extract
- 1 cup creamy peanut butter
- 2 3/4 cups all-purpose flour
- 1 teaspoon baking soda
- 1/2 teaspoon baking powder
- 1/2 teaspoon salt
- About 1 cup Hershey’s Kisses, unwrapped
Instructions
- Preheat your oven to 375 degrees F (190 degrees C). Line baking sheets with parchment paper.
- In a large bowl, beat the softened butter, granulated sugar, and brown sugar together until creamy.
- Beat in the eggs one at a time, then mix in the vanilla extract and peanut butter until combined.
- In a separate medium bowl, whisk together the flour, baking soda, baking powder, and salt.
- Gradually add the dry ingredients to the wet ingredients, mixing on low speed until just combined. Do not overmix.
- Roll the dough into 1-inch balls. Roll each ball in granulated sugar (optional, for extra crunch).
- Place the balls about 2 inches apart on the prepared baking sheets.
- Bake for 8 to 10 minutes, or until the edges are lightly set.
- Immediately after removing the cookies from the oven, gently press one chocolate kiss into the center of each warm cookie. The residual heat will soften the chocolate slightly.
- Let the cookies cool on the baking sheet for 5 minutes before transferring them to a wire rack to cool completely.
Notes
- For a chewier cookie, slightly underbake them (closer to 8 minutes).
- If your peanut butter is very stiff, warm it slightly before mixing for easier incorporation.
- You can substitute the Hershey’s Kiss with a similar chocolate candy, but press it in quickly while the cookie is hot.
- Store cookies in an airtight container at room temperature for up to one week.
Nutrition
- Serving Size: 1 cookie
- Calories: 180
- Sugar: 15
- Sodium: 85
- Fat: 10
- Saturated Fat: 4
- Unsaturated Fat: 6
- Trans Fat: 0
- Carbohydrates: 22
- Fiber: 1
- Protein: 4
- Cholesterol: 25