

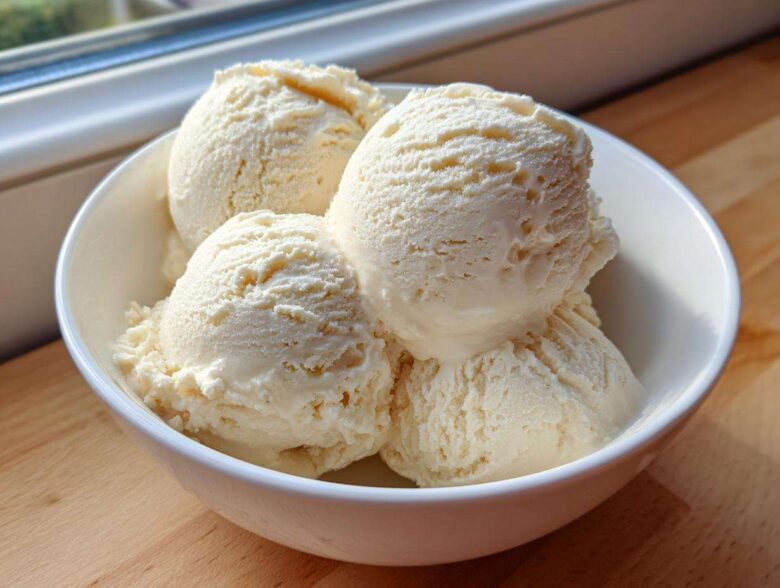
Oh, trust me, there are days when all I want is a giant scoop of something cold and sweet, but my nutrition goals are yelling at me. That’s why Hannah and I get so excited when we crack the code on truly satisfying, macro-friendly desserts. We all deserve a **protein ice cream** that tastes absolutely decadent, not like disappointment frozen solid! Our absolute favorite discovery? This incredibly simple, creamy, no-churn vanilla base that requires zero specialized equipment—no ice cream maker, no fancy Ninja Creami needed, though it works in that too if you have one!
For me, Elias, finding joy in these healthy homemade ice cream recipes is huge because it means we don’t have to skip dessert. This base is packed with protein, making it the perfect post-workout treat or just a lovely way to end a busy day. I promise, once you try this, you’ll never look at bland, icy treats the same way again. We keep a batch in the freezer almost constantly!
If you’ve been looking for a genuinely guilt free frozen treat that sticks to your plan, you’ve come to the right spot. You can see how we used a similar approach to boost the nutrition in our blueberry protein muffins!
Why This No-Churn Vanilla Protein Ice Cream is Your New Favorite Macro Friendly Dessert
Honestly, this is the king of healthy homemade ice cream because it just *works* without a fuss. We tested dozens of bases, trying to get that satisfying, thick scoop you usually only get from expensive machines. My favorite part is seeing how simple it is to pull off!
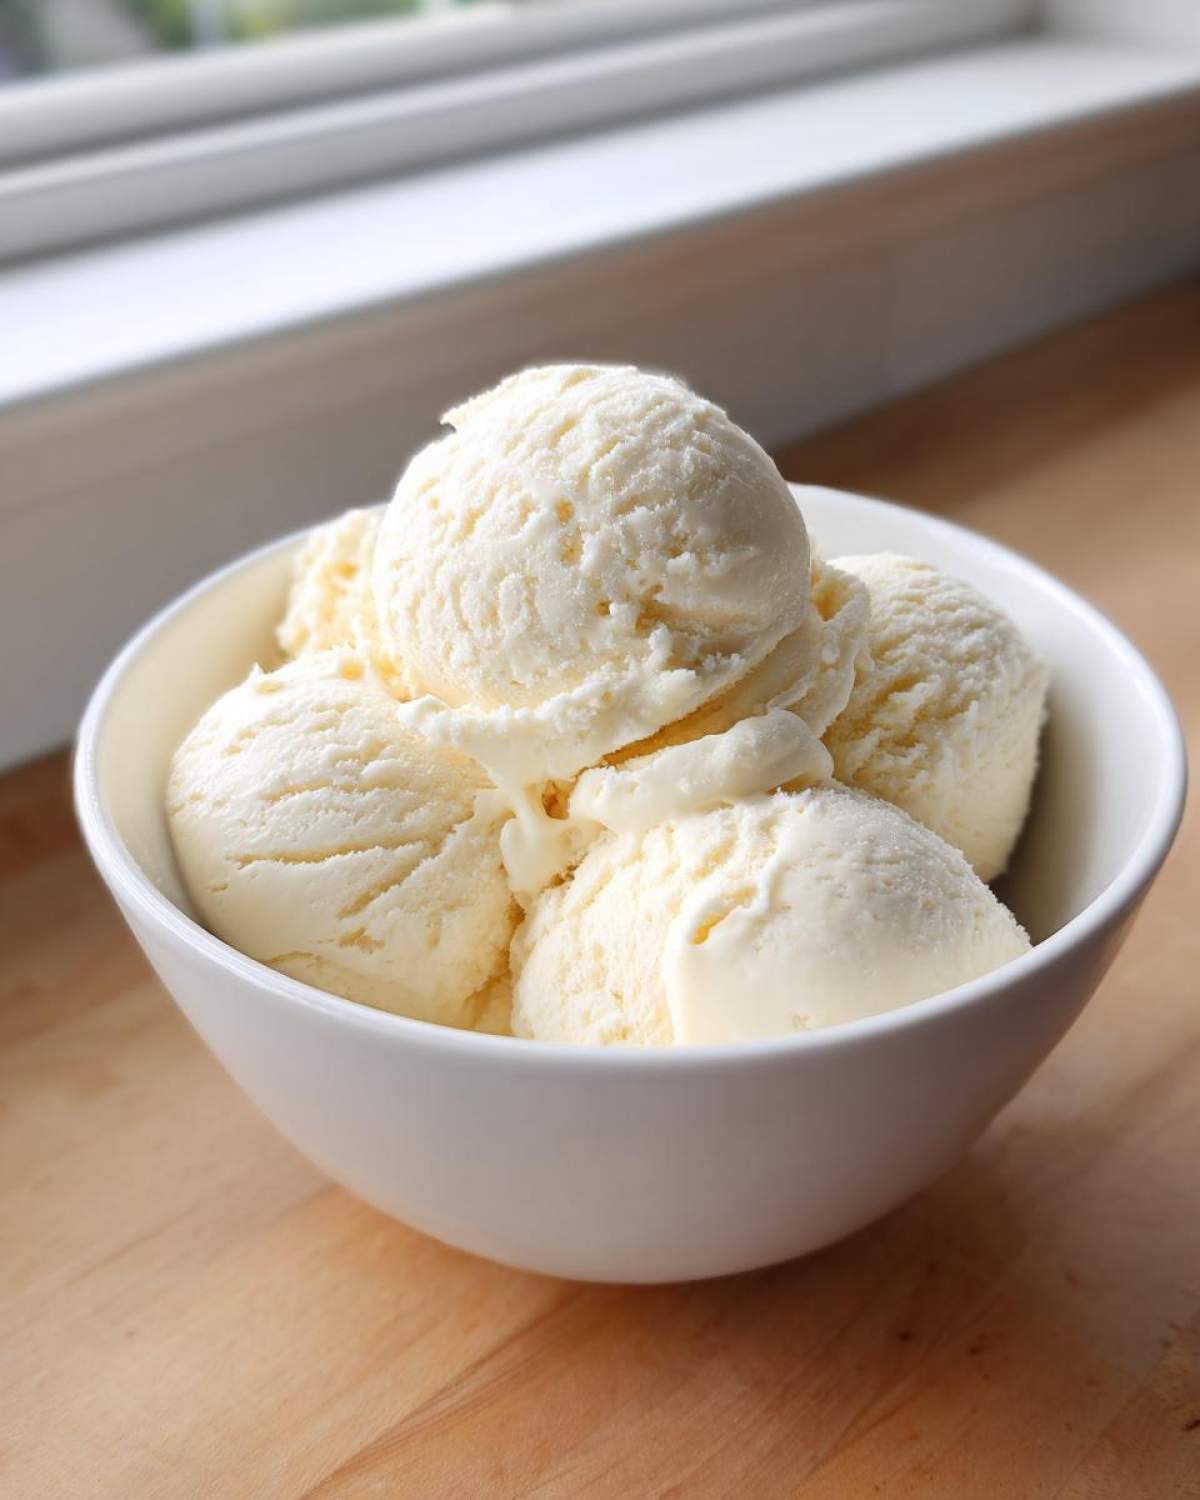
Here’s truly why this recipe for **protein ice cream** has earned its permanent spot in our freezer:
- Seriously Creamy Texture: You get that rich mouthfeel even without churning. It thaws perfectly, never icy!
- Protein Powerhouse: We’re pushing about 25 grams of protein per serving, which is fantastic for a sweet tooth fix.
- Zero Machine Fuss: Prep time is less than five minutes. Just mix, pour, and wait for magic. No need to wait around for an ice cream maker to cool down or worry about your Ninja Creami. Macro Friendly Dessert Champion: It lets us satisfy those evening cravings knowing exactly what we’re putting into our bodies.
It’s proof that you don’t need complicated methods to achieve an indulgent, easy protein snack that fits your goals.
Essential Ingredients for Creamy Protein Ice Cream
When we started testing batches of this **protein ice cream**, we quickly realized the ingredients needed to be precise because there’s no churning to fix texture problems later on! The star here, without a doubt, is the dairy base. You absolutely must use Greek yogurt if you want that thick, scoopable consistency.
We always reach for 2% or even full-fat Greek yogurt. Don’t skimp on the fat if you want that luxurious, nearly store-bought richness—it really helps prevent ice crystals. Don’t worry, we keep the overall fat macros really low by using almond milk to thin it just enough. Here’s what you need to have ready:
- 1 cup plain Greek yogurt (2% or full fat for best texture)
- 1/2 cup unsweetened almond milk (or milk of choice)
- 1 scoop vanilla protein powder (Whey or casein blends are wonderful here!)
- 2 tablespoons granulated sweetener (Erythritol or monk fruit work great)
- 1 teaspoon vanilla extract
- Pinch of salt (This really makes the vanilla pop!)
This simple list creates one of the best high protein dessert recipes you’ll ever try because it relies on thick, quality ingredients.
Ingredient Notes and Substitutions for Perfect Protein Ice Cream
Look, I know some folks aren’t huge fans of pure Greek yogurt texture, or maybe they just happen to have cottage cheese on hand. If you want a huge cream boost—and remember we are aiming for those ultra-creamy results—try blending half Greek yogurt and half cottage cheese until it’s totally smooth before mixing everything else in. That’s a great cottage cheese ice cream alternative that still keeps the protein sky-high. And don’t stress on the powder; switch it up to chocolate or salted caramel to change the flavor profile completely!
Step-by-Step Guide to Making No-Churn Protein Ice Cream
This process is exactly why I love this recipe so much—it’s the definition of easy! When you’re making **protein ice cream** without churning, the absolute key is making sure there are zero lumps before it even hits the freezer. If you have any little clumps of protein powder hiding out, they turn into hard, gritty spots later, and nobody wants that!
So, start by getting everything in one bowl. Use a whisk or, if you’re feeling lazy like I sometimes am, the hand mixer. You need to blend this until it’s perfectly homogenous and smooth. Scrape down those sides a couple of times, I promise you don’t want any rogue powder pockets!
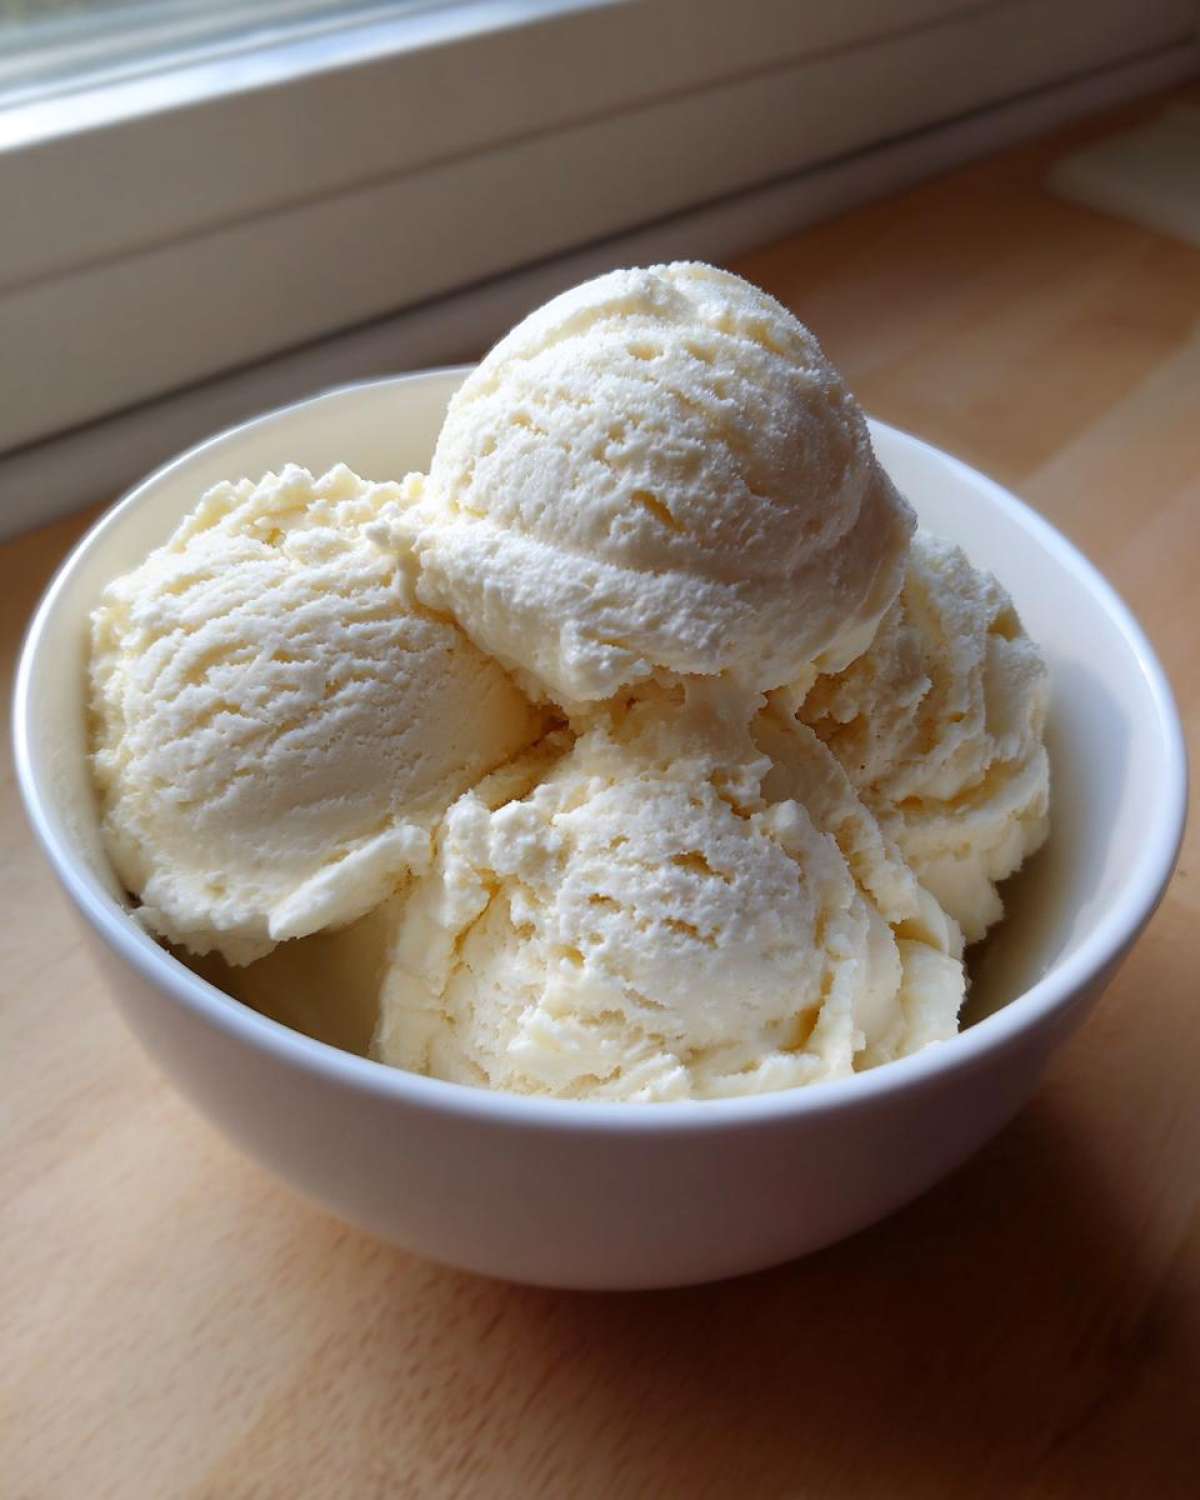
Once it looks like a thick, wonderful vanilla milkshake, pour that beautiful mixture into whatever freezer-safe container you have—a small loaf pan works wonderfully for us. Now, here is my non-negotiable tip for ice cream success: take a sheet of plastic wrap and press it directly onto the surface of the mixture before sealing the lid. This simple trick stops those annoying ice crystals from forming and keeps your scoops soft. Pop it in the freezer for at least six hours. Seriously, don’t rush it!
When the craving hits, pull it out about ten to fifteen minutes early. Letting it temper just slightly on the counter makes scooping a total dream. It’s the closest thing to magic without needing a fancy machine, and it pairs perfectly with our easy make-ahead egg bakes for a balanced meal!
Tips for the Creamiest Texture in Your Protein Ice Cream
When it comes to making homemade **protein ice cream** that tastes like the real deal, texture is everything! We learned the hard way that too much liquid, even good quality almond milk, equals tiny ice shards when you freeze it solid. That’s why I always steer you toward that 2% or full-fat Greek yogurt. The fat content acts like a natural stabilizer, which is crucial when you’re not using an actual ice cream maker to incorporate air.
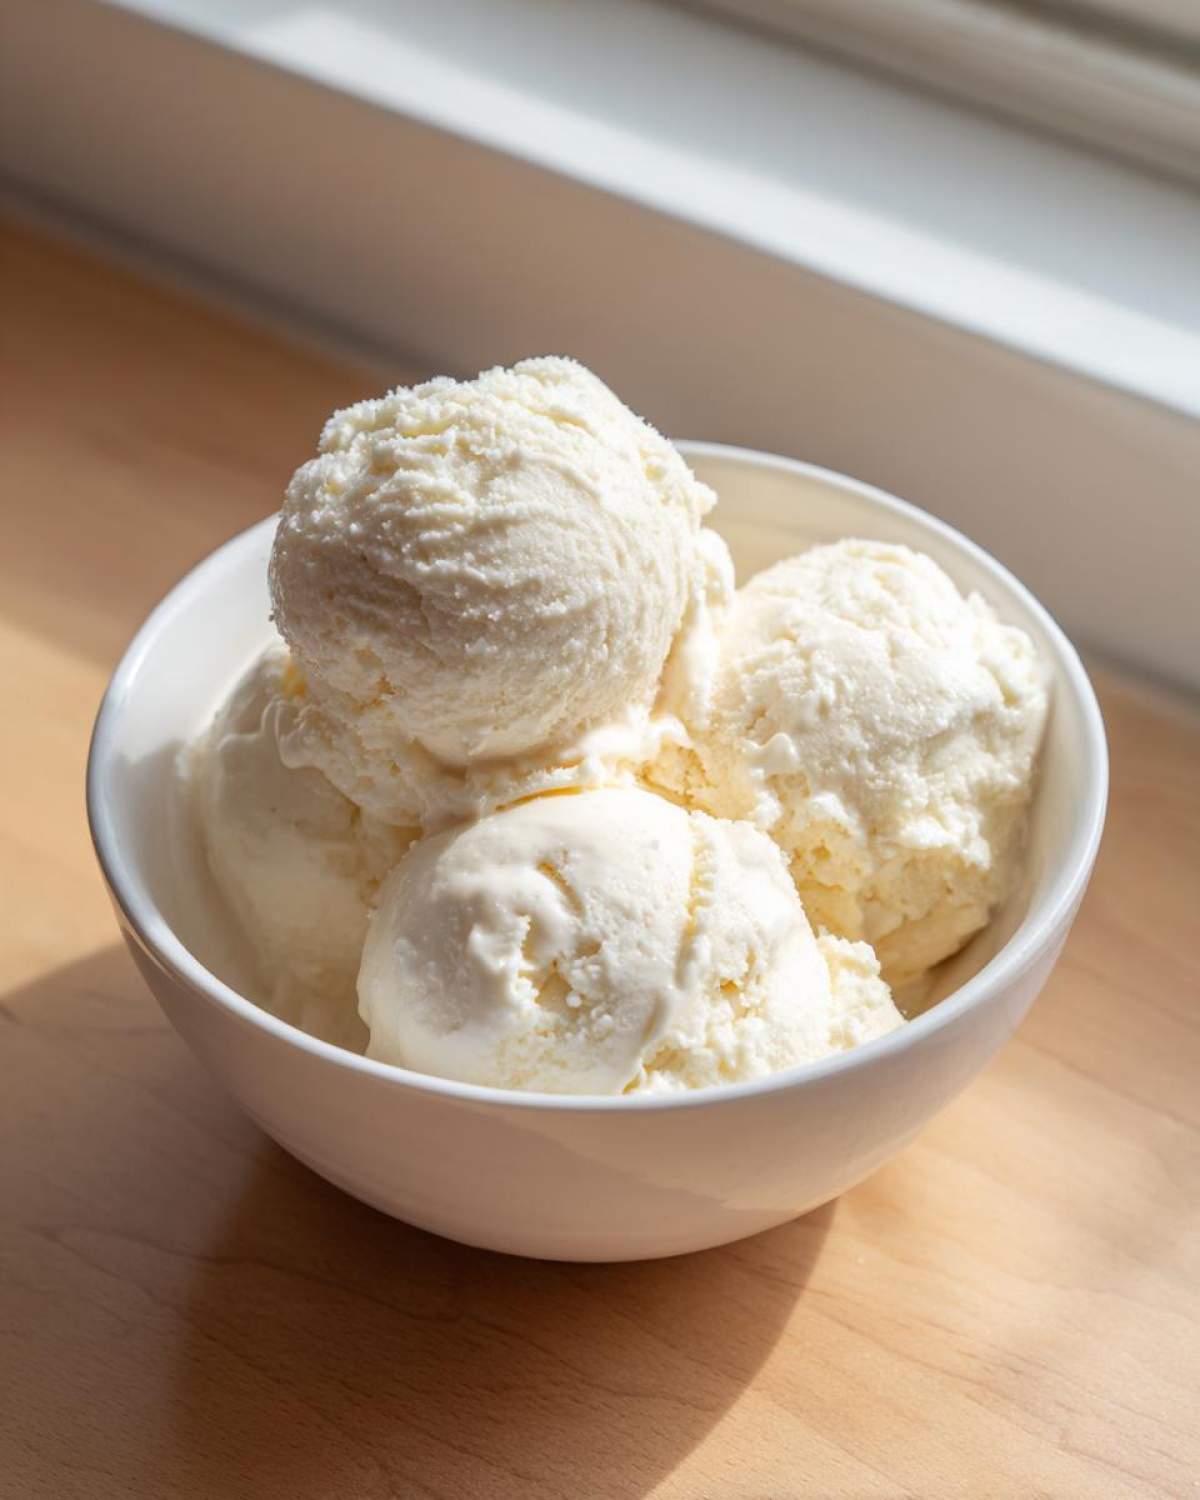
Keep your liquid additions minimal—just enough to get the powder mixed in smoothly. This prevents that thin, icy disaster. Now, if you *do* happen to have a Ninja Creami machine gathering dust, this base is your secret weapon! Those machines are designed to break down the ice crystals, so you just freeze this mix solid, and then run it through the cycle according to the machine’s directions. It usually needs an extra splash of milk for the initial spin, but it turns out perfectly creamy every time. You can learn more about adapting recipes on sites that focus specifically on those machines, like this collection.
For another creamy fix that fits into your macro goals, check out how we make those amazing cottage cheese microwave brownies!
Variations on Your Favorite Protein Ice Cream Flavors
One of the best things about starting with this vanilla base is how easily we can pivot into all sorts of amazing **protein ice cream flavors**! We love keeping it plain sometimes, but when a specific craving hits, it’s so easy to customize. If you’re craving chocolate, just whisk in about two tablespoons of unsweetened cocoa powder right when you mix in your vanilla protein powder. Mix it super well until it dissolves!
For something richer, like a salted caramel vibe, I sometimes use a salted caramel flavored protein powder. If you don’t have that, after the ice cream is mostly frozen, you can swirl in a tiny bit of sugar-free caramel sauce before the final freeze. It sets up perfectly! Hannah made a batch last week with a swirl of melted sugar-free dark chocolate chips, and it tasted exactly like those fancy tubs you buy. Remember to check out some machine-specific ideas, like those on this great resource, if you want to get really wild with mixes, but this base works for everything. Speaking of chocolate, you have to try our chocolate chip pumpkin bars next!
Storage and Reheating Instructions for Protein Ice Cream
Keeping your homemade **protein ice cream** fresh is super easy, but you need an airtight container. I always recommend pressing plastic wrap right onto the surface before putting the lid on. This is my trick for keeping freezer burn away, which is the enemy of creamy texture!
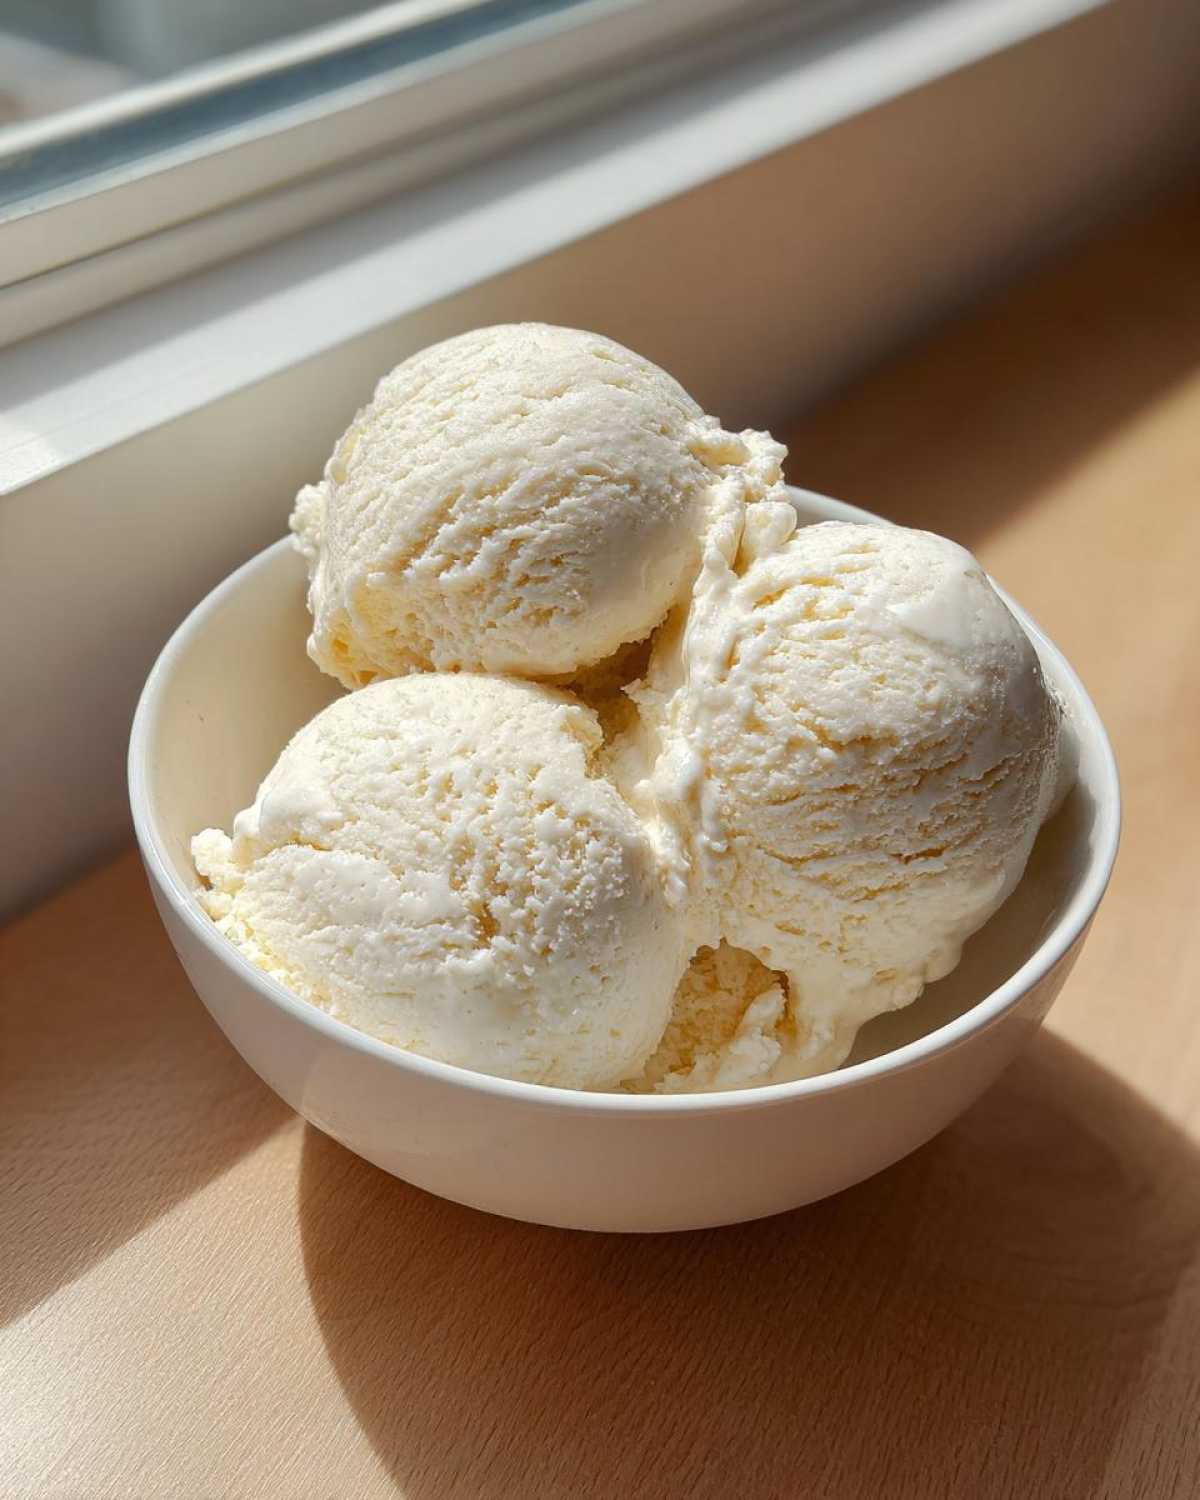
This stuff lasts really well for about a week in the freezer, though honestly, it never makes it that long in our house. When you want to eat it, forget microwaving—that just makes sad, watery protein sludge. Instead, just pull the container out about ten to fifteen minutes before you plan to scoop. Letting it temper on the counter for that short time is the only “reheating” you’ll ever need. It softens it up perfectly, just like a store-bought pint you let sit for a minute. You can use the same technique to get my moist coffee cake streusel ready for serving!
Frequently Asked Questions About Making Protein Ice Cream
When we first started experimenting with **protein ice cream**, we had a million questions swirling around, just like you probably do now! I’ve gathered the ones I hear most often. Trust me, once you get these basics down, you’ll be whipping up these lemon garlic roasted potatoes and then immediately whipping up dessert!
Can I make this protein ice cream without using banana?
Absolutely! That’s one of the best things about this particular recipe—we left the banana out entirely. Many recipes rely on frozen bananas for volume and creaminess, but if you’re not a fan (or just don’t have any on hand), this Greek yogurt-based method gives you that great texture using quality dairy and protein powder instead. If you look at some other great guides on healthy protein ice cream, you’ll see that several people prefer this method for that very reason!
Is this a healthy homemade ice cream?
100% yes! This is the definition of a macro-friendly dessert. Because we use Greek yogurt and carefully measure our sweetener, it becomes an incredibly **healthy homemade ice cream**. It’s high in protein (our version hits about 25g per serving, which is amazing!) and skips all the unnecessary refined sugars and fats found in traditional scoops. It’s indulgence you can feel good about eating anytime.
How can I adapt this into a low calorie ice cream idea?
That’s easy! If you want to push this into extreme low-calorie territory, the simplest swap is to use non-fat Greek yogurt instead of the 2% or full-fat version we recommended for maximum creaminess. You can also dial back the granulated sweetener slightly or use a zero-calorie option like liquid stevia drops instead of the granular stuff. Keep the almond milk the same; it’s already very low in calories!
Does this work well for post workout frozen dessert cravings?
It’s practically perfect for a post workout frozen dessert! That high protein count helps with recovery, and it satisfies that deep need for something sweet after a hard session without spiking your blood sugar too much. It’s definitely one of my favorite easy protein snacks especially when I make a double batch!
Nutritional Snapshot of This High Protein Dessert Recipe
I always feel better knowing exactly what’s in my food, even when it’s a delicious treat! Since every brand of protein powder and yogurt will vary slightly, please keep in mind these numbers are just a fantastic estimate based on the basic ingredients we use. It’s the best way to keep track of your macros while enjoying this amazing **protein ice cream**.
For just one serving (which is a very generous 1/4 of the recipe!), you’re looking at:
- Calories: Around 180
- Protein: A whopping 25 grams!
- Fat: Only about 4 grams
- Carbohydrates: Roughly 12 grams
That’s an incredible ratio for a dessert, isn’t it? It lets me enjoy my sweet cravings knowing I’m fueling my body positively. Check out how transparent we are with our nutrition in our vegetable beef soup recipe too!
Share Your Guilt Free Frozen Treats Experience
Okay, now that you have the secret to perfect, high-protein, no-churn **protein ice cream**, I really want to know what you think! Please try this out this week and let us know in the comments below how creamy yours turned out, or if you experimented with any of those awesome flavor variations we talked about.
Don’t forget to give this recipe a rating on the star system if you loved how easy and guilt-free this frozen treat was! We love seeing your successes over at the Flavor Vista! Happy scooping!
PrintSimple No-Churn Vanilla Protein Ice Cream (Guilt-Free Treat)
You can make this creamy, high-protein vanilla ice cream without an ice cream maker. It is a simple, macro-friendly dessert that satisfies sweet cravings.
- Prep Time: 5 min
- Cook Time: 0 min
- Total Time: 6 hr 5 min
- Yield: 4 servings
- Category: Dessert
- Method: No-Churn Freezing
- Cuisine: American
- Diet: Low Fat
Ingredients
- 1 cup plain Greek yogurt (2% or full fat for best texture)
- 1/2 cup unsweetened almond milk (or milk of choice)
- 1 scoop vanilla protein powder (whey or casein blend works well)
- 2 tablespoons granulated sweetener (or to taste)
- 1 teaspoon vanilla extract
- Pinch of salt
Instructions
- In a medium bowl, combine the Greek yogurt, almond milk, vanilla protein powder, sweetener, vanilla extract, and salt.
- Use a whisk or electric mixer to blend the ingredients until the mixture is completely smooth and uniform. Scrape down the sides as needed.
- Pour the mixture into a freezer-safe container, like a loaf pan or a small airtight container. Cover the surface directly with plastic wrap to prevent ice crystals from forming.
- Freeze for at least 6 hours, or until firm.
- For the best texture, remove the container from the freezer 10 to 15 minutes before serving to allow it to soften slightly. Scoop and enjoy your healthy homemade ice cream.
Notes
- For an even creamier texture, consider using a blend of 1/2 cup Greek yogurt and 1/2 cup cottage cheese (blended smooth first).
- If you own a Ninja Creami, this base works perfectly; process it according to your machine’s instructions, then add a splash more milk if needed for re-spins.
- You can substitute vanilla protein powder with chocolate or salted caramel flavor for variety.
Nutrition
- Serving Size: 1/4 of recipe
- Calories: 180
- Sugar: 5
- Sodium: 150
- Fat: 4
- Saturated Fat: 2
- Unsaturated Fat: 2
- Trans Fat: 0
- Carbohydrates: 12
- Fiber: 1
- Protein: 25
- Cholesterol: 15