

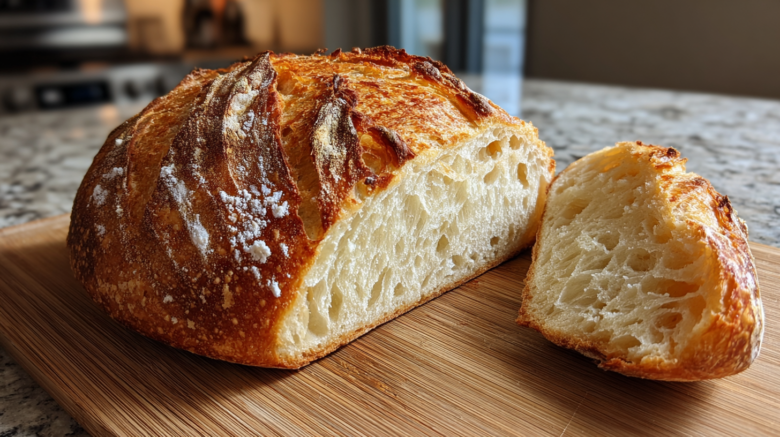
The Bread That Makes People Think You’re a Baker: Your New Favorite Loaf
Are you ready for a baking revelation?
This recipe makes The Bread That Makes People Think You’re a Baker.
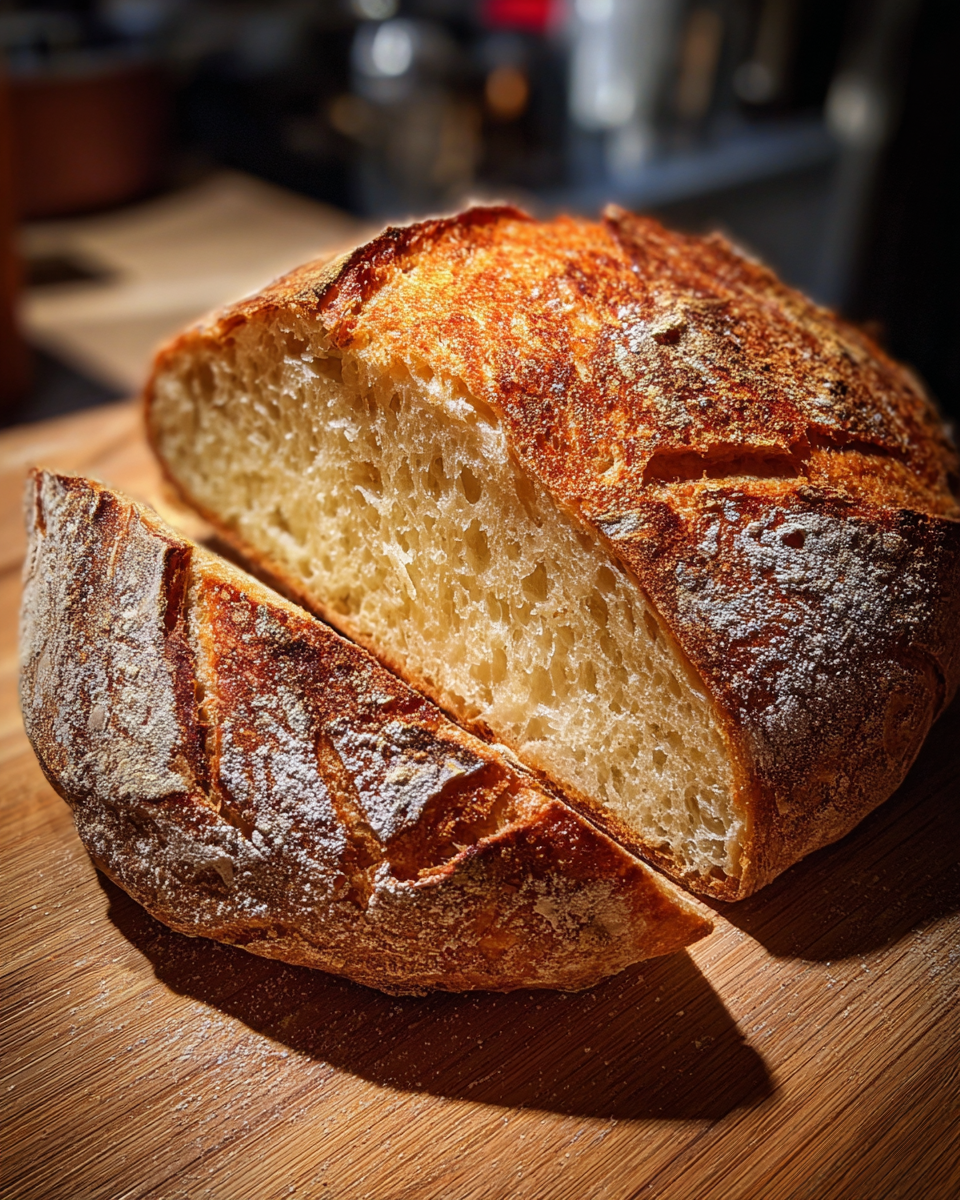
You get a crust like a professional bakery.
Inside? Pure, soft cloud texture.
I’m Hannah, and Elias and I run Flavor Vista.
We built this space on simple, real food.
We aren’t chefs, just home cooks.
We know you can achieve this impressive loaf.
Trust us; this recipe is truly special.
It brings joy to our kitchen every time.
Why You’ll Love The Bread That Makes People Think You’re a Baker
I get it. Baking bread feels intimidating.
Sometimes it seems like a secret skill.
But this recipe changes everything for you.
It truly is The Bread That Makes People Think You’re a Baker.
You get amazing results without the fuss.
It builds your home baking confidence fast.
Here are the best reasons to start mixing now:
- It’s incredibly simple for beginners.
- The payoff looks totally professional.
- You control every single ingredient.
- It smells fantastic while baking.
Elias always says baking is about rhythm.
This recipe has a very simple rhythm.
You will feel like a seasoned pro quickly.
Let’s look closer at why this loaf shines.
Quick Preparation Time
My favorite part is the prep time.
You only spend about 20 minutes working the dough.
That is not a typo, I promise you.
We keep the hands-on time very low.
The oven does the heavy lifting later on.
This makes it perfect for busy weeknights.
Achieve Baker-Worthy Results
We all want that perfect crumb structure.
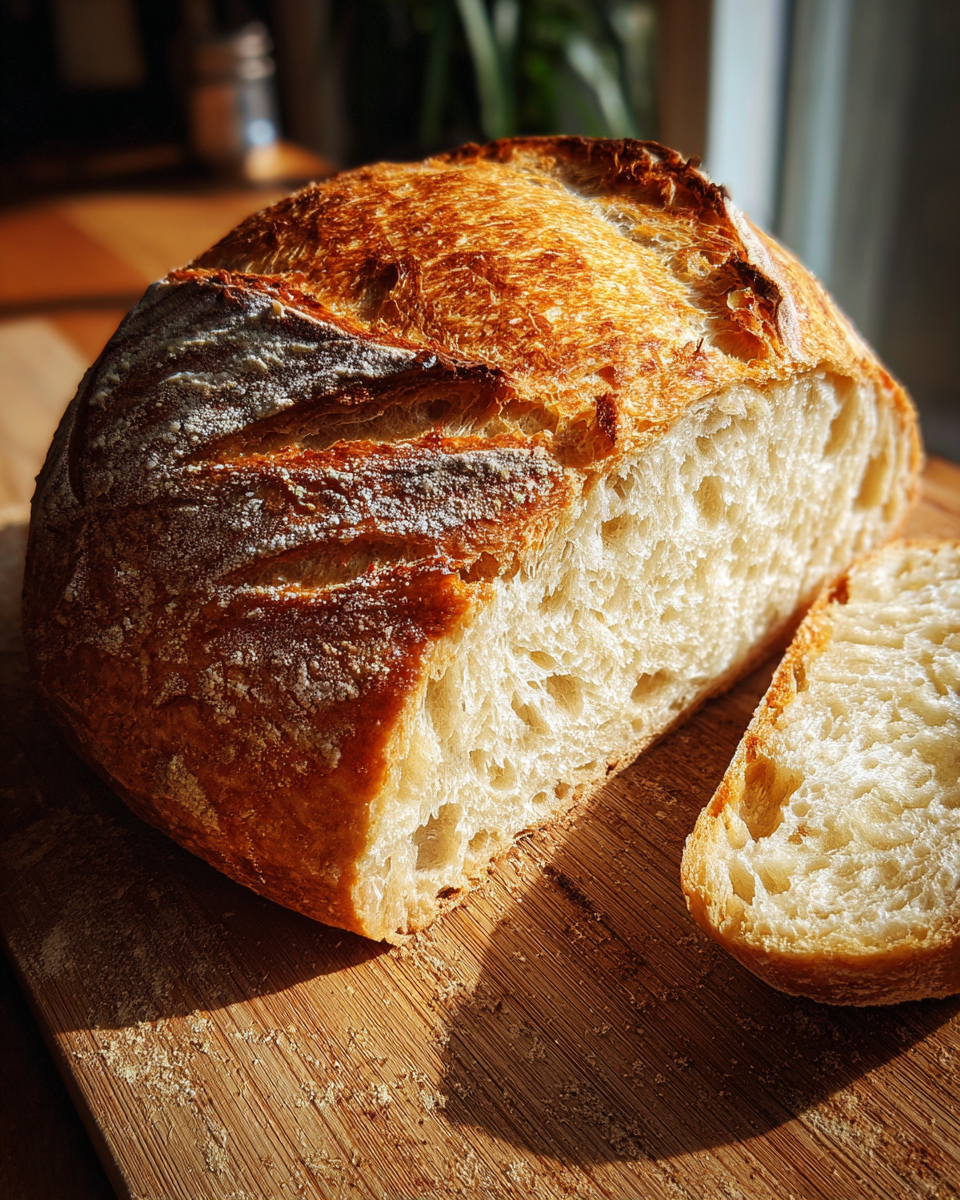
This recipe delivers that crisp crust.
It’s crackly and golden brown, just right.
The interior stays wonderfully soft and open.
It’s the texture that fools everyone.
They will ask where you bought that loaf.
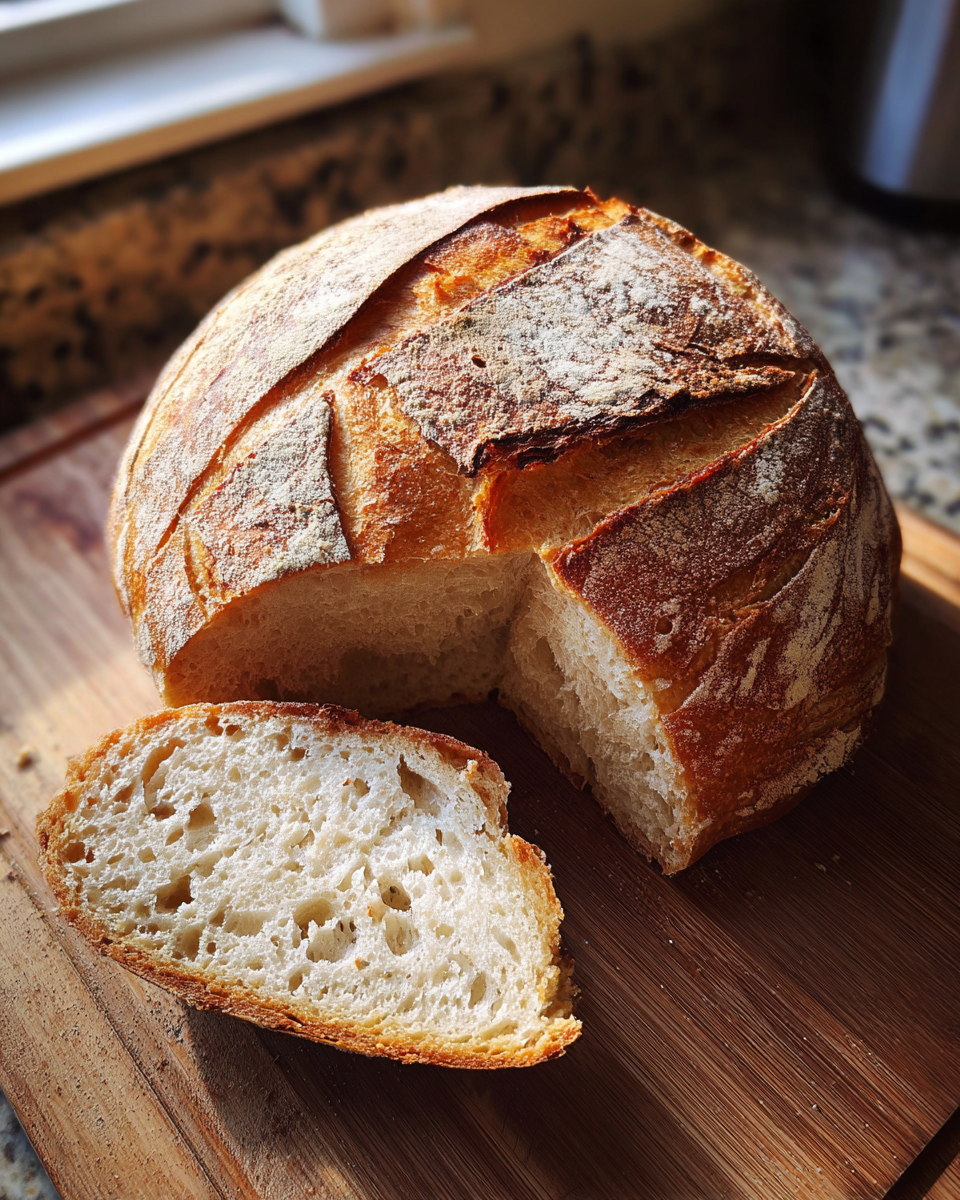
Essential Ingredients for The Bread That Makes People Think You’re a Baker
Getting The Bread That Makes People Think You’re a Baker right starts here.
Don’t worry about fancy, rare items.
We are sticking to pantry staples only.
These simple components create magic.
The right flour and yeast matter most.
They build the structure you want.
Ingredient Specifications
For one perfect loaf, gather these items:
- 3 cups All-Purpose Flour (Scoop and level carefully).
- 1 and 1/2 cups Warm Water (About 105-115°F).
- 1 teaspoon Instant Yeast (No need to proof it first).
- 1 and 3/4 teaspoons Fine Sea Salt.
Using fine salt dissolves better.
Warm water wakes up that yeast gently.
This mix gives you that soft interior.
Equipment Needed for Your Impressive Loaf
You don’t need a huge kitchen setup.
We keep the tool list very short.
Good tools make baking much easier for you.
A large mixing bowl is your first friend.
You also need a kitchen scale if you have one.
But the real star here is one special pot.
The Role of the Dutch Oven
The Dutch oven is our secret weapon.
It traps the steam released by the dough.
Steam keeps the crust soft initially.
This allows the loaf to expand fully.
Then, removing the lid makes it crisp.
That crisp crust is what wins compliments.
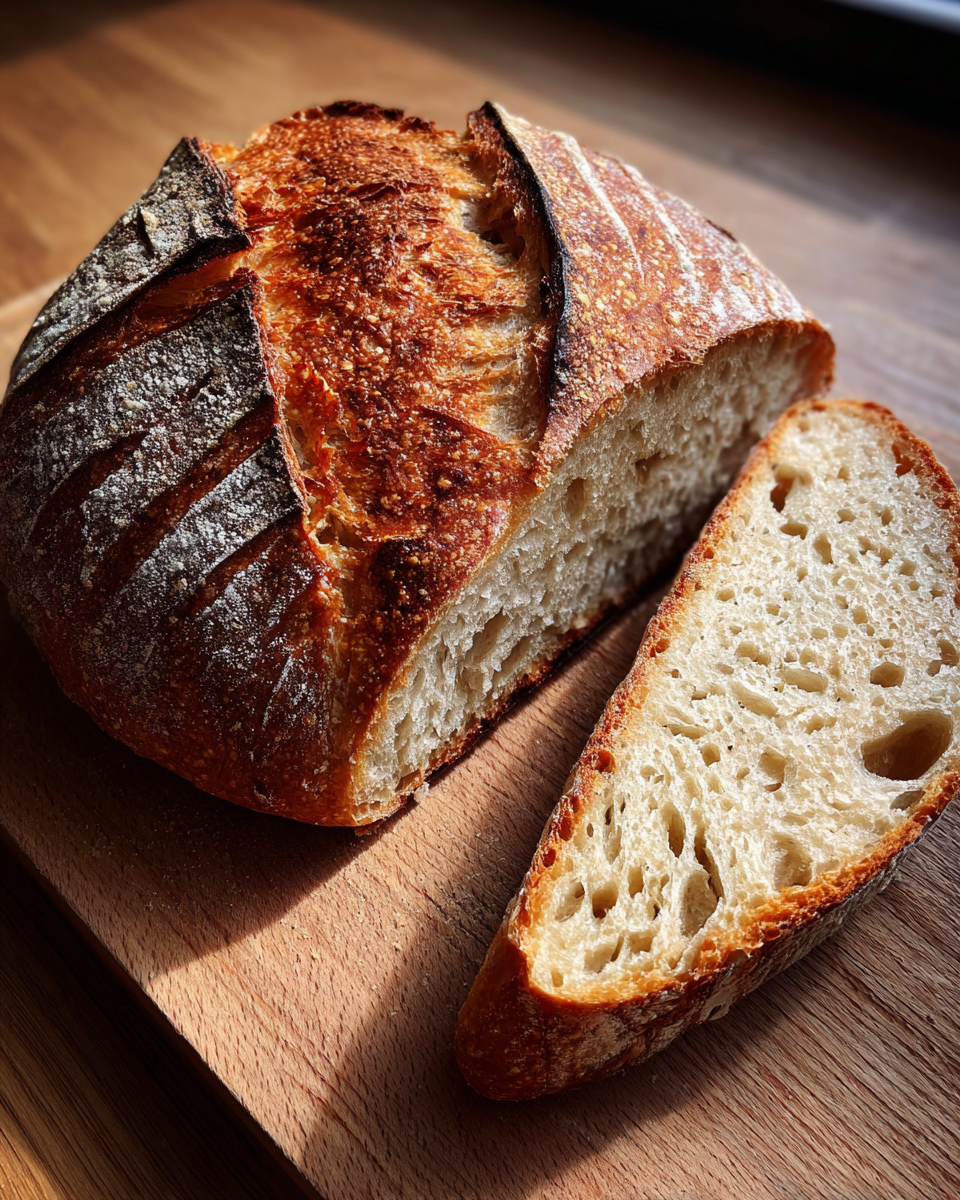
Step-by-Step Instructions for The Bread That Makes People Think You’re a Baker
Ready to make The Bread That Makes People Think You’re a Baker?
Follow these steps closely.
I promise you can master this easily.
We break it down into three simple phases.
Pay attention to the rising times.
They are crucial for texture.
Mixing and First Rise
Grab your big mixing bowl first.
Combine the flour, salt, and yeast together.
Next, pour in all the warm water slowly.
Mix this until you see a shaggy mass form.
Turn the dough onto a lightly floured counter.
Knead it for just three to five minutes total.
You are just developing some strength here.
Place the dough in an oiled bowl now.
Cover it with plastic wrap or a cloth.
Let it rest in a warm spot.
It needs to double in size completely.
This usually takes about one hour or more.
Shaping and Final Proofing
Gently turn the risen dough out onto your counter.
You want to keep all that lovely air inside.
Shape it gently into a round or an oval shape.
Be firm but very, very gentle now.
Prepare a proofing basket or a bowl.
Dust the cloth lining heavily with flour.
Place the shaped loaf seam-side up in the basket.
Cover it again to keep drying out.
Let it proof a second time until puffy.
This second rise takes about 45 minutes.
Baking for a Perfect Crust
Preheat your oven to 475 degrees Fahrenheit.
Put your empty Dutch oven inside to heat up.
It must get screaming hot for success.
Carefully take the hot pot out of the oven.
Flip your dough gently into the hot pot.
Use a very sharp knife to score the top.
This lets steam escape in a controlled way.
Bake it covered for 20 minutes exactly.
Then, remove the heavy lid from the pot.
Bake uncovered for another 25 minutes.
You want that deep, rich golden brown color.
This is the look of The Bread That Makes People Think You’re a Baker.
Pro Tips for Success with The Bread That Makes People Think You’re a Baker
You have the steps down now for The Bread That Makes People Think You’re a Baker.
A few small tweaks help immensely.
Elias insists on paying attention to details.
These tips cover common sticking points.
They ensure your texture is always perfect.
Don’t rush the rising stages, please.
Handling the Dough Temperature
Room temperature changes everything here.
Cold kitchens mean slow rising dough.
If it is chilly, your first rise takes longer.
It might need 90 minutes instead of 60.
Use your oven light for a warm spot.
Just check it visually, not by the clock.
Cooling Time is Non-Negotiable
This part is truly hard for me sometimes.
That fresh bread smell is so tempting.
But slicing hot bread ruins the interior.
The steam needs to escape slowly first.
Slicing too soon makes the crumb gummy.
Cool it fully on a wire rack for hours.
Common Questions About Your Homemade Bread
I know you might have a few lingering thoughts.
That is normal when trying a new recipe.
We want this easy artisan bread to work for you.
Here are answers to common queries.
These help make this a great beginner bread recipe.
Ask us anything else below!
Can I use a different type of flour?
You sure can try swapping flours.
Bread flour works wonderfully, too.
It has more protein for better structure.
Whole wheat flour needs adjustments.
It absorbs more water than white flour.
Start with half whole wheat, half white flour.
How do I know if my dough has properly doubled?
Don’t just stare at the bowl.
Use the poke test for reliability.
Gently flour one finger.
Press it lightly into the dough surface.
If the indentation slowly springs back halfway, it’s ready.
If it springs back fast, give it more time.
For more general baking science, check out resources from organizations like King Arthur Baking.
Storing and Serving Your Bread That Makes People Think You’re a Baker
Once your amazing loaf of The Bread That Makes People Think You’re a Baker cools, we need to keep it perfect.
Proper storage keeps that crust happy longer.
Serving it simply shows off its quality.
We love simple, rustic pairings here.
This bread deserves to shine on your table.
It tastes best the day it is baked.
Storing Leftovers
To keep the crust crisp, avoid plastic bags.
Plastic traps moisture and softens the crust.
Wrap the cooled loaf in a clean kitchen towel first.
Place that wrapped bread inside a paper bag.
Store it on your counter for up to three days.
If you must use the fridge, wrap tightly first.
Serving Suggestions
This bread is fantastic dipped in good olive oil.
A sprinkle of flaky salt elevates everything.
Try it toasted with butter and jam, too.
My favorite way is with a hearty soup.
It makes any simple meal feel special.
Enjoy every single slice you worked for.
If you are looking for soup inspiration, check out our Carrot Ginger Sweet Potato Soup.
Estimated Nutritional Data
We want you to enjoy this bread freely.
Remember, this is homemade food, not a science experiment.
The nutritional label below is an estimate only.
It is based on using basic all-purpose flour.
Serving size is just one slice of the loaf.
Use these numbers as a general guide.
- Calories: About 150 per serving.
- Carbohydrates: High content, as expected.
- Protein: Moderate amounts are present.
- Fat: Generally low in total fat.
- Sugar: This recipe is naturally low in added sugar.
We skip added fats in the dough itself.
This keeps the nutrition profile clean for you.
It’s satisfying comfort food, pure and simple.
Share Your View From Our Kitchen Creation
Now comes the best part for Elias and me.
We love hearing how your baking went.
Did you achieve that beautiful crisp crust?
Did you manage to fool your family and friends?
We put a lot of love into this recipe.
Seeing your success means everything to Flavor Vista.
Please leave a rating below for the loaf.
Tell us about your experience in the comments.
Did you try any fun scoring patterns?
Your feedback helps other new bakers.
We can’t wait to read your stories.
Happy baking until next time, friends!
PrintMaster The Bread That Makes People Think You’re a Baker
This recipe provides simple steps to bake an impressive artisan-style loaf of bread. You will achieve a beautifully crisp crust and a soft interior, making you look like an experienced baker.
- Prep Time: 20 minutes
- Cook Time: 45 minutes
- Total Time: 3 hours 30 minutes (includes rising time)
- Yield: 1 loaf
- Category: Bread
- Method: Baking
- Cuisine: American
- Diet: Vegetarian
Ingredients
- Flour (All-Purpose or Bread)
- Water
- Yeast (Instant or Active Dry)
- Salt
Instructions
- Combine flour, water, yeast, and salt in a bowl.
- Mix until a shaggy dough forms.
- Knead the dough briefly on a lightly floured surface.
- Place dough in an oiled bowl and let it rise until doubled.
- Gently shape the risen dough into a round or oval loaf.
- Place the shaped dough in a proofing basket or bowl lined with a floured cloth.
- Cover and let it proof again until puffy.
- Preheat your oven very hot with a Dutch oven inside.
- Carefully transfer the dough into the hot Dutch oven.
- Score the top of the loaf with a sharp knife.
- Bake covered for the first part of the time.
- Remove the lid and continue baking until the crust is deep golden brown.
- Cool completely on a wire rack before slicing.
Notes
- Using a Dutch oven helps trap steam for a better crust.
- Do not skip the cooling time; slicing hot bread ruins the texture.
- Feel the dough; proper rising is key to a soft interior.
Nutrition
- Serving Size: 1 slice
- Calories: Approx. 150
- Sugar: Low
- Sodium: Moderate
- Fat: Low
- Saturated Fat: Negligible
- Unsaturated Fat: Trace
- Trans Fat: Zero
- Carbohydrates: High
- Fiber: Moderate
- Protein: Moderate
- Cholesterol: Zero