


Oh my goodness, you are going to absolutely flip for these! I know what you’re thinking: flaky pastry that’s gluten-free? Impossible! For years, I thought so too. Most store-bought GF options are just dense bricks masquerading as a treat, right? Well, I spent what felt like centuries wrestling with laminated doughs that just wouldn’t cooperate. But trust me, after failing spectacularly about fifteen times, I finally cracked the code for truly stunning **Gluten-Free Strawberry Cream Cheese Danishes**. We aren’t just making a pastry here; we are building layers of buttery, tangy perfection. I finally figured out that secret handshake between cold butter, the right flour blend, and relentless chilling. If you want that real, melt-in-your-mouth texture, stay right here. You’ll want to try this recipe for the flakiest blueberry scones next, too!
Why These Gluten-Free Strawberry Cream Cheese Danishes Are a Must-Try
Look, baking Gluten-Free Strawberry Cream Cheese Danishes that look and taste like they came from a fancy bakery shouldn’t require a culinary degree! These work because they hit all the right flavor notes. You get that tangy sweet filling, and best of all, that flaky texture you thought you gave up when you went gluten-free.

- They genuinely deliver on that beautiful, flaky pastry promise.
- The strawberry and cream cheese balance is just heavenly—not too sweet!
- They make the absolute prettiest centerpiece for any brunch spread. Check out more brunch ideas here!
Key Recipe Details: Prep, Cook, and Yield
I always lay out my timings upfront because I know you’re busy. This isn’t a 30-minute bake, but the chill time is mostly hands-off, which is perfect. We get 8 beautiful danishes out of this batch, and trust me, they disappear fast! Prep Time is about 45 minutes, baking takes just 22 minutes, so your total time commitment is right around 167 minutes (but most of that is magic waiting time in the fridge!).
Essential Ingredients for Perfect Gluten-Free Strawberry Cream Cheese Danishes
Okay, let’s talk ingredients, because this is where the magic—or the disaster—happens when you’re doing Gluten Free Baking. Don’t even *think* about trying to wing it here. The absolute king of this recipe is the butter. It has to be freezing cold—use fresh butter, cubed! That cold butter is what creates those glorious layers in the **Flaky Gluten Free Dough** you’re dreaming of.
You need your gluten-free flour blend, and critically, check that bag for xanthan gum. If yours doesn’t have it, you must add the extra teaspoon, or your dough will weep and crumble instead of holding together. For the filling, we use 8 ounces of softened cream cheese, which gives that perfect tang we want in our Cream Cheese Danish. We sweeten that up with sugar and enrich it with an egg yolk and vanilla. Then, we use a cup of strawberry jam—the good stuff, not the thin jelly! If you haven’t tried making GF dinner rolls yet, the same rules about binders apply here!
Ingredient Notes and Substitutions for Your Cream Cheese Danish
If you’re dairy-free, don’t you worry! You can absolutely substitute the cream cheese with a firm, plain dairy-free alternative. Just make sure it’s not too soft before you start beating it with the sugar. My biggest pro tip, and this isn’t just for danishes, is measuring your flour using the scoop-and-level method, never scoop right from the bag. For GF items, that trapped air can throw off your dough texture completely. Everything needs to be measured precisely before we head into the mixing phase!
Mastering the Flaky Gluten Free Dough for Your Gluten-Free Strawberry Cream Cheese Danishes
This is it—the moment where most people throw their hands up and order takeout! Getting a truly **Flaky Gluten Free Dough** feels like witchcraft, but I promise, it’s just about butter temperature and patience. First, you cut in that ice-cold butter until you have coarse crumbs, making sure you still see some pea-sized chunks floating around. Those chunks are your future layers; don’t mash them into nothingness!
Then comes the folding, which mimics the lamination process in regular puff pastry. You roll it into a rectangle, fold it like a business letter, turn it, and roll it again. We repeat this sequence a couple of times, chilling it in between each set of folds. Seriously, don’t skip the chilling! My secret for life with GF dough is that it gets sticky faster than wheat dough when rolling. If mine starts clinging to the counter, I just dust the surface generously and pop the whole thing (dough and surface) into the freezer for exactly 8 minutes. That gives me just enough firmness to roll one more time without melting those beautiful butter pockets. It’s a lifesaver for these **Gluten-Free Strawberry Cream Cheese Danishes**!
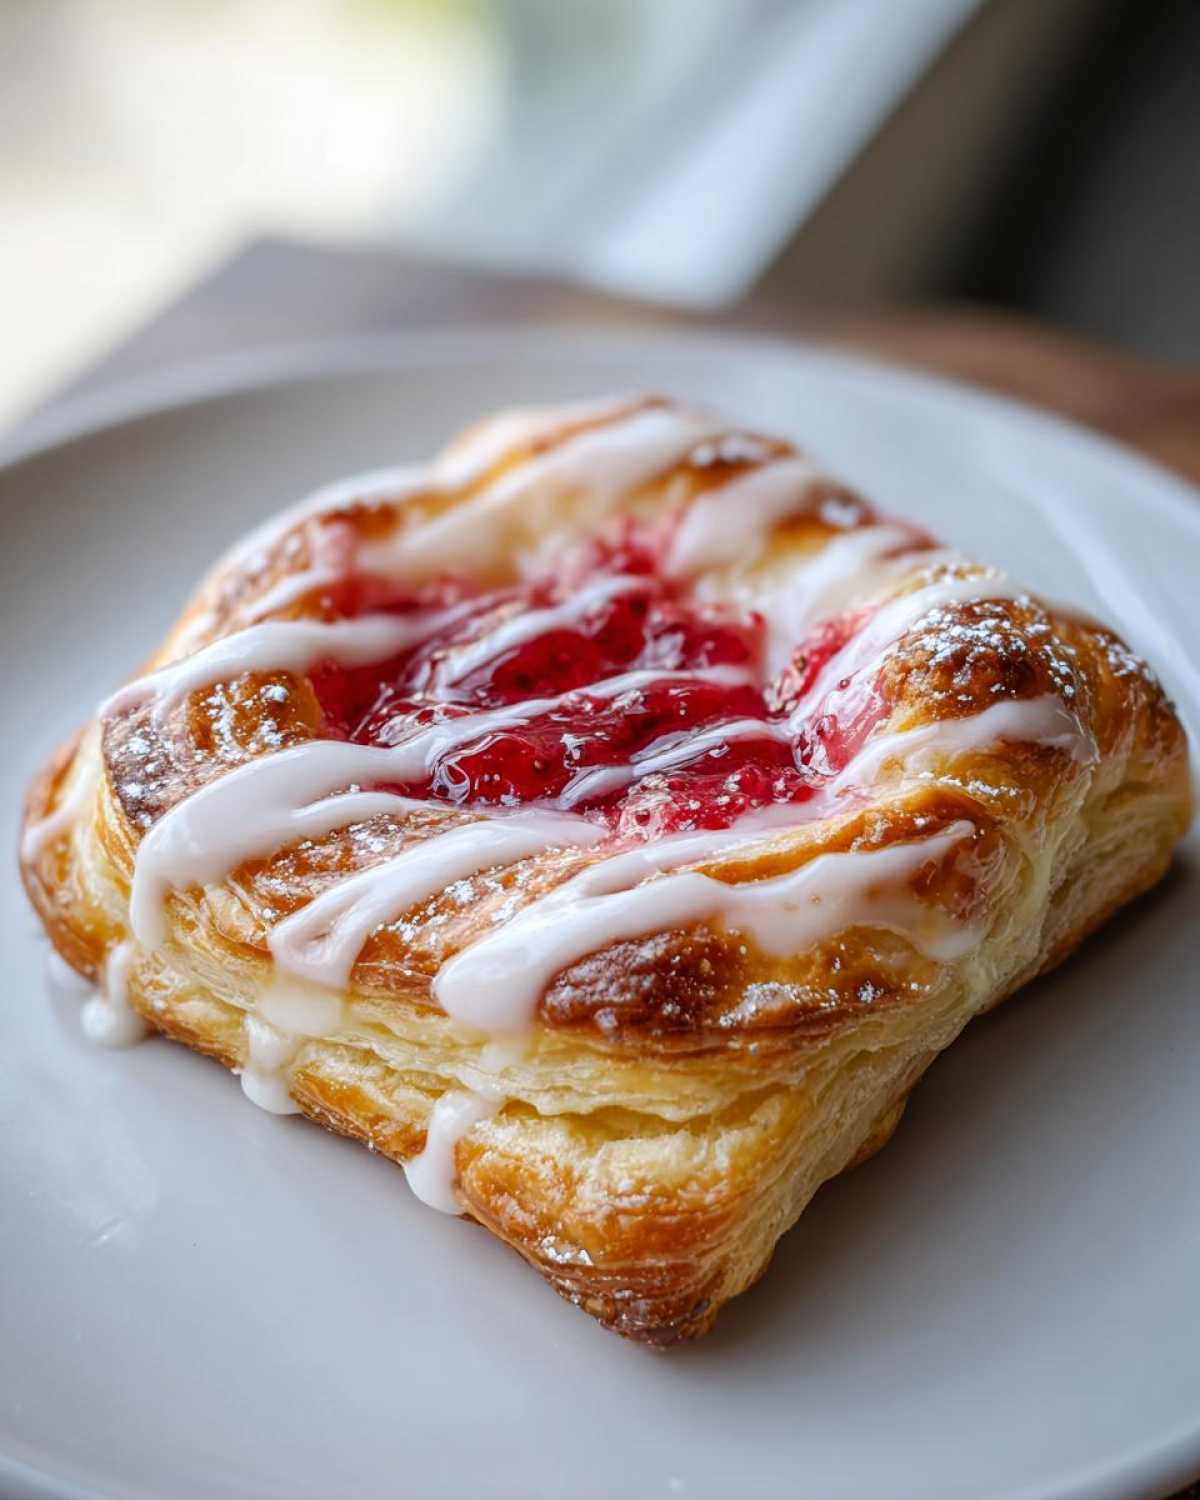
Remember, these multiple rolling and chilling steps are what build all that wonderful texture into the finished pastry. You’re building in the structure for a perfect **Cream Cheese Danish** that won’t taste heavy or sandy. For more tips on getting that perfect flaky texture, check out my guide on flaky scones; the steps are surprisingly similar!
Preparing the Homemade Strawberry Filling for Gluten-Free Strawberry Cream Cheese Danishes
While your dough is chilling (or just before you get it ready for its final roll), we tackle the filling. This part is so quick—it’s honestly just mixing! You want that cream cheese mixture to be perfectly smooth so it spreads nicely without tearing the precious dough layers. Beat your softened cream cheese until it’s creamy, then mix in that sugar, the egg yolk, and the vanilla. Don’t overdo it; just smooth! This gorgeous tub of tangy goodness is your base.
For the strawberry element of our **Homemade Strawberry Filling**, I usually rely on a nice thick jam or preserves. It spreads predictably, which is crucial when dealing with GF pastry. If you feel like using fresh berries, go for it, but you must toss them with just a tiny bit of sugar first—we don’t want extra liquid weeping out onto the pastry bottom! Make sure this filling is ready to go before you even think about rolling out that chilled dough.
If you love strawberry flavors, you absolutely have to check out my recipe for moist strawberry muffins; they use a very similar fruit base!
Step-by-Step Assembly and Shaping of Gluten-Free Strawberry Cream Cheese Danishes
Now that you have cold dough and smooth filling, it’s time to assemble these beautiful Gluten-Free Strawberry Cream Cheese Danishes. We are aiming for that classic Danish shape, which means precision is your friend. Roll out the dough one final time until it’s about a quarter-inch thick. I use a ruler for this part because consistency matters when you’re trying to get flaky layers in Gluten Free Baking.
Cut your dough into neat 4-inch squares. Here is the trick for that perfect, puffed edge: take a sharp knife and lightly score a border about half an inch in from the edge of each square. You are just scoring the surface layer—don’t slice all the way through! This border traps the filling beautifully as it bakes. Then, prick the inner, unscored area lightly with a fork a few times. This stops the middle from puffing up too much, creating a nice well for the filling.
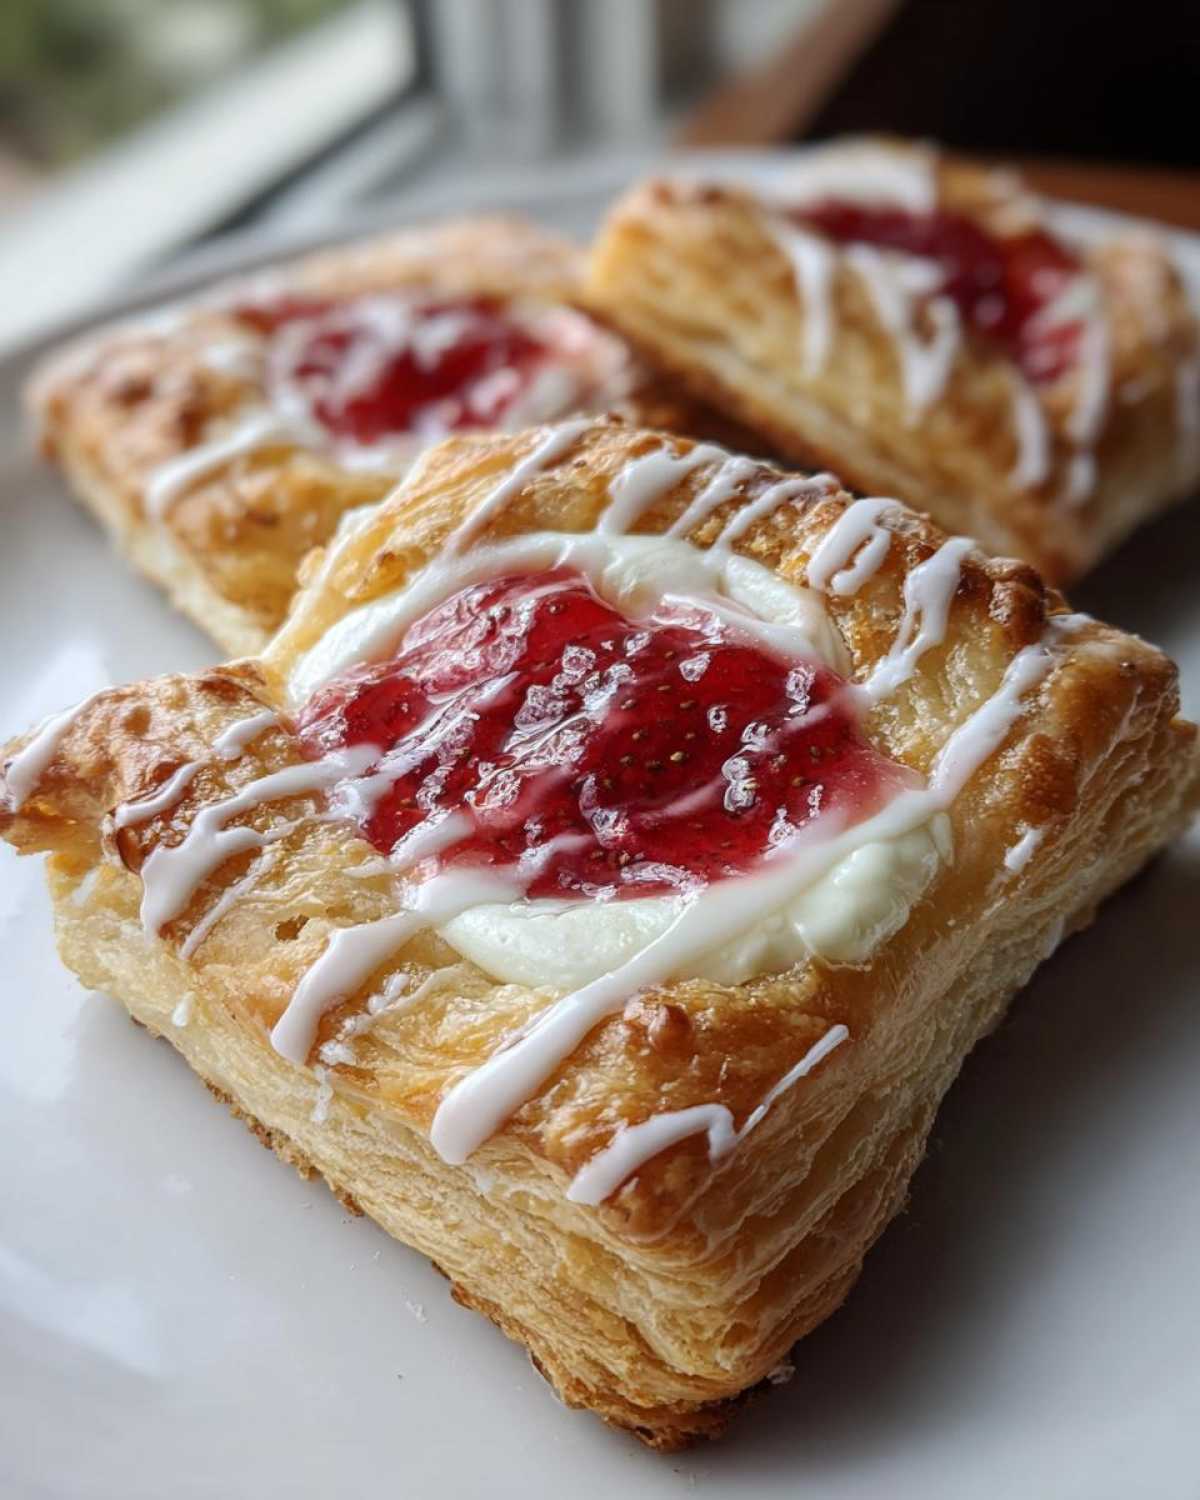
Spoon about a tablespoon of that gorgeous cream cheese mixture right into that center well. Then, gently add a teaspoon of strawberry jam right on top of the cheese. Don’t overload it, or it will ooze everywhere and stick your layers together! Finally, brush only those scored edges with your beaten egg wash—this gives us that coveted golden-brown sheen we see at the bakery. If you love easy rolling, you should try my guide on homemade breadsticks next; shaping bread like this is surprisingly similar!
Baking Tips for the Best Gluten Free Danish Appearance
Getting these beauties in and out of the oven at the right time separates the fantastic from the… well, not fantastic. We bake these beauties at 400°F (200°C). Because GF items can sometimes be shy about browning evenly, I always preheat my oven for a solid 20 minutes. Trust me, checking your oven temperature with a separate thermometer pays off big time when seeking that perfect **Best Gluten Free Danish** color!
The egg wash you brushed on those edges is doing heavy lifting, making them wonderfully golden, so watch them closely after about 16 minutes. They’re done when they look puffed and deeply golden brown—usually right around 18 to 22 minutes total. If you want to try another amazing bake, my soft pretzel recipe also relies on a good hot start!
Finishing Touches: Glazing Your Gluten-Free Strawberry Cream Cheese Danishes
These pastries deserve a grand finale! Once the danishes come out of the oven, let them cool on the tray for just a few minutes—they need to be warm, not screaming hot, for the best glaze finish. Making the glaze is simple: just whisk together powdered sugar with a tiny splash of milk or water until it’s smooth and pourable. If you want extra flavor, you could add a drop of vanilla; I have a great vanilla buttercream recipe if you want to play around with a thicker icing!
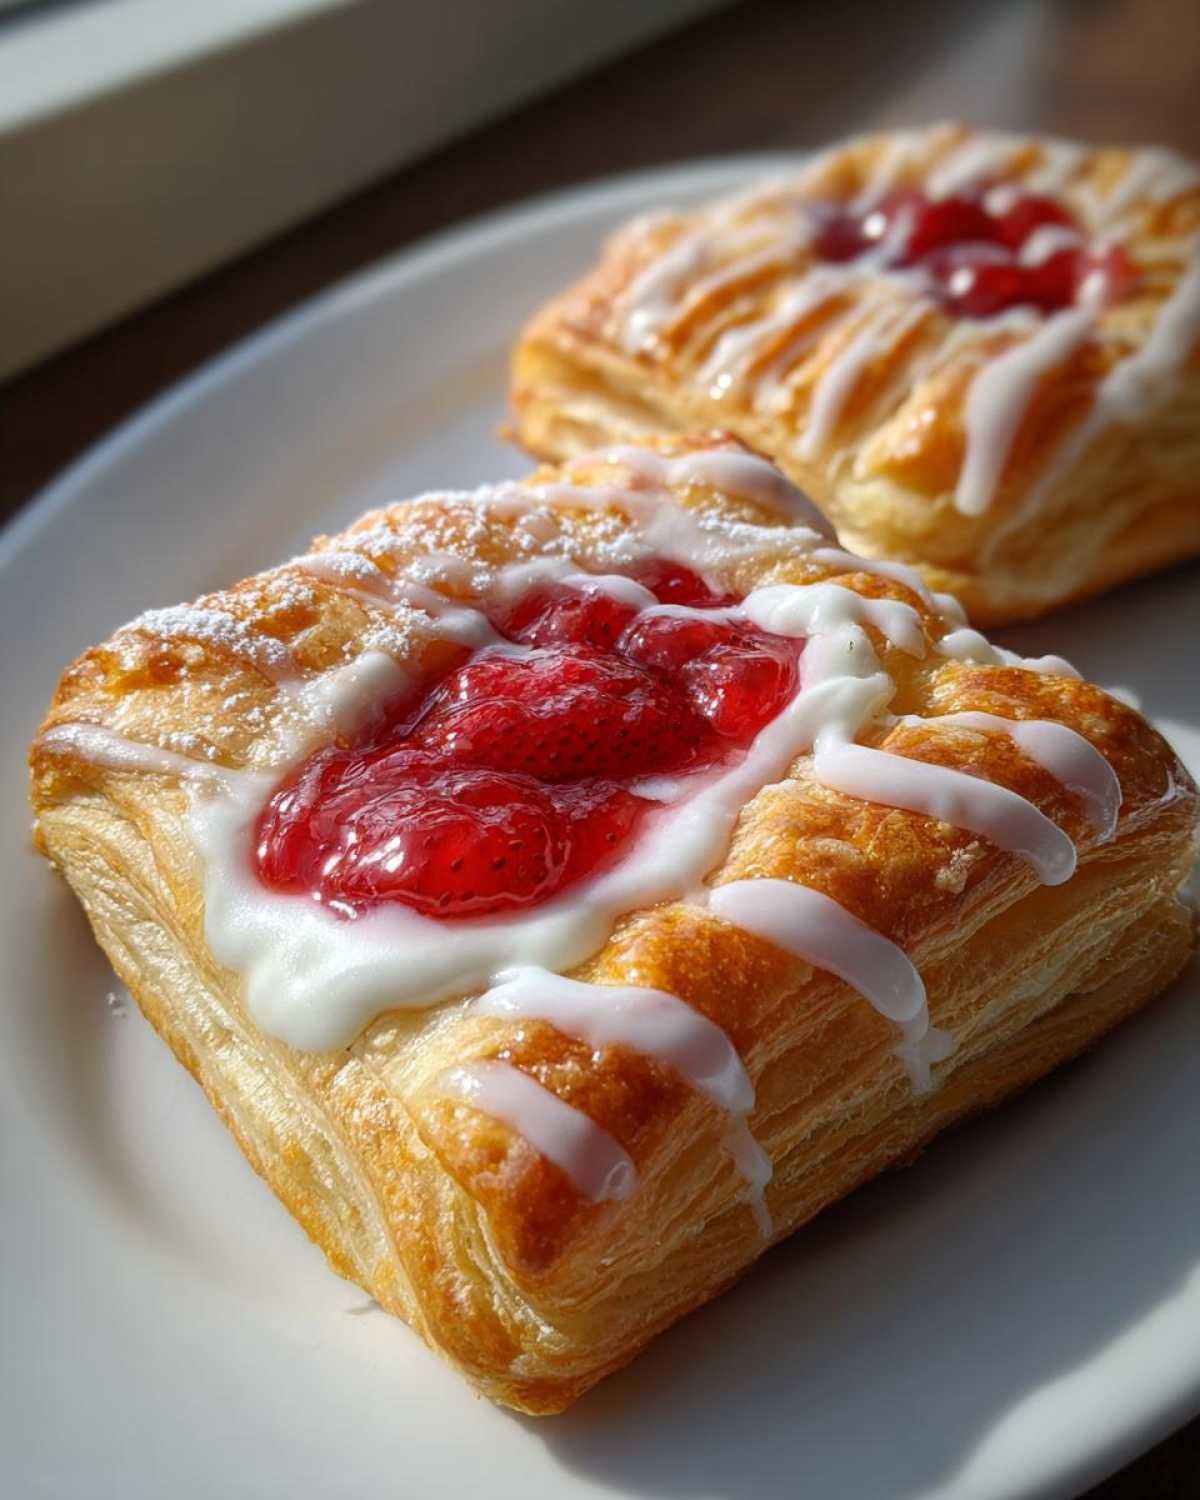
Drizzle that sweet white glaze right over the top of the cooled cream cheese and strawberry centers of your **Gluten-Free Strawberry Cream Cheese Danishes**. It sets up beautifully and gives them that professional bakery gleam. That’s it! You’ve done it—perfect flaky pastry!
Storage and Reheating for Your Homemade GF Pastries
Let’s face it, sometimes we don’t eat all eight **Homemade GF Pastries** in one sitting—though I applaud the effort if you try! Store any leftovers in a truly airtight container. I find room temperature works best for a day, maybe two. If you put them in the fridge, the cream cheese filling gets a little firm, and the pastry softens.
If you do need to revive them for the next morning, don’t use the microwave! Pop them on a baking sheet for about five minutes in a low oven, maybe 300°F. That quick blast of dry heat brings back a little bit of that satisfying crispness. Speaking of make-ahead ease, you should definitely try my make-ahead egg bake for stress-free breakfasts!
Frequently Asked Questions About Gluten Free Strawberry Cream Cheese Danishes
I know you’ve got questions! Whenever I embark on a tricky bake like this, especially involving laminated doughs, I always have a few nagging concerns. These **Gluten-Free Strawberry Cream Cheese Danishes** definitely require a little more know-how than just stirring ingredients together, but trust me, the result is worth it!
Can I swap out the strawberry jam for, say, blueberry preserves? Yes, absolutely! Feel free to try any thick fruit butter or jam you love. If you’re looking for a great base for other sweets, check out my recipe for the best soft and chewy chocolate chip cookies—you can almost always substitute fillings in those!
Can I make the dough ahead of time for these Gluten Free Morning Pastries?
You really can, and I sometimes do this to break up the work! You can make the whole dough disk, wrap it TIGHTLY in at least two layers of plastic wrap, and keep it in the fridge for up to two days. Keeping it very cold prevents the butter from melting out before you get to the rolling stages later. Just let it sit on the counter for maybe 15 minutes before you start folding if it feels rock hard.
What makes this Gluten Free Baking recipe different from traditional danishes?
The difference is all in structure! Traditional Danish relies on wheat gluten to form strong elastic sheets that trap the butter layers. Since we don’t have that structure in **Gluten Free Baking**, we lean heavily on two things: first, the butter must be kept brutally cold to prevent bleed-out, and second, we absolutely rely on binders like xanthan gum. That gum mimics the elasticity we lose, helping our **Homemade GF Pastries** hold their shape during baking!
PrintGluten-Free Strawberry Cream Cheese Danishes

Make flaky, bakery-style gluten-free danishes filled with sweet strawberry and tangy cream cheese.
- Prep Time: 45 min
- Cook Time: 22 min
- Total Time: 167 min
- Yield: 8 danishes
- Category: Breakfast
- Method: Baking
- Cuisine: American
- Diet: Gluten Free
Ingredients
- 1 cup (2 sticks) cold unsalted butter, cubed
- 1 1/2 cups gluten-free all-purpose flour blend (with xanthan gum)
- 1 teaspoon xanthan gum (if your blend does not contain it)
- 1/2 teaspoon salt
- 1/4 cup ice water, plus more if needed
- 8 ounces cream cheese, softened
- 1/2 cup granulated sugar
- 1 large egg yolk
- 1 teaspoon vanilla extract
- 1 cup strawberry jam or preserves
- 1 large egg, beaten (for egg wash)
- 1/4 cup powdered sugar (for glaze)
- 1 tablespoon milk or water (for glaze)
Instructions
- Prepare the Dough: In a large bowl, combine the gluten-free flour blend and salt. If your blend lacks xanthan gum, mix it in now. Cut in the cold, cubed butter using a pastry blender or your fingers until the mixture resembles coarse crumbs with some pea-sized pieces of butter remaining.
- Add Water: Gradually add the ice water, one tablespoon at a time, mixing until the dough just comes together. Do not overmix. Form the dough into a flat disk, wrap it tightly in plastic wrap, and chill in the refrigerator for at least 2 hours.
- Make the Filling: In a medium bowl, beat the softened cream cheese, granulated sugar, egg yolk, and vanilla extract until smooth and creamy. Set aside.
- Roll the Dough: On a lightly floured surface (use extra GF flour), roll the chilled dough into a large rectangle, about 1/8 inch thick. For flakiness, fold the dough into thirds like a business letter, turn it 90 degrees, and roll it out again into a rectangle. Repeat this folding and rolling process two more times, chilling the dough for 15 minutes between each set of folds.
- Shape the Danishes: Roll the dough one last time to about 1/4 inch thickness. Cut the dough into 4-inch squares. Score a border about 1/2 inch from the edge of each square without cutting all the way through. Prick the center area lightly with a fork.
- Fill and Bake: Place about 1 tablespoon of the cream cheese mixture in the center of each square. Top the cream cheese with about 1 teaspoon of strawberry jam. Brush the scored edges with the beaten egg wash.
- Bake at 400°F (200°C) for 18 to 22 minutes, or until the pastry edges are golden brown and puffed.
- Glaze: While the danishes cool slightly, whisk together the powdered sugar and milk/water until smooth. Drizzle the glaze over the warm danishes.
Notes
- For a dairy-free option, substitute the cream cheese with a firm, plain dairy-free cream cheese alternative.
- If your dough becomes too sticky during rolling, chill it for 10 minutes before continuing.
- Using very cold butter is key to achieving a flaky texture in gluten-free pastry.
- You can use fresh, sliced strawberries instead of jam, but toss them lightly with 1 teaspoon of sugar first.
Nutrition
- Serving Size: 1 danish
- Calories: 380
- Sugar: 25
- Sodium: 180
- Fat: 25
- Saturated Fat: 15
- Unsaturated Fat: 10
- Trans Fat: 0
- Carbohydrates: 35
- Fiber: 1
- Protein: 5
- Cholesterol: 75