

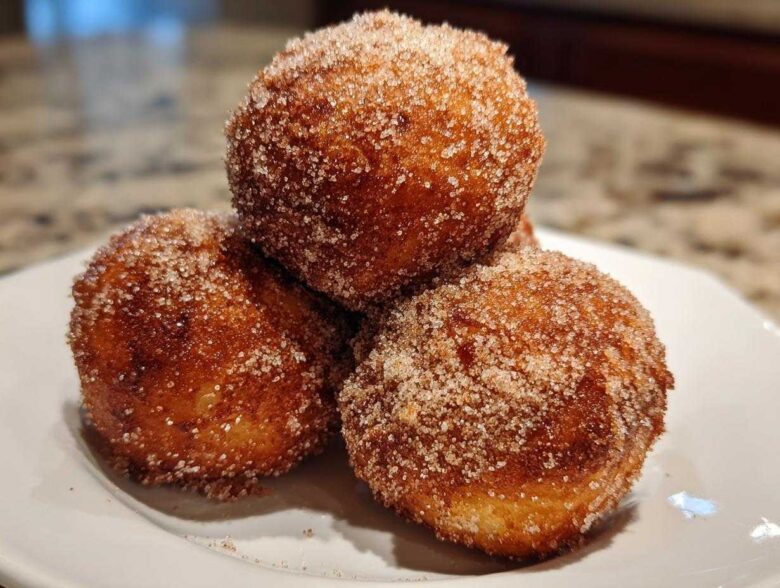
If you’re anything like me, you absolutely adore apple pie, but sometimes that whole slicing-and-serving ritual just feels like too much work after a long day. That’s why I completely went wild when I figured out how to transform that cozy, spiced flavor into something incredible! Trust me when I say these deep-fried Apple Pie Bombs are the game-changer you never knew you needed. They’re small, they’re portable, and they deliver that perfect blast of warm, cinnamon-laced apple goodness wrapped in a crispy, golden shell.
Forget messy, heavy slices—these taste like the best part of Thanksgiving, only you can eat five without feeling guilty! I’ve tested this recipe dozens of times—seriously, my kitchen smelled like an orchard for a week—to make sure the seal stays shut and the filling is perfectly tender. Once you try these, you’ll see why they’ve become my go-to sweet treat for any crowd.
Why You Will Make These Apple Pie Bombs Again and Again
I know, I know—another fried dough recipe! But these are different. They nail that perfect contrast: a super crisp exterior that shatters just right, giving way to a hot, sweet apple filling that tastes like it simmered all day. Plus, using store-bought crust means you get maximum flavor payoff with minimal elbow grease. If you’re looking for the ultimate quick dessert delivery system, this is it!
Essential Ingredients for Perfect Apple Pie Bombs
You don’t need a massive pantry for these treats, which is part of the magic! Everything comes together fast. The real game-changer here is using ready-made pie crusts—don’t fight it, they work perfectly for creating those sealed pockets. You’ll want to make sure your apples are diced really small so they cook through quickly inside the bomb. And always, always measure that flour in the filling; it’s what keeps the apple juices from running everywhere when they hit the hot oil.
Here’s what you absolutely must gather for the filling and the coating. If you happen to have leftover applesauce from making homemade applesauce, you can use that instead of fresh apples, but the texture is best with the dice!
- 1 (14.1 ounce) can refrigerated pie crusts (that’s two crusts total!)
- 2 medium apples (Granny Smith works best! You need them peeled, cored, and finely diced)
- 1/4 cup granulated sugar (for the filling)
- 1 teaspoon ground cinnamon (for the filling)
- 1 tablespoon all-purpose flour (This is critical for thickening!)
- 1 teaspoon lemon juice (to keep those apples bright)
- 1/4 teaspoon ground nutmeg
- Vegetable oil, enough for frying (about 2 inches deep in your pot)
- 1/2 cup granulated sugar (for the final coating)
- 1 tablespoon ground cinnamon (for the final coating)
Step-by-Step Guide to Making Apple Pie Bombs
Okay, this is where the fun happens! We’re taking ingredients that usually live in a pie dish and turning them into perfect little handheld flavor explosions. Don’t panic about the frying part; once you see how easy it is to seal these pockets, you’ll be a pro. Make sure you have a sturdy pot and a candy thermometer ready to go! Trust me, temperature control is the secret to keeping these from ending up greasy.
Preparing the Spiced Apple Filling
First thing’s first, we need that delicious, homemade apple pie flavor concentrated into a small package. Grab a bowl and toss in your finely diced apples—remember, small dice means they cook through fast in the hot oil. Add the sugar, cinnamon, nutmeg, and that crucial tablespoon of flour. Mix it all up really well. That flour isn’t just sitting there; it’s working hard to bind the apple juices so they don’t squirt out when they heat up. You want that mixture relatively thick, not soupy.
Cutting and Sealing Your Apple Pie Bombs
Unroll your refrigerated pie crusts! I use a 3-inch cookie cutter, but honestly, just use the rim of a small glass if you need to. Cut out as many circles as you can—we’re aiming for about 16 to 20 total. Now, this next part is super important: scoop just about a teaspoon of that apple mix onto the center of one dough circle. You can’t overfill! Then, take your finger, dip it in a little water, and lightly brush the edges of the dough. Place a second circle on top, press down hard with your fingers to seal the edges completely, and then take a fork and crimp all the way around. That fork is your insurance policy against leaks!
Frying Technique for Golden Perfection
Time to get that oil hot! We need it right at 350 degrees Fahrenheit (175 degrees Celsius). If you add the bombs when the oil isn’t hot enough, they’ll soak up grease and become heavy. If it’s too hot, they’ll burn before the apples warm up. Be careful setting them in—you don’t want to drop them from too high up. I only put about three or four in at a time; overcrowding drops the oil temperature fast! Let them fry for about 2 to 3 minutes per side until they look puffy and beautifully golden brown. Pull them out with a slotted spoon and let them drain for just a second on some paper towels.
The Final Cinnamon Sugar Coating
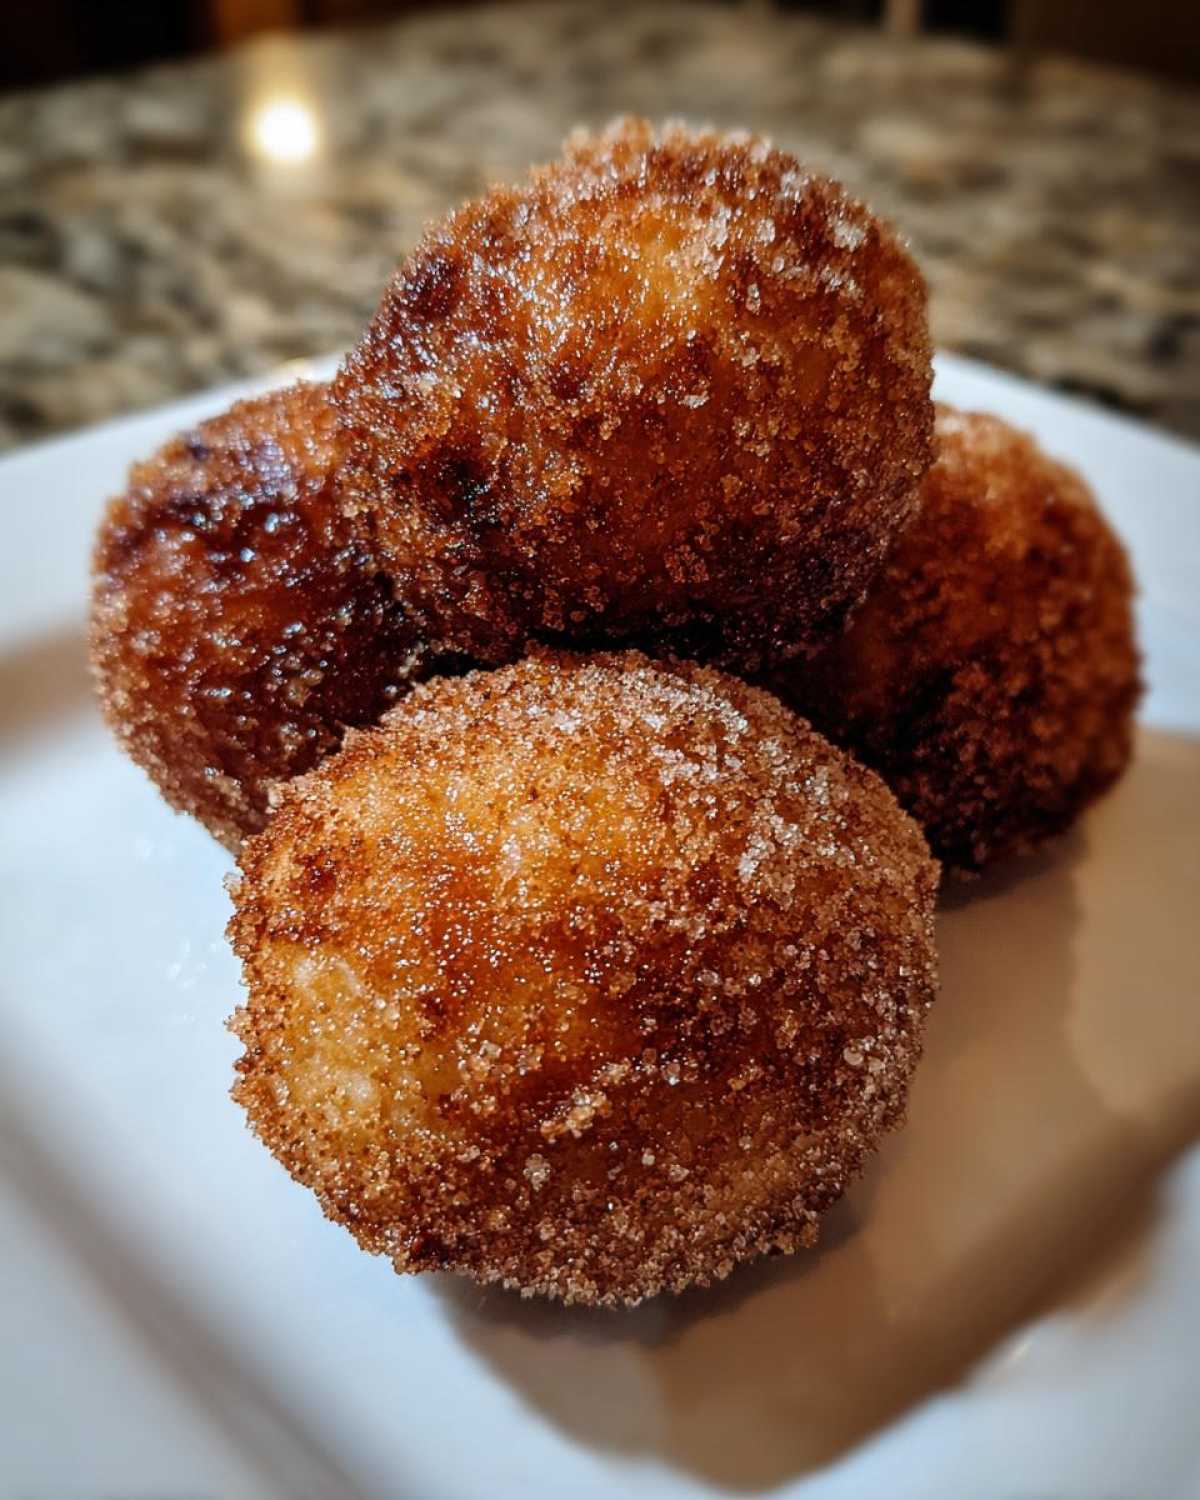
While those bombs are still piping hot, get your cinnamon sugar ready in a shallow dish. Remember the coating ingredients? Mix that extra 1/2 cup of sugar with the extra tablespoon of cinnamon—it smells amazing! Gently drop the hot, drained sweet fried dough right into that mixture. Toss them gently until they are totally coated. The residual heat and slight oil on the surface make that sweet coating stick perfectly. Serve these right away while they are still warm; that’s the ultimate way to eat them!
Tips for Success When Making Apple Pie Bombs
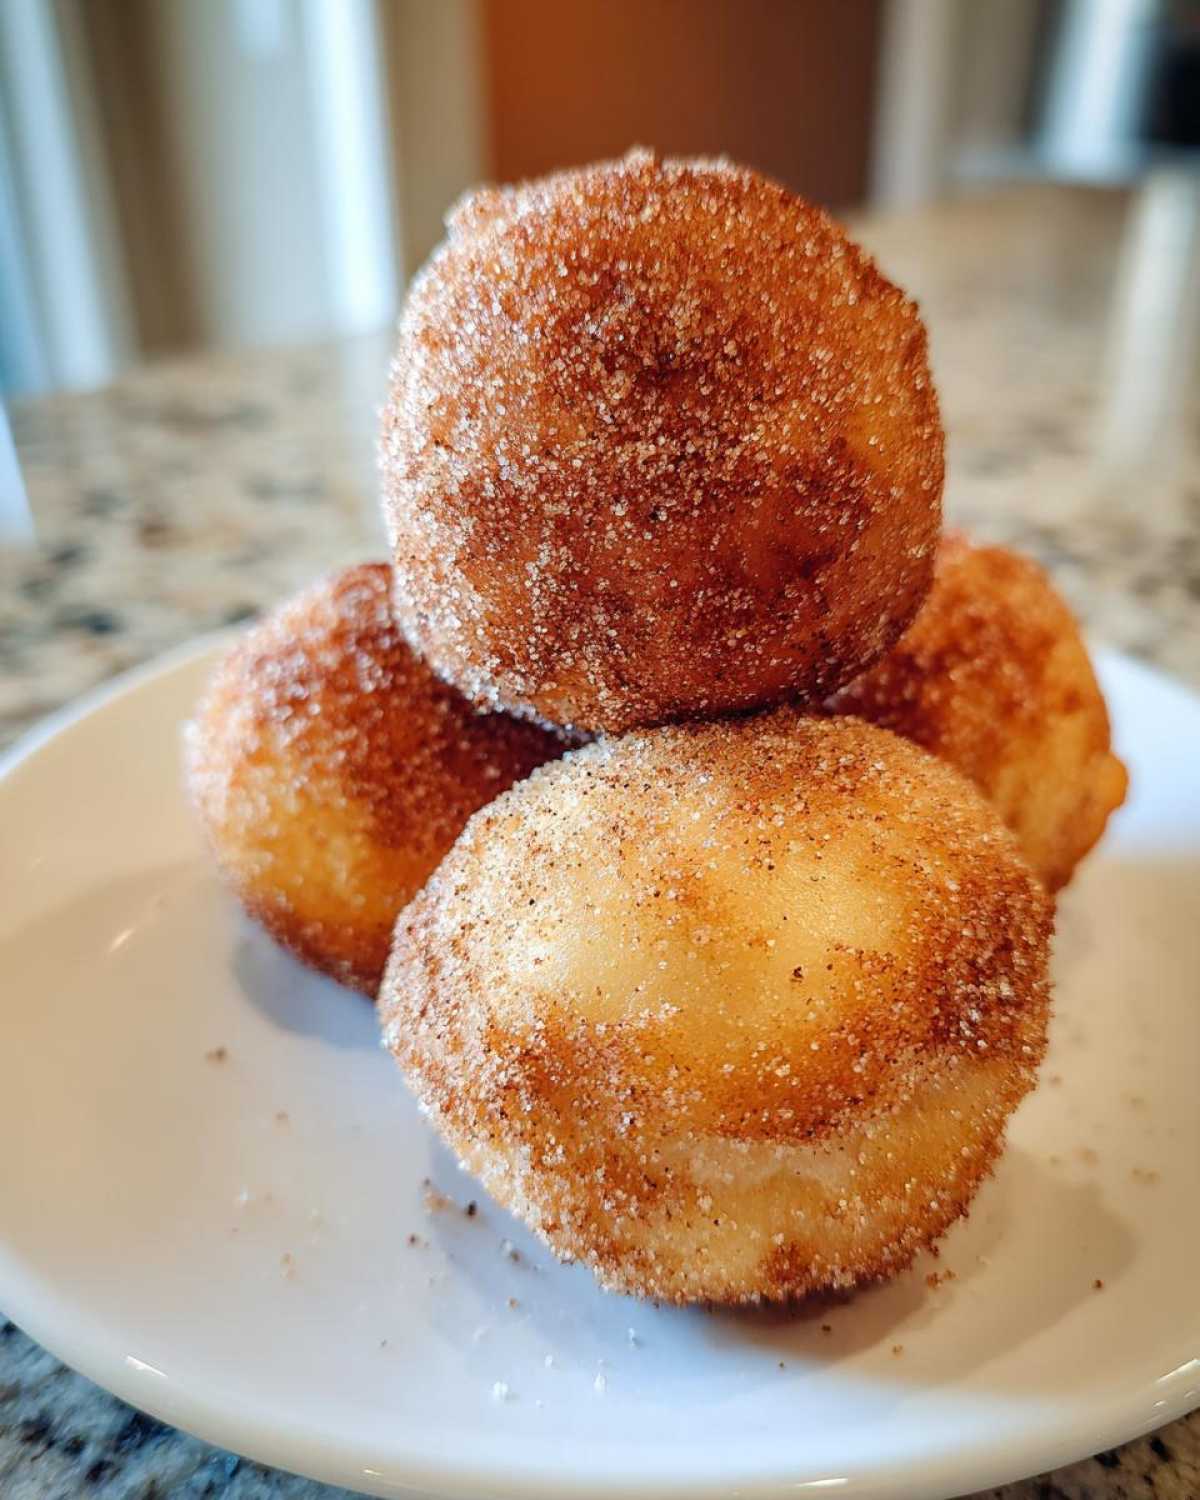
You’ve sealed them perfectly, the oil is at the right temperature—that’s fantastic! But sometimes, even with the best intentions, things go a little sideways in the kitchen. Don’t worry one bit; I’ve made every mistake possible with these cinnamon roll cousins, so I know exactly what to watch out for to make your next batch foolproof.
The biggest rookie mistake I see people make is choosing the wrong apple. If you use a soft apple, it turns straight to sauce in the fryer, guaranteeing a leak. Always grab Granny Smith or Honeycrisp. They hold their shape! Dice them small—I mean almost thumbnail-sized—so they heat through without you having to spend forever frying the outside dark brown or, worse, burning the crust.
What if your dough sticks? This happens, especially if your kitchen is warm. If the rounds start sticking to your counter or cutter, quickly dust your hands and cutting board with a whisper of flour. Don’t over-flour, though! Too much flour on the outside will make that beautiful cinnamon sugar coating slide right off later. If the dough feels floppy when you’re trying to seal them, pop the cut circles onto a baking sheet for just five minutes in the fridge. That bit of chilling time firms them up enough to handle the crimping process much better.
And one last thing about the oil: if your first batch comes out pale, your oil isn’t hot enough. If your second batch is dark brown almost instantly, your oil is too hot! Keep that thermometer handy and make minor adjustments between batches. Consistency is key here for that lovely, light golden color!
Variations: Baking or Air Frying Your Apple Pie Bombs
Listen, I get it. Sometimes you just can’t handle the deep fryer—maybe you’re short on oil, maybe you’re watching the calories, or maybe you just don’t want to deal with the cleanup. That’s perfectly fine! My grandmother always used to say, “A good recipe can bend, but it shouldn’t break,” and that applies right here to these Apple Pie Bombs.
We can absolutely bake these instead of frying, and they turn out wonderfully as Easy Apple Pie Bites! They won’t have that perfect, bubbly fried crust, of course, but they are incredibly tender and still taste wonderfully of apple pie.
For the baked version, just skip straight to assembly after you seal them up tight. Arrange the sealed bombs on a baking sheet lined with parchment paper—don’t skip the parchment, they can stick! Then, brush the tops very lightly with some melted butter. We’re popping these into a preheated 375 degrees Fahrenheit (190 degrees Celsius) oven for about 12 to 15 minutes. Keep an eye on them; you want them golden brown, but not dried out. As a bonus tip: if you want a richer flavor in the baked version, go ahead and stir 1 tablespoon of dark brown sugar into that apple filling mixture before sealing them up!
Now, what about the air fryer? Oh, the air fryer! If you want something close to fried without the oil bath, the air fryer is your friend. You’ll need to treat this more like the baking method above. Set your air fryer temperature to about 360 to 370 degrees Fahrenheit. You might need to do them in batches because they take up space! They usually take around 10 minutes, but since every air fryer is a little different, you might want to check them around the 8-minute mark until they are golden and puffed. You might need to consult your specific manual for exact timing on small pastries like these Miniature Apple Pies, but it usually works out fantastic!
Serving Suggestions for Your Warm Apple Pastry Recipe
The second these Warm Apple Pastry Recipes come out of the oil, coated in that sweet cinnamon sugar, they are absolutely begging for a little something extra. I mean, they are incredible all on their own—seriously, hot and crispy is a dessert category all by itself! But presentation matters, especially if you’re serving these delightful Dessert Appetizers with Apples to guests!
The best thing to pair with anything warm and spiced is cold, creamy dairy. Hands down. You cannot go wrong by serving two or three of these little bombs alongside a generous scoop of good-quality vanilla bean ice cream. The contrast between the piping hot, spiced filling and the melting, cold vanilla? Pure heaven. It’s like an entire apple pie experience condensed into three bites!
If you’re feeling a little fancy, though, a drizzle can really elevate these. Caramel sauce is an obvious winner, given that we’re already playing in that cozy fall/winter flavor space, essentially turning them into Caramel Apple Bomb Recipes. You can use a store-bought topping, or if you have five extra minutes, a quick homemade caramel sauce is so rewarding.
For holidays or when you need something lighter to serve alongside, I often make a quick whipped topping. Forget those heavy, overly sweet canned sprays! You can whip heavy cream with just a touch of powdered sugar and maybe even a tiny splash of maple syrup until you have soft peaks. Serve that on the side for dipping. It’s light, airy, and gives everyone an excuse to go back for a second or third bite of those perfectly cooked Easy Apple Pie Bites!
Storage and Reheating Instructions for Apple Pie Bombs
Listen, I hope you don’t have any leftovers because these Apple Pie Bombs are truly best eaten within about thirty minutes of being pulled out of the oil. They are fragile; that crispy coating starts to go soft pretty quickly once it hits room temperature, and that’s just the sad reality of anything deep-fried!
But okay, real life happens, and maybe you made a double batch for the big game, or you just couldn’t stop yourself from eating seven in one sitting. If you must store them, speed is your friend. You want to work quickly to lock in that final bit of texture before humidity sets in. Keep them in a single layer in an airtight container at room temperature. Don’t even think about putting them in the fridge! Fridges are the enemy of crispy coatings; they make everything soggy and sad, even these amazing Sweet Fried Dough Desserts.
I would advise against freezing these, honestly. Fried dough doesn’t thaw well, and when you reheat it, you usually end up with a mushy center. They’ll last okay at room temperature for about 12 hours, certainly fine until the next morning, but they won’t be “fresh-out-of-the-fryer” quality after that.
When it’s time to revive them—because these deserve a second chance!—you need heat, not steam. Steam is what ruins them! Never, ever use the microwave. It makes them chewy rubber pillows, and that’s just insulting to the hard work you put into sealing them!
The best reheat method is definitely the oven or the toaster oven. Preheat it to about 350 degrees Fahrenheit. Lay your leftover bombs out on a parchment-lined baking sheet. Pop them in for just about 5 to 7 minutes. You’re not cooking them; you’re aiming to wake up that crispiness again. If you have an air fryer, that works even faster! Try 350 degrees for maybe 4 minutes, checking every minute after that. They come out puffier and much closer to their original glory this way. Enjoy those second-day treats!
Frequently Asked Questions About Apple Pie Bombs
I know, I know, you’ve got questions! When you mess around with merging two classics like this—turning a whole pie into a handheld treat—it always brings up little troubleshooting thoughts. That’s okay! I think I’ve answered every question that’s popped up in my kitchen over the last few months of obsessively making these Easy Apple Dessert gems. Fire away if you have more, but let’s tackle the big ones first.
Can I use puff pastry instead of refrigerated pie crust for these Apple Pie Bombs?
That’s a great question about substitutions! Yes, you absolutely *can* use puff pastry, and the result will be spectacular in terms of flakiness. Puff pastry loves to expand, so they will look bigger and maybe a little more uneven than the ones made with standard pie crust. The main thing to watch out for is the seal. Because puff pastry is so rich and often has layers of fat already, moisture doesn’t always stick to it the same way. You need to be extra careful when crimping those edges shut. If you use puff pastry, make sure you press down *really* firmly with the fork tines, maybe even pressing twice, just to be sure you don’t get any splitting once they hit the hot oil.
What is the best way to prevent the filling from leaking out while frying?
Oh, the dreaded filling explosion! Nobody wants that oil spitting messes! Prevention is all about a two-step check before they ever go into the hot oil. First, make absolutely sure the edges of the dough circles you are sealing are completely dry before you wet them. If the dough is already oily or damp, the water won’t create that sticky seal we need.
Second, after you press them together with your fingers, really work that fork! You aren’t just decorating; you are creating a mechanical crimp that holds under pressure. Press down hard on those fork tines all the way around the edge until you feel it’s locked in. If you’ve got a thick filling that looks a little too wet, you can even try patting the edges of the dough circles with a paper towel before wetting them. That little bit of extra effort guarantees you get perfect Fried Apple Turnovers Recipe results every time.
Can I make the apple filling for these Easy Apple Pie Bites ahead of time?
Yes, and I highly recommend it if you’re planning on making a huge batch for a crowd! This makes the assembly process so much faster the day of. You can whip up that spiced apple filling—remembering to include the flour—up to two days in advance. Just mix everything together as instructed, cover the bowl tightly, and pop it in the refrigerator.
The only small change you need to make when using pre-made filling is that you might want to let it sit on the counter for about 15 minutes before using it. If it’s freezing cold straight from the fridge, it can cool down your dough circles unevenly, which complicates the sealing process. Letting the Easy Apple Pie Bites filling warm up just slightly makes it much easier to scoop and control. It works like a charm!
Nutritional Estimates for Cinnamon Apple Dessert Pockets
Okay, so we need to talk a little bit about what goes into these amazing little flavor bursts. I want to be super honest here: these are dessert, and they are deep-fried, so they are treating yourself moments! We aren’t aiming for diet food when we make these wonderful Cinnamon Apple Dessert Pockets, but I know some of you are curious about the numbers, so I pulled together an estimate based on the recipe serving 16 total units (two bombs each).
Please take this with a big grain of salt, though! Since we’re using store-bought crusts and frying in oil, the exact calorie count is going to swing wildly depending on how much oil your bombs soak up and the specific brand of crust you grab. This is just a general guideline so you know what you’re dealing with when you devour two or three!
- Serving Size: 2 bombs
- Calories: Around 320
- Sugar: About 22 grams (That’s the delicious part, right?)
- Sodium: Roughly 250mg
- Fat: In the ballpark of 18 grams
- Saturated Fat: About 5 grams
- Carbohydrates: 38 grams
- Protein: Around 3 grams
See? Pure comfort food wrapped up in a beautiful, crispy shell! The good news is that most of the fat is necessary for that fantastic rich texture we look for in perfect Sweet Fried Dough Desserts. Just remember to enjoy them fresh and warm, maybe save the next day’s reheating for a smaller portion!
PrintDeep-Fried Apple Pie Bombs with Cinnamon Sugar

Make these deep-fried apple pie bombs for a sweet, portable dessert featuring spiced apple filling inside a crispy pastry shell coated in cinnamon sugar.
- Prep Time: 20 min
- Cook Time: 10 min
- Total Time: 30 min
- Yield: 16 servings
- Category: Dessert
- Method: Deep Frying
- Cuisine: American
- Diet: Vegetarian
Ingredients
- 1 (14.1 ounce) can refrigerated pie crusts (2 crusts)
- 2 medium apples (like Granny Smith or Honeycrisp), peeled, cored, and finely diced
- 1/4 cup granulated sugar
- 1 teaspoon ground cinnamon
- 1 tablespoon all-purpose flour
- 1 teaspoon lemon juice
- 1/4 teaspoon ground nutmeg
- Vegetable oil, for frying
- 1/2 cup granulated sugar, for coating
- 1 tablespoon ground cinnamon, for coating
Instructions
- Prepare the apple filling: In a medium bowl, combine the diced apples, 1/4 cup sugar, 1 teaspoon cinnamon, flour, lemon juice, and nutmeg. Mix well.
- Unroll the pie crusts onto a lightly floured surface. Use a 3-inch round cookie cutter to cut circles from both crusts. You should get about 16 to 20 circles total.
- Place about 1 teaspoon of the apple filling onto the center of one dough circle.
- Moisten the edges of the dough circle lightly with water using your finger. Place a second dough circle directly on top of the filling.
- Press the edges firmly together with your fingers to seal. Crimp the edges with the tines of a fork to make sure the filling stays inside during frying. Repeat with remaining dough and filling.
- Heat about 2 inches of vegetable oil in a deep, heavy-bottomed pot or deep fryer to 350 degrees Fahrenheit (175 degrees Celsius). Use a thermometer to monitor the temperature.
- Carefully place 3 or 4 apple pie bombs into the hot oil, ensuring you do not overcrowd the pot. Fry for 2 to 3 minutes per side, turning once, until they are golden brown and puffed.
- Remove the fried bombs with a slotted spoon and place them on a plate lined with paper towels to drain excess oil.
- In a shallow dish, mix the 1/2 cup sugar and 1 tablespoon cinnamon for the coating.
- While the bombs are still warm, toss them gently in the cinnamon sugar mixture until fully coated. Serve warm.
Notes
- If you prefer a baked version, place the sealed bombs on a parchment-lined baking sheet, brush lightly with melted butter, and bake at 375 degrees Fahrenheit (190 degrees Celsius) for 12 to 15 minutes, or until golden brown.
- For extra flavor, add 1 tablespoon of brown sugar to the apple filling mixture.
- You can use store-bought pie filling if you want to skip making the filling from scratch.
Nutrition
- Serving Size: 2 bombs
- Calories: 320
- Sugar: 22
- Sodium: 250
- Fat: 18
- Saturated Fat: 5
- Unsaturated Fat: 13
- Trans Fat: 0
- Carbohydrates: 38
- Fiber: 2
- Protein: 3
- Cholesterol: 5