

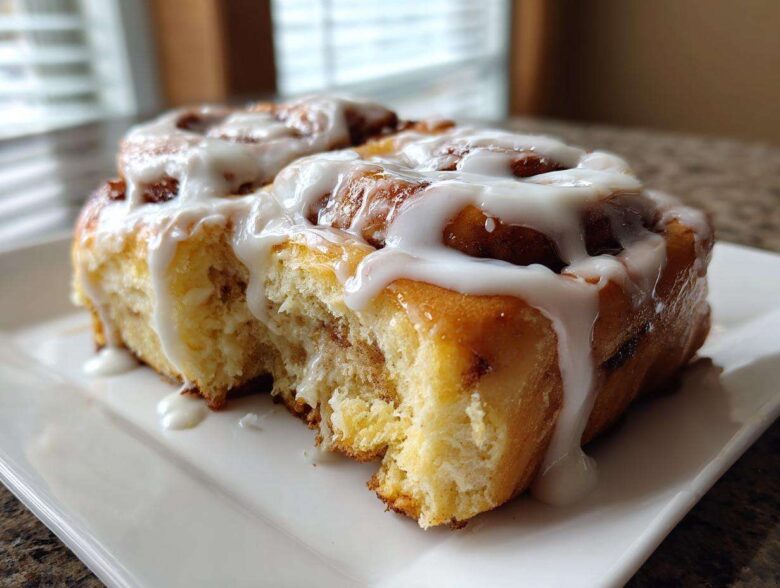
Oh, when I smell yeast dough rising, my heart just sings! There’s truly nothing better than that first whiff of warm, buttery spice filling the house. If you’ve been dreaming of a truly incredible, bakery-quality breakfast treat, you’ve come to the absolute right place. Hannah uses her flavor vision to balance the brown sugar and cinnamon just perfectly in our filling, and I have the patience needed to knead the dough until it’s incredibly tender. We promise this foolproof recipe gives you the softest, gooiest homemade cinnamon rolls you’ve ever pulled apart. This classic sweet treat will become your go-to!
Trust me, this version makes morning brunch feel like a real celebration. You’re going to love how easy the process feels once you get started.
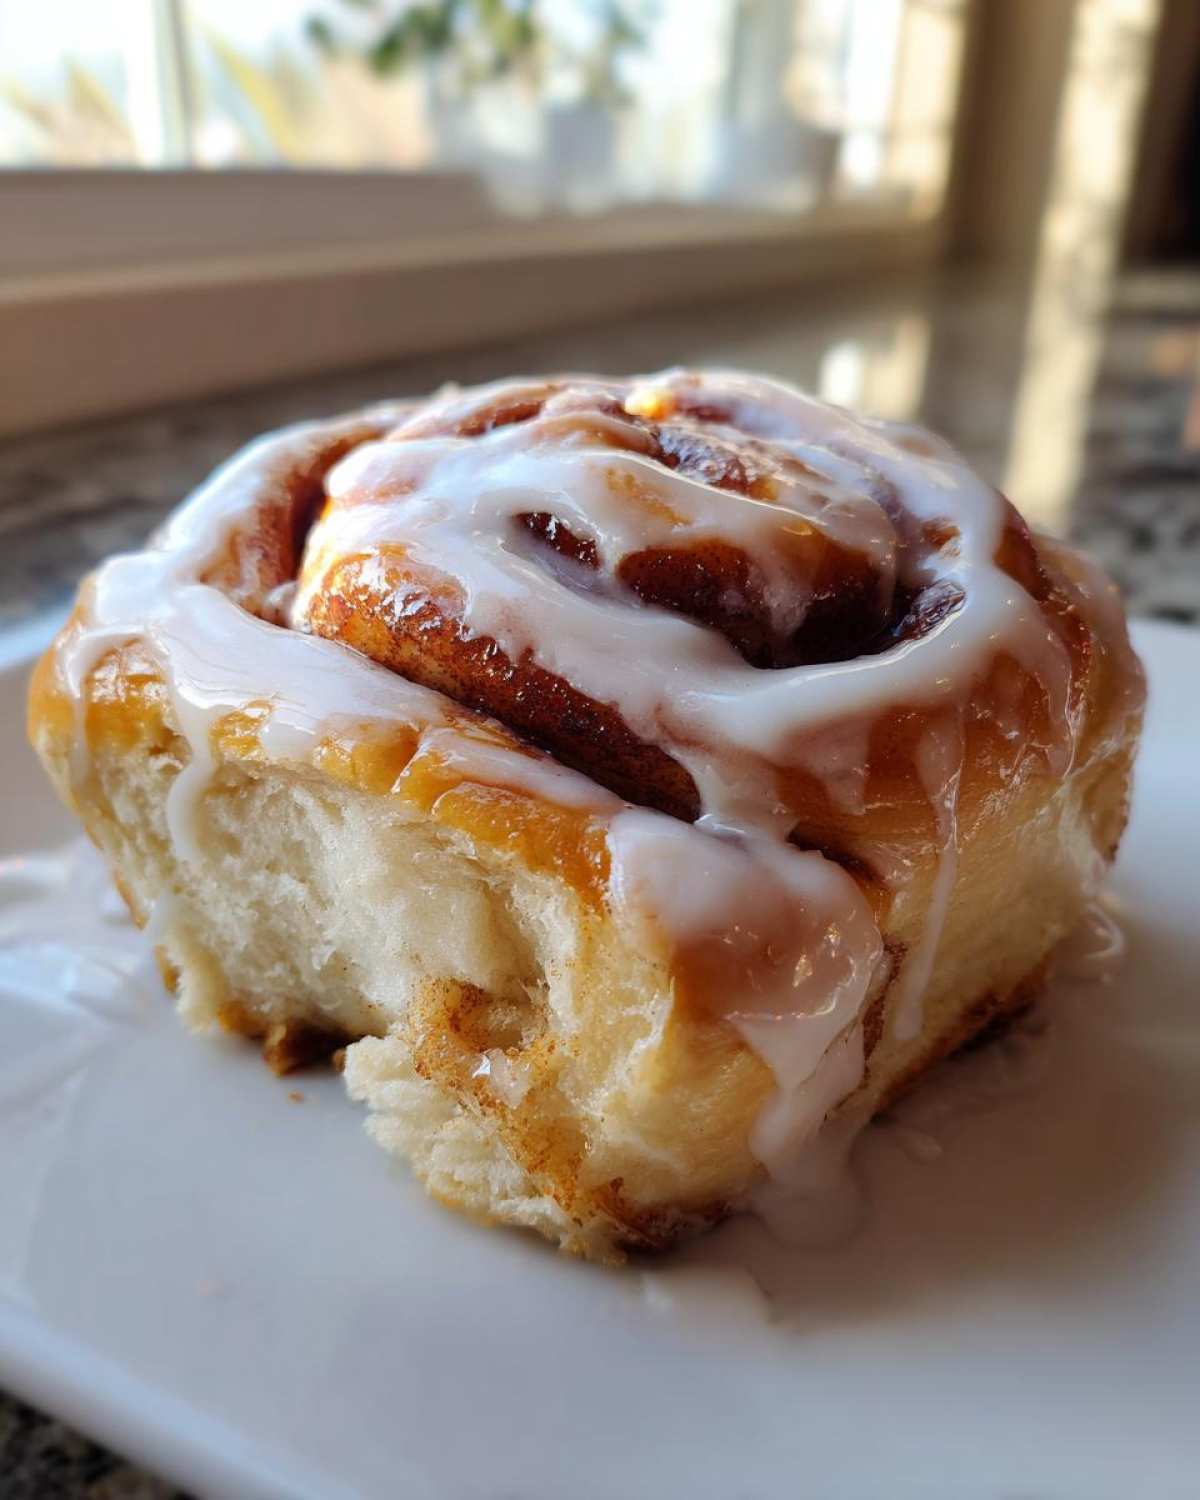
Why This is the Best Cinnamon Roll Recipe You Will Ever Make
I know, I know, everyone claims their recipe is the best cinnamon roll, but honestly, ours is different. We focused on achieving that perfect texture that other recipes often miss. Once you try this, you’ll see why our friends always beg us to make these for weekend brunches. We really cracked the code on keeping them soft!
- The dough is unbelievably supple and fluffy—it practically melts the next day.
- We nail the perfect ratio of cinnamon filling so every swirl is flavorful without leaking out during baking.
- The cream cheese icing comes together in minutes and stays perfectly pourable on warm pastry.
It turns an ordinary morning into something truly special. You can check out some of our other favorite breakfast recipes, like our pancakes, over here: fluffy buttermilk pancakes.
Gathering Ingredients for Your Perfect Cinnamon Roll
Okay, before we get to the fun part—the rolling and swirling—we need to get our supplies lined up. For unbelievably soft rolls, the temperature of a couple of things matters a lot. Make sure your egg is truly room temperature, and your butter, whether it’s for the dough or the filling, should be perfectly softened, not melted! That’s the key to getting that beautiful texture in our cinnamon roll dough. I promise that a little prep work here saves us headaches later. If you’re looking for an amazing frosting recipe to serve alongside these, check out our classic cream cheese frosting here.
For the Rich Yeast Roll Dough
- 1 cup whole milk, warmed to 110°F
- 2 1/4 teaspoons active dry yeast
- 1/2 cup granulated sugar, divided
- 1/4 cup unsalted butter, melted
- 1 large egg, room temperature
- 3 1/2 cups all-purpose flour, plus more for dusting
- 1 teaspoon salt
For the Gooey Cinnamon Filling
- 1/2 cup unsalted butter, softened
- 1/2 cup packed light brown sugar
- 2 tablespoons ground cinnamon
For the Cream Cheese Icing
- 8 ounces cream cheese, softened
- 1/4 cup unsalted butter, softened
- 2 cups powdered sugar
- 1 teaspoon vanilla extract
- 1 tablespoon milk
Step-by-Step Instructions for Soft Homemade Cinnamon Rolls
This is where the magic really happens! Don’t let the yeast scare you; it’s just yeast doing its job, which is to make the lightest, fluffiest dough possible for your homemade cinnamon rolls. Remember, we are looking for a happy, foamy bath before we add anything else in.
Activating the Yeast and Mixing the Dough
First things first: warm up that milk. If it’s too hot, you’ll kill the yeast and we’ll be starting over! We want it around 110°F—warm like a baby’s bath water. Sprinkle in your yeast and a tiny bit of sugar, let it go foamy for about ten minutes. Once it’s bubbly, mix in the melted butter and the egg. Now, we add the dry stuff slowly, mixing until a shaggy dough forms. When you turn it out onto the counter, this is where I step in. Don’t beat it aggressively! Gentle kneading for about 6 to 8 minutes builds that perfect gluten structure. You want smooth and elastic, not tight and tearing.
The First Rise: Patience for the Perfect Cinnamon Roll Dough
Pop that beautiful dough ball into an oiled bowl, turning it over so it’s coated. Cover it up tight! Now, we let it rest. Yeast needs time to breathe and work its wonders. You need at least 1 to 1.5 hours in a nice, warm spot until it has seriously doubled in size. If your kitchen feels chilly, stick the covered bowl inside your turned-off oven with just the light on—it creates a perfect little warm cave for rising. This lengthy rest is essential for that pillowy texture.
Assembling and Rolling the Cinnamon Roll Log
Once risen, give the dough a gentle punch down—no need to be aggressive! Dust your counter lightly and roll that dough out into a big rectangle, aiming for about 12 by 18 inches. Hannah mixes up the filling; it should look like a thick, spreadable cinnamon-sugar paste because of that softened butter. Spread that filling lavishly all over, leaving about an inch bare on one long side. Now, roll it up tight! Starting from the filled side, roll it into a log as snugly as you can manage. Pinch that far edge seam closed so it doesn’t burst open later. I highly recommend using unflavored dental floss to cut these; it gives you clean slices without squishing the beautiful roll shape you just worked so hard to create.
The Second Rise and Baking
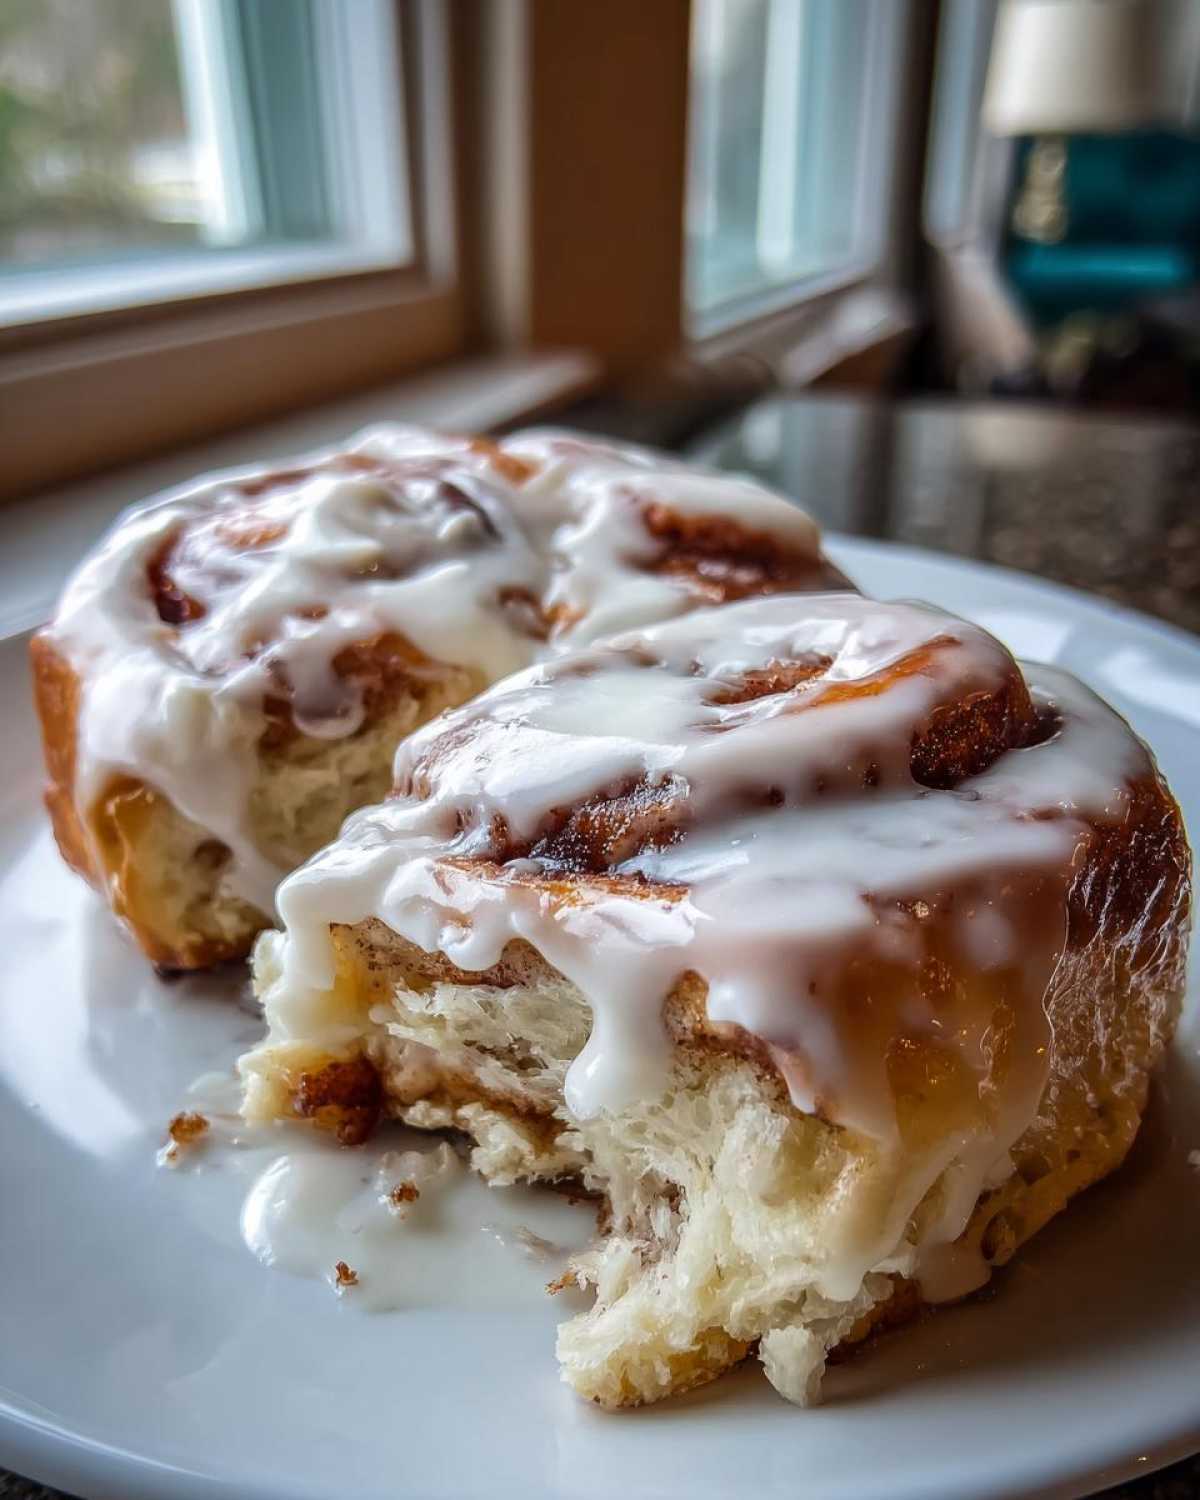
Slice your log into 12 even pieces and nestle them snugly into your greased 9×13 pan—leave a little space! They need one final puff-up period of 30 to 45 minutes. They should look noticeably puffy before they go into the oven. Preheat to 375°F. Bake them for about 20 to 25 minutes until they are golden brown on top. Don’t walk away at the end—if you bake them too long, you lose all that gooey softness! You can get more tips on working with yeast in our guide to yeast roll recipes, or check out how we make soft homemade naan.
Crafting the Signature Cream Cheese Icing
While they are baking, make the icing! Beat the softened cream cheese and softened butter together until they are absolutely smooth. There should be zero lumps! Once smooth, stream in the powdered sugar, vanilla, and milk until you hit a thick, yet easily spreadable consistency. You want to spread this generously over the warm cinnamon rolls right after they come out of the oven so it melts just a little bit into those perfect swirls.
Tips for Success When Making Homemade Pastry
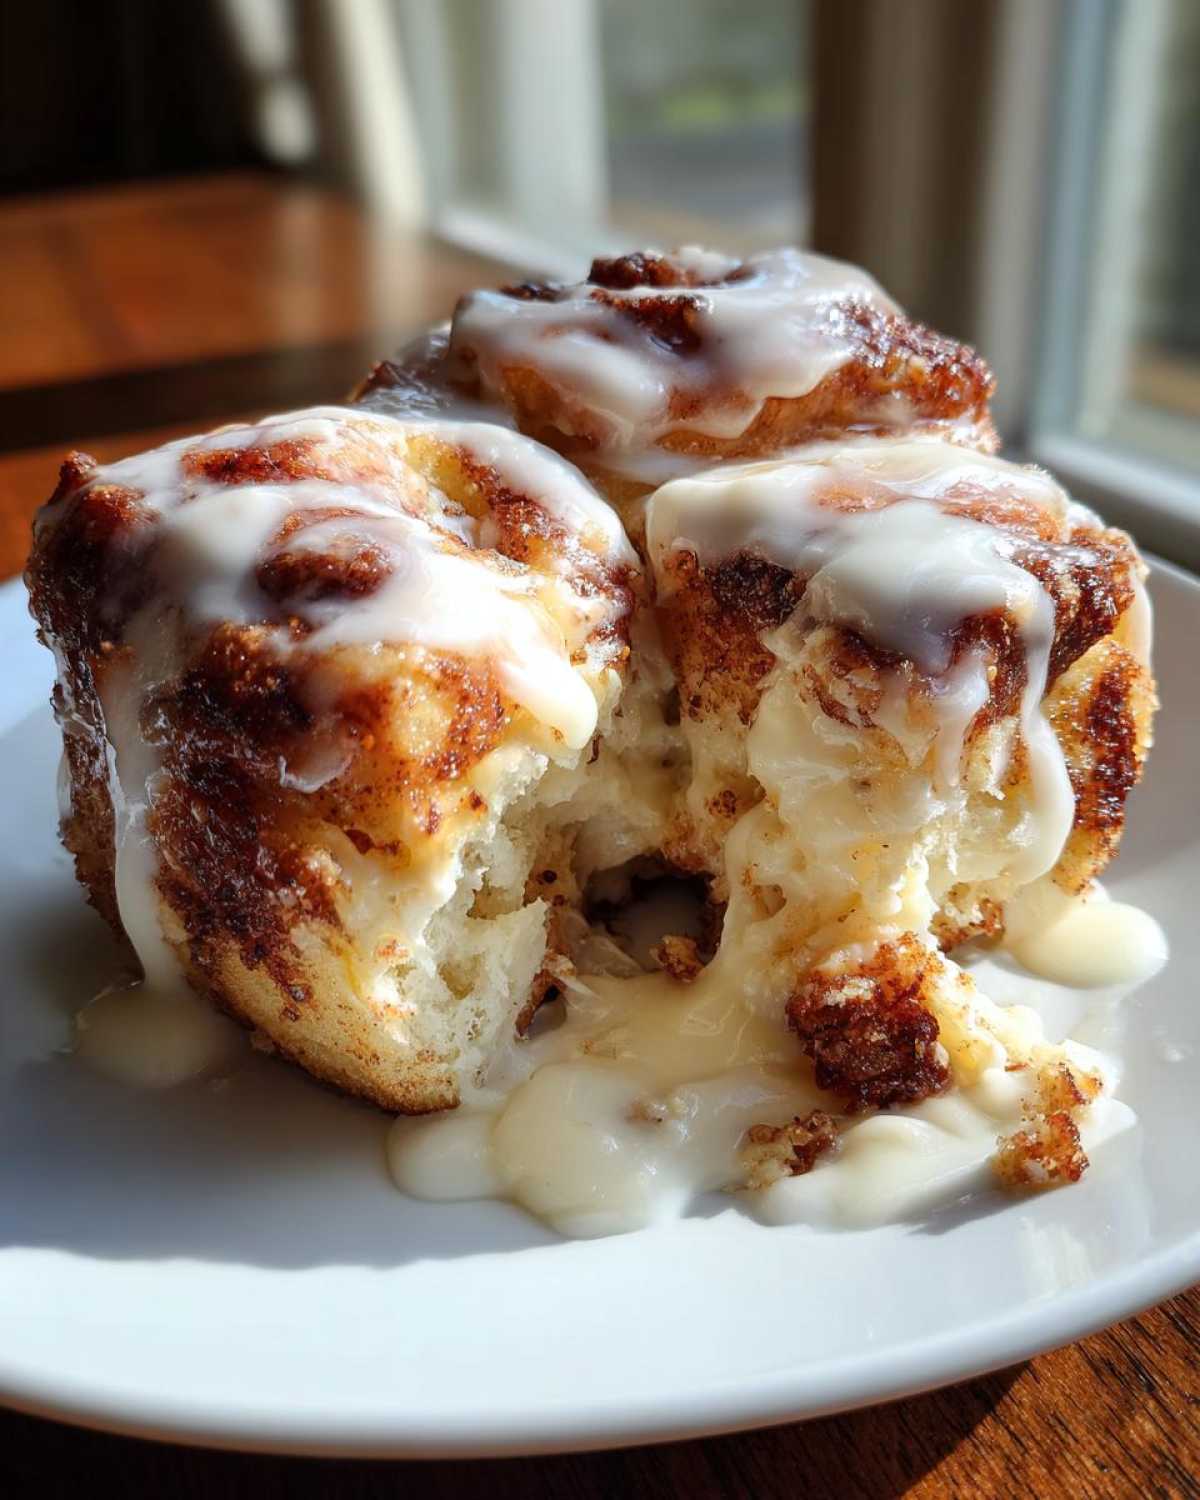
We’ve made enough batches of these to know exactly where things can go sideways, but honestly, 99% of issues come down to ingredient temperature. Please, please relax your butter fifteen minutes before mixing the filling! If your butter is too cold, that filling won’t spread evenly, which means you end up with dry spots when you bite into your cinnamon roll.
Also, remember my advice on kneading? Don’t rush it! Elasticity is your friend here. If you stop kneading too soon, the dough won’t hold the roll shape when it proofs the second time, and you’ll get flatter buns. We want them tall and puffy! For more tips on getting beautifully brown tops on baked goods, take a peek at how we do our streusel topping over here: coffee cake streusel. It’s all about that attentive handling!
Storing and Reheating Your Delicious Cinnamon Rolls
These treats are best devoured the day you make them, obviously! But if you happen to have any leftover cinnamon rolls, don’t fret. We usually keep them covered tightly on the counter for up to three days. If you need longer storage, the fridge works fine, but before eating leftovers, you absolutely must reheat them!
To bring them back to life, I prefer the oven—tent them loosely in foil and warm at 350°F until heated through. If you’re in a rush, a quick 15-second zap in the microwave does the trick too! For more icing inspiration, check out our vanilla buttercream frosting guide.
Variations on the Classic Cinnamon Roll
While this recipe is perfect as is, sometimes you just need to mix things up a little bit! Playing with versions of this cinnamon roll is one of the fun parts of owning a favorite recipe. Hannah loves throwing in a little extra something just to see what happens.
For a nutty texture, fold about half a cup of chopped pecans or walnuts right into that buttery cinnamon filling before you roll it up. That crunch against the soft dough is divine! You can also swap out the vanilla in the icing for a splash of almond extract, or even add a bit of orange zest to give it a brighter flavor profile. For a decadent twist, try drizzling melted chocolate over the finished glaze. If you want to see how we incorporate fall flavors, check out our chocolate chip pumpkin bars for inspiration: pumpkin bar recipe.
Frequently Asked Questions About This Yeast Roll Recipe
We get a lot of questions about these rolls—it’s a classic yeast roll recipe, so sometimes the steps need extra clarification! Don’t worry if you run into a snag; baking takes practice, and we’ve made enough mistakes to share the fixes with you. We want your sweet breakfast recipe experience to be perfect the first time around!
Can I make the dough ahead of time?
Absolutely, you can! This dough handles a cold rest really well, which is great for busy mornings. After you knead the dough (Step 4), instead of letting it rise on the counter, lightly oil the bowl, cover it tightly with plastic wrap, and put it right into the fridge. It can chill overnight, sometimes up to 24 hours. When you pull it out the next day, let it sit on the counter for about an hour just to warm up slightly before you punch it down and move on to the filling and rolling steps.
My rolls didn’t puff up much; what went wrong?
This almost always comes down to the yeast or the temperature. Did you check your milk temp? If it’s too cold, the yeast stays asleep. If it’s too hot (over 130°F), you’ve shocked and killed it. Also, make sure the yeast wasn’t expired! Sometimes, if your kitchen is genuinely Arctic-cold, the dough just needs more time—don’t rush the rise time in Step 6. We rely on that warm oven light trick!
How do I get the bakery-quality gooey center in my cinnamon roll?
Ah, the coveted goo factor! That comes down to two things: make sure you are generous with that cinnamon-butter spread across the rectangle—don’t skimp on the edges! Secondly, the timing of the icing is crucial. You must ice the rolls within five minutes of them coming out of the oven. When the icing hits the residual heat, it melts down into those amazing, gooey pools that soak into those soft swirls. That’s the secret to making them feel like you bought them from the best bakery in town! For more great breakfast ideas, browse our category page: all our breakfast recipes.
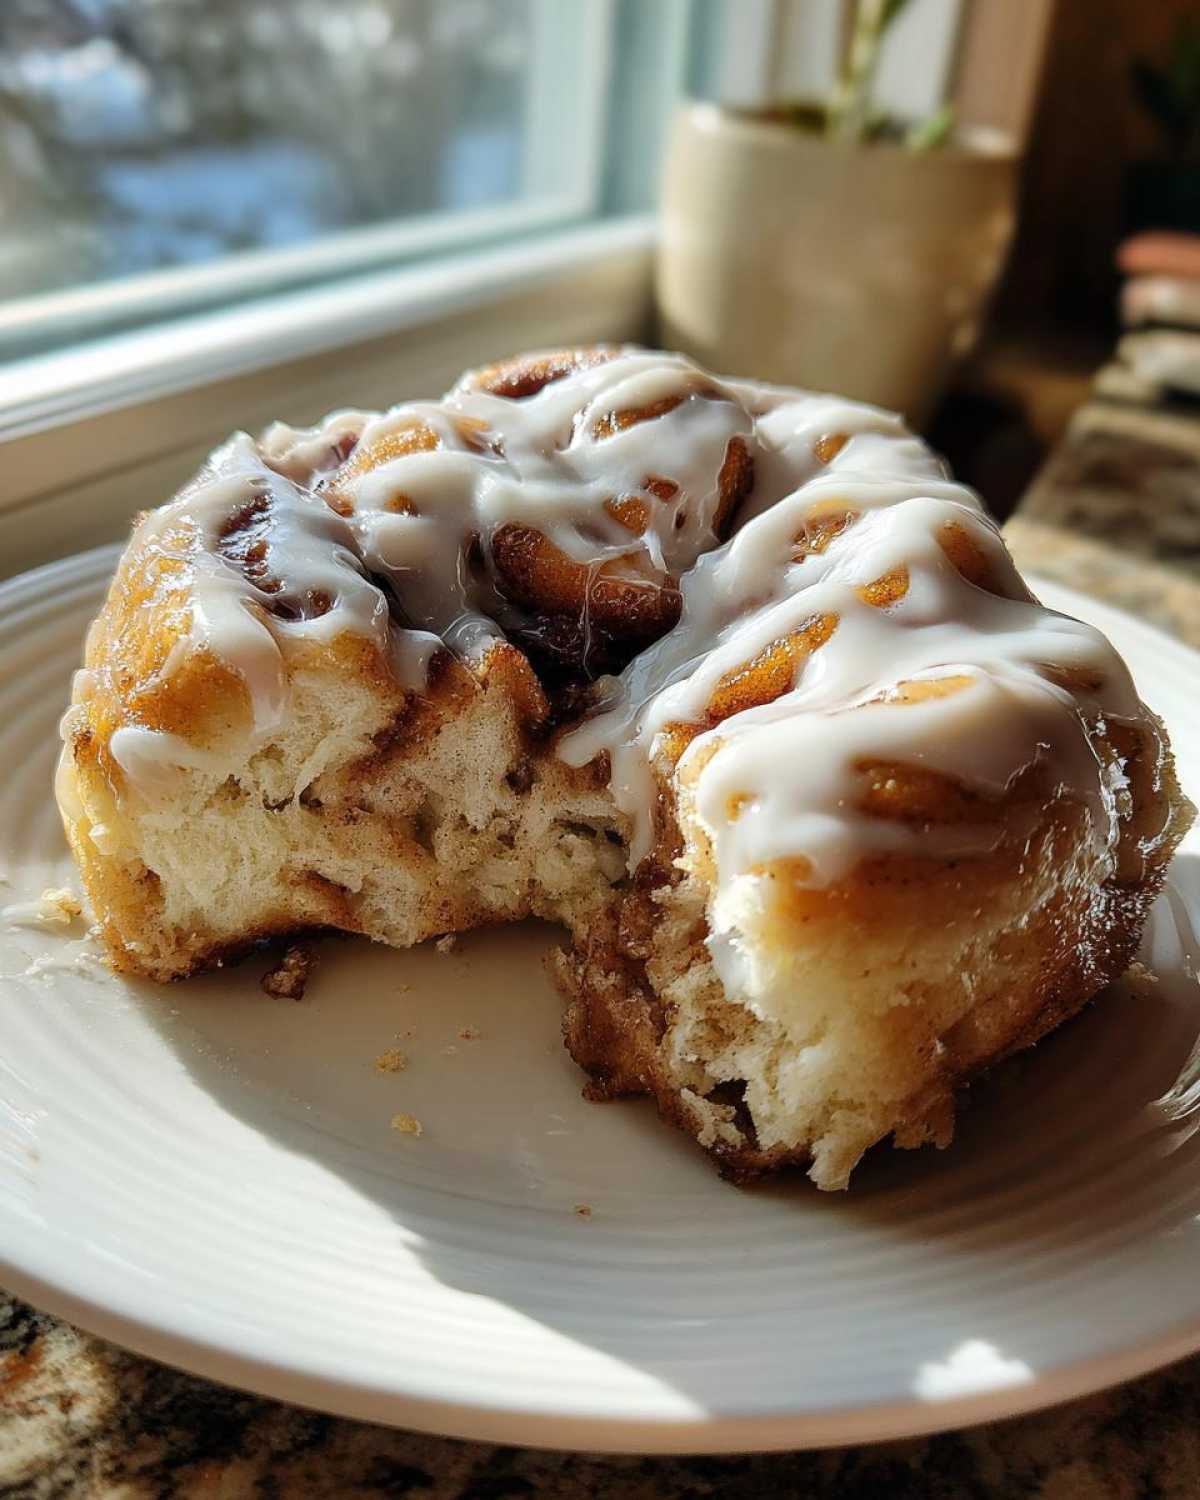
Nutritional Estimate for Your Sweet Breakfast Recipe
Now, let’s talk numbers briefly, though honestly, when these cinnamon rolls are involved, I try not to count! These totals are just an estimate per single roll, assuming 12 servings. Ingredients like butter and sugar add up, so keep in mind that these figures can wiggle around depending on exactly what brand of cream cheese or milk you use.
- Calories: 450
- Fat: 24g
- Protein: 6g
- Carbohydrates: 55g
- Sugar: 45g
For a full breakdown and to see our general disclaimer on nutritional labeling, you can always click over to our guide here: Disclaimer page. Enjoy every bite!
Share Your Perfect Cinnamon Roll Creations
Hannah and I genuinely love hearing from you when you try one of our recipes. Honestly, seeing your pictures pop up with those golden, gooey cinnamon rolls makes all the kneading and waiting worth it! If this sweet breakfast recipe made your kitchen smell incredible, please do us a huge favor and leave a rating. Five stars if you think they were ridiculously good!
We built Flavor Vista because we wanted to share the joy we find right here in our little kitchen, and your feedback helps other home cooks feel confident tackling yeasted dough. Have a question about your icing consistency or an idea for a fun variation? Drop a comment below; we read every single one.
We hope this batch of buttery pastry makes your next morning feel just a little bit more celebratory. Happy baking, friends! You can learn more about our journey and why we love sharing these simple pleasures over on our About Us page.
PrintSoft and Gooey Homemade Cinnamon Rolls with Cream Cheese Icing
Follow this easy recipe for bakery-quality cinnamon rolls. You will make a rich, yeasted dough that results in soft, fluffy rolls filled with cinnamon sugar and topped with a sweet cream cheese glaze.
- Prep Time: 45 min
- Cook Time: 25 min
- Total Time: 150 min
- Yield: 12 servings
- Category: Breakfast
- Method: Baking
- Cuisine: American
- Diet: Vegetarian
Ingredients
- 1 cup whole milk, warmed to 110°F
- 2 1/4 teaspoons active dry yeast
- 1/2 cup granulated sugar, divided
- 1/4 cup unsalted butter, melted
- 1 large egg, room temperature
- 3 1/2 cups all-purpose flour, plus more for dusting
- 1 teaspoon salt
- 1/2 cup unsalted butter, softened
- 1/2 cup packed light brown sugar
- 2 tablespoons ground cinnamon
- 8 ounces cream cheese, softened
- 1/4 cup unsalted butter, softened
- 2 cups powdered sugar
- 1 teaspoon vanilla extract
- 1 tablespoon milk
Instructions
- Warm the milk until it reaches 110°F. In a large bowl, sprinkle the yeast over the warm milk and add 1 teaspoon of the granulated sugar. Let stand for 5 to 10 minutes until foamy.
- Stir the melted butter, remaining granulated sugar, and egg into the yeast mixture.
- In a separate bowl, whisk together the flour and salt. Gradually add the flour mixture to the wet ingredients, mixing until a shaggy dough forms.
- Turn the dough out onto a lightly floured surface and knead for 6 to 8 minutes until the dough is smooth and elastic. Place the dough in a lightly oiled bowl, turning to coat. Cover the bowl with plastic wrap and let it rise in a warm place for 1 to 1.5 hours, or until doubled in size.
- While the dough rises, prepare the filling. In a small bowl, mix the softened 1/2 cup butter, brown sugar, and cinnamon until well combined. Set aside.
- Punch down the risen dough gently. On a lightly floured surface, roll the dough into a large rectangle, about 12 by 18 inches.
- Spread the cinnamon-sugar filling evenly over the entire surface of the dough, leaving a small border on one long edge.
- Starting from the long edge opposite the border, tightly roll the dough into a log. Pinch the seam closed.
- Use a sharp knife or unflavored dental floss to cut the log into 12 equal rolls.
- Arrange the rolls in a greased 9×13 inch baking pan. Cover the pan loosely with plastic wrap and let the rolls rise again in a warm spot for 30 to 45 minutes, or until puffy.
- Preheat your oven to 375°F. Bake the rolls for 20 to 25 minutes, or until golden brown.
- While the rolls bake, make the icing. Beat the softened cream cheese, 1/4 cup softened butter, powdered sugar, vanilla extract, and 1 tablespoon milk together until smooth and creamy.
- Remove the rolls from the oven and let them cool in the pan for 5 minutes. Spread the cream cheese icing generously over the warm rolls. Serve immediately.
Notes
- For the softest rolls, make sure your milk is warm, not hot, to activate the yeast properly.
- If your kitchen is cold, place the dough bowl inside your oven with just the light on to create a warm environment for rising.
- You can use floss to cut the rolls; it prevents squishing the dough more than a knife does.
Nutrition
- Serving Size: 1 roll
- Calories: 450
- Sugar: 45
- Sodium: 350
- Fat: 24
- Saturated Fat: 15
- Unsaturated Fat: 9
- Trans Fat: 0.5
- Carbohydrates: 55
- Fiber: 2
- Protein: 6
- Cholesterol: 65