

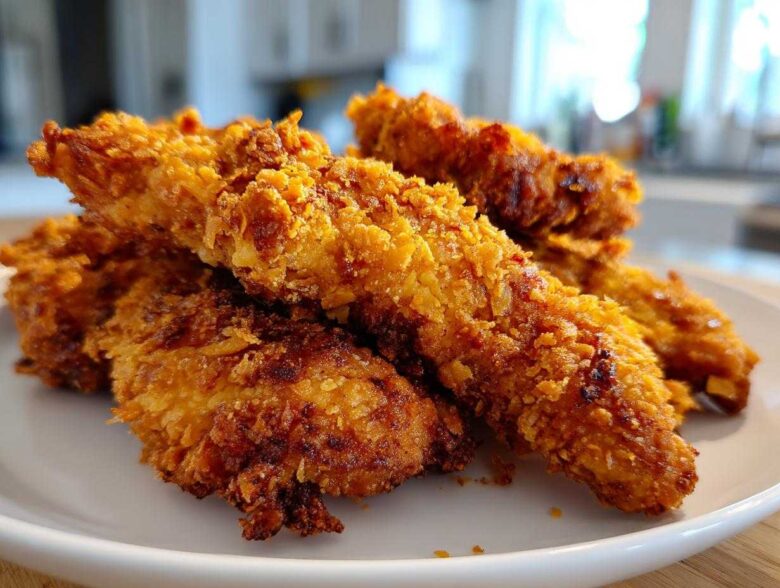
Oh my gosh, you know those nights when you just desperately crave the crunch of deep-fried chicken, but then you remember the mountain of greasy dishes waiting for you? Been there, done that, bought the apron!
Forget that old routine. I have cracked the code on achieving absolute, shatteringly crispy chicken without ever touching a deep fryer. This recipe for Crispy Baked Chicken Tenders with Cornflake Crust is the game-changer you need for a weeknight win. I spent months tweaking the coating and temperature—seriously, I almost gave up after a batch came out soggy—but I finally nailed the perfect balance. Trust me, once you try these, you won’t go back. They are just unbelievably crunchy! For more amazing crunch hacks, check out my guide on crispy baked chicken wings!

Why You Will Love This Crispy Baked Chicken Tenders with Cornflake Crust Recipe
Why should this recipe be your new go-to for Tuesday night dinner? Honestly, it checks every single box. It’s ridiculously crunchy, surprisingly light, and requires zero deep-fry monitoring. You need these in your life!
- Maximum Crunch, Zero Fry Mess: We are talking shatteringly crisp coating thanks to that glorious cornflake crust. No oil splatters, which is a huge win for me!
- Surprisingly Juicy Inside: That little soak in buttermilk works magic. The chicken strips stay tender and moist even after hitting that high oven temperature.
- Healthier Alternative Confirmed: This is your easy ‘better-for-you’ version of that takeout favorite. You get all the flavor with way less grease than deep-fried chicken.
- Super Fast Prep: Seriously, you marinate them while you preheat the oven. The active time is minimal—perfect for those busy evenings.
- Kid-Tested and Approved: If my picky eater goes back for seconds, you know it’s a family favorite. They don’t even ask if it’s *really* baked!
- The Best Baked Coating: You won’t believe how well this Crispy Baked Chicken Tenders with Cornflake Crust recipe holds up. The coating stays put and stays crunchy.
If you love a super crunchy baked item, you absolutely have to try this sister recipe for air fryer crispy chicken next time!
Essential Ingredients for Crispy Baked Chicken Tenders with Cornflake Crust
Okay, let’s talk supplies! The success of these tenders really hinges on getting the right team of ingredients together. Don’t worry, it’s nothing fancy, but nailing the preparation here is what separates a good tender from a truly epic one. You’ll need about 1.5 pounds of boneless, skinless chicken breasts cut into strips, 1 cup of buttermilk for that essential tenderizing soak, and a simple seasoning blend of salt, pepper, and garlic powder.
Now, for the coating showstopper: 2 cups of good old cornflakes, 1/2 cup of flour, and 2 eggs that you beat up lightly. I always keep 2 tablespoons of olive oil or a good cooking spray handy for the final drizzle. The most important thing I can tell you right now is how you crush those flakes! Seriously, treat the cornflakes like they are gold. You want them finely crushed—think coarse breadcrumbs, not dust, but definitely not giant chunks. Check out my Parmesan Crusted Chicken guide for more coating secrets!
Ingredient Notes and Substitution Tips
First off, the buttermilk. Please promise me you won’t skip it! That slight acidity is what breaks down the chicken fibers just enough so they stay unbelievably tender inside when baked at high heat. If you’re out, you can do a quick substitute by adding a tablespoon of white vinegar or lemon juice to regular milk and letting it sit for five minutes until it curdles a bit. It’s not exactly the same, but it works in a pinch!
For the cornflakes, stick to the plain, unsweetened kind, usually the big box brand. We need that pure cereal crunch as our base, not a sugary coating, because we are adding our own savory flavorings in the coating station. If you use a heavily frosted variety, the sugar will burn before the chicken cooks through, and that’s just a waste of delicious chicken!
The Perfect Technique: How to Make Crispy Baked Chicken Tenders with Cornflake Crust
Alright, buckle up, because this is where the magic truly happens! Getting that perfect, audible crunch on a baked tender requires a couple of non-negotiable steps. First things first: crank that oven up to 425 degrees Fahrenheit! High heat is your best friend here. You need to line a baking sheet with parchment paper—always parchment!—and then set a wire rack right on top. I’m serious about that rack; it lets air circulate underneath those Crispy Baked Chicken Tenders with Cornflake Crust so you don’t end up with a soggy bottom. Give that rack a light spray!
Next up, the marinade. Throw those chicken strips into the seasoned buttermilk. Even 15 minutes helps, but if you can let them hang out for an hour or two, wow, that’s even better for tenderness. While they soak, you set up your three-stage breading station: flour first, then your beaten eggs, and finally—the star—those finely crushed cornflakes. If you’re curious about other high-heat methods, this guide on how to make chicken tenders crispy in oven might give you some extra ideas!
When you pull the chicken out, let the excess buttermilk drip off; we don’t want soup everywhere. Dredge in flour, shake it, dip in egg, let that drip, and then you seriously need to press them into the cornflakes. Don’t just roll them; physically press the flakes onto the strips to pack that crust on tight! Place them single-layer on your waiting rack. Bake for 15 to 20 minutes, flipping them halfway through, until they hit that magic 165 degrees internally. They cook fast because they’re thin, so keep an eye on them!
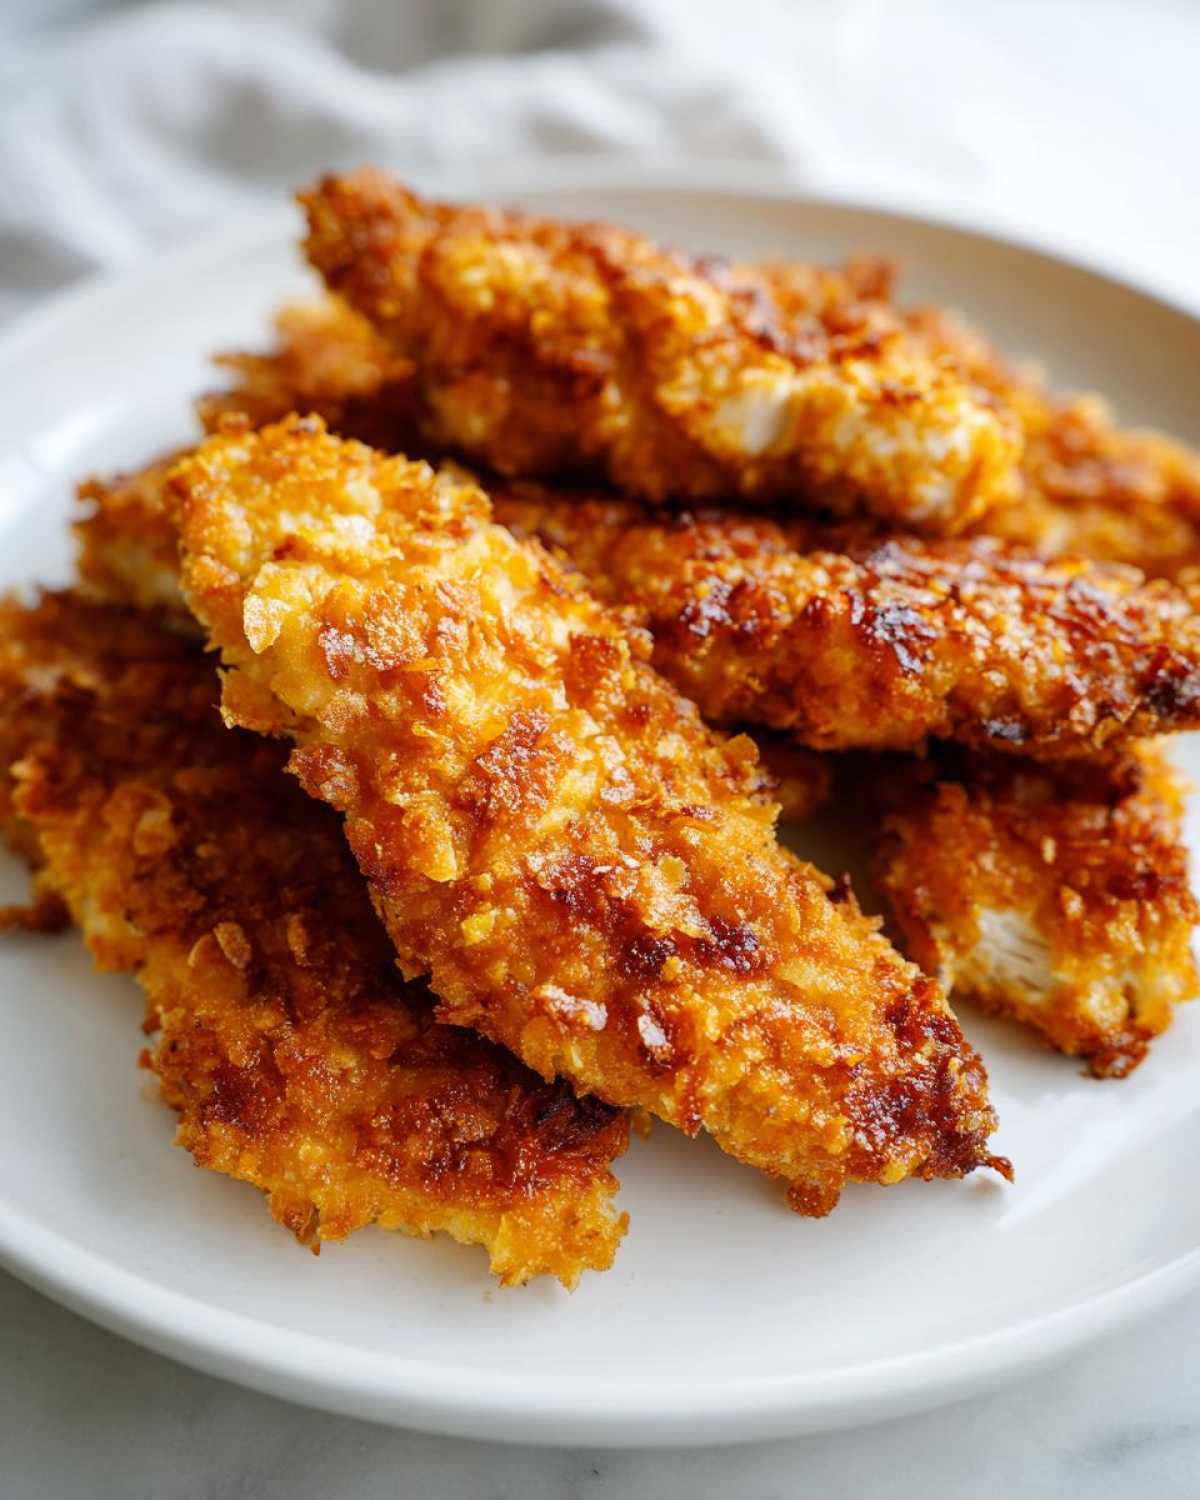
Expert Tips for Achieving the Best Cornflake Crusted Chicken Coating
I mentioned pressing the coating on, but let me stress that again: press! You want that cornflake coating to adhere like it’s never leaving. A little extra effort right here pays off tenfold in texture later.
If you’re worried about moisture or just want a mega-crust, try the double-dip, which I pulled from my notes! After you coat them the first time in the cornflakes, let them sit for two minutes while they warm up slightly, then dip them *back* into the egg wash and *back* into the flakes for a second, super-thick layer. This makes them almost impenetrable to steam, which keeps the crispiness locked in.
Also, make sure your chicken strips aren’t dripping wet when they hit the flour. That initial flour coating is designed to grab the egg wash better. If the chicken is too wet from the buttermilk, the flour just slides off, and you end up with bald spots on your tenders!
Storage and Reheating Instructions for Your Crispy Baked Chicken Tenders
Okay, let’s be real—sometimes you make too much, or maybe you’ve just got leftovers the next day. That’s fine! The main concern with any crispy coating is sogginess, right? We want to minimize that sad, rubbery texture when reheating.
If you have leftover tenders, the best way to store them is completely cooled down (don’t ever put warm food directly into the fridge; it creates steam!). Pop them into an airtight container. I usually place a paper towel on the bottom of the container first, just to wick away any ambient moisture, and then layer the tenders on top without crowding them too much.
Now, for the rejuvenation process. Please, I beg you, do not use the microwave unless you’re truly desperate! The microwave is the enemy of crispiness. The microwave heats water molecules, turning your beautiful crust into sad, steamy mush.
The Best Way to Reheat Your Tenders
You need dry heat to bring that wonderful crunch back. If you have a toaster oven, that’s my absolute favorite go-to. Set it to about 350 degrees Fahrenheit. If you’re making a big batch, use your regular oven, preheated around 375 degrees. Just spread the cooled tenders out on a baking sheet—you don’t need the rack this time, but make sure they aren’t touching—and bake them for about 5 to 8 minutes. They seriously crisp right back up, tasting just about brand new. It’s almost like magic! If you need more ideas on keeping crispy food perfect, check out how I keep my baked chicken wings crunchy!
Serving Suggestions for Your Crunchy Chicken Tenders No Fry Meal
So you’ve got these perfectly crunchy, savory tenders cooling slightly—what’s next? We need sides that make this a complete, lovely, and easy weeknight chicken dinner, right? I like to keep things bright and maybe a little bit healthy to balance out the pure comfort factor of the cornflake crust.
My absolute favorite thing to pair these with when I’m feeling slightly virtuous (which is often these days!) is roasted vegetables. Roasted root vegetables absorb the seasoning so nicely and give you that great soft contrast against the hard crunch of the chicken. Have you ever tried my Garlic Parmesan Roasted Green Beans? They are so simple and they bake alongside the chicken for the last 15 minutes if you time it right!
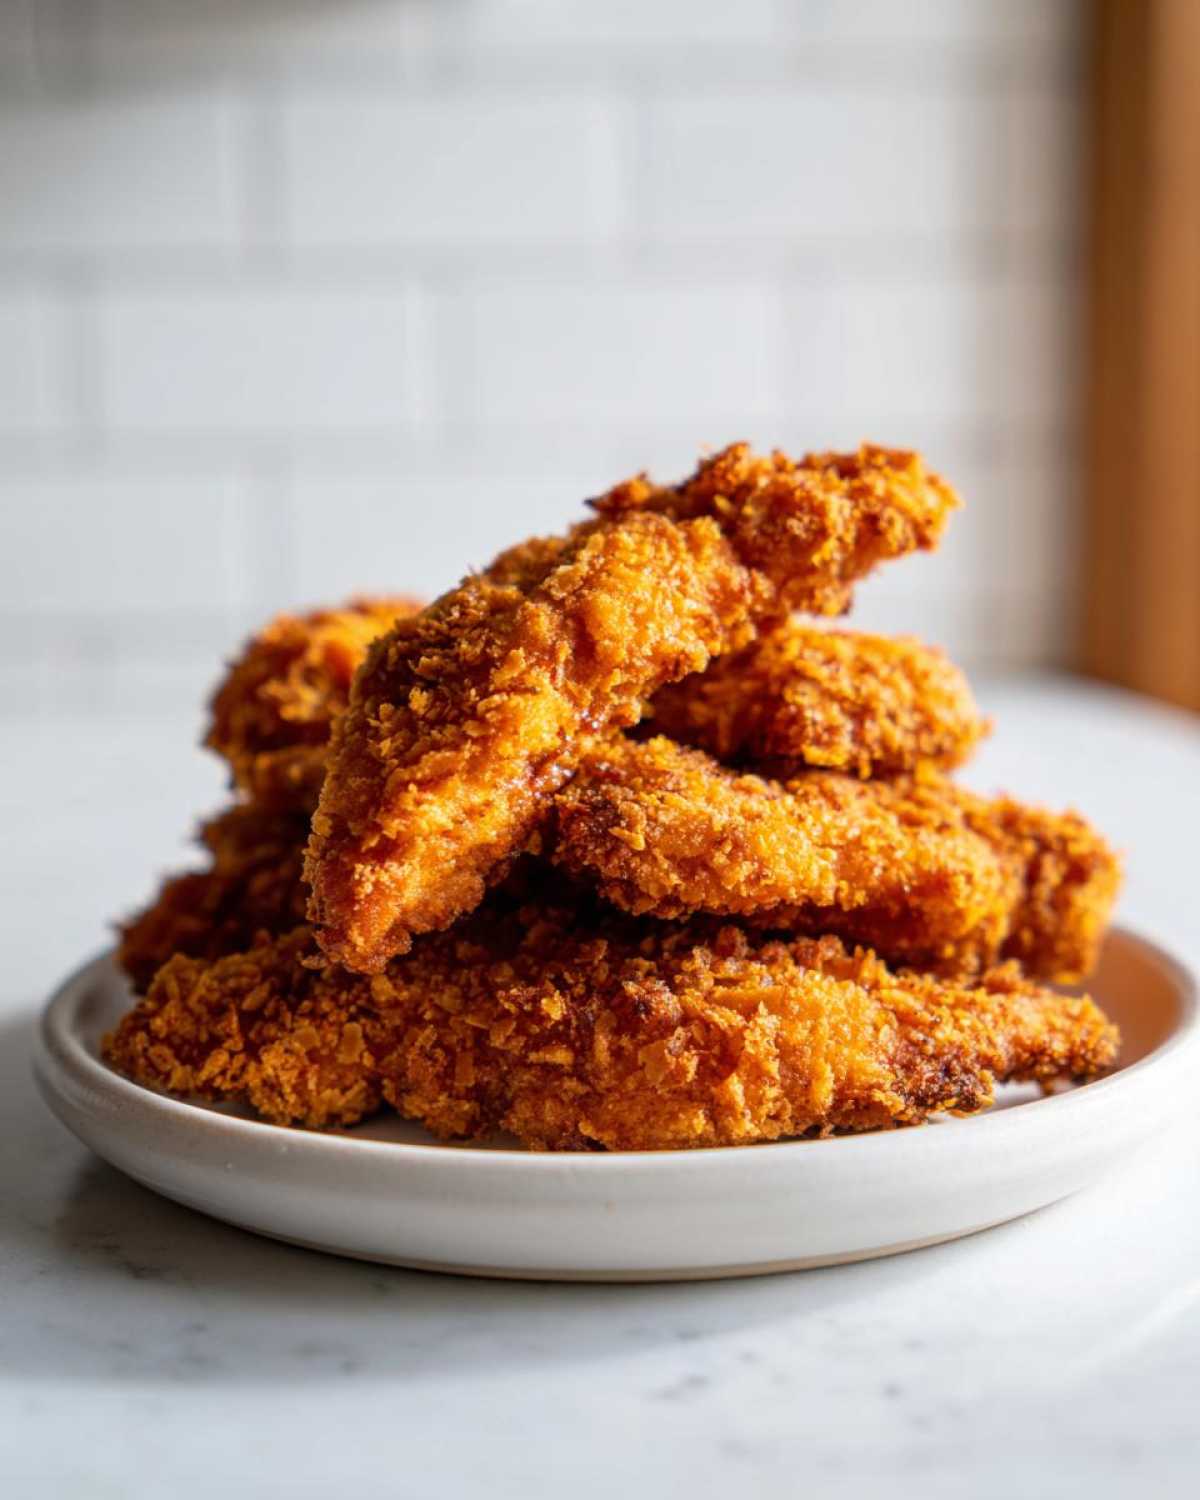
For something super kid-friendly, you can’t go wrong with classic sweet potato fries. They bake up beautifully at 425 degrees right alongside the chicken, too, making cleanup a breeze. Just toss the fries with a little olive oil, salt, and maybe a sprinkle of paprika, and you’re set.
If you want a full comfort upgrade, skip the fries and go for a creamy side. A really quick, homemade macaroni salad or even just some good old mashed potatoes helps soak up any leftover dipping sauces you might have left on your plate—which, let’s be honest, happens every time!
These tenders are so versatile. Serve them over a big, crisp Caesar salad if you want to keep the meal light and fresh, or stack them onto slider buns with a little slaw for a fun twist on a sandwich!
Variations on the Crispy Baked Chicken Tenders with Cornflake Crust
One of the best parts about having a fantastic base recipe, like our Crispy Baked Chicken Tenders with Cornflake Crust, is that you can play around with the coating mixture! The cornflakes give you that incredible, recognizable crunch, but they are like a blank canvas waiting for you to introduce some new friends.
I always keep a few optional add-ins ready for when I’m making these for adults or just feel like changing things up mid-week. You don’t have to change the process at all—just mix your additions right into the crushed cornflakes before you set up your breading station. If you feel like you want that slightly salty, nutty flavor that permeates so many great coatings, Parmesan cheese is your answer!
Adding Savory Depth with Cheese and Spice
For cheese lovers, toss about 1/4 cup of finely grated Parmesan cheese right into those 2 cups of cornflakes. The result is a savory boost that browns up beautifully in the oven. It’s reminiscent of some of my other favorite coatings, like the ones in my Parmesan Crusted Chicken recipe.
If you’re looking for smoky flavor, skip the cheese and try a teaspoon or two of smoked paprika. That deep red spice doesn’t just add color; it gives the coating a fantastic, savory depth that tastes almost grilled. A dash of onion powder or even a pinch of cayenne if you like a little kick works wonders here too!
Herbaceous Twists for Fresh Flavor
Sometimes I want to pretend I’m eating something a little more Italian, even if it’s just chicken strips! You can easily swap out the straight garlic powder (though I still highly recommend keeping a little bit) and mix in about a tablespoon of dried Italian seasoning blend into the cornflakes. That mix of oregano, thyme, and basil brightens up the whole meal.
Another great option is fresh herbs, but you have to treat them carefully! If you are using dried herbs, mix them into the cornflakes as described above. If you are using *fresh* herbs, like parsley or chives, chop them super, super fine and mix them into the egg wash instead. They won’t burn as easily there, and they’ll lightly perfume the coating as the tenders bake!
Making it Spicy and Bold
If you want to turn these into a real showstopper, try dialing up the heat. Besides cayenne pepper, I love adding a teaspoon of finely crushed red pepper flakes directly into the cornflake mixture. It looks great and gives a nice pop of heat in every bite. Remember, since we are baking instead of frying, you have more control over the coating, so don’t be shy experimenting with bold spices!
Frequently Asked Questions About Oven Baked Chicken Tenders Crispy
I’ve had so many questions about this recipe since I first shared it! It usually comes down to folks wanting that maximum crunch or wondering how to swap out an ingredient. That’s the point of sharing recipes, right? We tweak and perfect together! Here are the things I get asked most often when people are trying to make these Oven Baked Chicken Tenders Crispy without any fryer drama.
How do I stop my baked chicken tenders from getting soggy on the bottom?
This is the number one question I hear! Soggy bottoms happen because steam gets trapped underneath the chicken while it bakes. The solution is using that wire rack—don’t skip it, please! The rack lifts the tenders up, allowing all that hot oven air to circulate 360 degrees around the food. That airflow dries out the crust underneath, giving you a consistent crunch everywhere. It works like a charm for achieving Crunchy Chicken Tenders No Fry results every time! If you ever have issues getting things crunchy, check out my thoughts on air fryer crispy chicken for more tips!
Can I replace the buttermilk with something else?
Honestly, I really, really hope you don’t have to, because buttermilk is a miracle worker for tenderizing the chicken breast meat, which can dry out easily in the oven. But if you are completely out, here’s the trick I mentioned before: take regular milk, add one tablespoon of white vinegar or lemon juice, stir it once, and let it sit on the counter for about five minutes. It will look slightly curdled, and that’s perfect! It gives you the necessary acid for the tenderizing effect.
Can I use Panko breadcrumbs instead of cornflakes?
You absolutely can, but you’ll get a different result. Panko crumbs make a lighter, flakier crust, which is great, but it’s a different *type* of crunch than you get with the cornflakes. The cornflakes give you that dense, hearty, shattering crisp that stands up perfectly to dipping sauces. If you use Panko, I highly recommend pressing it on extra firmly, and you might want to add a little extra seasoning right into the Panko for flavor, since cornflakes bring a tiny bit of sweetness on their own. If you are sticking with cornflakes, remember to crush them finely for that Best Crispy Baked Chicken Coating!
Can I adapt this Crispy Baked Chicken Tenders with Cornflake Crust recipe for an Air Fryer?
Yes! Air fryers are fantastic for these, but you have to adjust your technique slightly because the air circulation is much more intense. You should still absolutely use your three-stage breading station; that part stays the same. However, for the air fryer, you’ll want to drop that temperature down a notch—maybe set it to 375 degrees Fahrenheit. The key is that you must cook them in a single layer. Don’t overlap them at all, or the ones on the bottom will steam and lose that crunch. They’ll cook faster, too, usually in about 12 to 15 minutes total, so keep checking them after the 8-minute mark!
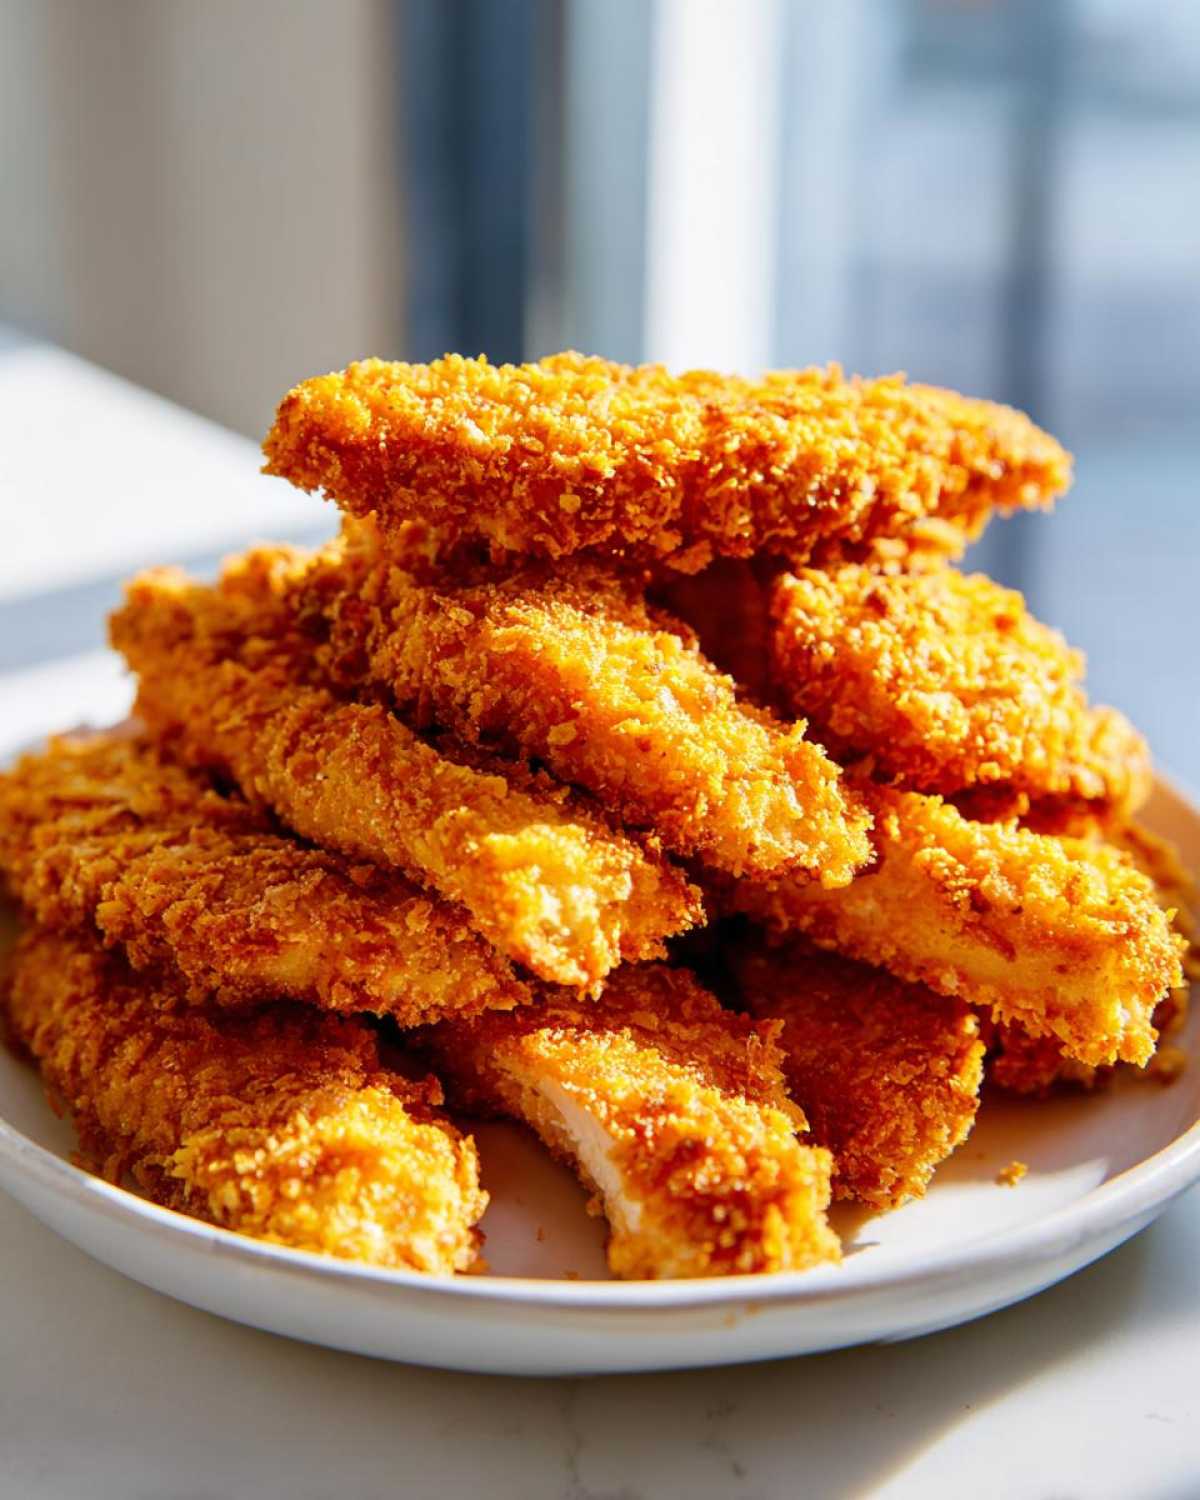
Estimated Nutritional Information for Crispy Baked Chicken Tenders
Okay, let’s get down to the numbers. I want you to know that because this recipe is baked and uses just a little olive oil for that final crisp, the nutrition profile looks pretty good! This is definitely one of those healthier meals that still feels like a total treat. When I’m looking for a Healthier Fried Chicken Alternative, knowing these stats helps me feel great about serving it to the family.
For reference, below is the estimated nutritional breakdown for one serving, which is based on four generous servings of the recipe (about 4 tenders per person). Please remember this is an estimate, as the exact size of your chicken strips and what brand of cornflakes you use can slightly change things!
- Serving Size: 4 tenders
- Calories: 350
- Protein: 40g (Yes, forty! Such a great protein punch!)
- Fat: 10g (Mostly unsaturated!)
- Carbohydrates: 25g
- Sugar: 4g
- Sodium: 450mg
See? Forty grams of protein! That’s why this is one of my Family Favorite Baked Dinner Ideas—it keeps everyone feeling full and satisfied without that heavy, greasy effect you get from deep-frying. It’s a nutritional home run disguised as comfort food!
Share Your Perfect Crispy Baked Chicken Tenders with Cornflake Crust
Whew! Now that you’ve made the absolute best batch of Crispy Baked Chicken Tenders with Cornflake Crust, I can’t wait to hear what you think! Seriously, these are my secret weapon for a quick, satisfying dinner, and I truly hope they become one of your family’s must-make meals too.
Did you get that amazing crunch? Which dipping sauce did you pair them with? Or did you try one of my spice variations I mentioned earlier? Don’t keep the greatness to yourself—pop down into the comments below and tell me everything!
I absolutely love seeing your creations! If you made them and snapped a picture, tag me on social media (you can find all my latest kitchen chaos on the main blog page!). Seeing your finished tenders honestly makes my day and helps me know what recipes to focus on next.
If you loved how crunchy these came out, please don’t forget to give the recipe a quick rating right here on the page. Five stars lets other people know they need to try this awesome Crunchy Chicken Tenders No Fry method ASAP. Happy cooking, friends, and I’ll see you in the comments!
PrintCrispy Baked Chicken Tenders with Cornflake Crust

A recipe for making extremely crispy chicken tenders using a cornflake crust, cooked in the oven instead of deep-frying.
- Prep Time: 20 min
- Cook Time: 20 min
- Total Time: 40 min
- Yield: 4 servings
- Category: Dinner
- Method: Baking
- Cuisine: American
- Diet: Low Fat
Ingredients
- 1.5 lbs boneless, skinless chicken breasts, cut into 1-inch strips
- 1 cup buttermilk
- 1 teaspoon salt
- 1/2 teaspoon black pepper
- 1 teaspoon garlic powder
- 2 cups cornflakes, crushed finely
- 1/2 cup all-purpose flour
- 2 large eggs, lightly beaten
- Cooking spray or 2 tablespoons olive oil
Instructions
- Preheat your oven to 425 degrees Fahrenheit (220 degrees Celsius). Line a baking sheet with parchment paper and place a wire rack on top of the sheet. Lightly spray the rack with cooking spray.
- In a medium bowl, combine the buttermilk, salt, pepper, and garlic powder. Add the chicken strips and toss to coat completely. Let the chicken marinate for at least 15 minutes, or up to 4 hours in the refrigerator.
- Set up a three-stage breading station. Place the flour in one shallow dish. In a second dish, place the beaten eggs. In a third dish, place the finely crushed cornflakes.
- Remove the chicken from the buttermilk, letting excess drip off. Dredge each strip first in the flour, shaking off any excess. Dip the floured strip into the egg mixture, allowing excess to drip away. Finally, press the strip firmly into the crushed cornflakes to coat all sides thoroughly.
- Place the coated chicken tenders on the prepared wire rack, ensuring they do not touch. Lightly spray the tops of the tenders with cooking spray or drizzle with olive oil for extra browning.
- Bake for 15 to 20 minutes, flipping the tenders halfway through the cooking time. The chicken is done when the internal temperature reaches 165 degrees Fahrenheit (74 degrees Celsius) and the crust is golden brown and crisp.
- Serve immediately.
Notes
- Crush the cornflakes using a food processor or by placing them in a sealed plastic bag and crushing them with a rolling pin until they resemble coarse breadcrumbs.
- For maximum crispiness, do not skip the wire rack; this allows air to circulate underneath the tenders.
- If you prefer a slightly thicker coating, you can double-dip the chicken in the cornflakes after the first coating.
Nutrition
- Serving Size: 4 tenders
- Calories: 350
- Sugar: 4
- Sodium: 450
- Fat: 10
- Saturated Fat: 2
- Unsaturated Fat: 8
- Trans Fat: 0
- Carbohydrates: 25
- Fiber: 1
- Protein: 40
- Cholesterol: 110