

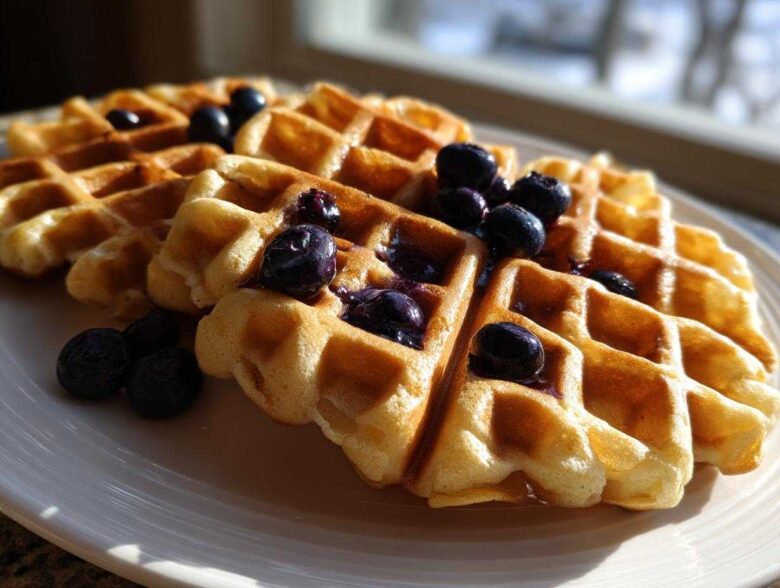
Oh my gosh, let me tell you, achieving that perfect breakfast dream—waffles that are shatteringly crisp on the edges but light and fluffy inside—is tough enough normally. When you switch to gluten-free, it feels impossible! For years, my batches came out either gummy slabs or dry cardboard. I almost gave up on breakfast entirely, honestly. But trust me when I say I cracked the code on these Gluten-Free Blueberry Waffles. After so many frustrating mornings, I finally nailed the balance. These aren’t just ‘good for gluten-free’; they are genuinely the best waffles I’ve ever made, and I can’t wait for you to try them!
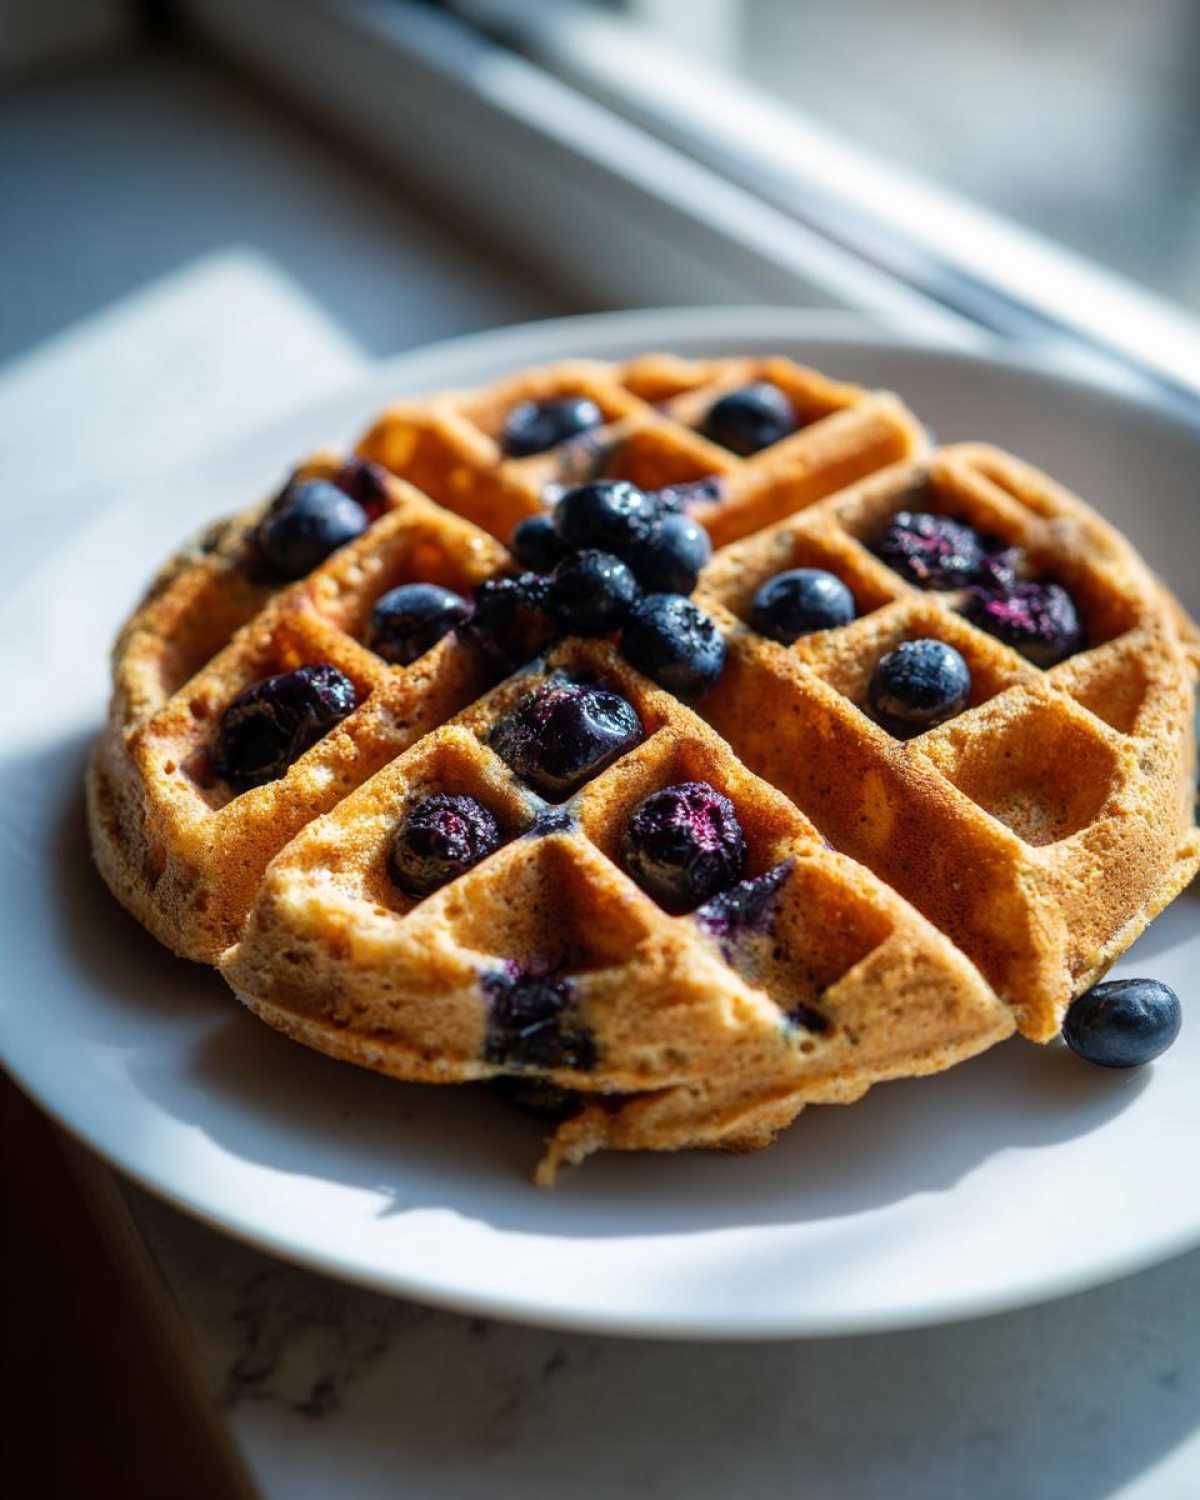
I learned so much along the way, especially about keeping the texture right and stopping those berries from sinking! If you’ve been searching for a recipe that works beautifully every single time, you’ve landed in the right spot. We’re ditching the dense results and welcoming crispy perfection.
Check out my secrets for the fluffiest muffins too, if you’re looking for another amazing breakfast treat: fluffy blueberry muffins.
Why This is the Best Gluten Free Blueberry Waffle Recipe (E-E-A-T)
So, why is this recipe miles better than the sad, heavy ones you might have tried before? It all comes down to respecting how gluten-free flour behaves. We skip the guesswork by using a good quality 1-to-1 blend that already includes xanthan gum. That little ingredient is the structure police in GF baking, and it stops your waffles from crumbling into dust! Also, you’ll notice we don’t overmix the batter. Overmixing GF batter is the *fastest* way to guarantee that rubbery, dense texture we hate. We want air in there, not glue!
This method ensures you get those beautiful, light and airy gluten free waffles that snap slightly when you bite into them. It just works, trust me.
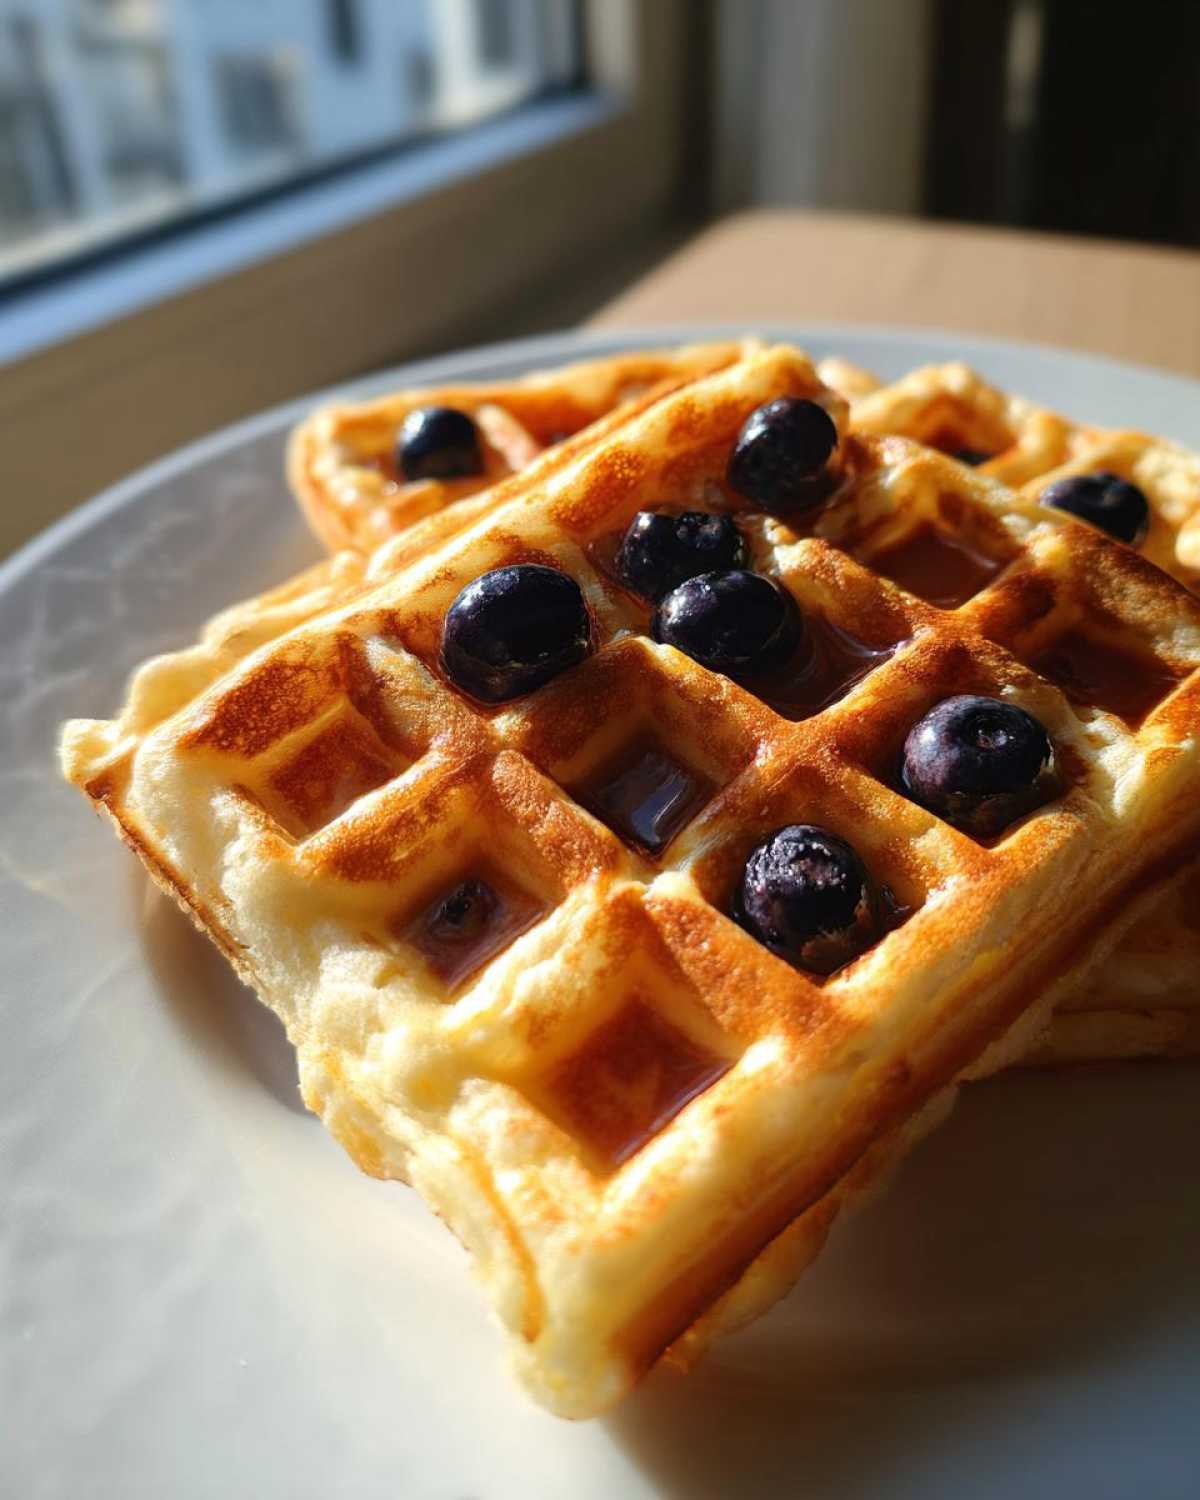
Achieving Lightness: Tips for Fluffy Gluten Free Waffles
The secret to real fluffiness isn’t just the baking powder—though that helps! It’s how we handle the wet and dry ingredients, which I’ll go over in detail later. But the real key here is using the right *amount* of liquid and eggs specified. Gluten-free flours soak up moisture differently than wheat flour. Too little, and it’s dense; too much, and it spreads thin and soggy. We’re aiming for that perfect ribbon consistency right off the whisk for maximum lift in the iron.
Essential Ingredients for Perfect Gluten-Free Blueberry Waffles
Okay, let’s talk about what goes into these beauties. Because we are ditching the wheat, every single ingredient needs to pull its weight! The success of these Gluten-Free Blueberry Waffles truly hinges on having the right backups lined up. You’ll need a quality base, two fresh eggs, butter (or a substitute—I’ll get to that in a minute!), and of course, those gorgeous blueberries.
The most important thing right now is your flour. Don’t just grab any bag! You need a specific, well-vetted gluten-free all-purpose flour blend that contains xanthan gum. That’s what gives us structure. See, when you’re making blueberry scones, you can sometimes get away with less structure, but waffles need to puff! Make sure you have baking powder and salt on hand, too.
Ingredient Notes and Gluten-Free Substitutions
Let’s finalize those swap-outs now so you’re ready to go! If you happen to grab a GF blend that’s missing the xanthan gum (some brands are like that, how annoying!), just stir in 1 teaspoon with your dry stuff—it’s non-negotiable for texture here. For those needing dairy free blueberry waffles option, it’s simple: swap your regular milk for unsweetened almond or oat milk, and use a good quality vegan butter stick instead of the melted dairy one. Just make sure whatever you use is melted before adding it in!
How to Prepare Crispy Gluten Free Waffles
Ready to cook? This is where the magic actually happens! First things first: your waffle iron needs to be piping hot. I mean *really* hot. Preheat it following the directions, and if yours isn’t naturally non-stick, give it a light brush of oil or spray now. Nobody wants to scrape batter off machinery!
We mix the wet stuff (milk, eggs, vanilla, melted butter) in one bowl and the dry stuff (flour blend, sugar, salt, baking powder) in another. Then, pour the wet into the dry and whisk *just* until they are barely combined. Seriously, stop stirring when you still see a few dry pockets! Lumps are your friends here; they keep these gluten-free blueberry waffles from getting tough. Then, we add the berries and get them onto the iron.
Cook time is usually around 4 to 6 minutes, but you’ll know it’s done when the loud steaming sound slows right down and the waffle looks golden brown. I sometimes sneak a peek!
If you want to see how I get amazing crispness on fries, you can check out my air fryer potato wedges recipe—the crisping philosophy is kind of similar!
The Secret to Preventing Blueberries from Sinking in Gluten-Free Blueberry Waffles
If you watched your blueberries sink straight to the very bottom of your batter last time, I have a simple fix! This is crucial, especially with the lighter nature of GF batter. Before adding them to the main mix, gently toss your blueberries—fresh or frozen, doesn’t matter—with about one tablespoon of your gluten-free flour blend. That thin coating acts like tiny anchors, helping them suspend evenly throughout the batter while it cooks. No more giant blueberry bombs only on the bottom layer!
Tips for Crispy Gluten Free Waffles Edges
The biggest enemy of a crispy waffle is humidity, which is why they get soft right after coming off the iron. As soon as they pop out perfectly cooked, don’t stack them! Place them immediately in a single layer on a wire cooling rack that’s sitting inside a baking sheet. If you’re making a huge batch, slide that sheet into a very low oven—about 200°F. This keeps them warm *and* lets them fully crisp up while you finish the rest of the batter.
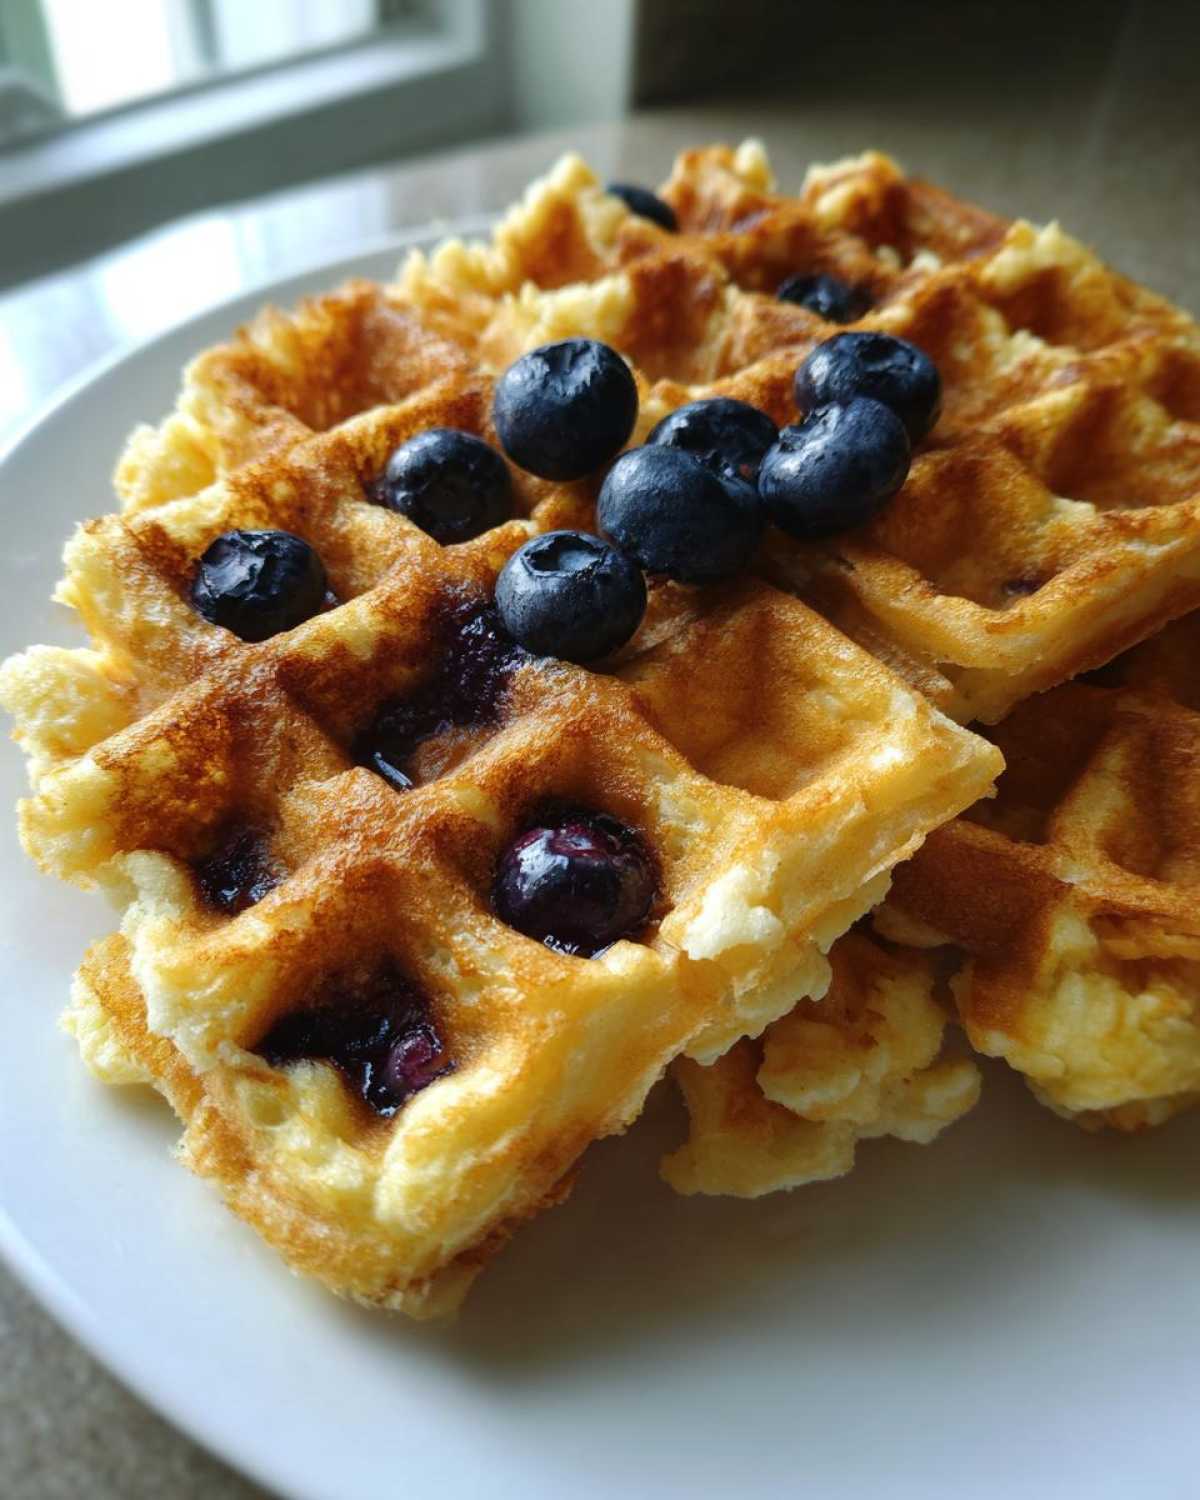
Tips for Success When Making Gluten-Free Blueberry Waffles
Okay, we’ve covered the ingredients and the main cooking dance, but here are a few little secrets I picked up that really separate okay waffles from amazing ones. First, I cannot stress this enough: stop whisking when you see flour streaks! Gluten-free flour develops structure way too quickly if you agitate it too much, and that leads right back to that dense, rubbery payoff we want to avoid. A few visible lumps are totally fine, promise.
Second, if you have the time, let that batter rest for about 10 minutes before scooping it onto the iron. GF flour needs a moment to fully hydrate; this gives the starches time to absorb the liquid properly, leading to a better crumb when baked. It’s the same principle I use when I make my slightly fussy gluten-free dinner rolls that actually rise. A little patience goes a long, long way for non-wheat baking!
Make Ahead Gluten Free Waffles and Storage Instructions
These are fantastic for busy mornings, which is why I always aim to double the batch! If you’re making these Gluten-Free Blueberry Waffles ahead of time, you absolutely must cool them completely on a wire rack first—never stack them warm, or they will steam themselves soggy. Once totally cool, you can freeze them.
To freeze, flash-freeze them briefly on a baking sheet separated by wax paper. Then, bag them up tight! When you want breakfast later, skip the microwave totally! Reheating in a toaster or a 350°F oven for about 5 minutes brings back that crispy edge we worked so hard for. It’s almost like they’re fresh! You can see my tips for other make-ahead breakfasts here: easy make-ahead egg bake recipe.
Serving Suggestions for Your Gluten-Free Blueberry Waffles
These waffles are incredible straight out of the iron, but toppings can take your Gluten-Free Blueberry Waffles to the next level! Since the berries bring a nice little sweetness, I like keeping the topping simple so you can taste the crisp waffle itself.
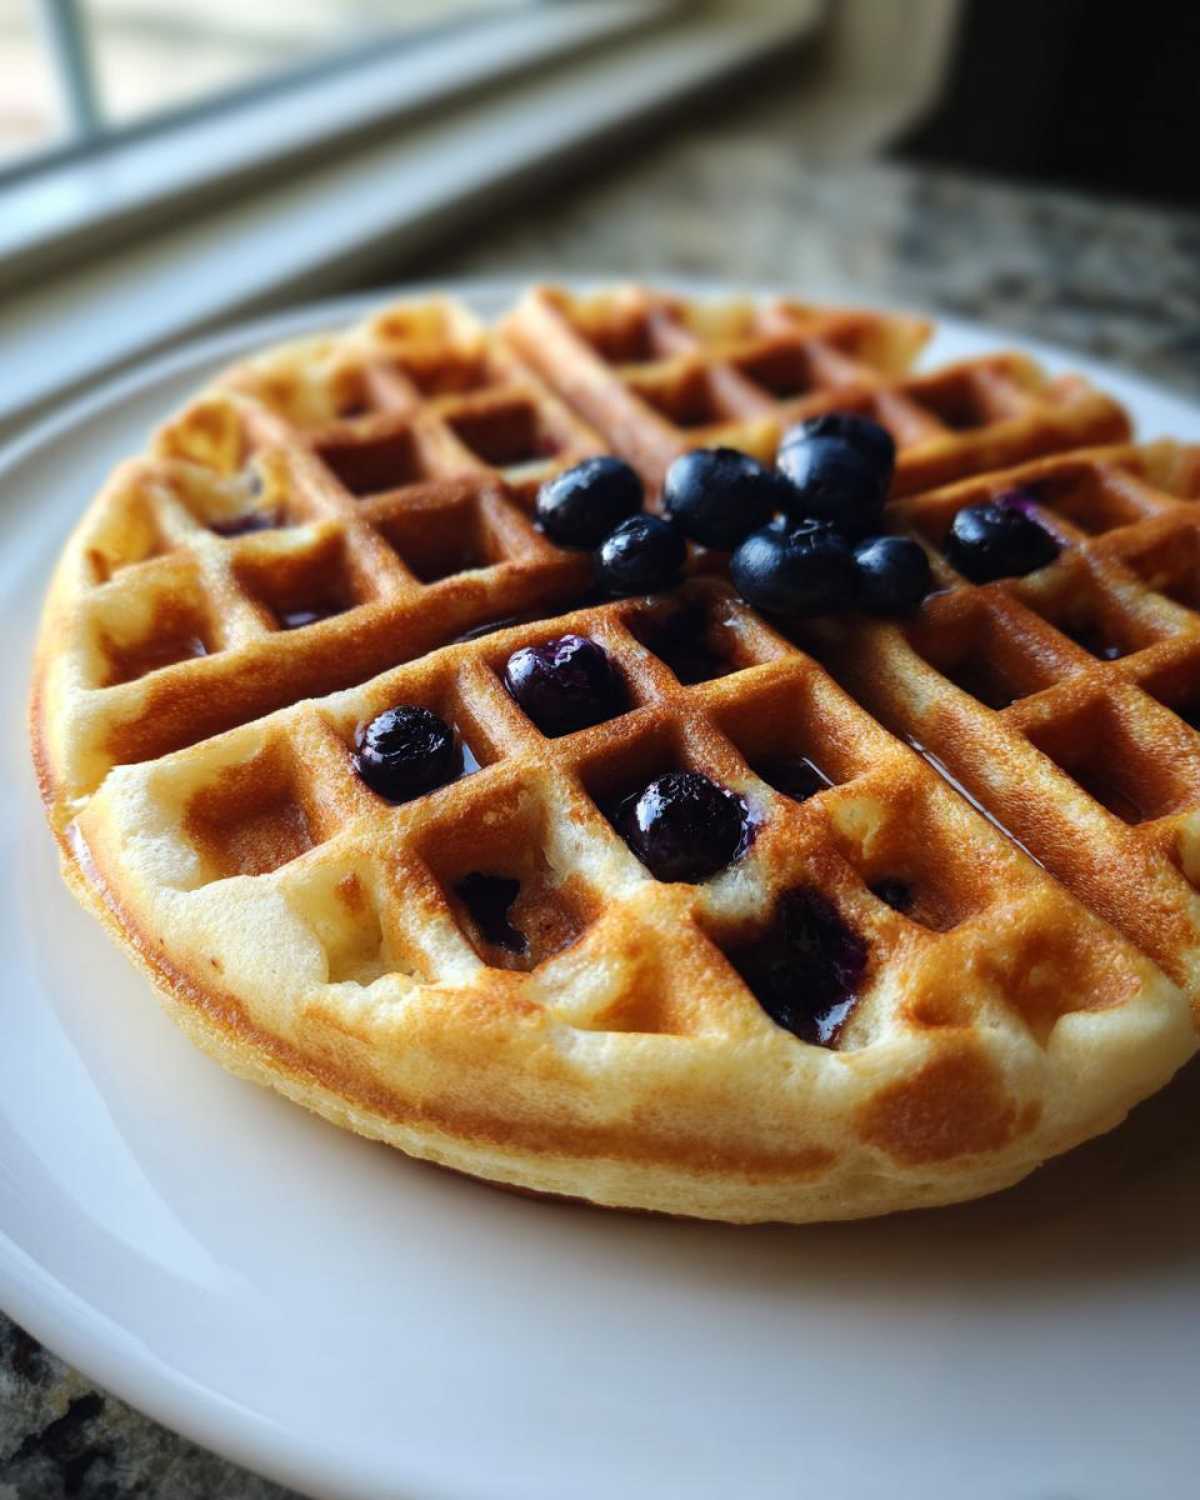
Warm maple syrup is classic, of course, but don’t forget a dollop of something creamy! A little Greek yogurt or maybe some whipped cream works wonders. If you’re feeling fancy for brunch, you could even try making a quick citrus glaze using lemon juice—it brightens up the whole thing! Though I usually keep my frosting for cakes, my recipe for vanilla buttercream frosting would make for a shockingly decadent, dessert-style waffle if you’re feeling indulgent!
Frequently Asked Questions About Gluten-Free Blueberry Waffles
Can I substitute the flour blend for a single type, like almond flour, in this Gluten-Free Blueberry Waffles recipe?
Oh, that’s a common question when people try to figure out the best gluten free blueberry waffle recipe! I’d strongly advise against substituting the blend for straight almond flour, especially in this recipe. Almond flour is fantastic, but it doesn’t have the starch structure needed to mimic wheat flour and keep these waffles light. Using only almond flour usually results in waffles that are heavy and don’t hold their shape well on the iron. Stick to a high-quality 1-to-1 cup-for-cup replacement blend that has starches like rice, potato, and tapioca!
What is the best way to reheat leftover Crispy Gluten Free Waffles?
Listen, never commit the cardinal sin of reheating these in the microwave! You’ll be left with mush, and we fought too hard for those crispy edges! The best way to salvage leftovers and keep that crunch is either in a toaster oven or a regular oven set to about 350°F for just a few minutes until they are hot through. That dry heat brings back the crispiness almost perfectly, making them taste freshly made.
How can I make these Light and Airy Gluten Free Waffles without xanthan gum?
If your specific blend doesn’t have it, you absolutely have to add it, or you won’t get those light and airy gluten free waffles we are aiming for! If you truly can’t use xanthan gum for some reason, you can try adding one finely ground psyllium husk powder per teaspoon of required xanthan gum. Psyllium acts as a great binder in gluten-free baking. But honestly, for this recipe, just buying the blend *with* it already included is the easiest way to ensure success when learning how to make blueberry waffles gluten free!
If you’re looking for more great breakfast ideas, you can browse my full section on breakfast recipes here!
Estimated Nutritional Data for Gluten-Free Blueberry Waffles
You probably aren’t making these for a strict diet plan, but it’s always nice to know what you’re eating! Keep in mind that these numbers are estimates based on using standard ingredients like whole milk and the specific recipe measurements provided. If you swap in things like almond milk or use extra butter, the totals will shift a bit.
- Serving Size: 1 waffle
- Calories: 320
- Sugar: 12g
- Sodium: 350mg
- Fat: 14g
- Carbohydrates: 45g
- Protein: 9g
Share Your Ultimate Fluffy Gluten-Free Blueberry Waffles Experience
Now that you have the power to create waffles that are truly light, fluffy, and don’t fall apart, I absolutely need to know how they turned out! Did you get those crispy edges I was so obsessed with achieving? Did the blueberries stay suspended where they belonged?
Please drop a rating down below—five stars if they knocked your socks off! And if you managed to snap a picture of your beautiful stack, I would be thrilled if you shared it with me! Tag me on social media or send it over through my contact page. Seeing your results is honestly my favorite part of sharing these old family secrets. Happy cooking!
PrintThe Ultimate Fluffy Gluten-Free Blueberry Waffles

A recipe for light, fluffy gluten-free blueberry waffles with crispy edges. This method helps prevent sinking blueberries and sticking.
- Prep Time: 10 min
- Cook Time: 20 min
- Total Time: 30 min
- Yield: 4 large waffles
- Category: Breakfast
- Method: Waffle Iron
- Cuisine: American
- Diet: Gluten Free
Ingredients
- 1 3/4 cups gluten-free all-purpose flour blend (with xanthan gum)
- 2 tablespoons granulated sugar
- 1 tablespoon baking powder
- 1/2 teaspoon salt
- 1 1/2 cups milk (dairy or non-dairy for dairy-free option)
- 2 large eggs
- 1/2 cup unsalted butter, melted
- 1 teaspoon vanilla extract
- 1 cup fresh or frozen blueberries
- 1 tablespoon gluten-free flour blend (for coating berries)
Instructions
- Preheat your waffle iron according to the manufacturer’s directions. Lightly grease the iron if necessary.
- In a large bowl, whisk together the 1 3/4 cups gluten-free flour blend, sugar, baking powder, and salt.
- In a separate medium bowl, whisk the milk, eggs, melted butter, and vanilla extract until combined.
- Pour the wet ingredients into the dry ingredients. Whisk until just combined. Do not overmix; a few small lumps are acceptable. Overmixing develops structure that can lead to dense waffles.
- If using frozen blueberries, do not thaw them. Gently toss the blueberries with 1 tablespoon of the gluten-free flour blend in a small bowl. This coating helps prevent them from sinking to the bottom of the batter.
- Gently fold the coated blueberries into the batter.
- Pour the batter onto the preheated waffle iron, using the amount recommended for your specific iron size.
- Cook until the steam stops escaping and the waffle is golden brown and crisp on the edges, usually 4 to 6 minutes.
- Carefully remove the waffle and place it on a wire cooling rack set inside a baking sheet to keep the bottom from steaming and becoming soggy while you cook the remaining batter.
- Serve immediately with your preferred toppings.
Notes
- For extra crispiness, place cooked waffles in a single layer on a wire rack in a 200°F oven while you finish cooking the batch.
- If your gluten-free blend does not contain xanthan gum, add 1 teaspoon to the dry ingredients.
- If you prefer a dairy-free waffle, substitute regular milk with unsweetened almond or soy milk and use a dairy-free butter substitute.
Nutrition
- Serving Size: 1 waffle
- Calories: 320
- Sugar: 12
- Sodium: 350
- Fat: 14
- Saturated Fat: 8
- Unsaturated Fat: 6
- Trans Fat: 0
- Carbohydrates: 45
- Fiber: 2
- Protein: 9
- Cholesterol: 95